But really though… what the heck is it!?
For those who have done calligraphy for a while, we can forget how odd pointed pens can be to those unfamiliar with calligraphy. They look kind of weird. The name sounds kind of weird. And the weirdness can make pointed pen really intimidating for people.
It doesn’t have to be that way though!
In this post, I’m going to break down what pointed pen is, how you use it, and why you would want to.
Spoiler alert: It’s because it’s amazing and a ton of fun and what actually got me hooked on calligraphy!
First Things First…
The links below may be affiliate links where appropriate. This means that your purchase through these links may result in a few cents in payment to me, to support creating further resources like this one! That being said, I will never suggest supplies that I do not personally use and fully recommend.
Supplies Mentioned
Rather watch than read? No problem! You can watch me break down all things pointed pen in real-time by clicking the video below!
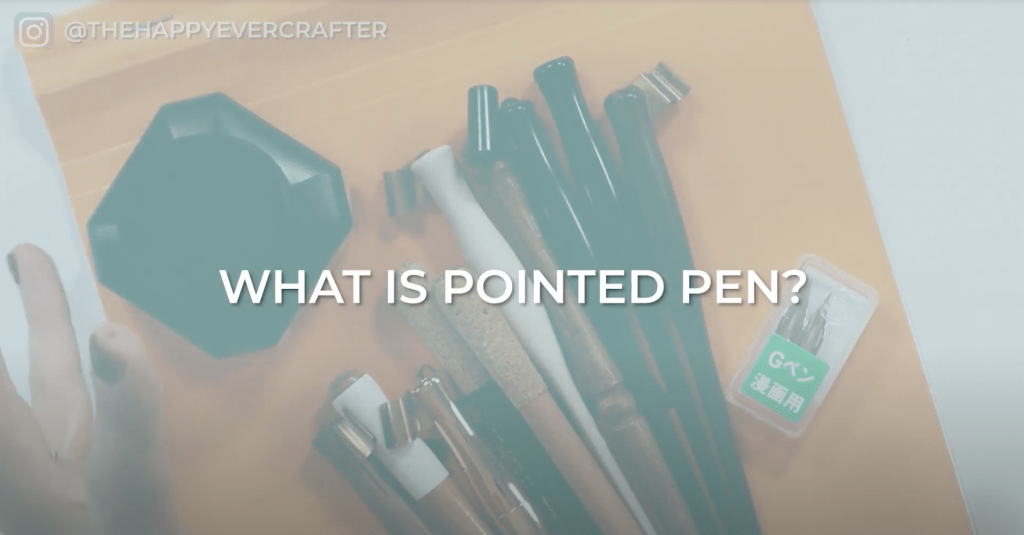
What Is Pointed Pen?
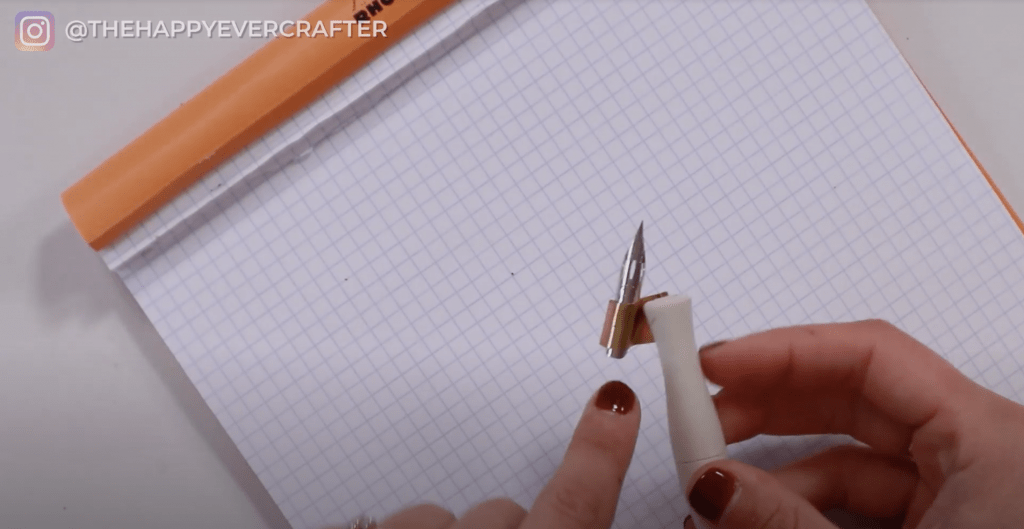
Pointed pen is essentially one of these tools. It’s the pen you use with a nib to write in calligraphy.

It’s basically the device or tool you write with. You have a holder and a nib and you put them together to make a pointed pen set up.

So if someone ever says they’re doing pointed pen calligraphy, this is what they’re using.
Why Pointed Pen?
Why would anyone want to use one? Specifically, why would someone want to use a pointed pen instead of a brush pen?
Number one reason: Pointed pen calligraphy is stunningly beautiful. It’s gorgeous. You cannot achieve the thin hairlines and the overall line work you can get with a pointed pen with a brush pen. You just can’t replicate it. Some brush pens can get close and look similar, but it’s not possible to replicate the beauty of pointed pen. It’s just so delicate and beautiful!
Number two reason: Pointed pen is a ton of fun! It’s something totally different, and not something you’re super used to. It forces you to calm down and relax – it’s pretty zen! People really love it for that.
Number three reason: It’s also way more versatile than you think. Let’s say you’re a wedding calligrapher, and a client wants something super specific. Or something super delicate or small. Or wants a super specific colour of ink. Or wants you to write on a surface that doesn’t work well with regular brush pens. That’s where pointed pen can save the day! Pointed pen is great for writing on weird surfaces or writing super small. You can also mix custom colours of ink. There’s just so much you can do with it! It can require more work to get set up and can take time to learn it, but it’s super versatile in the end.
How Does It Work?
So how does it even work? It’s kind of weird looking, right?

Oblique holders look even weirder – they’re the holders with the extra angled piece (called a flange) that holds the nib on the side.
Pointed pens work mostly because of the nib. The nib has a tiny hole on the top of it called a reservoir hole. That’s what holds the ink in!
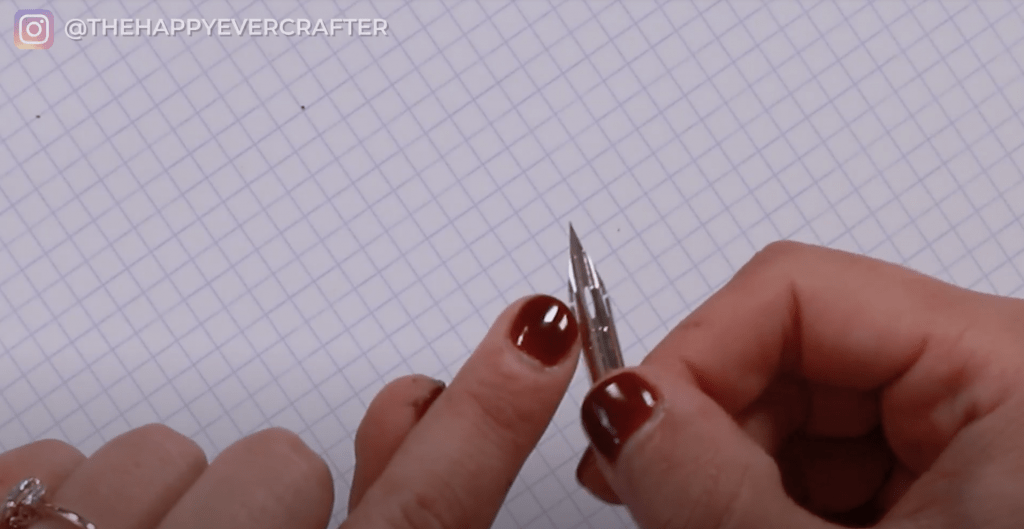
And a pointed pen nib also has tines on the tip. These tines flex when you apply pressure to them. The ink is held in that reservoir hole, and then when you push on the tines, they separate and the ink flows through them.
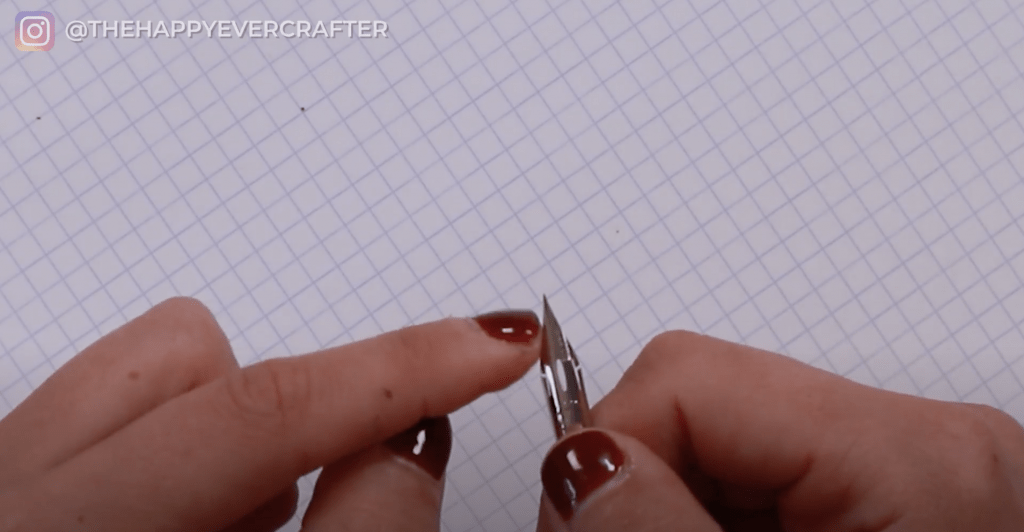
You can control how thin or how thick you want your line to be based on the pressure you apply on your nib (how far apart you push your tines).

How Do You Set It Up?
Set-up actually requires more than just putting your nib in your holder, dipping in ink, and writing. There are a couple extra steps you should take. You’d never know these unless you look into it a bit.
A lot of beginners will find the supplies and just get started, but they often run into issues and get frustrated. It’s important to learn all the needed steps, especially from someone who is familiar with calligraphy and pointed pen. It will help majorly cut down on the frustration.
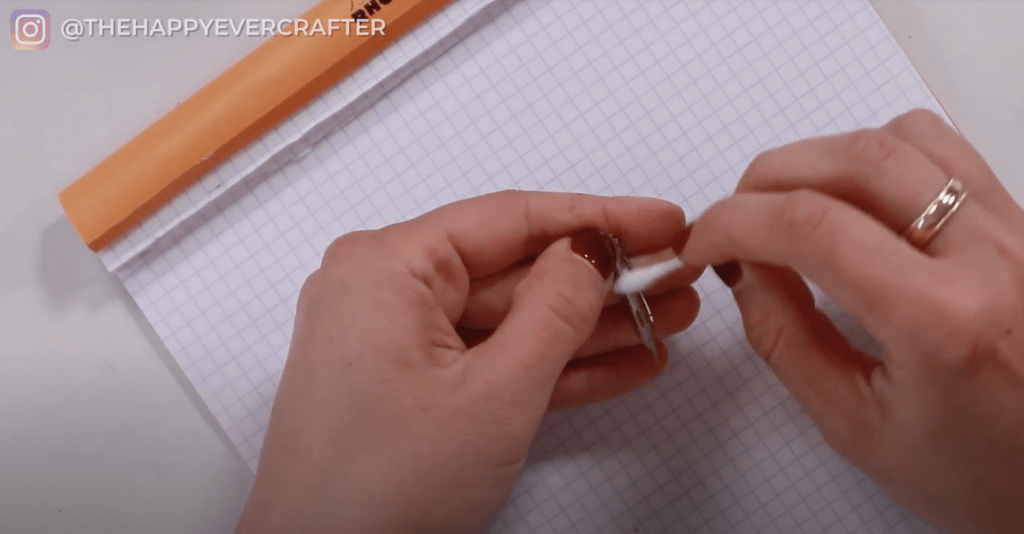
You need to actually prep your nib before you use it.
If you have a brand new nib, straight out of a new package, it will come from the factor covered in oils. The oils protect the steel. However, if you stick a nib that still has those oils in ink, all of the ink will slide right off from the oil. You need to prep the nib.
There are several ways to prep your nib. You can stick it in a potato (the potato’s starches will break down the oils), and then wipe it off. If you ever see a calligrapher with a potato on their desk, that’s proooooobably why!
Another prep method is to use a flame. You can use a lighter or other flame and run the nib through it to burn off the oils. o many options – toothpaste, dish soap, whatever. You just need something gritty enough to fully remove the oils on the nib.
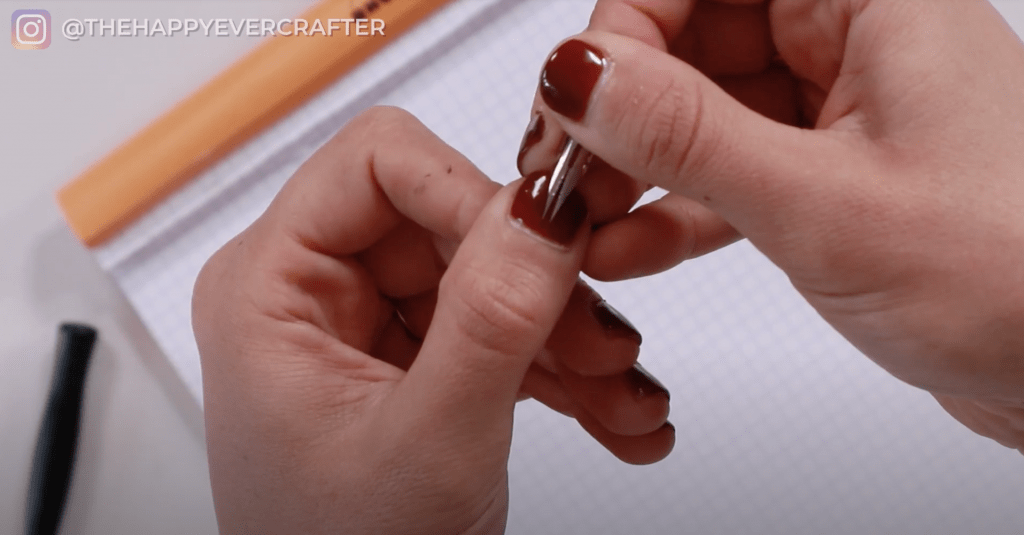
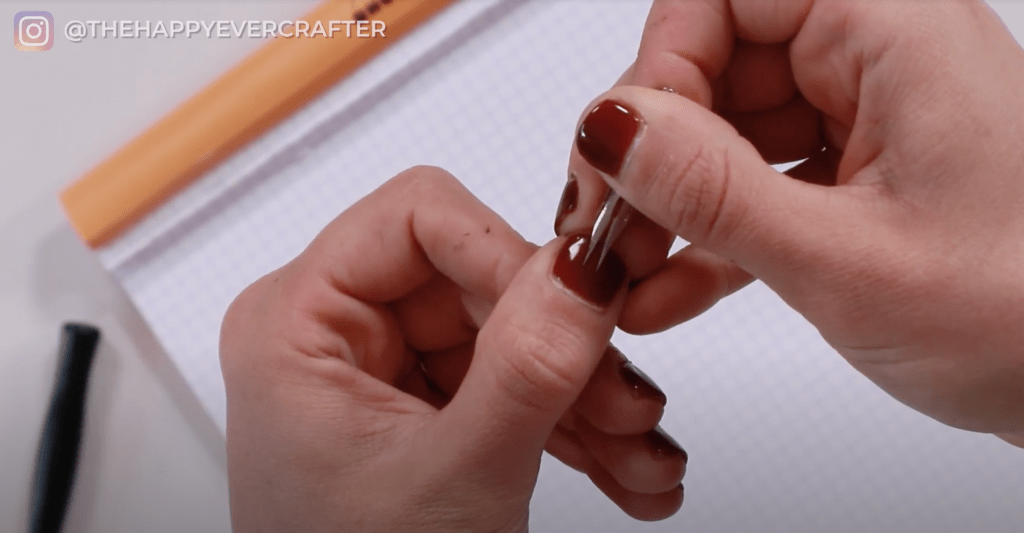
Lately my favourite approach is to use alcohol or acetone with a q-tip.
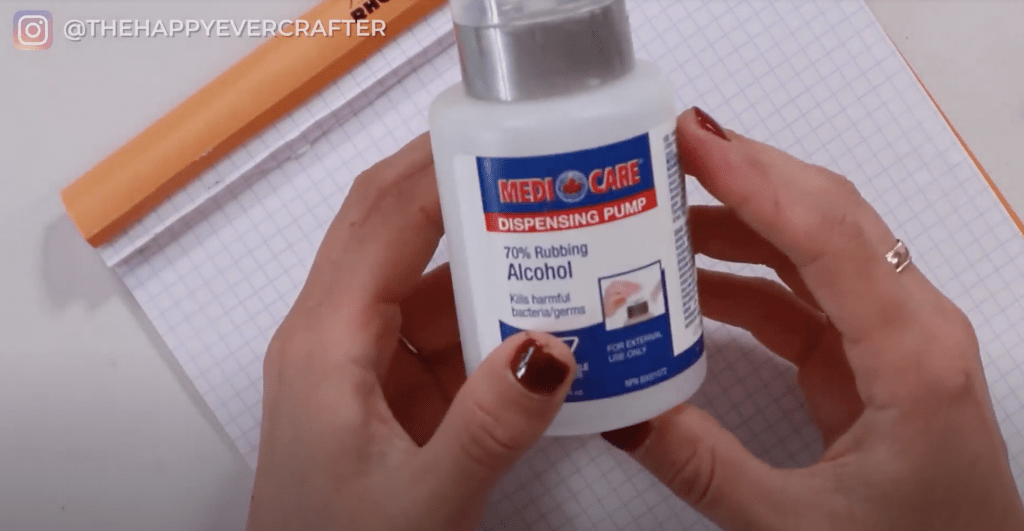
I used a brand new nib. I got a bit of alcohol on my q-tip and just wiped down the whole nib. Make sure to get the entire nib – inside and outside, top to bottom. Let it sit for about a minute and then wipe it off (you can use a paper towel or a cloth – you can run it through water too).
Sometimes the first time cleaning a nib doesn’t fully work. You need to dip it in your ink and see if all the oil is gone. If it’s not, just clean it again and retry with your ink. After you’ve done this a few times, your nib is good to go. You don’t need to prep it every time you use it or anything. But if your ink ever stops sticking to your nib, there’s probably some oil build-up on it, and it needs to be cleaned.
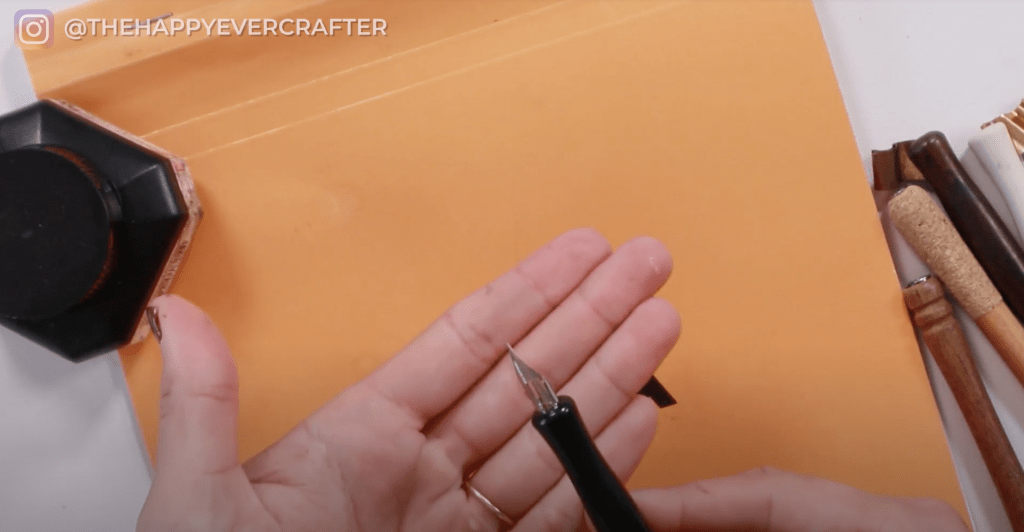
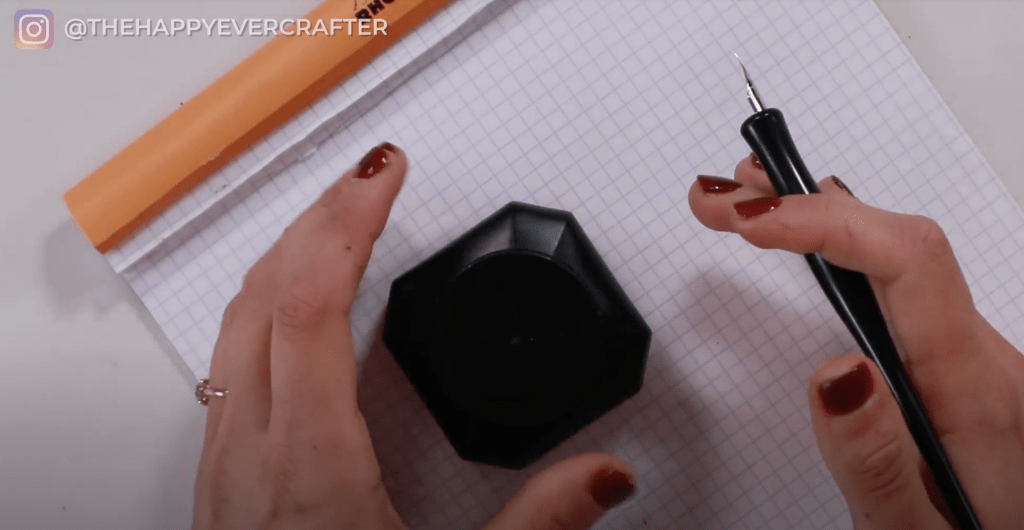
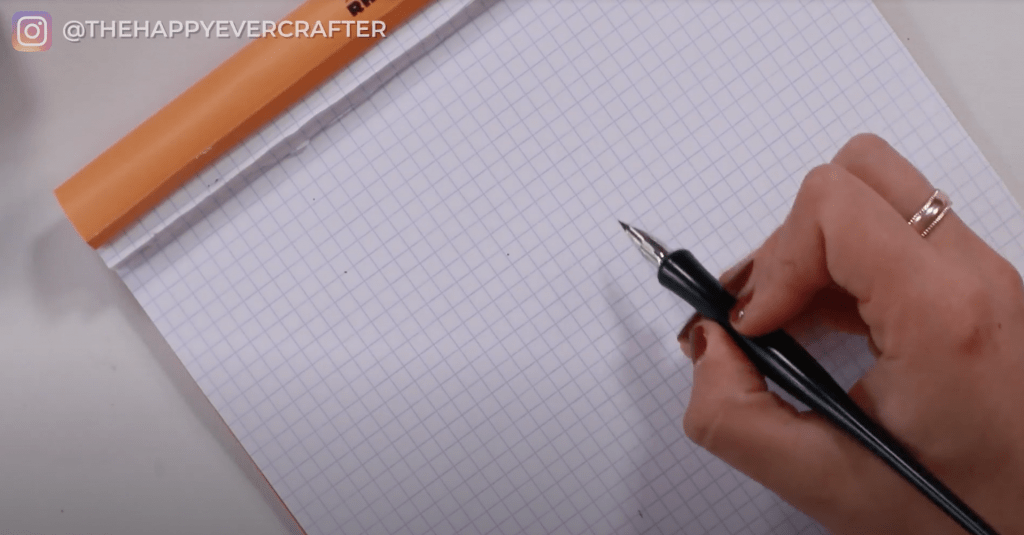
Now your nib is prepped, and you’re ready to go. Grab your paper, put the nib in the holder, open your ink, and dip.
If you want a much more in-depth lesson, check out my free course: Show Me Your Drills! I’m essentially only explaining what pointed pen is in this video – I’m not actually teaching you how to use it like I do in my free course.
What Exact Tools Should I Buy If I Want To Go Get Pointed Pen Stuff?
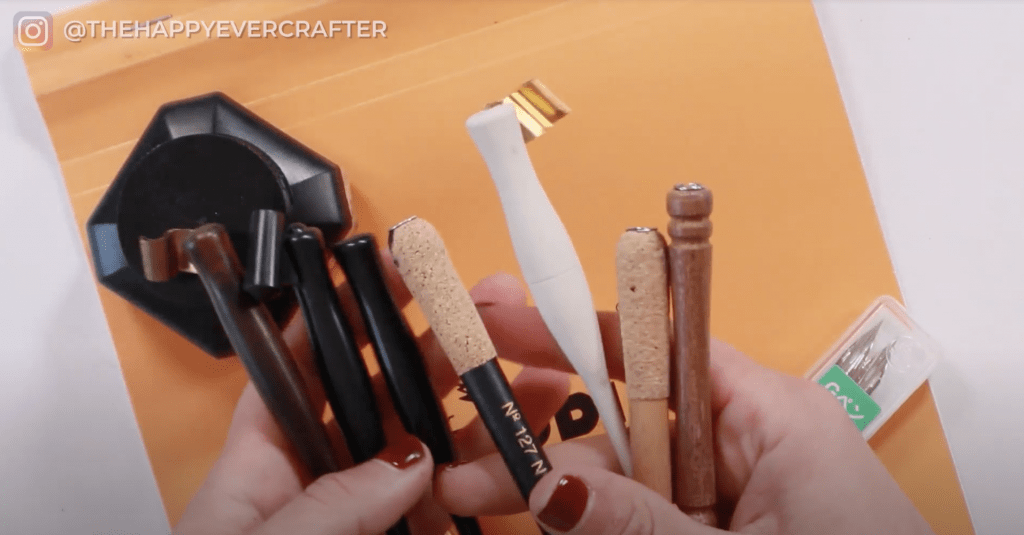
I mentioned holders, nibs, ink, and paper.
For beginners, I recommend buying relatively inexpensive tools up front. Speedball holders are pretty inexpensive (they’re plastic) and generally cost about $3. They work perfectly fine for beginners. These are what I started on and are pretty common for beginners. I actually give these out in my workshop kits too.
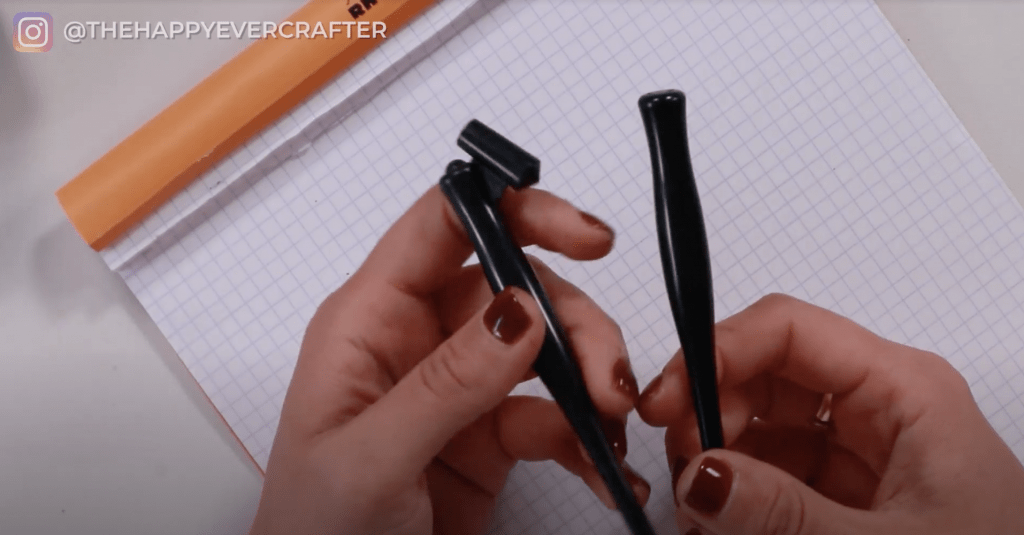
An oblique holder is on the left, and a straight holder is on the right.
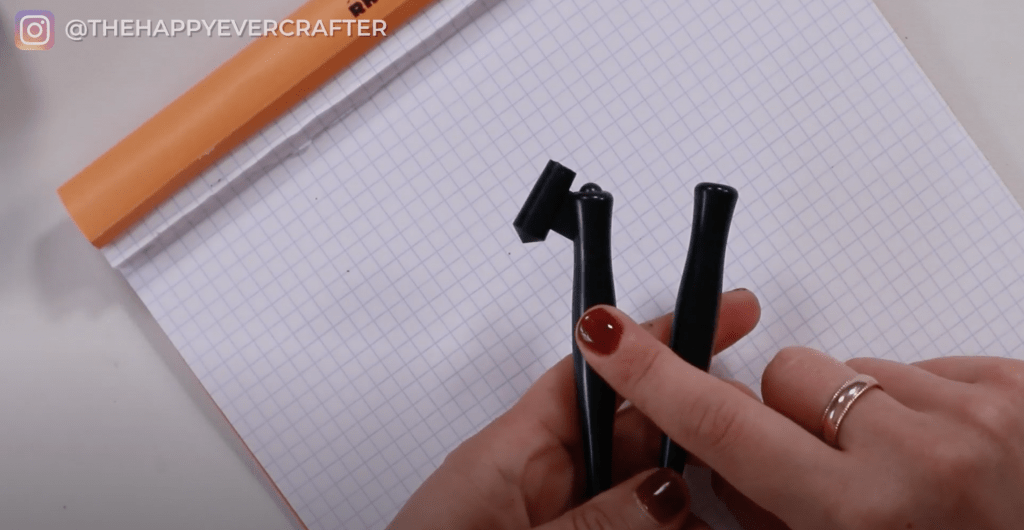
Oblique holders are great for writing at a more traditional calligraphy angle. Straight holders are a super reasonable starting holder for beginners – you hold it much like you would a normal pen. A lot of times these two come in a pack together, so you can try both.
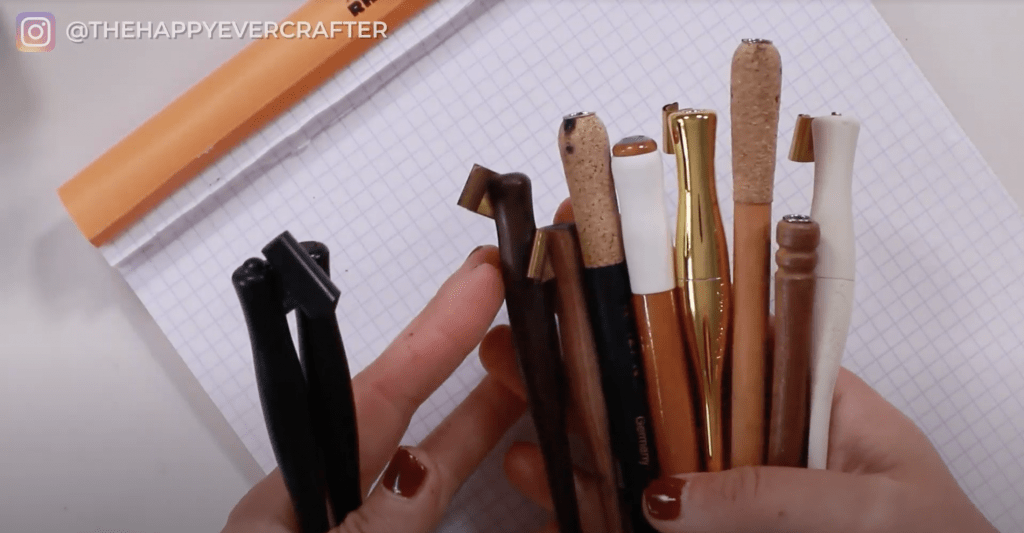
There are tons of types of holders out there. Plastic, wood, some with cork. Feel free to use what you’re able to find at your local art store. Once you get going a bit, you can explore different holders. Different oblique angles, different materials, different weights – tons of options out there. You won’t really know what you want or like until you get going with it.
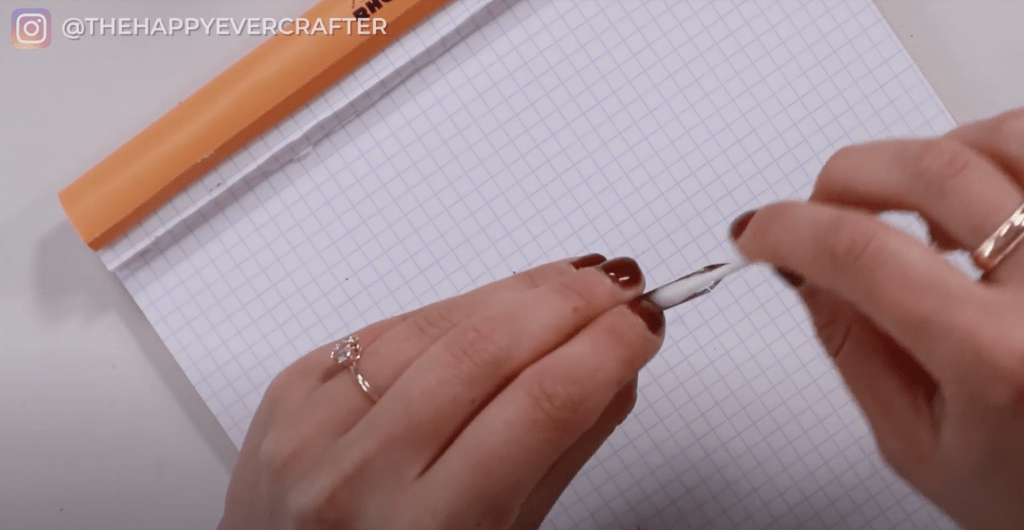
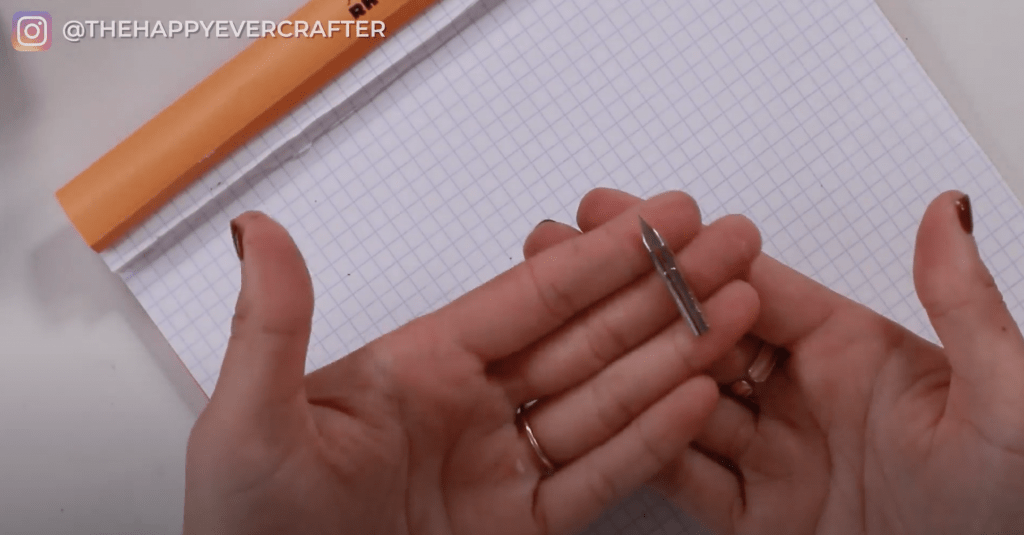
Next you’re going to need a nib.
This is a Zebra G nib. You’ll see Zebra G, Nikko G, Tachikawa G. These are all pretty similar and are great for beginners. They’re pretty stiff and won’t allow for the tines to be spread super far apart and let go of a ton of ink. This helps with ink blobs. The stiffness also holds up really well to a ton of pressure as you’re learning – the tines aren’t going to bend as you’re getting used to using it. But it will still give you those hairlines you want.
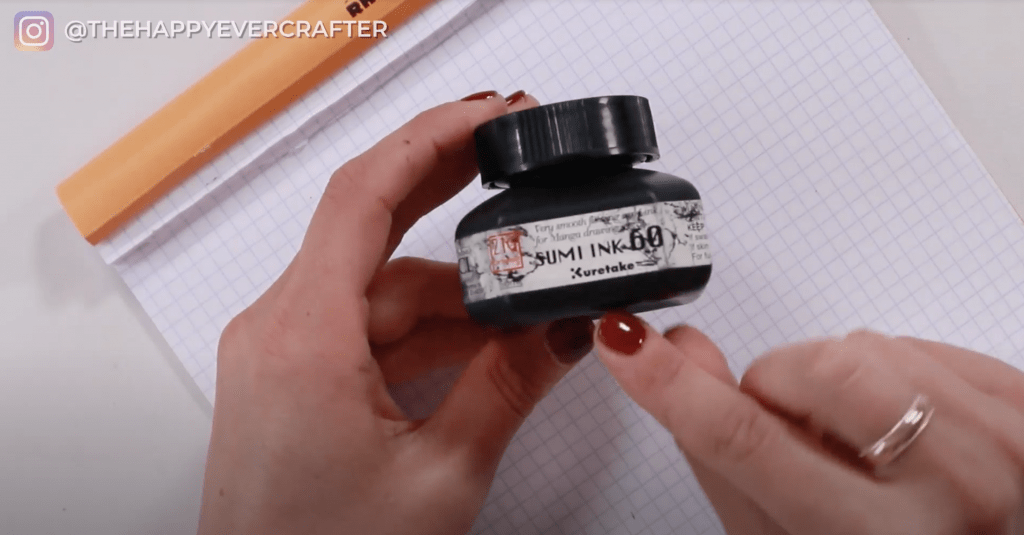
Next you need ink. I recommend sumi ink, and I often use Kuretake Sumi Ink. It’s a nice smooth ink that dries really nicely on the page and doesn’t give you clumps. I do not recommend mixing your own inks, coloured inks, or metallic inks when you’re first starting to learn. These are harder to work with and may cause frustration. Definitely look for sumi ink (and if you can’t find that, look for India ink).
Lastly, you need paper.
Paper really matters with pointed pen. The tines can get stuck in the threads of lower quality papers, and the ink can ink on low quality paper too. Make sure you have good paper.
I recommend Rhodia paper. It’s a great, high-quality, smooth paper. It works great for brush pens too. I recommend the grid version since it will give you guidelines.
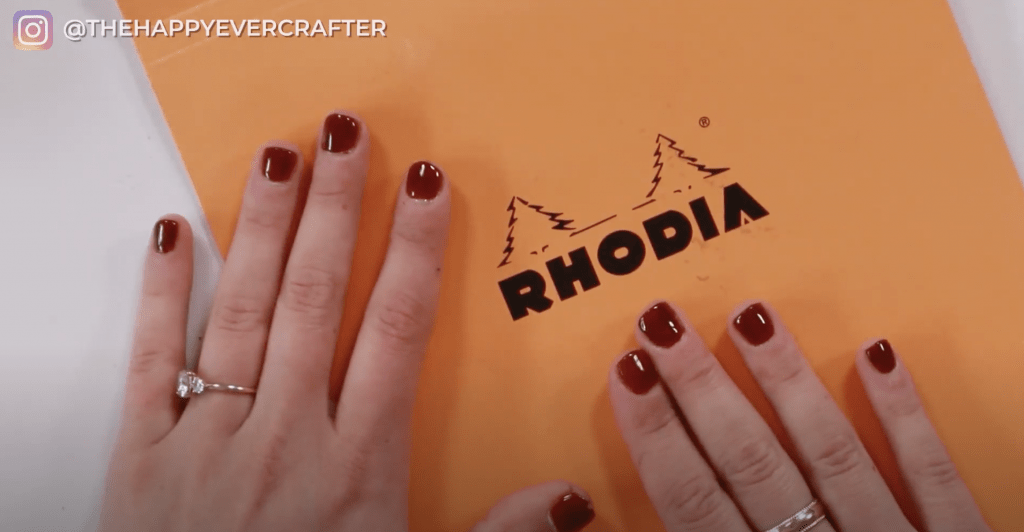

If you can’t find Rhodia, look for high-quality, smooth paper. Feel the different brands in the art store if you need to. If you pick a paper and the ink bleeds or the paper falls apart, you know it’s not high-quality paper.
How Do You Start Practicing With Pointed Pen?
Do you just dip your nib in ink and start drawing lines?
Well, not really. But kinda!
Start with the basic strokes! Don’t start with letters or words. You want to do drills of the basic strokes until you have a good understanding of using your pointed pen.
If you don’t know what I mean by drills or basic strokes, come join my free beginners calligraphy course. You learn all about the basic strokes, the tools, how to use them – all of it. The course focuses on building a solid foundation of calligraphy that you can later use for letters and words.
And that’s a wrap!
If this post made you want to learn pointed pen calligraphy for the first time, check out my free calligraphy course. You can find out all about (and sign-up) at www.showmeyourdrills.com!
And finally, your dad joke…
Why didn’t the pen cross the road?
Because it was stationary.


Comments