Wanna know how to draw a tulip step-by-step?
Great! Because I’m about to teach you how.
I also have some free worksheets if you’re interested.
The worksheets (nearly 30 of them!) have step-by-step tutorials for a bunch of other flowers – sunflowers, daisies, dahlias, peonies, and others. Like I said, a BUNCH of other flowers.
You can use the worksheets to trace or to have them for reference as you freehand alongside me. The link to download them is at the end of the post.
First Things First…
The links below may be affiliate links where appropriate. This means that your purchase through these links may result in a few cents in payment to me, to support creating further resources like this one! That being said, I will never suggest supplies that I do not personally use and fully recommend.
Supplies Mentioned
- Micron Pens (sizes 01, 03, 05) – You don’t have to have multiple sizes (or even these exact pens). One pen is totally fine if that’s what you have available.
- Rhodia Paper – Any paper will work!
- Pencil – Any pencil will work!
- Eraser – Any eraser will work!
Rather watch than read? No problem! You can watch me draw tulips in real-time by clicking the video below!
Let’s Get Started!
Supplies are simple. I used blank Rhodia paper, a pencil, an eraser, and Micron pens in sizes 05, 03, and 01. You can use any paper, any pencil, any eraser, and any pens you’d like to use. These are just the supplies I personally used.
Feel free to even use colours if you want!
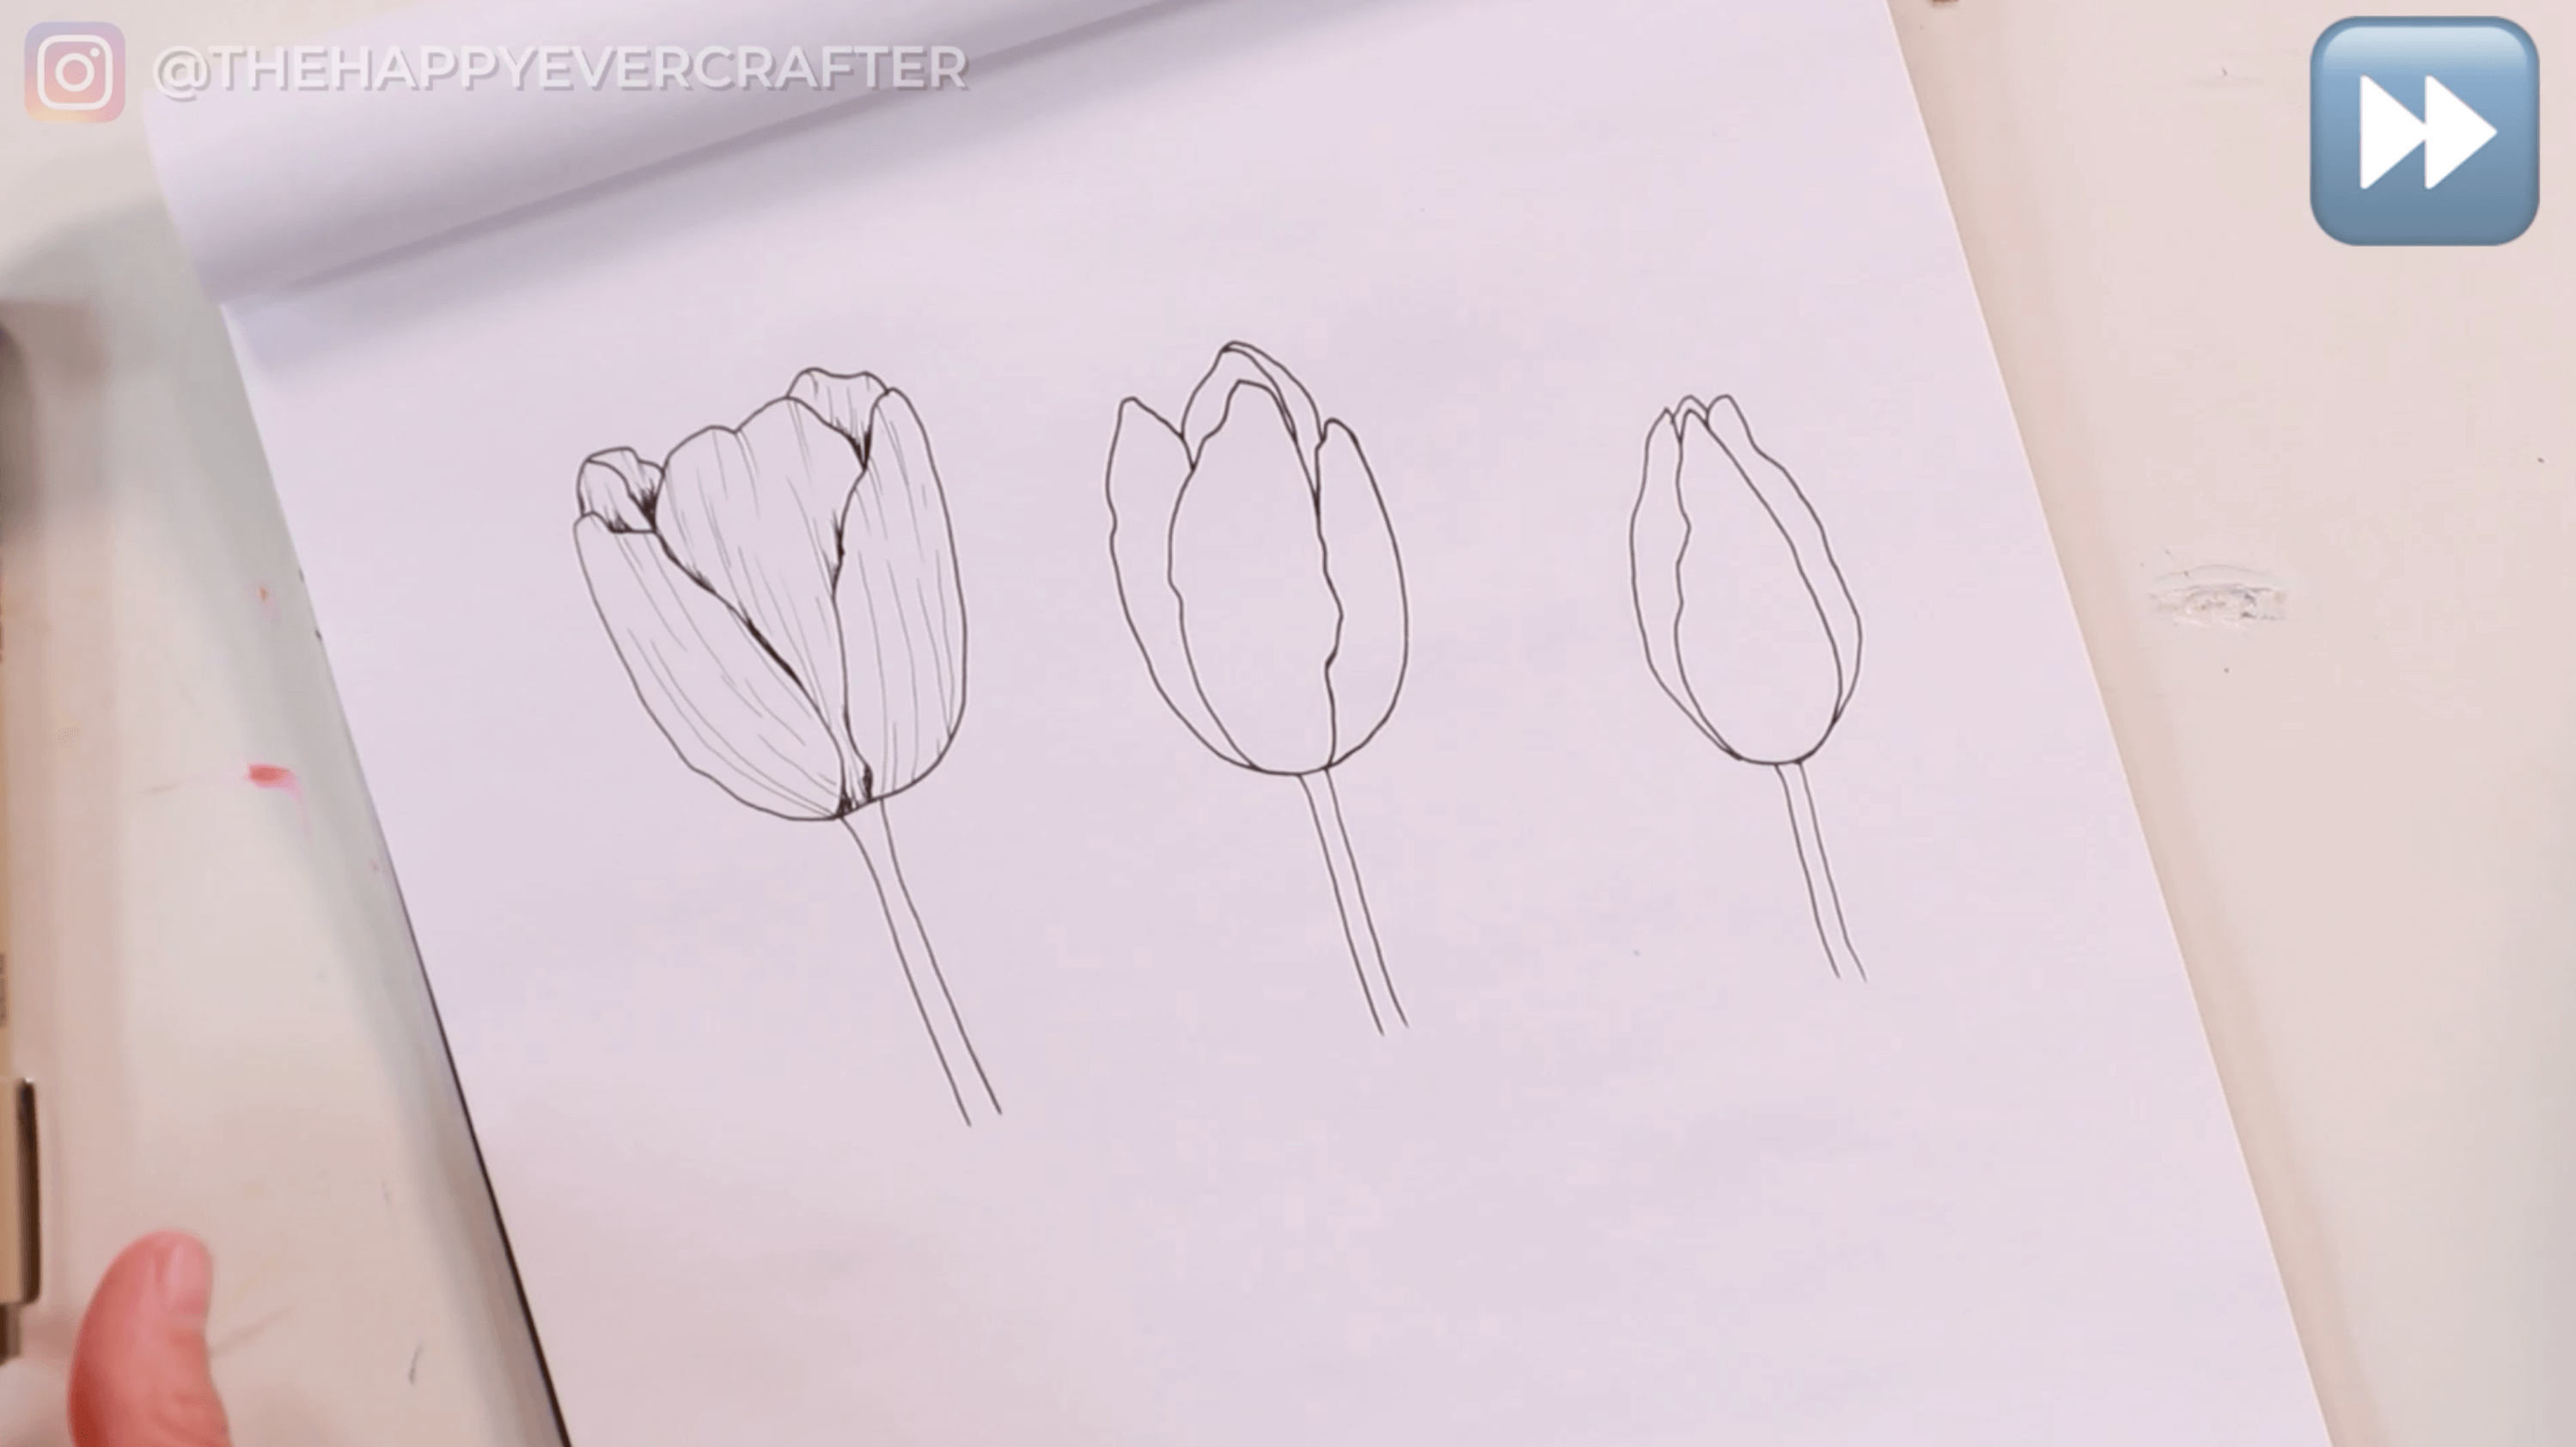
We’re going to do three different type of tulips, so let’s get going!
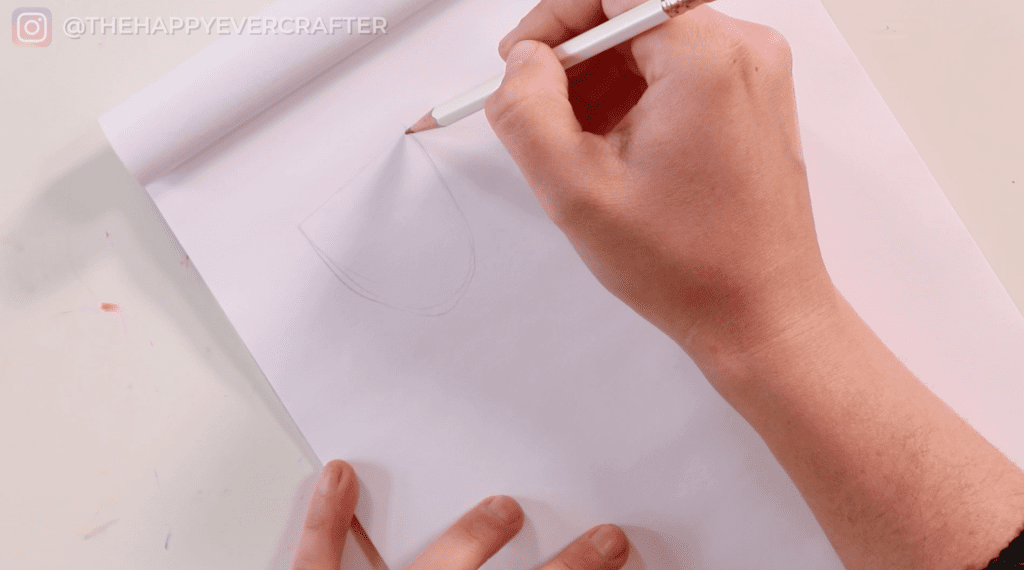
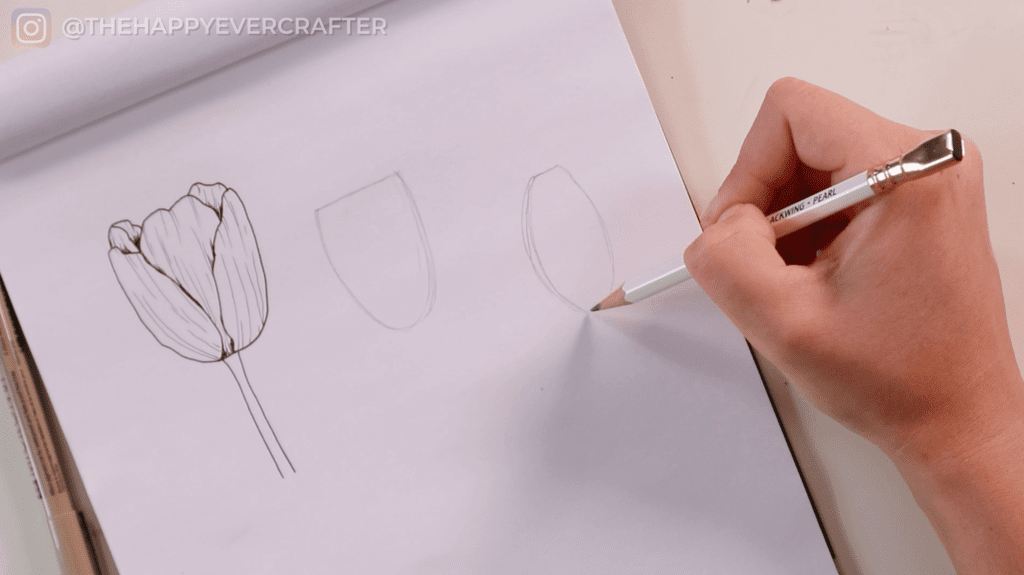
Step 1: Draw a cup shape.
Grab your pencil and draw a cup shape. The shape of the cup that you draw is going to be the shape and size of the tulip you draw.
Start with a cup shape that’s pretty open – this will allow for a bigger, wider tulip.
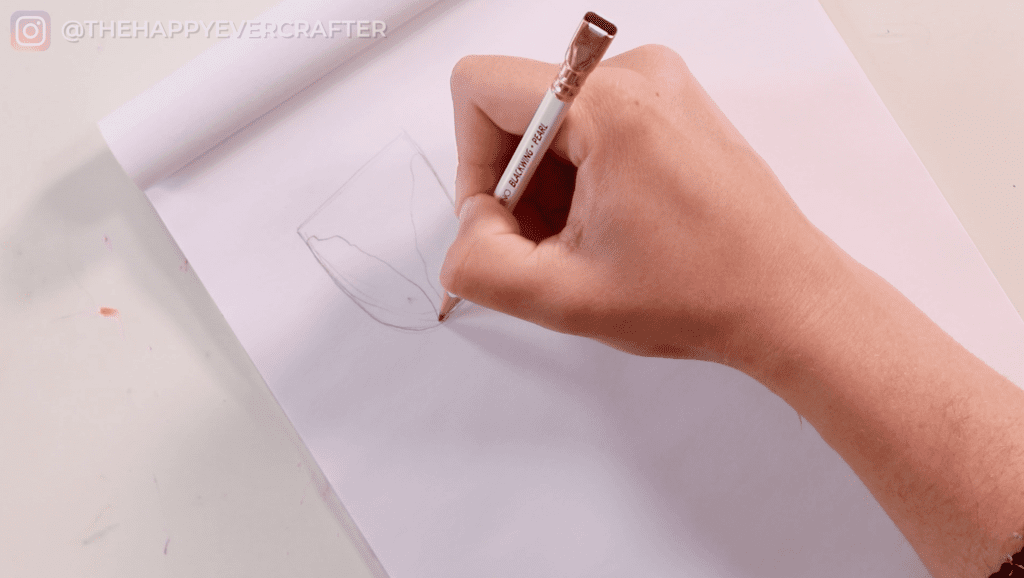
Step 2: Draw your petals
If you want to, feel free to jump right into using your pen. Me personally – I prefer to stick with a pencil while I’m rough sketching my petals.
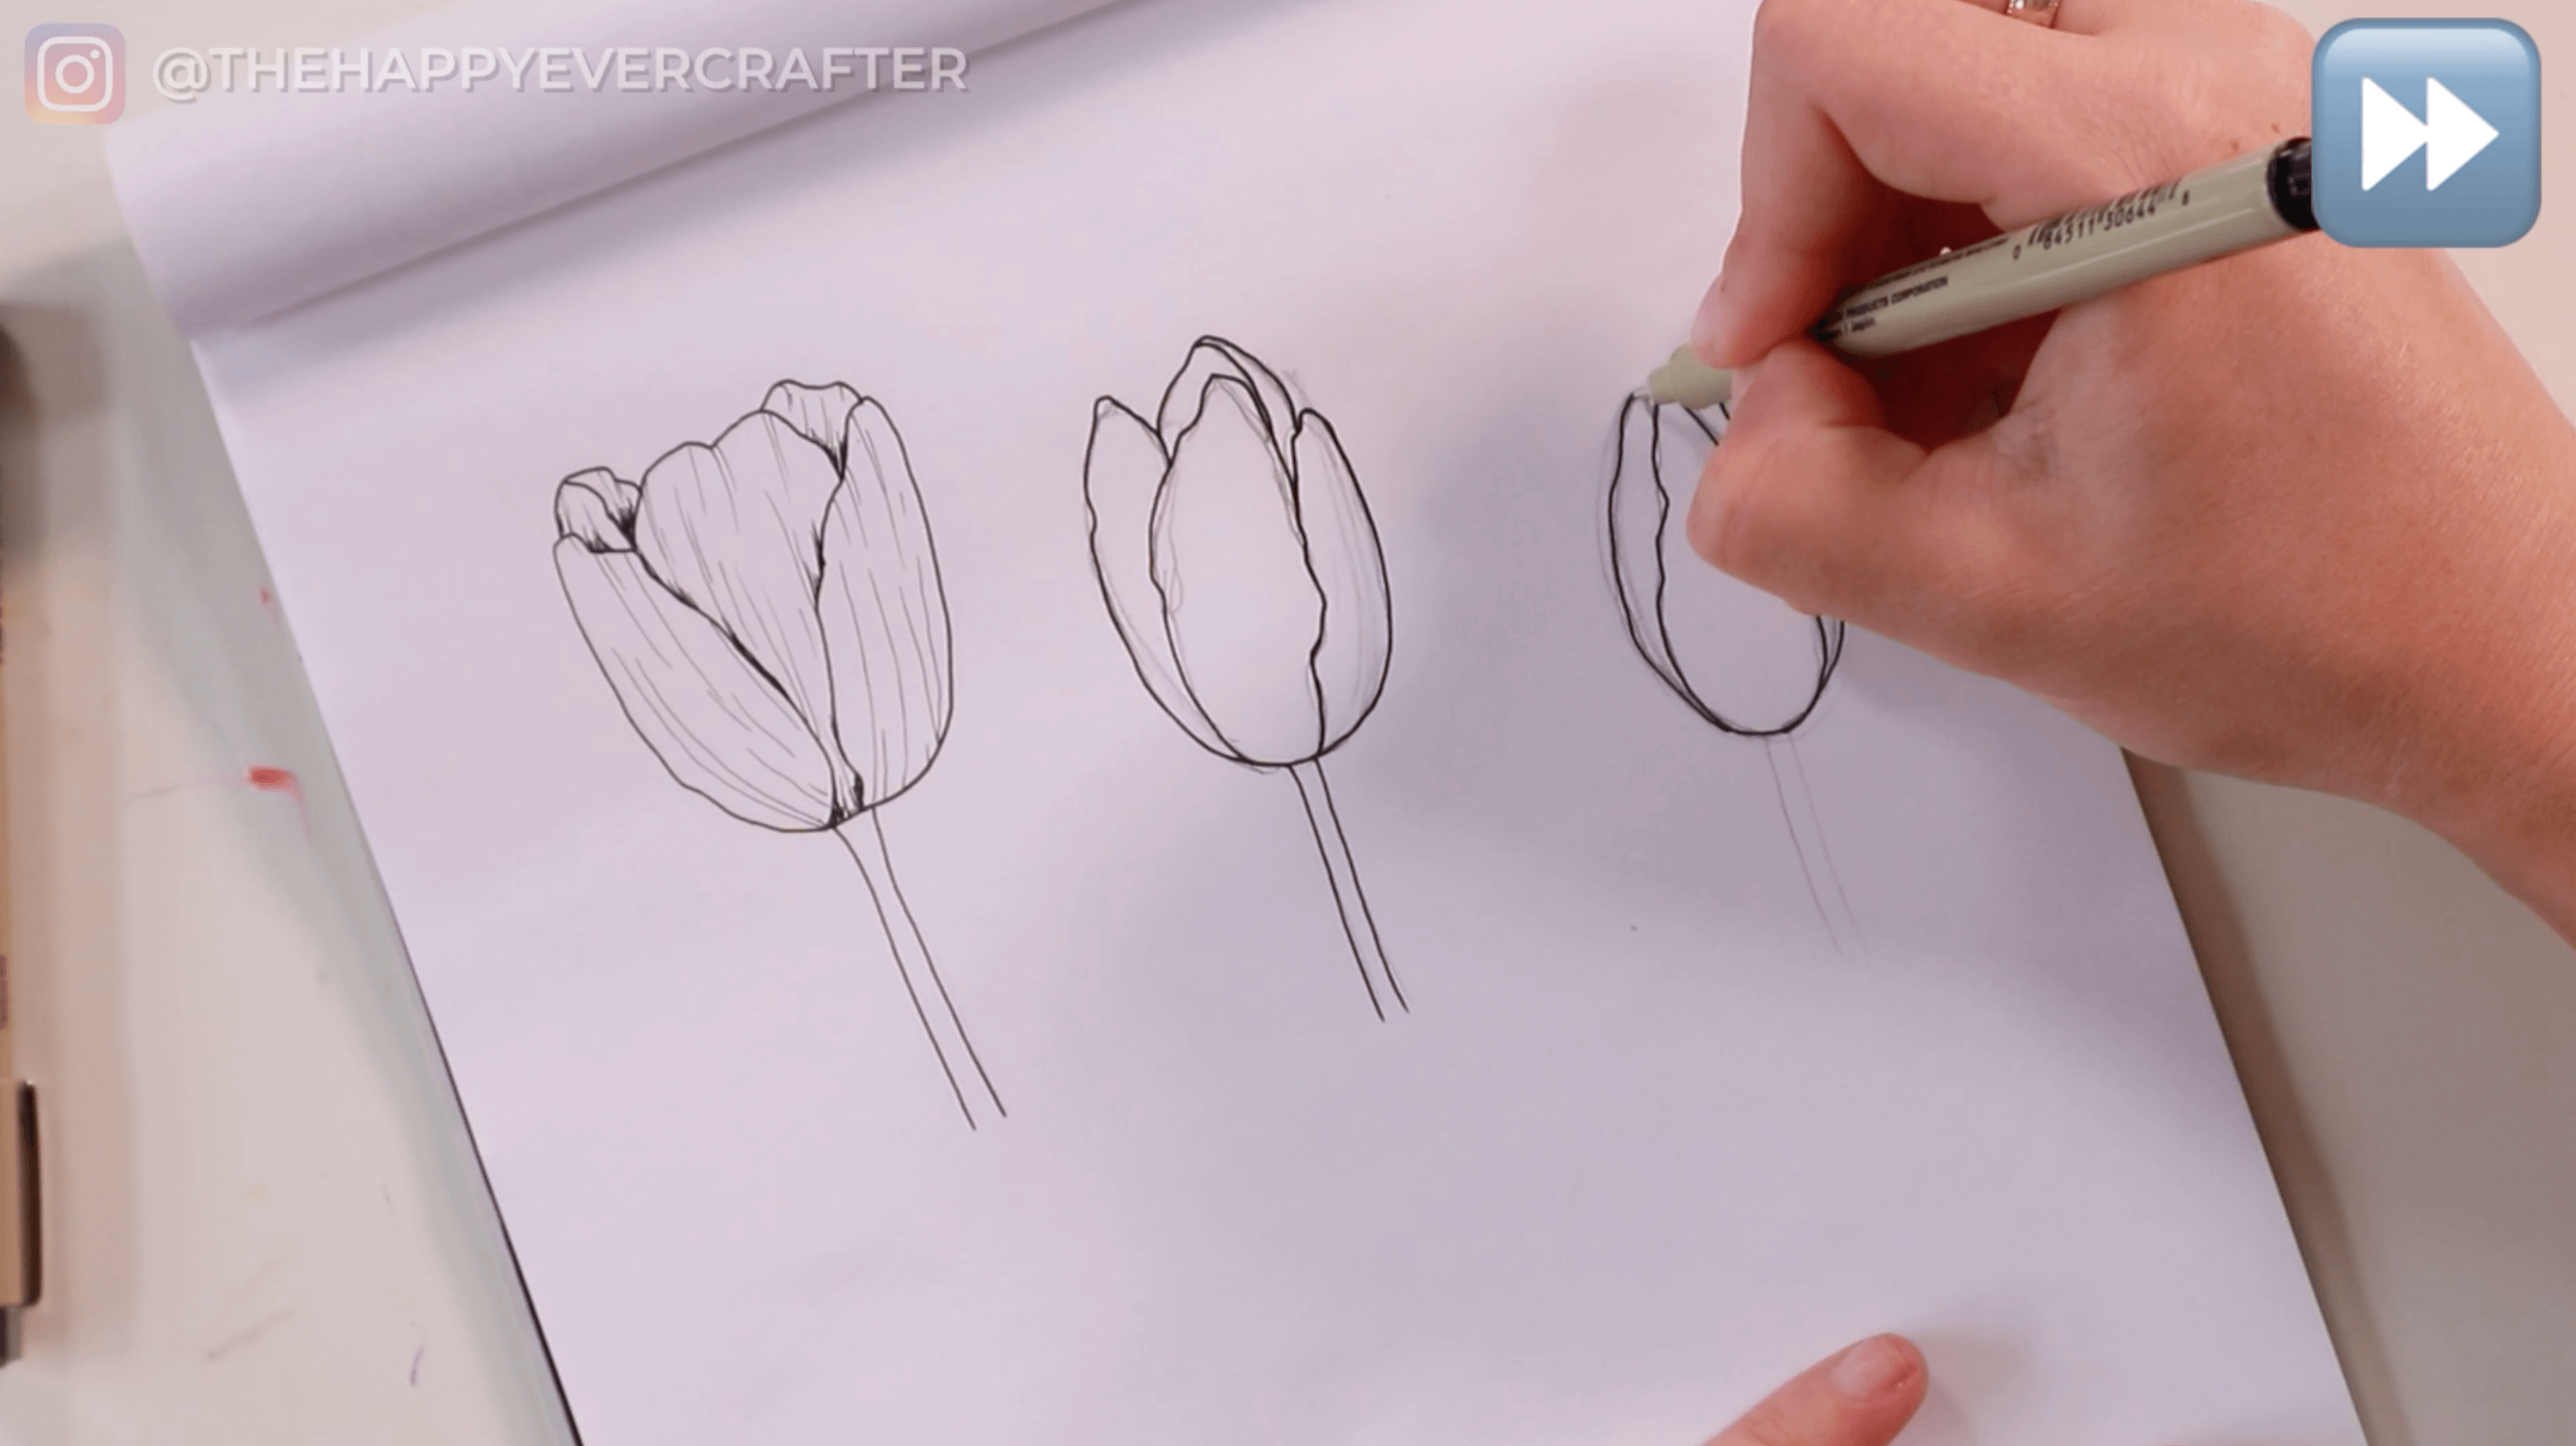
Next, draw your petals. Draw two large petals, one on each side. They’re supposed to be a little bit uneven, so you want the edges to be jagged. Real tulips don’t have perfectly straight lines anywhere, so you want it to be a bit imperfect.
Next, add a petal in the middle – hide it a bit behind those first two, so you just see the top of it peeking out. This one should be uneven too.
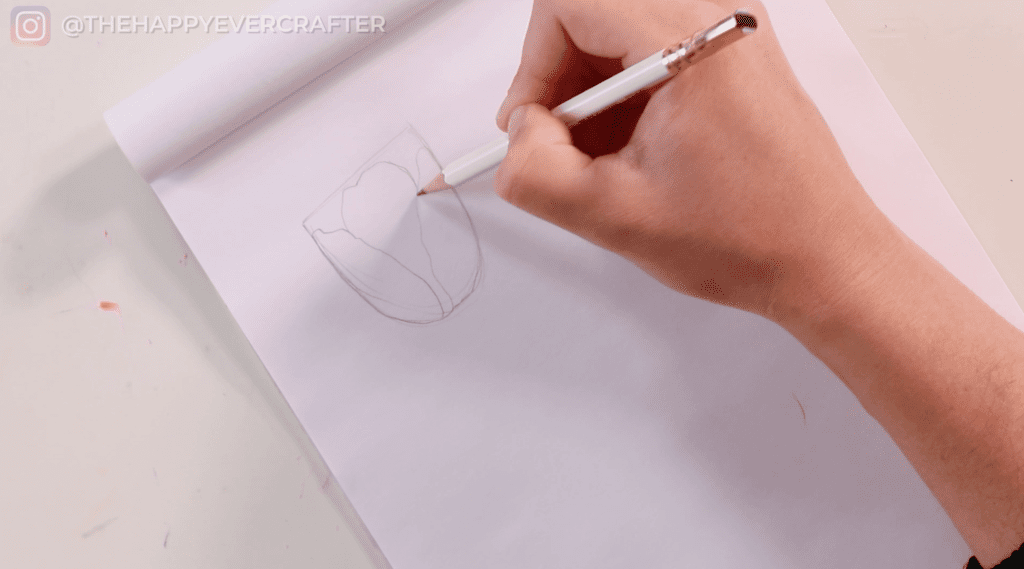
Next, add a couple more petals coming out from behind that one in random spots. For the one of the right, I added a bit of dimension by adding a line to the petal. The line kind of shows the leaf bending over itself, which allows you to see the outside and the inside of the petal here.
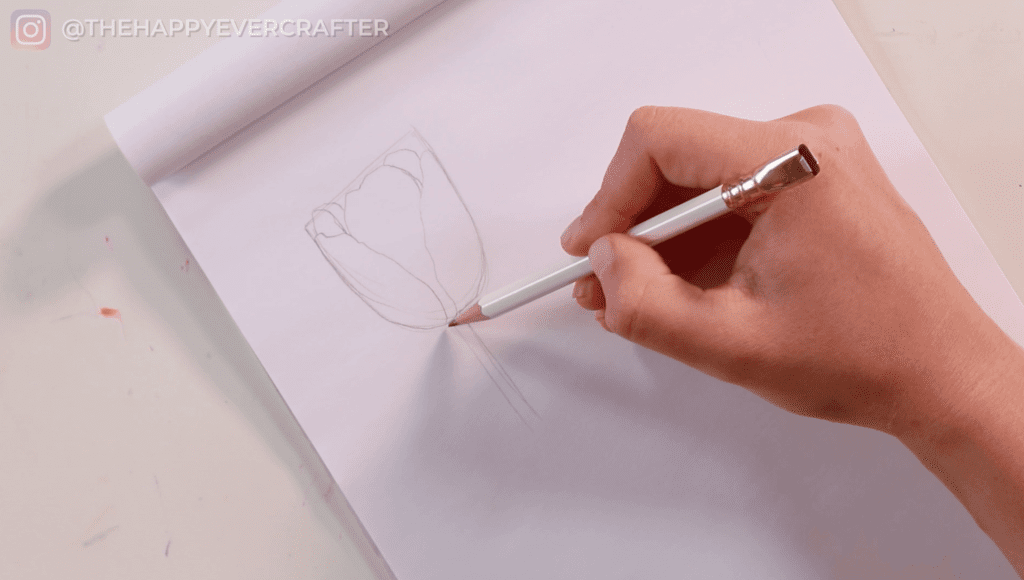
Lastly, draw the stem. Tulips have a really simple, straight stem coming from the bottom.
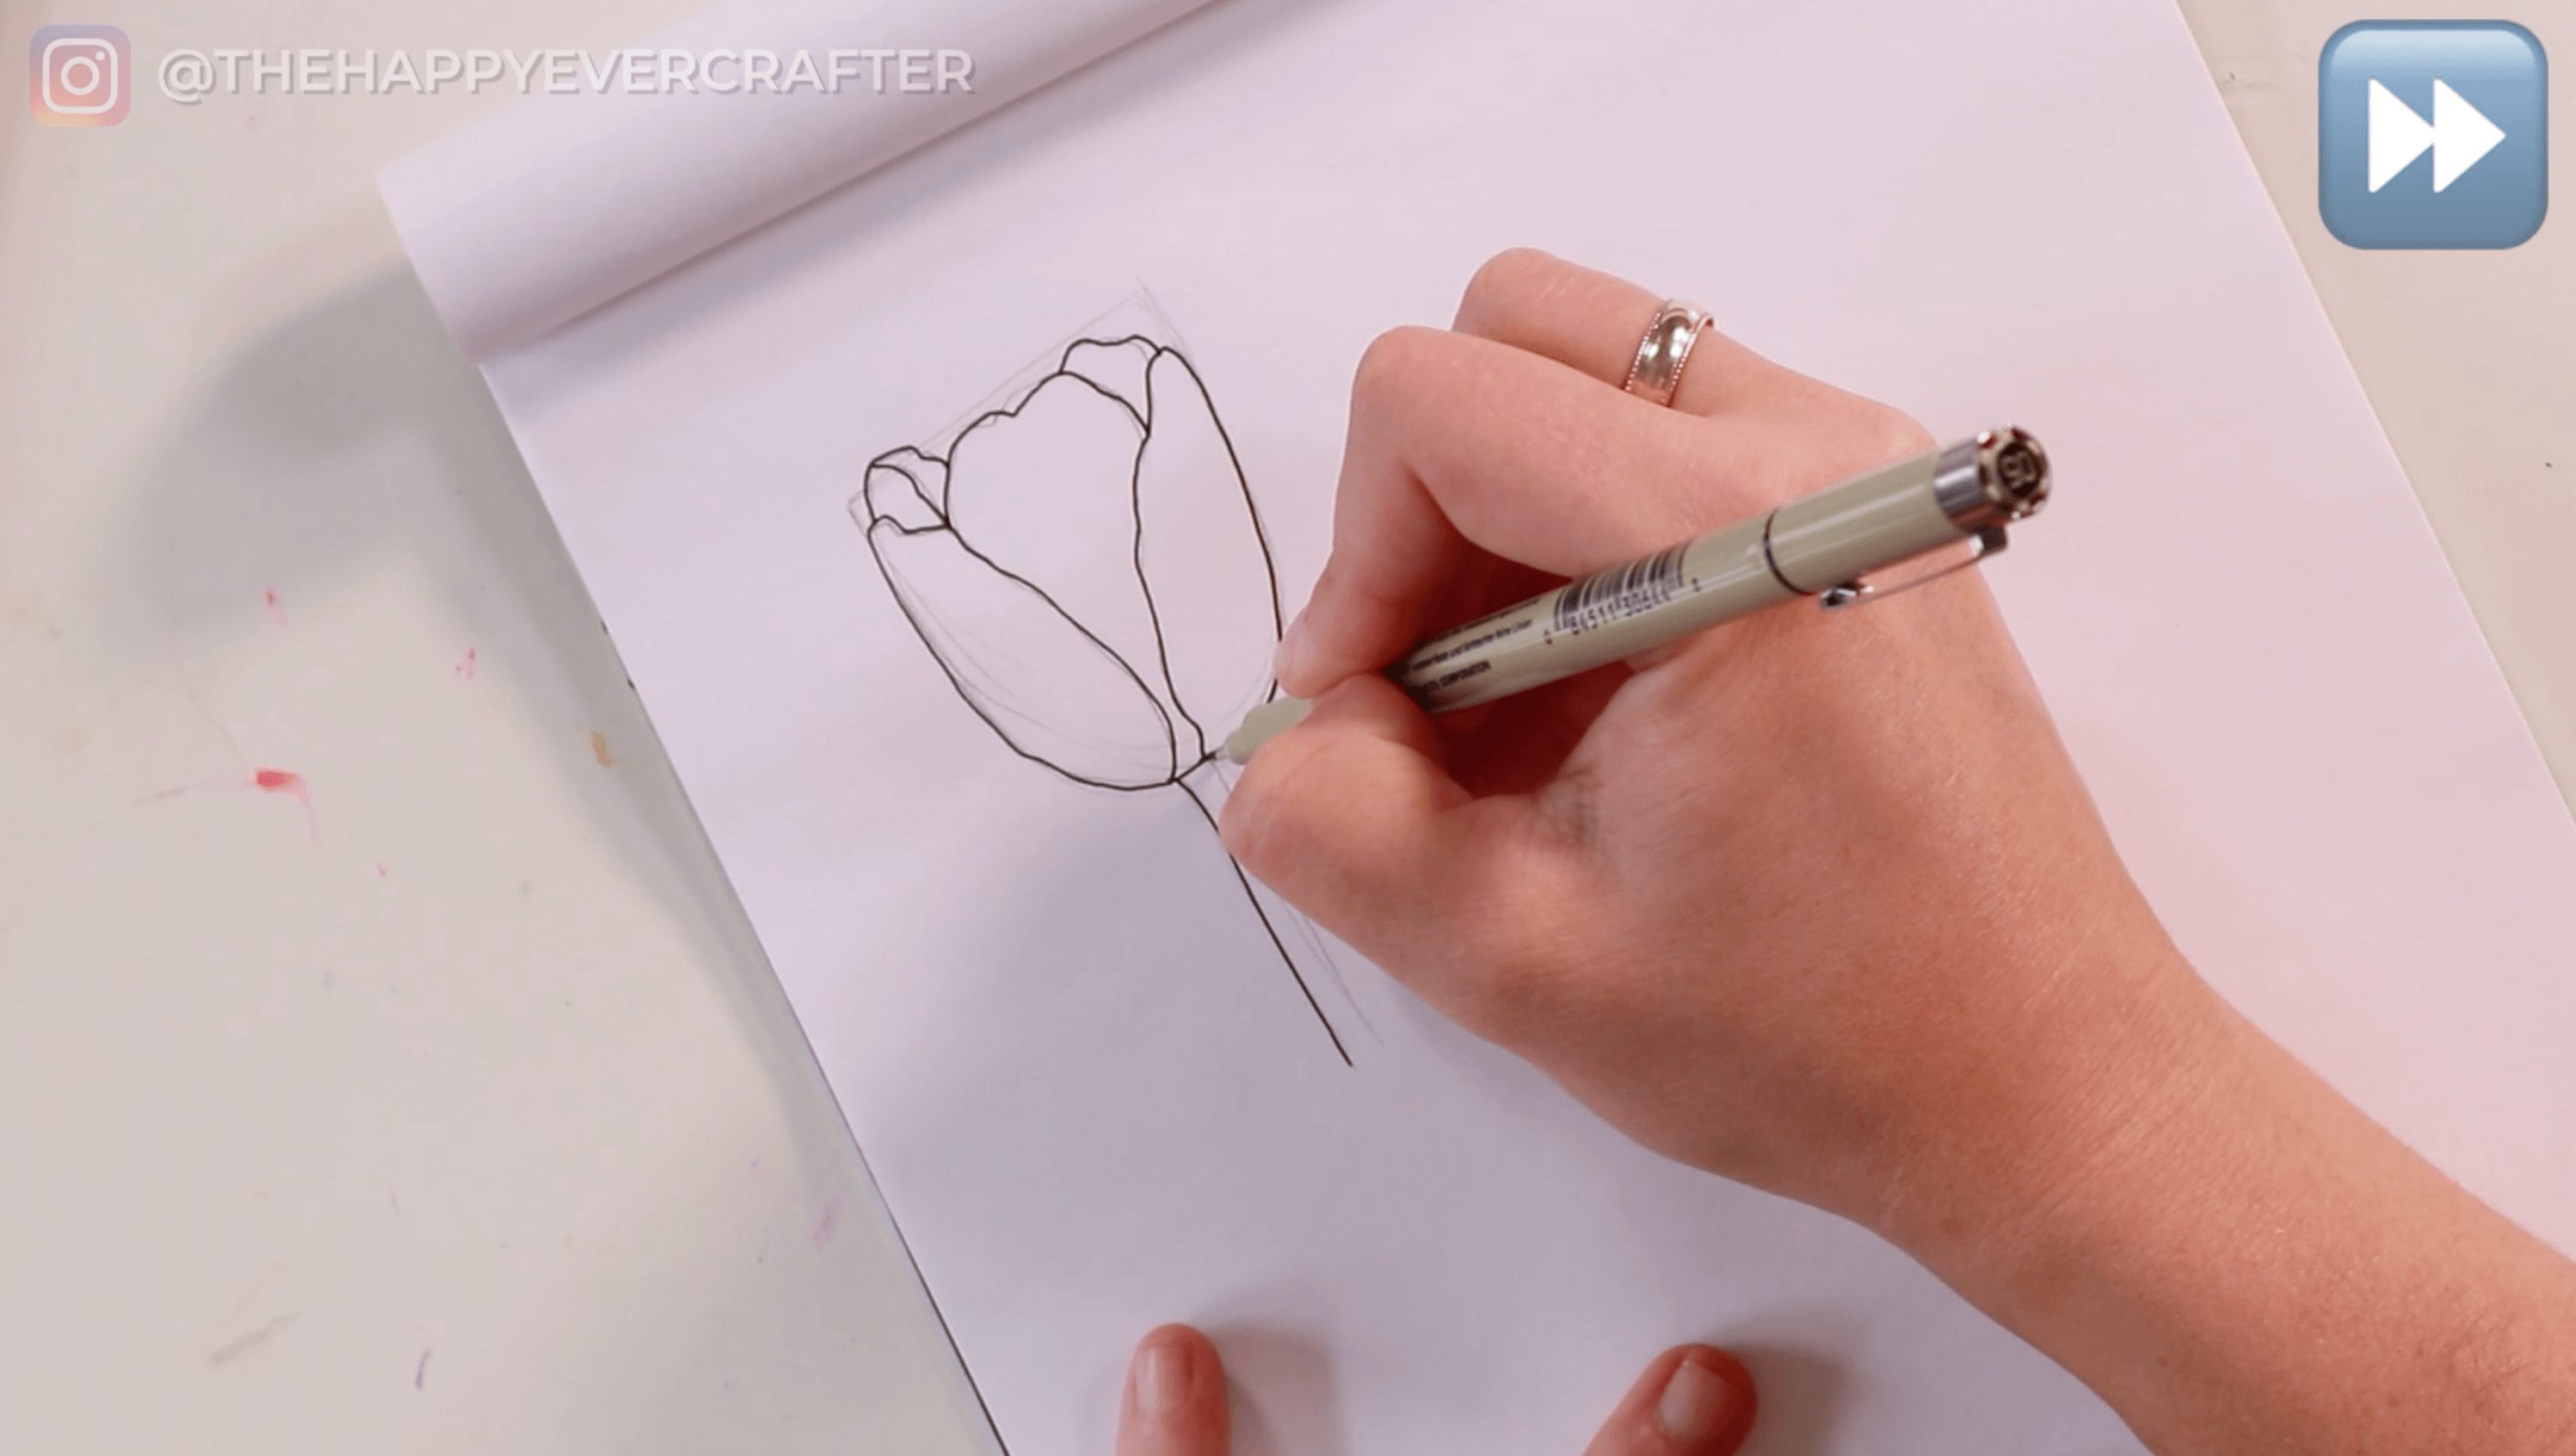
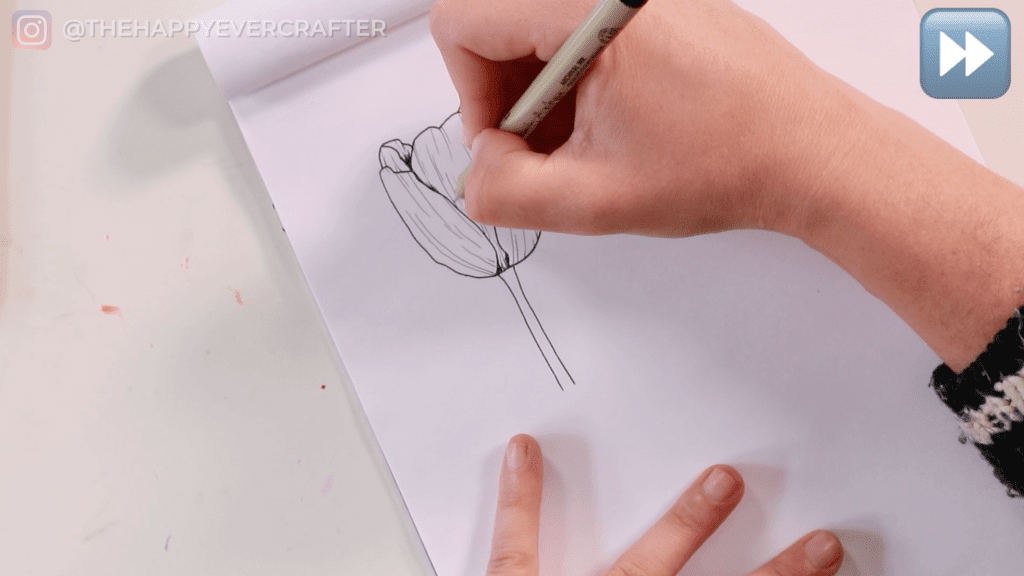
Step 3: Ink your petals!
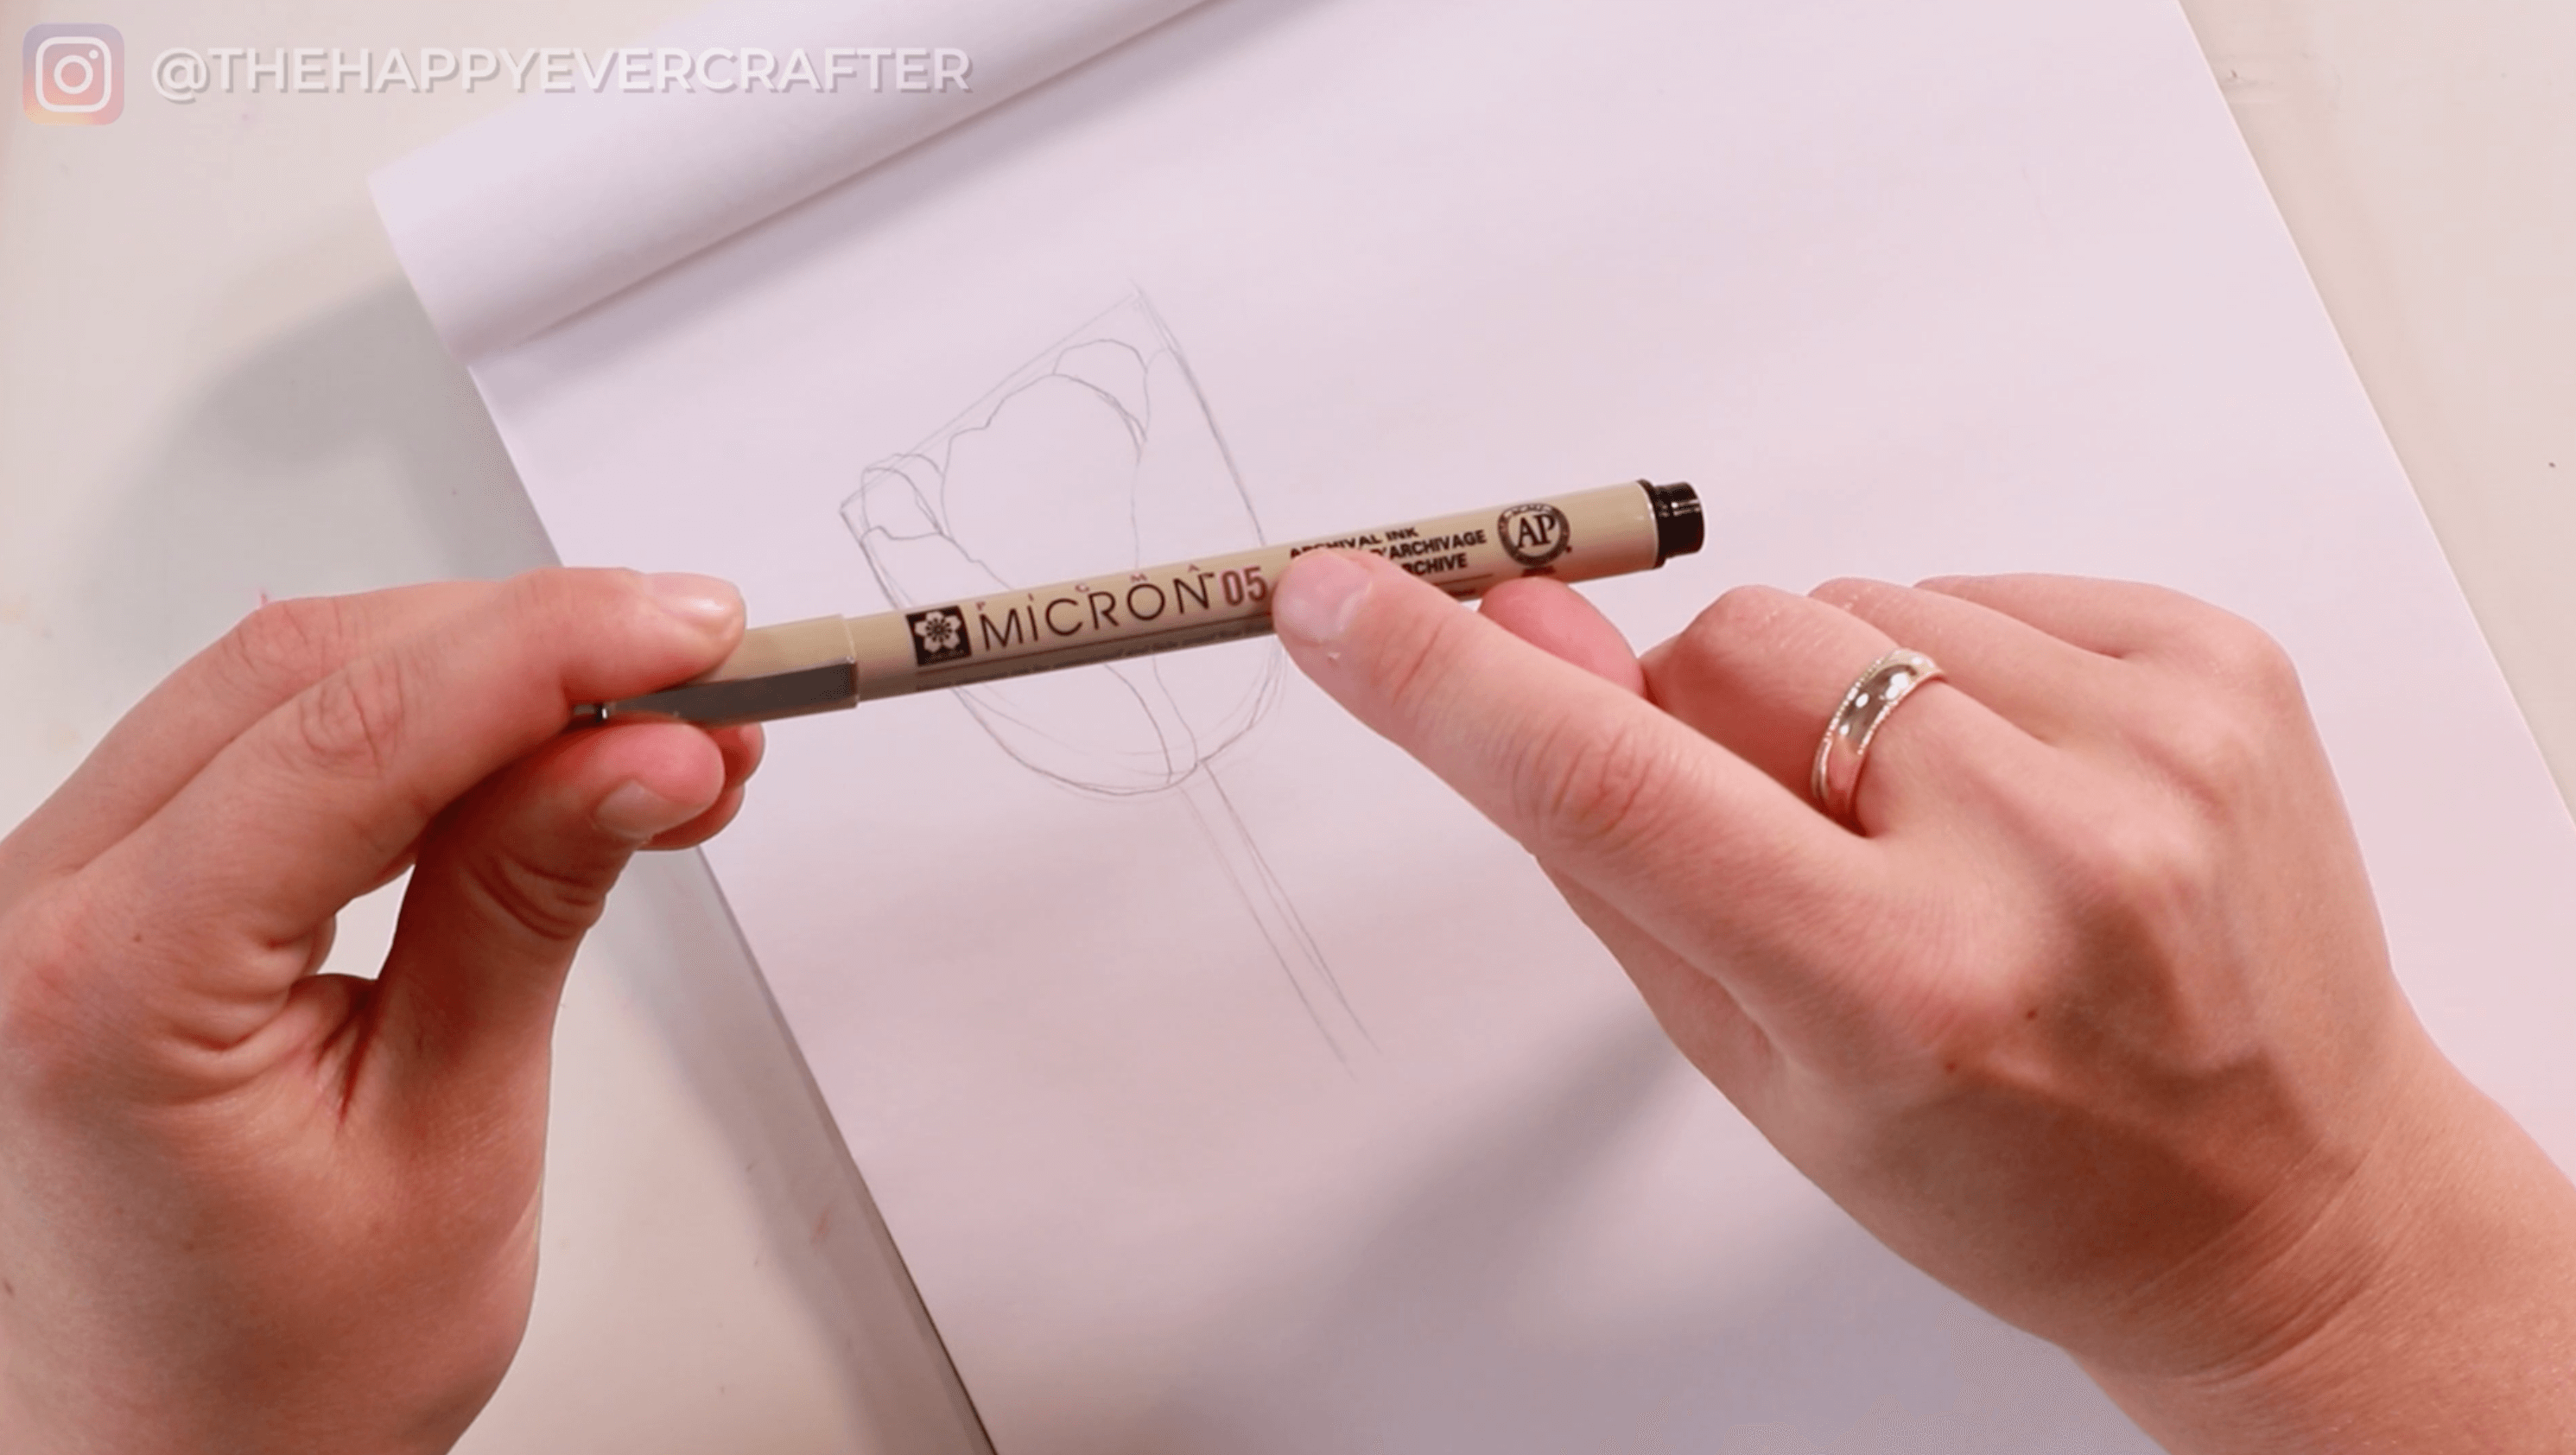
Grab your 05 Micron pen, and add ink to your petals and your stem (tracing over your pencil marks).
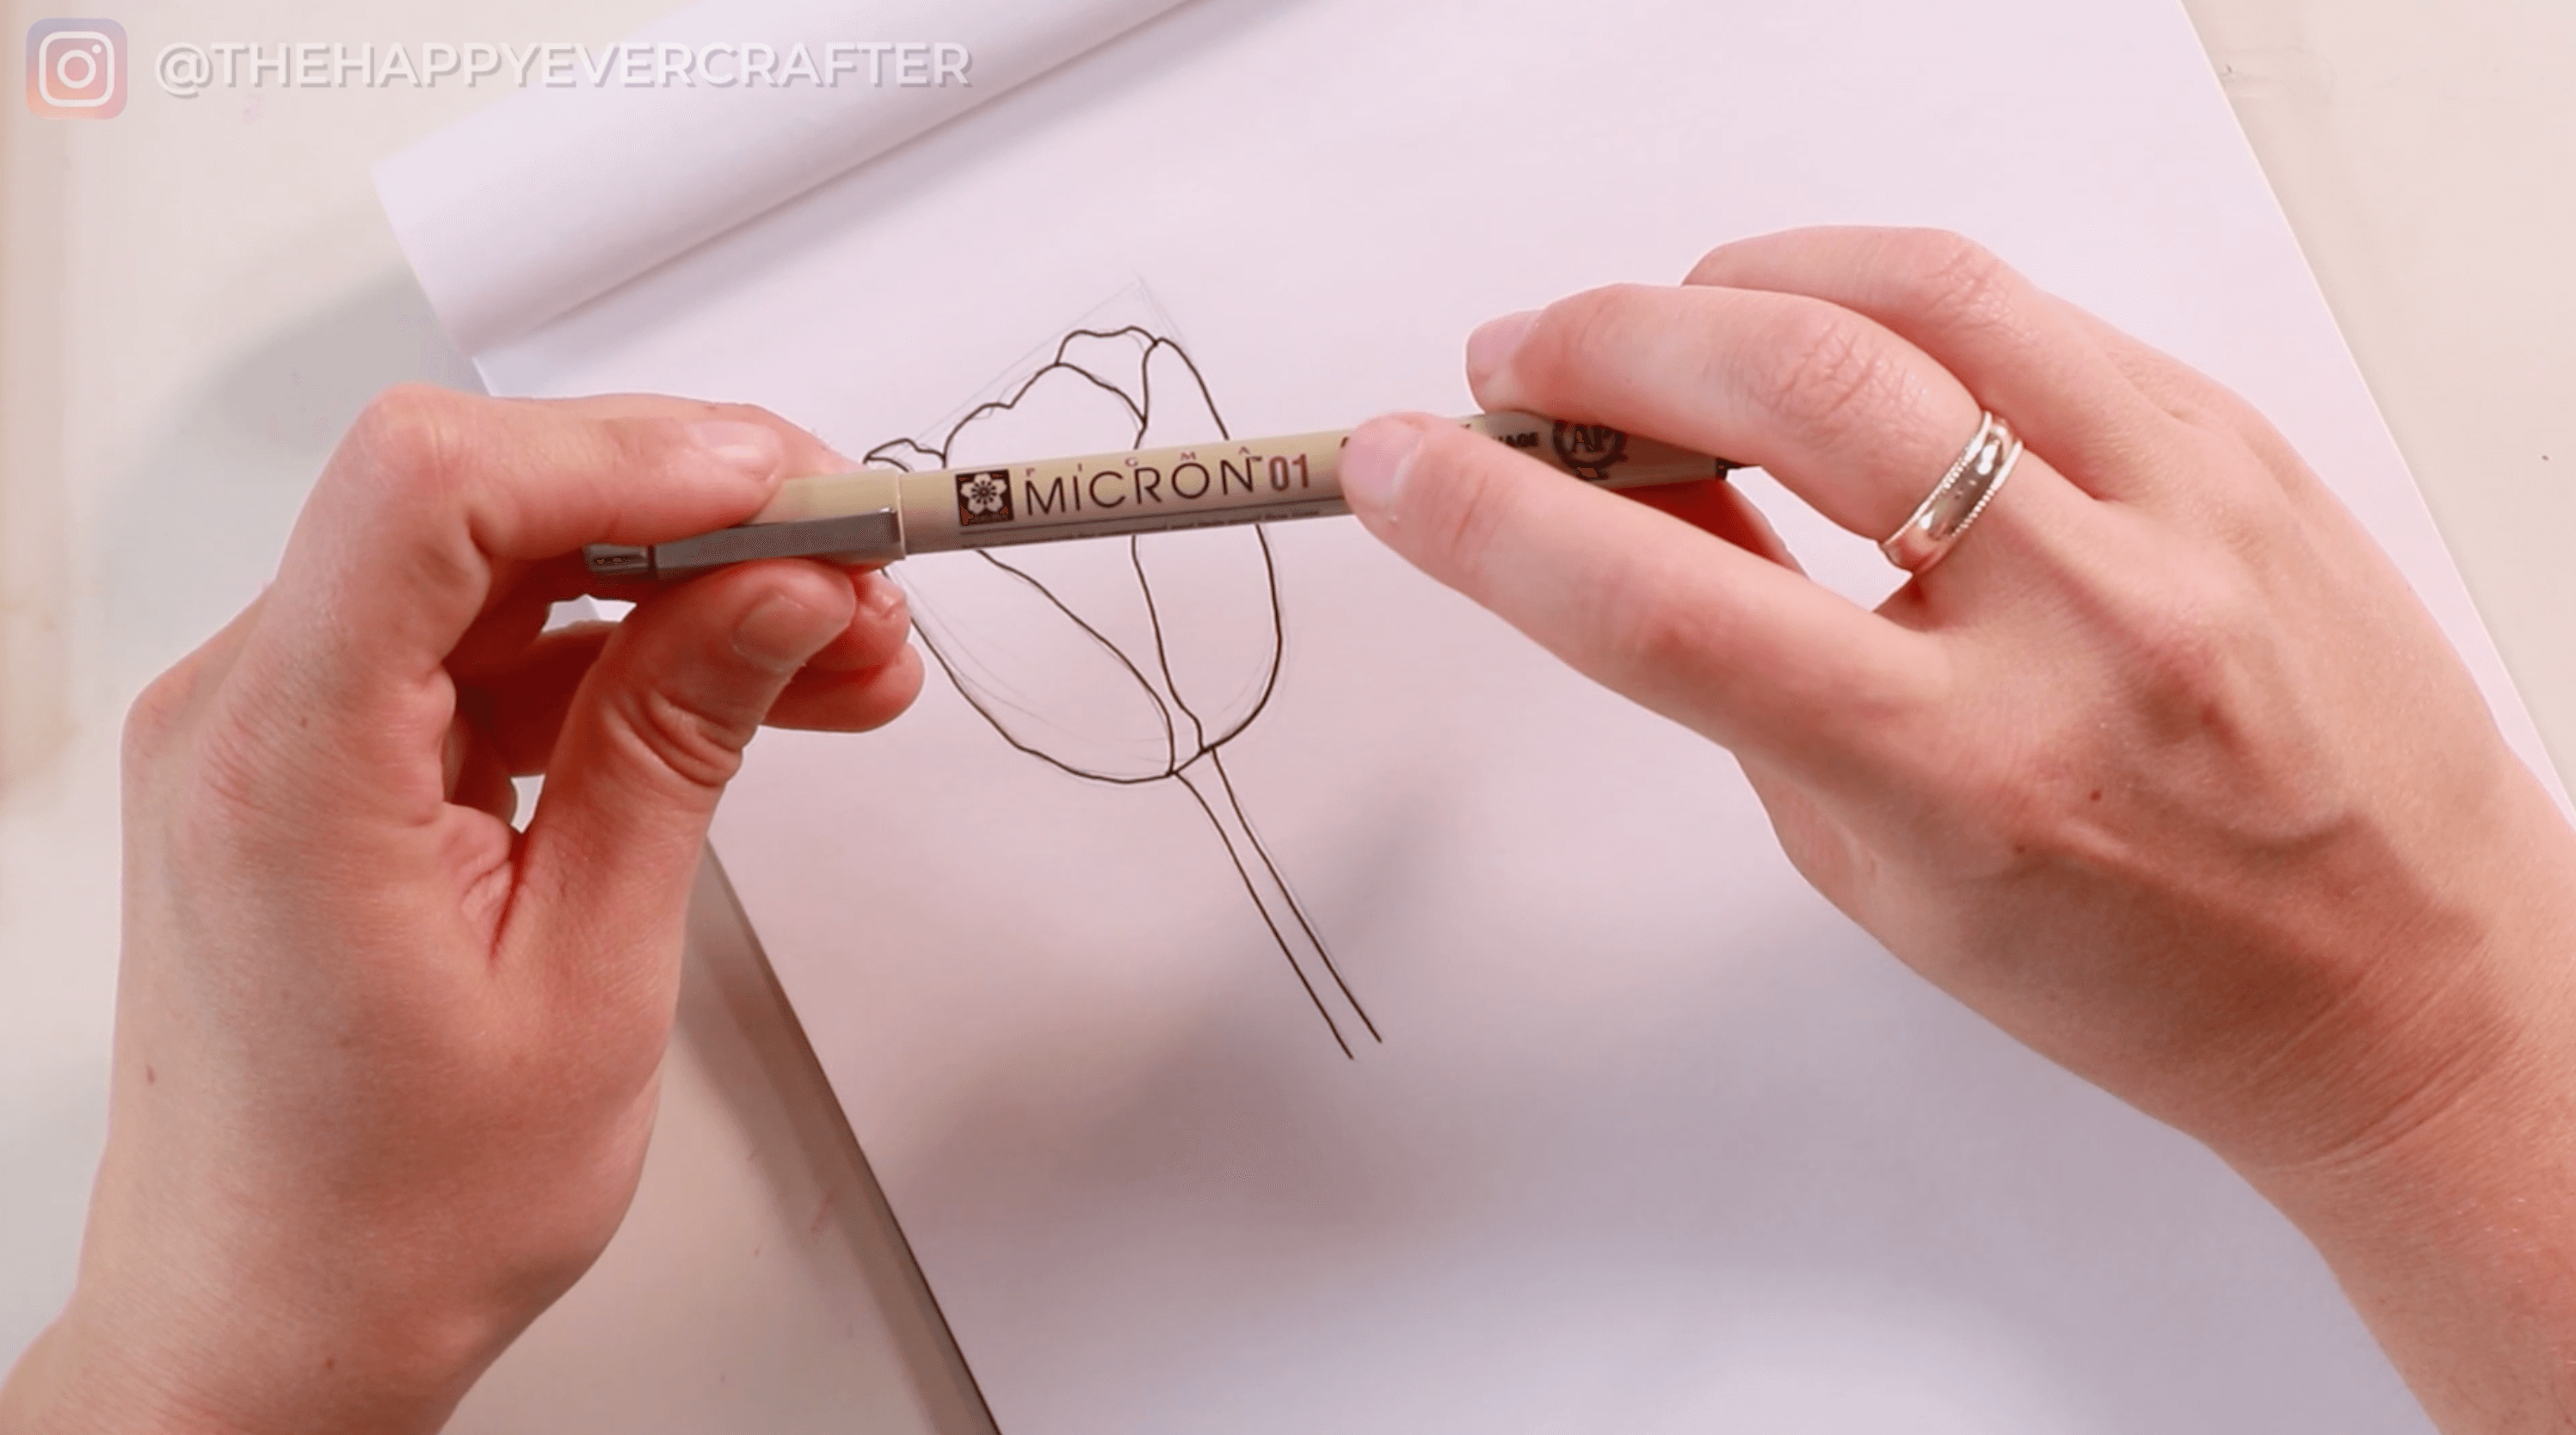
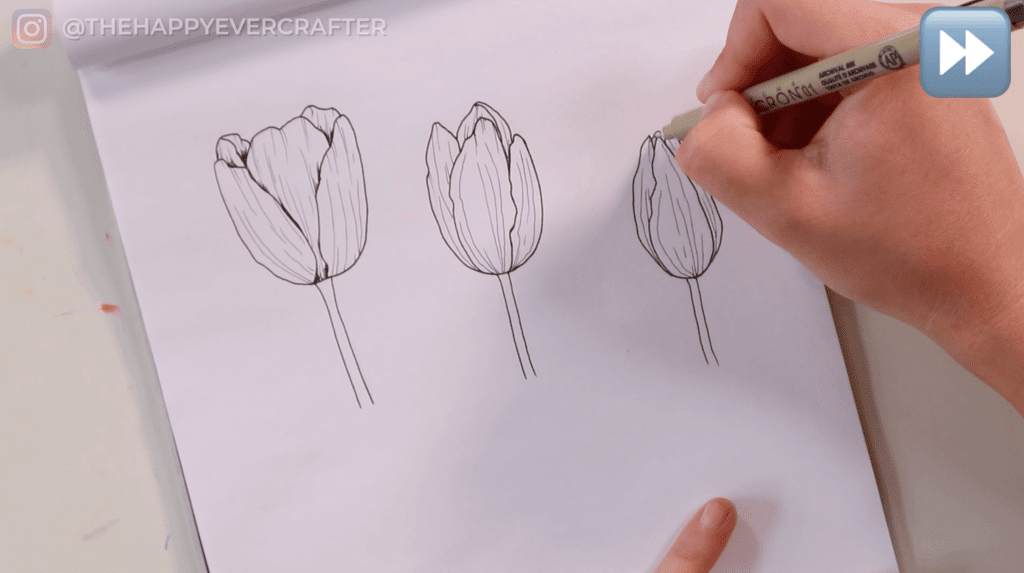
Step 4: Add finer details
It’s time to add some details to your petals using your 01 Micron.
If you’ve seen any of my other floral videos, you know how this goes…
Your detail lines should be really light freeform lines – not straight lines. You want them to be curved and coming from the center of the flower.

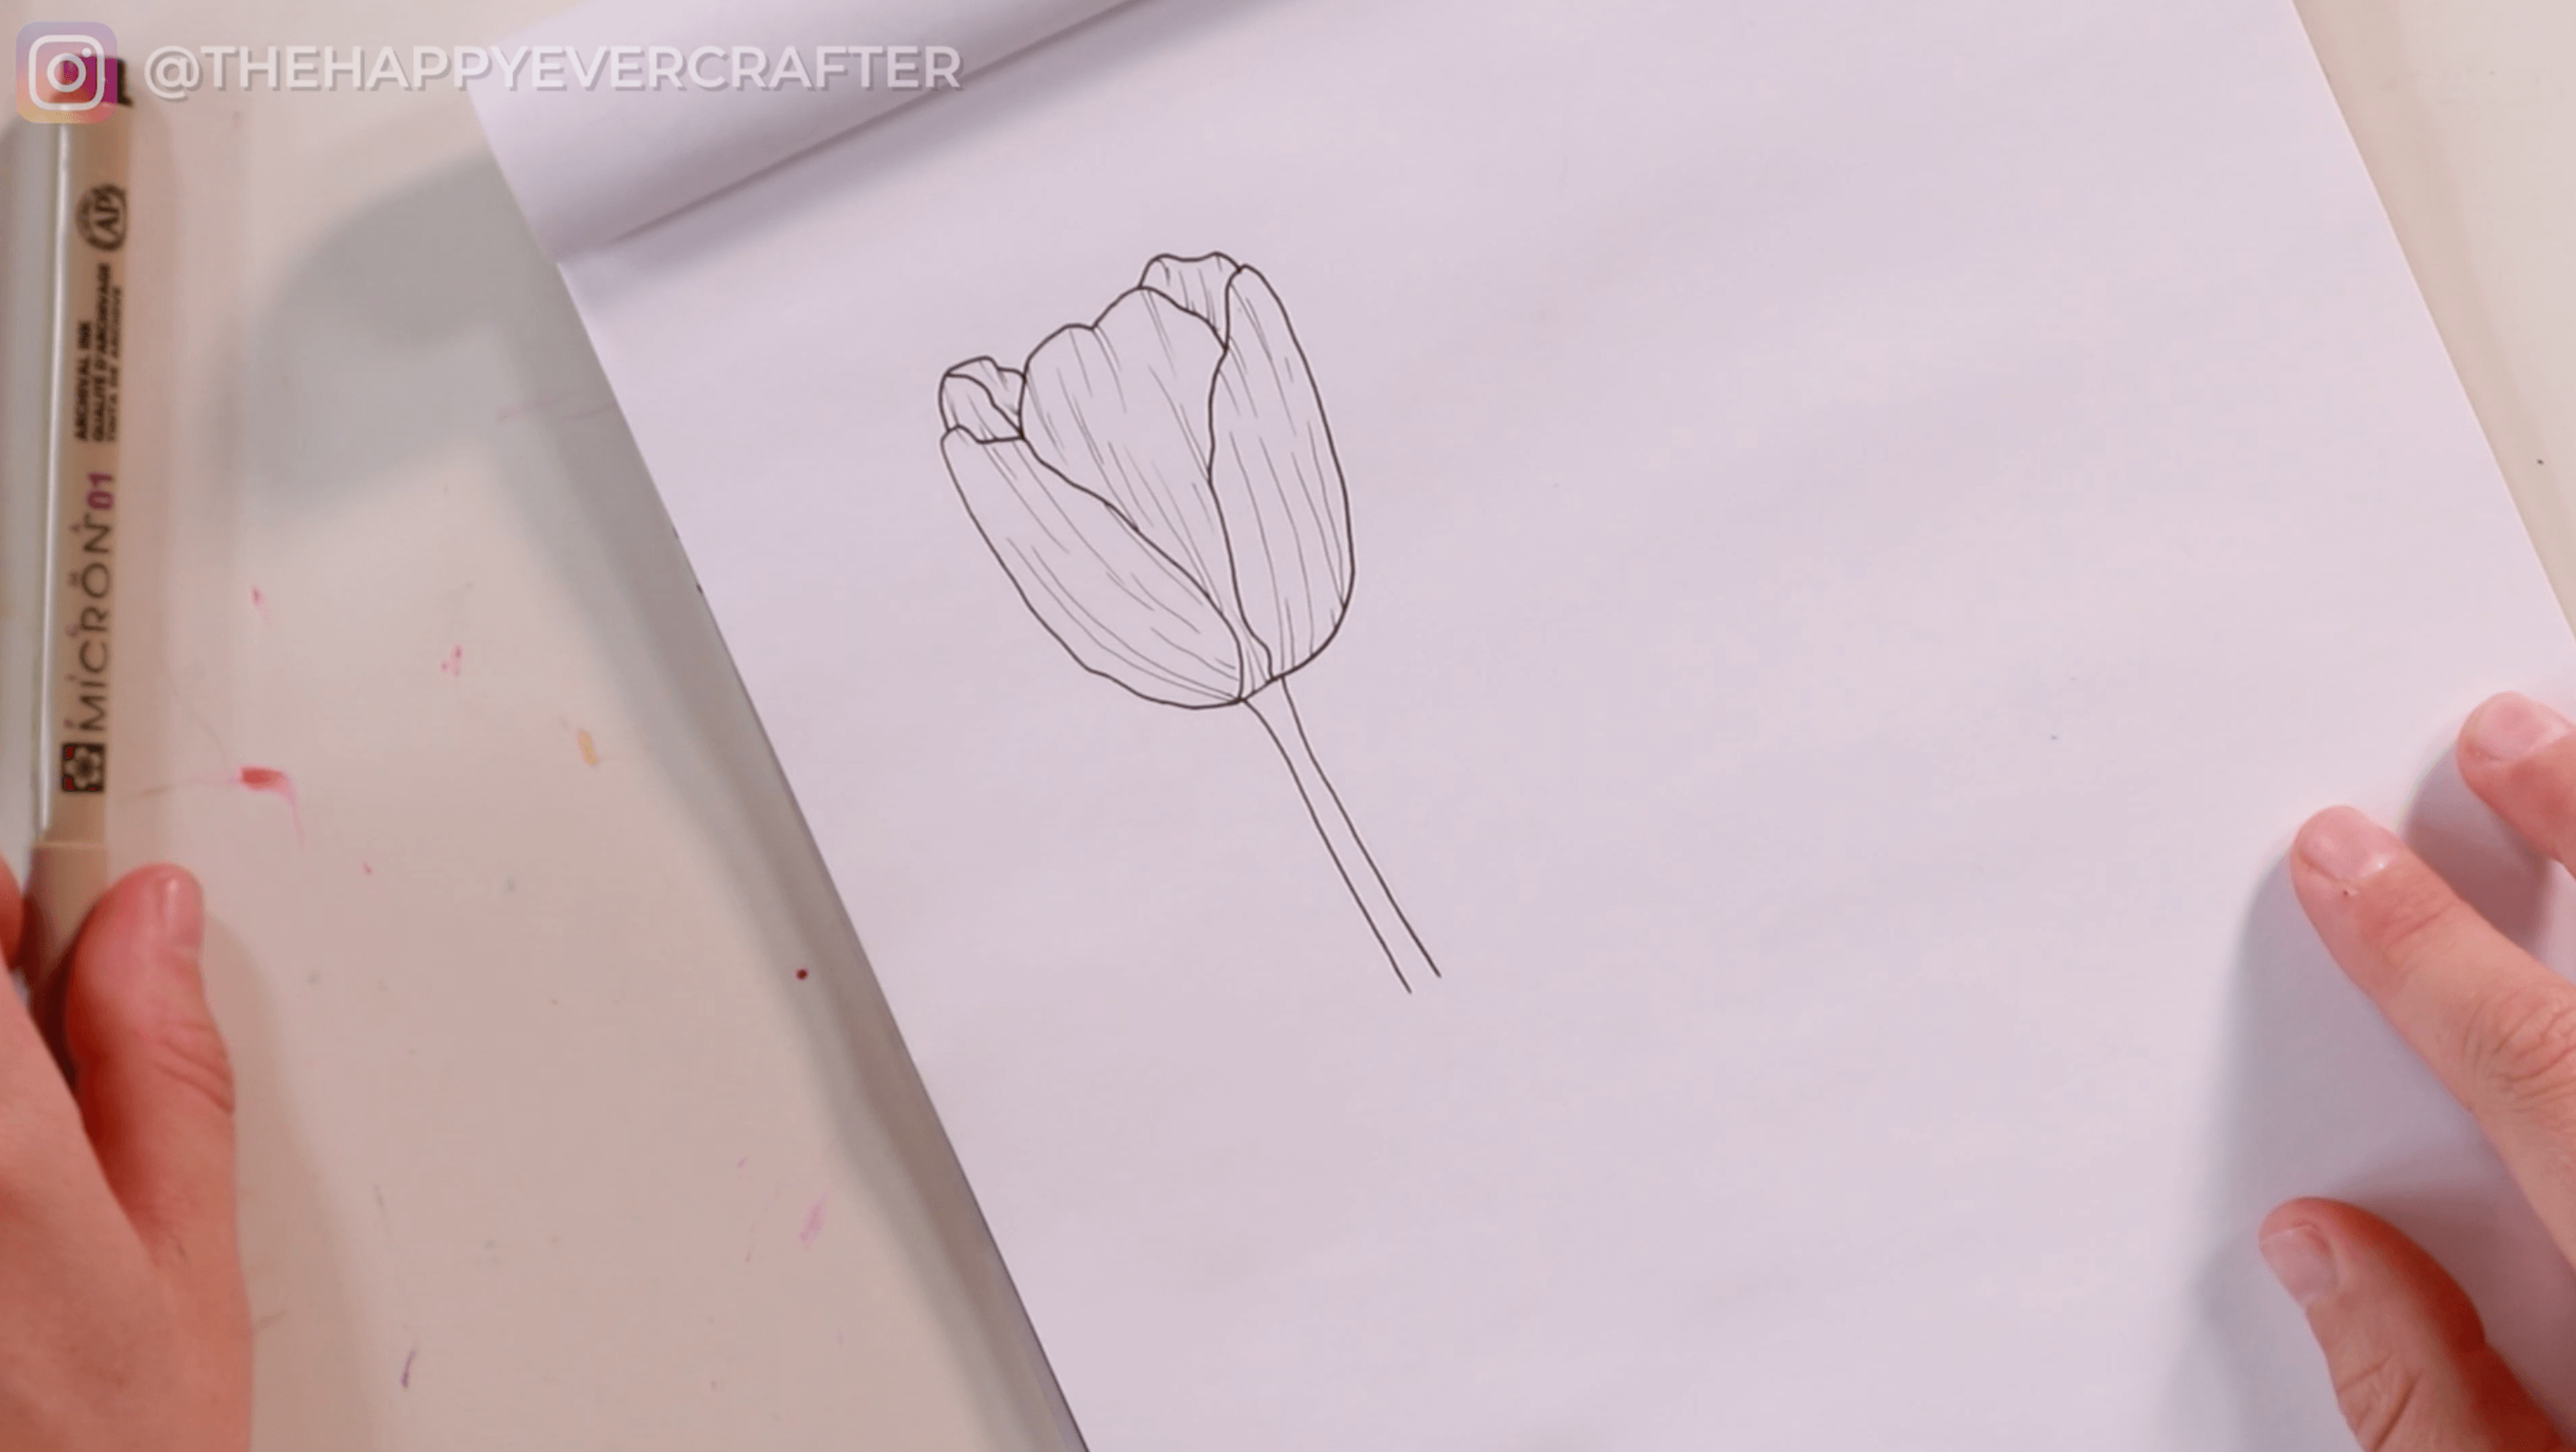
Keep adding these everywhere on all the petals until you’re happy.
Step 5: Erase your guidelines
Once you have those fine details completed, erase your pencil guidelines.
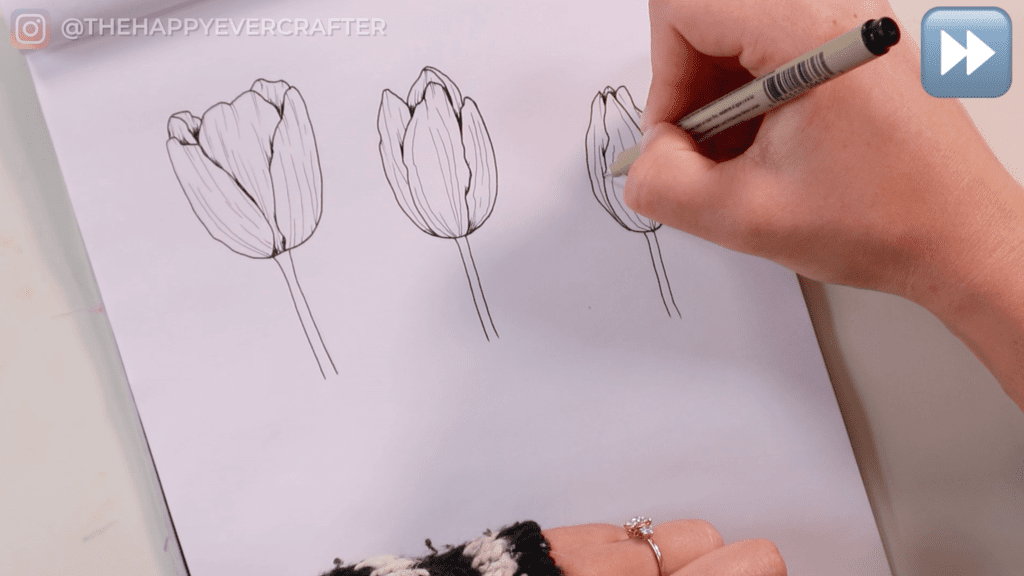
Step 6: Add some dimension!
Next you want to add some dimension (03 Micron will work great).
Just add a bit of dimension and shading where the leaves overlap.
You did it! You now have a completed tulip.
Step 7: Repeat Steps 1-6 for smaller, more closed tulips.
Grab your pencil again and draw a couple more cup shapes. These should be a bit smaller, and a bit narrower. Make your third cup shape even more narrow than your second.
Draw your petals. You may need to play around with the shapes a bit to get the look you want. Generally you want one on each side, one in the middle, and a couple smaller ones in the back. You want them really natural, really freeform… Make some hide behind others.
For your third tulip, it’s essentially a bud. It’s not really open at all and is super narrow. The petals should all be pointed at the top and come together in the center.
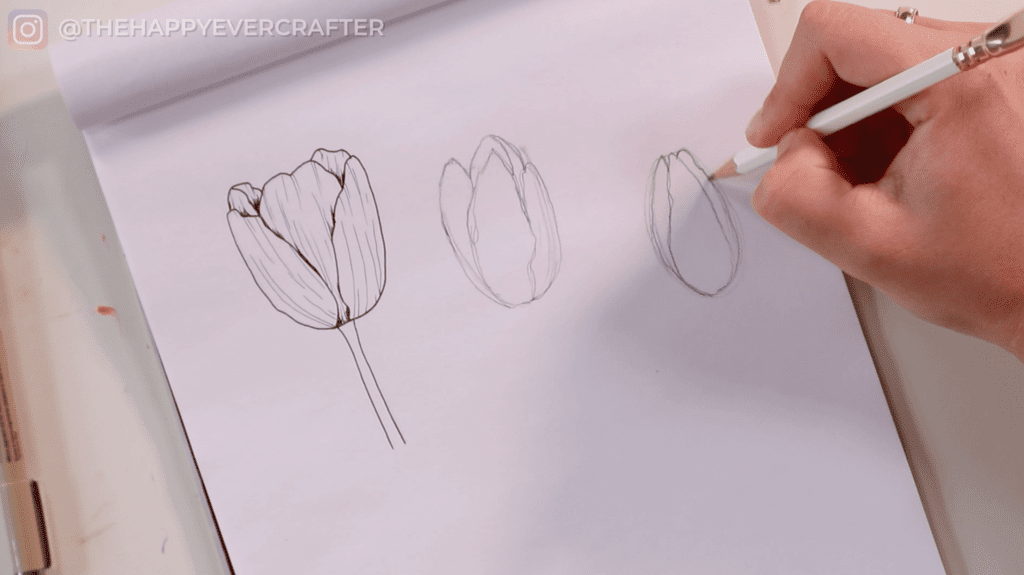
Keep adjusting the petals until you’re happy with them. Don’t forget to add your stems!
Next, grab your 05 Micron and ink the pedals and stems.
Erase your pencil guidelines.
Time for details – add your fine details.
And your dimension…
And voilà! Tulips! You can adjust as needed, make a bouquet – so many options!
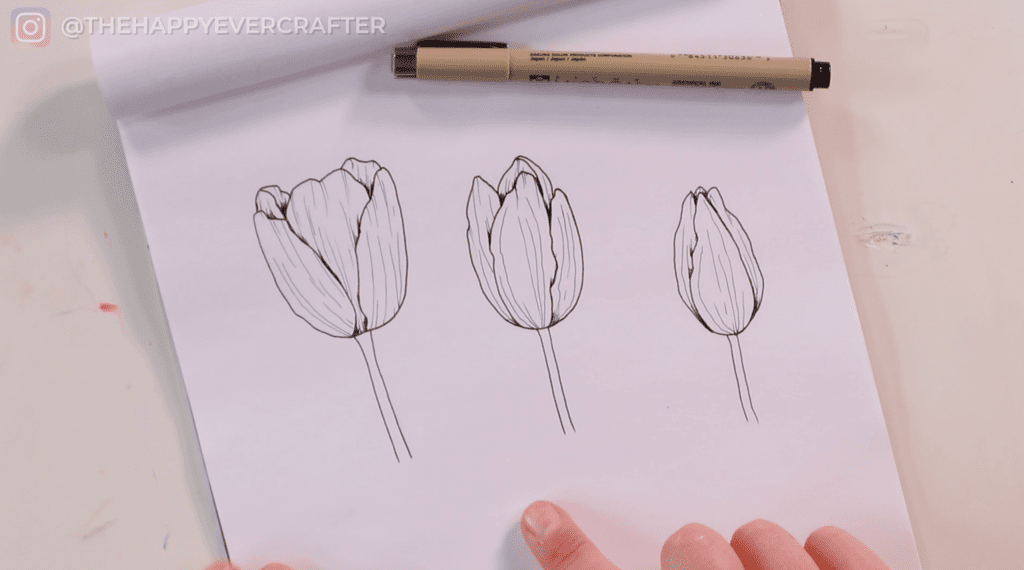
And that’s a wrap!
And there you have it. You’re now a professional tulip drawer.
Don’t forget to grab your worksheets below.
If you’re interested in step-by-step sunflower tutorial, I’ve got you covered here. 🙂
Download your FREE floral doodles workbook here!

And finally, your dad joke…
What type of flower can grow on faces?
Tulips!


just finished workshop week!
true beginner here. taking baby steps and loving it!
I love it! Tulips are one of my top 3 favorite flowers! 4 out of 5 smiley faces cuz there is nothing about the leaves, and half of the distinctive look of tulips is their big long leaves (that I can never seem to get right)
How do you draw the leaves? I can do the tulip, I struggle with leaves.