Soooo you wanna learn calligraphy, but you don’t wanna spend any money…
I totally get it.
And while brush pens are amazing, you don’t neeeeed them to learn calligraphy.
Let me explain…
First Things First…
The links below may be affiliate links where appropriate. This means that your purchase through these links may result in a few cents in payment to me, to support creating further resources like this one! That being said, I will never suggest supplies that I do not personally use and fully recommend.
Supplies Used
You’ll find more about this below – keep scrolling!
- Writing Tool
- Paper
- Free Course
Rather watch than read? Check out the quick video by clicking the video below!
What you need to know…
Typically when someone wants to learn calligraphy, I tell them they need 3 things:
- A brush pen (or a pointed pen, but usually a brush pen)… about $4
- Some paper (and it has to be good quality paper for brush pens)… a whole pad of the stuff I recommend is about $10
- Lastly, a course to learn from… these can run you literal hundreds, even thousands, of dollars. BUT the one I’d recommend (my 90-minute crash course) is totally free.
All in all, starting with the “right” materials isn’t as expensive as people think. Everything I mentioned, you can grab and get started with for under $15.
However, I totally get wanting that number to be $0.
So let me tell you 3 different ways you can do that.
3 Ways to Start Learning Calligraphy for Free
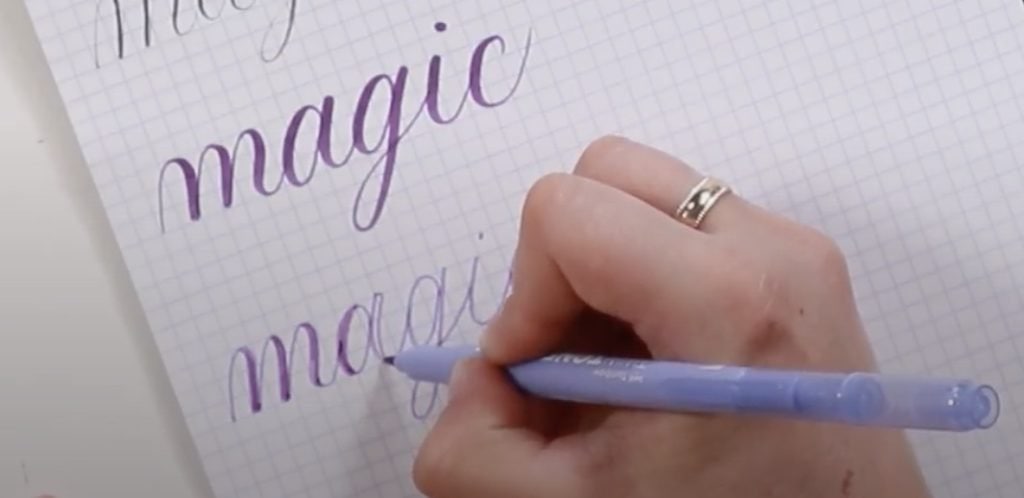
I want to clarify that the goal of calligraphy is to be able to create thin and thick lines like these. With brush pens, we do that by adjusting the pressure because the pen is flexible.
If you’re not looking to spend any money on new supplies, here’s how you can achieve that goal for free.
Option #1: A Pencil
Pencil lead is soft, so you can use them for calligraphy and press harder and softer to see the differences the same way you would with a brush pen.
The best kind of pencil to use is one that has the letter “B” beside it– so HB, 2B, 3B or higher. That indicates the “softness” of the graphite. So the higher the number beside the B, the softer it’ll be, and the more difference you’ll see in your pressure.
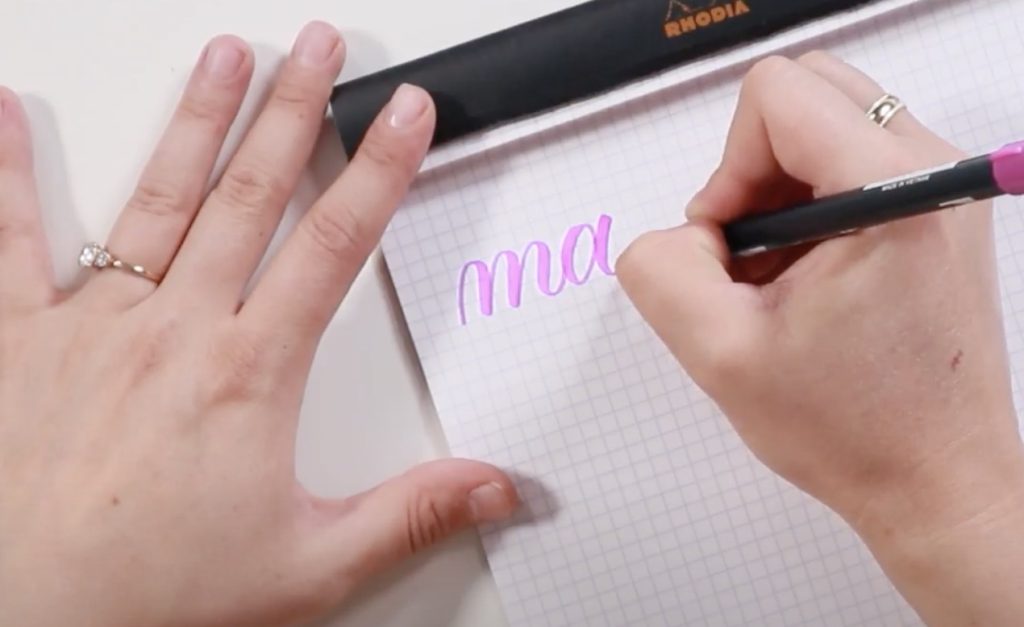
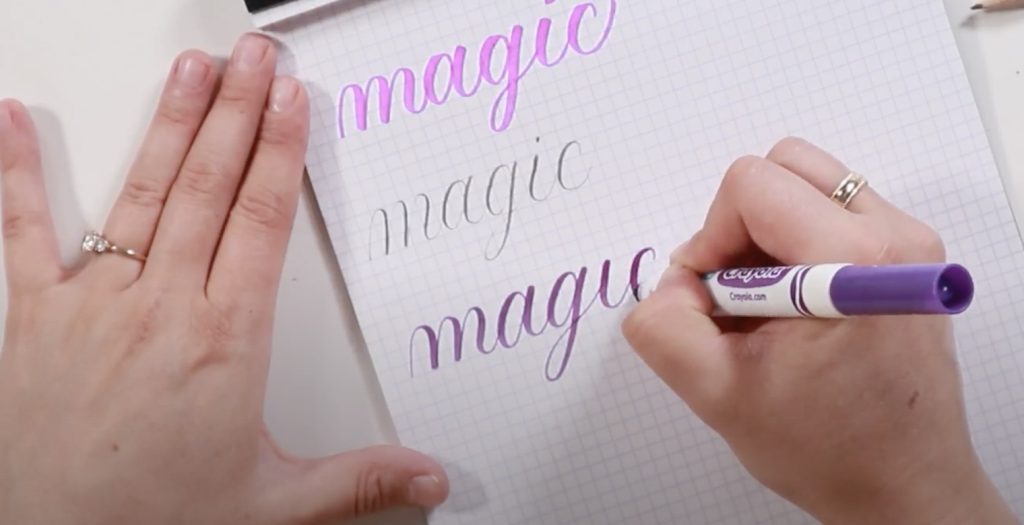
Option #2: Use Crayola (or whatever other similar brand) markers you already have
Crayola markers are (usually) pointed. So, with a little experimentation of how you hold them, you can definitely get thick lines and thin lines with them. It just means moving your hand in a bit of a different way than you do with brush pens, but it’s doable!
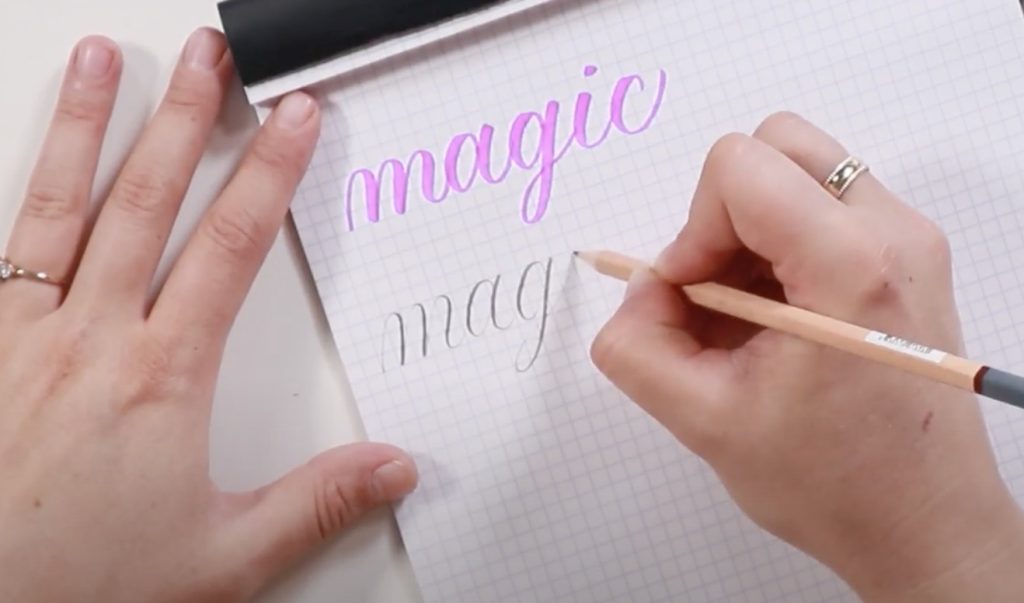
Option #3: Do “faux calligraphy”
With faux calligraphy, you can literally use anything to write with and still get the effect of calligraphy. How? By writing a word without thicknesses, then just going back and drawing them in. Simple! You thicken the parts that should be “downstrokes”.
I use faux calligraphy all the time on surfaces like chalkboards or wood where you can’t use brush pens.
Don’t forget the paper!
Since you’re not using fancy pens and don’t need to “protect” them the same way you do your brush pens, you can use literally any paper you want. Grab your printer paper or your kid’s lined homework paper. Whatever you have!
That’s a Wrap!
So now you have:
– a free writing tool
– free paper
– and a free course
Seriously! In my free crash course, I do talk about using brush pens and all the “fancier tools”.
BUT, you can absolutely sign up and apply what you learn in the course using one of the free tools we just talked about. This course teaches you everything you need to know to learn calligraphy from the ground up, in 90 minutes.
I hope this was helpful and I hope it encourages you to get started even without spending ANY money. Just give it a try, already!!
And finally, your dad joke…
What kind of award did the dentist receive?
A little plaque.


Comments