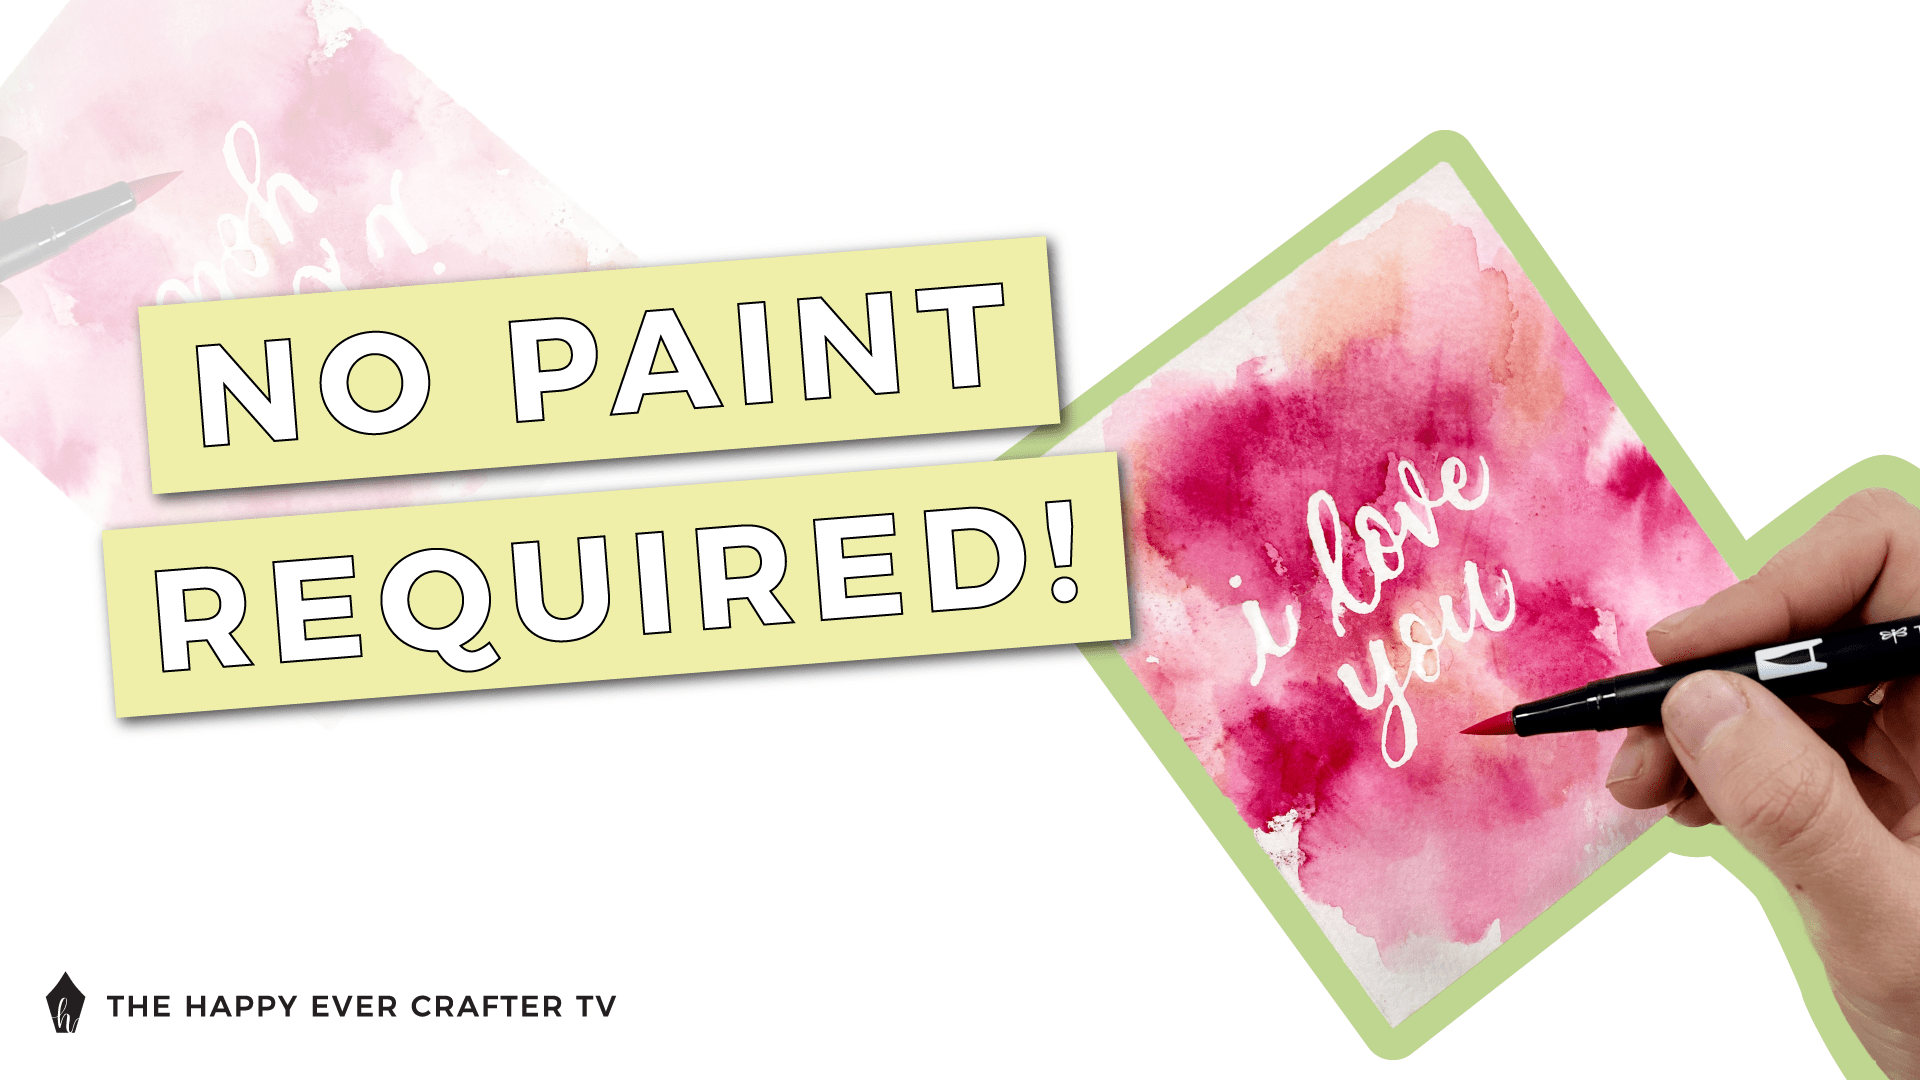
Have you made a Valentine’s Day card yet? It’s coming up quick! If not, I have a super easy tutorial for you.
The great thing about this tutorial is you can use any colours you want as well as any words – you can use this tutorial as a base for any card! I’m going to teach you how to make a watercolour looking card with no watercolour at all! It looks like a ton of work, but it’s actually pretty easy! Let’s get started.
First Things First…
The links below may be affiliate links where appropriate. This means that your purchase through these links may result in a few cents in payment to me, to support creating further resources like this one! That being said, I will never suggest supplies that I do not personally use and fully recommend.
Supplies Used
- Masking fluid – This comes in a couple different forms. You can get it in a bottle with a tip that you can use to write directly on your projects or in a jar, which requires a paintbrush to apply.
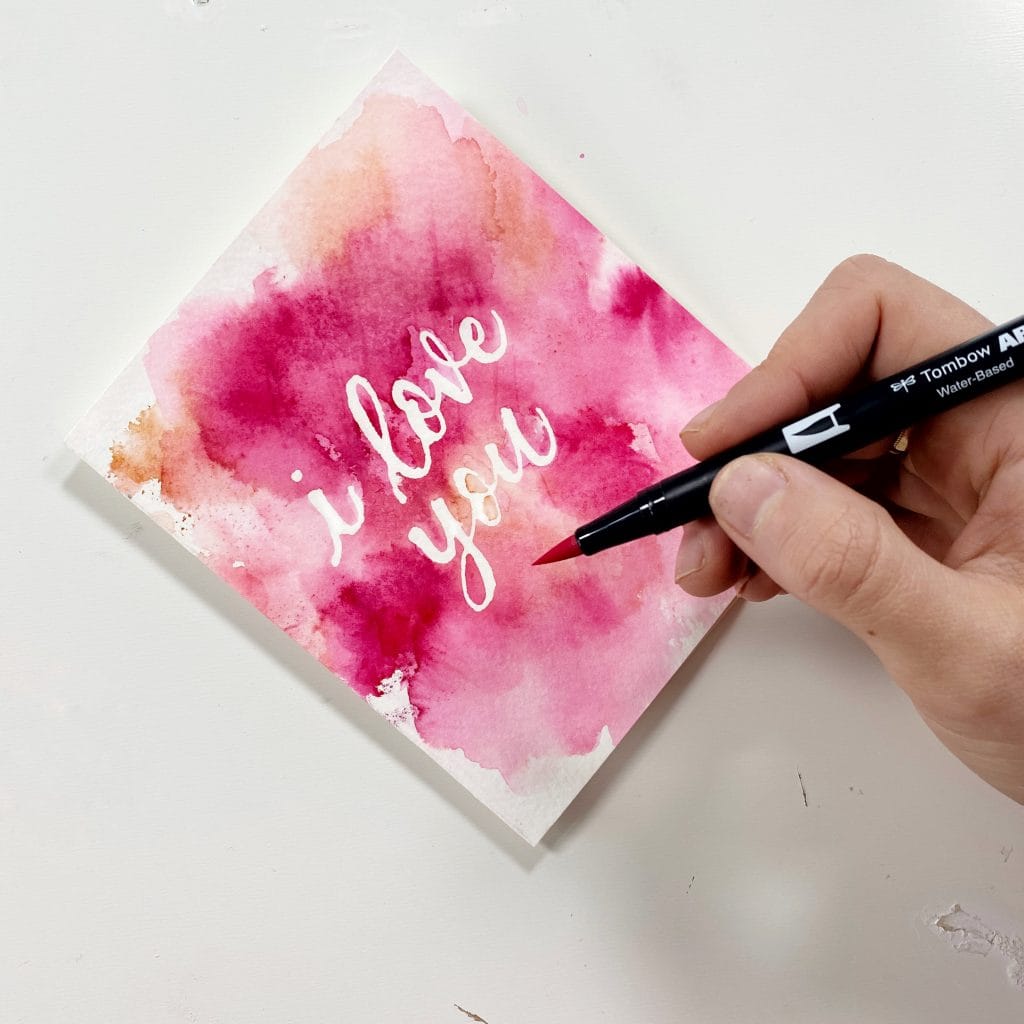
- Tombow brush pens – You can use other brands here, but the pens/markers have to be water based. For this project, you can choose whatever colours you want (I chose Valentine’s Day colours). Whatever colours you choose, make sure they mix well (no one wants brown blends). I also recommend one darker and two lighter ones to help with blending.
- Paintbrush
- Water dropper – If you don’t have one, a water brush pen will work too or even a paintbrush. You just need something that you can drop water from.
- Water
- Ziploc bag
- Watercolour paper – This is for the card itself. I’m going to use this to make the card, but you can use a premade card if you have one. Just make sure it’s heavy duty because it might warp from the water if it’s not thick enough.
- Painter’s tape
- Paper Cutter – You can also use scissors or a knife.
Rather watch than read? No problem! Feel free to follow along in real-time as I create this Valentine’s Day card! ??
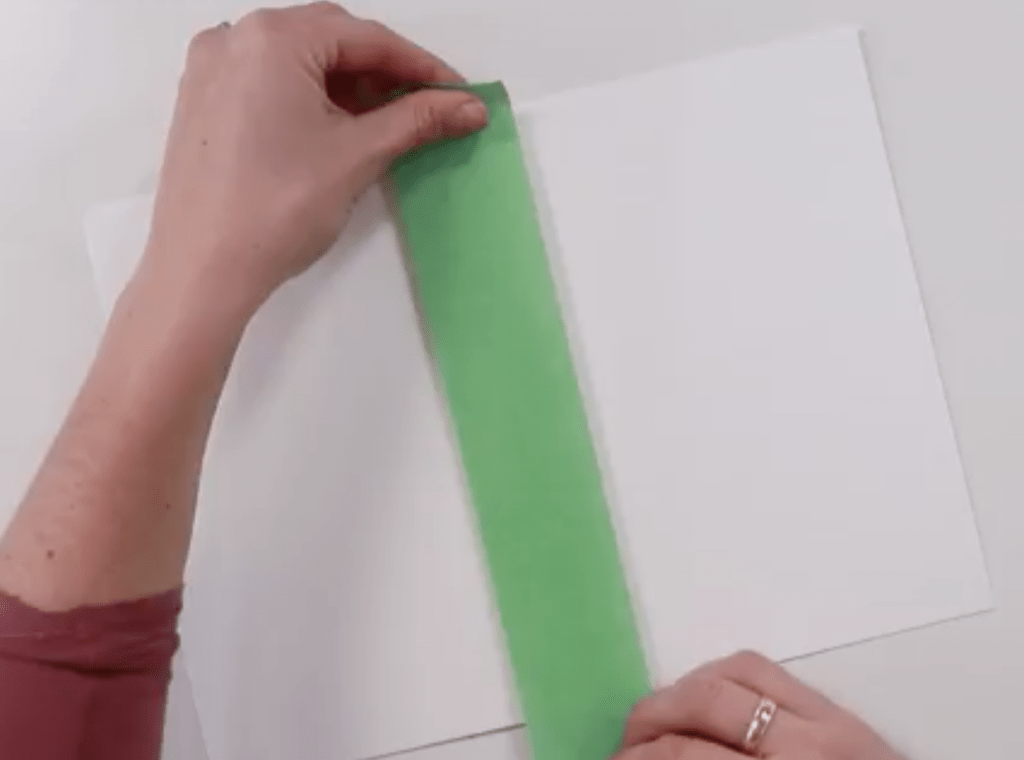
Step 1: Mask out the front side of your card.
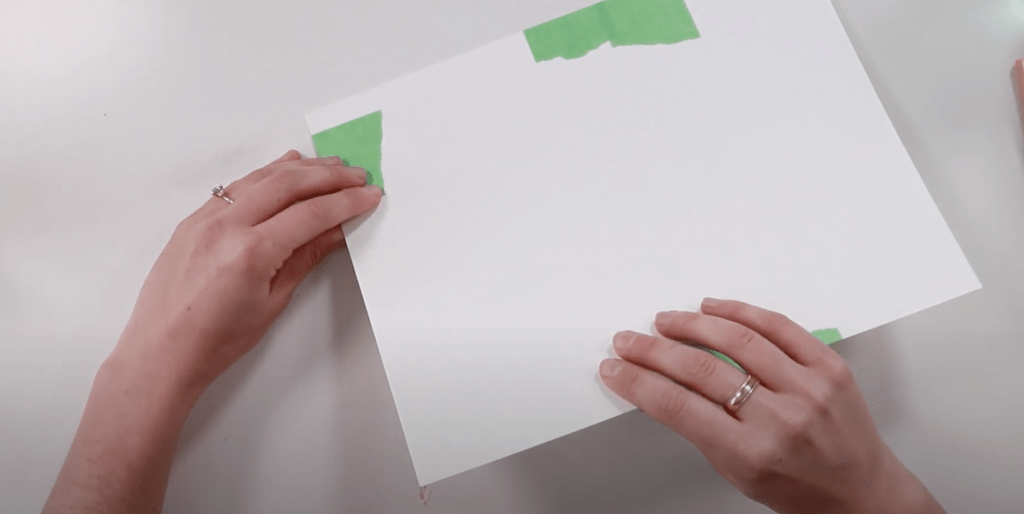
No need to work with the entire pad of paper. You only need one piece of paper. Once you have your piece of paper out, try to brainstorm whatever size you want for your card. Here’s a hack for you – Don’t cut your paper until you’re done just in case your card design comes out a different size.
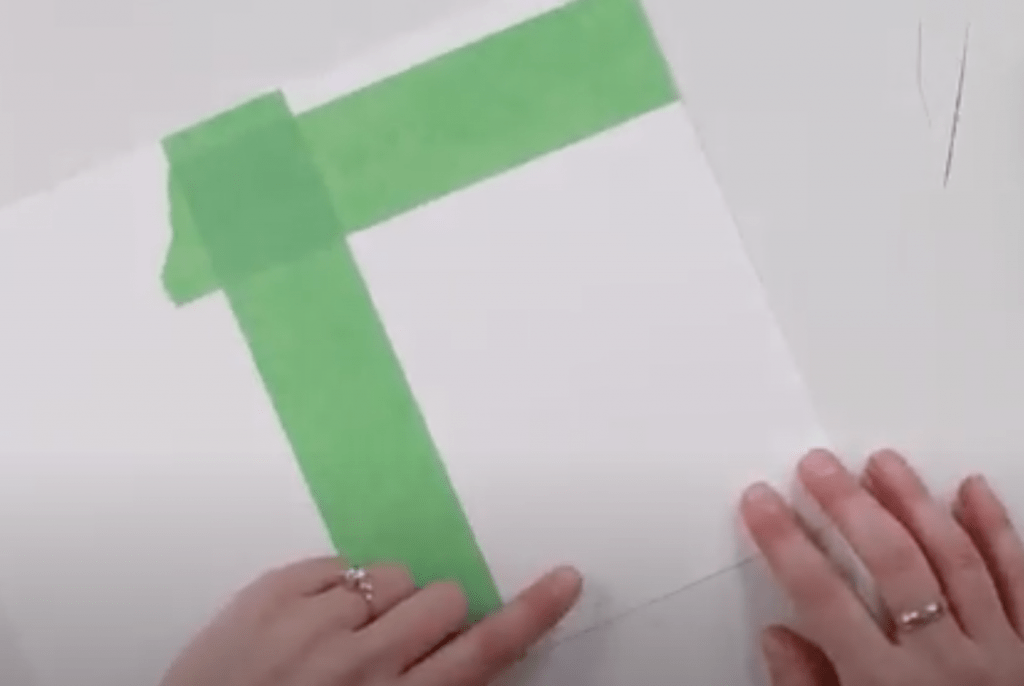
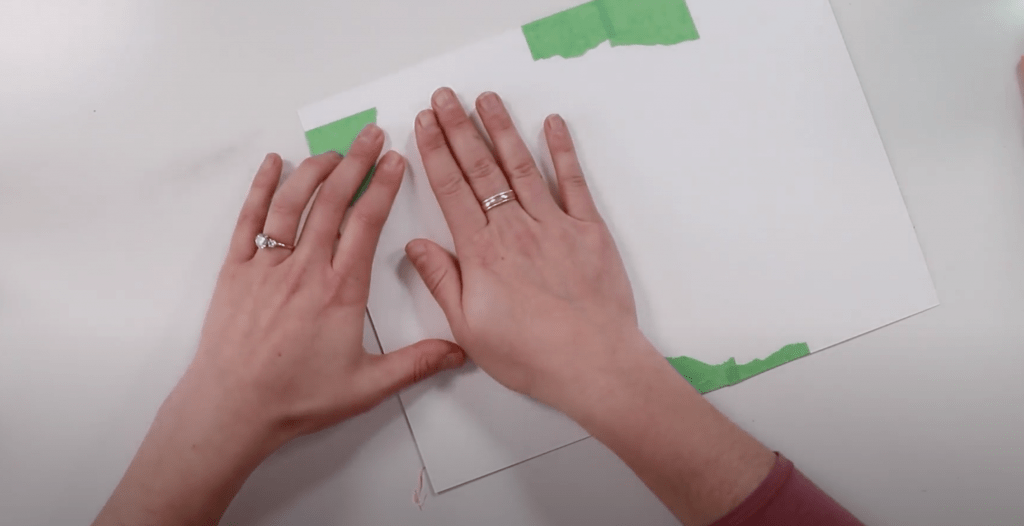
Looking at your paper, figure out where the front of your card is going to be. I’m doing my design in the bottom right corner, so then when I fold it that will be the front of my card. You will tape off your paper – you’re only going to work with the “front” of the card. Don’t tape it to the desk – just the paper itself. This doesn’t have to be perfectly straight or perfect. If you’re super messy and worried about getting paid on the back of your card, feel free to add more tape to the back of the card to protect it.
Masking fluid is next. You put it on your paper where you want the paper to stay white. Once it dries, it will keep the paper intact. The colour won’t soak through – it’ll leave the paper white.
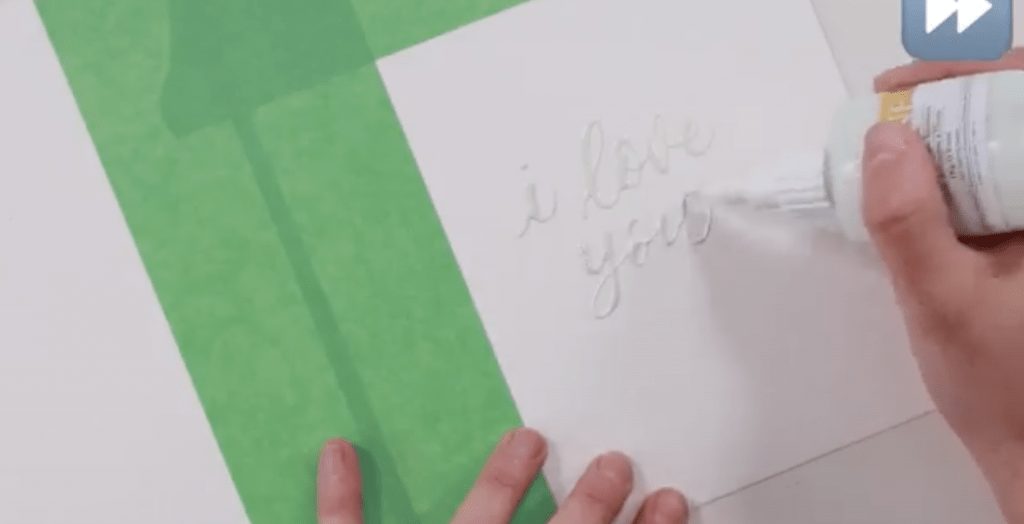
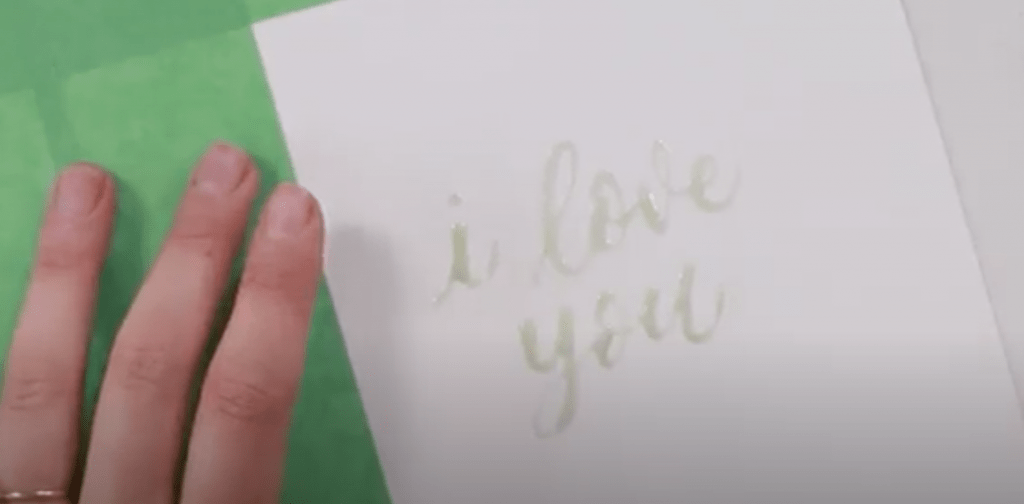
Step 2: Write “I Love You” with masking fluid.
You can write whatever you want here, but I’m going to write “I love you.” My masking fluid has a pen tip on it, so I can use the bottle to write whatever I want directly on the paper. If you have the jar, you can use a paint brush to write what you want. Go slow and squeeze a tiny tiny bit out – making sure it’s centered on the card. For modern calligraphy, make sure you’re thickening those downstrokes and keeping thin upstrokes. If you mess up with your masking fluid, it comes off! That’s the nice thing about it – it comes off. Just take a paper towel to rub it off.

Once you write your phrase, it’s time to just wait for it to dry. Walk away from it until it’s completely dry to the touch. It will still feel a little sticky because it’s rubber, but it shouldn’t be wet. The longer you leave it, the better. If you think it could possibly be wet, give it more time. It’ll ruin your entire project if it’s not dry.
Next you’re going to grab your Ziploc bag and markers. You’re going to transfer colour from the markers onto the bag and then from the bag onto your card.
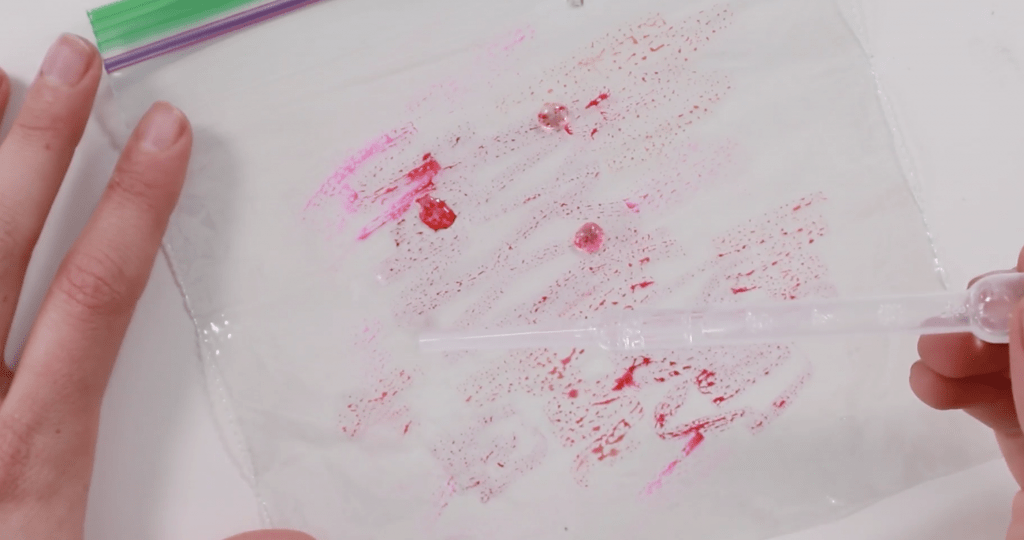
Step 3: Use your brush pens to make a design on the Ziploc bag.
Take your darker brush pen and start a blob in the middle. Leave some blank space – you don’t have to fill it all in. Make some secondary spots with the lighter brush pens. They can overlap the colours too. It can be hard to see the lighter colour on the bag, but it’s totally okay. It’ll show up on the card.

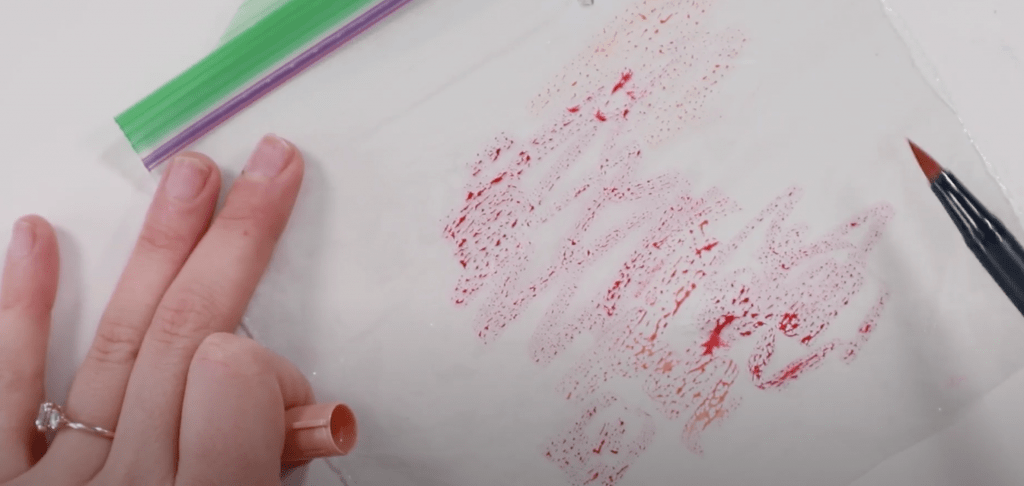
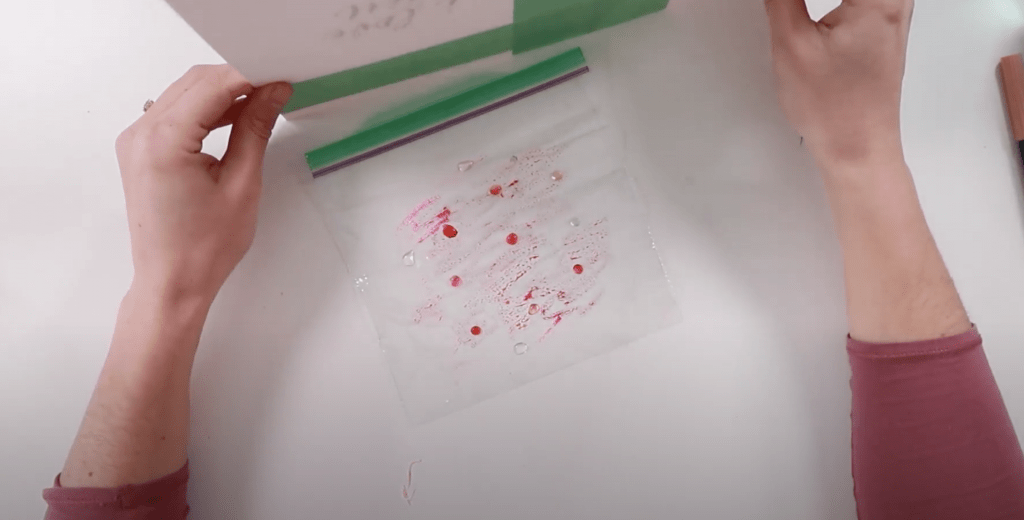
Put the design over the card to make sure it’s about the same size and will cover the paper properly. If it hangs over too much, use your paper towel to wipe it off. It’s better to have too little colour on your bag than too much.
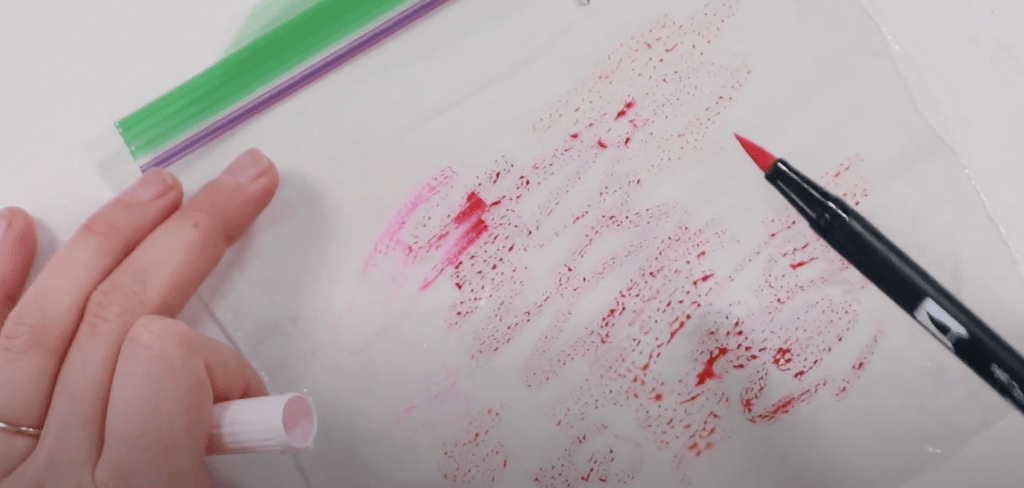
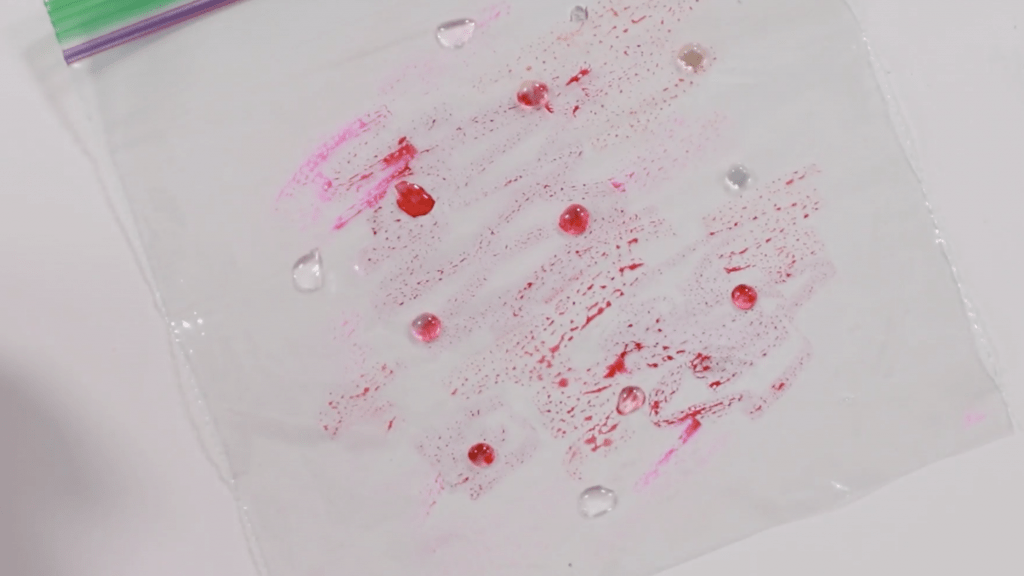
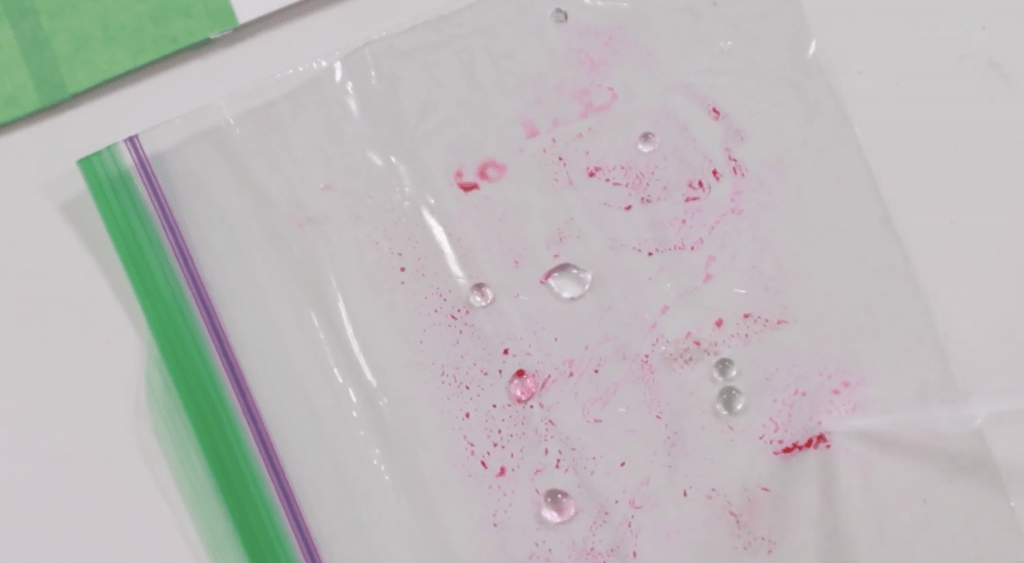
Step 4: Drip water onto the bag
Take your water dropper and add just a couple drops of water here and there. You don’t want a ton. Just a few small evenly spaced drops of water. You don’t want huge blobs of water.
Step 5: Transfer your design onto your card.
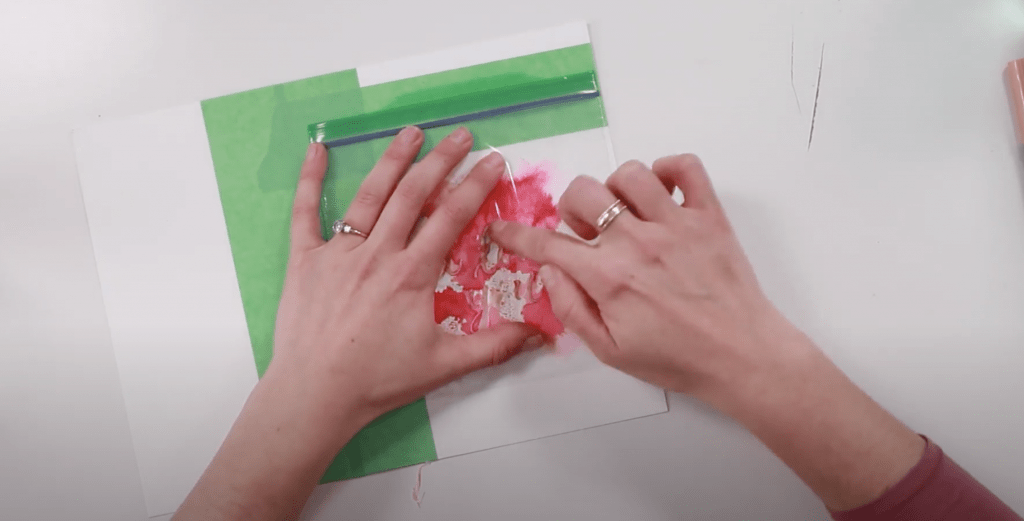
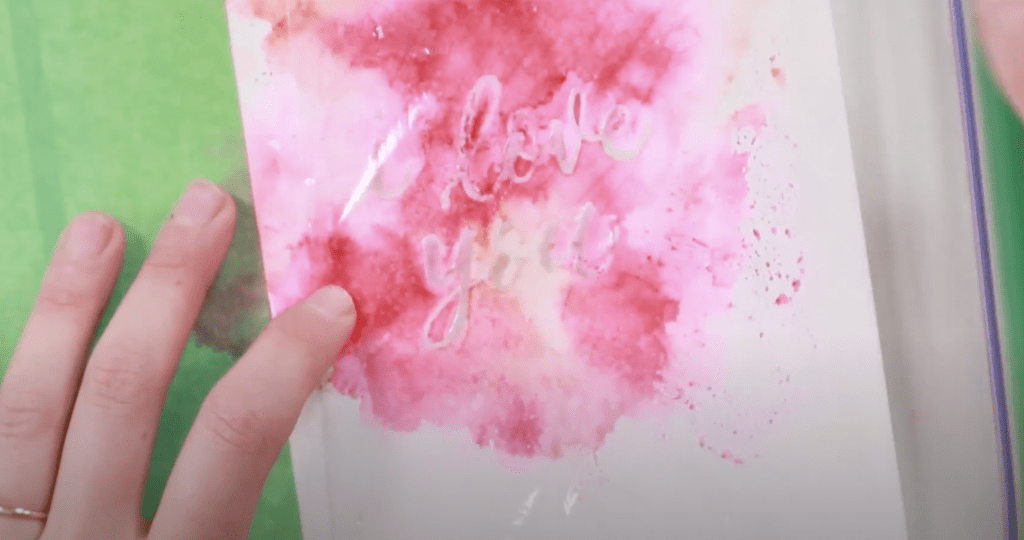
Pick your paper up and slowly lower it onto your Ziploc bag. You can line it up to make sure the design and the front of your card both line up correctly. Slowly put it down, drop it on the bag, and press – you don’t want to just press on it. You want to rub around. You’re moving the water around on the design, so really spread it out.
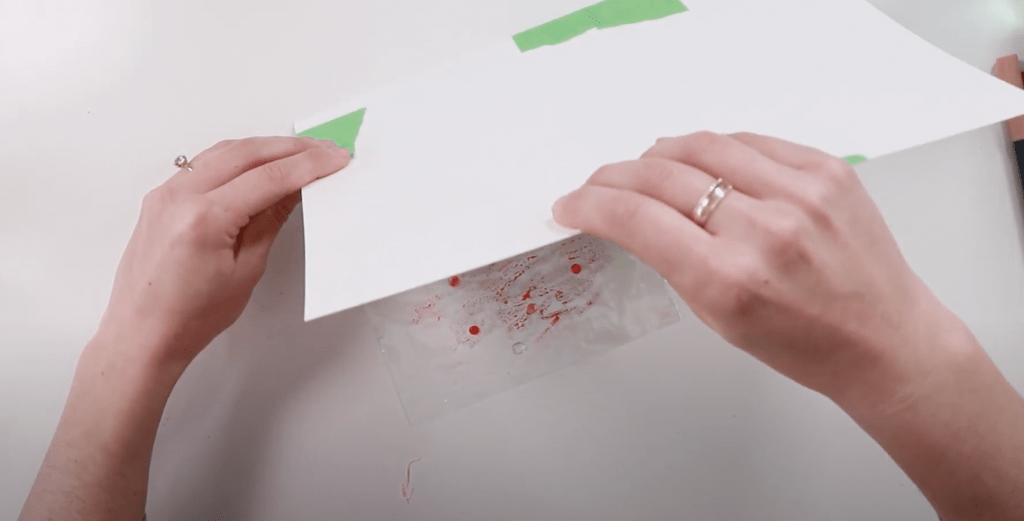
Once you’re done spreading the design around, carefully slide your fingers under the bag and paper. Make sure you hold the bag firmly to your paper and flip it over. While the bag is still there, squish the water around to spread out your design a bit more. Fill in some of the gaps.

Then carefully remove the bag.
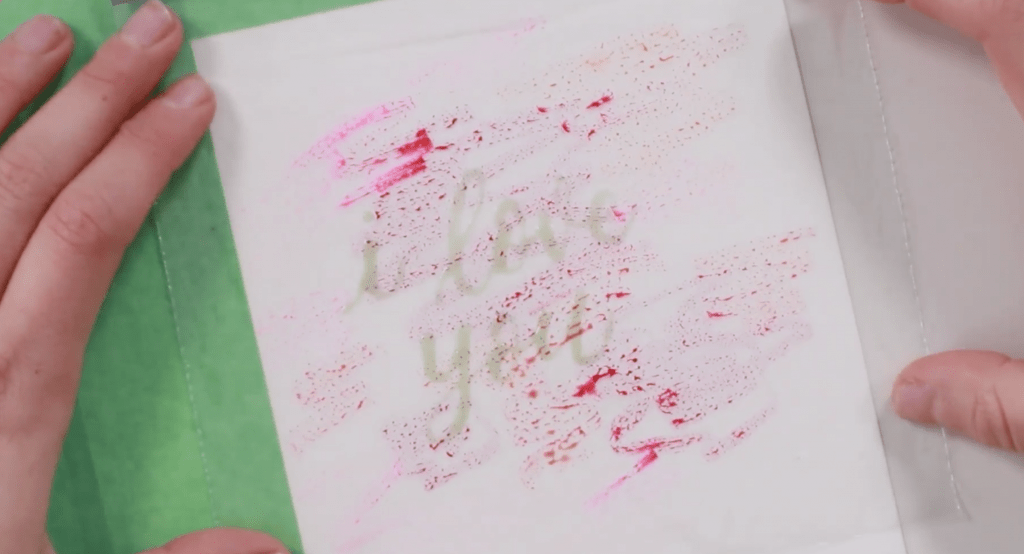
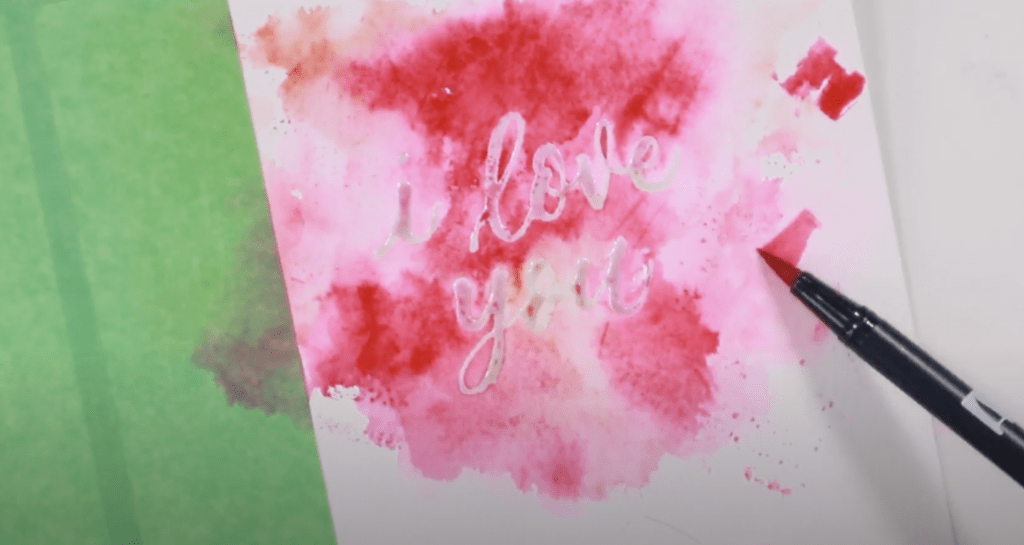
My initial result isn’t exactly how I want it to look. I didn’t have enough colour over my words. If this happens to you, use your brush pen and fill in some of those spots. Then take your brush, dip in water, and smudge the colour around. Feel free to use your brush on any spot you want it to smudge a bit more.
I also didn’t line up my colour quite the way I wanted, so I’m going to fill in that blank space on the right. My bag still has some colour on it, so I’m just going to add a little more water to it and carefully flip the bag onto the paper in that spot and squish it around. It’s a messy process. You can add as much as you want to. Use your brush and to smudge any spots. Use your brush pens to add more if you want. Fill in whatever spots you want to. It’s totally up to you. Just continue smudging until you’re happy with the design. You can even fill up the entire card if you want – just keep using the Ziploc bag until you like what you have.
I like the unevenness, and the blank space around my design. If you don’t though, add more colour wherever you want and squish it around. Don’t add too much – the blank spots are really pretty. Make sure you have enough colour over top of your words though, so you can read it.
Now another waiting game until it’s dry. You need to wait until it’s completely dry.
Now the fun part.
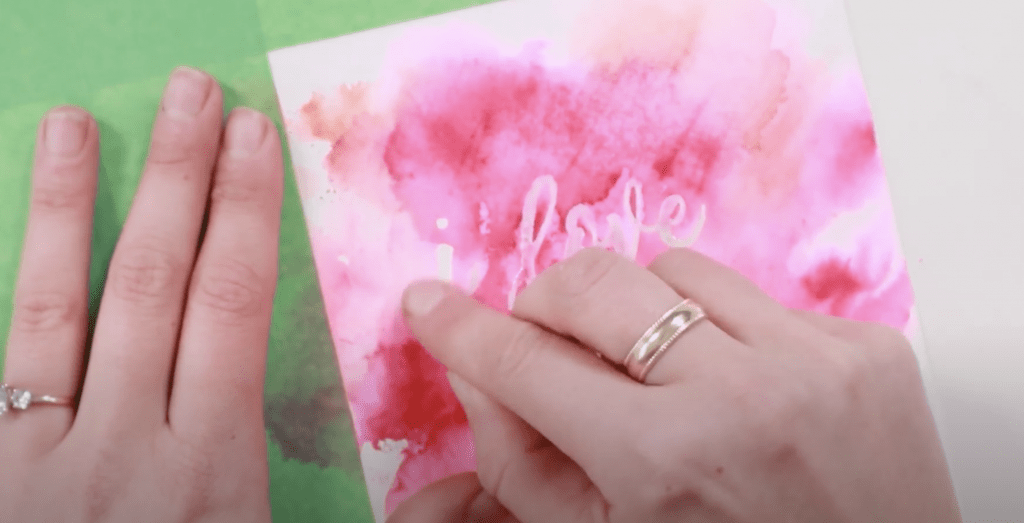
Step 6: Remove the masking fluid.
If your paper isn’t totally dry, this probably won’t work. If you never waited until your masking fluid was dry, this probably won’t work either.
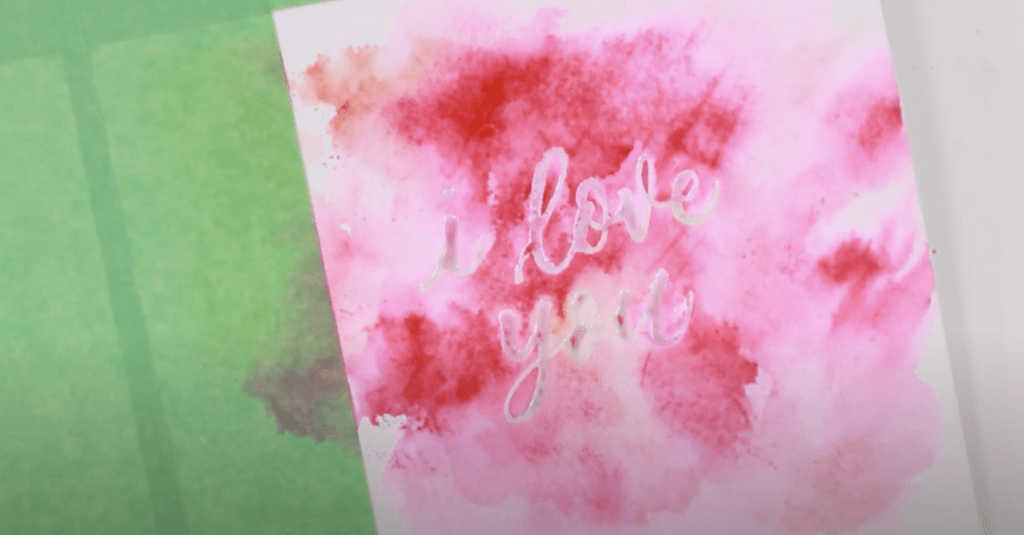
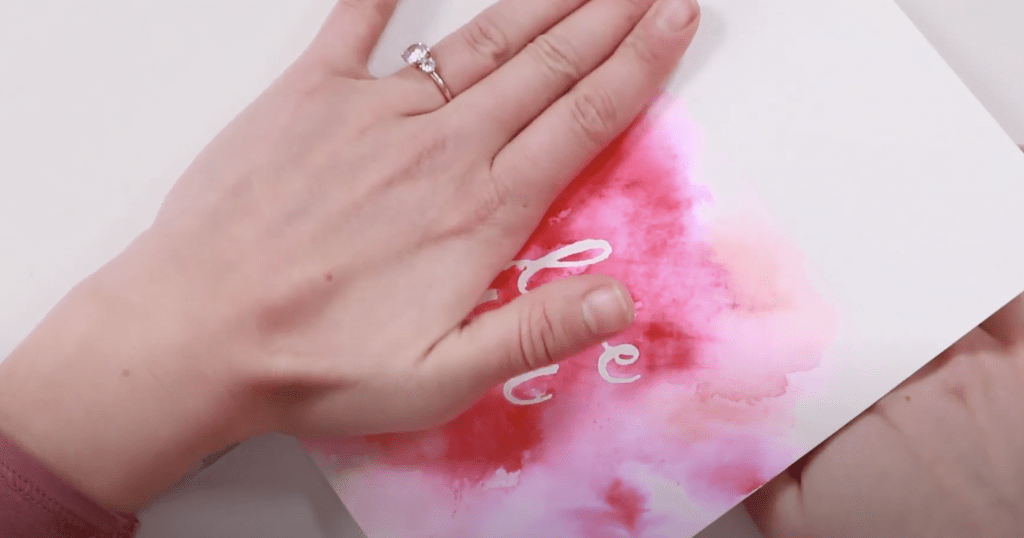
Use your finger (or an eraser or a rubber removal tool) to rub off the masking fluid. It should be completely white under the masking fluid. Run your finger over each letter and pull the masking fluid off as you go. You want to make sure you rub it all off. It’s super satisfying when it works correctly!
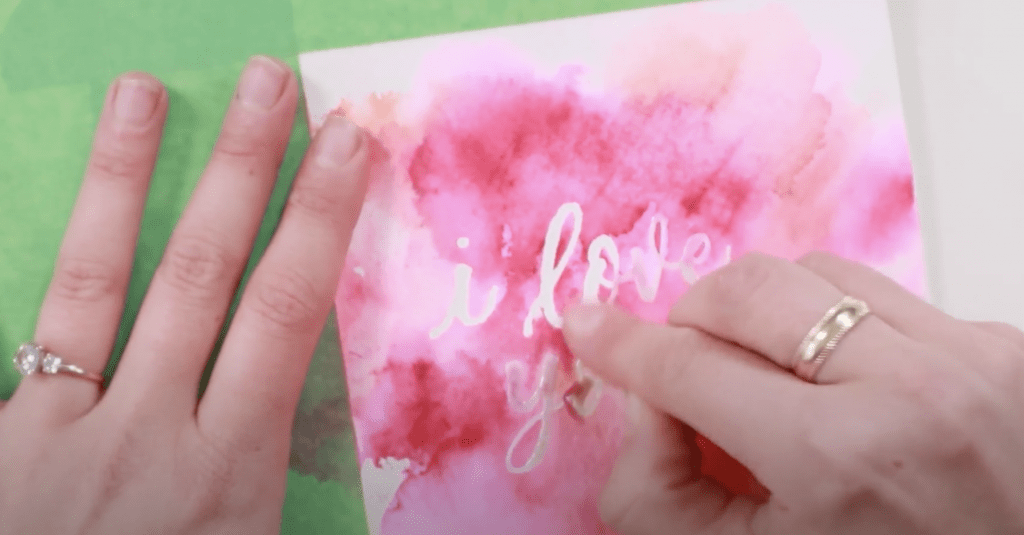
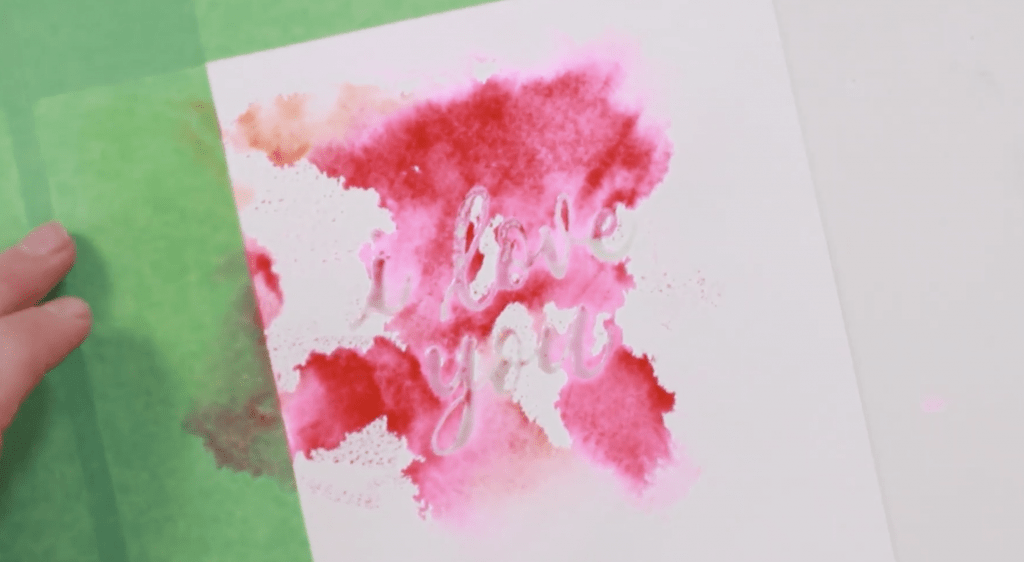
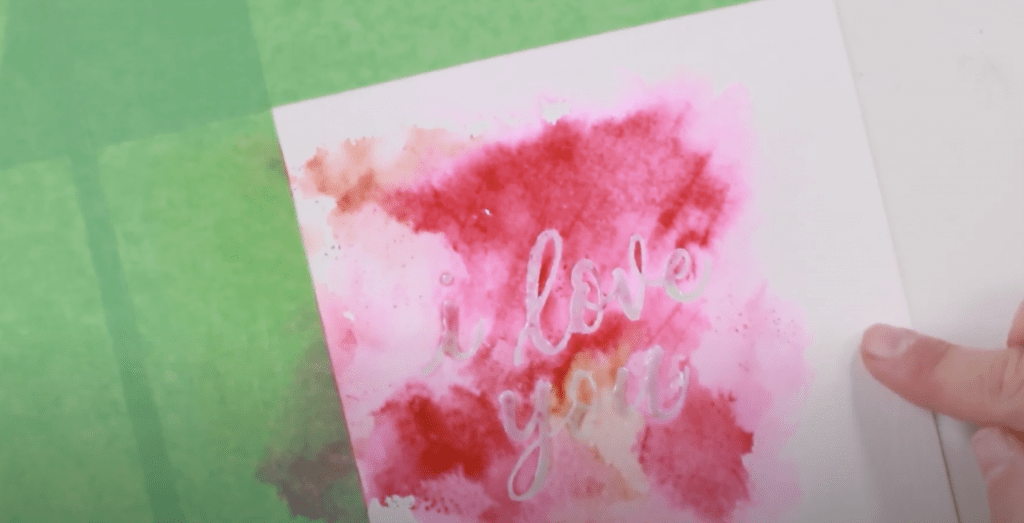
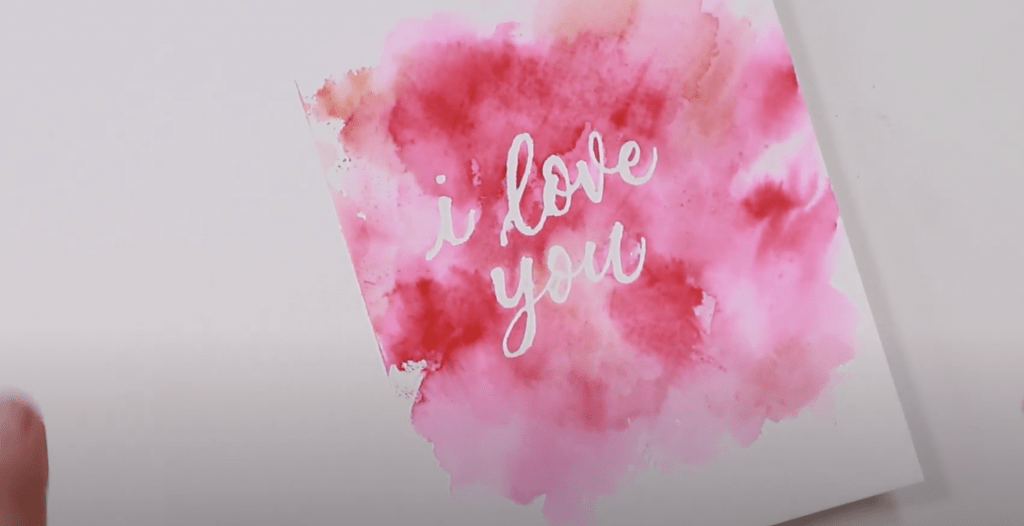
And there you go! It’s super masked, and the letters are all white. This is what you want to happen!
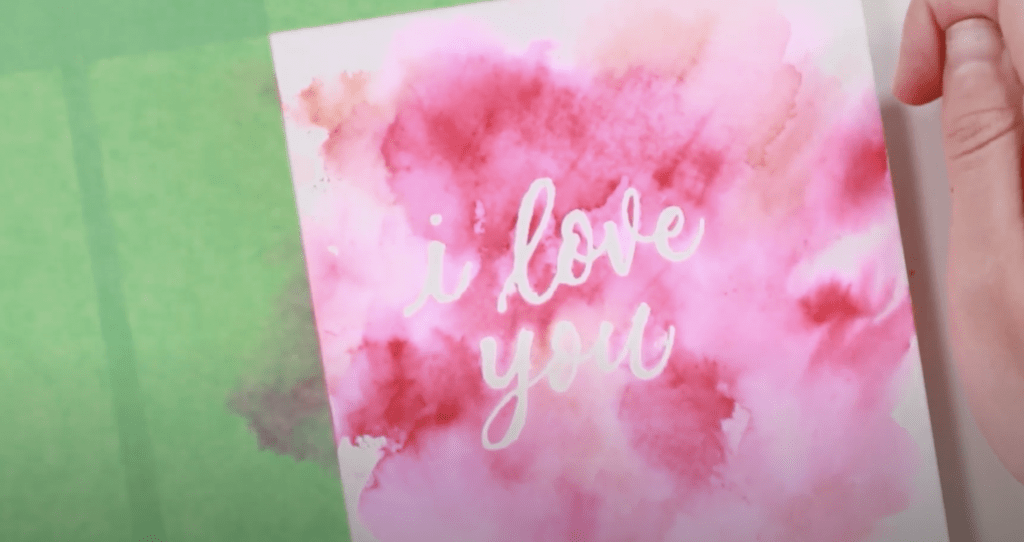
I love how it turned out! Now all that’s left is finishing touches.
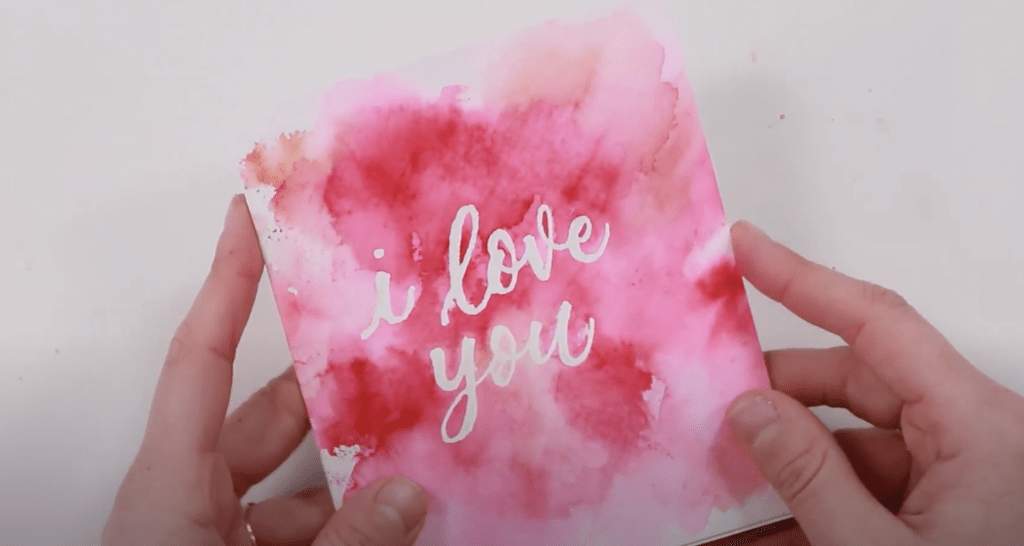
Peel your tape off, and cut your card to get the clean edges and/or size you want. Once my design was completely done, I noticed that on three of my edges, the colour ran over the edges but not the bottom. Remember that “don’t cut yet” hack from before? This is why you shouldn’t cut it until you’re done! I cut the bottom edge off, so now all four edges have colour running off of them.
Next, fold it over. If you have a scoring tool, you can use it (I just used a ruler). Fold it and cut off any excess. If your card isn’t centered (like mine), cut off a little more.
There you have it. Super easy card. Super easy “watercolour” background.
You can add more colour at any time too – feel free to grab your brush pens and fill in extra spots. I added a bit more colour in my “o” in “you” for example and a tiiiiny bit of water. Once the masking fluid is off, you’ll need to be super careful. It’s totally doable though.


If you don’t have masking fluid, you can also just use regular brush pens and make your lettering in a darker colour – it doesn’t have to be white like mine.
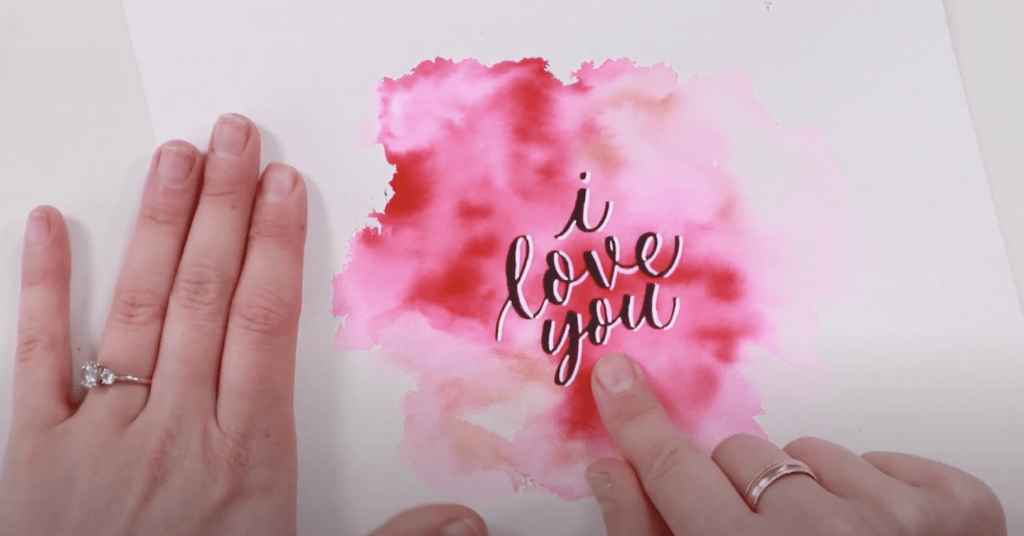
Both options look great – you truly can’t go wrong. I’m excited to see your cards, so be sure to tag me on Instagram @thehappyevercrafter.
And that’s a wrap!
I hope you enjoyed this! You can use any colour combo and lettering design to make cards all year round – it doesn’t have to be just for Valentine’s Day.
And if you need some “I love you” inspiration for your card lettering, check out this tutorial about five different ways to write I love you.
And finally, some Valentine’s Day dad joke humor for you…
Do you have a date for Valentine’s Day?
Yes, February 14th.


I LOVE THIS!!!