So… you wanna learn calligraphy but you do not want to spend a ton of money on art supplies just in case you don’t like it, you don’t stick with it, or you aren’t very good at it.
Good news!!
Calligraphy does NOT have to be an expensive hobby.
In this post I break down 3 different ways you can get started with calligraphy for little to no money from “cheap” to “cheapER” to “cheapEST”.
First Things First…
The links below may be affiliate links where appropriate. This means that your purchase through these links may result in a few cents in payment to me, to support creating further resources like this one! That being said, I will never suggest supplies that I do not personally use and fully recommend.
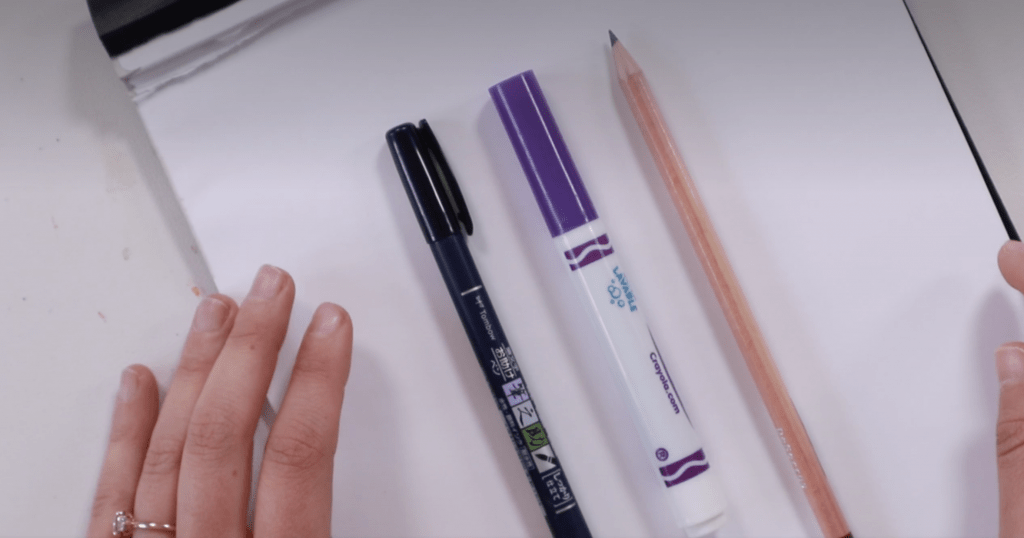
Supplies Mentioned
Rather watch than read? No problem! You can find out all about the five calligraphy tools I can’t live without by clicking the video below!
First up: “cheap” (aka the third cheapest option)
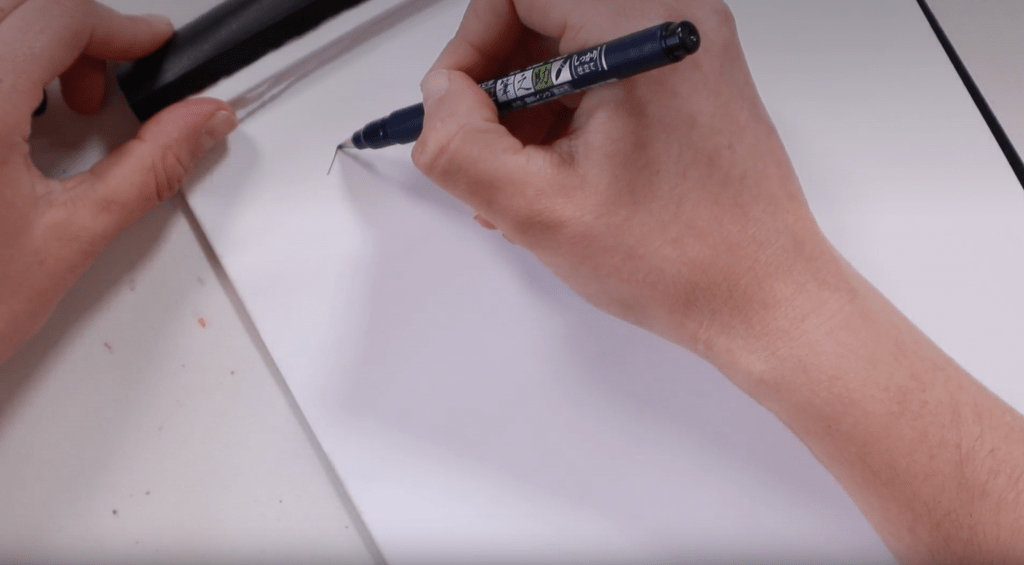
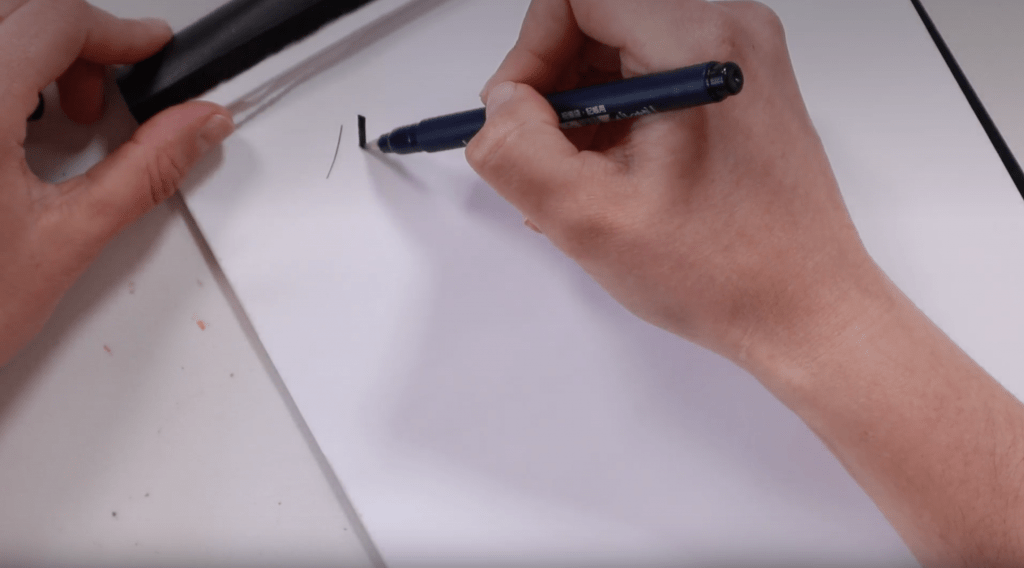
The “cheap” option is to invest in just 1 single brush pen.
If you’re going to go this route, DON’T waste your money on low quality brush pens. It’s much much much better to spend $5-8 on one single, high quality brush pen than it is to spend that same amount for a whole set of 12 lesser quality brush pens.
My suggestion is definitely that if you want to go this route, track down a Tombow Fudenosuke. I’ve got a whole post about those here!
If you’ve never seen how these work, essentially they’re flexible. When you push lightly, it gives you a thin line, and when you push hard, it gives you a thick line. This is the basis for calligraphy.
This one is by far the best beginner brush pen. But it’s also super durable (especially if you don’t know what you’re doing) and will definitely make you fall in love with calligraphy.
Next up, the “cheapER” option…
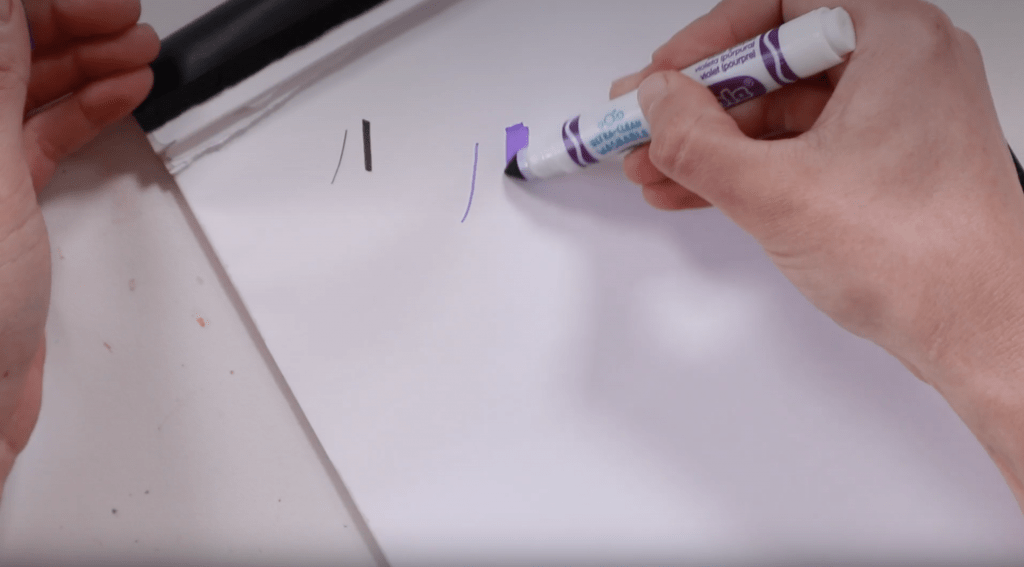
The “cheapER” option is to use Crayola or other kids “chisel-tipped” markers. This type of marker is pretty inexpensive. You can find them in kids sections and usually get a pretty big pack of colours for like $5-10.
These are not the same as using a brush pen, like the Tombow Fudenosuke we talked about a minute ago, because the tips are chiseled, not flexible. With this one, in order to get thinner and thicker lines, you just move your hand slightly differently to either stay on the tip of the pen, or move to the side of it.
But there are lots of people who loooove Crayola markers for calligraphy! If you wanna know more about it I’ve got a full tutorial video here!
And lastly, the “cheapEST” option…
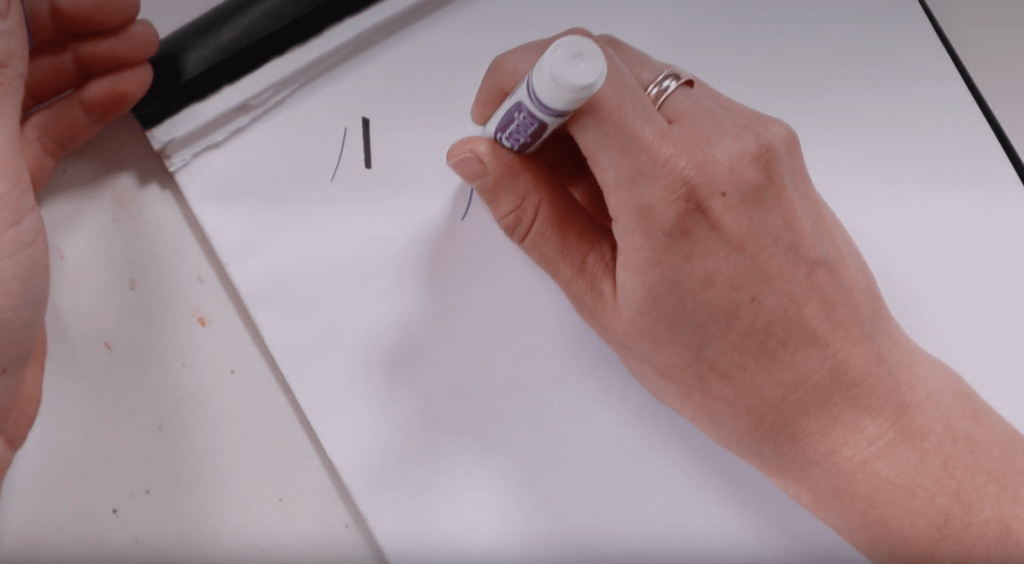
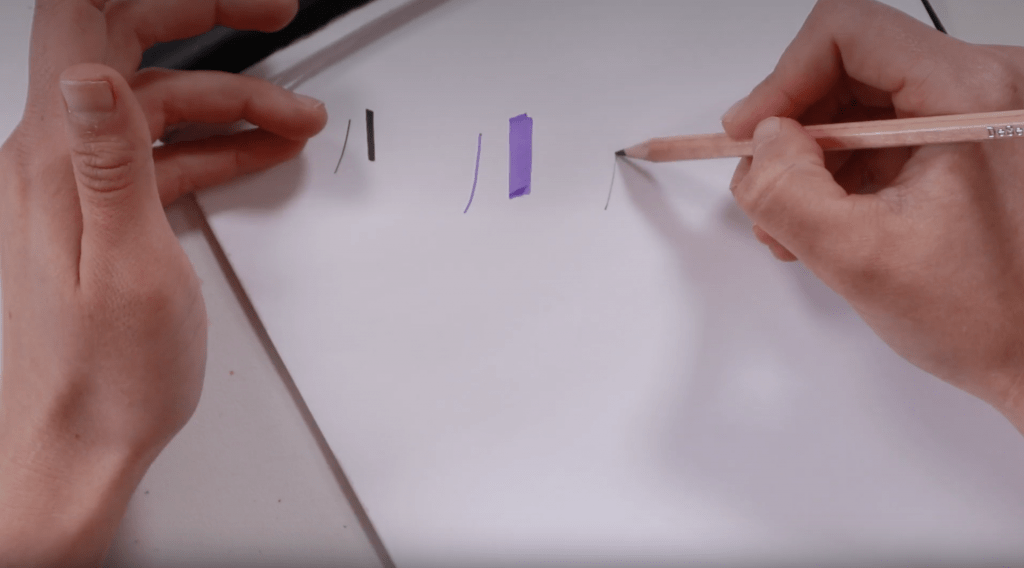
It’s a pencil!!!
So many people freak out about needing the perfect supplies to learn calligraphy but the truth is you probably already own it… it’s a pencil!
Pencils are soooo great for practice. Actually, in my in-person workshops, I give out pencils in all my kits. We do almost half of the workshop with pencils before using any brush pens!
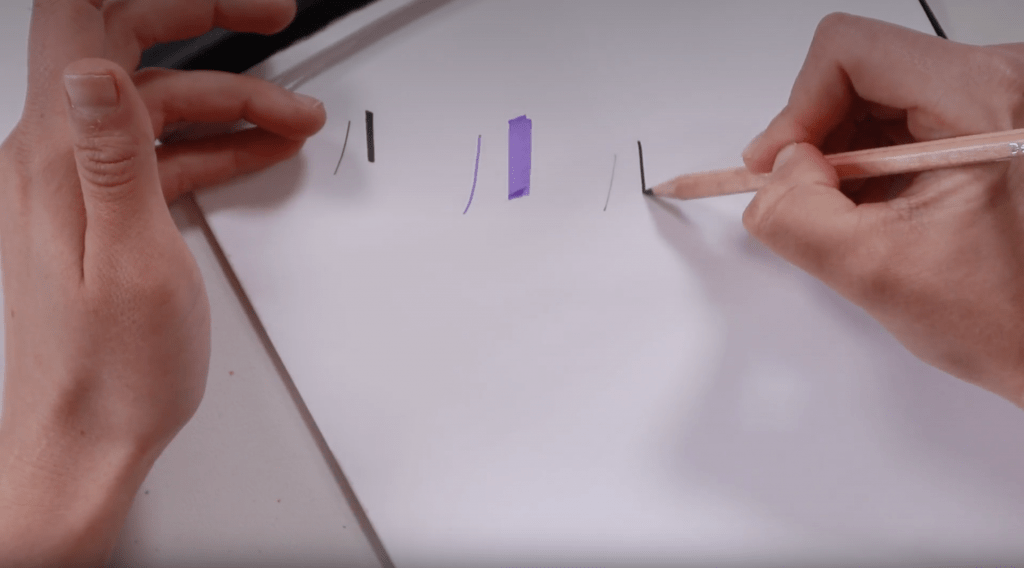
With pencil, you can actually achieve lighter/darker (aka thicker and thinner) lines by changing the pressure. Especially if you use a lighter lead– something like 2B, 3B, etc. Anything like that or above is a softer lead and will give you the effects of thinner/thicker based on pressure. Press lightly for thin lines and press harder for thick lines.
Pencils are seriously so great for practice! In fact, my tutorial about pencil calligraphy is my most popular YouTube video EVER. You can view it here!
And that’s a wrap! So to recap:
- Cheap: 1 high-quality brush pen
- Cheaper: Crayola/kids pens
- Cheapest: pencil
And all 3 of these are TOTALLY reasonable ways to start!
Wanna learn more about calligraphy?
If you’re brand new to calligraphy and could use some free help, you could totally sign up for my free course Show Me Your Drills using any of these tools.
It’s a full course about the basics of calligraphy– I’ll teach you from the very ground up. Come join at www.showmeyourdrills.com!
Hopefully this gets you excited about giving it a try!
And finally, your dad joke…
What’s the cheapest part of a house?
The roof – it’s on the house!


Comments