If you’ve ever wanted to try calligraphy, but let’s be honest… you’re sort of lazy and don’t feel like really learning and going in depth.
Then I got you.
First Things First…
The links below may be affiliate links where appropriate. This means that your purchase through these links may result in a few cents in payment to me, to support creating further resources like this one! That being said, I will never suggest supplies that I do not personally use and fully recommend.
Supplies
Rather watch than read? No problem! You can watch in real-time by clicking the video below!
Let’s Get Started!
When I originally filmed the video for this post, I really tried to teach you in five minutes. It ended up being closer to 8ish minutes. 🙂
I’m still going to try to keep it quick for this post, so let’s go!
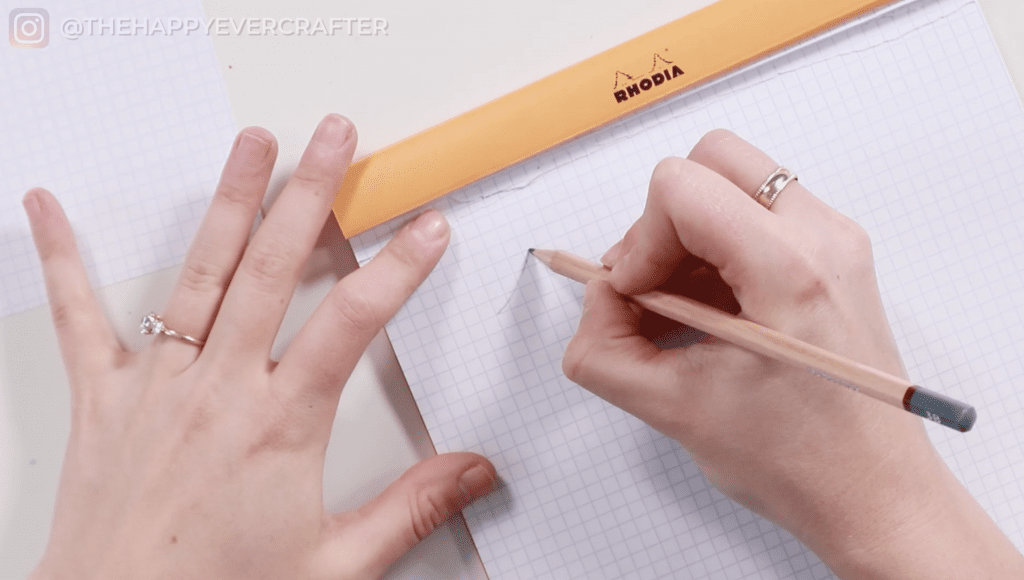
Supplies can be super simple for this one. Grab a pencil (or a brush pen if you have one). If you’re brand new, you likely don’t have a brush pen, so a pencil will work!
As long as it’s HB like a regular old school pencil or softer (2B, 3B, 4B), it’ll work. I used a 3B.
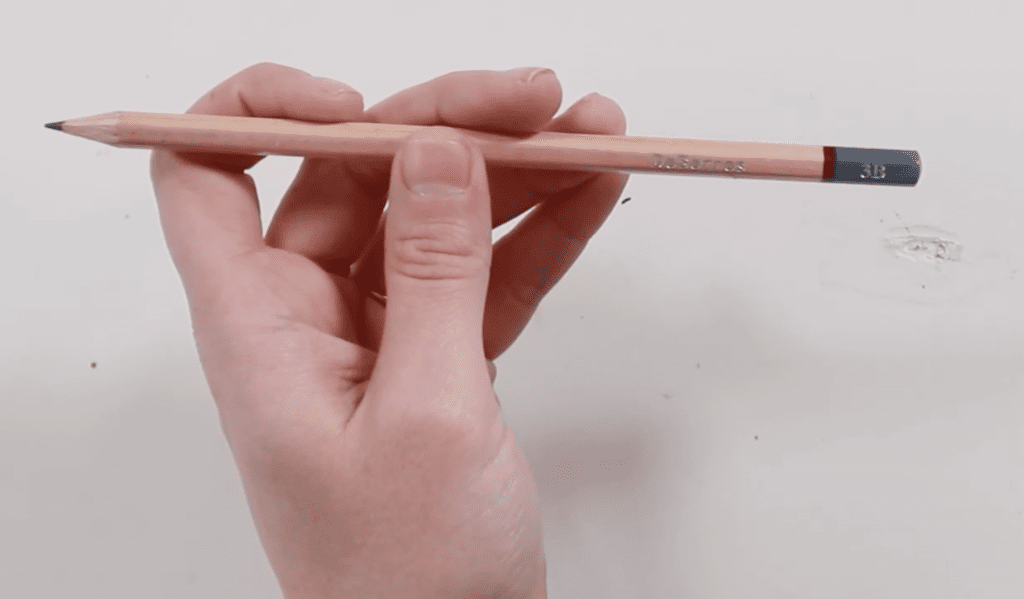
You just don’t want anything that has an H on it. H stands for hard, which means the lead. The lead in an H pencil isn’t going to be soft enough to show lighter and harder pressure.
So a pencil with soft lead HB or higher (or a brush pen) and lined or graph paper – if you’re using a pencil, literally any paper that has guidelines on it will work. It just can’t be blank. You need those guidelines. If you only have blank paper, draw yourself some guidelines.
Pencil. Paper. Ready to go.
**If at any time the instructions get confusing, check out the video above. It’s a quick one, remember? 5-ish minutes. 🙂
There are two main things you need to understand when it comes to learning modern calligraphy.
Number one: Anywhere your pencil is moving in an upwards direction, press lightly.
Anywhere your pencil is moving in a downwards direction, press hard. So light up, hard down.
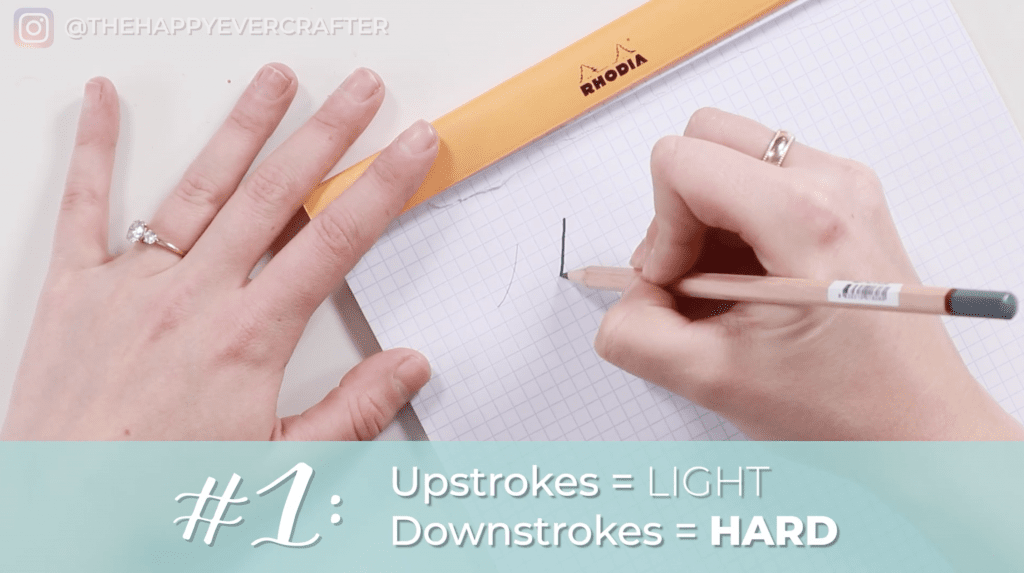
You can see that the light up is a different line weight than the hard down. And you can do that just with a pencil!!
Number two: Calligraphy has nothing to do with your handwriting.

Calligraphy is broken down into strokes, and once you learn those, you just stick them together to build letters. Everyone has it the exact same way. You’ll see.
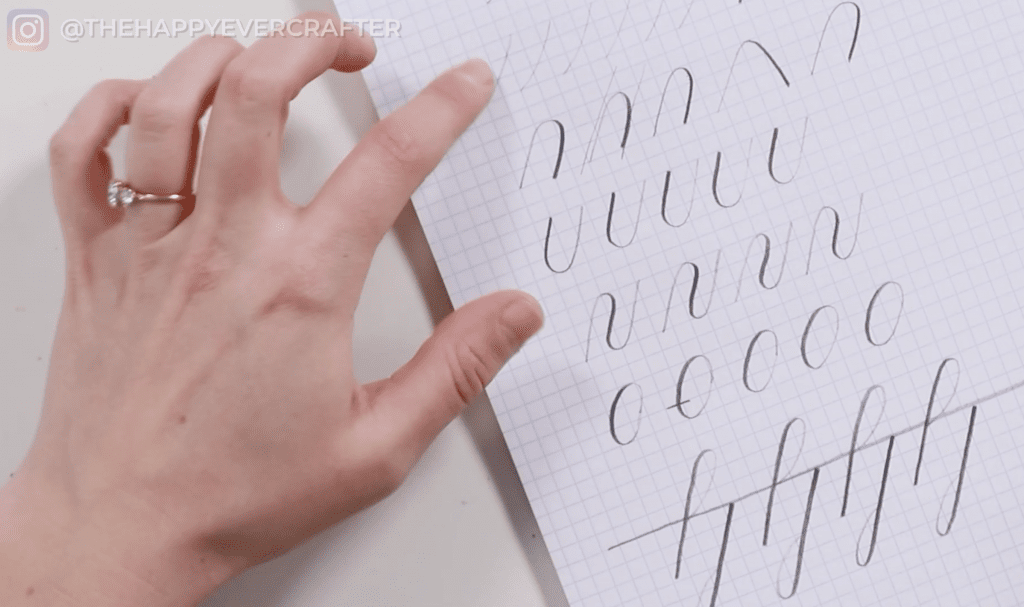
On that note, I’m gonna teach you all of the basic strokes. Follow along and try to do them for yourself.
The first stroke is called an upstroke.
Start at the bottom, press lightly, and move up. You want to press lightly on the page and go the same speed the whole time. Really light, slightly curved up to the top. And these should all be the same height.
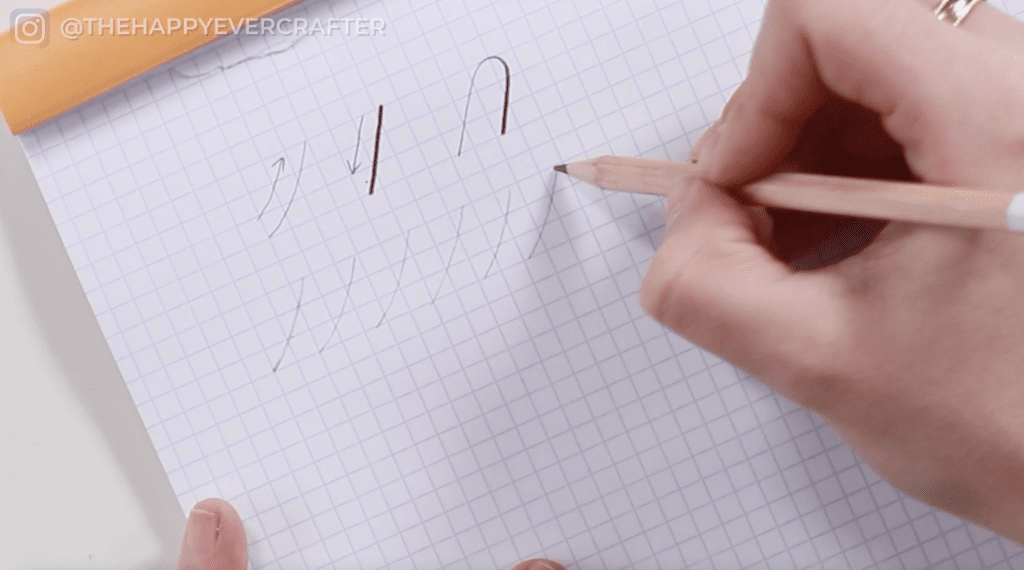
Next one is called the downstroke.
This one you’re starting at the top this time. Your pencil should be moving in a downwards direction, and you should be pressing hard. This stroke is sort of an angled line pressing down – the same height as that last one (on my paper, these are three “squares” tall.). Be sure you’re going slow!
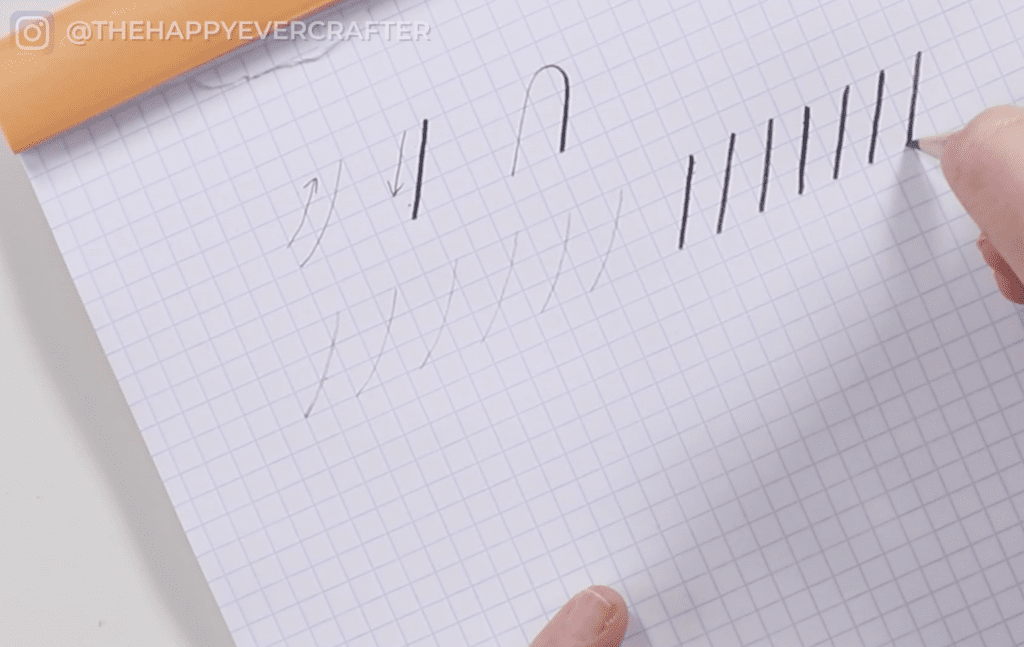
Reminder: Upstroke is light pressure up, and downstroke is hard pressure down.
Next, combine them into an overturn stroke.
Start at the bottom, go light up, and then come down hard. Light up, hard down, light up, hard down. It’s kind of like an upside down “u”. The only thing you need to keep in mind here, aside from the pressures, is that these lines should be parallel to each other.
I often see people go light up but then go hard down in a totally opposite direction. You really wanna try to go light up hard down on the same angle.
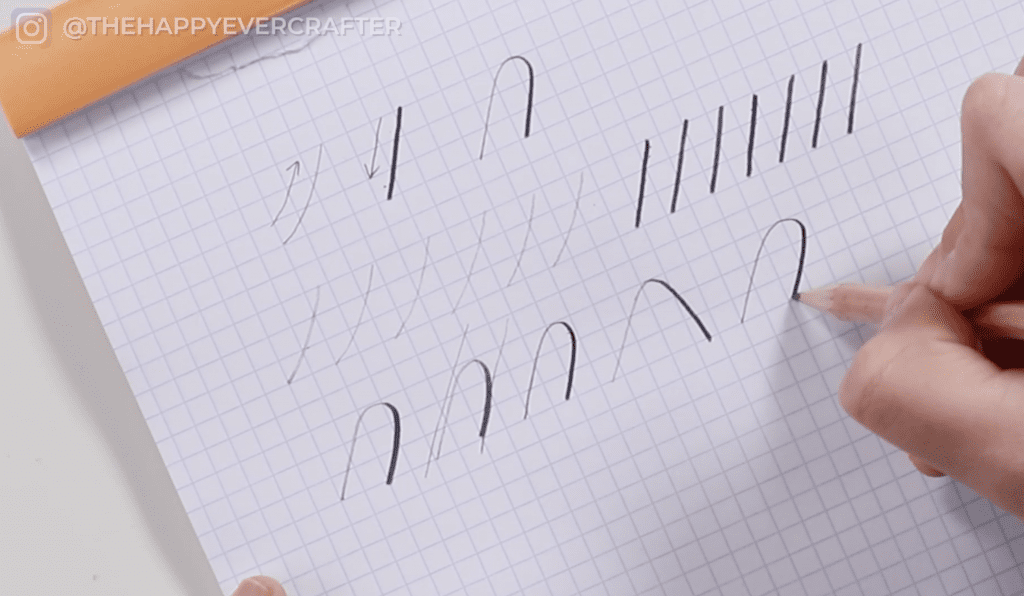
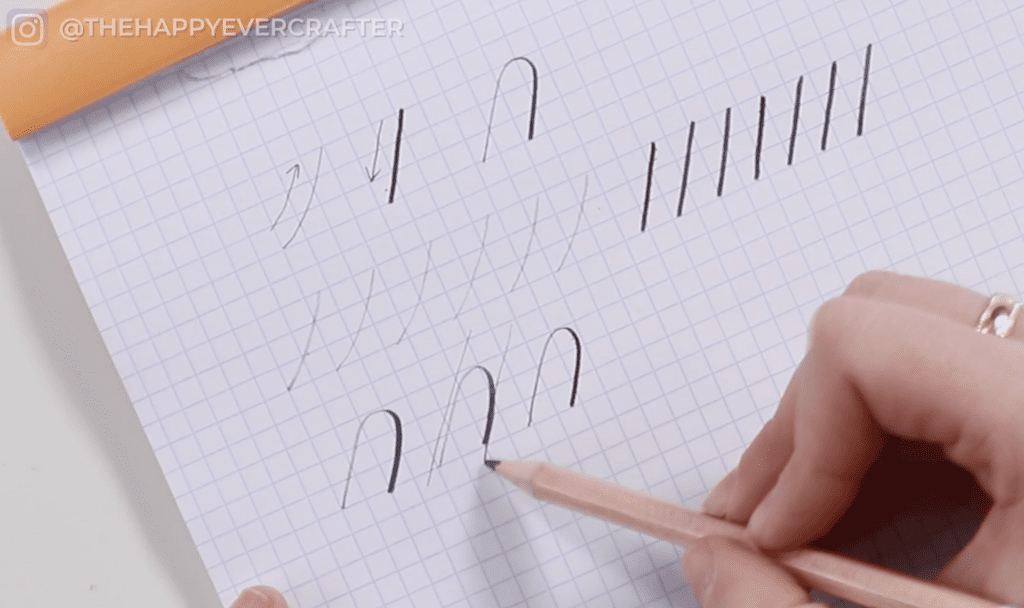
Next, do the exact same thing as the overturn, except now it’s the underturn.
Start at the top and come under – hard down, moving in a downwards direction and then come up light. This is the same movement you just did, but mirror image. Hard down, light up.
Time to combine your overturn and underturn into a compound curve.
For this one – light up, hard down, light up!
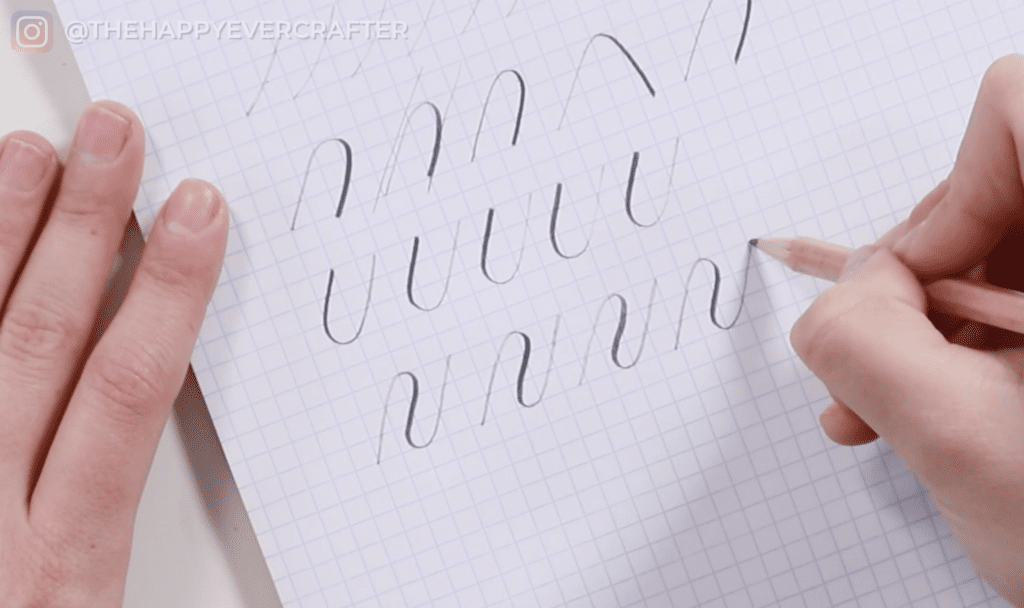
If you’re feeling unsure, I promise these are gonna make a lot of sense in just a minute!
Light up, hard down, light up. All three of these lines should be on the same parallel angle.
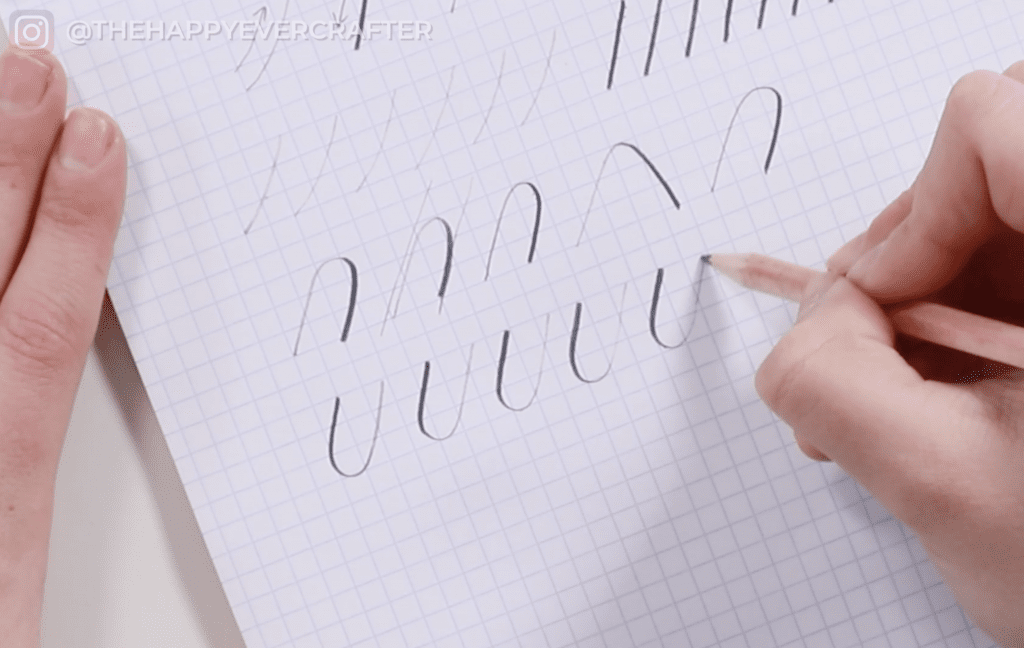
Next up is the oval.
Start off to the right side a little bit and come up in an upstroke towards the left, add your pressure down, and then go back up light. Light up, hard down, light up.
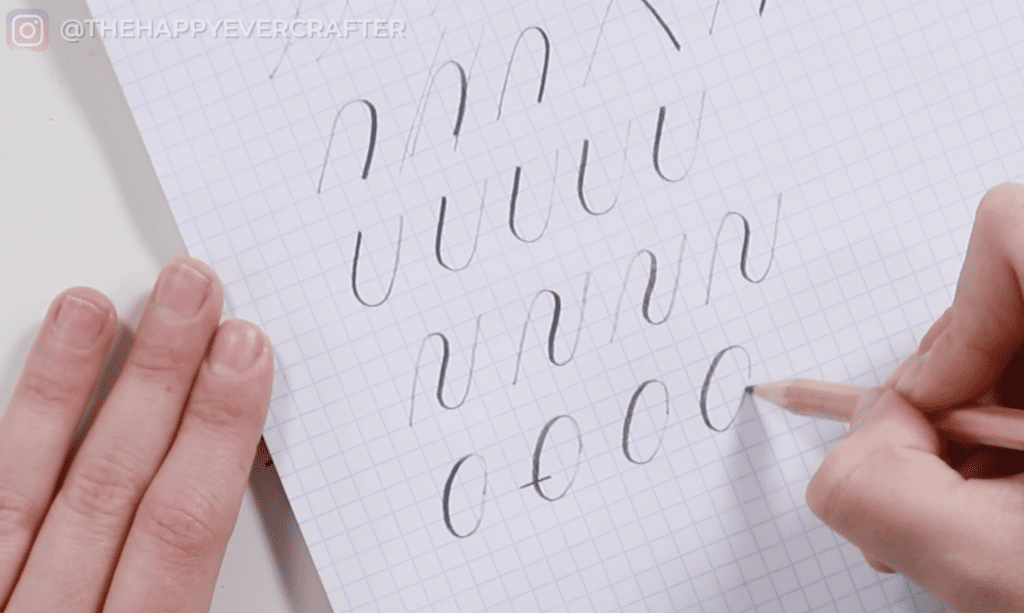
Let off the pressure on your oval about here (see the little line?), so that your pressure switched to light. When you get to the bottom, light up, hard down, light up.
If you need to see this in real-time, check out the video!
Next is the ascending loop.
For this one, it’s going to be twice as tall as the rest you’ve done so far. Light up to the top, and then come back down twice as tall. For my book, this one is six squares instead of three. Light up, hard down, light up, hard down…
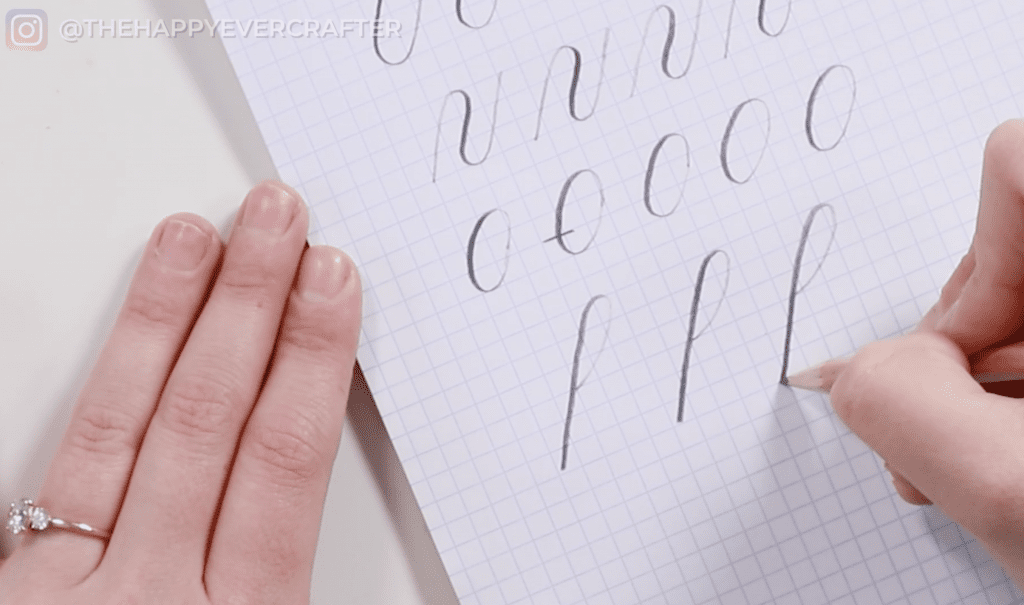
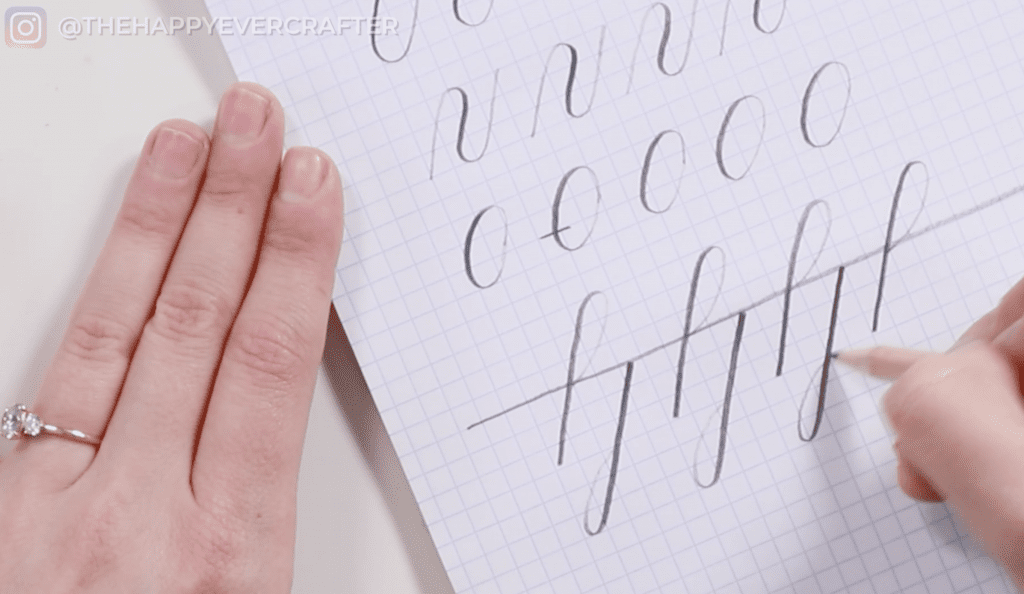
Finally is the descending loop.
Start on that same middle line, but this time, go in a downwards direction first. Down hard, light up, down hard, light up. It should be the exact mirror image of what you just did with the ascending loop.
Those are the basic strokes: upstroke, downstroke, overturn, underturn, compound curve, oval, ascending loop, descending loop.
Time for Letters!
Now, you get to actually see how those turn into your alphabet!
How about three letters as an example?
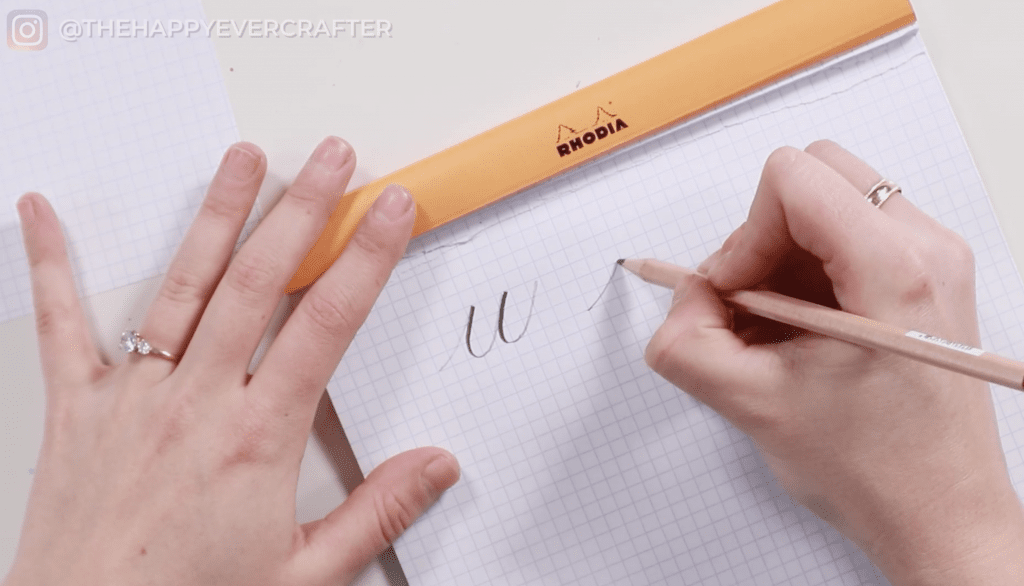
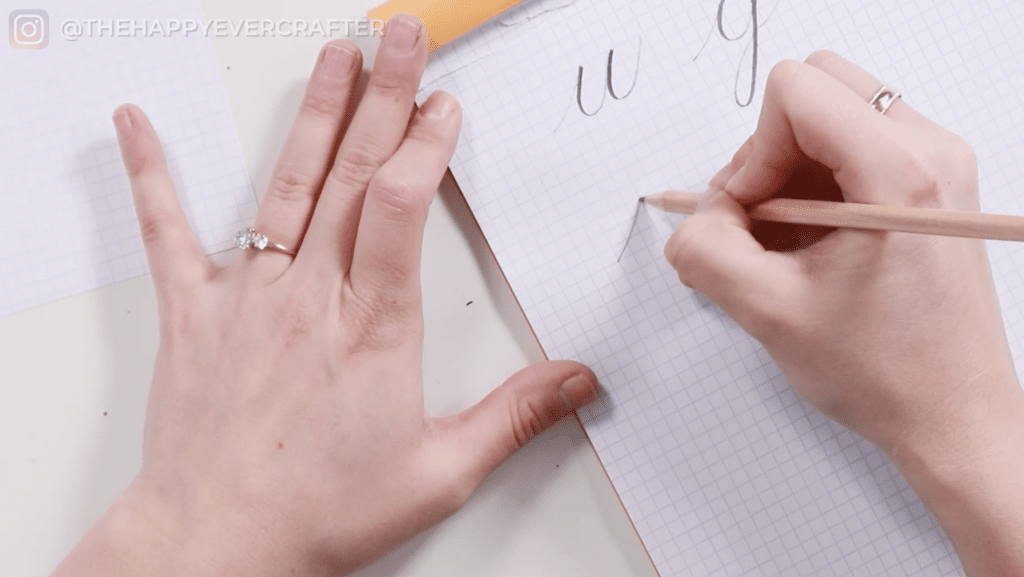
The first letter you’re going to do is the letter “u”.
First, you’re going to do an upstroke like you just learned – light pressure for your upstroke all the way to the top.
Then an underturn – hard down, light up.
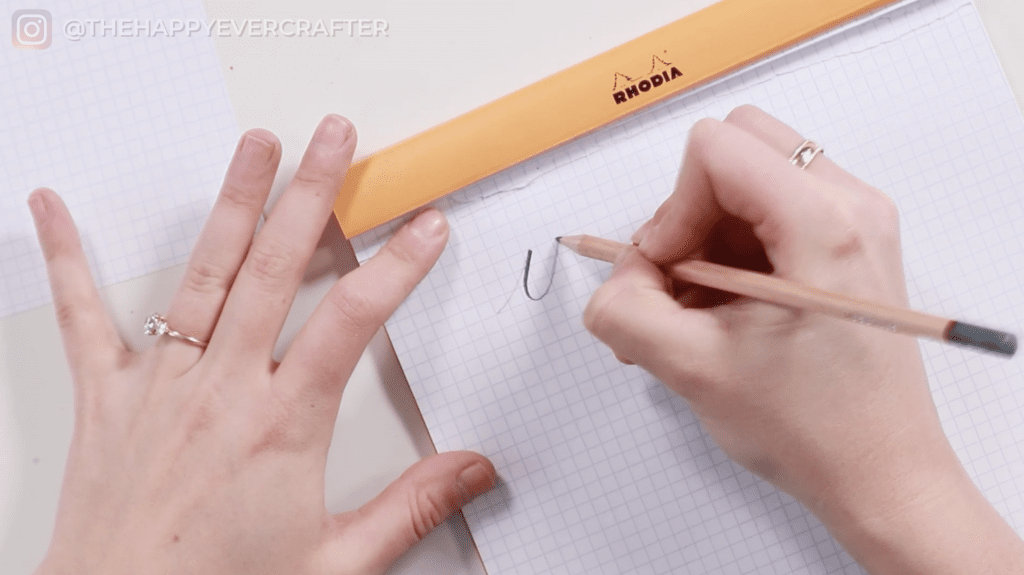
And then you’re going to do the exact same thing again for another underturn – hard down, light up.
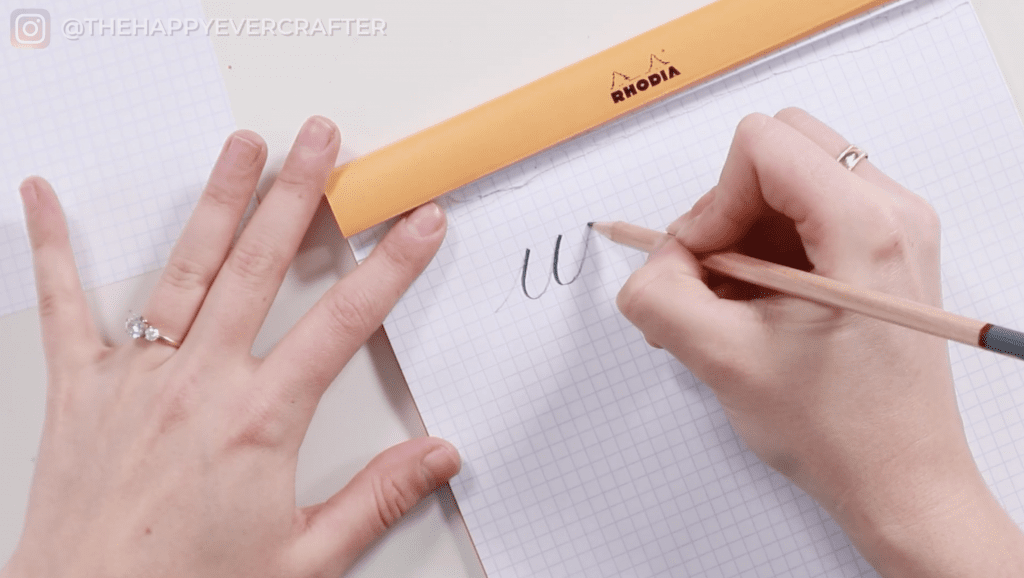
And there’s your letter “u”! It looks a little bit like a “w” right now, but it won’t when you connect it to make a word.
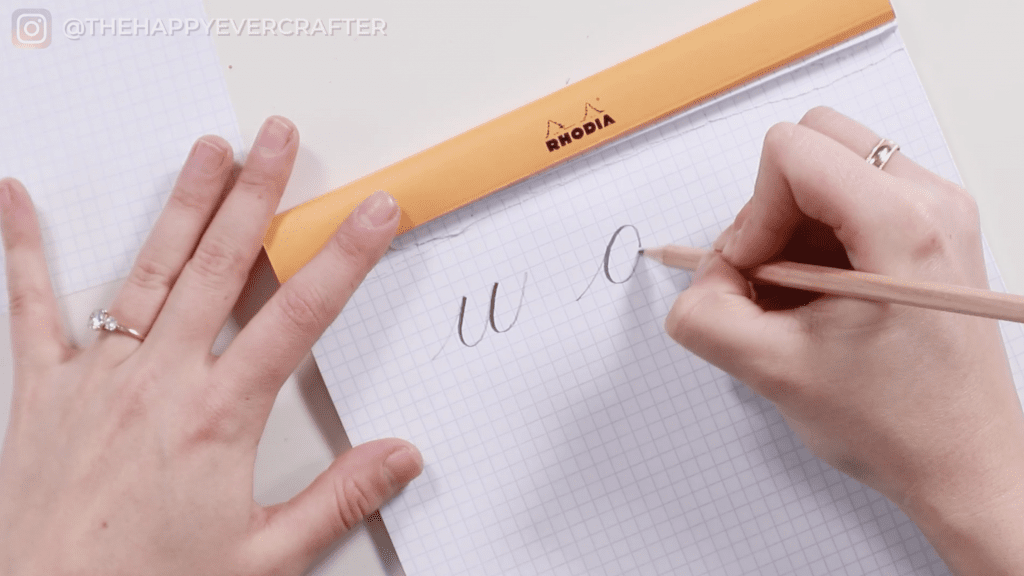
Next let’s do the letter “g”.
You’re going to do an upstroke again, but make it a little bit shorter.
Then do an oval and touch the edge of that oval to that first upstroke.
Then a descending loop.
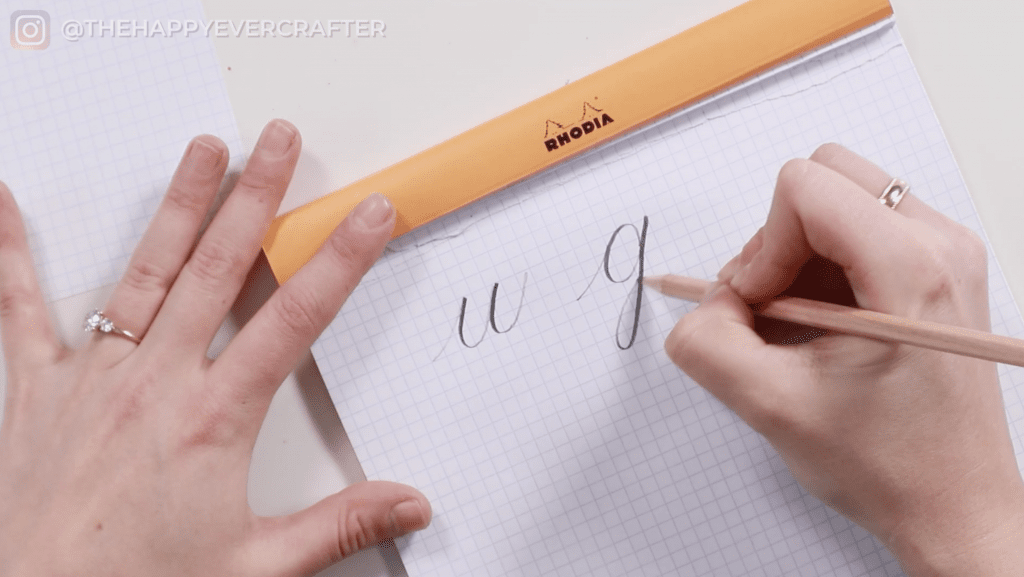
And finally another upstroke.
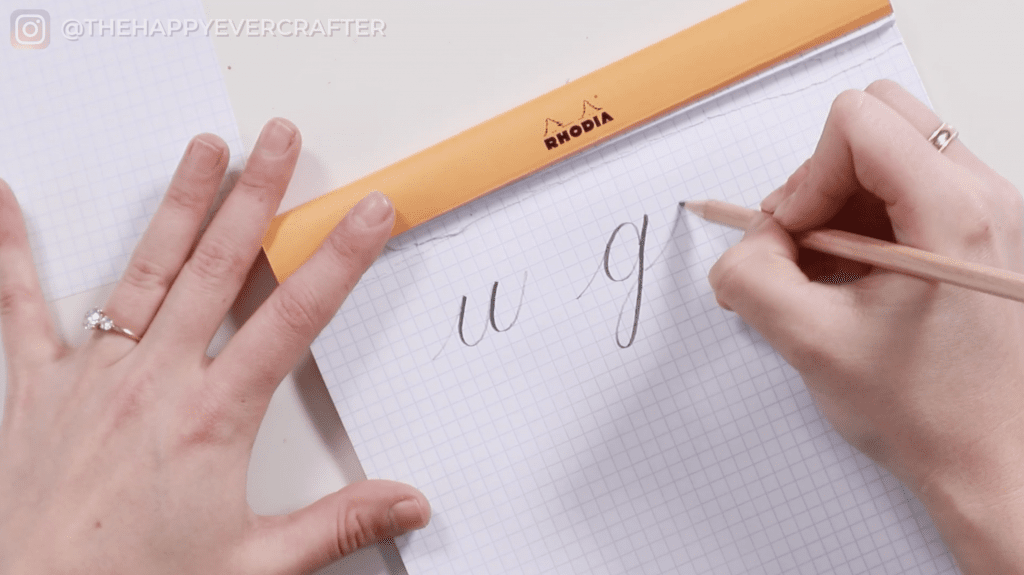
Viola! Letter “g”.
One more example: the letter “h”.
First you need an upstroke.
Then an ascending loop. All the way up to the top and come back down.
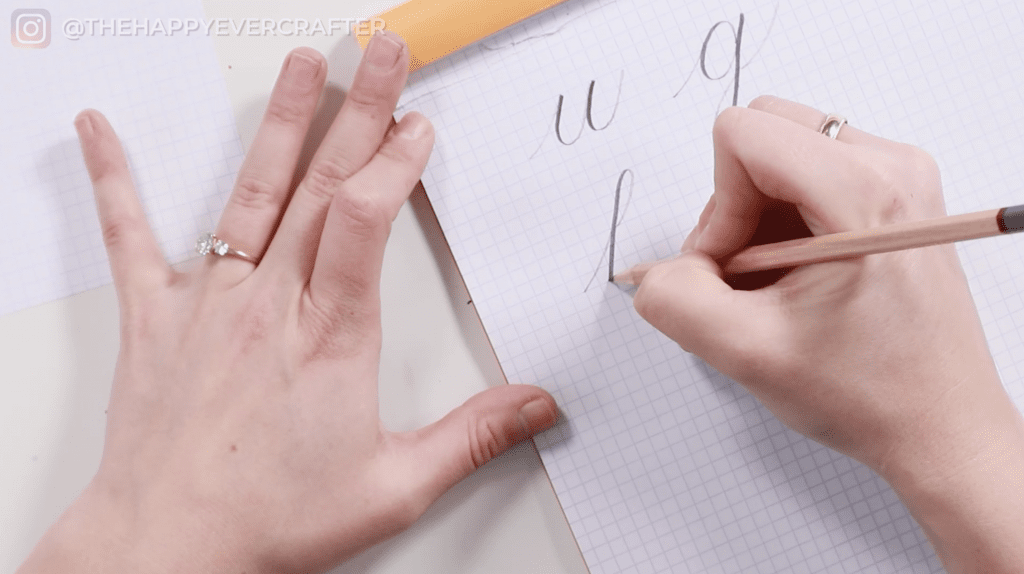
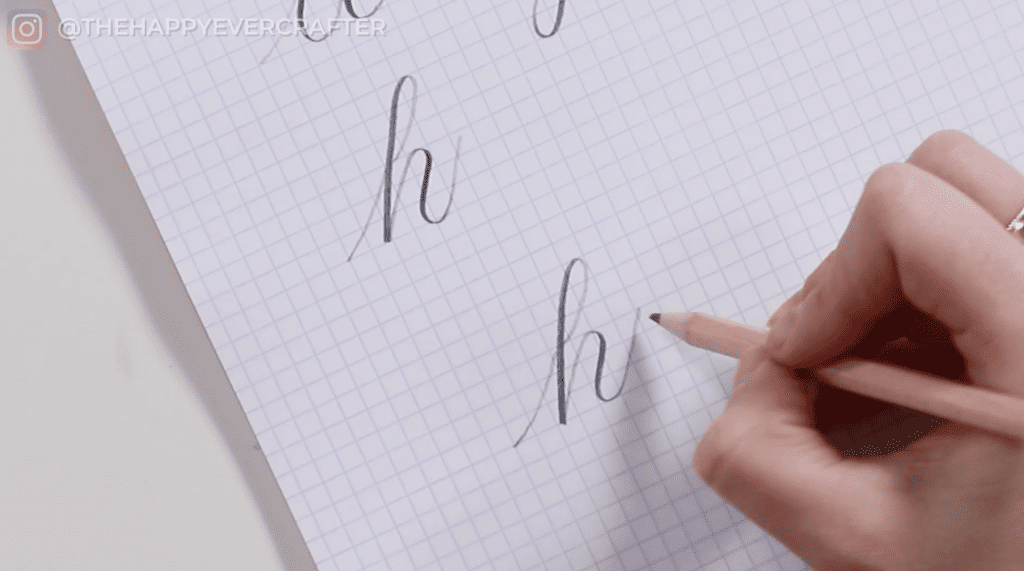
Then a compound curve.
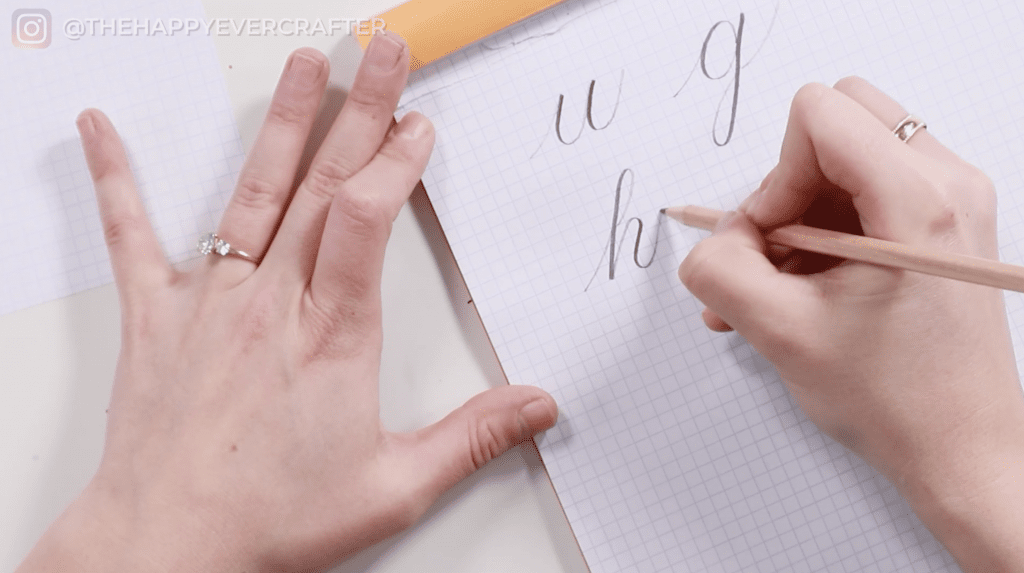
And you’ve made a letter “h”!
As you can see, your handwriting has nothing to do with it! Everyone learns the same strokes and does the same letters when you’re first getting started with calligraphy. 🙂
Time for Words!
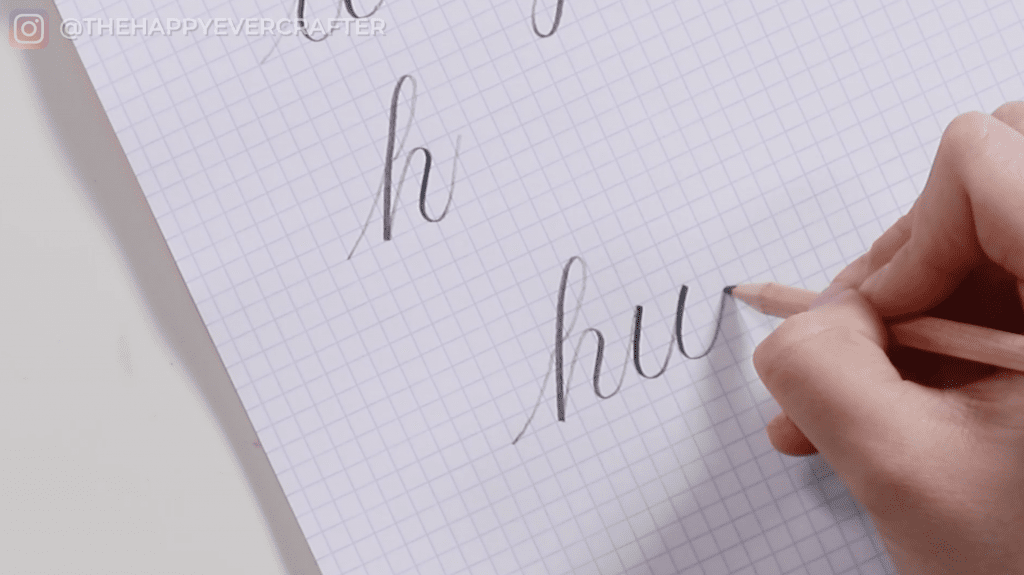
It’s time for you to turn those three letters into a word: with “u” + “g” + “h”, you can write the word “hug”.
Start with the first upstroke for your “h”. Ascending loop. Compound curve.
Then you don’t need to put an upstroke for your “u” because you already have an upstroke from the compound curve to use. Start your underturn. Then another underturn into an upstroke.
Then add an oval. Descending loop. And a lastly upstroke.
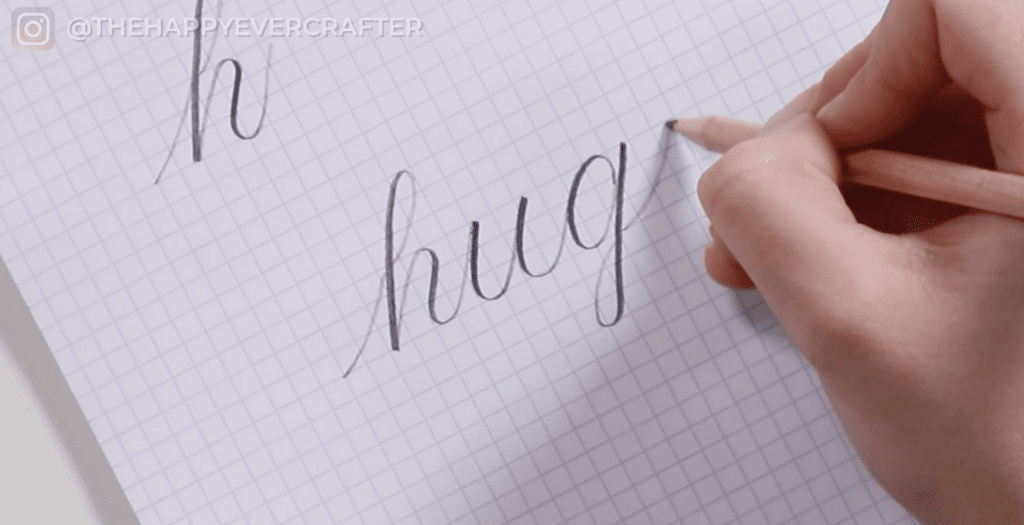
HUG! 🙂
And That’s A Wrap!
Now you know how to do calligraphy!
There’s obviously a ton more to it, but I hope this gave you a quick win. You can at least write the word hug. Now, if you wanna actually learn from the ground up with me, I have a free course with a free supplies guide, tutorial videos, traceable worksheets – literally all the things to learn the basics.
You’re more than welcome to join at showmeyourdrills.com.
In the meantime, here’s another calligraphy basics video I think you’ll like!
And finally, your dad joke…
Why did the skeleton need a hug?
…because he had nobody.


It was beneficial. I always thought you need specific materials and good handwriting for calligraphy. But now I know it’s all about the strokes and a tool that can show varied line widths. But there is one thing you need: practice, practice,. I just signed up for SMYD, and this was A great intro to calligraphy. I can’t wait to learn more!