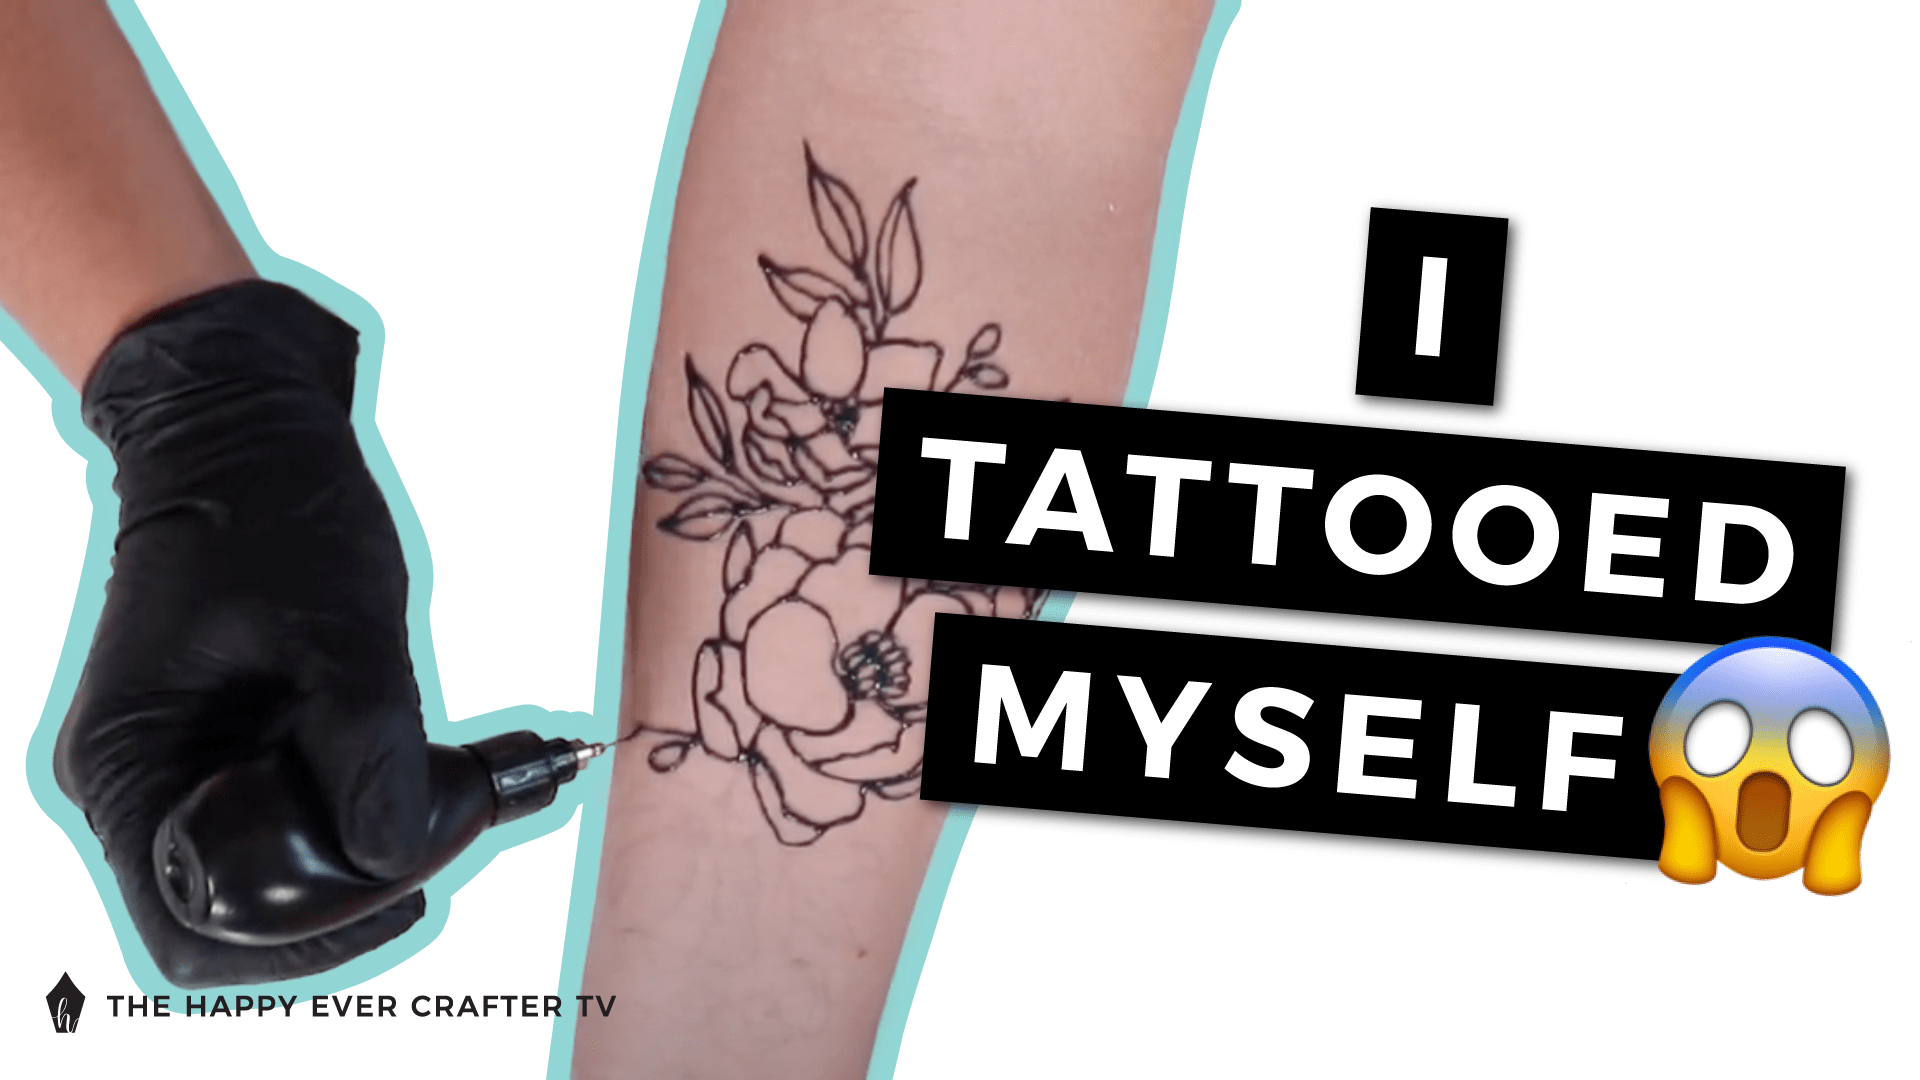
I tattooed myself!
Okay okay okay… It was temporary!
For yeeeears I’d seen Inkbox tattoos, and wanted to try them. So recently, I reached out to the company and asked if I could try out some of their stuff on my YouTube Channel. I told them that I would tattoo myself on YouTube and show how it works…
So that’s what I did! I knew this could go so badly or it could be amazing… what do you think happened?!
First Things First…
The links below may be affiliate links where appropriate. This means that your purchase through these links may result in a few cents in payment to me, to support creating further resources like this one! That being said, I will never suggest supplies that I do not personally use and fully recommend.
Supplies Used
- Inkbox Temporary Tattoo Supplies – Freehand Kit (large) with Tip Kit, Transfer Paper, Primer Wipes
Rather watch than read? No problem! You can watch me tattoo myself in real-time by clicking the video below!
Let’s Get Started!
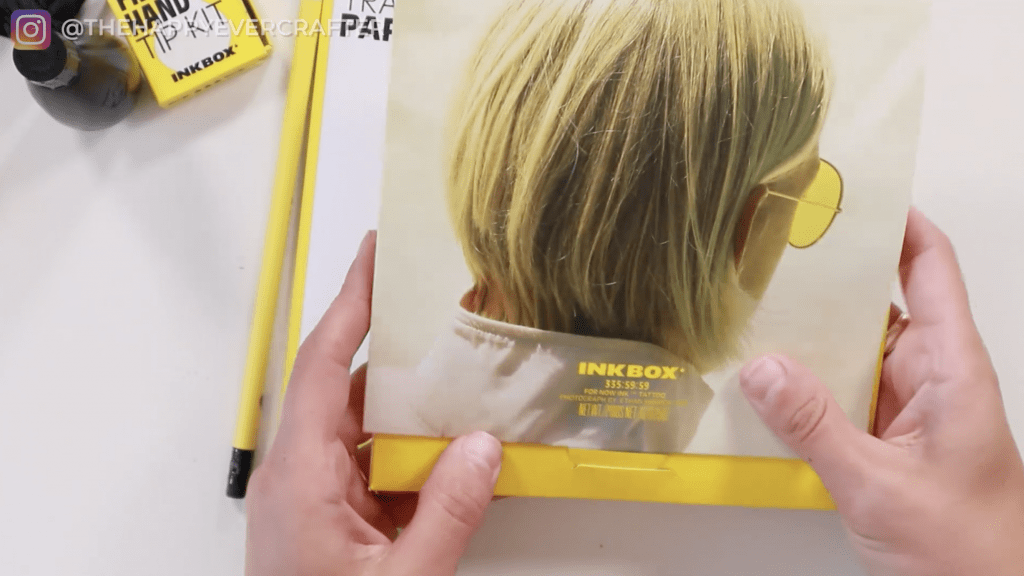
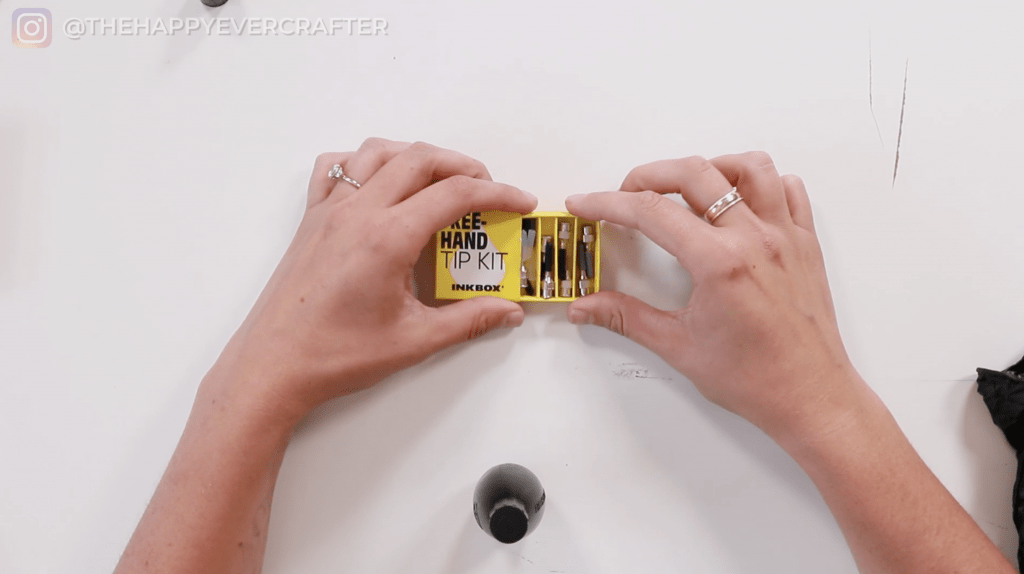
These are the products that I got from Inkbox.
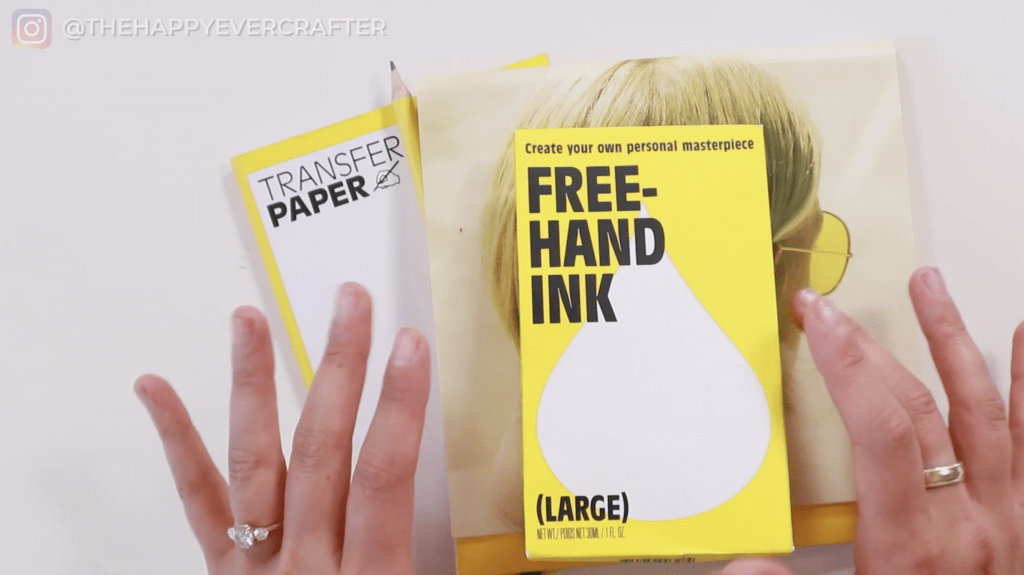
If you’ve never heard of Inkbox, basically it’s temporary tattoos. They have a bunch of pre-made designs that you can get, but they actually look like real tattoos. Lots of them are really beautiful – they’ve got a lot of artists who’ve submitted different designs, and you can buy them and do temporary tattoos.
Buuuut they also have freehand ink, and this is what I was so excited about because you can draw your own tattoos! It’s almost like henna – where you put on the goo, then let it dry, and let it cure. It then turns into a tattoo later. But with Inkbox, the final result is black, and it looks more like a real tattoo.
I was super excited to see how it works!
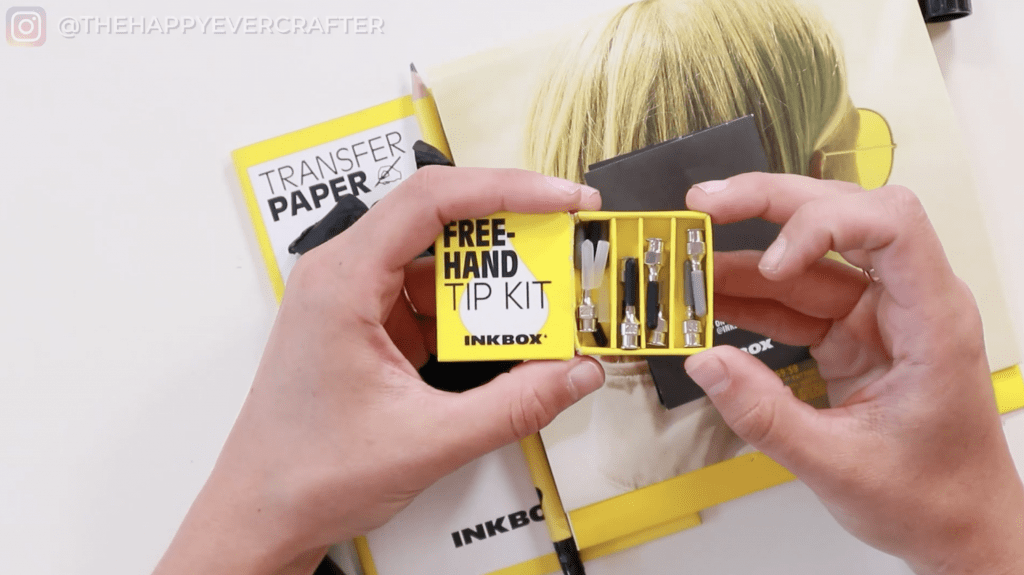
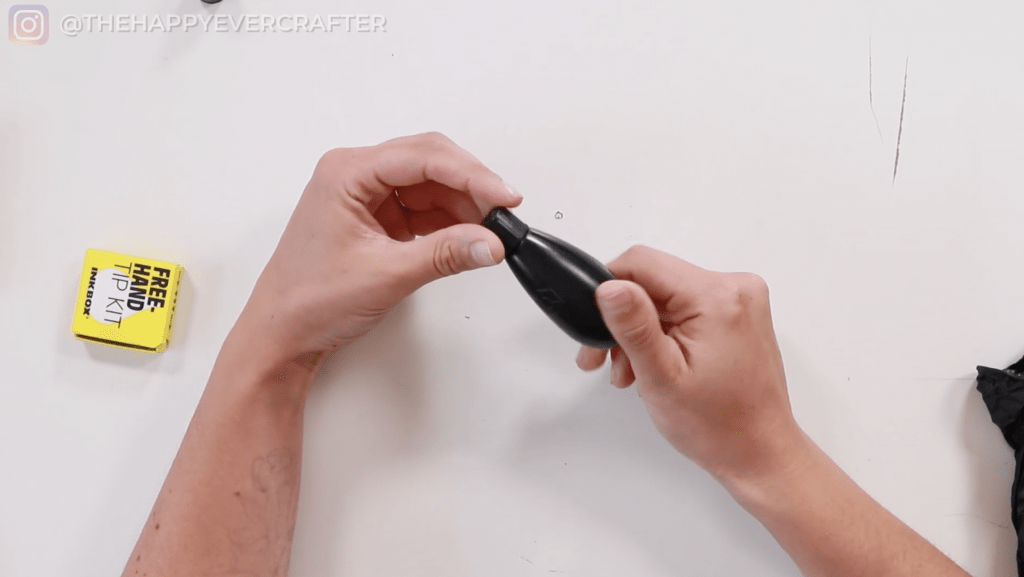
I got the freehand ink in the large size. I also ordered the extra tip kit – these are different sizes of tips for the ink bottle. You screw the top on, add the tip on it, and then do your tattoo. WIth the tip kit, I had all different kinds of tips.
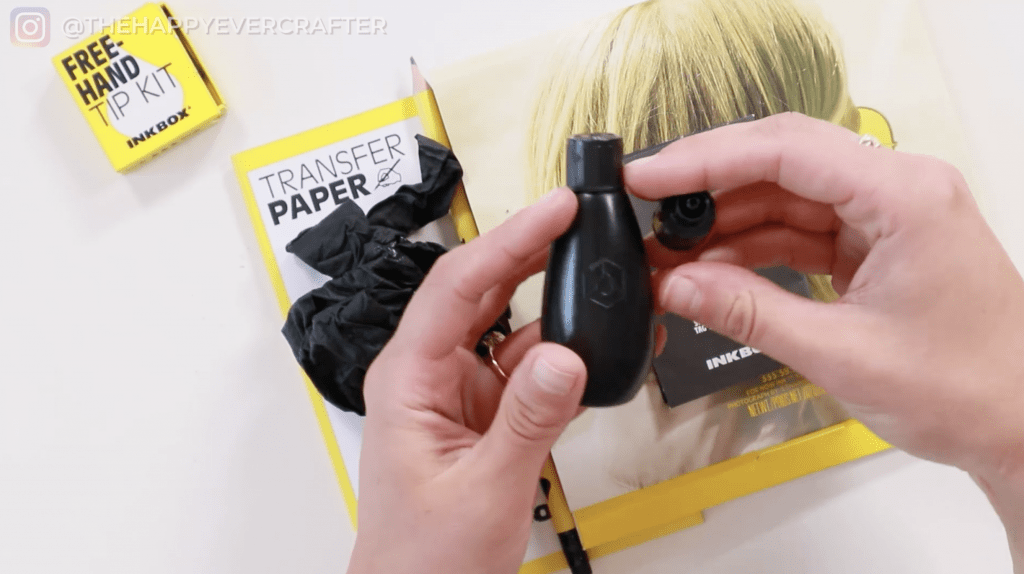
Then there was a glove in there because of course you don’t want to get it on your hand. It is tattoo ink, and it’s will turn into a tattoo if you get it anywhere!
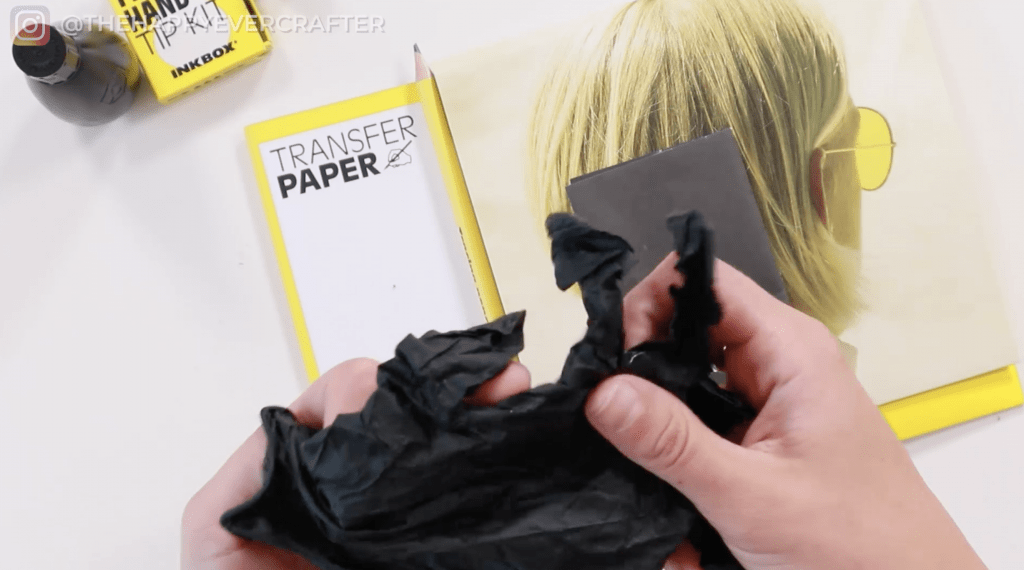
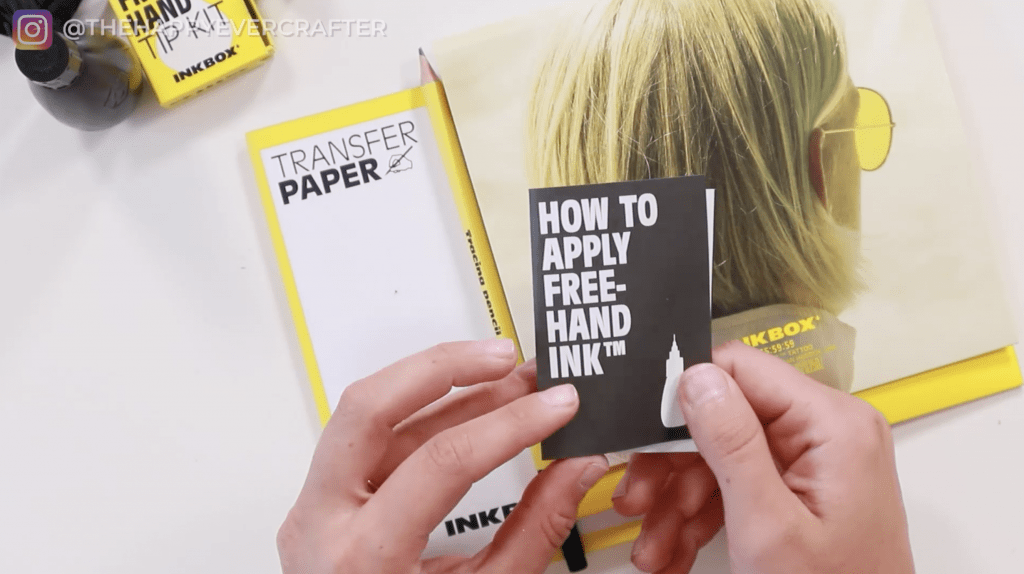
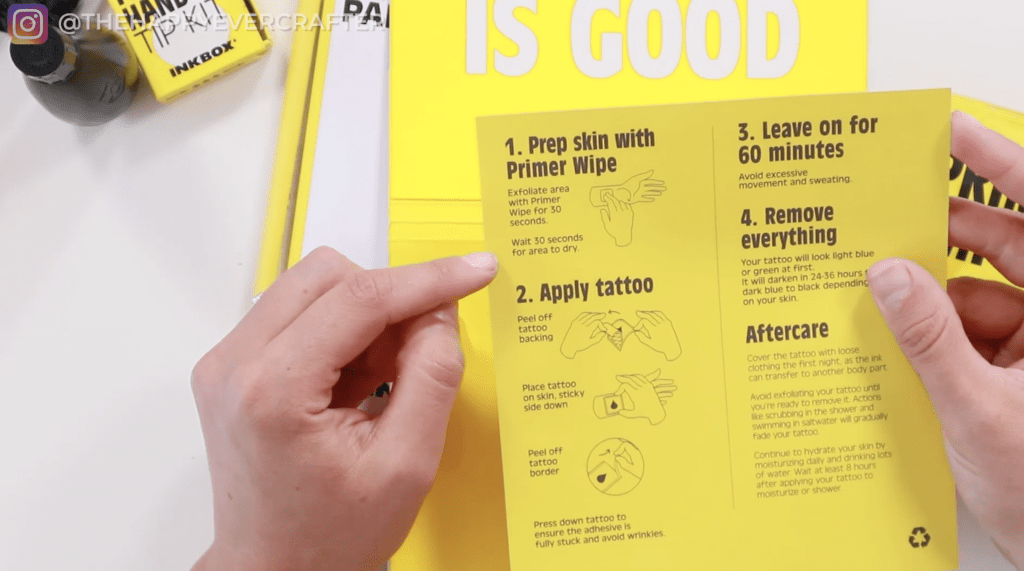
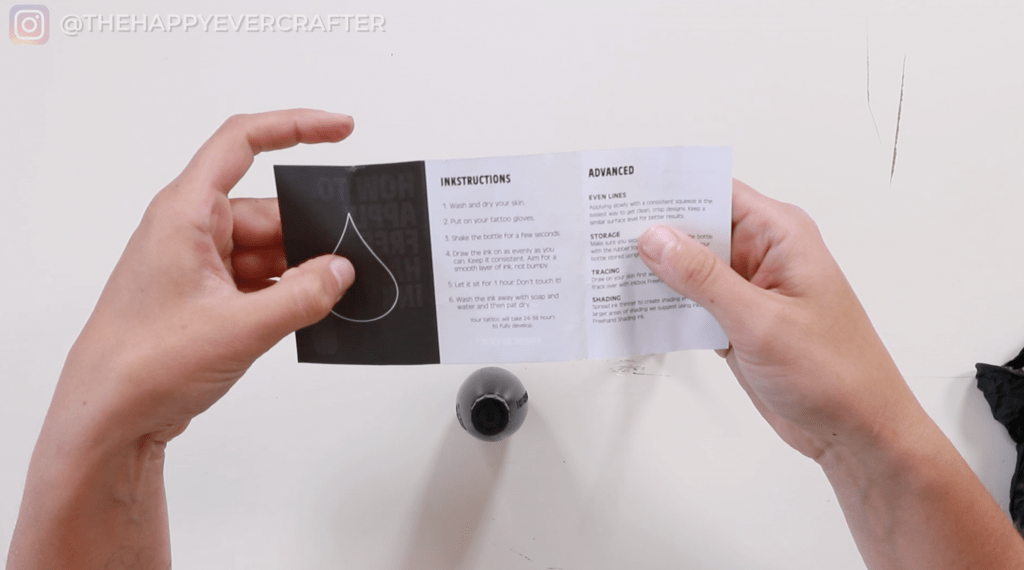
And then there were these instructions:
- wash and dry your skin
- put on your tattoo glove
- shake the bottle for a few seconds
- draw the ink on as evenly as you can
- let it sit for an hour and don’t touch it (which is probably going to be really hard)
- and then wash away the ink with soap and water and pat it dry
When you take it off, you don’t really see anything. It develops in 24 to 36 hours! Because of this, I applied the tattoo in real-time in the YouTube video but had to come back later to show the finished product.
I ordered everything listed above, but I also ordered a couple of their other extras.
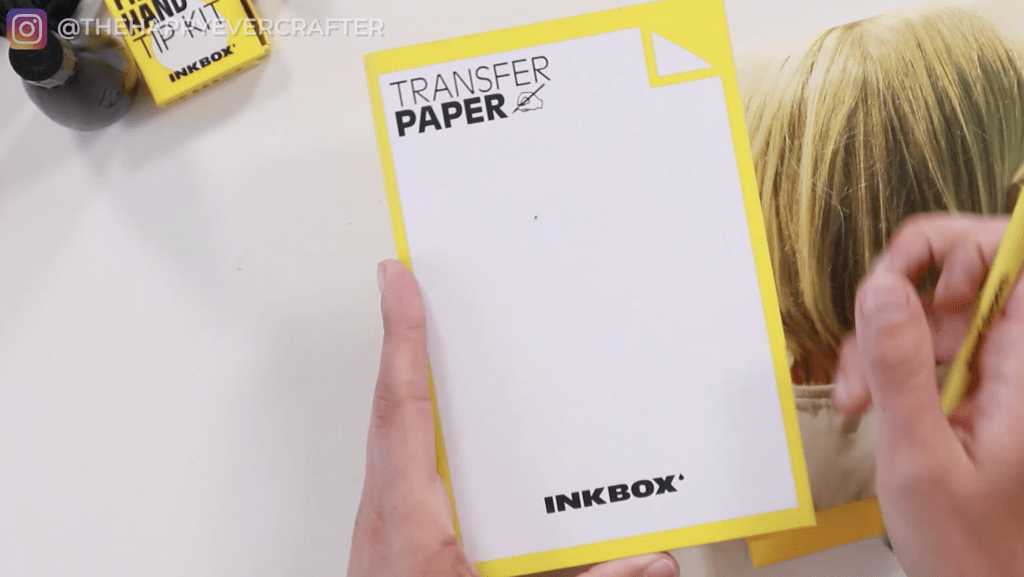
First up, transfer paper! If you’ve ever seen my video about my favorite signage hack ever, it’s sort of related – transfer paper and a pencil. I planned to put my design on the transfer paper, and then transfer it onto my body. This way I could trace the design instead of having to freehand it.
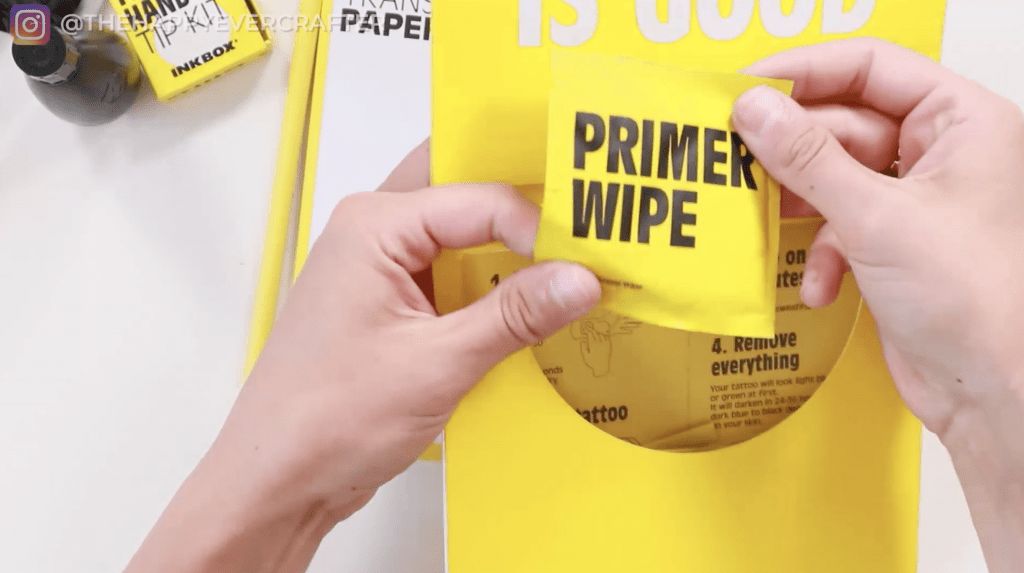
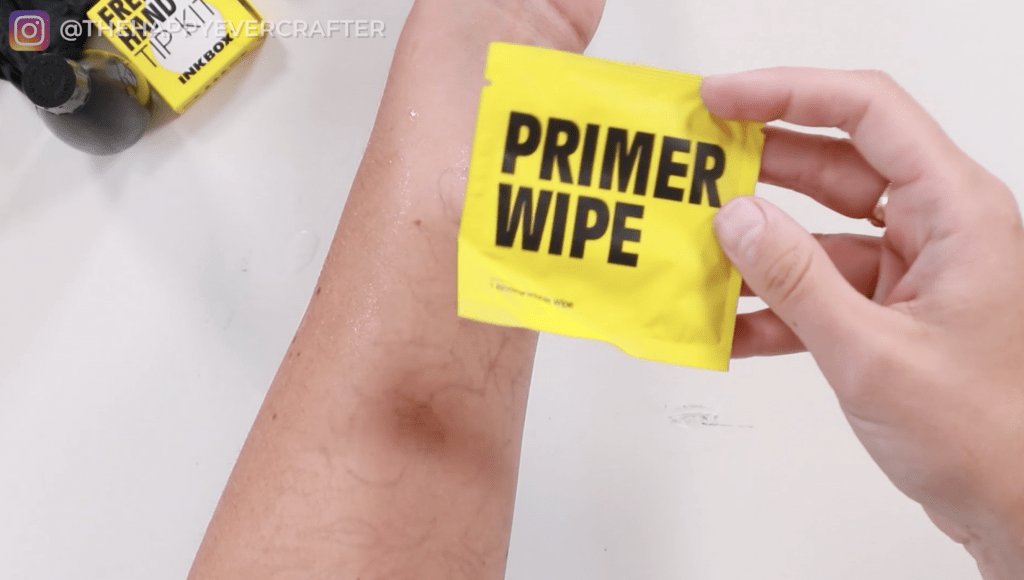
I also got cleaning primer wipes. The instructions said to prep skin with primer wipe, wait for 30 seconds, and then apply your tattoos. It also talked about tattoo longevity (how long these last). I planned to do mine on my forearm, and it said it’ll be really fresh looking from day one to six. Then day seven through twelve, it’ll start to fade. So I guess it should somewhere between a week and two weeks.

Let’s Do The Thing – Transfer Paper
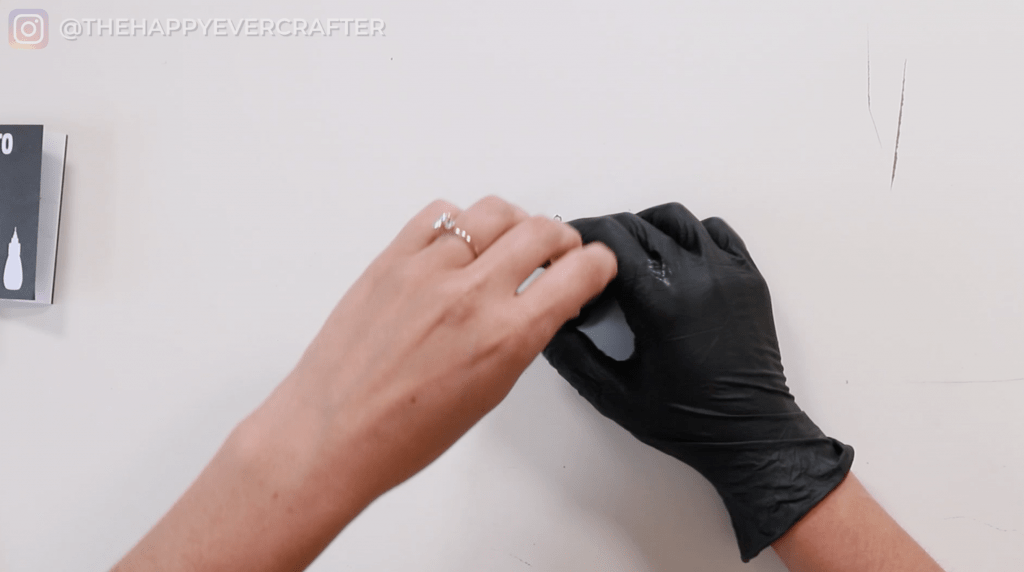
I got a primer wipe out, all my ink and things, and started to do my transfer!
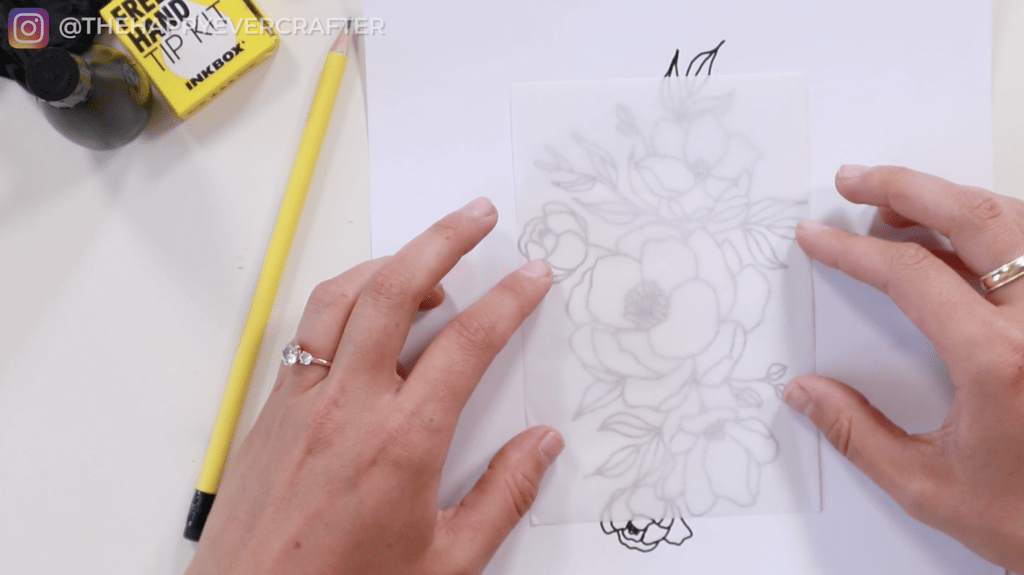
I actually drew the design I wanted on my iPad and then printed it out. I thought it would be pretty big on my forearm, but I liked it!

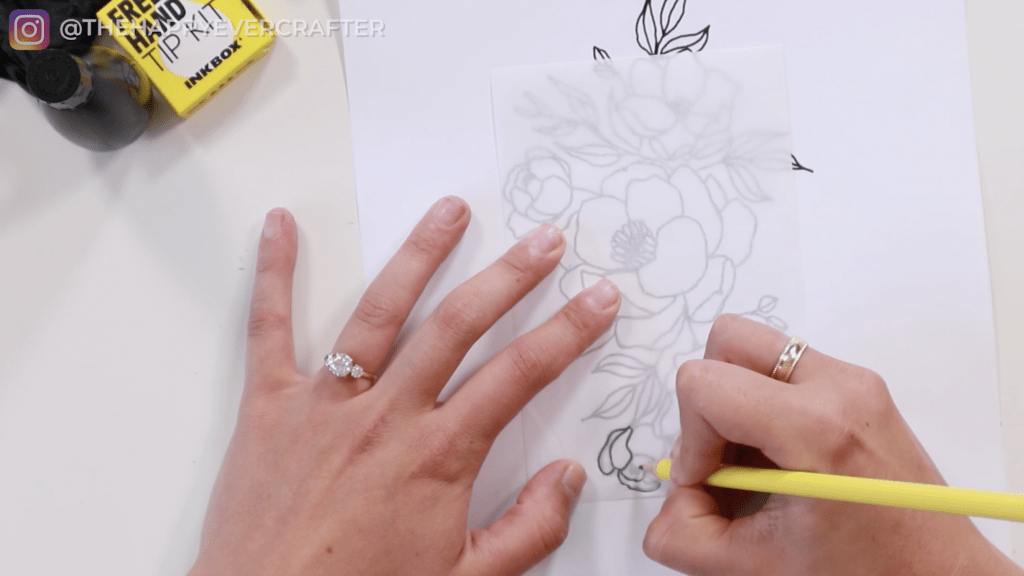
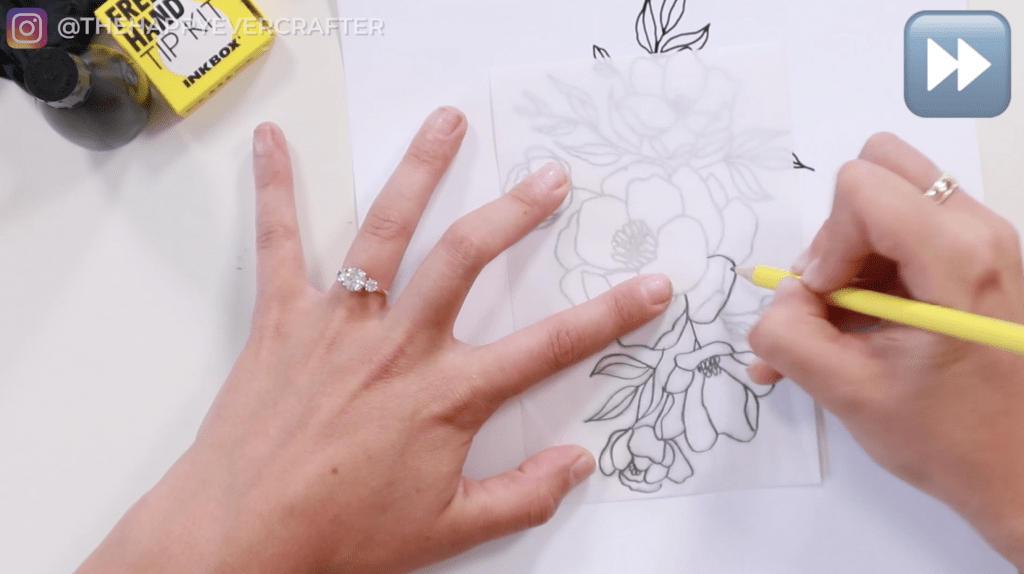
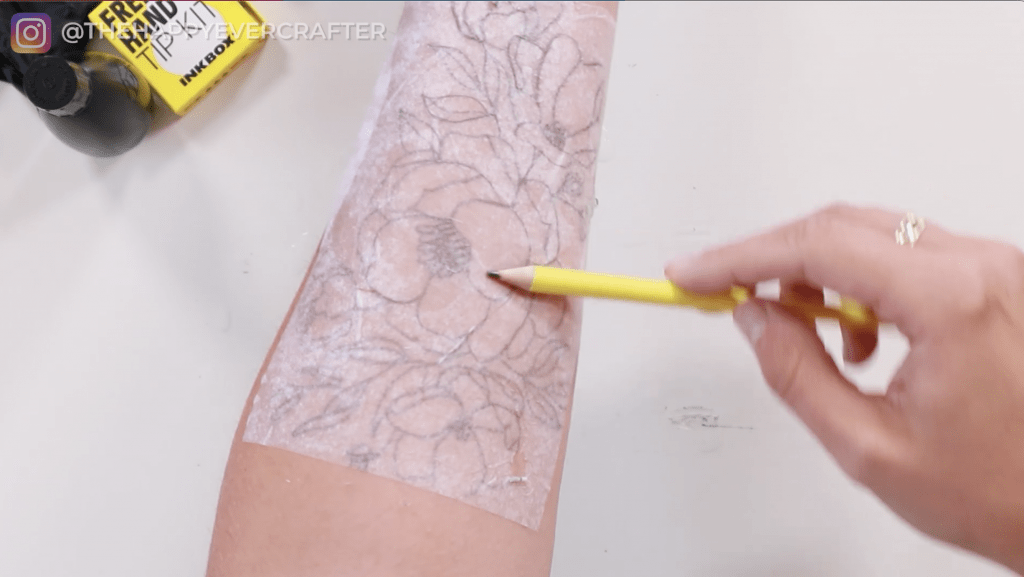
The first thing I did was put my design on the transfer paper. This was obviously not big enough, so I just fit as much as I could on there and then freehanded the rest.
I put a significant amount of pressure on here just to make sure that it would actually transfer properly. I didn’t want to be putting a tattoo on myself and not actually have the design I wanted because it was gonna last two weeks!!
I really love people’s big floral tattoos (like line drawn illustration tattoos), and I’ve always wanted one… but I just don’t feel like I can commit. So this was the perfect test to see if I would actually like this.
When I started this, I was super hopeful it would turn out well on my arm and not just be a blob for two weeks. You would get to see it regardless of the outcome though! You could laugh with me if it was bad. Going into it, I really didn’t think it would be bad though! I thought it’d be cool as long as I could go without touching it for an hour and not smudge it on anything.
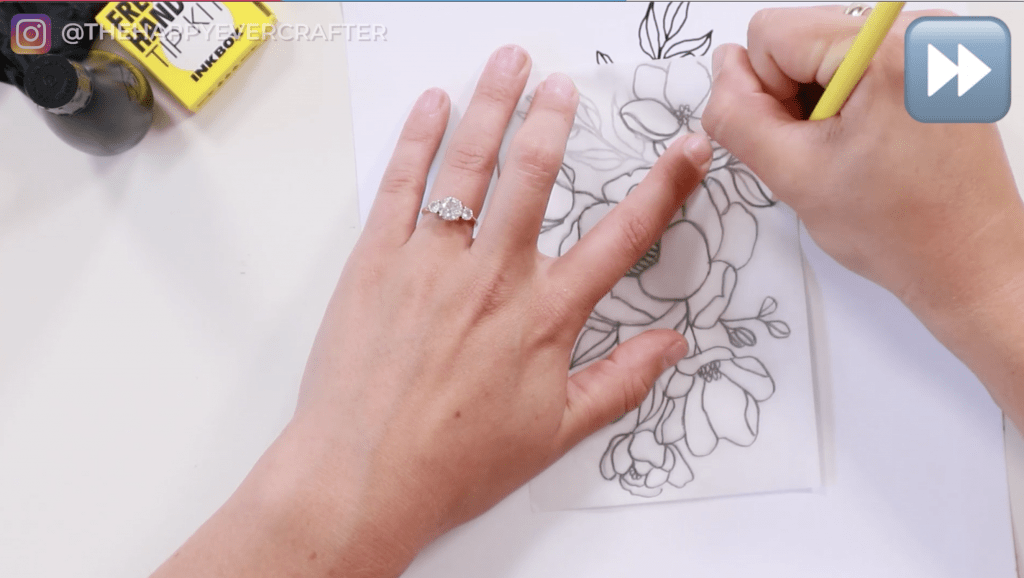
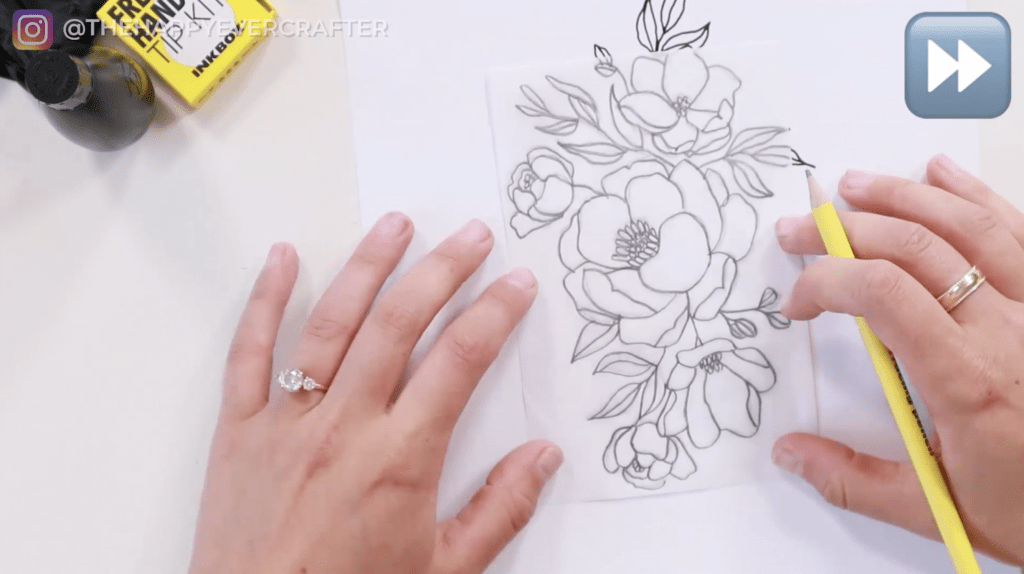
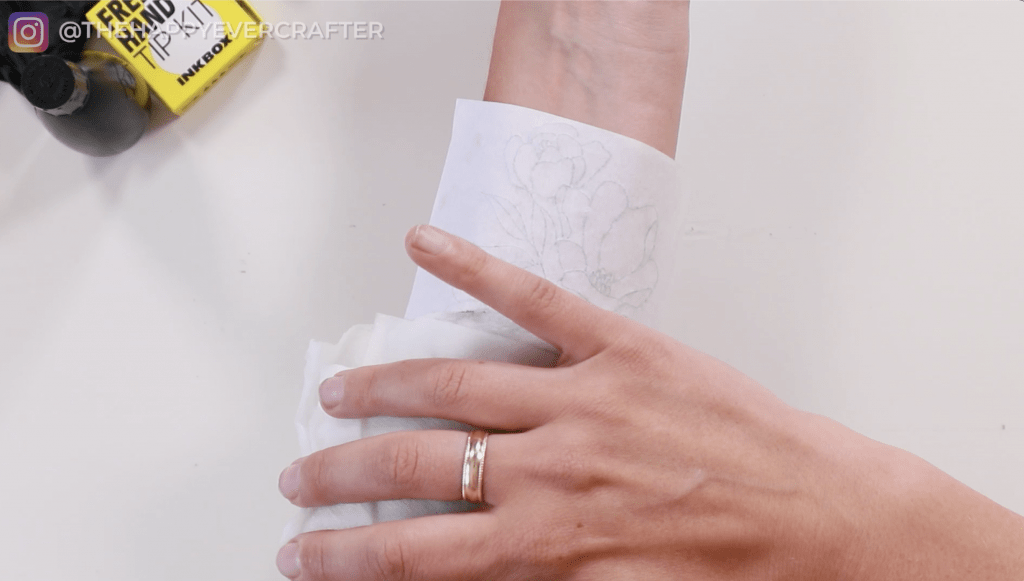
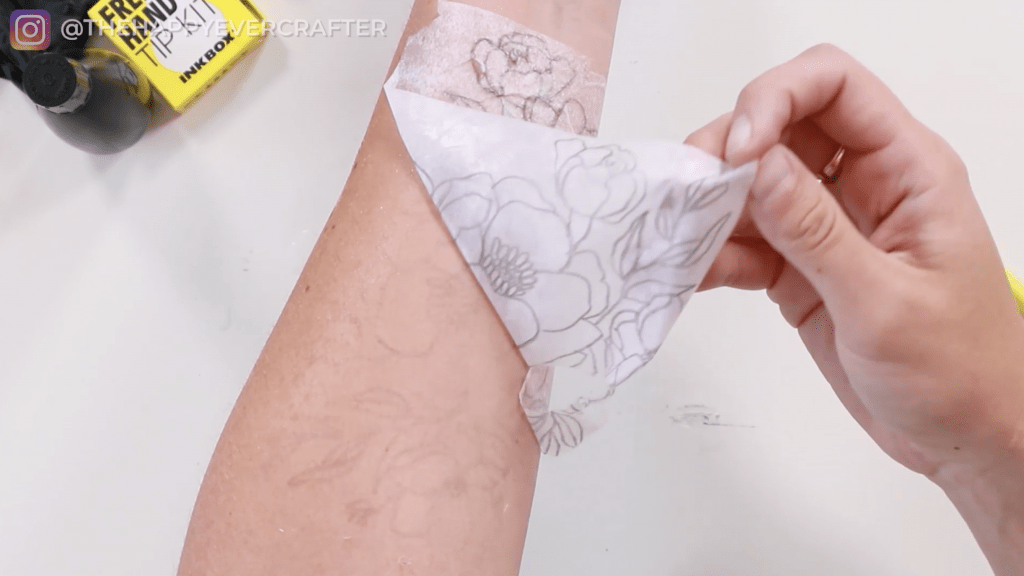
Design = traced.
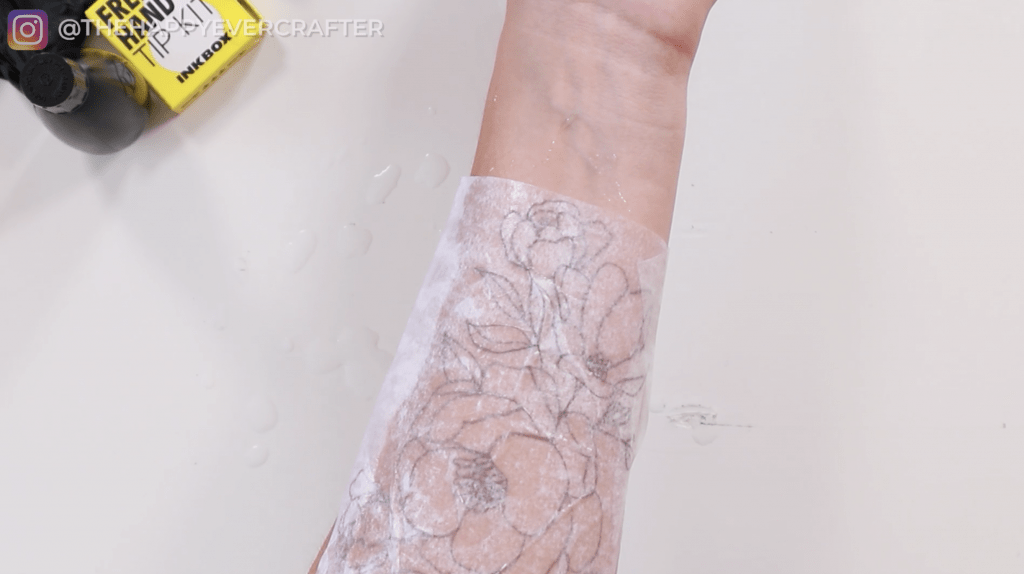
I needed to go get a cloth with some water on it so I could do the transfer. I grabbed a paper towel and wet it, and then positioned the design on my arm. Obviously I put the side that has the graphite on it on my arm… graphite side down arm.
I thought it would be too big, but it was actually kind of the perfect size for my arm! I really liked that.
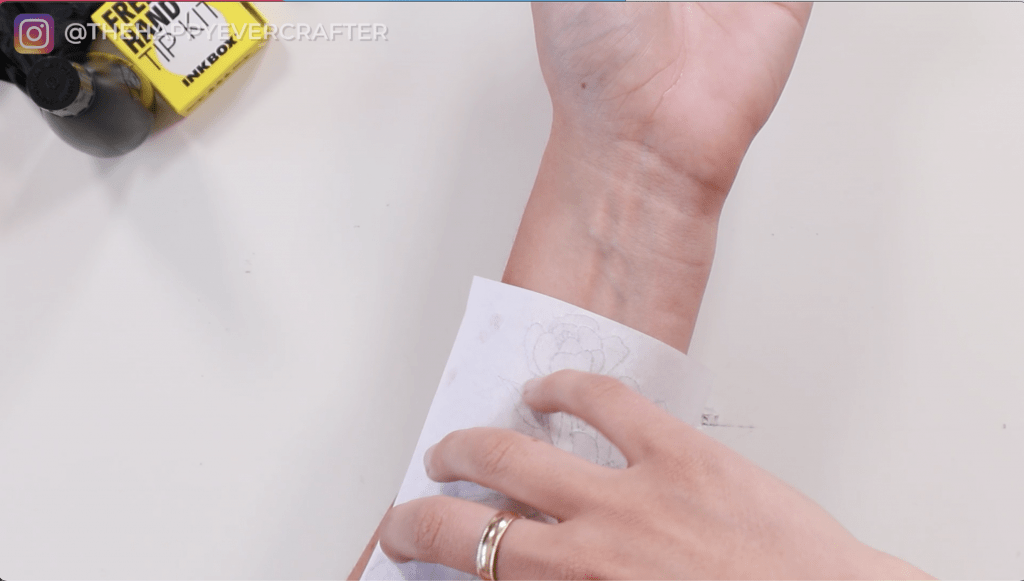

Next I just wet it and tried to transfer it on. This was kind of tricky! It would have been maybe helpful to have someone else help me with this part. It just got all messed up! Maybe I should have taped it onto my arm or something, I don’t know.
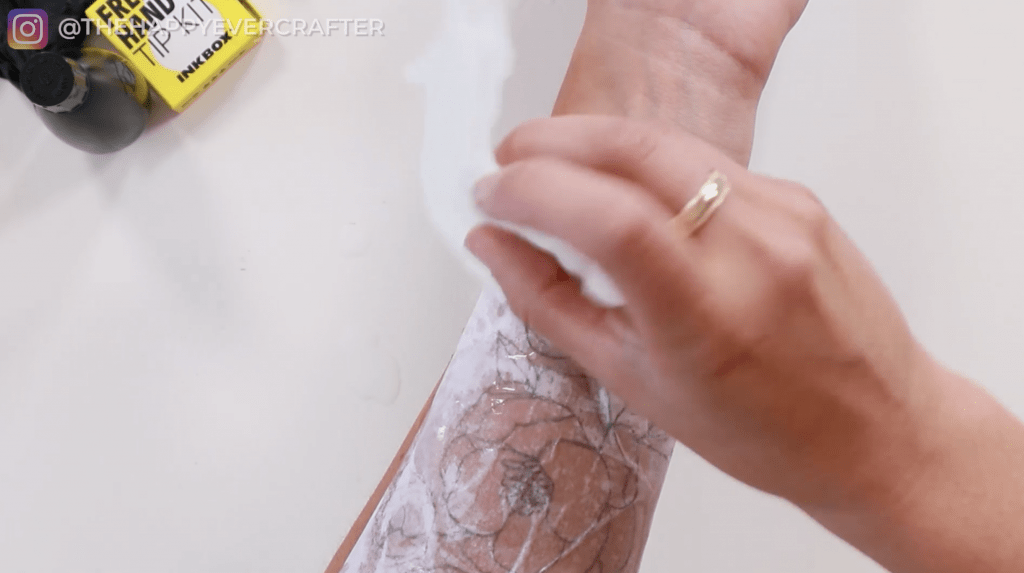
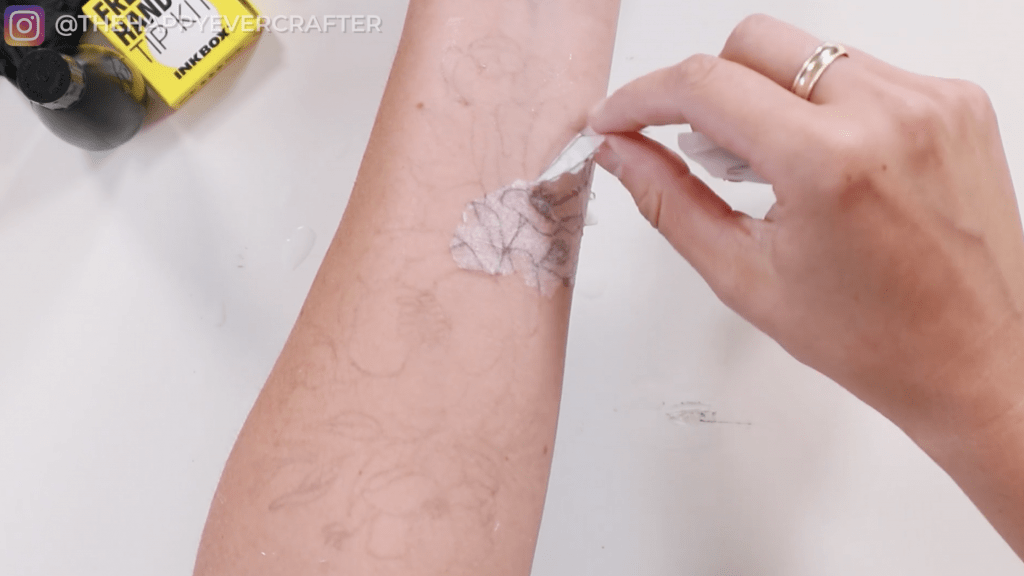
Moment of truth…
It didn’t transfer at all! What the heck? Maybe I did something wrong?

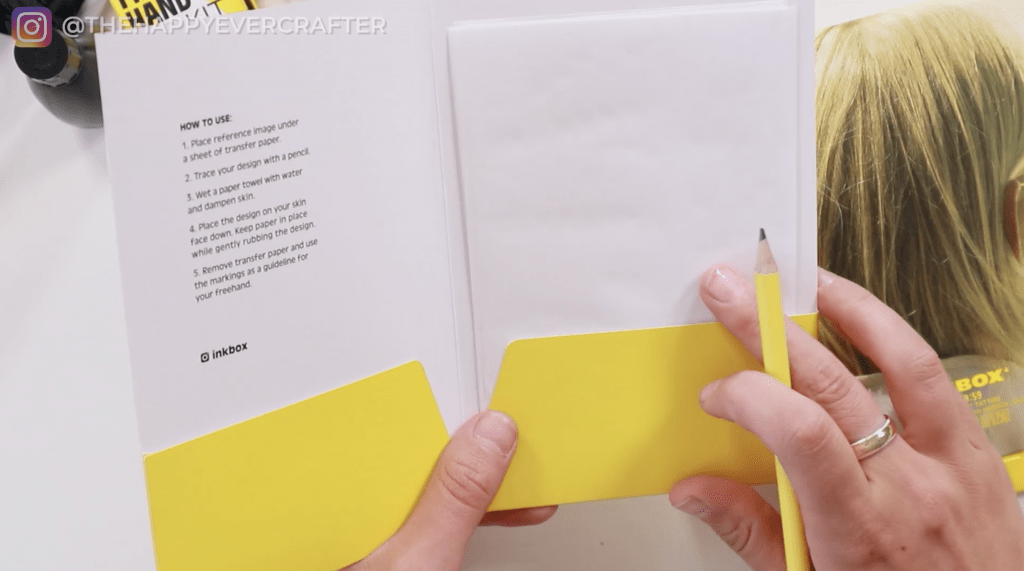
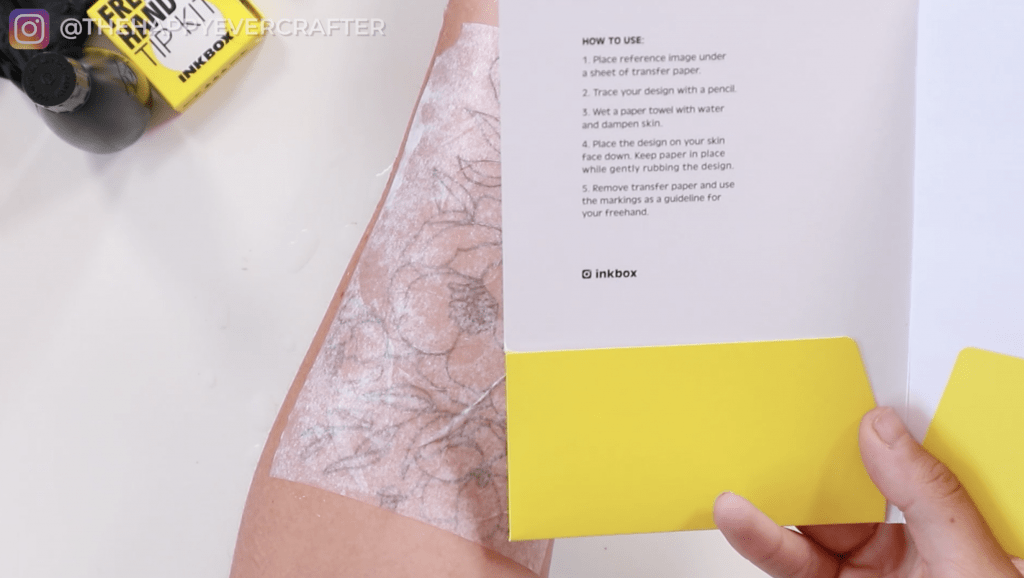
Maybe I needed to read the actual instructions on this transfer paper… trace your design with pencil, wet a paper towel with water and dampened skin… yeah, yeah it just was not really working.
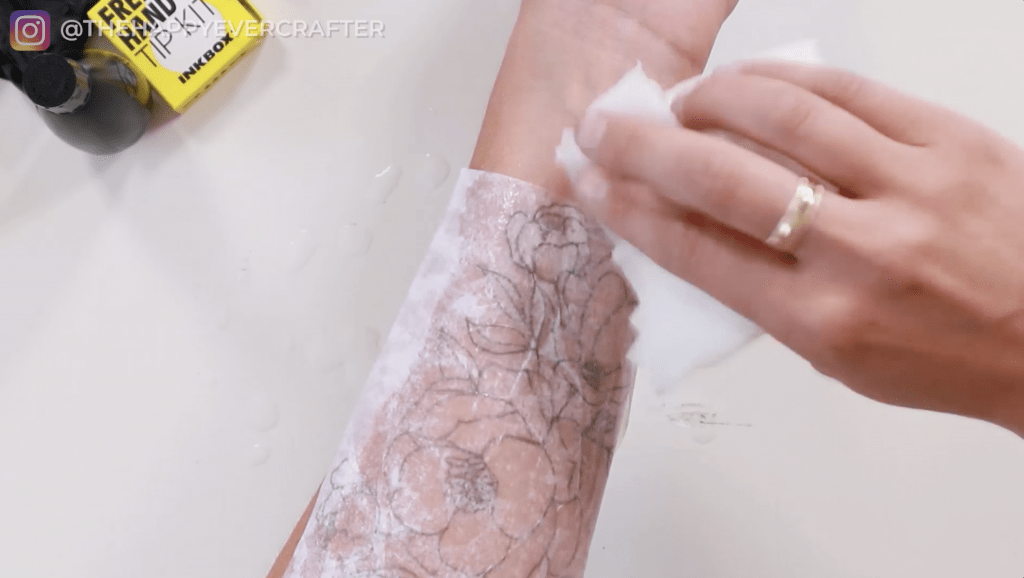
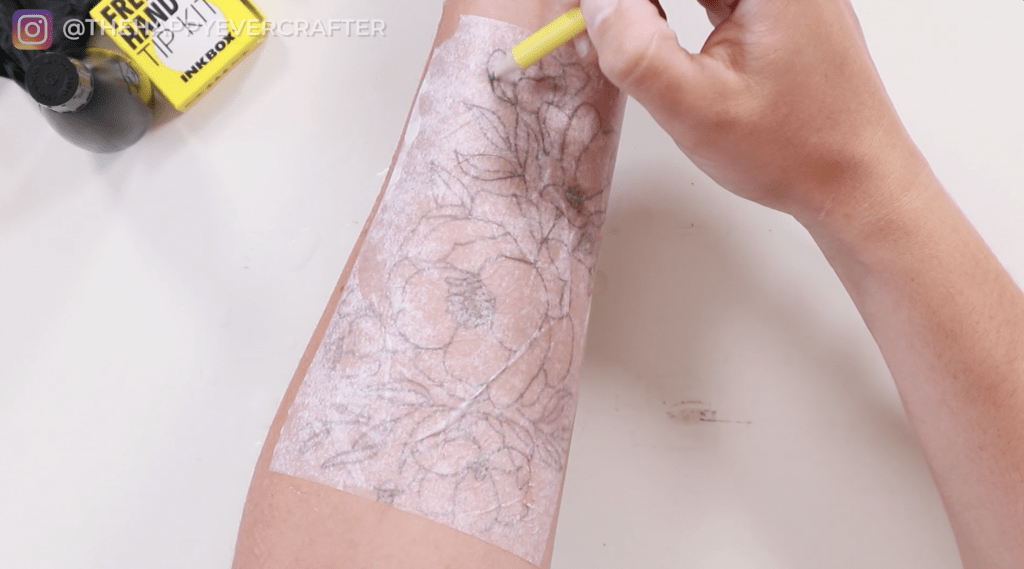
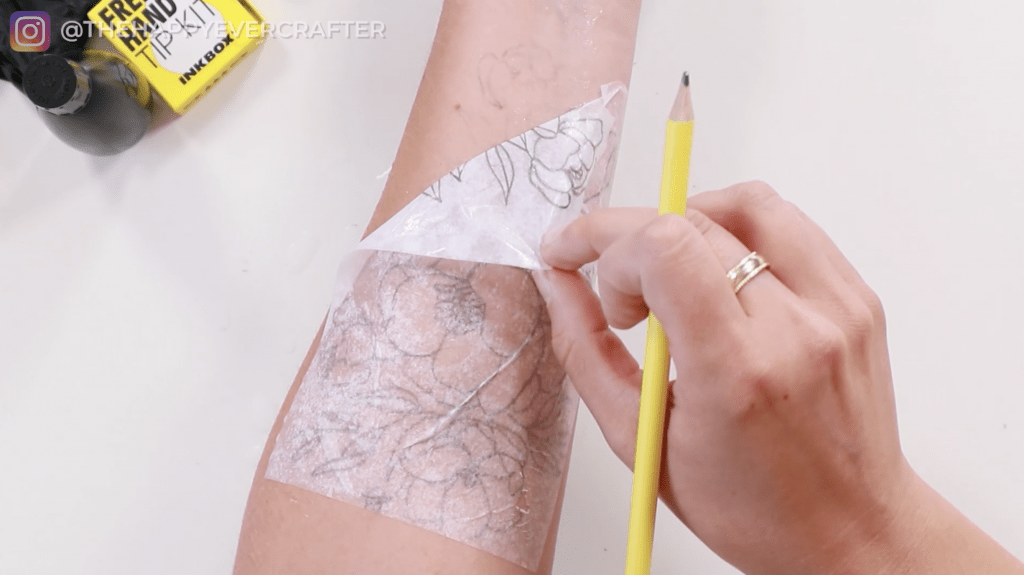
What if I did my actual transfer method and went over it? Some parts of it were working… This just didn’t seem like the best transfer method. Was I just missing something? Anyway, I went over everything lightly with my pencil (rubbing over the drawing lines).
This is a real, honest review. I’m telling you what worked and clearly what didn’t.
I went over every – this has to have worked, right? Nope, not super well. It worked enough that there was enough that I could kind of see it. I decided that I would just try and do it even though I couldn’t really see my design. I would keep my original design beside me and use it as a guide.
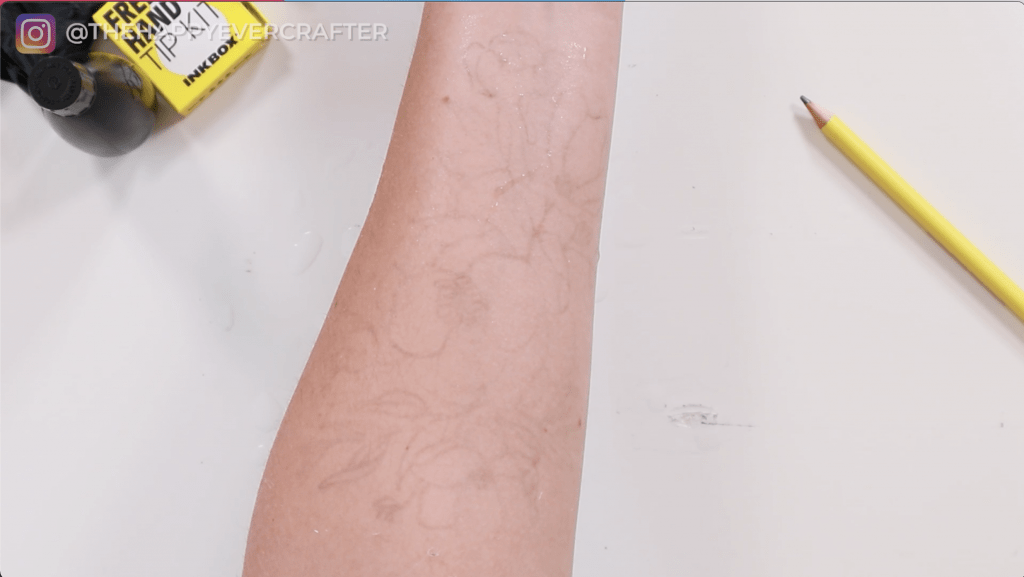
And then I realized… OMG. I forgot to use the primer wipe! Yeah that’s probably why the transfer paper didn’t work super well. But now you guys know…
What a disaster already! Enjoy this blog post where I completely screw up and make a mess on my skin. ? I’m just kidding, it’ll be great!
Let’s Do The Thing FOR REAL – Ink!
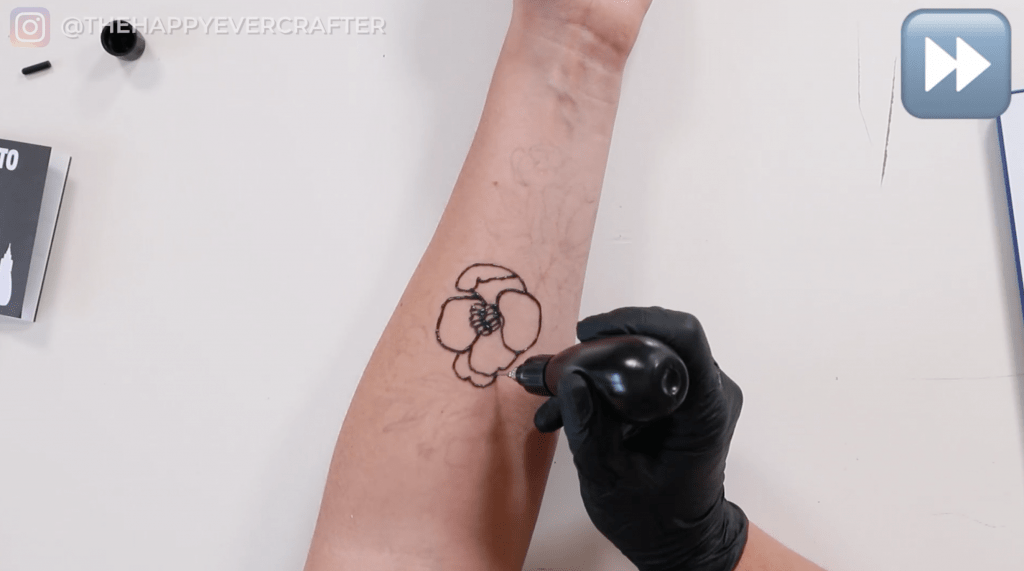
Despite not having a great sketch on my arm, I went for it anyway.
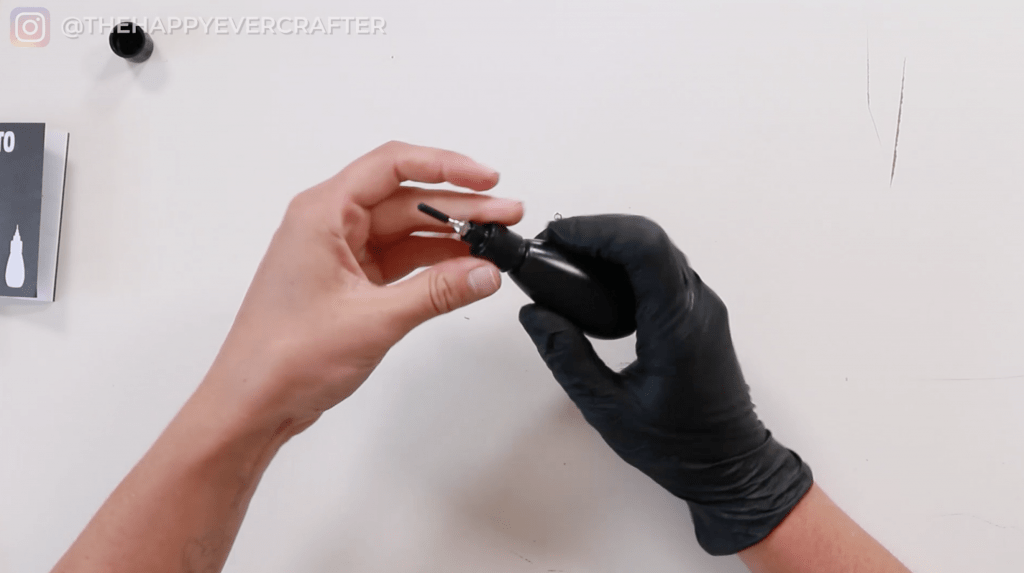
I got the freehand ink and picked which tip I wanted to use. There was an 18, 20, and 22 gauge. I went with the “medium”, the 20 gauge, and hoped for the best!

I honestly didn’t really know that much about what the difference was, but I think it’s just size.
I reread the instructions again because, clearly, I ignored the last one and forgot the wipe. I needed to shake the ink first for a few seconds (it’s probably crucial) and then put on the glove.
I put the top on (with the 20 gauge tip) and tested a little strip on a piece of paper. I didn’t know how the ink would actually run and wanted to know before starting on my actual skin. Good thing I didn’t drink too much coffee beforehand!
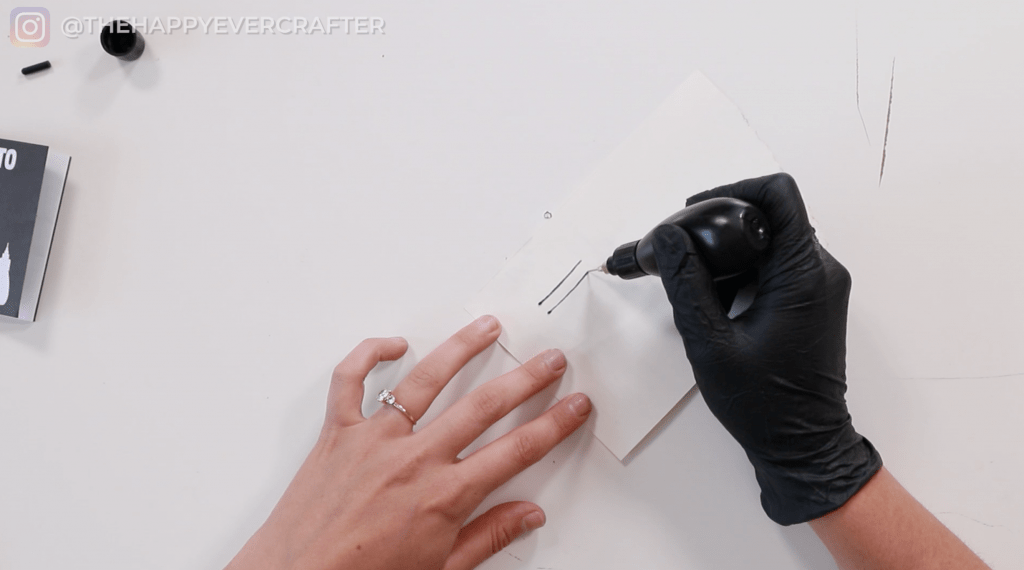
Those lines looked good. Let’s do it!
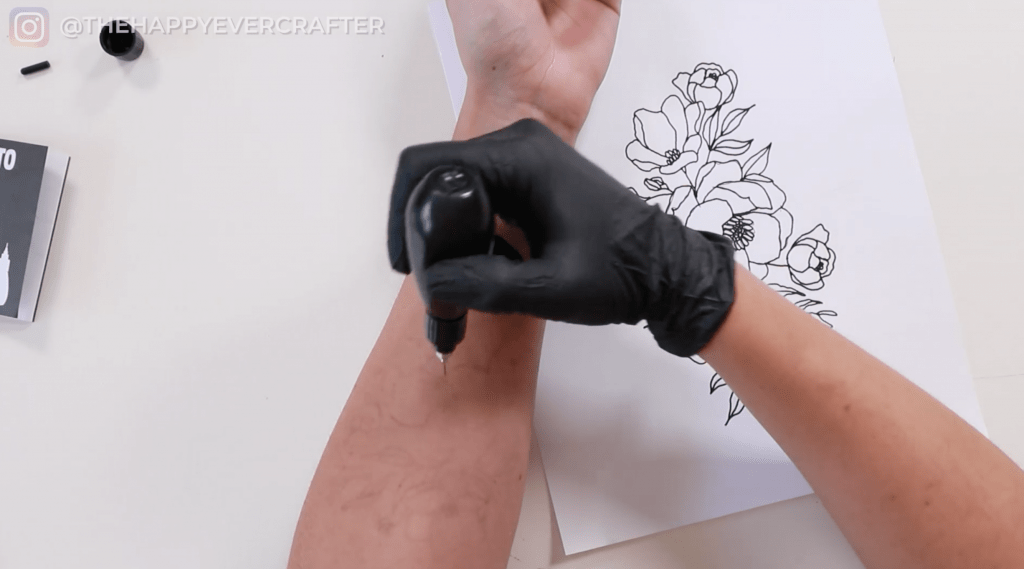
I kept my sketch near me, so that I could use it for reference.
Side note: it was probably not super smart of me to do this in such a noticeable location in the middle of summer when I can’t even wear a long sleeve to cover it up. If it looked bad, it was gonna be visible!
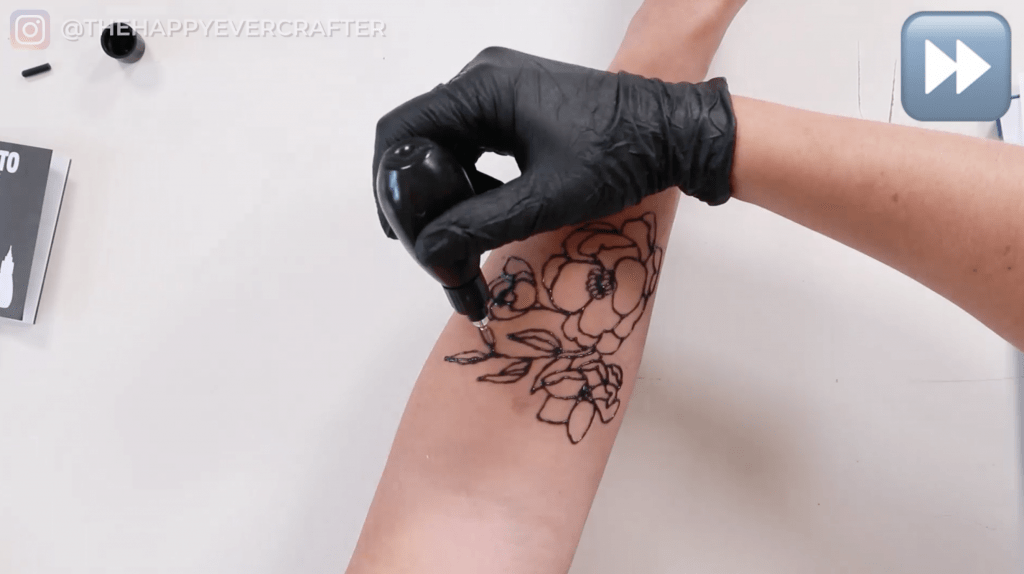
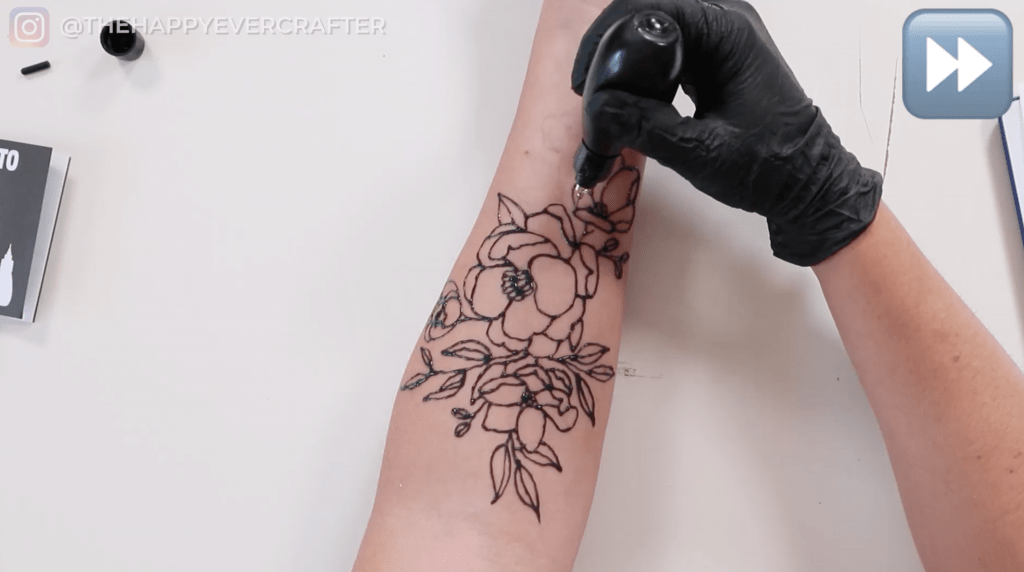
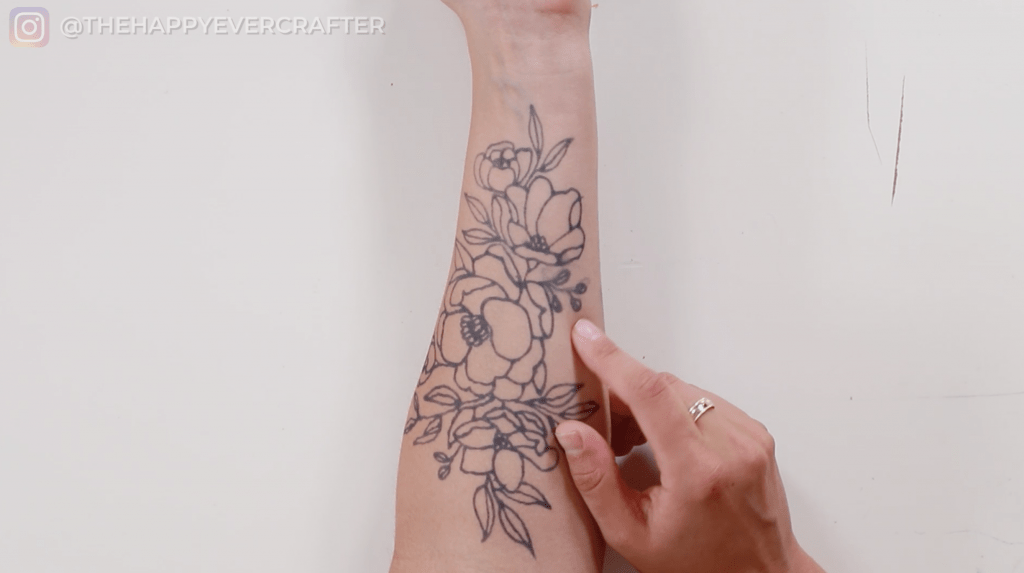
I deviated from my plan a little bit because I couldn’t really see all of my sketch. But I actually really loved the way this turned out! I really got into a groove with it. I think I’m gonna really like this tattoo stuff!
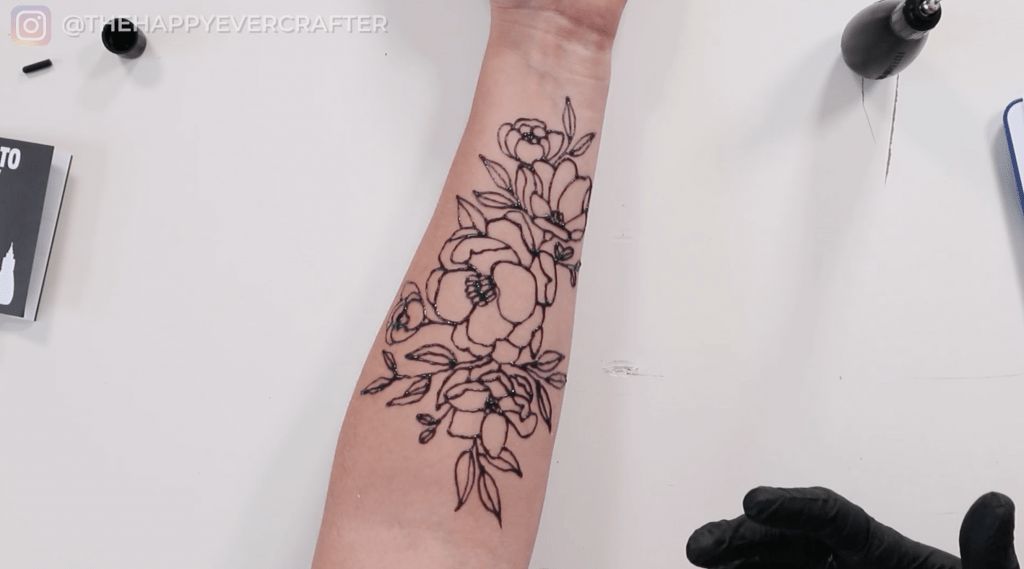
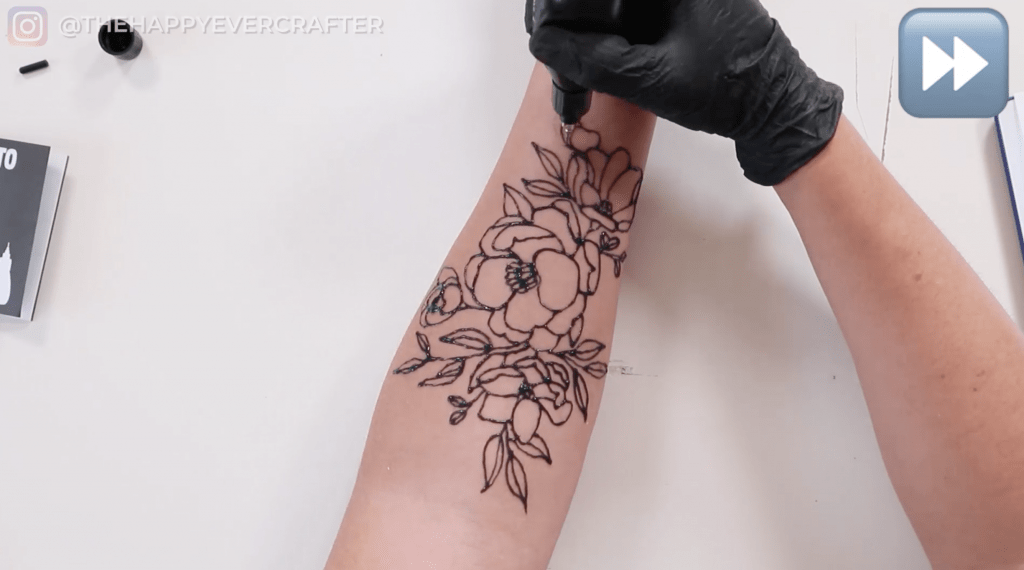
Like I mentioned, I needed to wait an hour for it to dry. Wipe it off, and then wait 24 – 36 hours for it to fully process.
And Now We Wait…
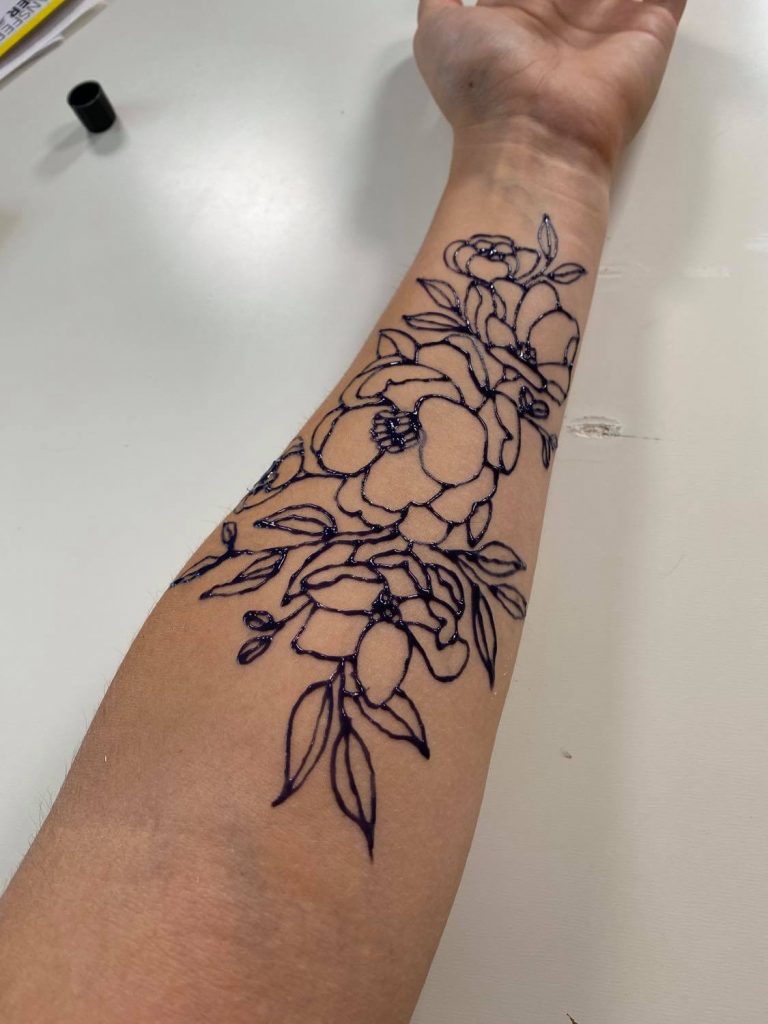
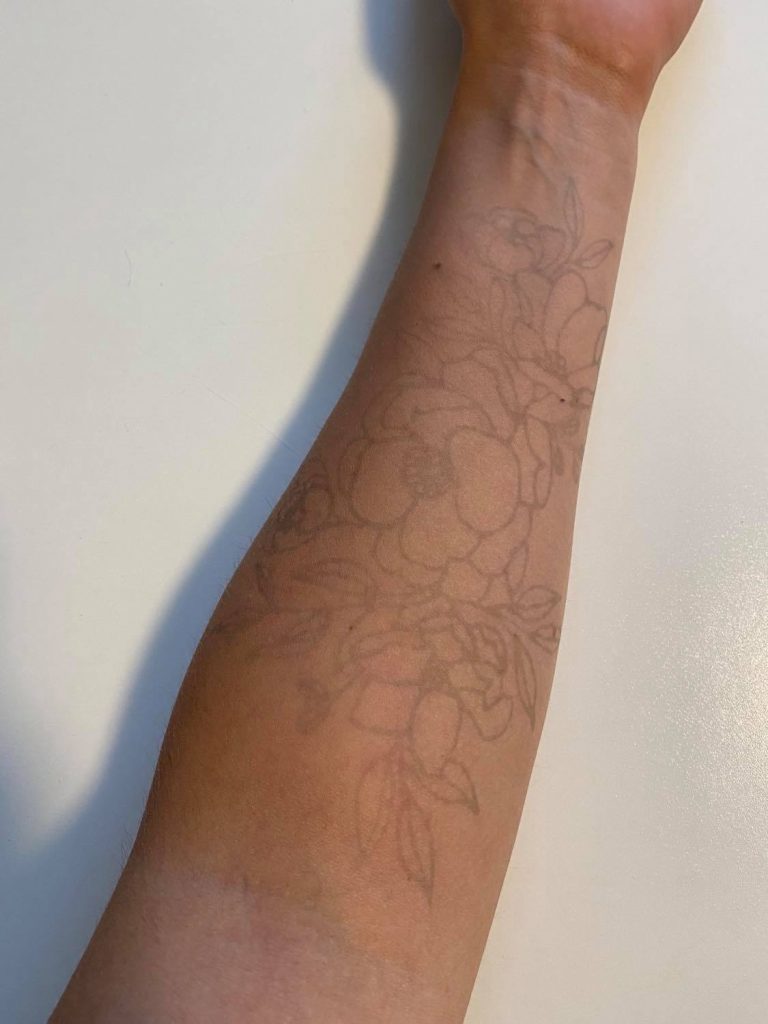
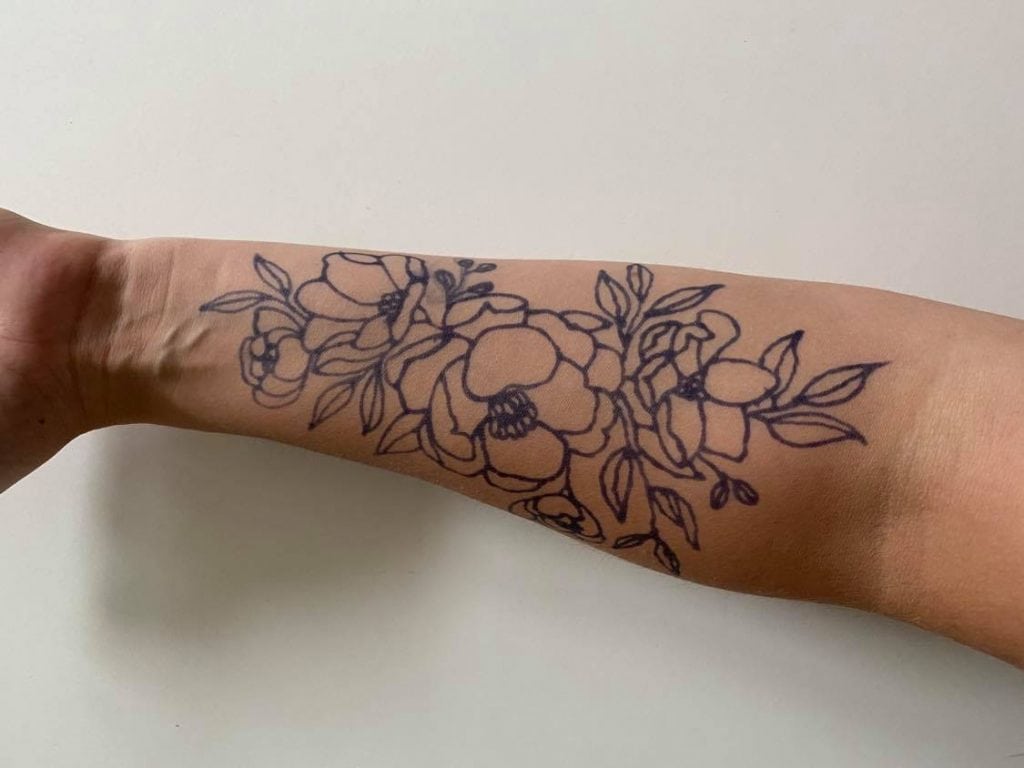
Fresh ink vs 3 hours later vs 6 hours later vs 24 hours later:
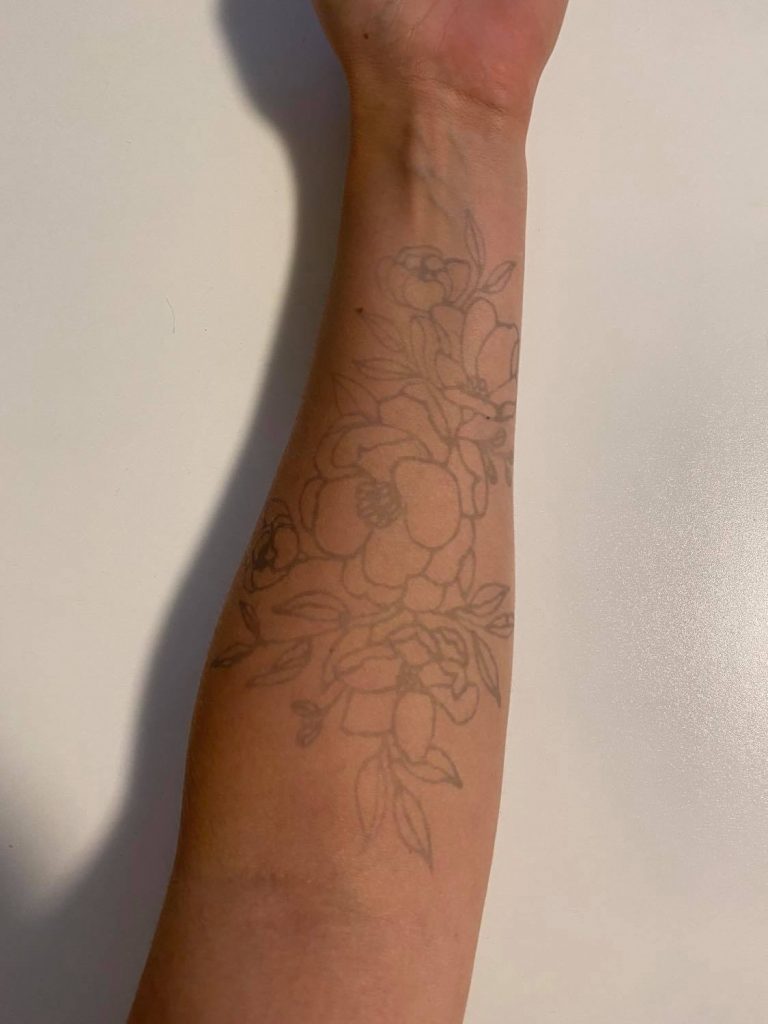
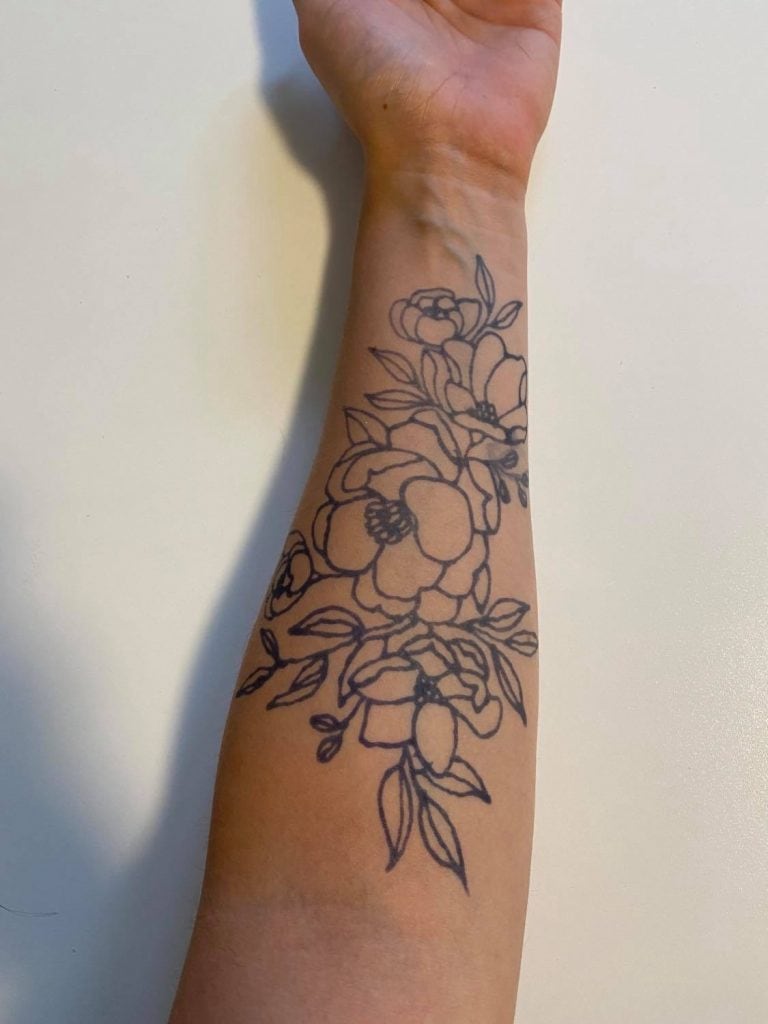
And here’s the final reveal! This is what it looked like 36 hours after I drew it on my arm. It cured and was really nice and dark. It looked pretty much like a real tattoo! It was actually pretty cool. I was very impressed with the way it looked! I really liked it!
I think this would be such a fun way to test out a potential tattoo that you might want to get and just live with it for a bit to see if you like it. Or you could do this for fun on yourself every once in a while or on friends or at a party or whatever! I’m sure people can even make money doing this for clients if they wanted to.
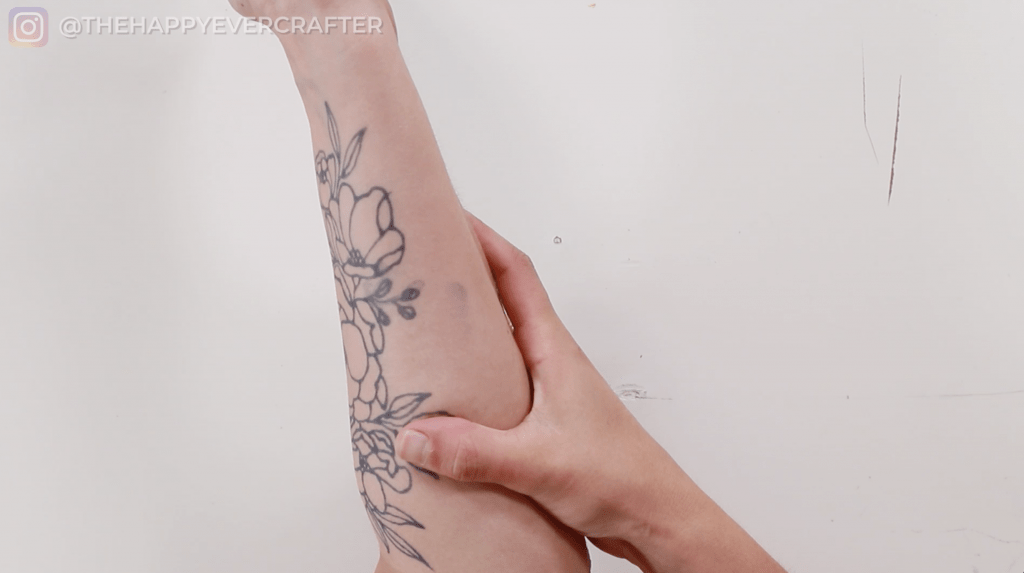
Something to note is that about 20 minutes after I stopped the camera, I smudged this spot by accident. I thought it was early enough that I could just wipe it off and redo it but you can see that the original part had already started to cure a little bit before it smudged. You can see the outline there, but that’s not a huge deal.
I also got a little bit of a smudge on my arm underneath it and that was “permanent”. Finally, I got a little bit on my hands. When I had smudged it, I didn’t put the glove back on to fix it. I thought, “no, I won’t get any on myself”… but I did get a little bit here (and on my thumb).
And That’s A Wrap!
Anyways, long story short, it looks pretty cool, it was a lot of fun, and it was very easy to do. I think overall, I’d highly recommend it. I think you should get some, and you should try it! So huge thanks to Inkbox for sending me these products to try out. I’m definitely going to be doing this a lot more on myself.
I hope you enjoyed this blog post. For now, here’s another post that I think you’ll like!
And finally, your dad joke…
Did you hear about the guy with the misspelled tattoo?
He said he has “No regerts”.


I have just placed my 2nd order of the pre-made Inbox Tattoos. 1st order confirmed quality, size and placement I liked best.
Cheers – Sharon
Hey how long did this last?