A bride asked me to decorate a pair of shoes for her… so I filmed it for you! First, I’ll show you how to draw really simple peonies, then I’ll step-by-step detail how to apply them to a pair of shoes.
I like to use the same flower when I’m doing a project like this because I find it makes the whole shoe look a little bit more cohesive. And it’s also easier if you’re a beginner! It just becomes a repeatable process with just a slight difference.
First Things First…
The links below may be affiliate links where appropriate. This means that your purchase through these links may result in a few cents in payment to me, to support creating further resources like this one! That being said, I will never suggest supplies that I do not personally use and fully recommend.
Tools You’ll Need
- A basic sharpie. You can use fabric stained pens like these if you plan on keeping the shoes in good condition. (Let the client know the doodles aren’t 100% permanent!)
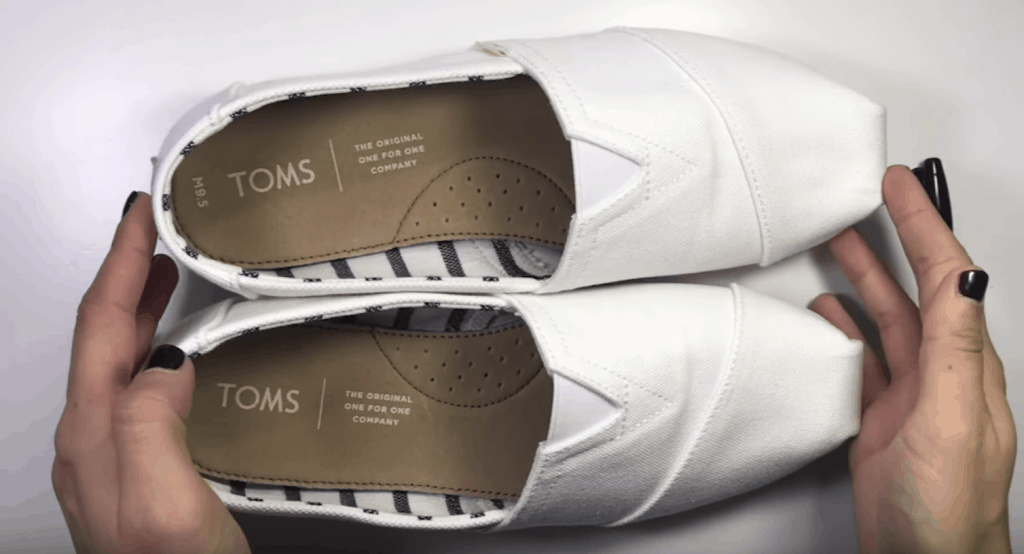
- Toms Shoes
Prefer watching instead of reading? Feel free to skip right to the video and see these in real-time! ??
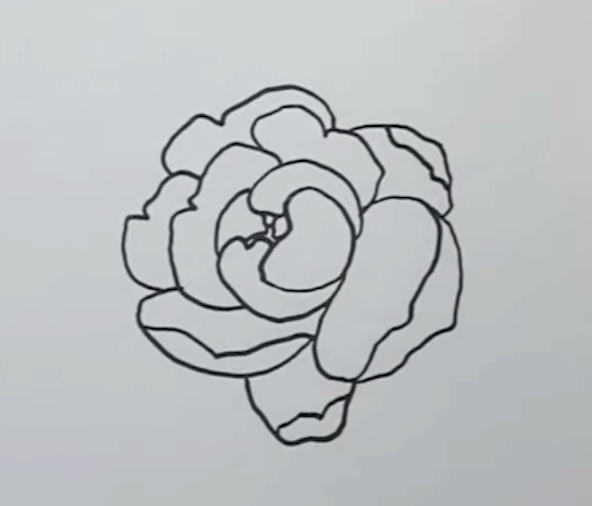
How to Draw A Basic Peony
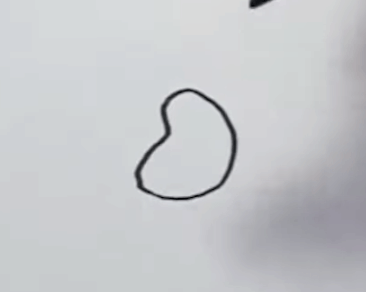
Step 1: Draw the centre of the flower.
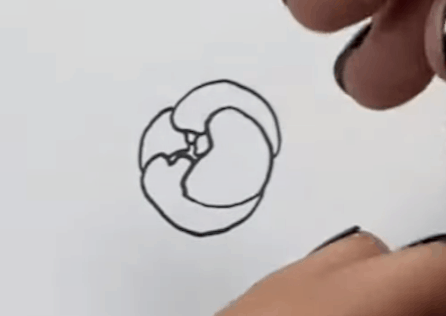
Step 2: Draw uneven petals from the bottom and around.
You want to make sure to remember not to make the pieces perfectly round.
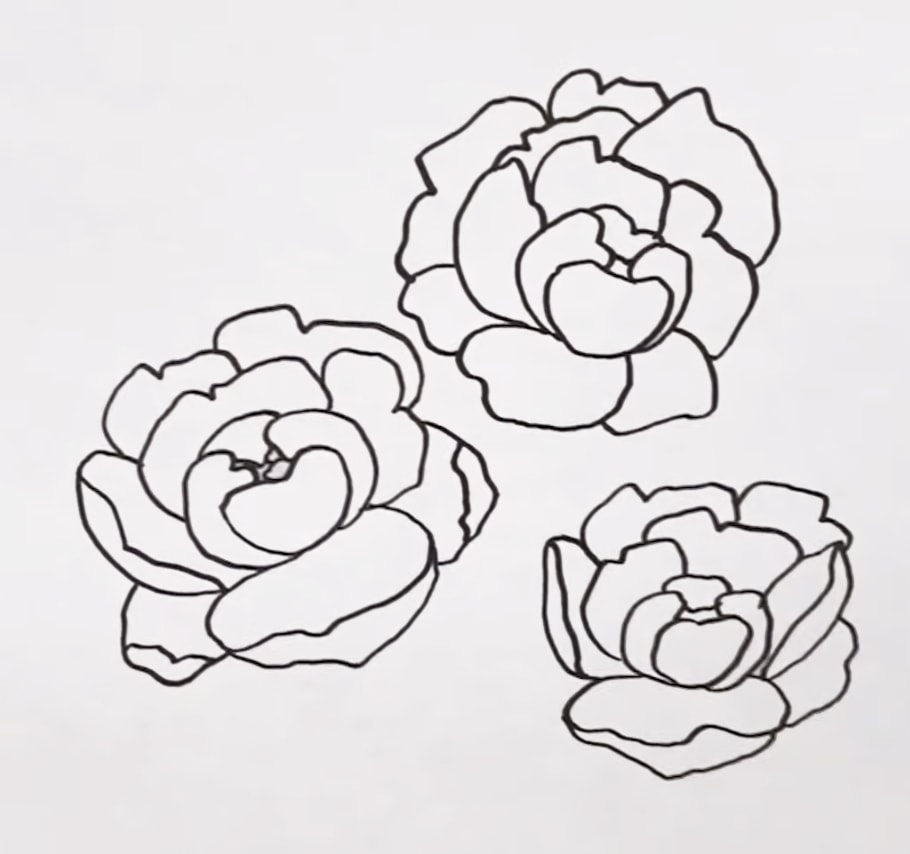
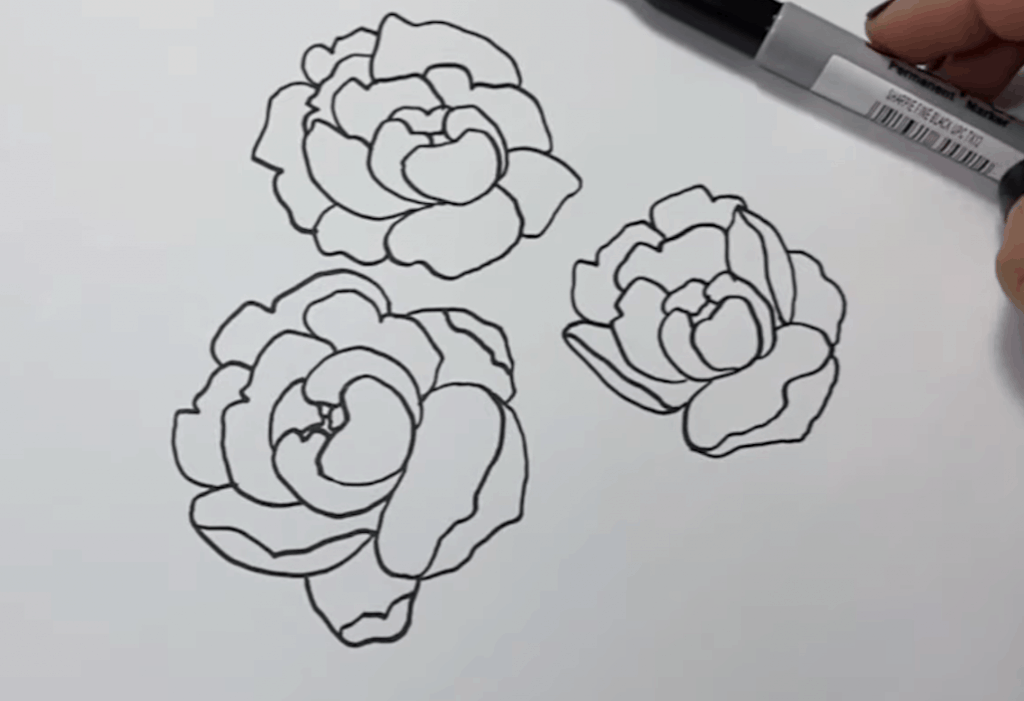
Step 3: Fill up a page with practice flowers.
Every time you draw one, it’s going to look a little bit different. On your shoes, you will have them facing different directions as well.
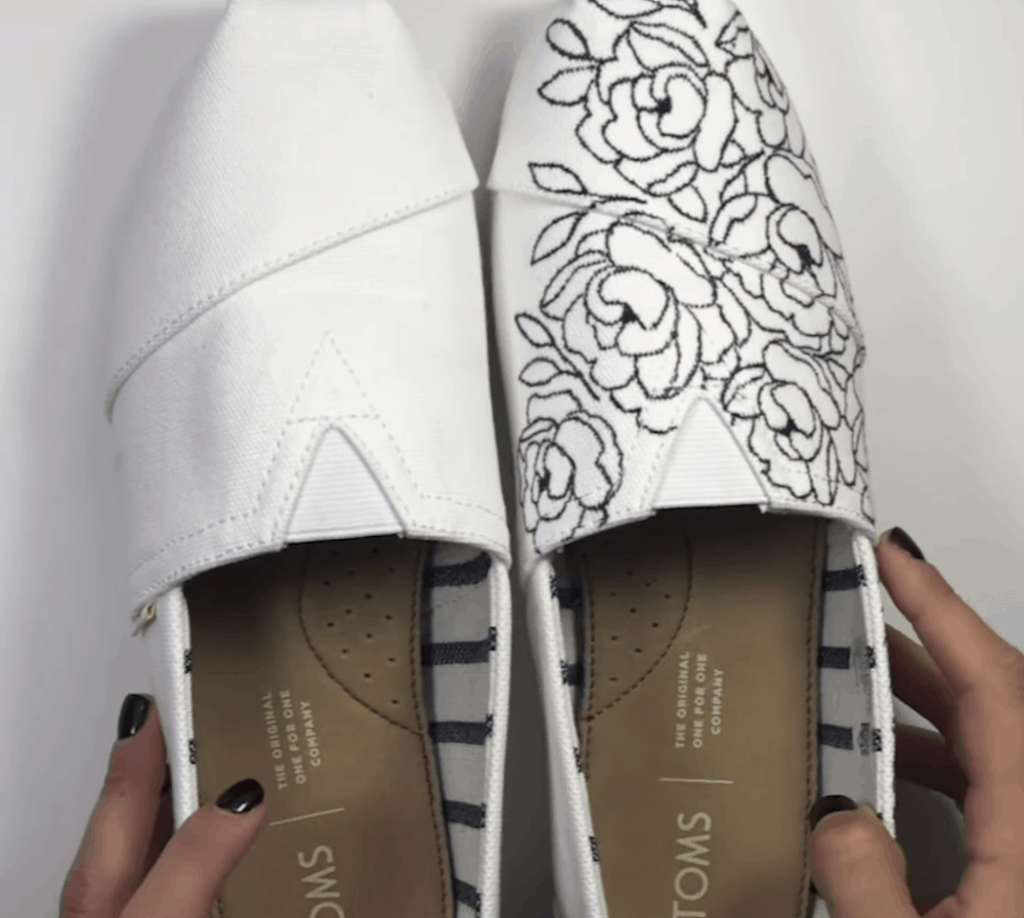
Now On To The Shoes!
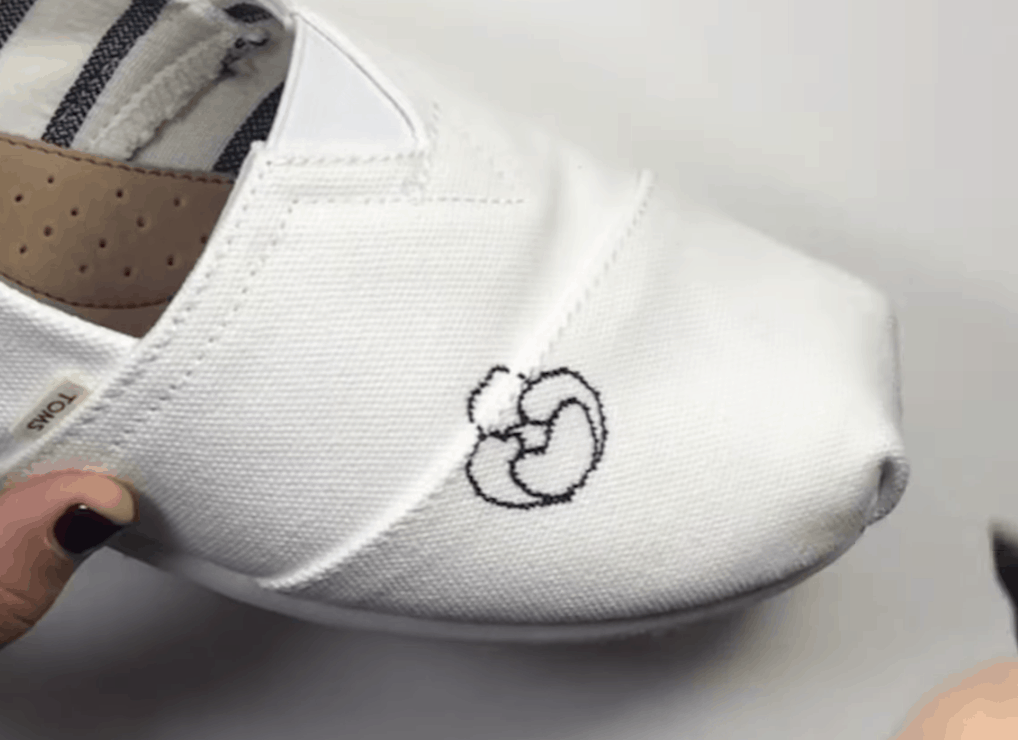
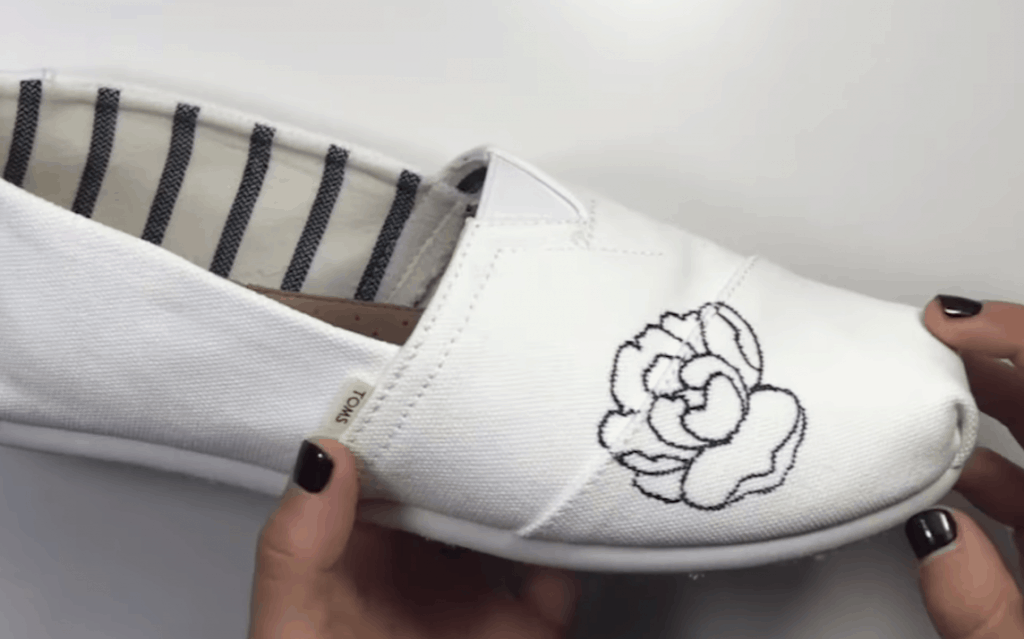
Step 1: Draw basic flowers (again ?).
You can do it in pencil first if you’re a little apprehensive jumping in with a permanent marker right away. And don’t start in the middle of the shoe!
As you draw more flowers, don’t keep them too tightly drawn together because next we will be adding leaves to fill up the empty spaces!
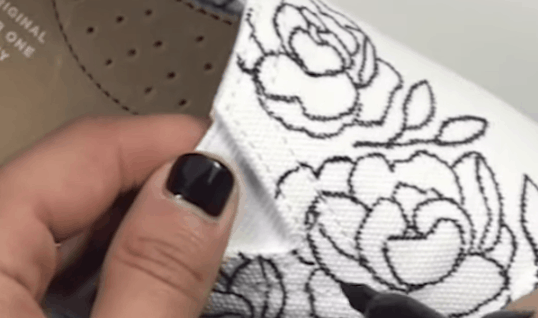
Step 2: Fill in the blanks with leaves.

Step 3: Fill in any awkward blank spots.
I just add in some extra petals around where I see any awkward blank spaces.
Step 4: Colour in the middle of each flower.
I like to add just a liiitttllllee bit of contrast!
OPTIONAL: You can add some shading on the petals and leaves.
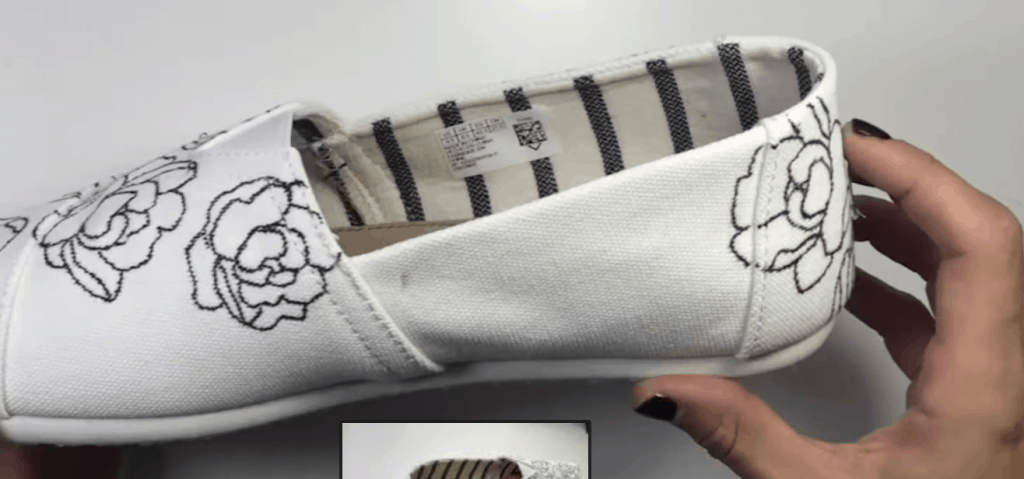
Step 5: Repeat on the other shoe!
You also want to make sure that you follow the same guideline with the inside of the other shoe, making sure to have the flowers sort of fadeout from the center. That way, when you look at it from the top, it will look more natural
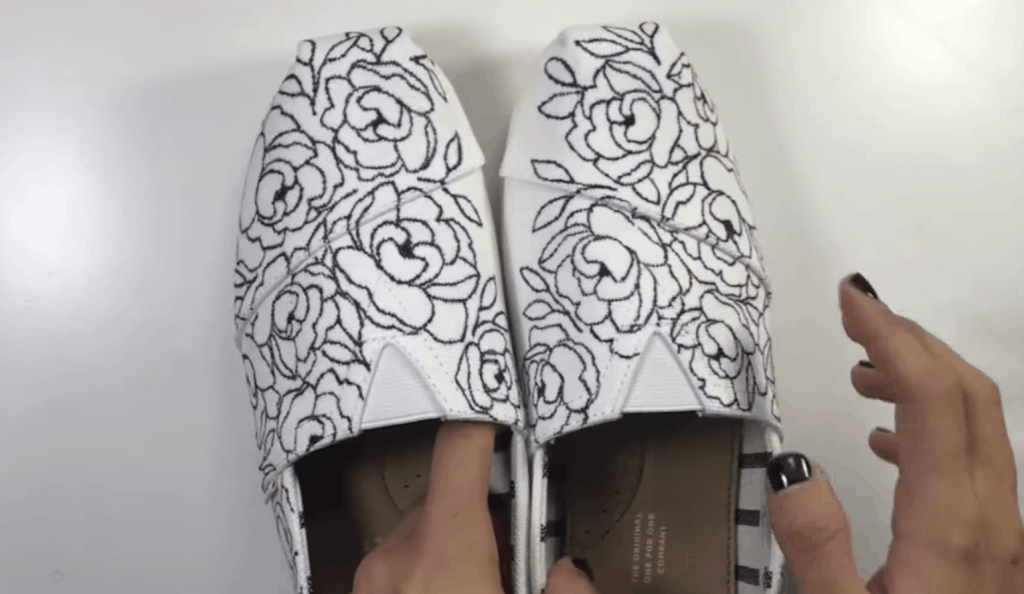
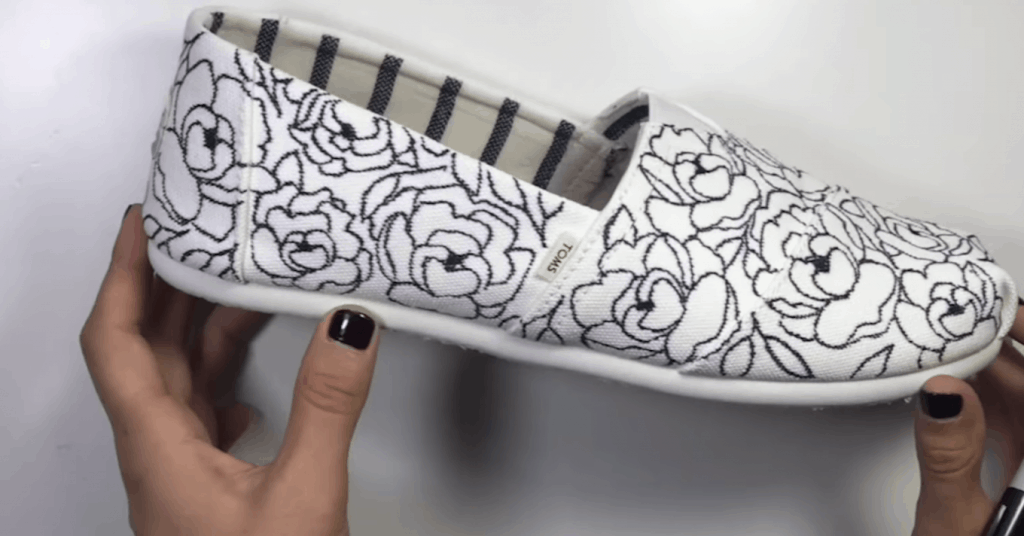
They look pretty even! 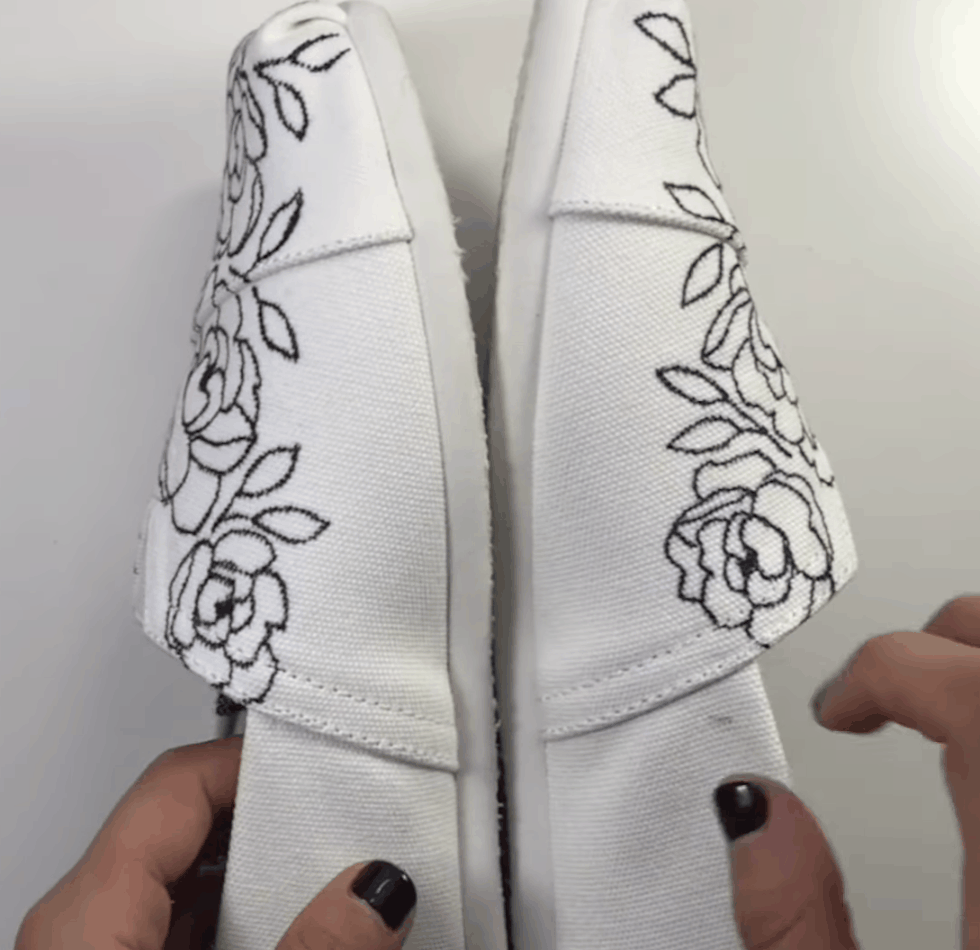
They fade out just about the same place!
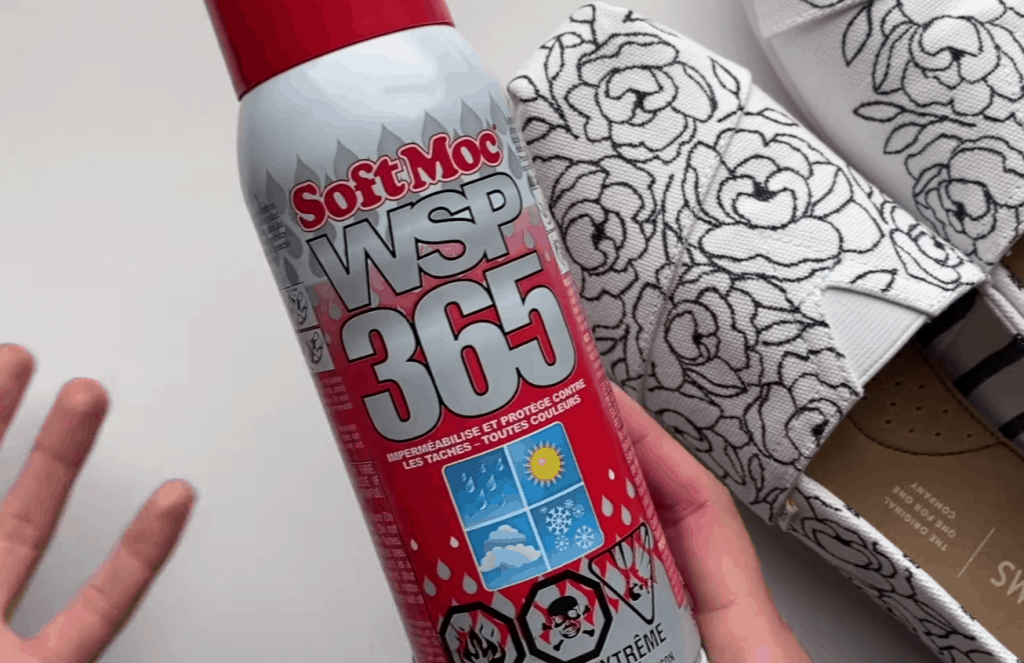
Step 6: Seal the shoes with shoe spray (optional).
Remember, they probably won’t ever be fully permanent and will start to fade eventually, especially if they get wet.
And that’s a wrap!
Please be sure to tag me on Instagram @thehappyevercrafter and show me your awesome shoes!
Also, be sure to check out this tutorial on Block Lettering!


Comments