Today, I’m going to show you how to draw a composition with peony flowers to fill in a corner of a page.
If you have not yet seen my step by step tutorial on how to draw a peony flower (I walk you through every step!), definitely do that first because I will NOT be walking you through the flower portion; this tutorial is all about putting it all of the pieces together.
Prefer watching over reading? Feel free to skip right to the video and see these in real-time! ??
First Things First…
The links below may be affiliate links where appropriate. This means that your purchase through these links may result in a few cents in payment to me, to support creating further resources like this one! That being said, I will never suggest supplies that I do not personally use and fully recommend.
Tools Mentioned In This Tutorial:
- Micron Pens, sizes 1, 3 & 5
- A Pencil
- An Eraser
- White Paper
Step 1: Pencil in your guidelines
Using your pencil, draw in some light circles for the flowers, some bigger and some smaller. Try to think of the quantity in uneven number, i.e. 3, 5 or 7 flowers. It really helps in keeping the look of your composition more natural.

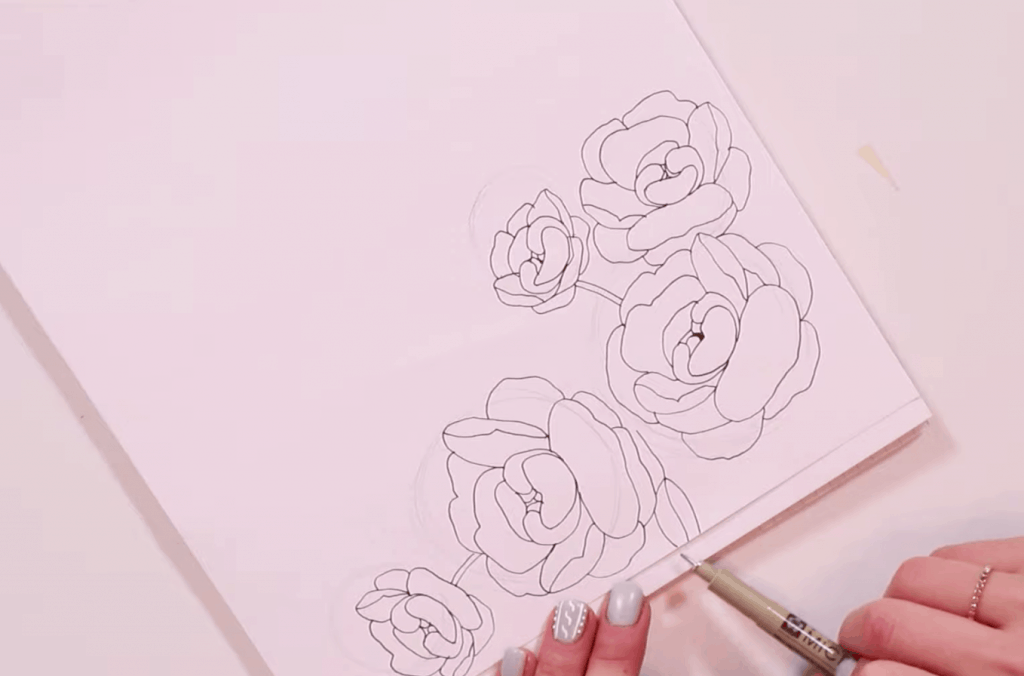
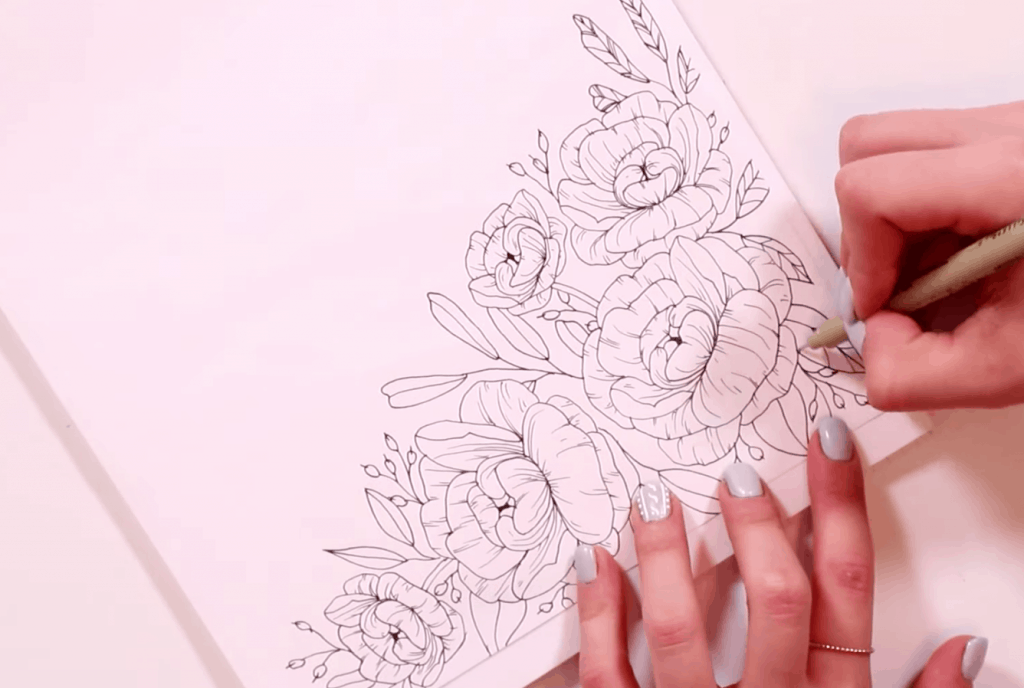
Step 2: Using your Micron 3 pen, draw in your peonies
Starting with the bigger ones, work your way to the smaller ones.
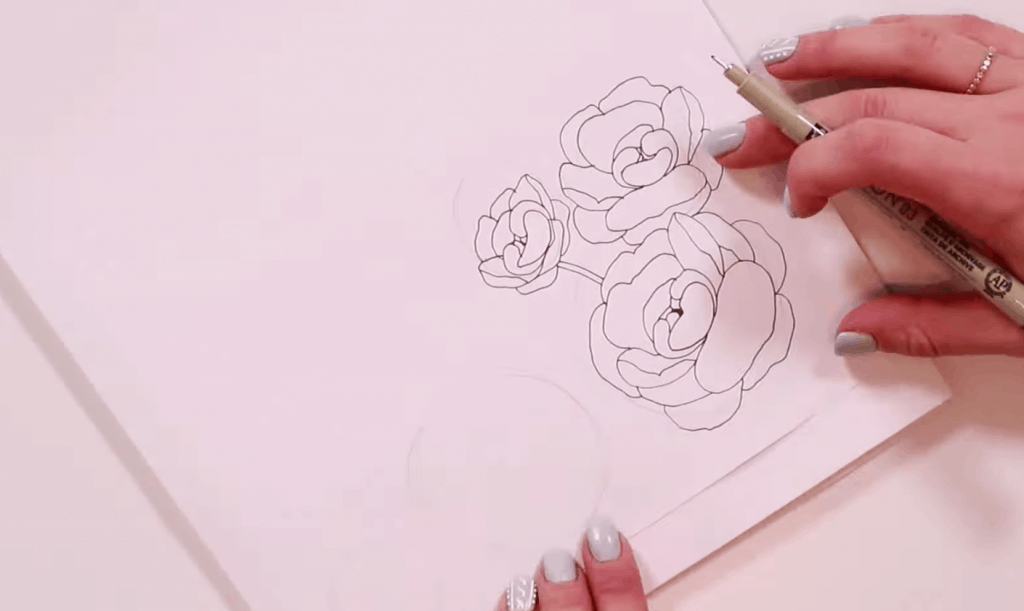
Note: Be sure to draw your flowers facing in different directions! Rotating your paper to hit the different angles will definitely help.
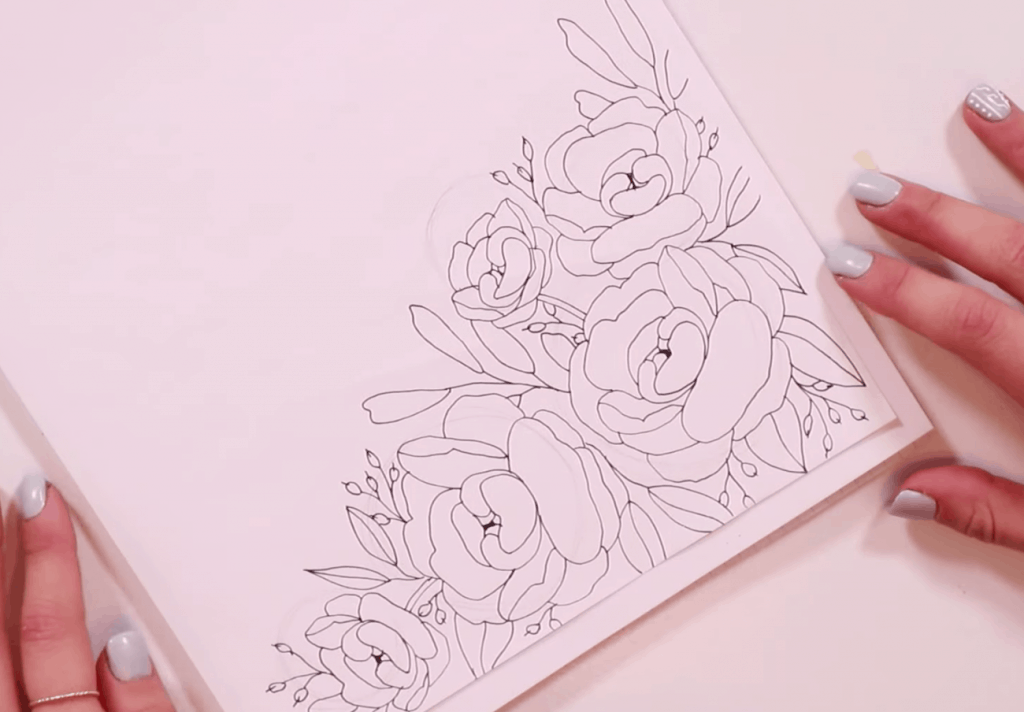
Step 3: Fill in the empty spots with leaves
Now, I am going to look for any spaces or gaps in my composition, and fill those parts in with leaves, vines, and berries, starting off with a grouping of the bigger leaves.
If you haven’t checked out my video where I go into detail on leaves and berries, please do so before continuing on with this part!

This next part is totally optional!
If you think your composition looks full enough, leave it as is. I am going to add in a few berrie because I think they are really cute!
Step 4: Erase all of your pencil guidelines
Step 5: Add the finer details using your Micron 1 pen
Step 6: Thicken your lines for contrast, using the Micron 5 pen
I’m going to go over all of the petals, and the outside and the middle line of all of the leaves.

Final expert tip: Squint your eyes and take a step back; see if you notice any weird empty spaces.
And that’s a wrap!
Make sure to check out my step-by-step tutorial for drawing a peony flower if you haven’t already, along with the rest of my floral videos!


Loved this!