I’m sharing my most highly requested tutorial: envelope addressing! We’re covering the basics with three techniques.
We’re going to go over how to create left-justified, right-justified and centered envelope addressing, the rules you need to follow to ensure your envelopes are delivered, which supplies you need, and my favourite tips for laying out an address.
Also, be sure to grab my free envelope addressing template, here.
First Things First…
The links below may be affiliate links where appropriate. This means that your purchase through these links may result in a few cents in payment to me, to support creating further resources like this one! That being said, I will never suggest supplies that I do not personally use and fully recommend.
Tools Mentioned
- Tombow Fudenosuke Brush Pen
- Sakura Pigma Micron Pen
- Pencil
- Eraser
- Ruler
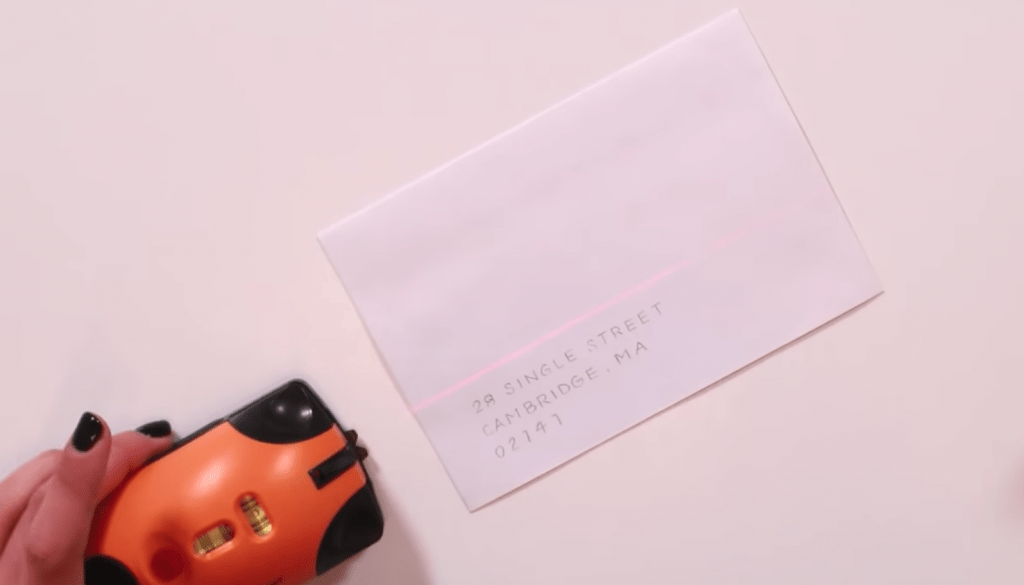
- Laser Level (Johnson Hotshot)
Prefer watching over reading? Feel free to skip right to the video and see these in real-time! ??
First, Some Tips!
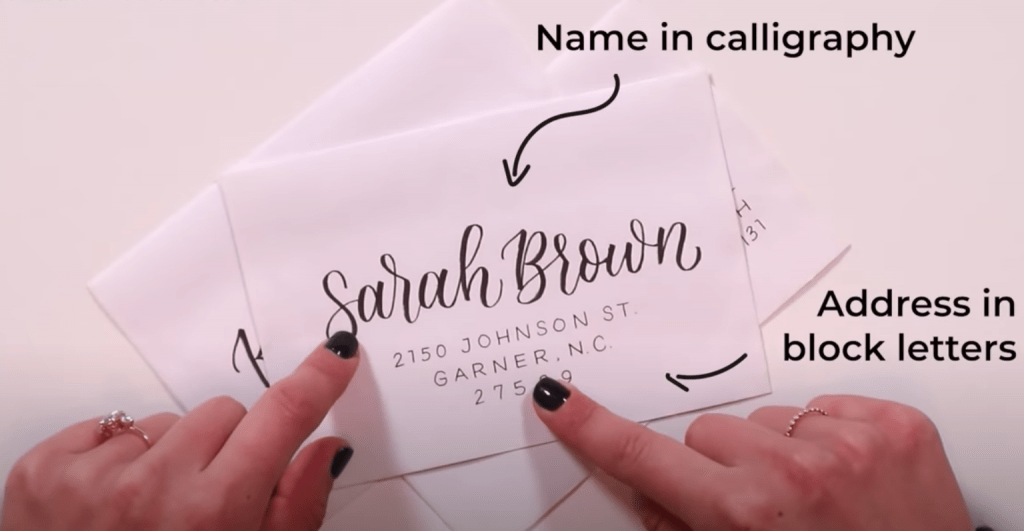
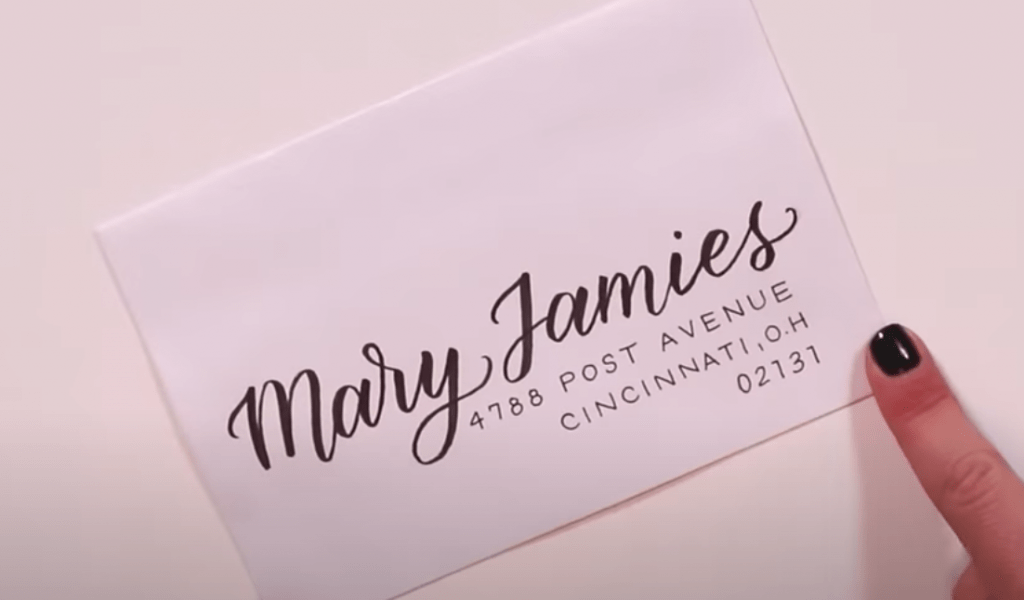
Tip #1: Make sure your address is legible! You can stick to that by writing your name in calligraphy, and your address is block letters.
Tip #2: Make sure to leave room at the top for stamps!
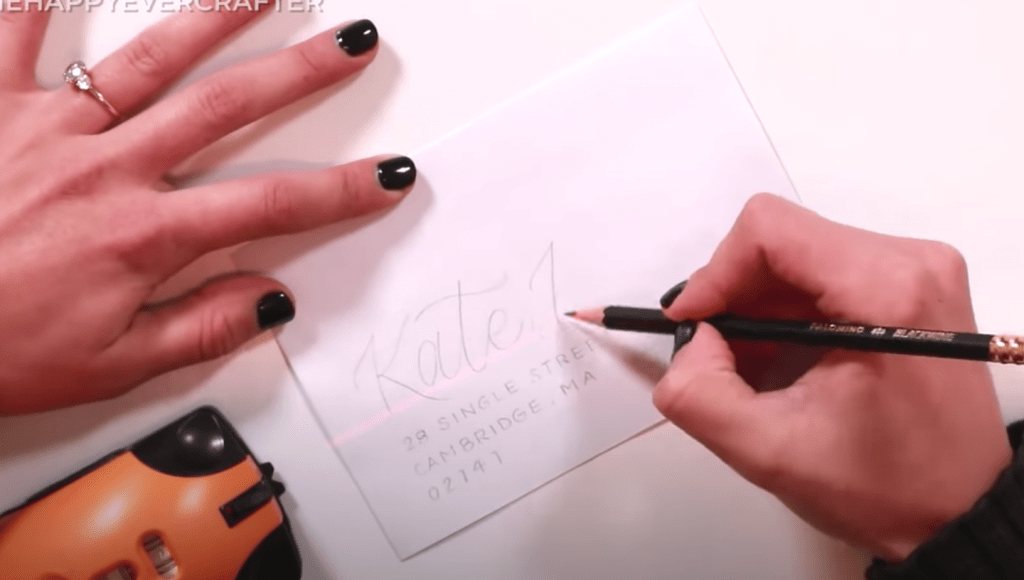
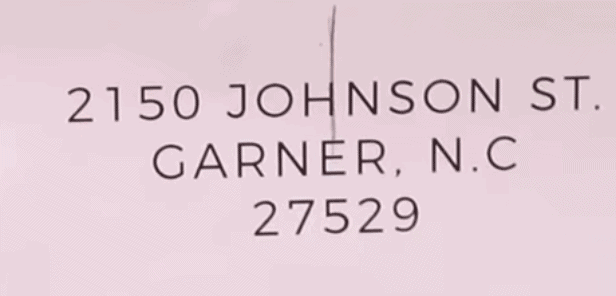
Tip #3: Write out the name in pencil to plan out your design.
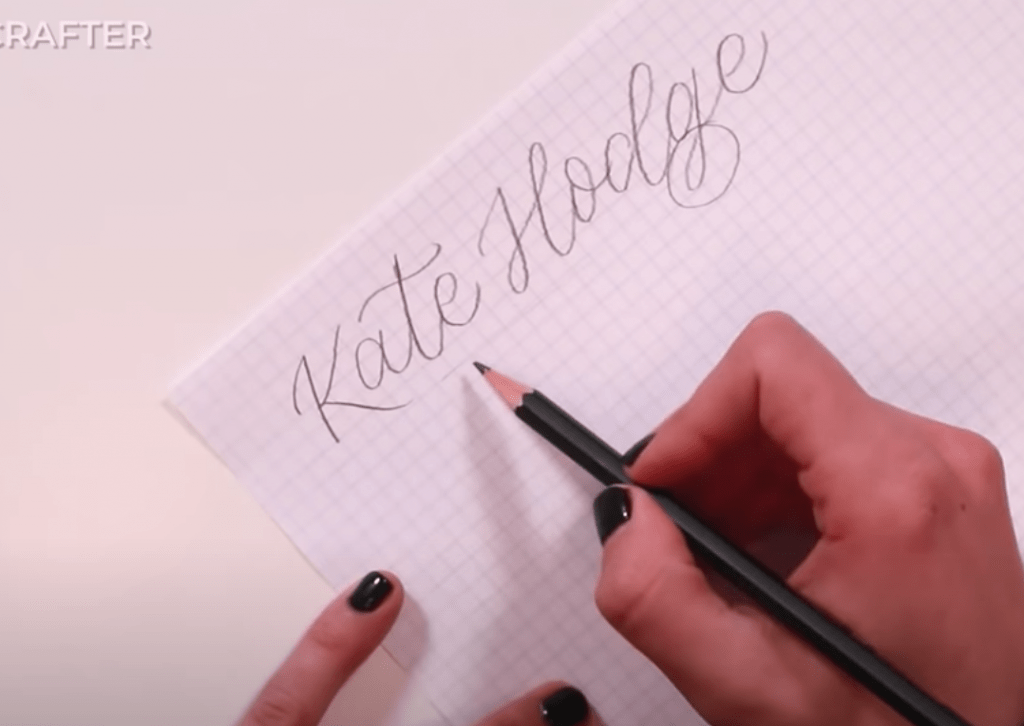
The reason I do this is that I need to clearly identify where my descenders are (see circled above) in order to decide if my design needs to be left-justified, right-justified, or centered. I can see here that my “g” will get in the way of a right-justified design, so I would opt for one of the other ones.
Wedding Invitation Tip: They don’t all have to be the same! You can mix and match depending on the person’s name.
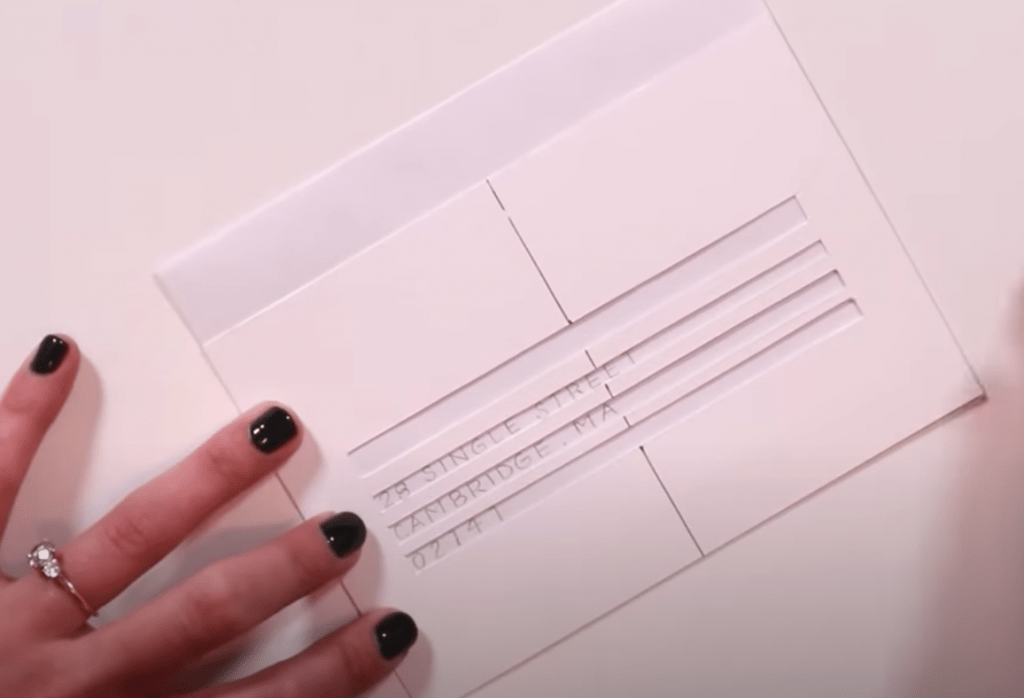
Tip #4: Always work from the bottom up! This way you’ll know exactly how much space your address will take and you won’t run out of room for the calligraphy name and stamps.
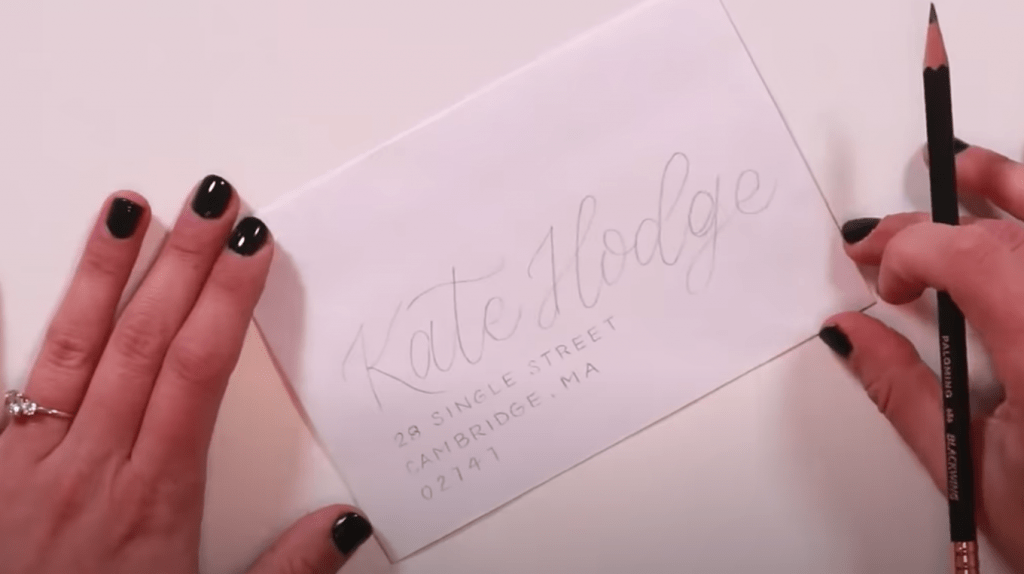
Left-Justified Envelope
Step #1: Write out the name in pencil to plan out your design
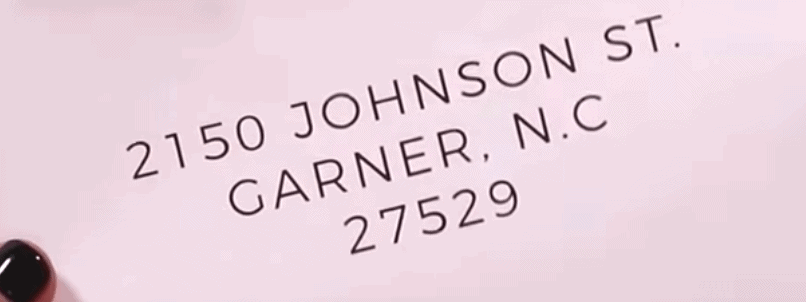
Step #2: Write out the address first
For tips on block lettering, be sure to check out my video here with a step-by-step tutorial.
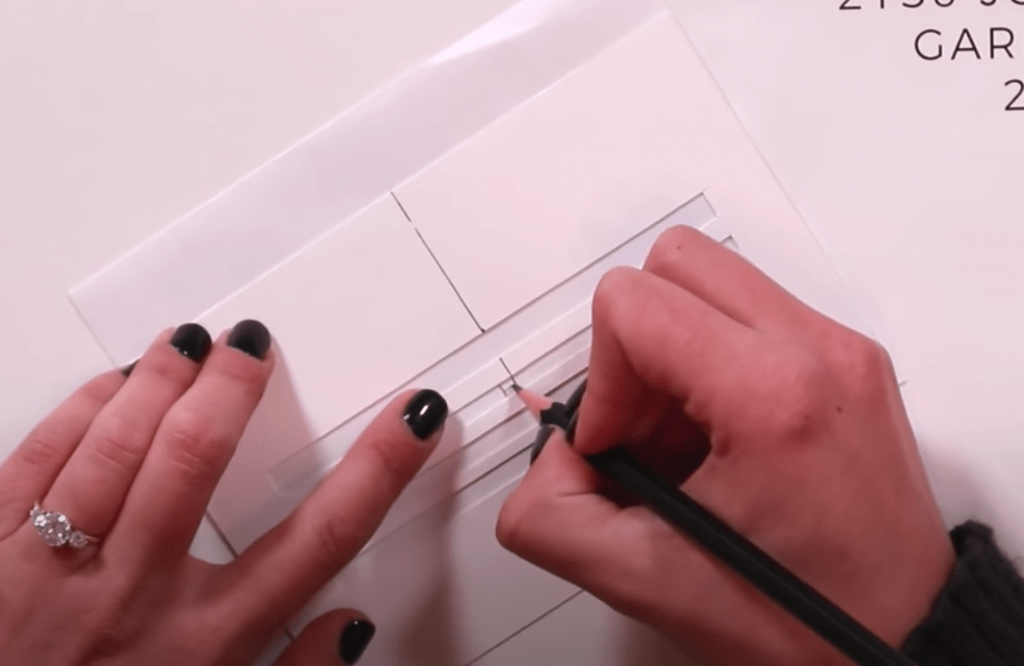
Step #3: Write out the name in pencil
I am really not a fan of drawing a pencil line on my envelope so I use this super simple laser level that shoots out a red line.
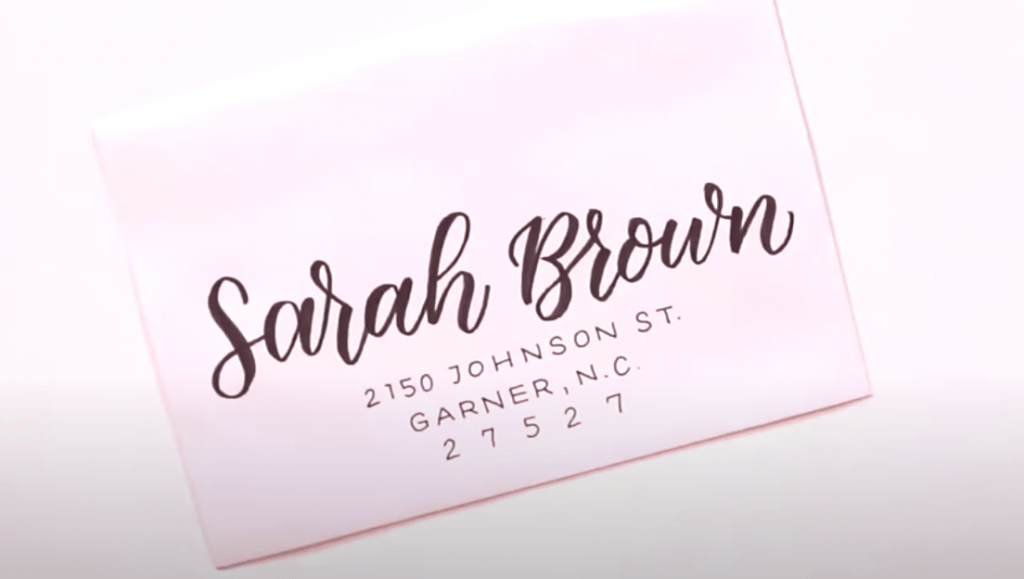
Step 4: Go over your guidelines with pen
Once you’re happy with your design, go ahead and go over it with your pen.

Step 5: Erase your pencil lines
Right-Justified Envelope
Repeat steps #1-3: Except, write backwards!

You can write the name left to right.
Repeat Steps #4 & #5: See above
Centered Envelope
Tip: Print out a centered version of your address text as a guide
Repeat steps #1-3: Except, start in the middle
For reference, I know that “H” is going to be my center.
Repeat Steps #4 & #5: See above
And that’s a wrap!
Now you know how to do left-justified, right-justified, and centered envelopes! Be sure to download my FREE envelope template! And stay tuned for my Envelopes 2.0 tutorial, where I am going to go over how to add embellishments.


Such an informative video! In fact, all your videos are clearly presented and fun!