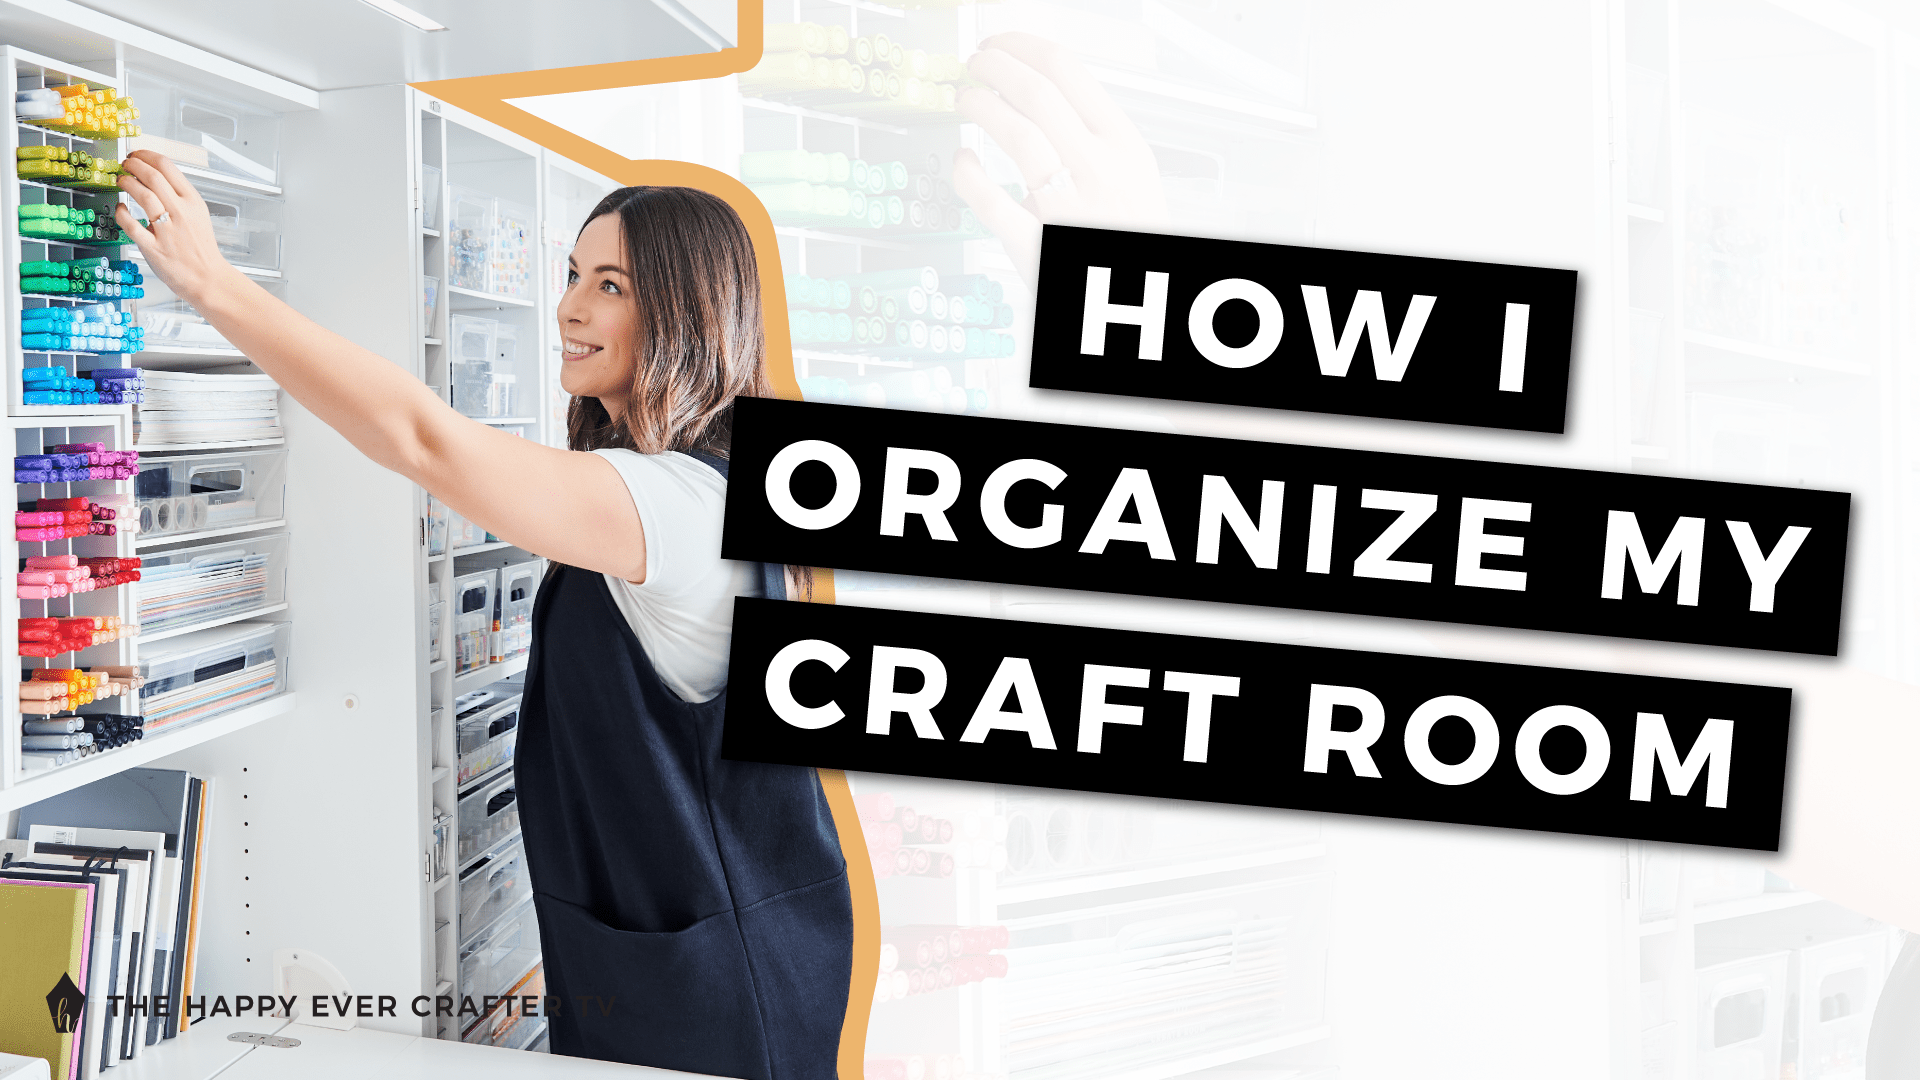
Hi. I’m Becca. And I’m a stationery and art supply addict.
The first step is admitting it, right?
I’ve always been obsessed with art supplies and creative tools, but over the past five years, my art business has grown.. and so has my art supply collection.
I get asked a lot about my art studio and organization, so I wanted to share my tips and tricks that I’ve picked up along the way.
First Things First…
The links below may be affiliate links where appropriate. This means that your purchase through these links may result in a few cents in payment to me, to support creating further resources like this one! That being said, I will never suggest supplies that I do not personally use and fully recommend.
Supplies Mentioned
- DreamBox by Create Room (FOR US or CANADA orders, use code: THEHAPPYEVERCRAFTER100 for a discount!)
- I mention tons of supplies and types of pens in the full video. I have links to all my favourite supplies in my free supplies guide here.
Rather watch than read? No problem! You can watch me walk through my entire studio by clicking the video below!
Let’s Get Started!
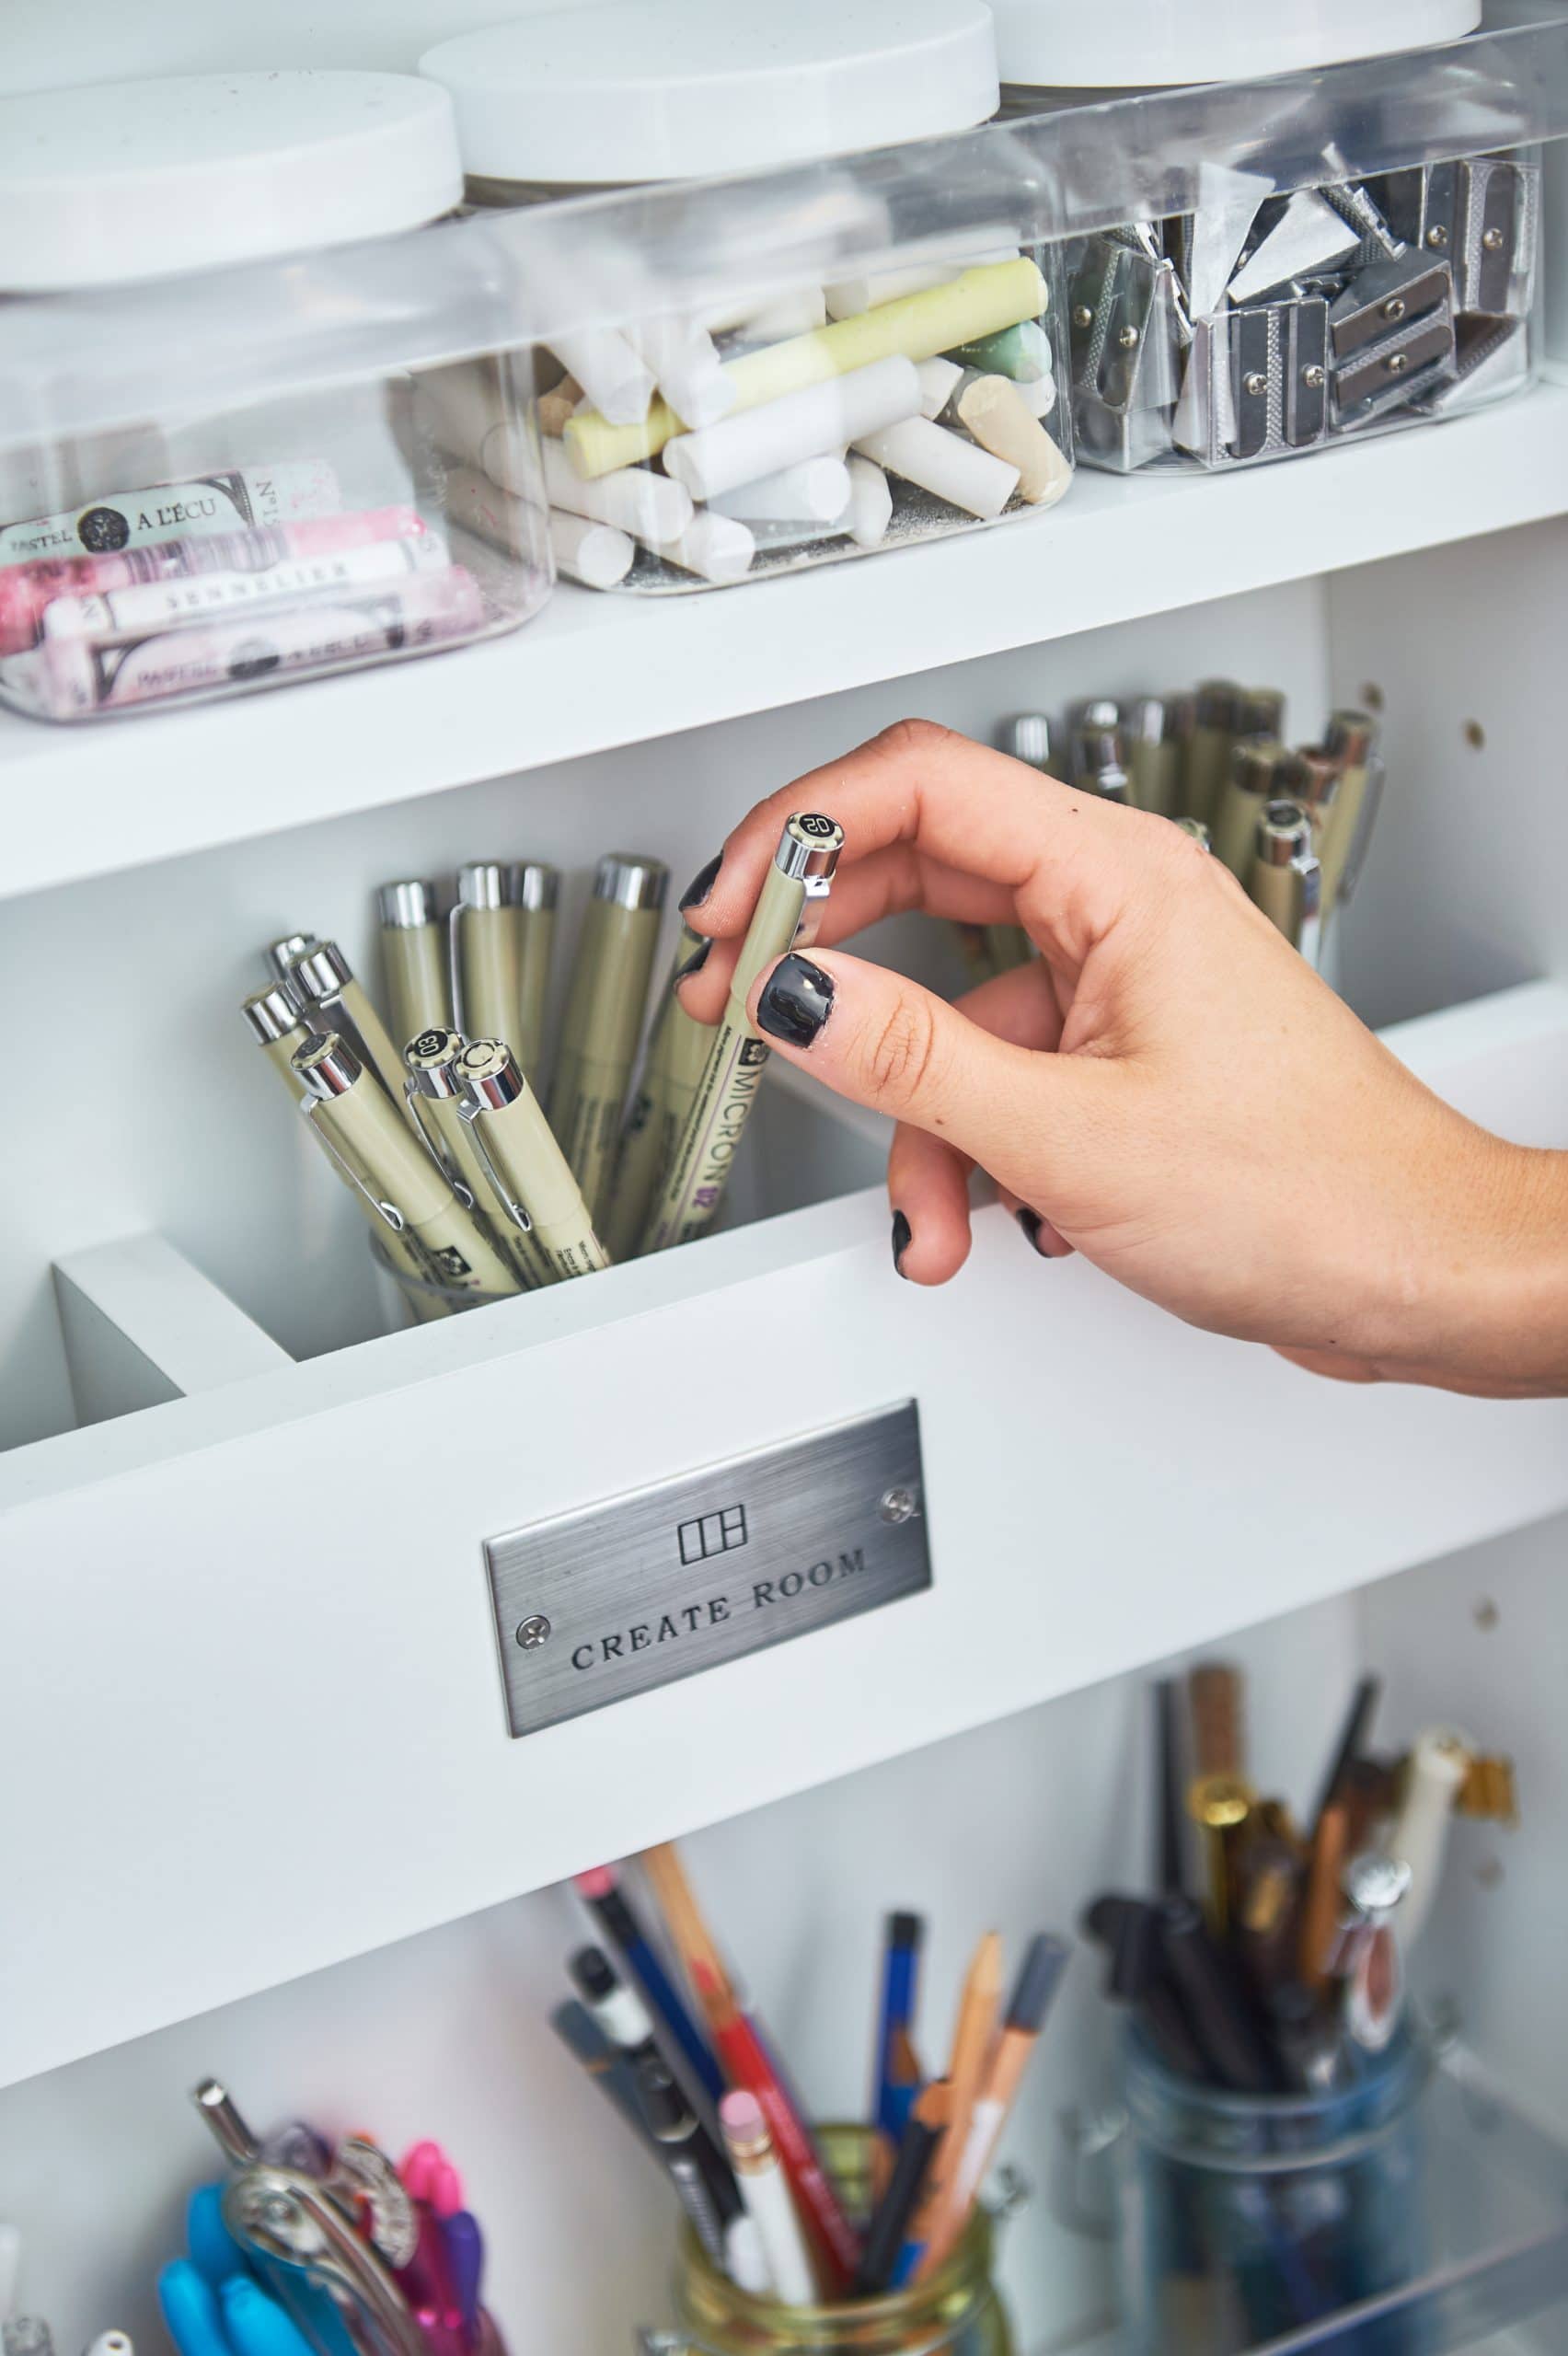
I have a DreamBox, and it’s super satisfying for organization.
I’m not going to touch on every single supply in this post though, so if you’re interested in a more thorough walk-through of my favourite art supplies for beginners, check out my full supplies HERE.
For a general overview of the studio… I have lots of art supply storage in different configurations, including my DreamBox. I also have my computer station, a big open desk station, which is actually where I sit and film all of my tutorial videos for YouTube. In front of my big open desk, I have my filming equipment and a printing station.
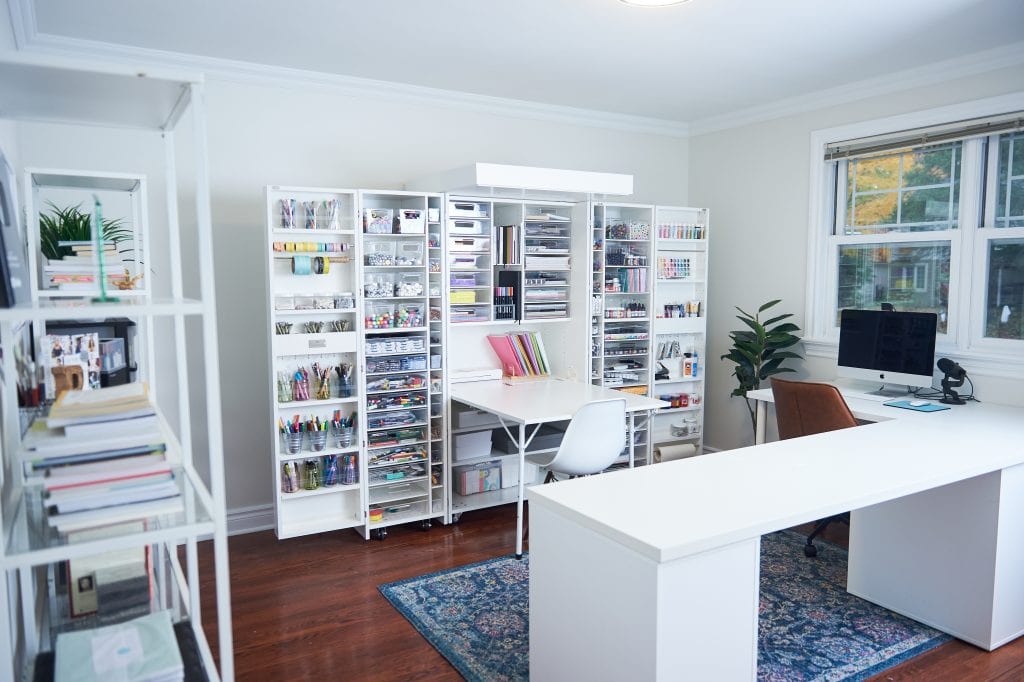
99% of the time, I have my DreamBox open, displaying all of my art supplies. I’ve had this DreamBox for a year and a half now, and it has been a total game changer for me. The DreamBox comes with all of these compartments and bins, which made it so much easier to organize everything. It is definitely an investment, but in my opinion, it’s so helpful. And having the ability to fold it back up in the future when this isn’t a dedicated art room is super appealing for me.
Before I got my DreamBox, my art room was always a mess because each thing didn’t have its own place. Mostly I just had things stacked on my IKEA shelves (VITTSJO) in my old studio (that was a lot smaller). The shelves weren’t organized because they were so jammed with stuff. This was pre-DreamBox, and I wanted a functional and pretty way to display my supplies that wasn’t super expensive since this was just a side hustle at that time. These shelves are great, and I definitely recommend them! Inexpensive, different sizes and shapes – you can build your own configuration with them.
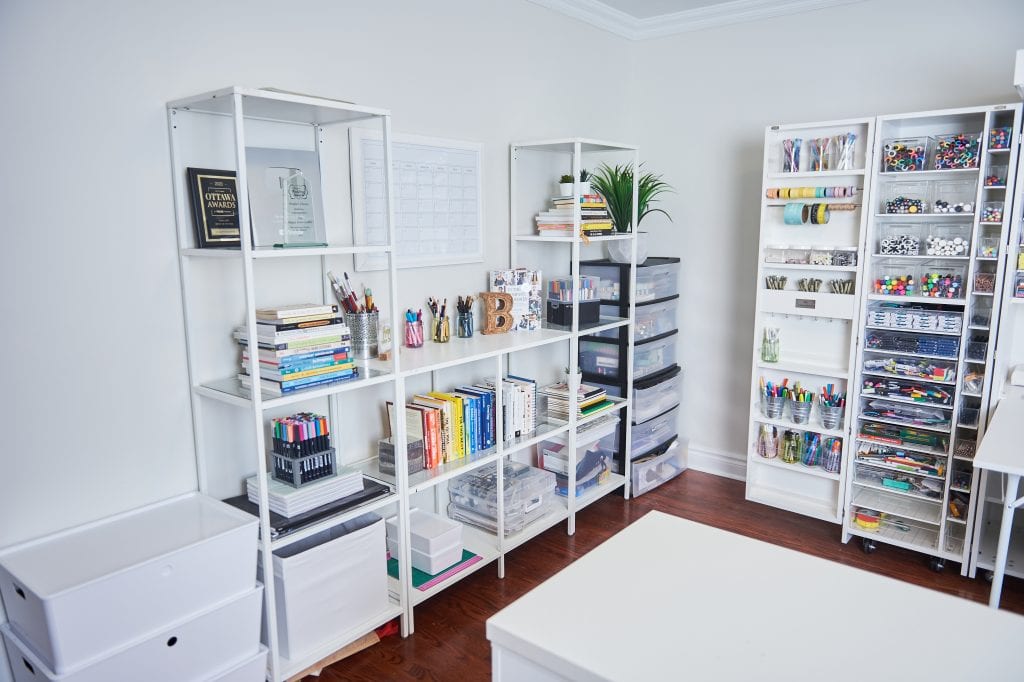
With these shelves as my only storage, I used bins and containers from IKEA and Michaels to hold all my supplies. I would stack all the bins up, which got annoying, so I purchased some drawer storage systems (you can see them on the right). I don’t recommend them – they’re weak and not great.
Finally, I got the DreamBox, and it was a total gamechanger for me. It comes with the right bins and drawers and pieces and everything, so it took all of the stress outta that equation. What I did stress about though was like… now I have this beautiful display unit, but how should I actually organize my supplies inside of it?
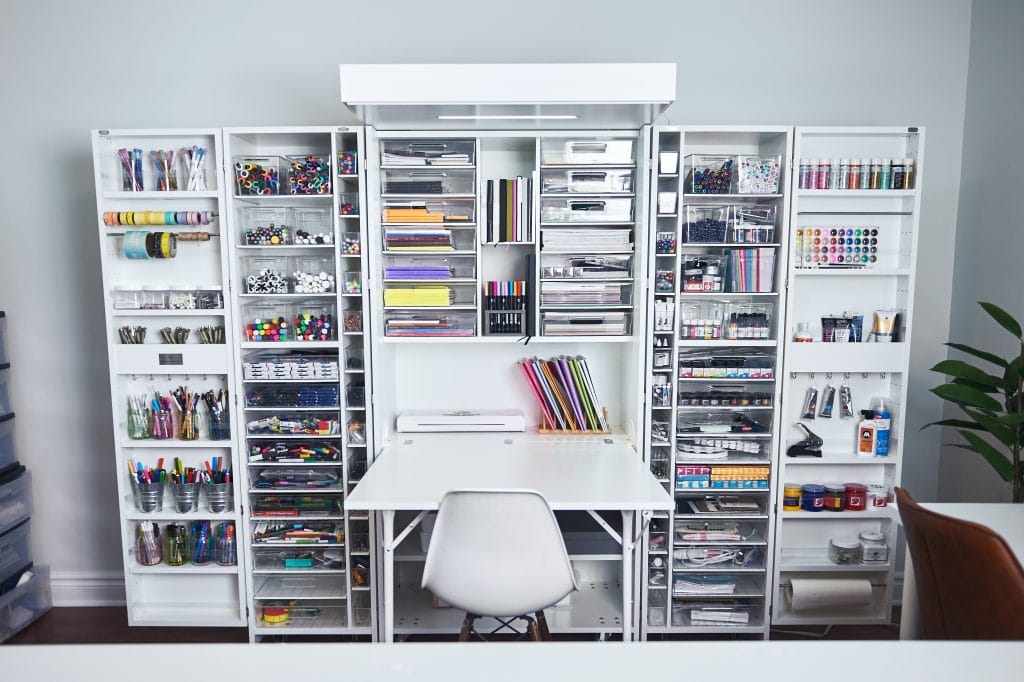
I sat on that for a bit and was kind of paralyzed by it honestly. Ultimately decided to just jump in and fill it up, and then I could switch things up as I needed to later. Most of the bins are standard sizes, so you can easily move them around. The DreamBox even comes with a diagram with suggested layouts for you if you want it.
I used the diagram to get started filling up the bins, which brings me to my first tip.
Tip #1: Group items by category
Whether you have a DreamBox or not, one of the things I’ve learned to do for organizing art supplies is to group your items by category. For me, that’s painting versus lettering.
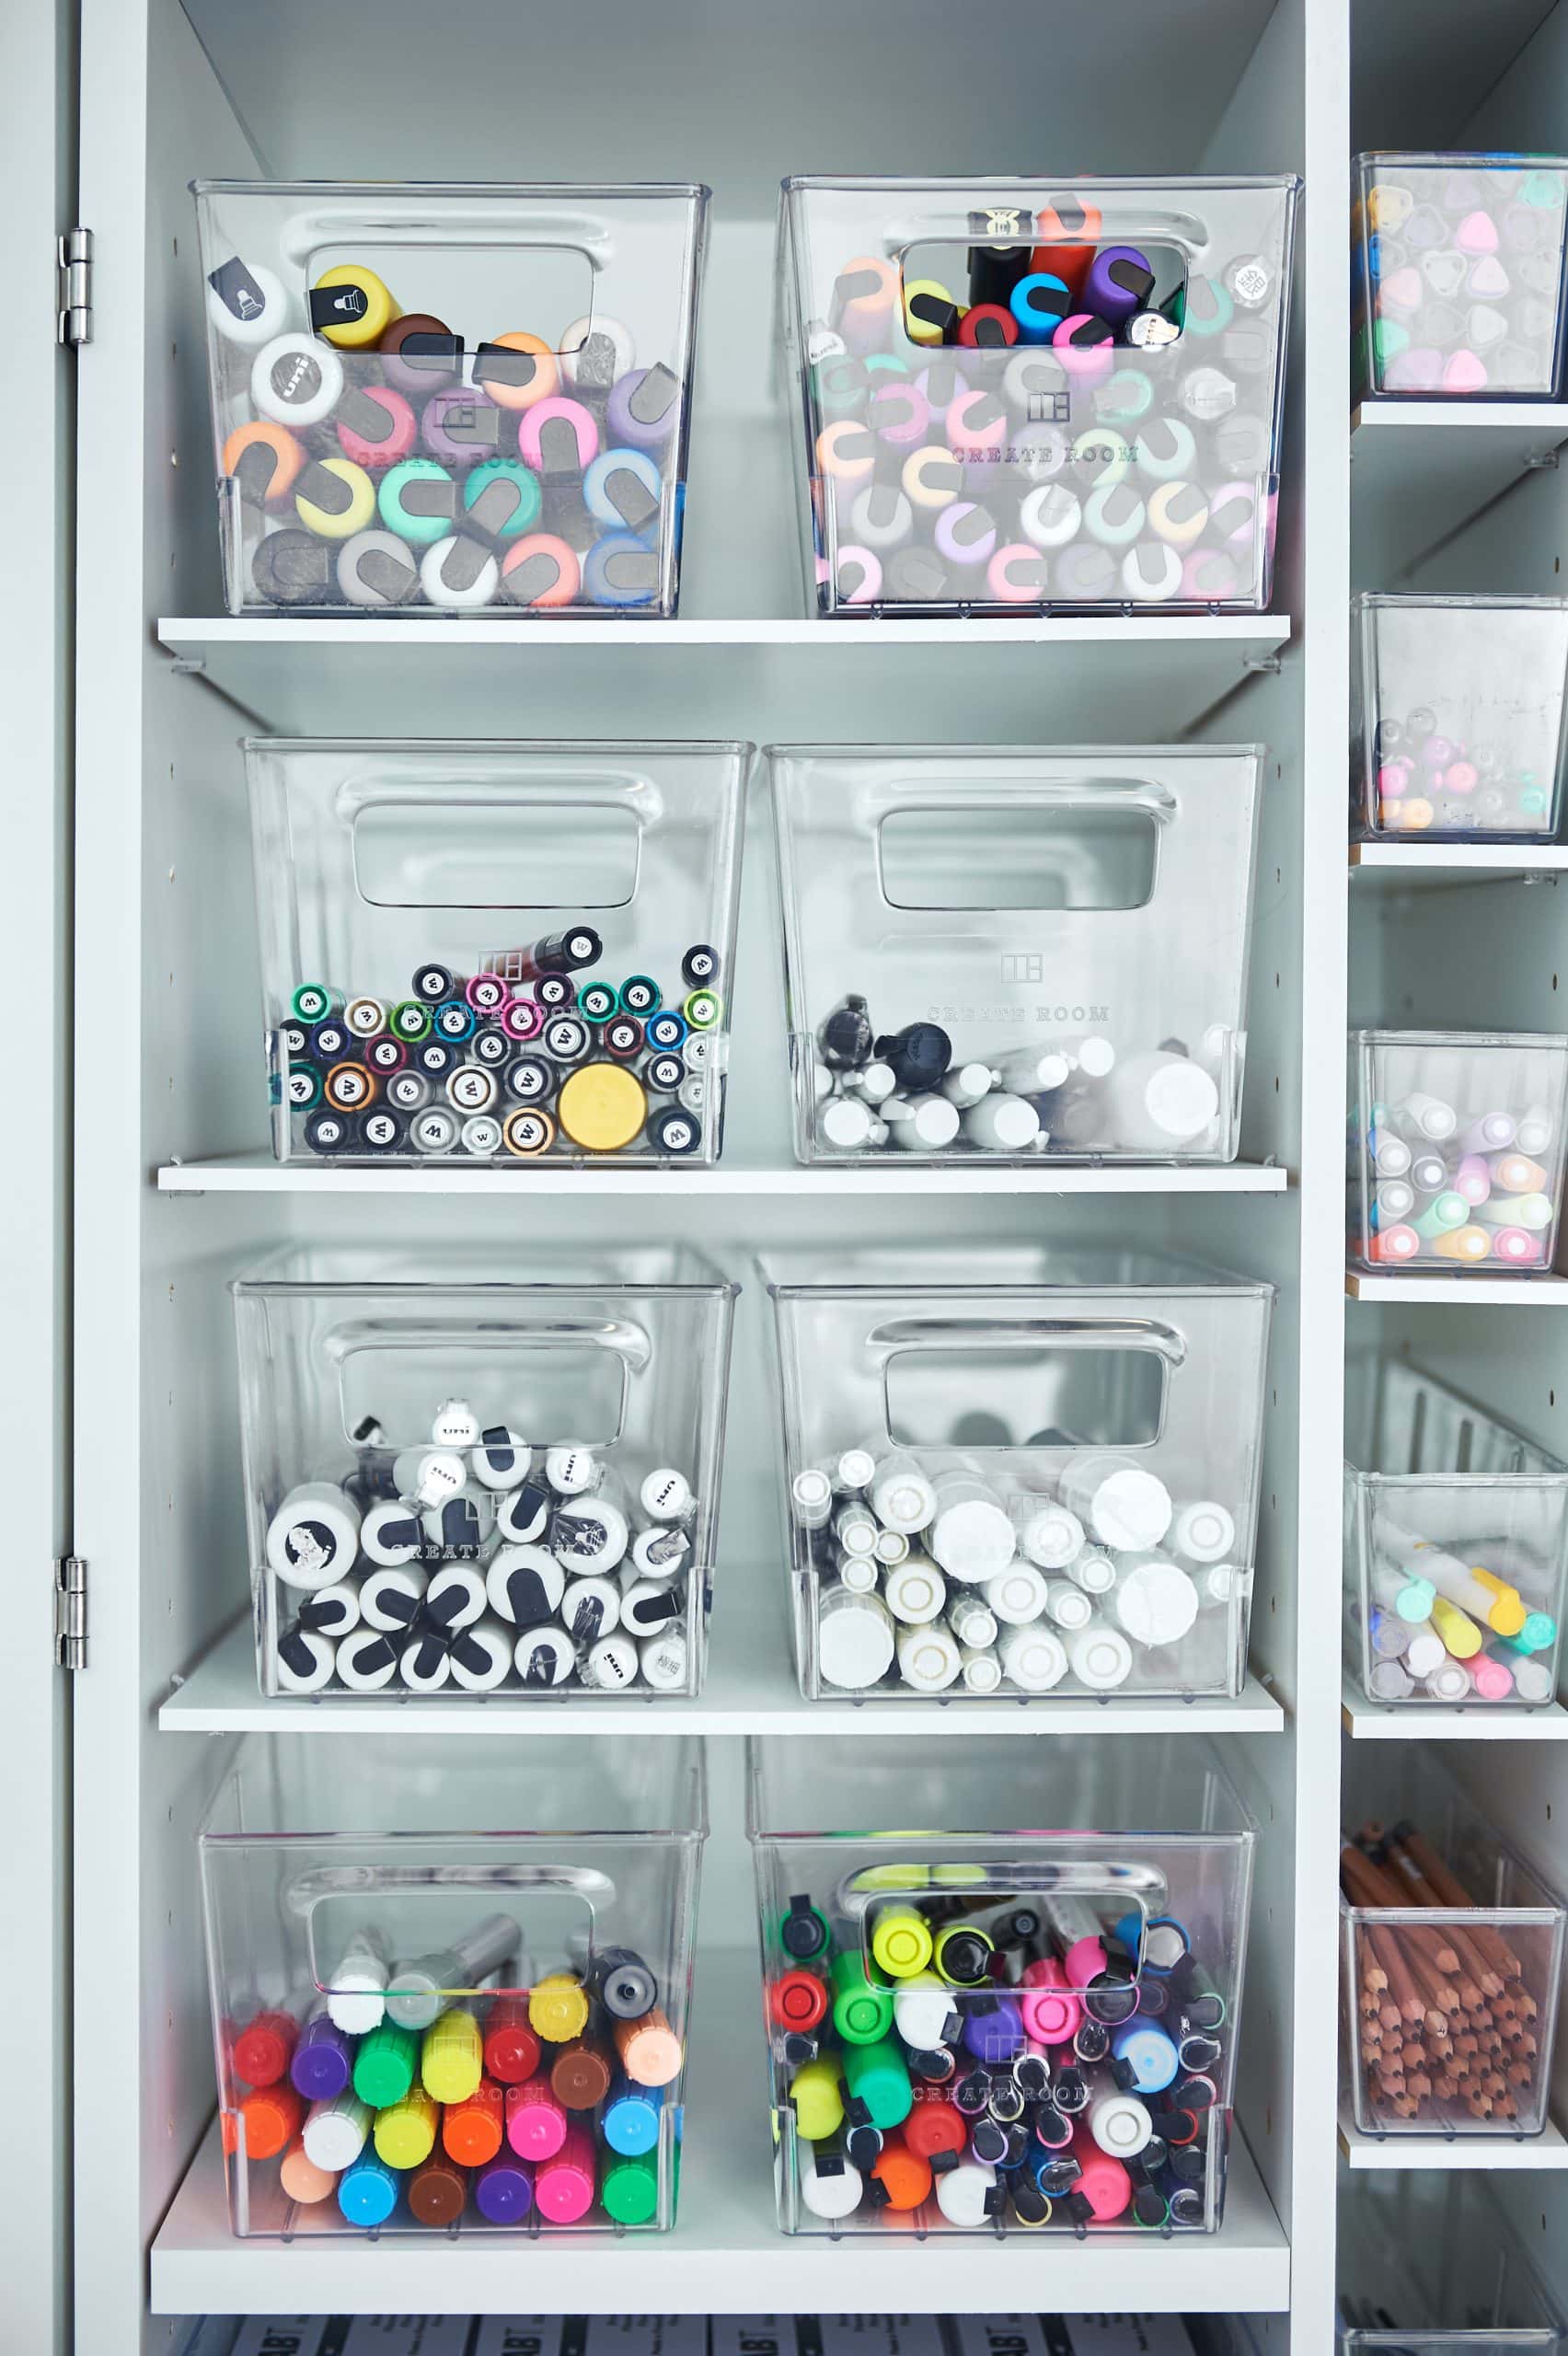
The left side is primarily lettering stuff (brush pens, paint, pens, pointed pens, markers, etc.). Then the right side is mostly painting stuff (watercolours, acrylic paint, gouache, etc.). In the middle, I mostly have paper. This system allows me to know exactly which side to go to for a specific product.
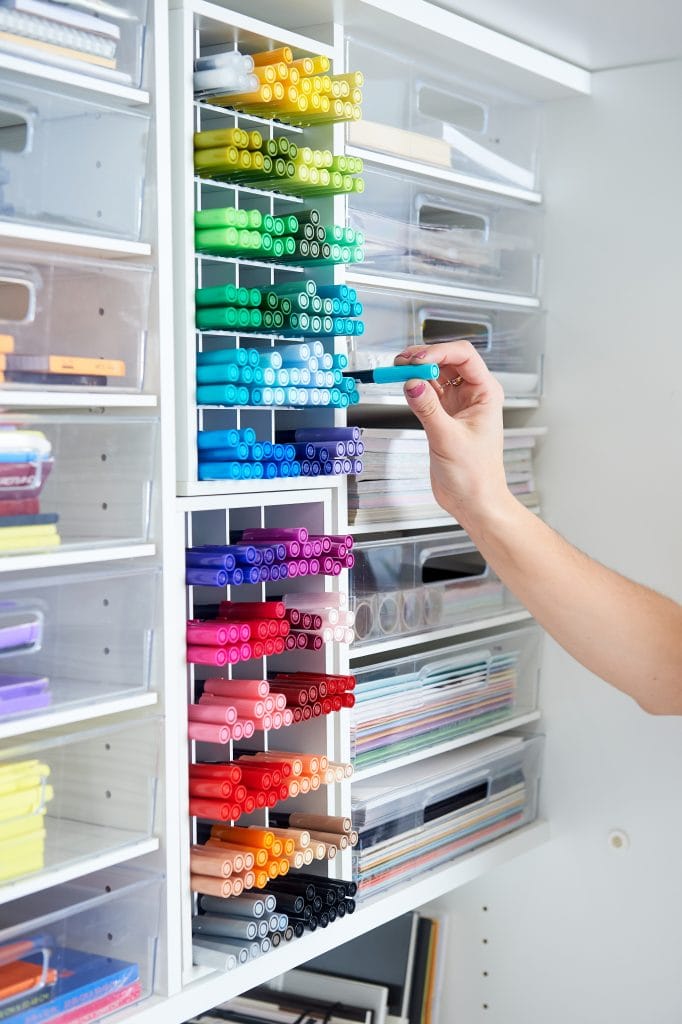
Tip #2: Group items by type, not colour
My second tip is to group things by item type, not by colour, even though doing it by colour looks super satisfying. I’ve seen people who organize their art supplies by colour, meaning they take all the pink pens, all the pink paints, all the pink papers, and put them in the same spot. Then they do the same with their art supplies until they have a beautiful rainbow of supplies…
Truthfully that looks AMAZING, but practically speaking, that would be so annoying!
Imagine you wanted your entire set of acrylic paints to do a project… Instead of just grabbing one drawer of paints and pulling the whole thing out, you’d have to pull out 12 different drawers and open each one to pull out one paint from each thing. It just doesn’t make sense practically. And the whole goal of organizing is to make things easier for you.
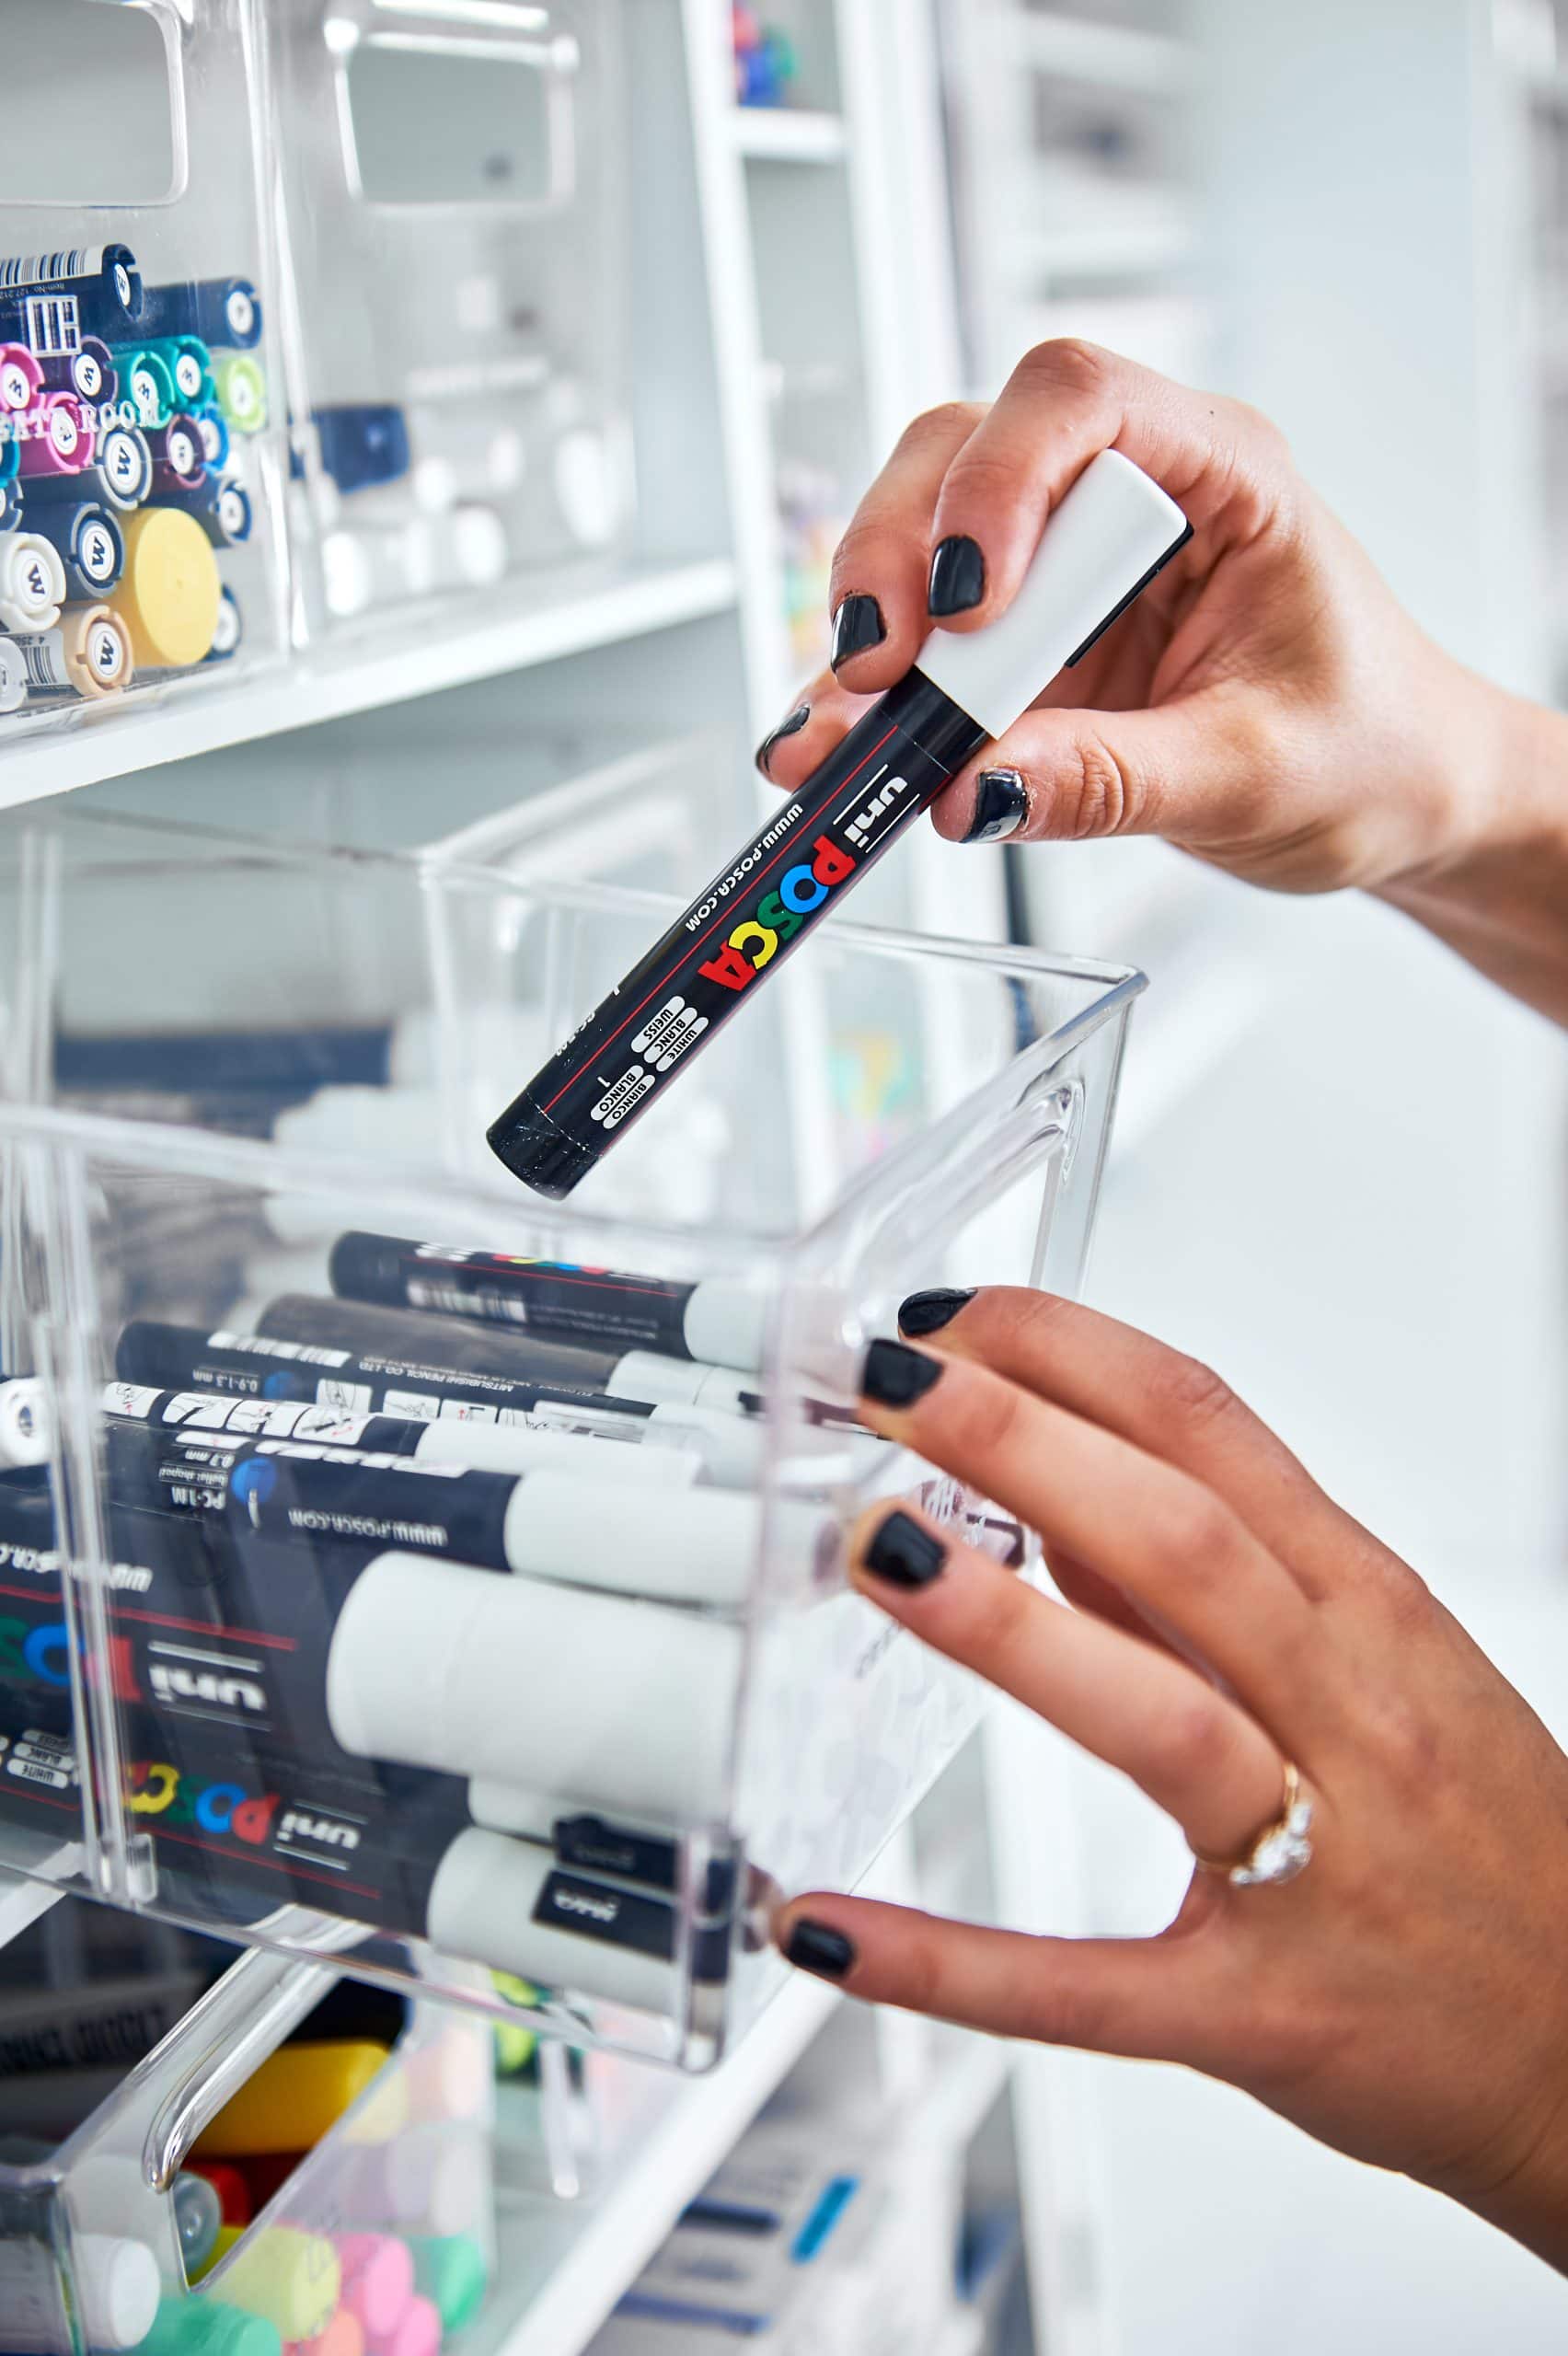
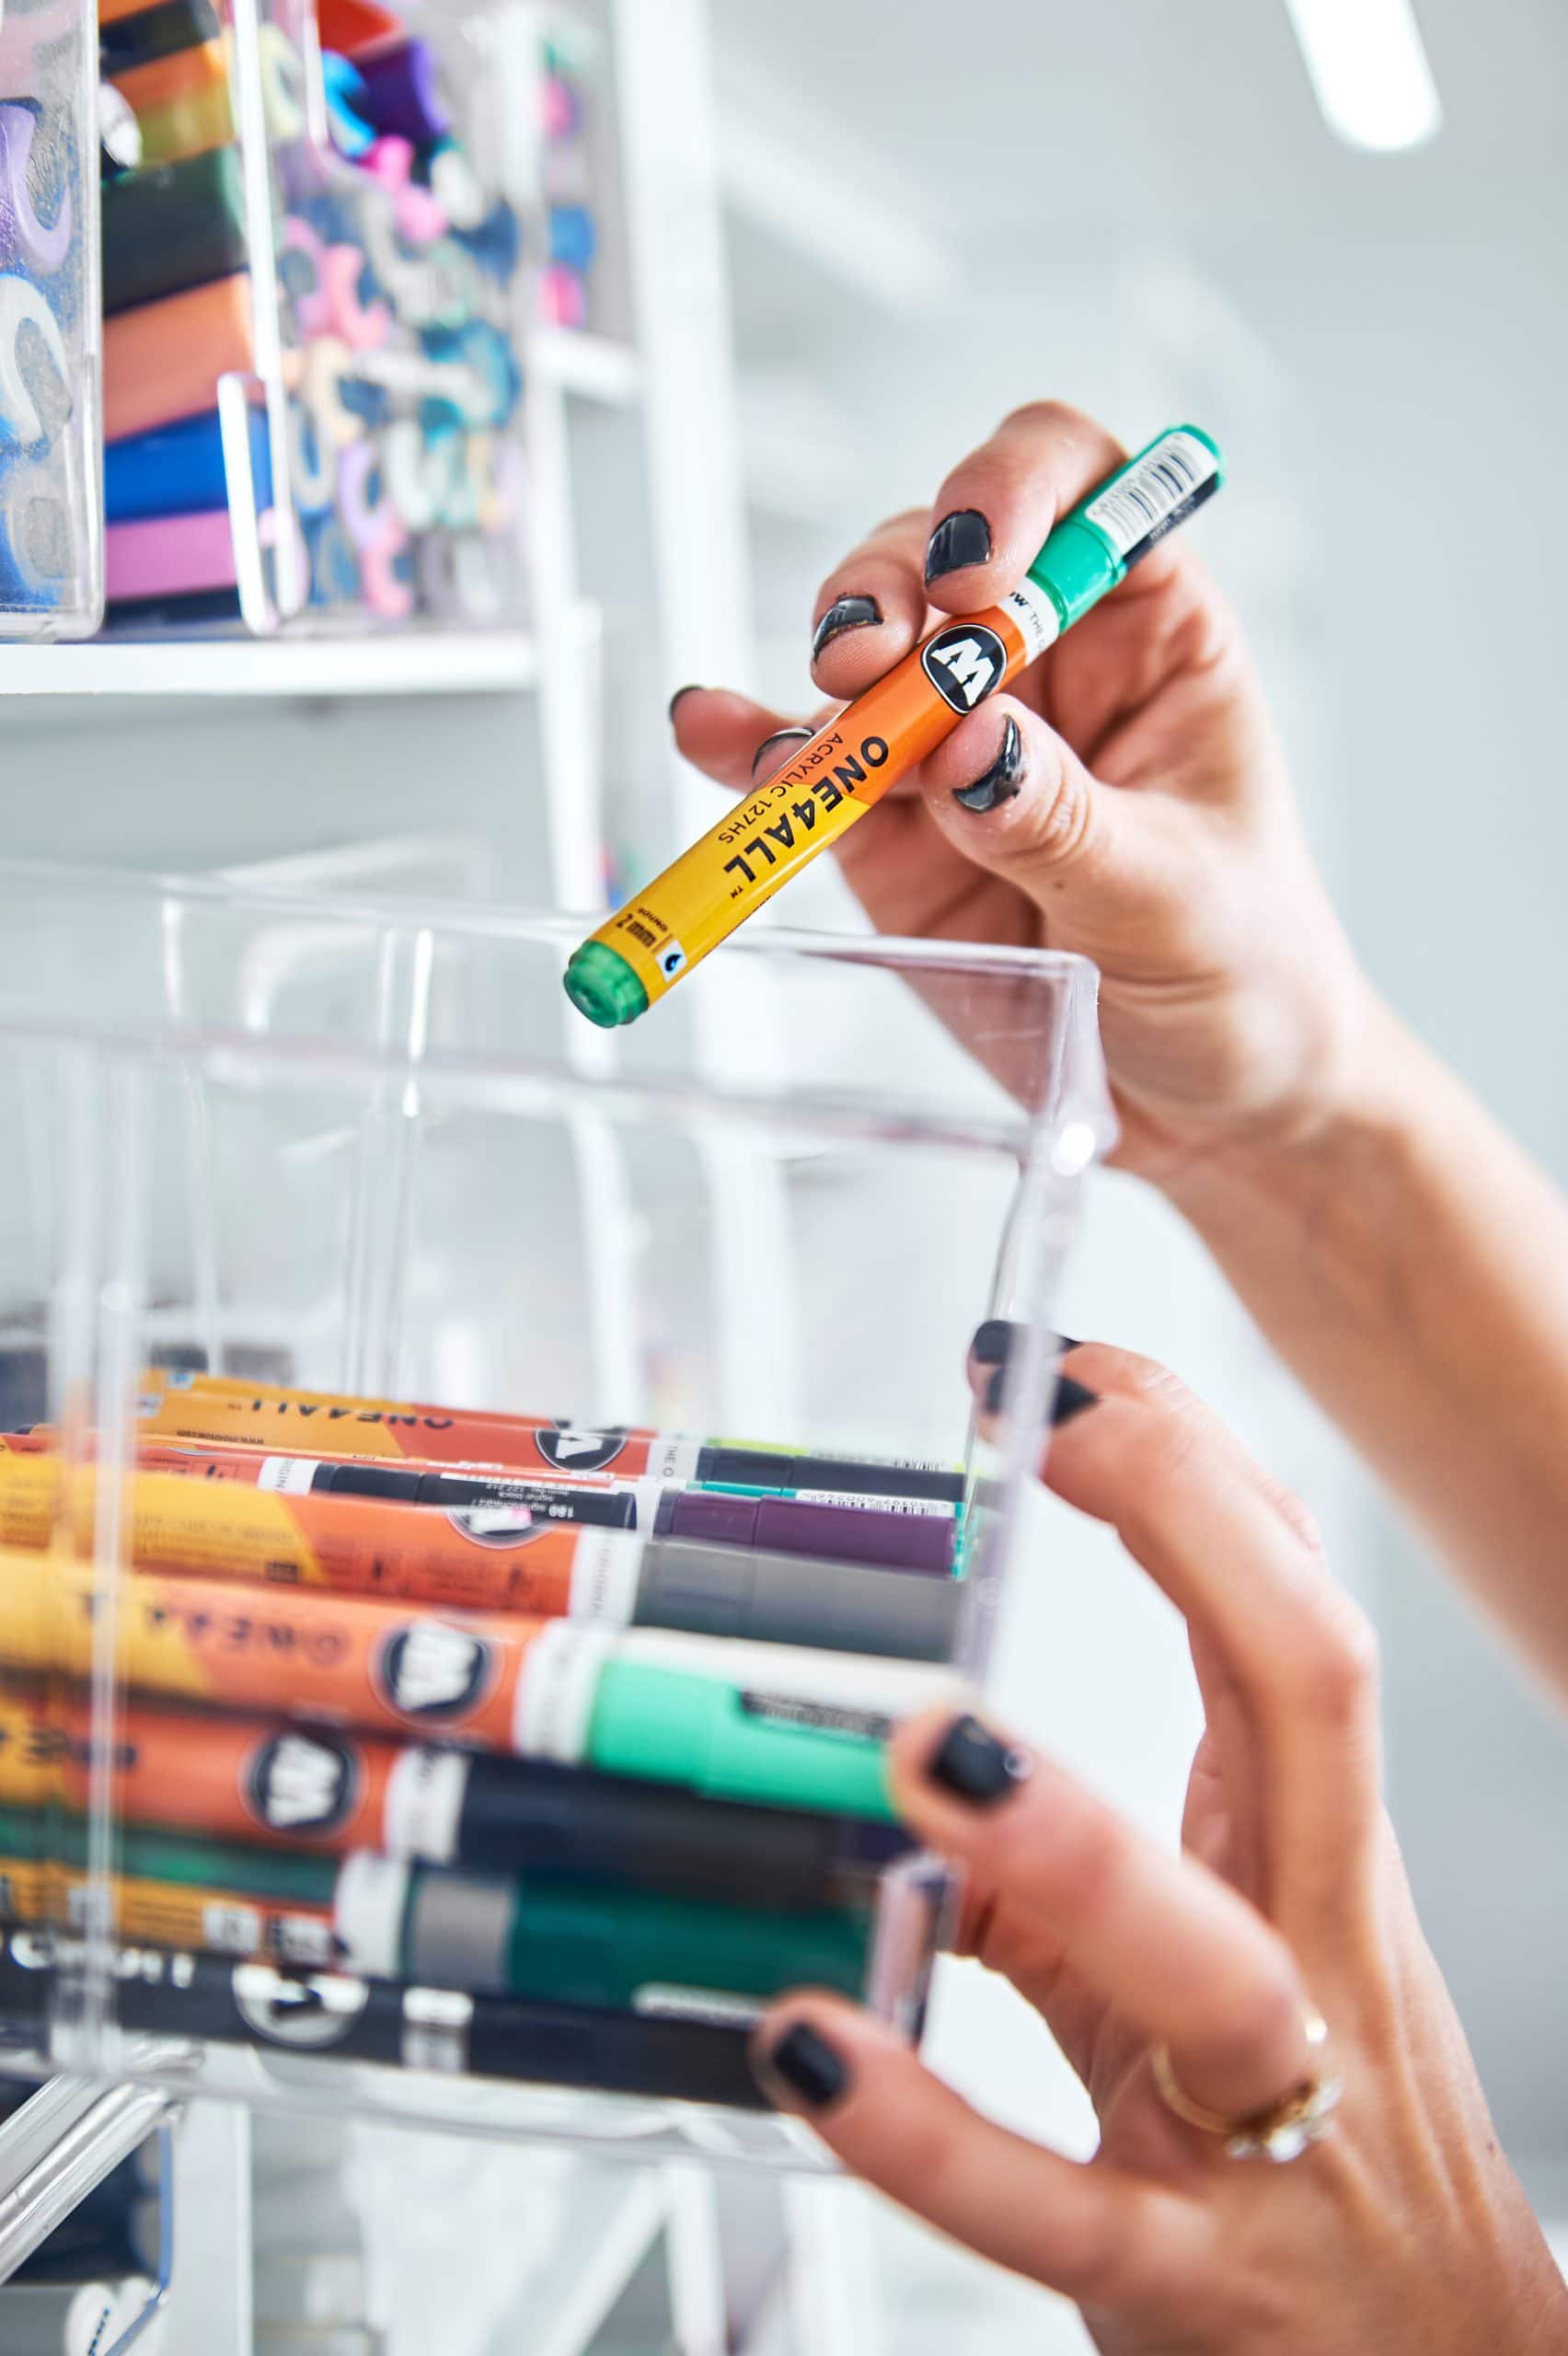
Group by type! For example, POSCA paint pens here, Molotow pens here, Micron pens there, etc…
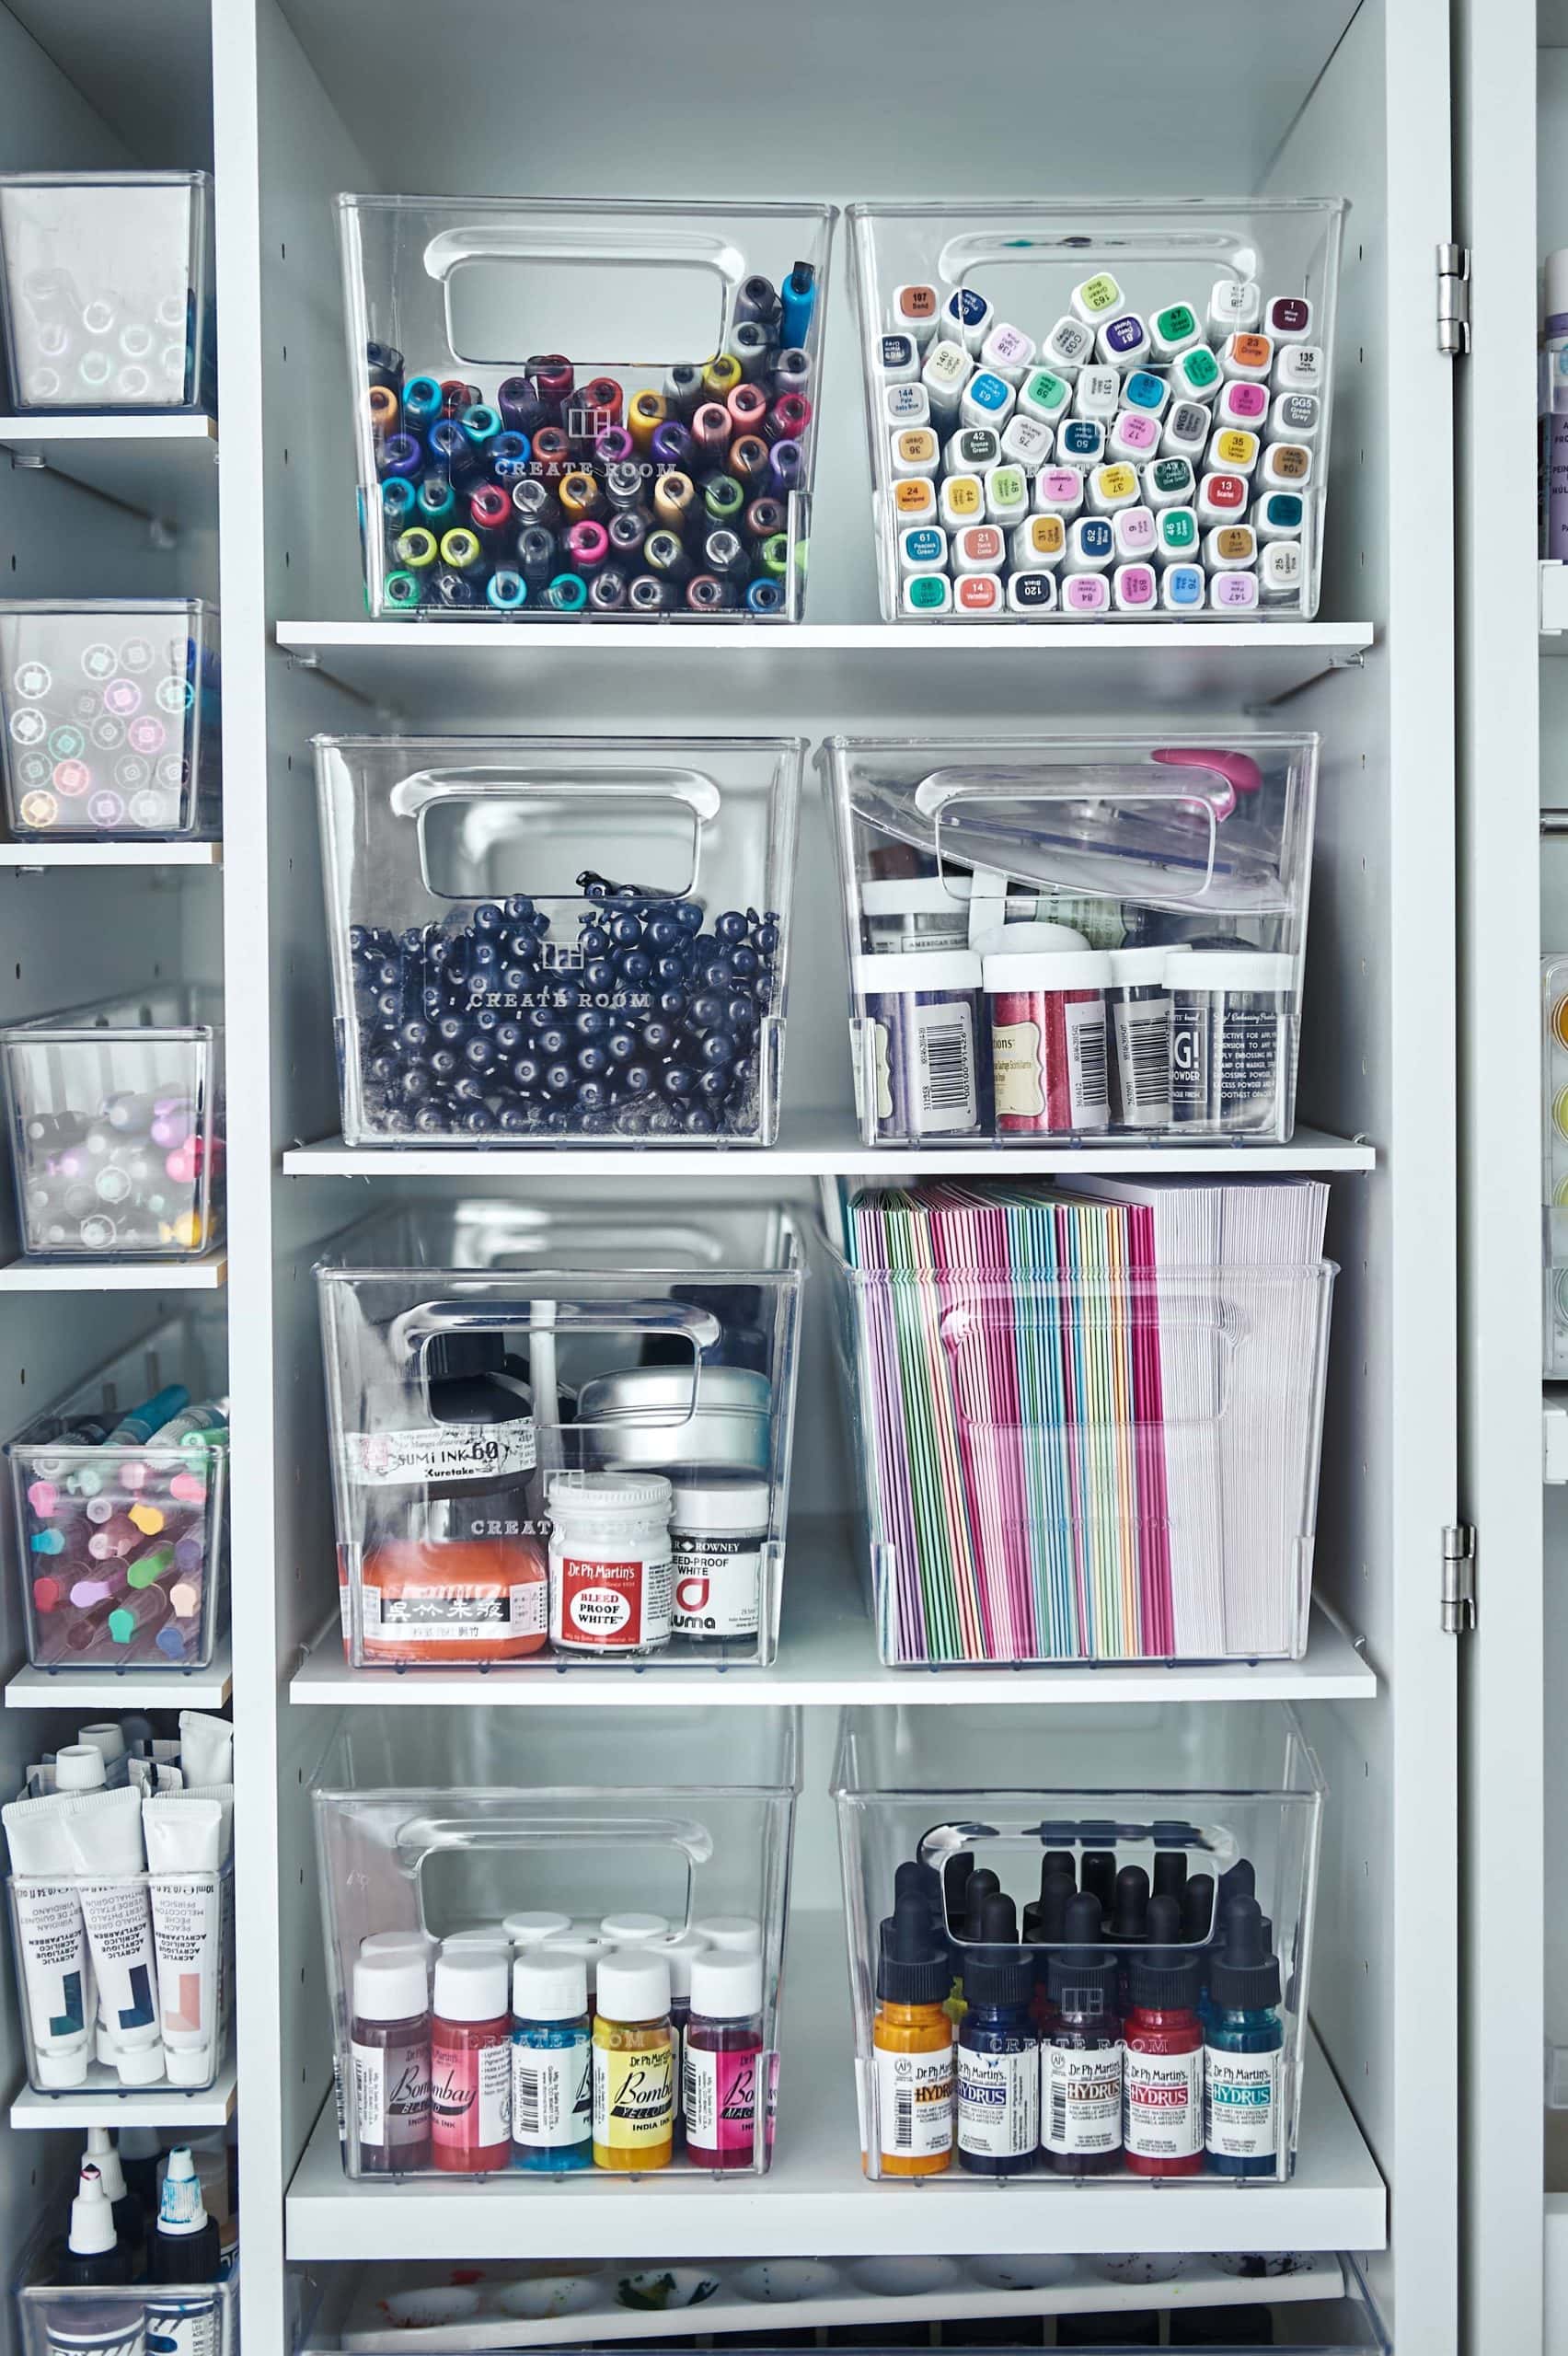
Tip #3: When in doubt, rainbow it out
My third tip is when in doubt, rainbow it out. Things organized by rainbow always look amazing. And even though I just told you not to group things by colour, I’m sort of gonna tell you to group things by colour… hear me out. In multiple spots in my DreamBox. I’ve got things organized in order of the rainbow. I still have all of the same type of art supply group together, but within that, I organize it by the colours of the rainbow. It looks so satisfying this way and makes it super easy to find things and put them back in the right spot. I even do that with my books!
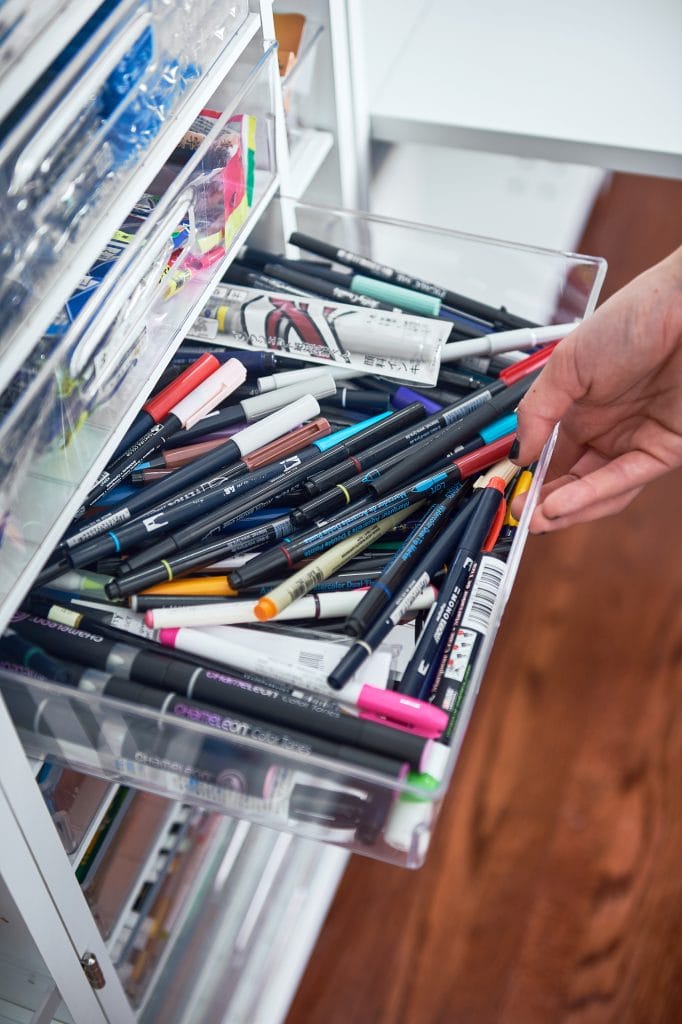
Tip #4: Have some junk drawers!
And lastly, my fourth tip is to leave a few spots for overflow or for junk drawers. You need somewhere for the messy stuff to go when everything else is super duper organized – there are just some things that aren’t gonna look pretty or that you don’t really fit in the right categories. My advice here is to find inconspicuous spots for these drawers like the lowest drawers is my DreamBox or some opaque bins I have elsewhere in my studio.
And that’s a wrap!
What I’ve learned above all else is just to do what you can to have your supplies actually visible, so it makes it super easy to pull things out. But more importantly, super easy to put them back.
The DreamBox is a big investment, but it’s been such a game changer in keeping my space organized because I can actually see it all and can easily pop things back in. I don’t leave things on my desk, which used to be a really big problem for me.
Long story short, DreamBox or no DreamBox, my number one tip is just to make sure your supplies are visible. Art supplies are beautiful, so you shouldn’t really hide them away anyway. 🙂
Looking for more? (including a discount code!)
If you’re interested in learning more about storing art supplies, check out this post.
If you’re interested in your own DreamBox by Create Room, use code: HAPPYEVERCRAFTER for a discount in the US or Canada!)
I also have a full post on my DreamBox here. 🙂
See you over there!
And finally, your dad joke…
Where do cows usually display their artwork?
In mooooseums.


Comments