Ever wondered how I film and edit the videos over on @thehappyevercrafter on Instagram?
This is a question I get asked ALOT! So, I’m going to share with you what tripod I use, what lighting is best, and a bunch of different apps I use to edit, including how I write my captions.
First Things First…
The links below may be affiliate links where appropriate. This means that your purchase through these links may result in a few cents in payment to me, to support creating further resources like this one! That being said, I will never suggest supplies that I do not personally use and fully recommend.
Tools Mentioned
Now let’s get started!
Prefer watching over reading? Feel free to skip right to the video and see these in real-time! ??
The Tripod
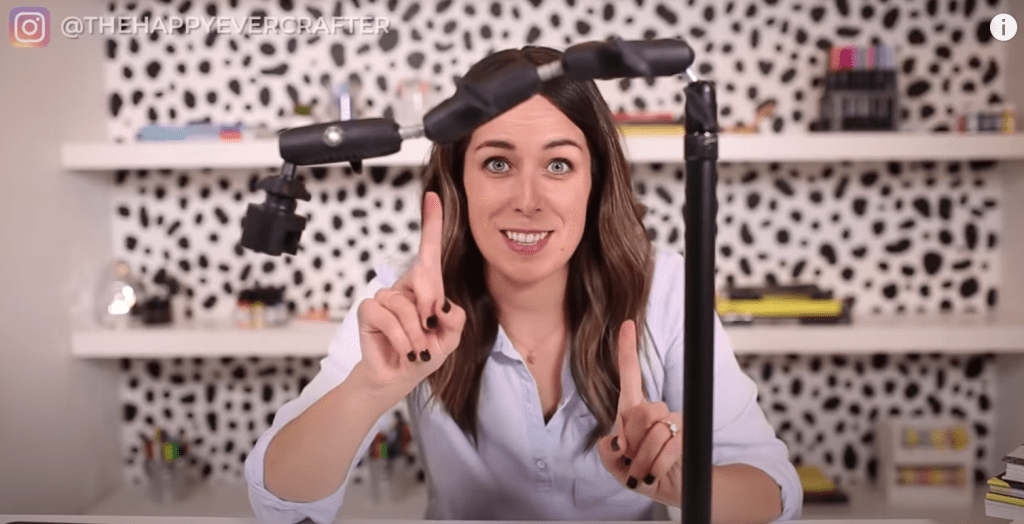
For a really long time, I used one of those suction mounts that you put on the dash of your car, which is a great option if you don’t want to invest a ton of money. But this one is probably my favourite mount that I’ve found that is the most multi-functional, hands down.
Reason #1
The base is heavy enough to hold a phone and not let it fall over. A lot of tripods are really wobbly, and this one is super sturdy.
Reason #2
There are so many different connection pieces that you can change by loosening and tightening knobs all along the tripod. I’m never worried about it falling over. You can adjust so many different angles because there are so many connecting pieces.
Reason #3
You can also buy more of these pieces if you need to extend it, and you can also remove pieces if you don’t need it to be so long. I find it really helpful to extend it all the way up so that the base isn’t showing in my video. If you’re filming something big, it’s super helpful.
So those are the reasons why I really like this tripod. I actually have a coupon code if you enter: HAPPYEVER at checkout, you’ll get 20% off. I promise you will not be disappointed in it! I do have a 50-page supplies guide that has all of my tripods and different mounts that I’ve used in the past, so lots of options all around.
The Lighting
This one might come as a shock, but I don’t actually use lights! I really only have lights on me when I’m in my YouTube studio (it’s the only place I can control the sound, and it happens to be bright). But when I’m filming an Instagram video, I actually just sit in front of a really big window at home, looking out.
My tripod is to my left and the sunlight is coming down at me, as I’m sitting there to film. The brighter that you can get it with sunlight, the better because it’s going to look more natural when you start editing.
If you don’t have natural light, you’ll want to try and get two spotlights and have them on either side of you, and just move them around until the shadows look normal. I actually did an interview with one of my photographer friends a long time ago, and she walked us through a couple of different ways that you can brighten up your videos.
So, once I’ve set up my tripod, put my phone in it, and sat down in front of a window, I go ahead and film whatever it is I’m filming!
The Editing
I’m going to walk you through a video I recently edited.
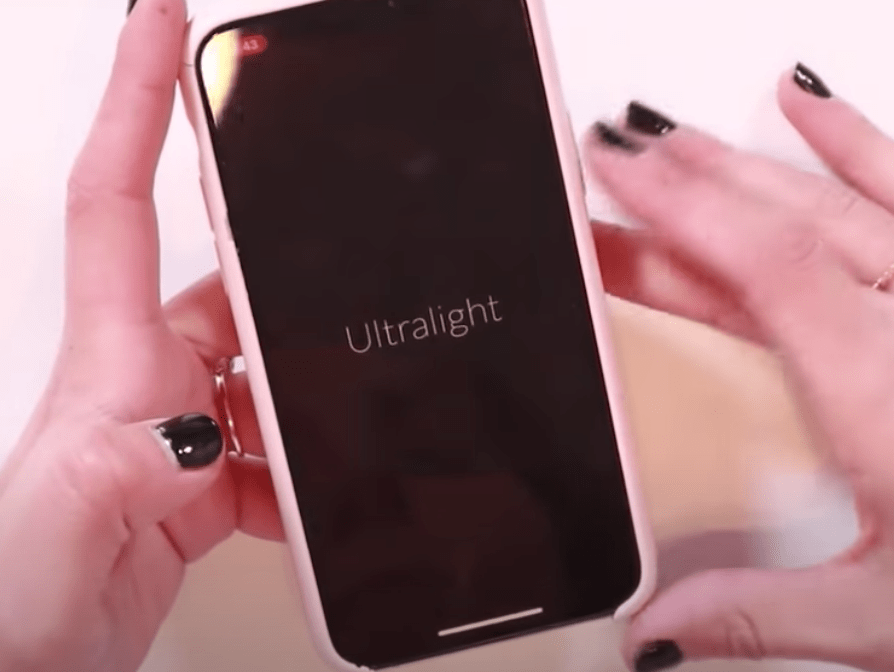
The app I use is called Ultralight. Once I open the app up, I go into “my albums” and find the video I want to edit. It opens up some options, and the first thing that I want to do is crop the frame into a square because it’s for Instagram. I’m going to hit the square and move the video frame around in the frame box; you can drag it to be a little bit bigger if you want.

Then I’m going to go to the button with the different levels. This is where you can play with the highlights and the shadows and all that kind of stuff. I usually drag the timer about halfway through my video, so that I can see my hand and the colors on what I’m working on.
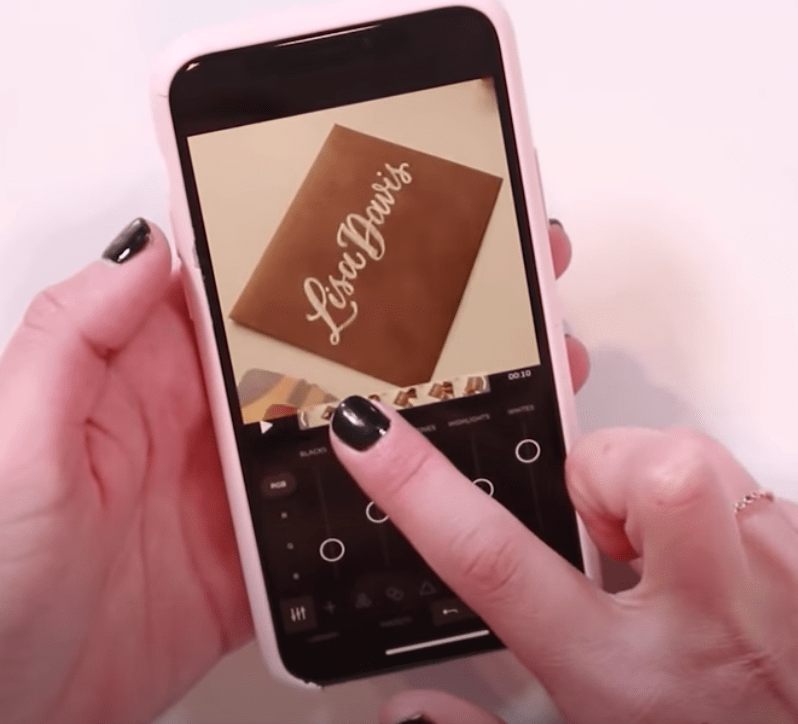
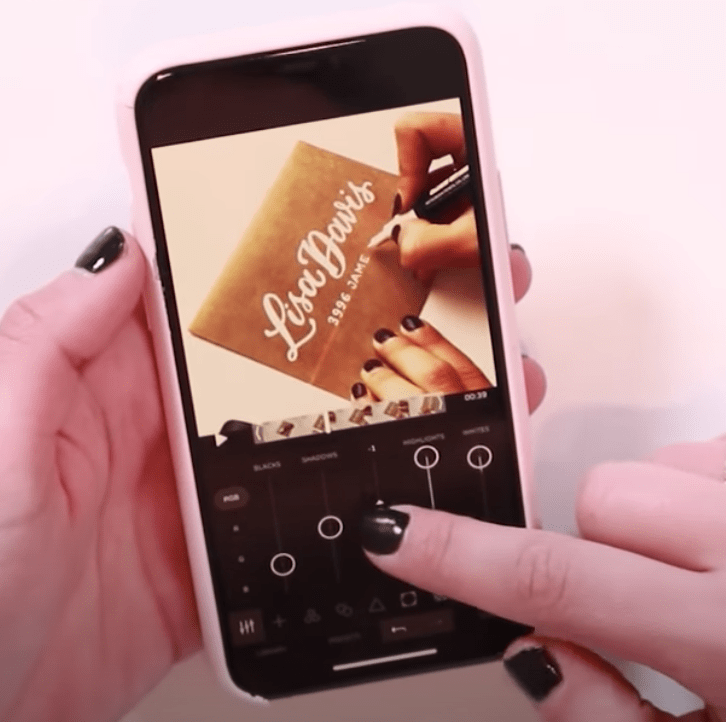
Finally, I play around with the highlights – I like the backgrounds on my videos for Instagram to be really white, so I usually slide those up pretty far. If you ever decide you want to undo, it’s really easy to do. Sometimes I also go to the triangle and hit clarity to make it a little bit clearer.
And that’s pretty much all I do!
Bonus!
If you’ve ever noticed that when you go into Instagram and type in a caption, even if you type in your caption in a Note or something and paste it into Instagram, it doesn’t register the spaces in between your paragraphs. I find that really annoying!
So, I downloaded an app called Spacie that does this perfectly. You type in your caption with whatever spaces you need, then you add in your hashtags and hit convert. It automatically gets copied to your clipboard so when you go into Instagram, you can just paste it right in.
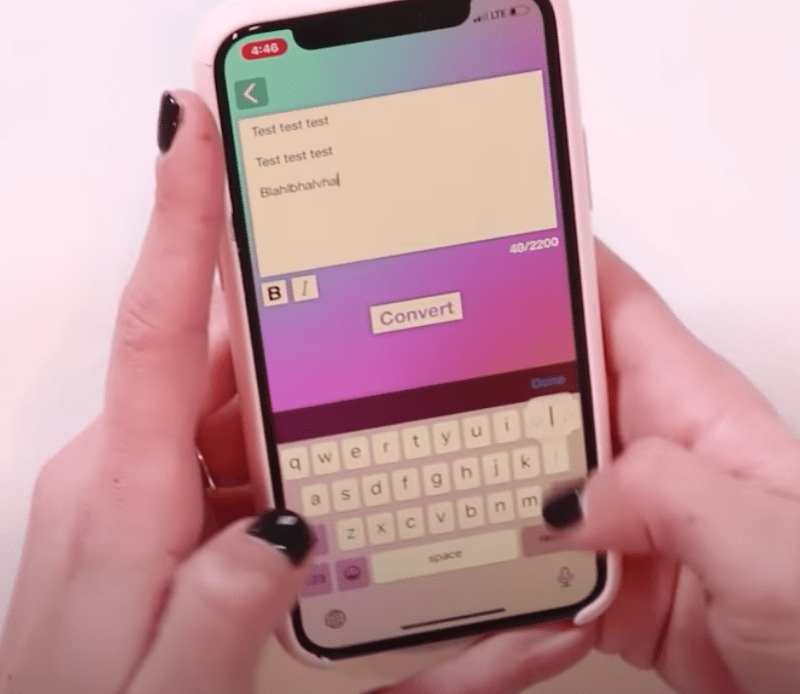
It’s really frustrating when you see a big long paragraph on people’s Instagrams and this really helps solve that problem!
And that’s a wrap!
That’s really all there is to my editing process.
- I use a sturdy tripod
- I work in front of a window
- I use the Ultralight app to edit my videos
- And then I use the Spacie app to make my captions.
Then I just post it to Instagram, and that’s when the magic happens ?.
I hope this was helpful, and please be sure to check out my 50-page free supplies guide!


Comments