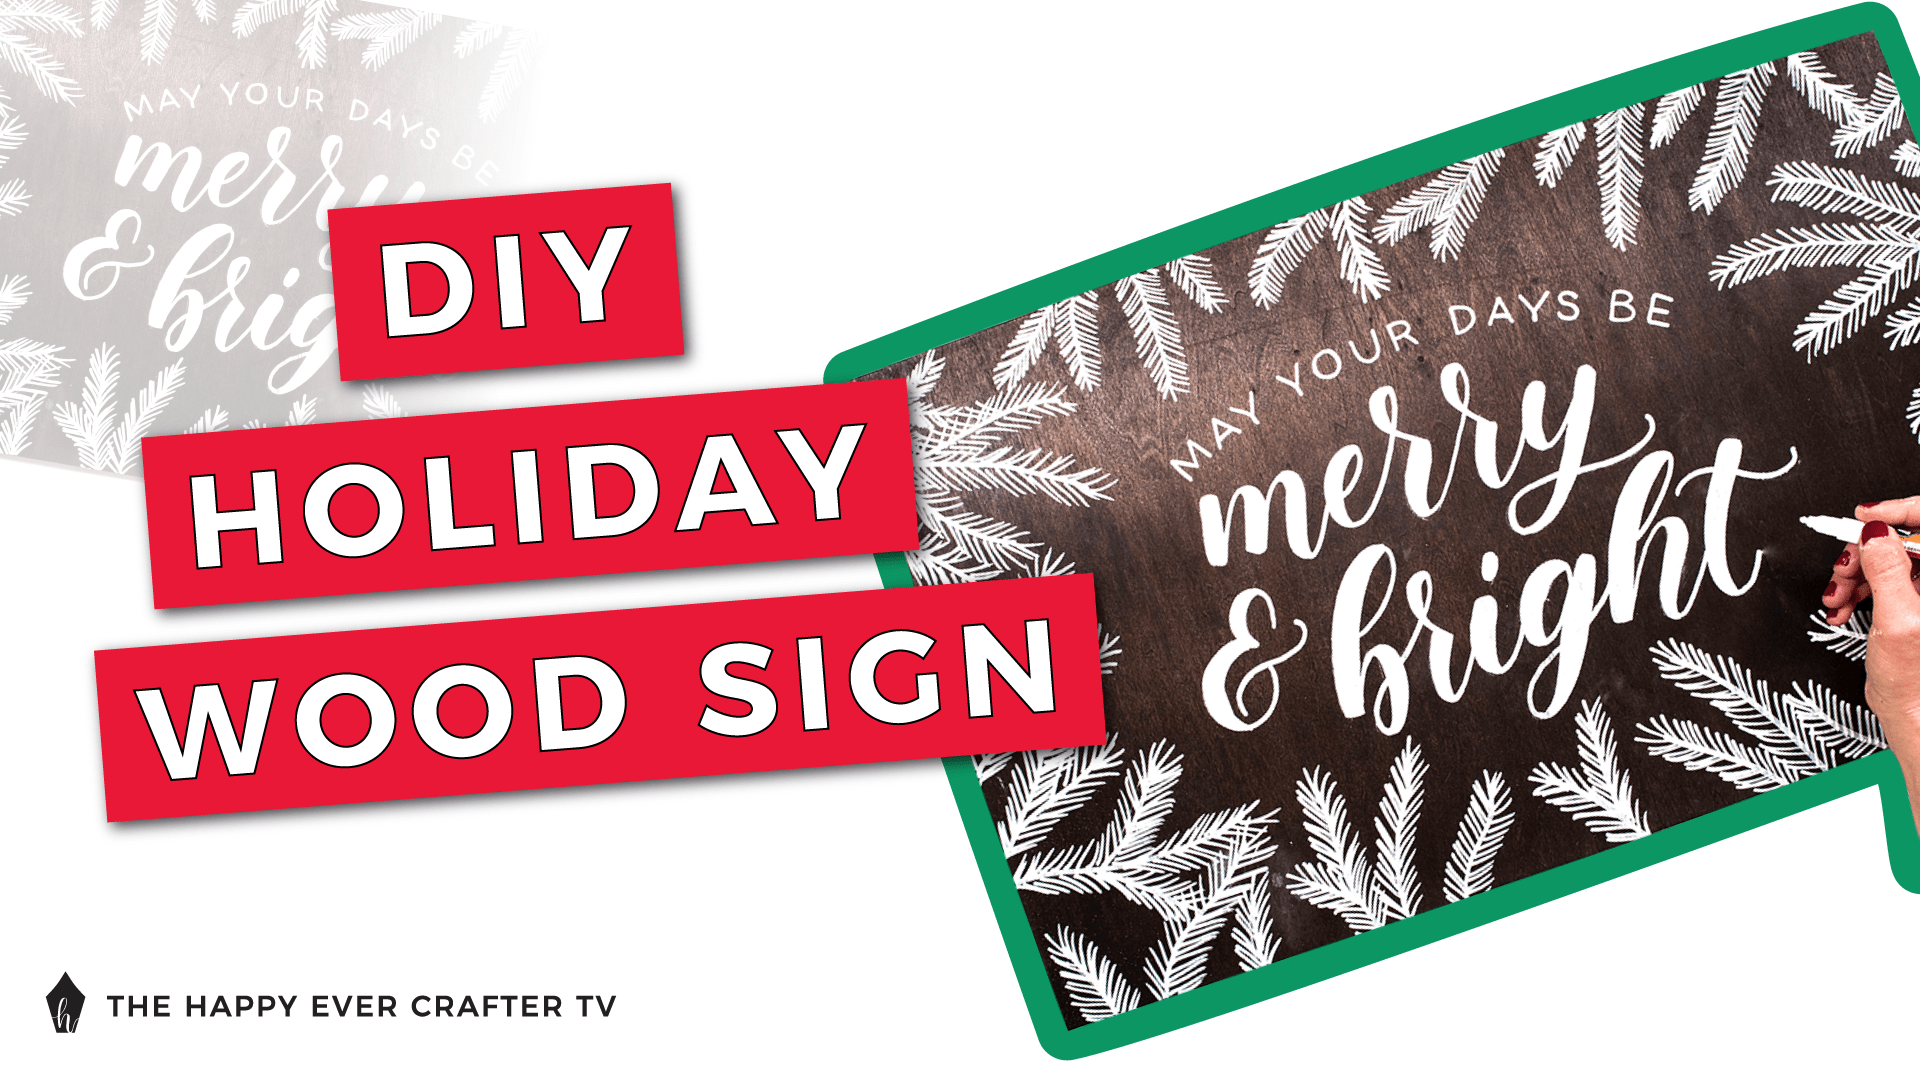
In this tutorial, we’re going to make a fancy, festive wood sign! It looks complicated, but I’ve got some special tricks to make it easier than you’d think!
And as with all my holiday videos, I’m GIVING AWAY a set of my exclusive holiday pens! Watch the video to find out how to enter!
First Things First…
The links below may be affiliate links where appropriate. This means that your purchase through these links may result in a few cents in payment to me, to support creating further resources like this one! That being said, I will never suggest supplies that I do not personally use and fully recommend.
Tools Mentioned
- Molotow Paint Marker
- Wood Sign
- Tracing Paper
- Chalk
- Pencil
Prefer watching over reading? Feel free to skip right to the video and see these in real-time! ??
I know lettering on wood LOOKS complicated – wood signs can be super intimidating! You worry about screwing it up. That’s why I’m going to show you my foolproof method!!! Seriously… it feels like cheating. And if you want more practice lettering on wood, I have another full tutorial right here!
Step 1: Cut a sheet of tracing paper to the size of your sign
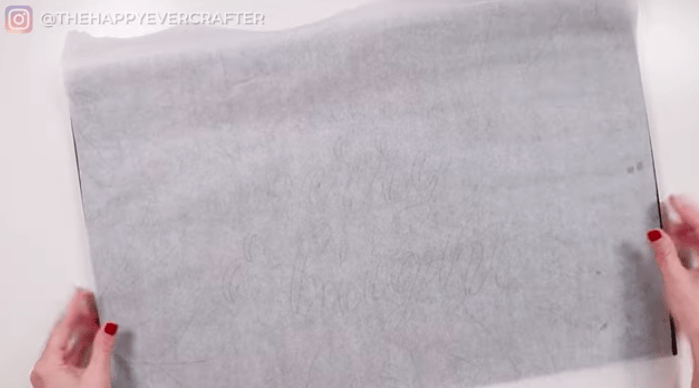
Step 2: Sketch your design onto the tracing paper
You can do any design you want. I started with pencil, and then traced with a pen so you can see it better. I also like to include the thickness of my letters as they will be, for an easier transfer.

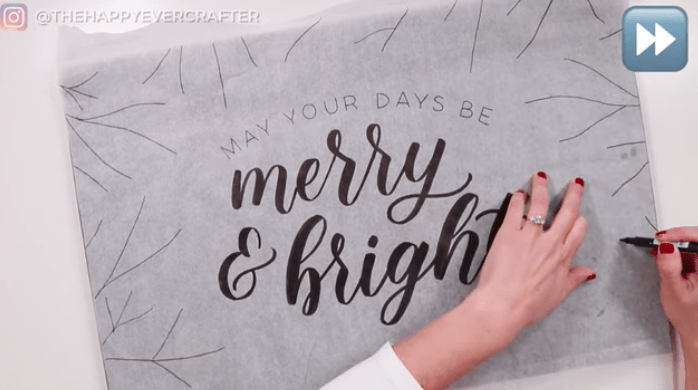
I also like to draw in my branches so the layout is as accurate as possible.
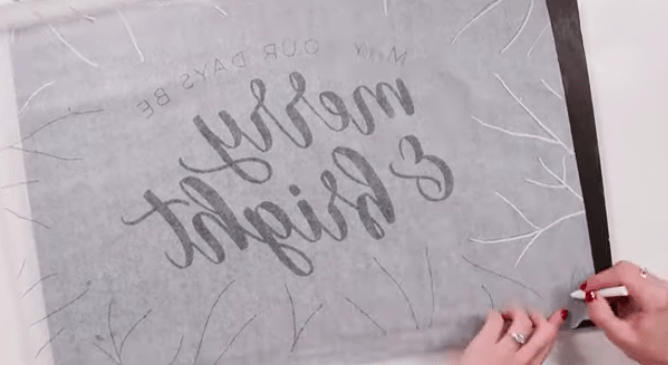
Step 3: Flip it over and trace with chalk
Remember, chalk dust can get a little messy!
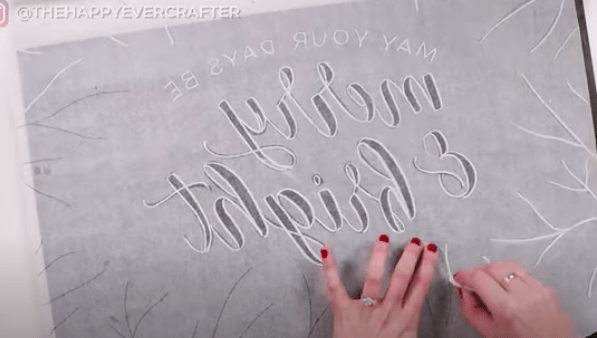
Step 4: Transfer it onto your board!
Flip your paper back over and place it exactly how you’re going to want it on your wood piece.
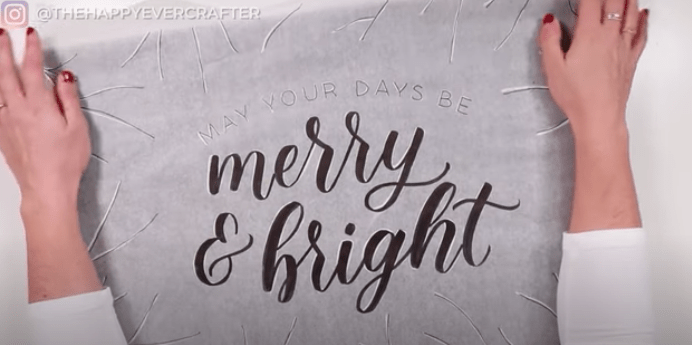
Either hold it down or tape it, and start going over all of the lines with your pencil, and really push down to get the chalk to stick. As you create these guidelines, be sure to go slow.

Step 5: Go over your chalk guide with your paint pens
Start by working from top to bottom to avoid smudge lines, and be sure to push down on your pens (off to the side) to make sure they are always saturated to avoid a chipped paint look.
Take your time! Fixing mistakes on wood is not easy.
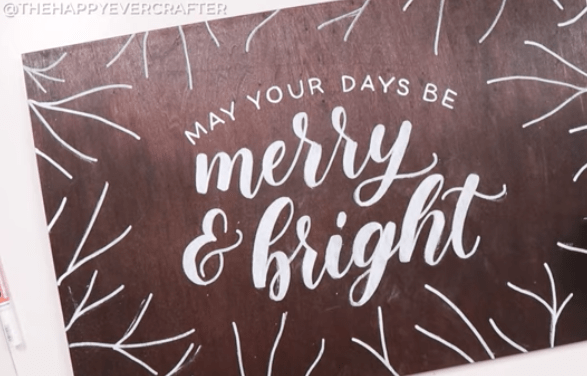
Finally, using your finger, you can dust off any residual chalk (once the paint is dry).
Step 6: (Optional) Seal it
If you’re planning on having this sign outdoors, you may want to seal it to protect it from the elements. Polyurethane is a great option. But if the sign is going to be indoors, no need to do this step!
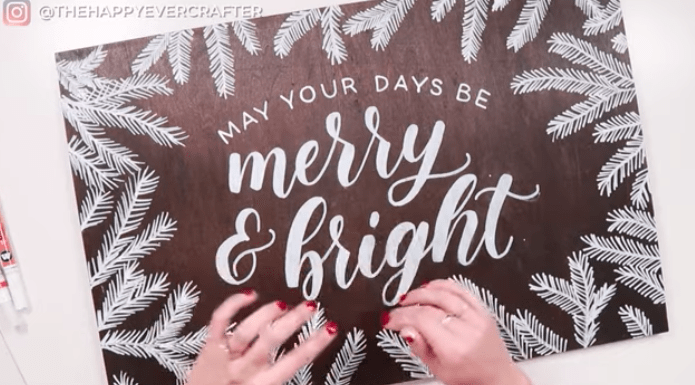
And that’s a wrap!
To enter, all you have to do is, hit subscribe on my Youtube channel, like this video, and comment below with your favourite holiday song! We will draw the winner in one week!


Becca you should have been a teacher!!! Your step by step instructions are so easy to follow and I love all your ideas, thus I follow you or well some would say stalking you!!! Ty for what you do for all of us!!!
Thanks so much, Dawn! 🙂
Thank you so much for your tutorials! Your work is amazing and I’m so grateful for the supply list guide!
I love all your videos. Your explanations are so easy o follow and your jokes are epic!
Thank you 😊