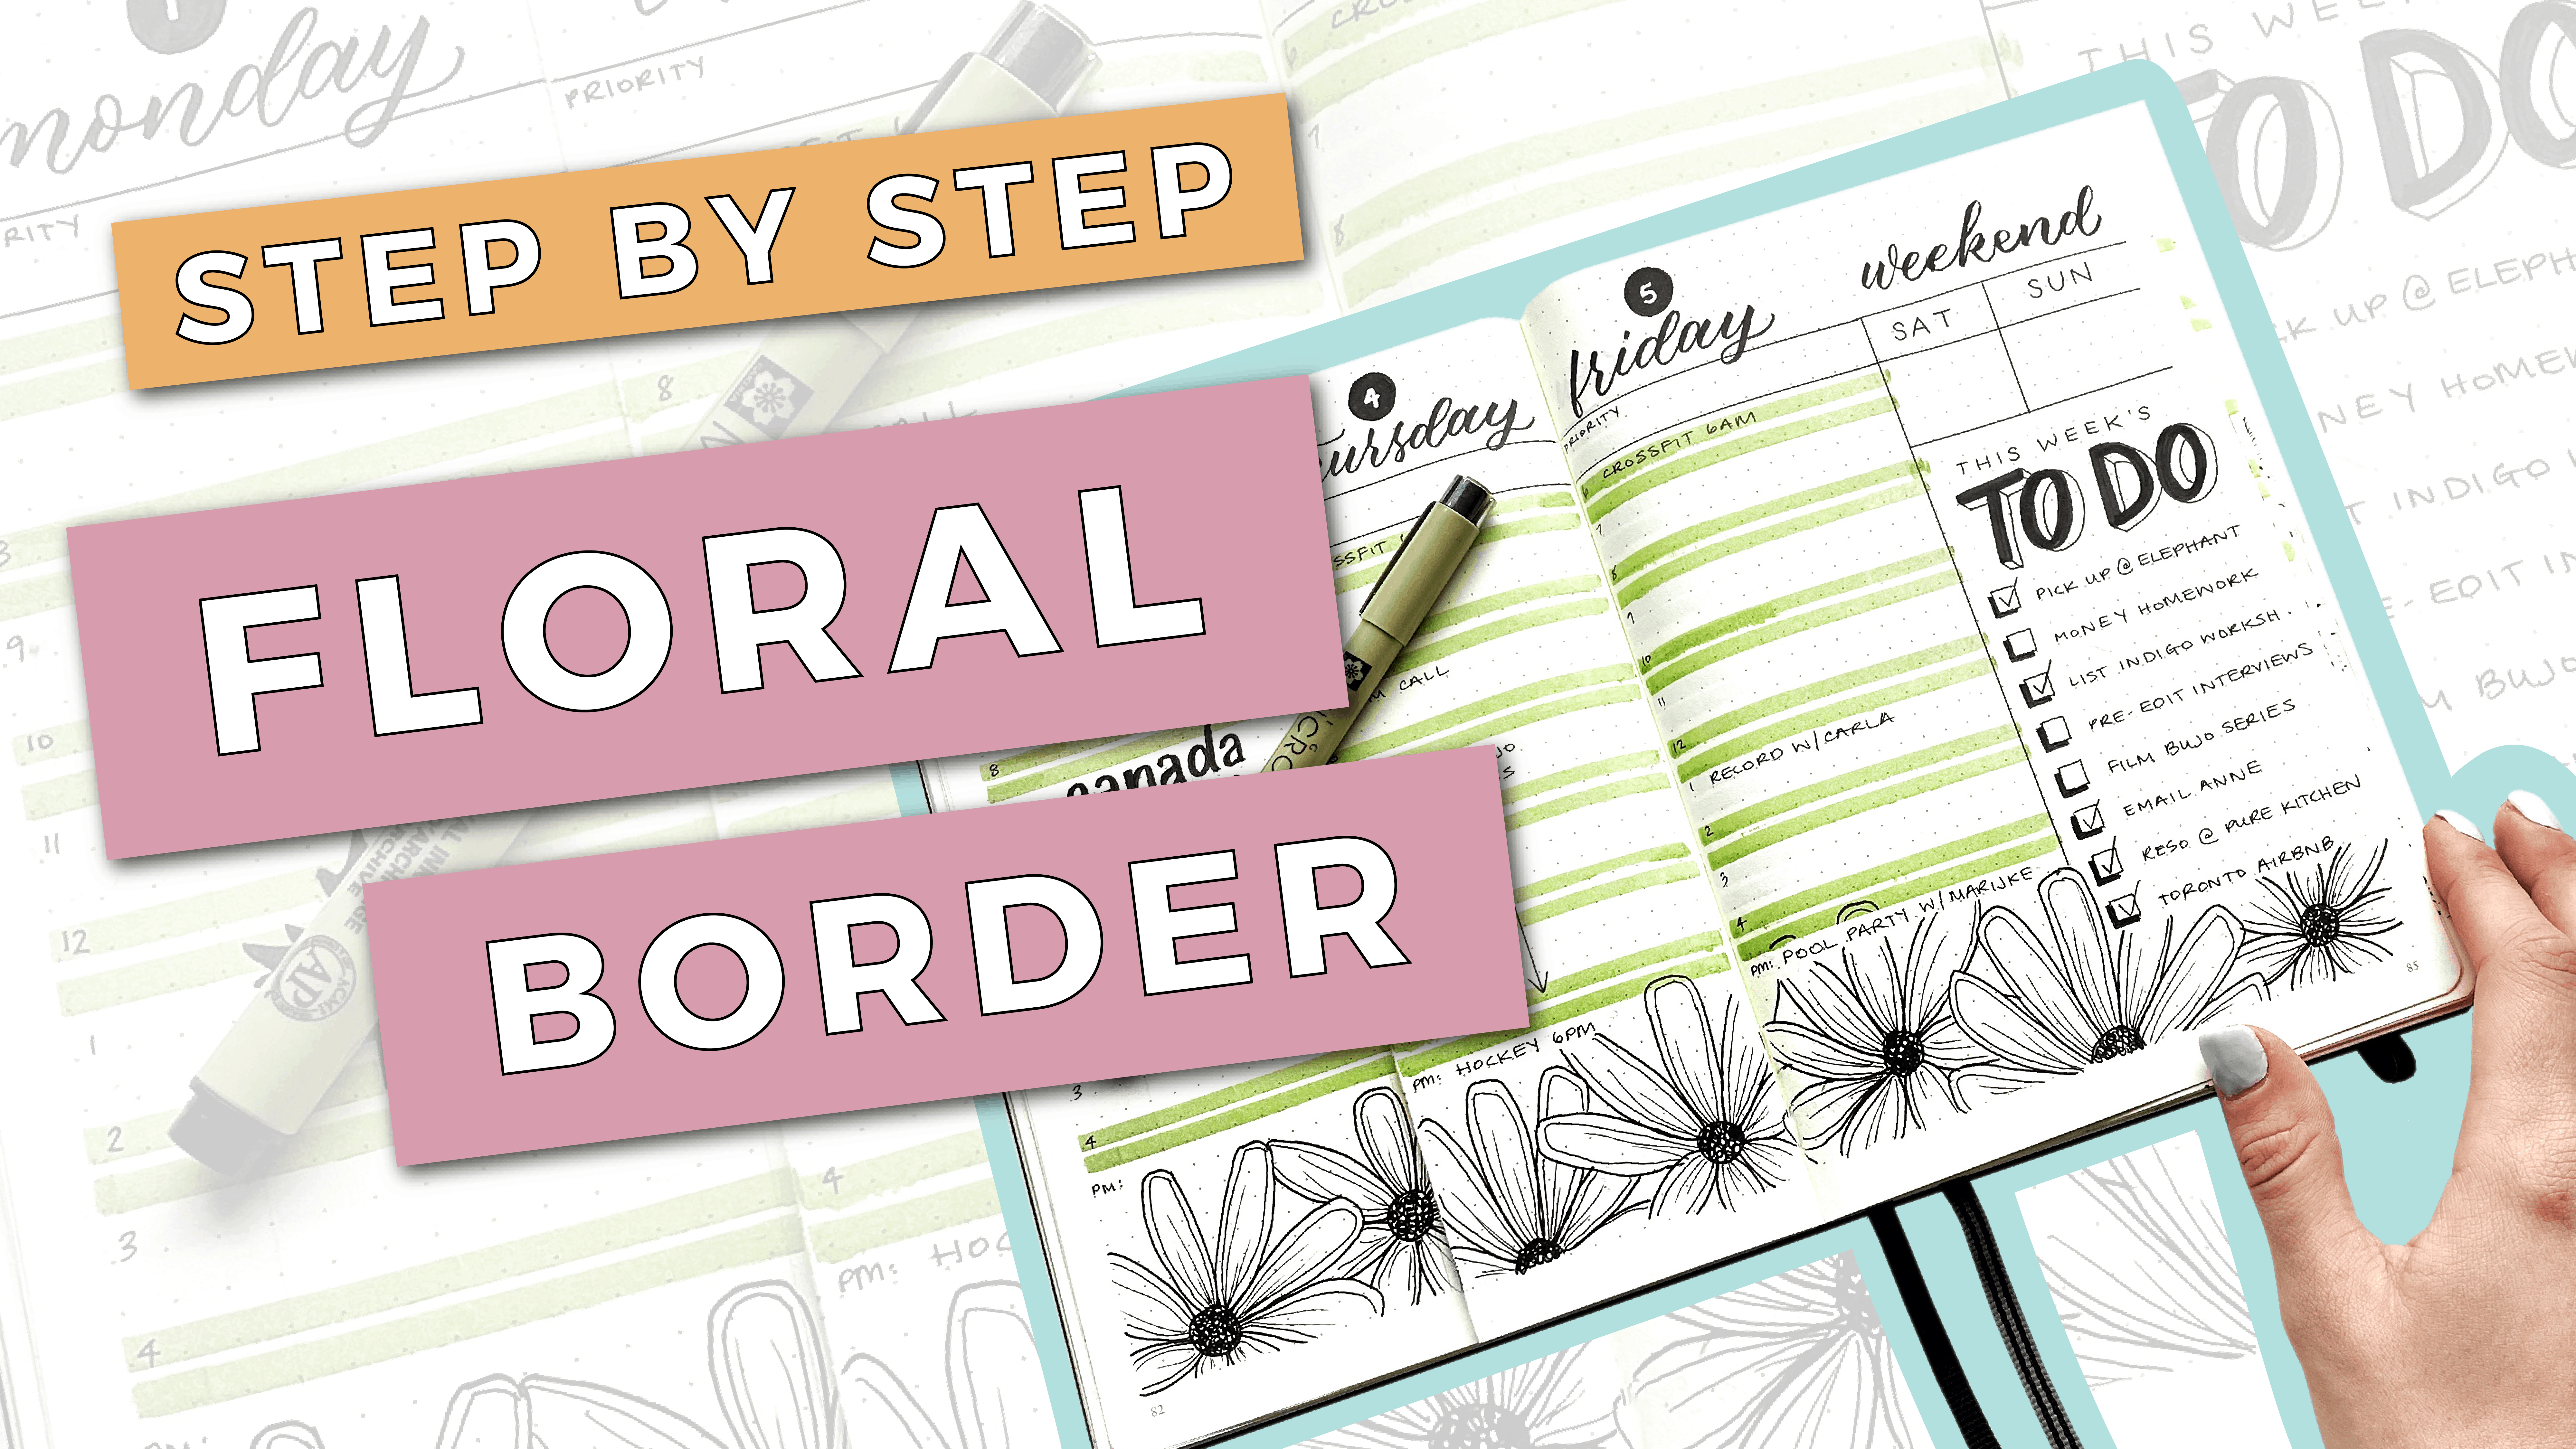
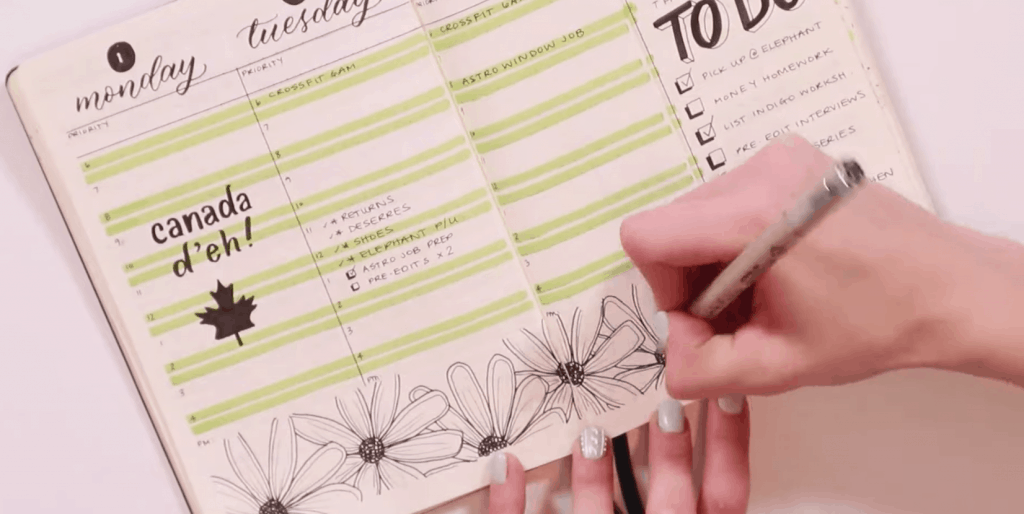
Today, I’m going to show you how to draw a floral border that you can easily use in your bullet journals.
I love creating an easy floral border in my bullet journals with a daisy flower. Now I know a lot of you are going to ask what bullet journaling is and how to bullet journal, so check out this tutorial on that here.
Also, if you have not yet seen my step by step tutorial on how to draw a daisy flower (I walk you through every step!), definitely do that first because I will NOT be walking you through the flower portion; this tutorial is all about putting it all of the pieces in a border!
Prefer watching over reading? Feel free to skip right to the video and see these in real-time! ??
During the tutorial, you’ll learn:
✔️How to size your composition so it fits within your bullet journal layout
✔️How to leverage your dot grid to space out your daisies
✔️Where to add simple details to make your flowers pop
✔️AND SO MUCH MORE!
First Things First…
The links below may be affiliate links where appropriate. This means that your purchase through these links may result in a few cents in payment to me, to support creating further resources like this one! That being said, I will never suggest supplies that I do not personally use and fully recommend.
Tools Mentioned In This Tutorial:
- Micron Pens, sizes 1 & 5: https://amzn.to/2SVoUUB
- A Bullet Journal (or notebook of your choice!)
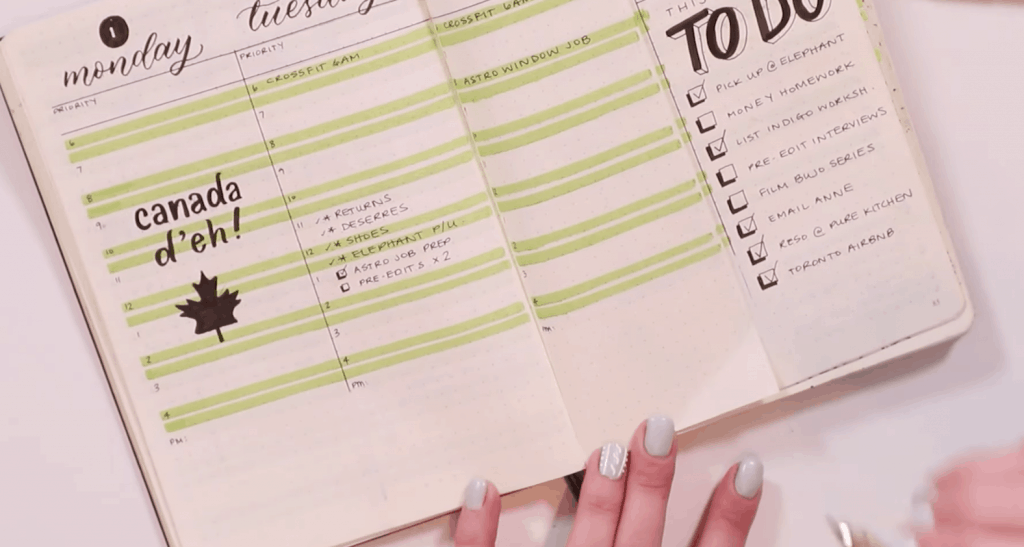
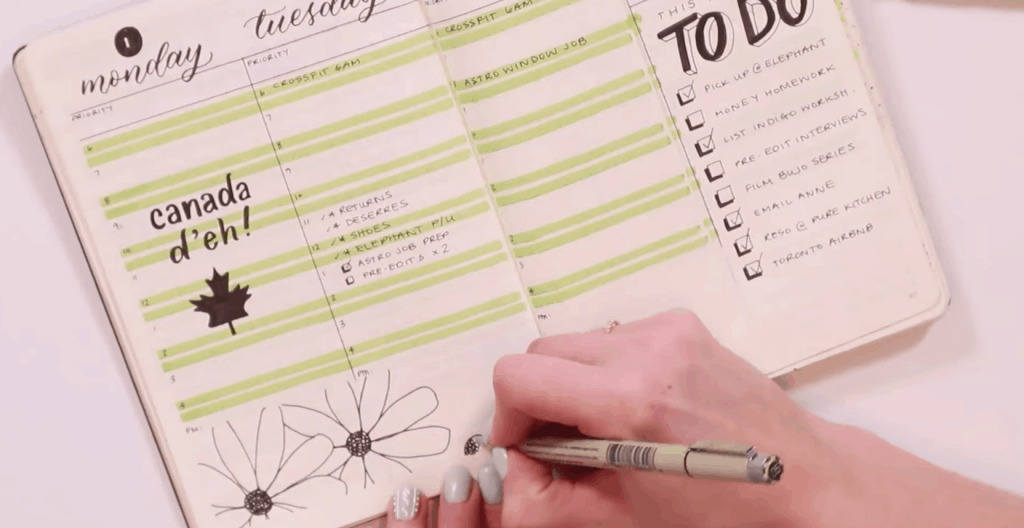
Step 1: Figure out your layout
Typically, you’ll want to fill in your border towards the edge of your bullet journal. Start on the left side and use the dots as guides.
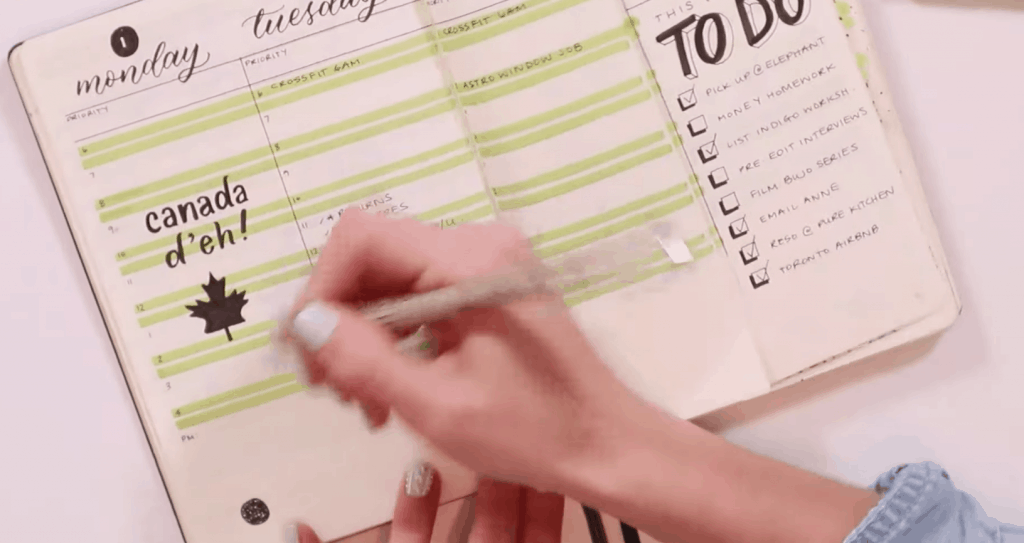
Step 2: Draw your daisy center
Keep in mind that your flowers will be running off the page, so you want to start the center of your flower a little off to the side.
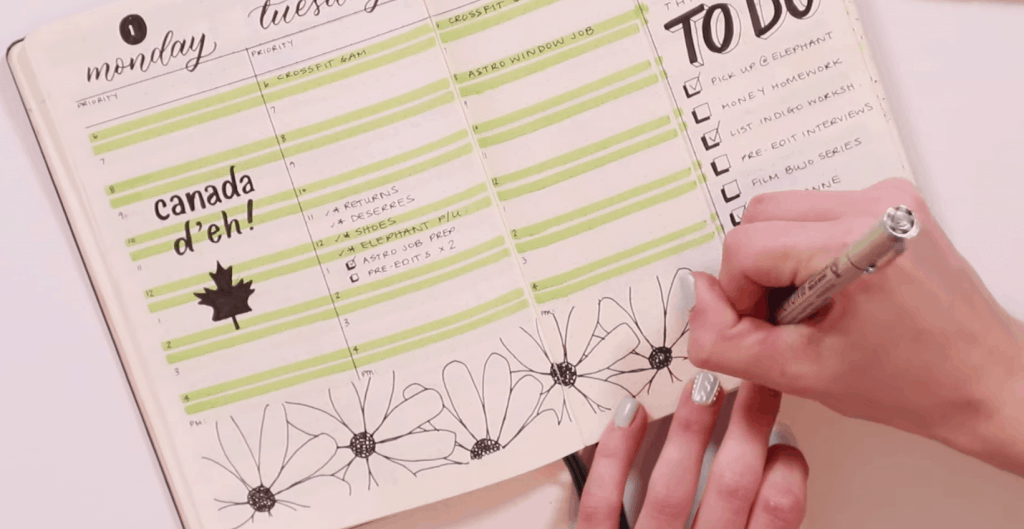
Step 3: Fill in the petals
Use the top and bottom dots as the stopping points, to give your flowers a natural look.
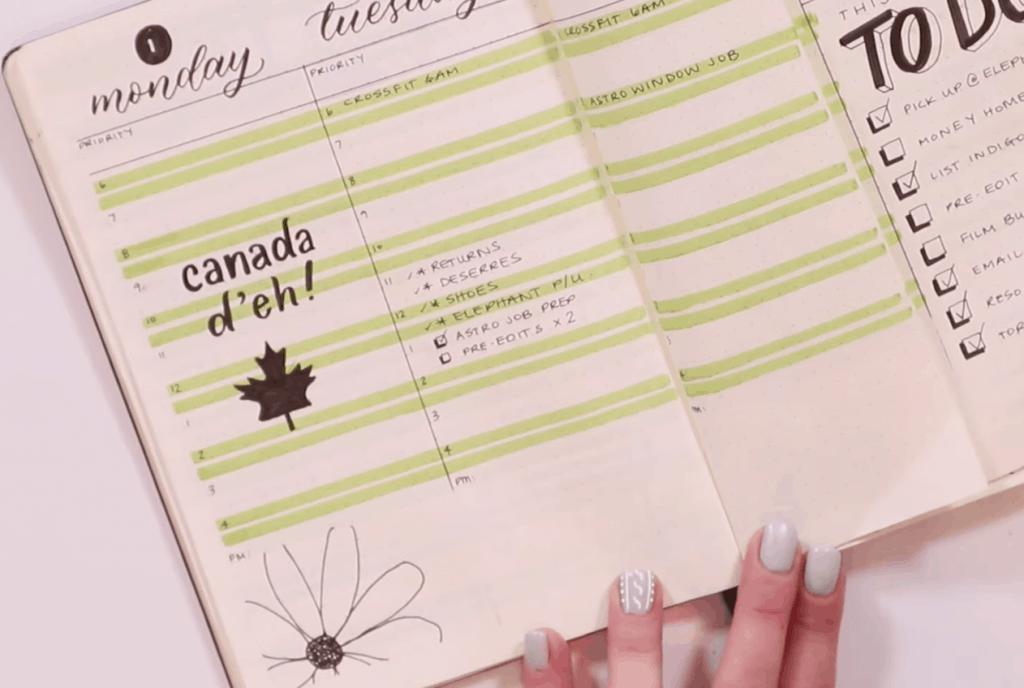
Step 4: Draw your next flower
You’ll want to have your flowers overlapping, so don’t be afraid to put the next one too close. You also don’t want all of your flowers to be perfectly aligned, so draw some lower and some higher.
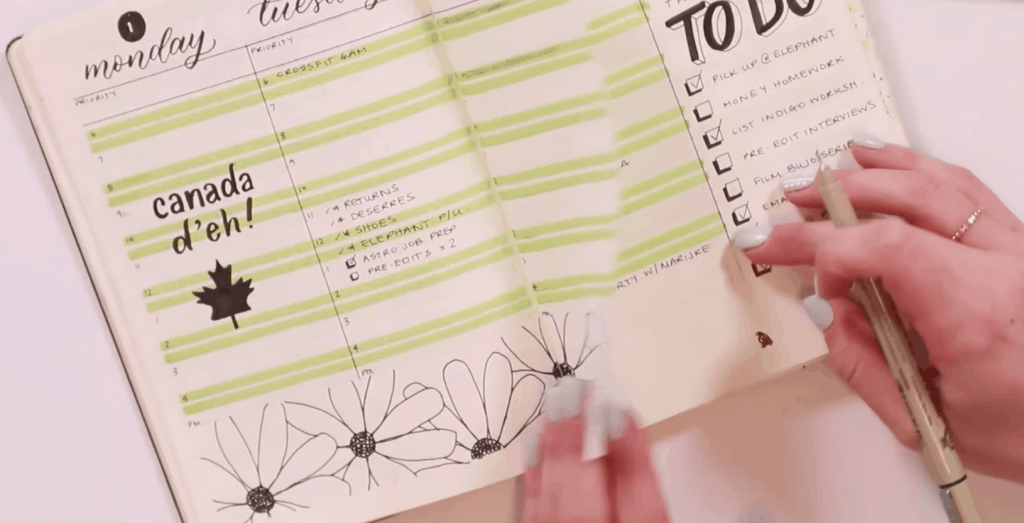
Step 5: Add the rest of the flowers
Step 6: Cover any overlapping pages
If you have a bullet journal with overlapping pages, work right through them!

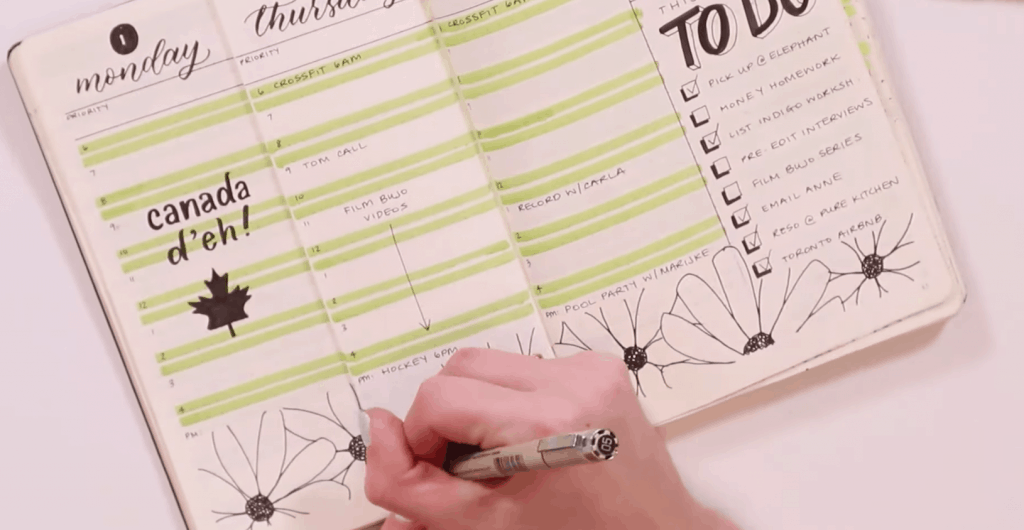
Step 7: Add some basic details
Using your Micron 1 pen (the lighter one), add some super basic details.
Step 8: Extend the tops of the petals where appropriate
You’ll notice some petals will be able to extend, while others you’ll need to work around what you’ve got written in your bullet journal.

And that’s a wrap!
If you’re looking to perfect your daisy, make sure to check out my step-by-step tutorial here – it even comes with a free worksheet! Looking for more flower varieties? Be sure to also check out the rest of my floral series!


❤️great!