All my friends are pregnant. Seriously. I have 13 pregnant friends right now. I need A LOT of cards. And if you know me at all, you know I neeeeeed all of my cards to be hand-made.
In my video for this tutorial, I made four cards at once using two full sheets of watercolour paper (trying to save a bit of time). Don’t feel like you need to multi-task like I did. You can just do just one sheet for two cards!
First Things First…
The links below may be affiliate links where appropriate. This means that your purchase through these links may result in a few cents in payment to me, to support creating further resources like this one! That being said, I will never suggest supplies that I do not personally use and fully recommend.
Supplies Used
- Coldpressed Watercolor Paper
- Amsterdam Acrylic Paints
- Posca Paint Pens
- Micron Pen
- Neocolor Water Crayons
- Sharpie
- Pencil
- Paint Brushes
- Painter’s Tape
Rather watch than read? No problem! You can watch me create my baby shower cards in real time in the video below.
Some Supplies Info…
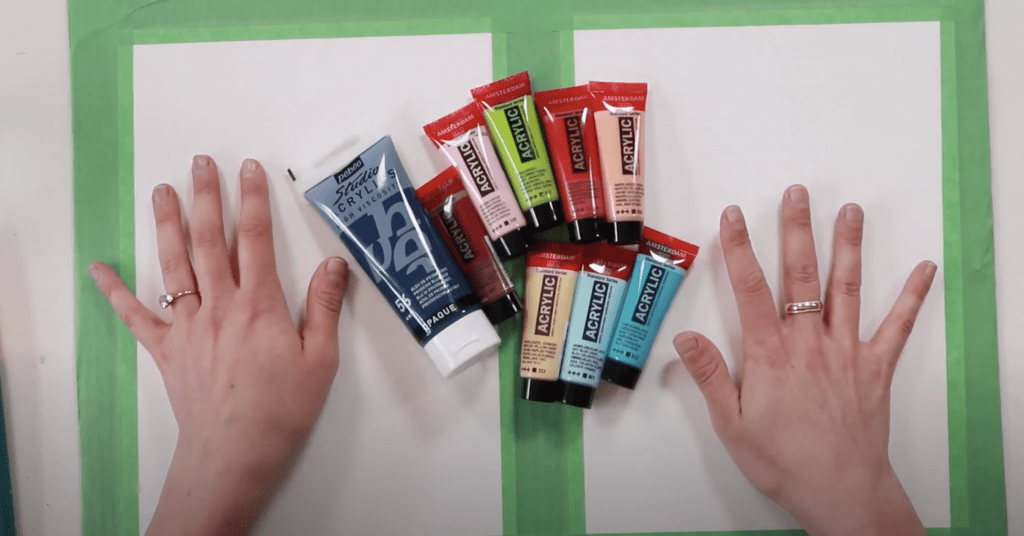
I used cold-pressed watercolour paper and taped it down to a piece of cardboard. I wanted to be able to move it around if needed (hence the cardboard) but also wanted to tape it down to help prevent warping once I add a bunch of paint to the paper. This is totally up to you how you want to set up, but I definitely recommend taping your paper down to your desk/table/cardboard/etc. You want your card paper to be as flat as possible once you’re done.

For materials, I use whatever is inspiring me that day. These baby shower cards are often super abstract, so I don’t have strict rules on colours or anything.
For this tutorial, I used acrylic paint. I’m definitely not an acrylic painter or professional, but these colours inspired me, so I went for it!
I also grabbed some paintbrushes in various sizes, a jar of water, some paint pens for writing, some crayons, paper towel, and a piece of palette paper. Palette paper – this stuff is great! It’s just like a palette that you can throw away after).
Anyway… I’m totally serious when I say use whatever supplies you want. Whatever supplies inspire you are great options. Feel free to get a bunch of stuff out – you don’t have to use them if they don’t work in your project after all.
We’re going to paint the full sheets of paper and then cut and fold.
Let’s Get Started!
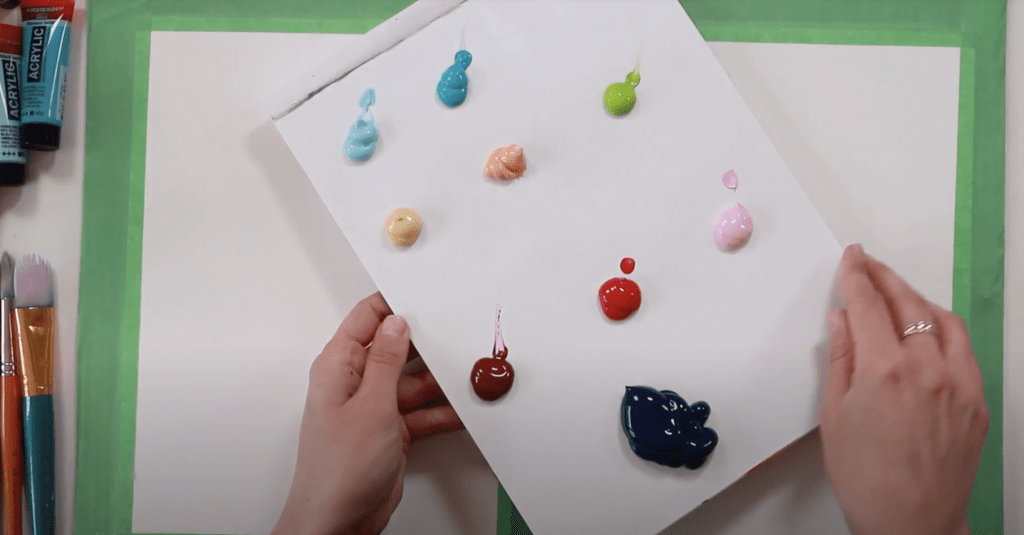
I squeezed out a bunch of my paint on some palette paper and just had fun with it! I’ll include some step by step and some photos for you to get an idea of my process.
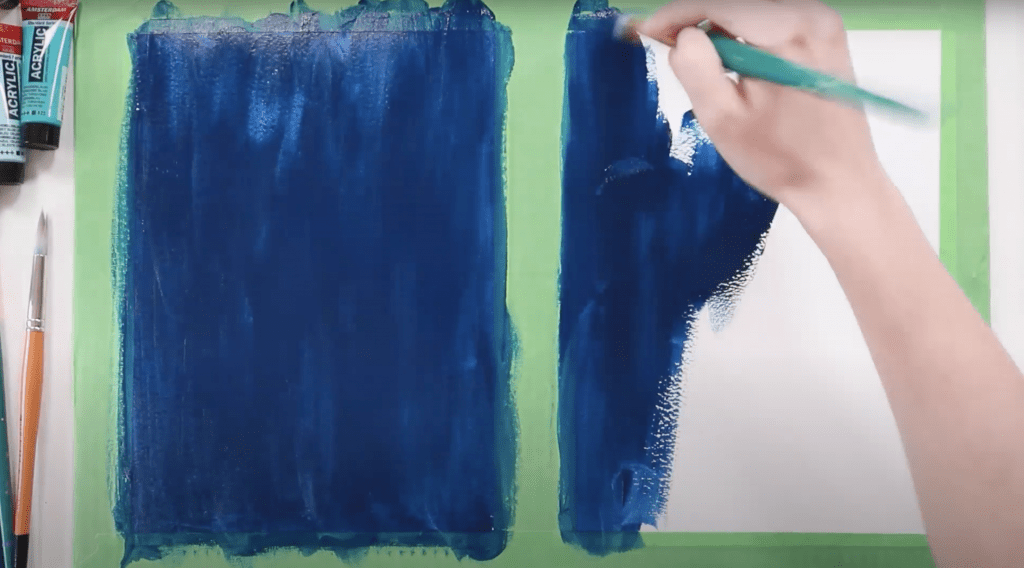
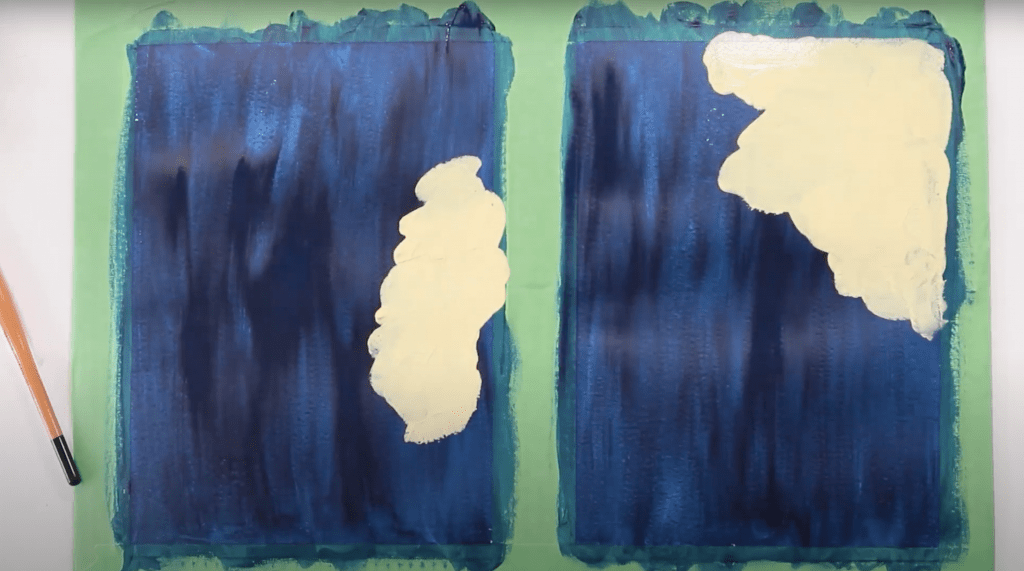
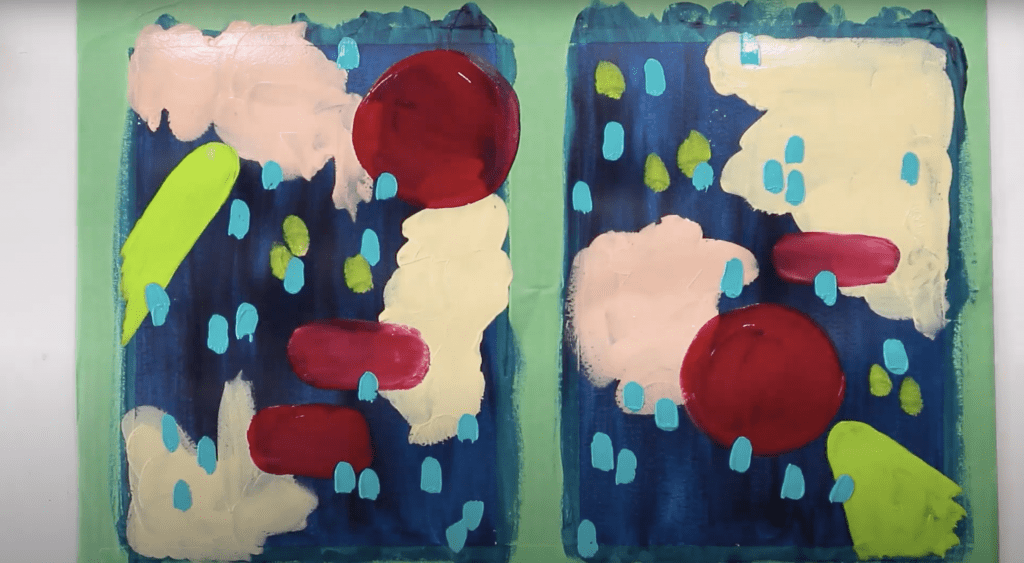
Paint the backgrounds of your cards in a solid colour. You want this to be your darkest colour. I painted mine in a blue colour. Let this dry a bit – you don’t want your next colours to mix with the dark colour and get muddy.
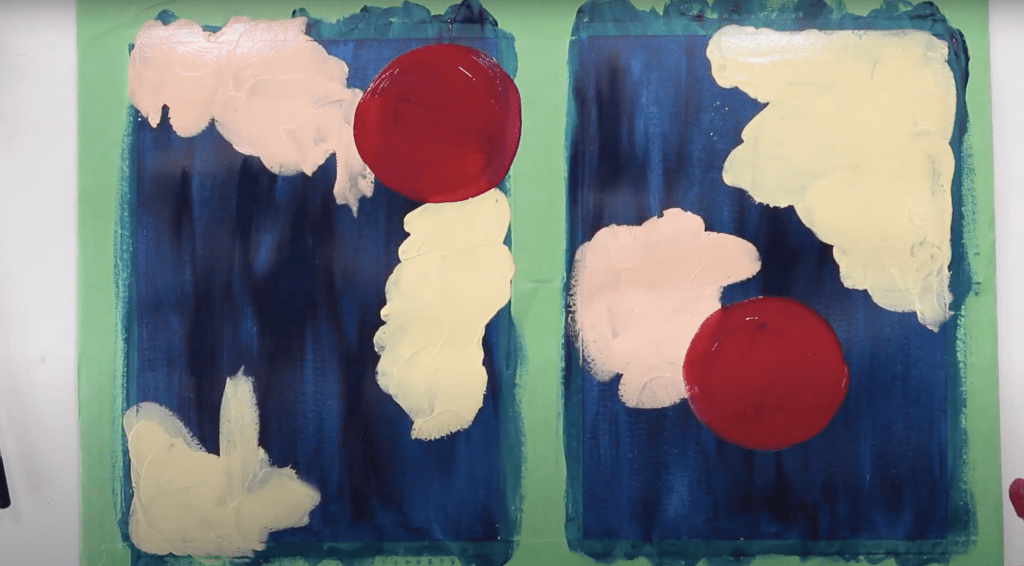
Then add some more big random splotches/shapes onto your cards in whatever colour(s) you want. Feel free to make some pretty large abstract shapes here.
You’re going to keep adding new shapes, new colours. And just keep building up as you go. I added some circles and some bigger block-type shapes. Seriously – just add whatever comes to you and whatever you’re feeling like. This doesn’t have strict rules. Don’t think about it too much. This is going to be your background, and you’re going to add a bunch more stuff to it anyway.
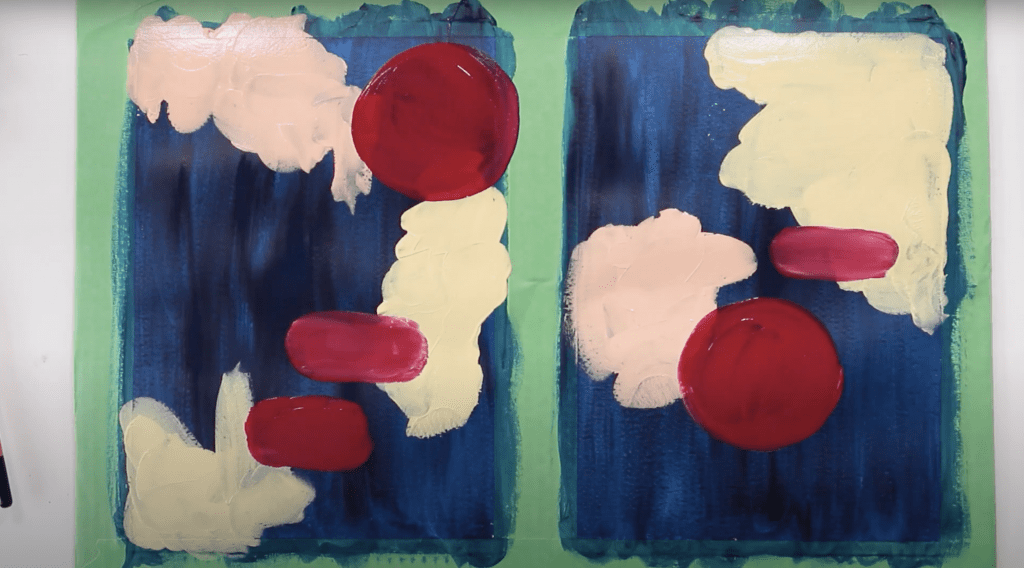

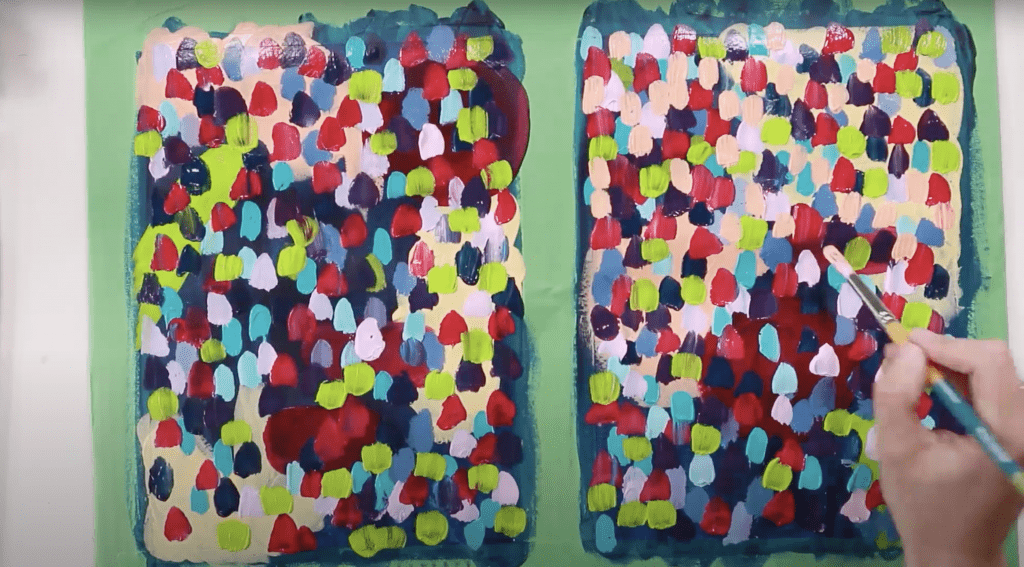
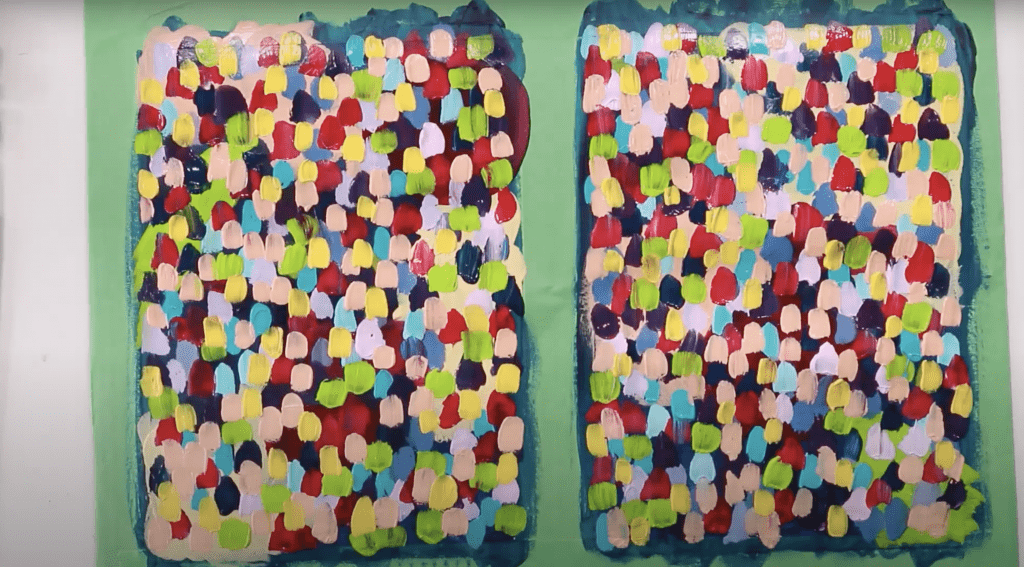
Next, add some brush strokes in various colours. Use a lot of different colours and different brush sizes to make a ton of brush strokes.
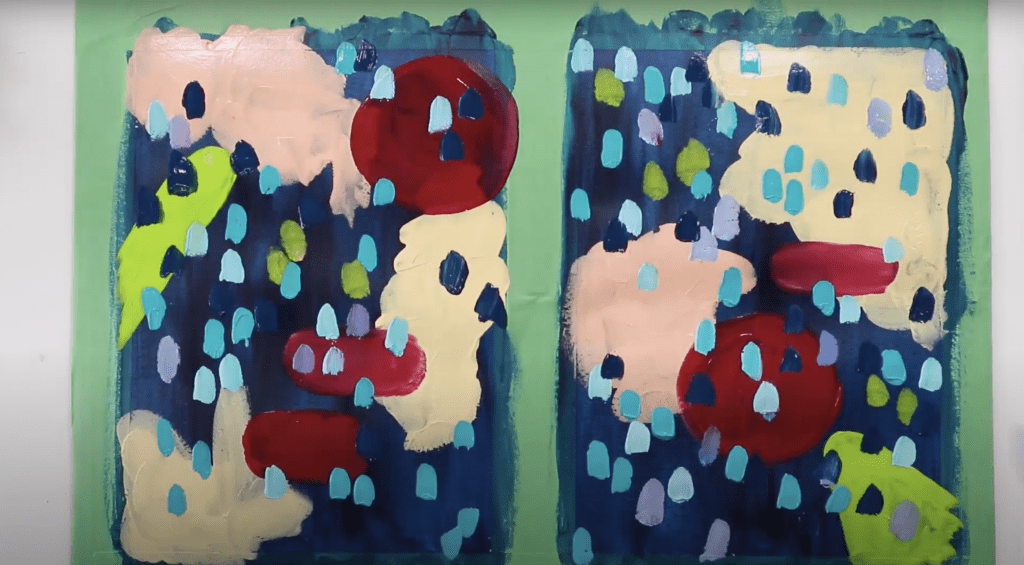
I added a loooooot of brush strokes to mine in a lot of vibrant colours. All of the initial stuff I painted became the background – I wanted the whole thing full of these brush strokes.
I had a TON of paint on my paper, which is why I taped it down to prevent warping.
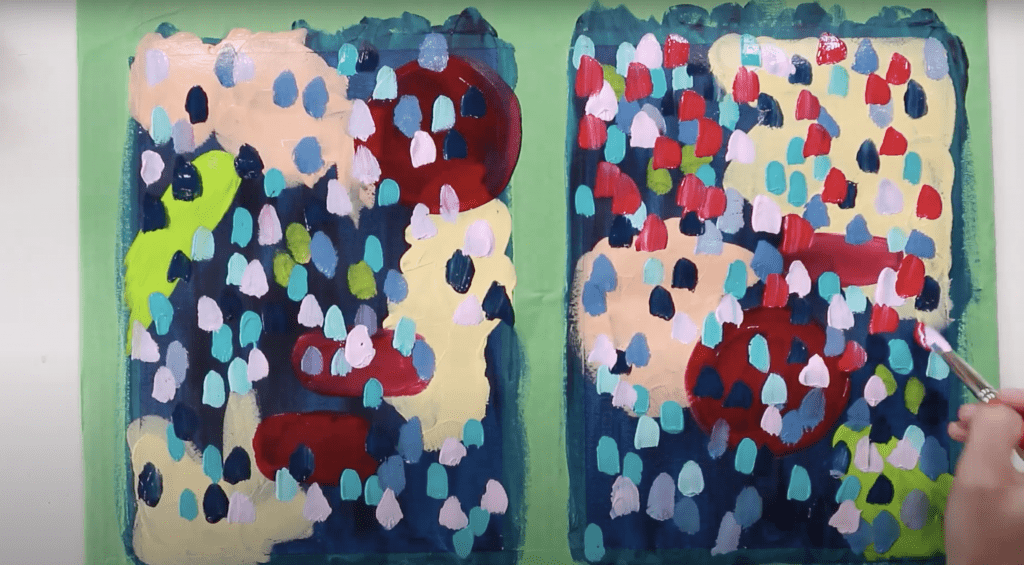
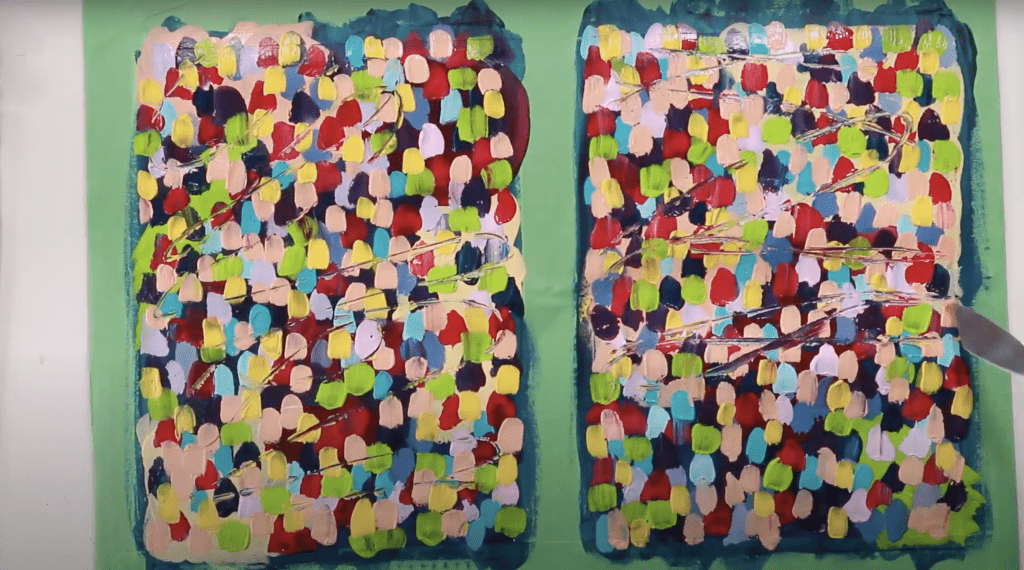
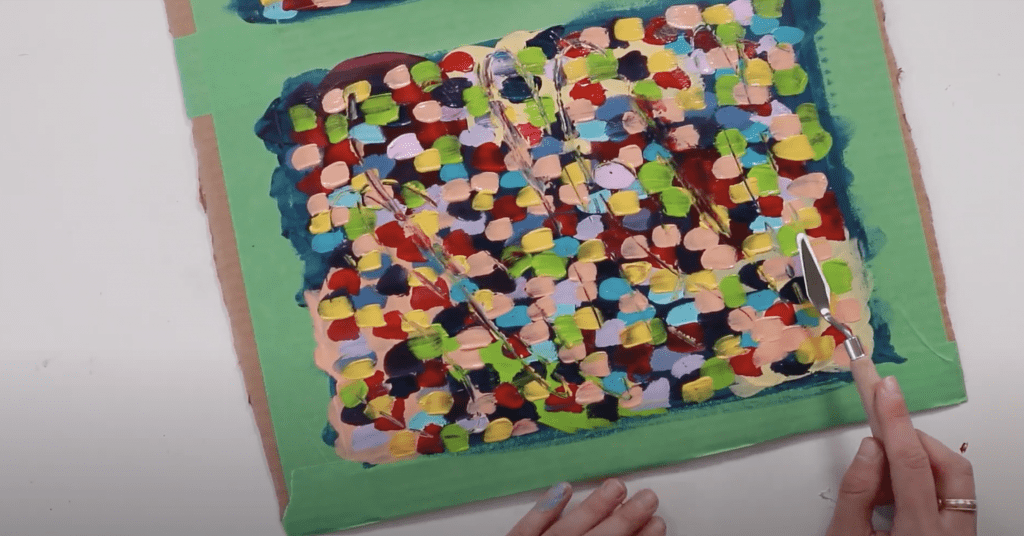
This step is definitely optional. Take a paint knife or scraper (or even the handle of a paintbrush) and mix up the paint on your cards a bit. Swirl it around, go back and forth, make a pattern, etc. You can do this as little or as much as you want. I don’t normally do this on my projects, but I was feeling inspired.

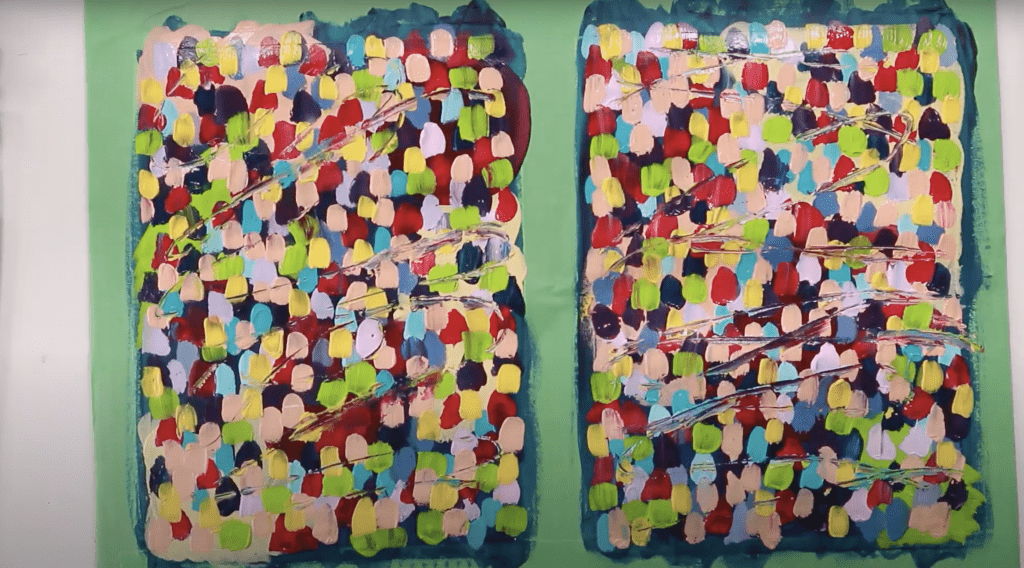
Let it dry. I waited about an hour or so until it was about 95% dry before I moved on to the next step.
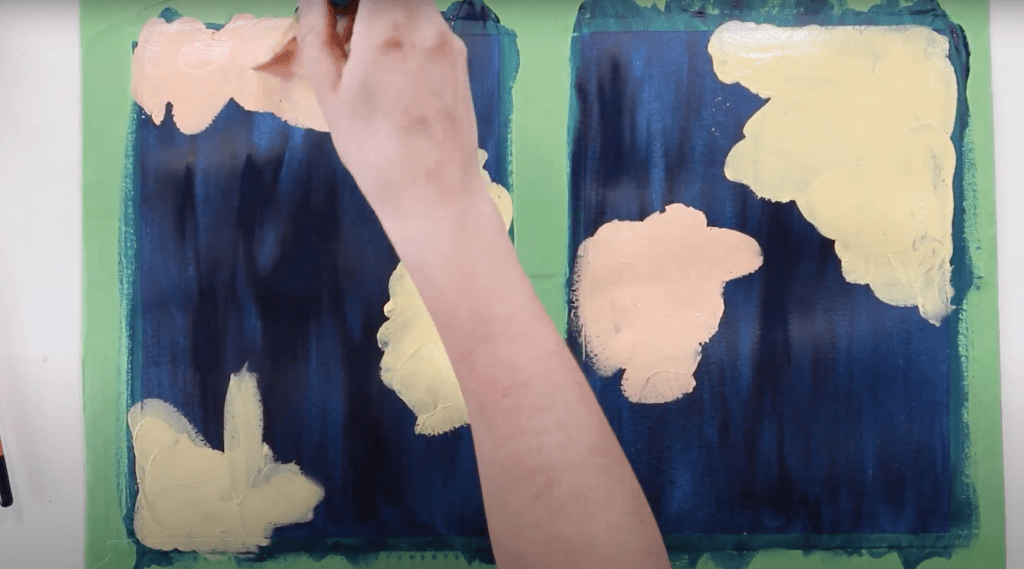
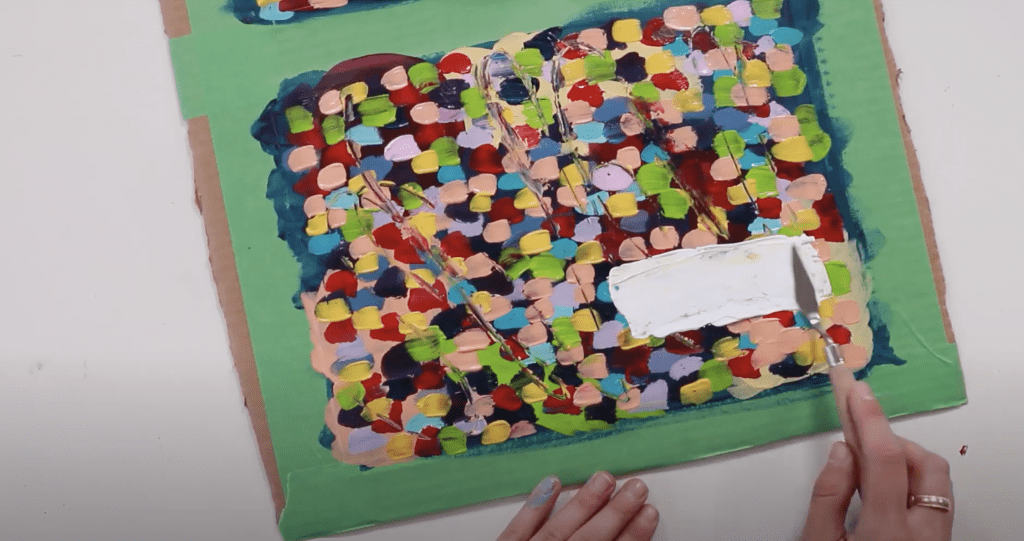
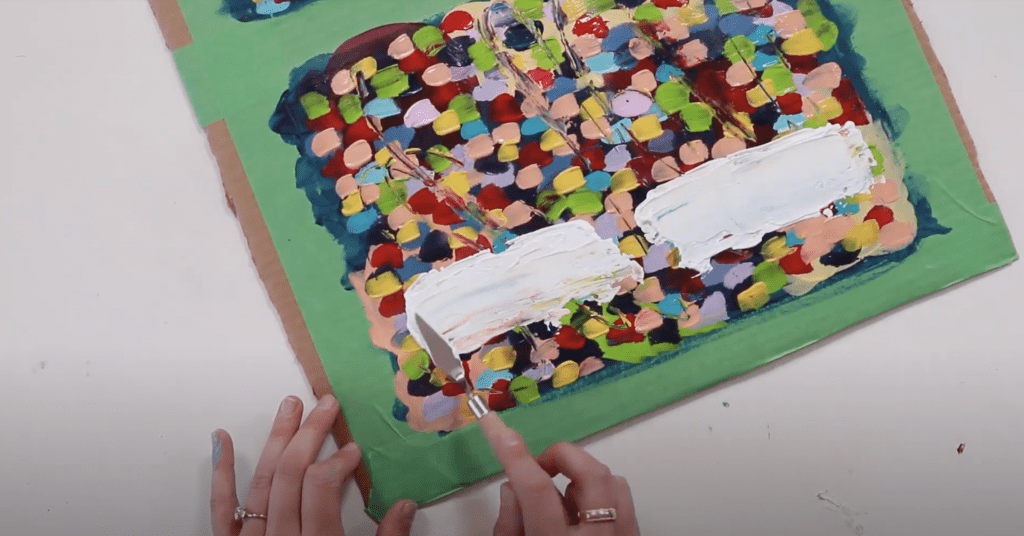
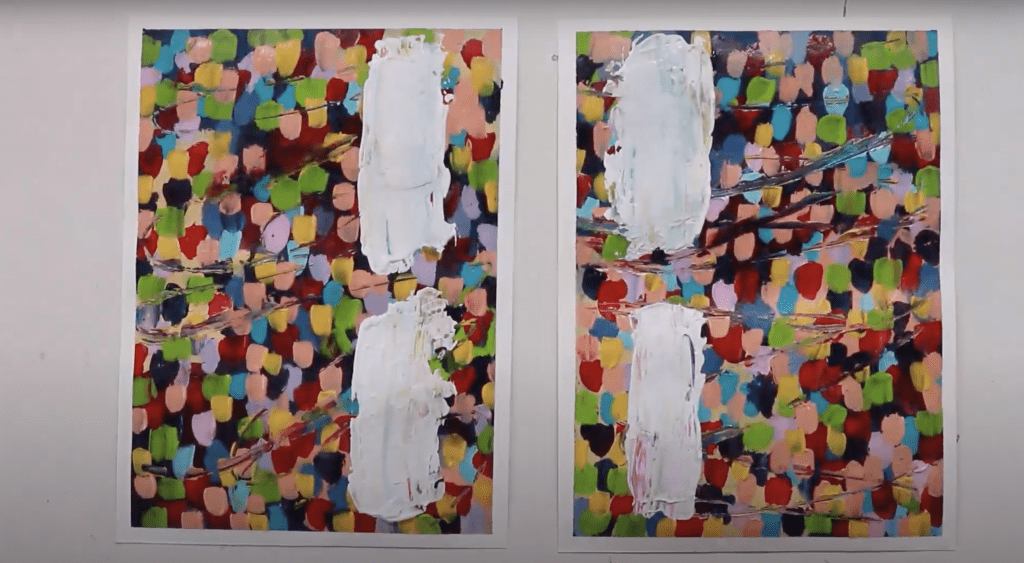
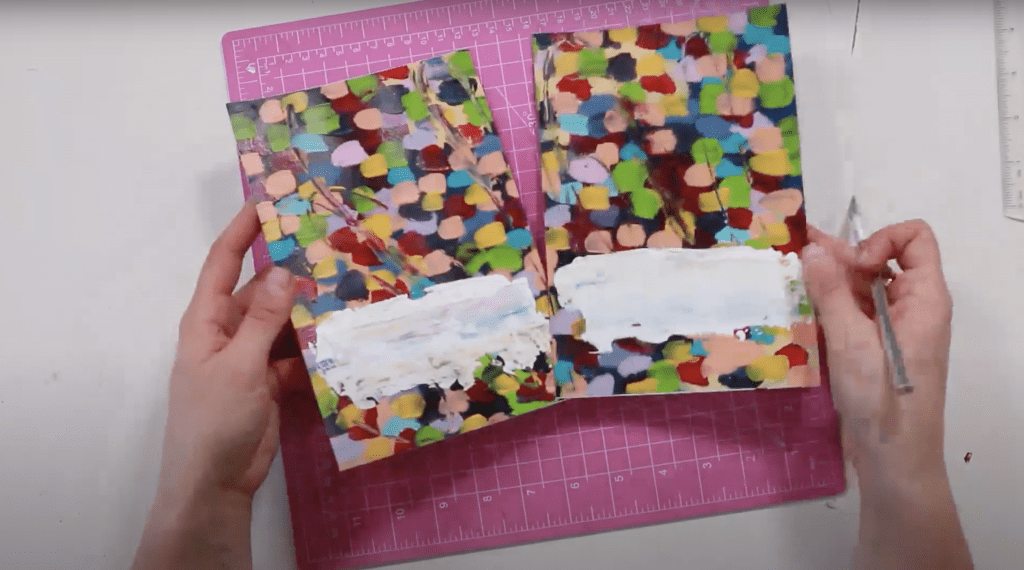
Each of these sheets of paper will make two cards, so you need to add a spot to write on twice on your sheet of paper. Next you’re going to add some white. This is where you will put the writing for your card.
Get some white paint on your paint tool and add it to your card where you want your writing to go. You’ll add a decent sized swash here. Feel free to let it blend a bit with some of the background colours – it’s cool to see some of those come through. No need for perfection here. I liked mine a little messy and abstract, so that was the look I went for.
Next, remove your tape! So satisfying!
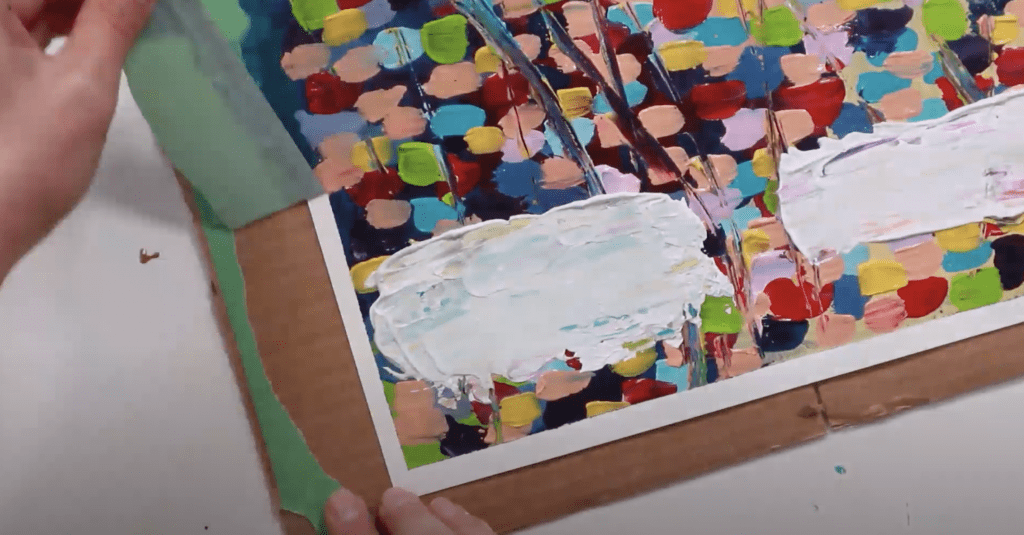
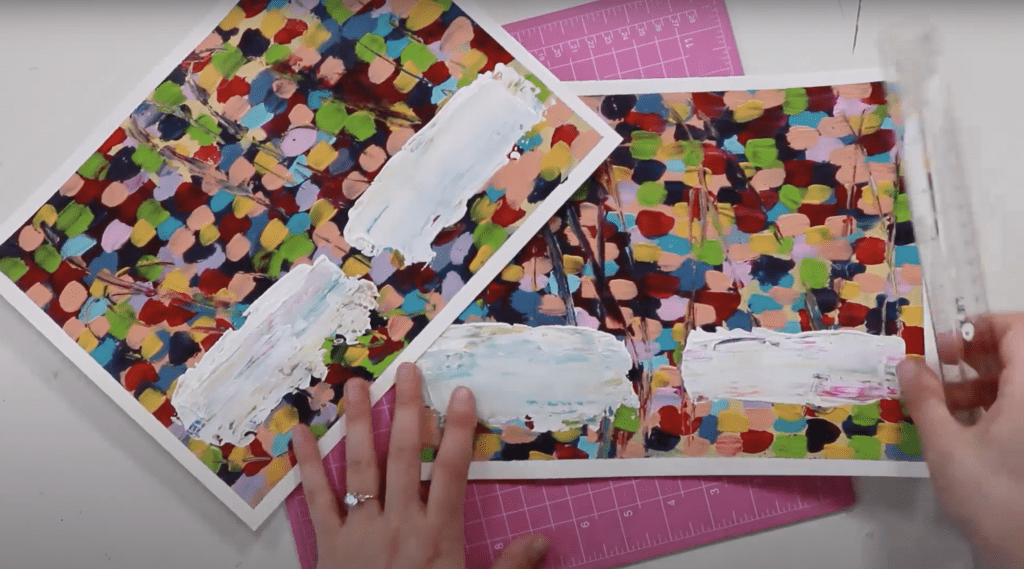
Once all your tape is removed, grab your ruler, cutting mat, and exacto knife. Scissors will work too, but you’ll get cleaner cuts this way.
Using your ruler, trim off all the white edges on your paintings.
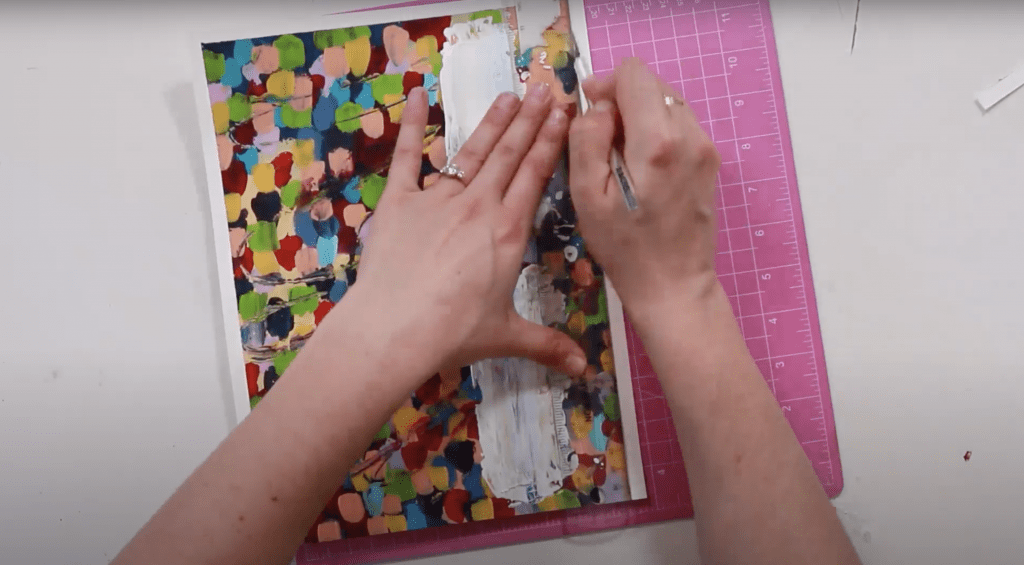
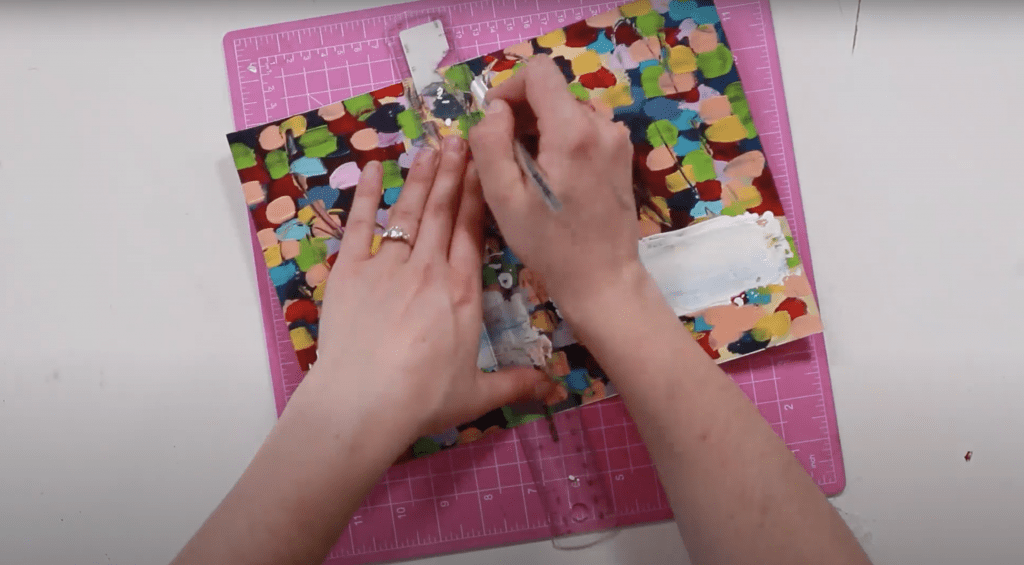
Then cut your paper right down the middle to create two cards.
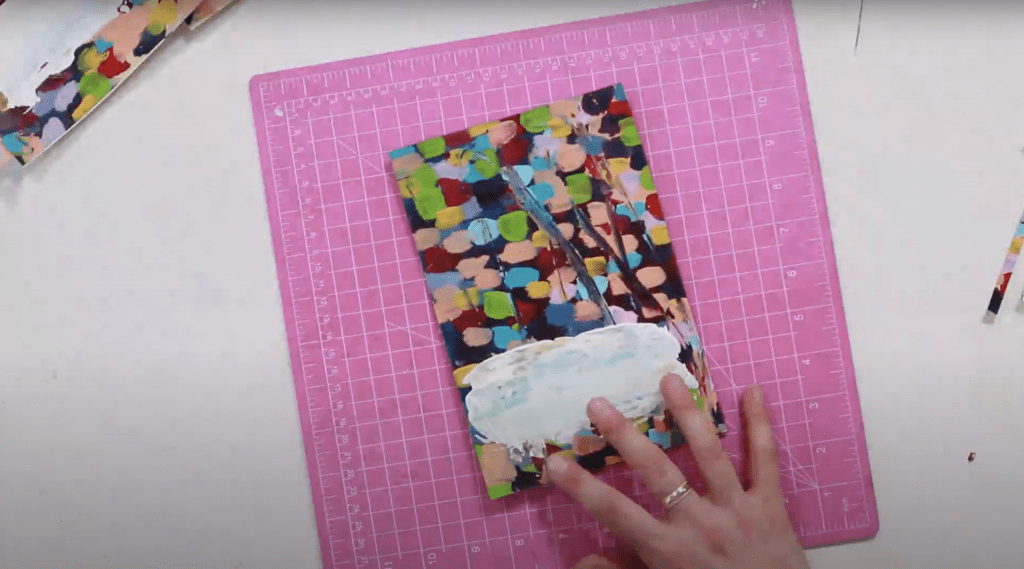
Voilà!
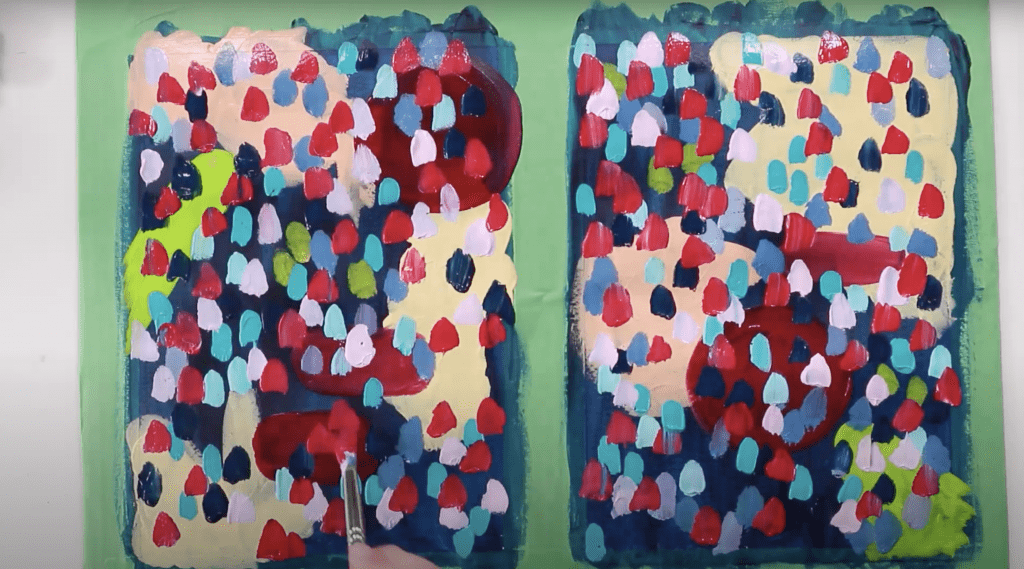
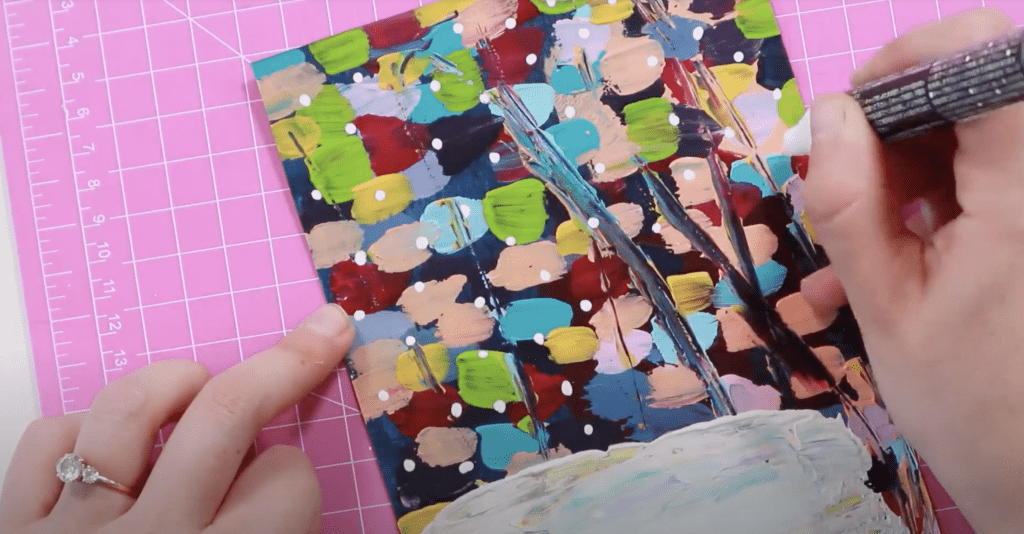
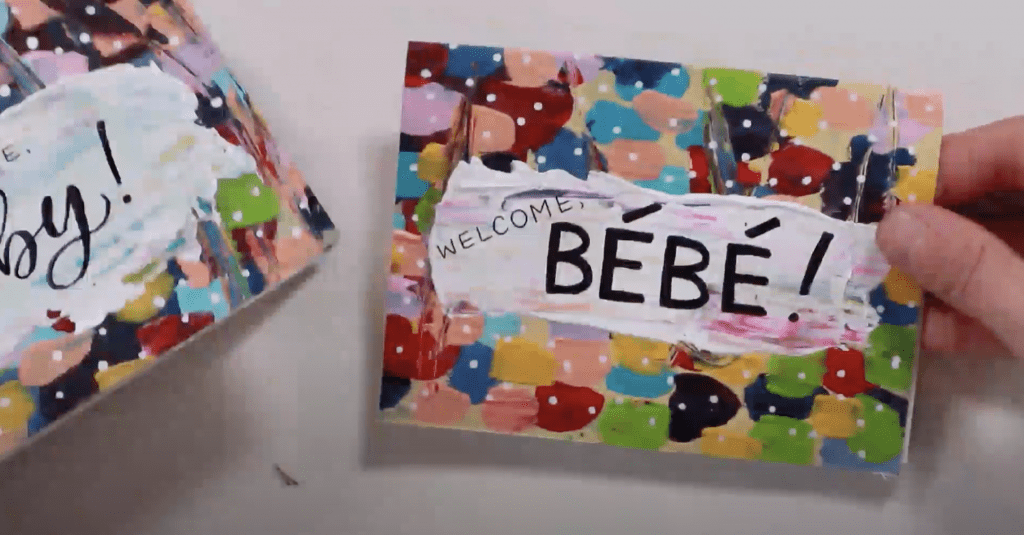
Next, grab your paint pens and start adding some details. You’ll pull in the white from your swash into the rest of the card. I personally added white dots all over my cards to bring it all together. Feel free to use different pen tip sizes for different dot sizes.
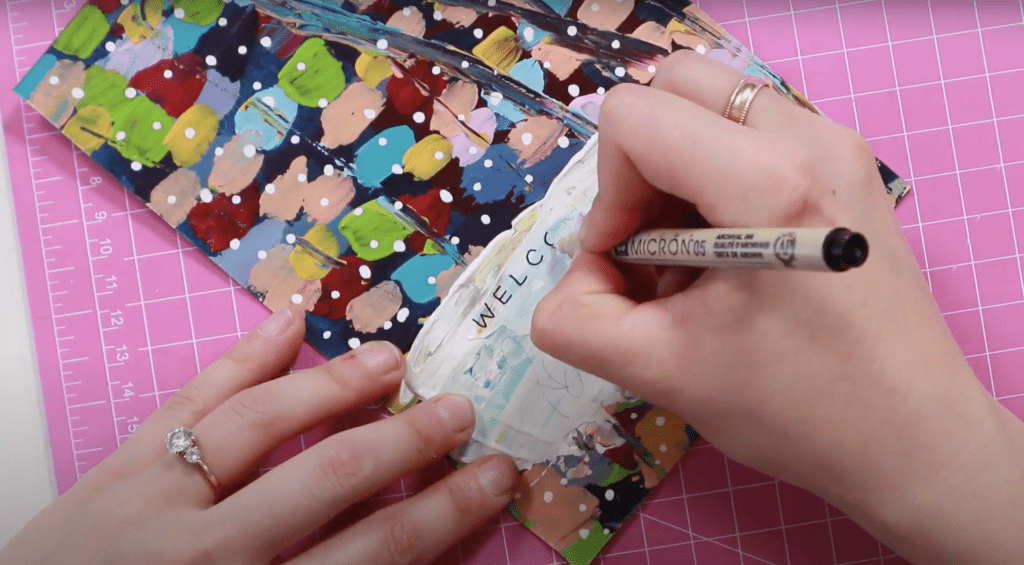
Now it’s time to add your lettering! First, make sure your paint is TOTALLY dry. Seriously It needs to be completely dry.
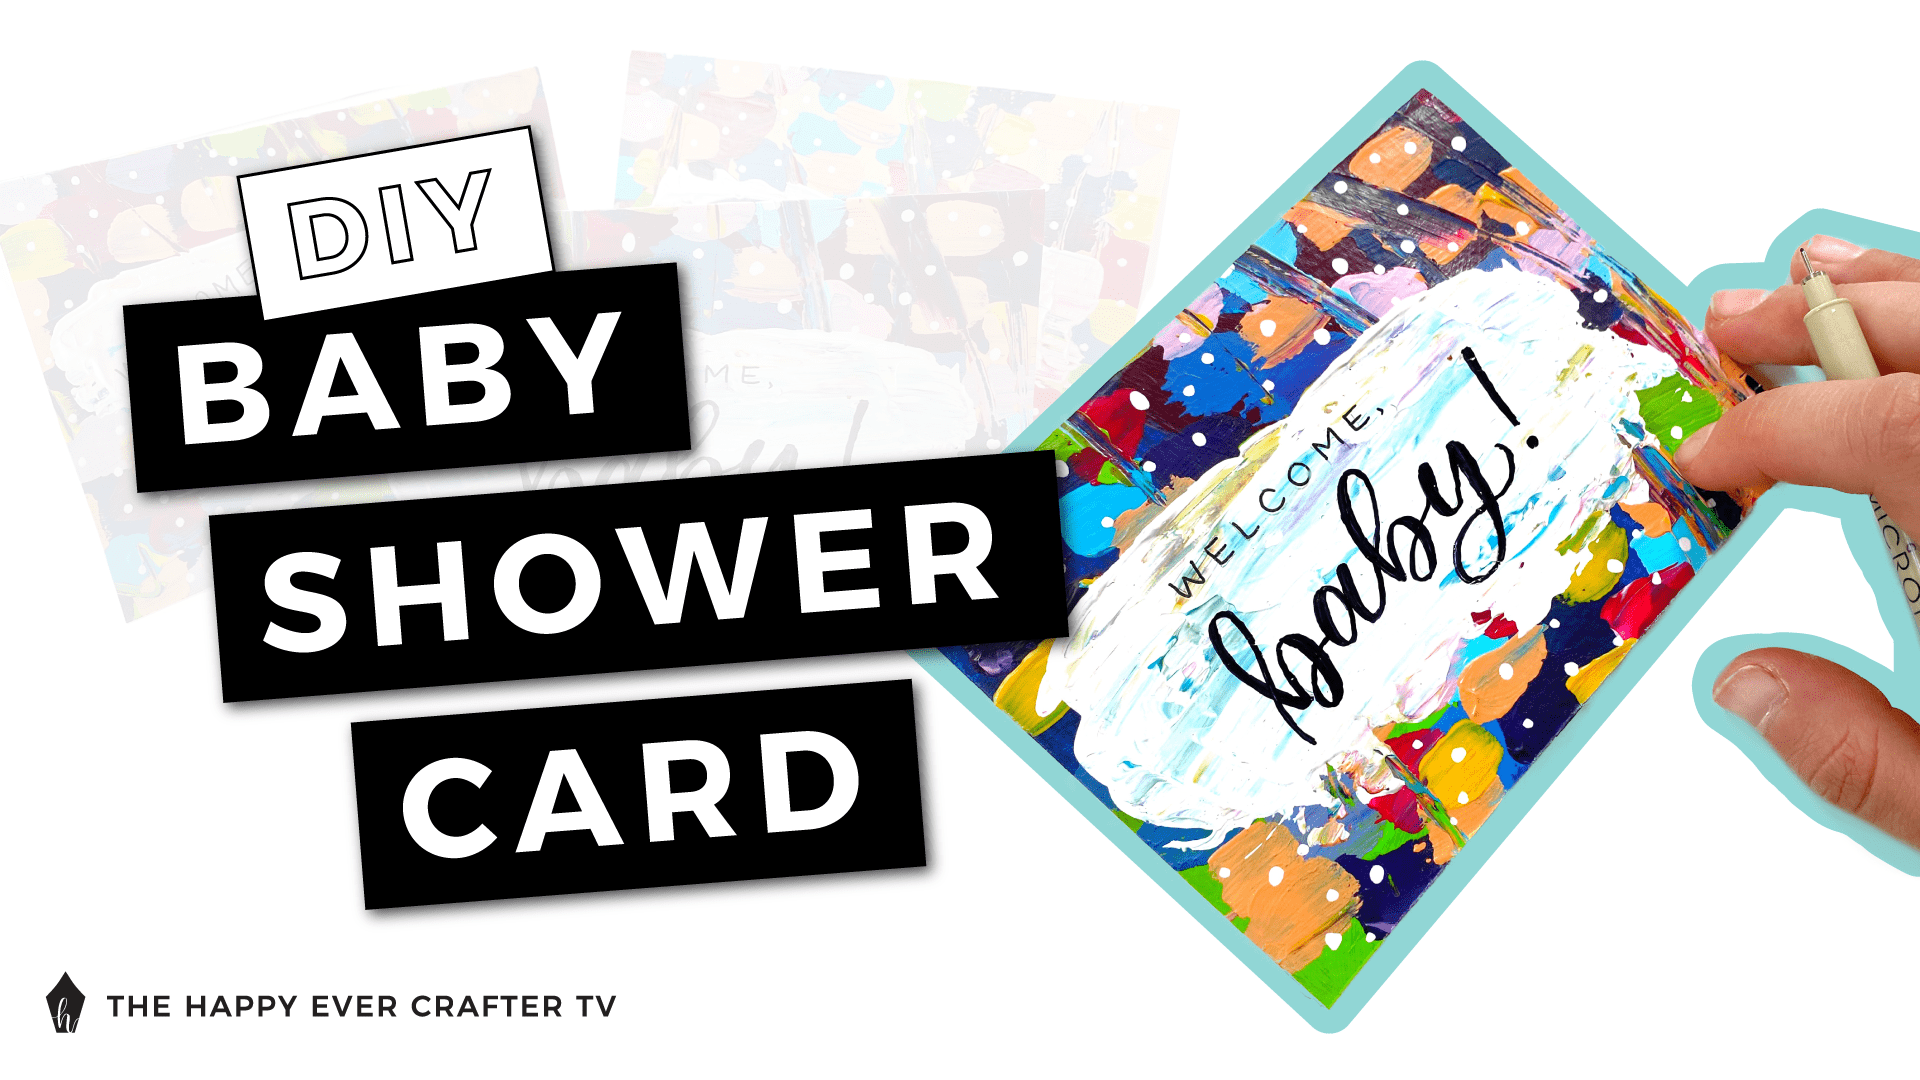
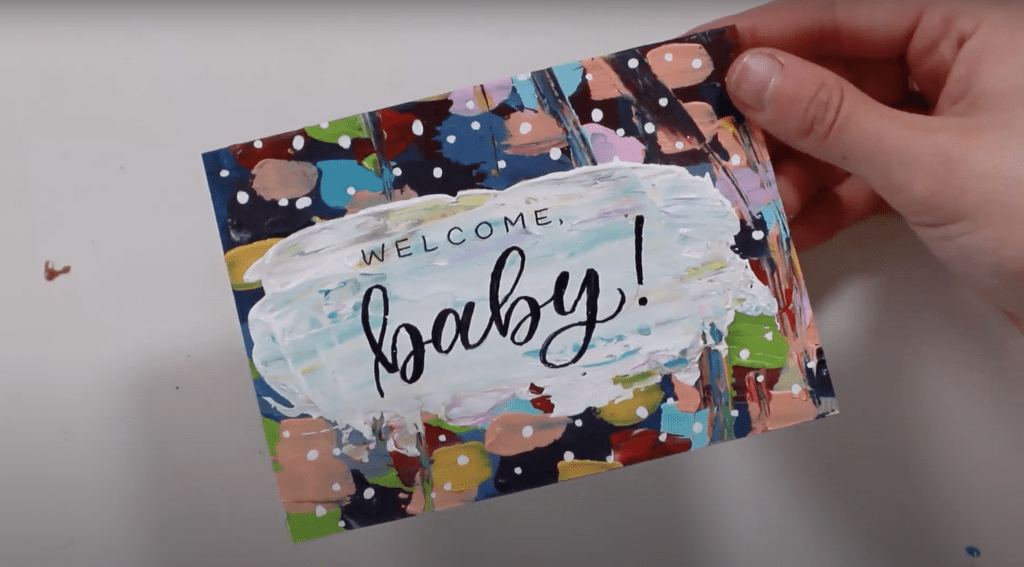
Sketch out your wording using pencil. I wrote “WELCOME, baby!” on mine, but you can write whatever you want on yours.
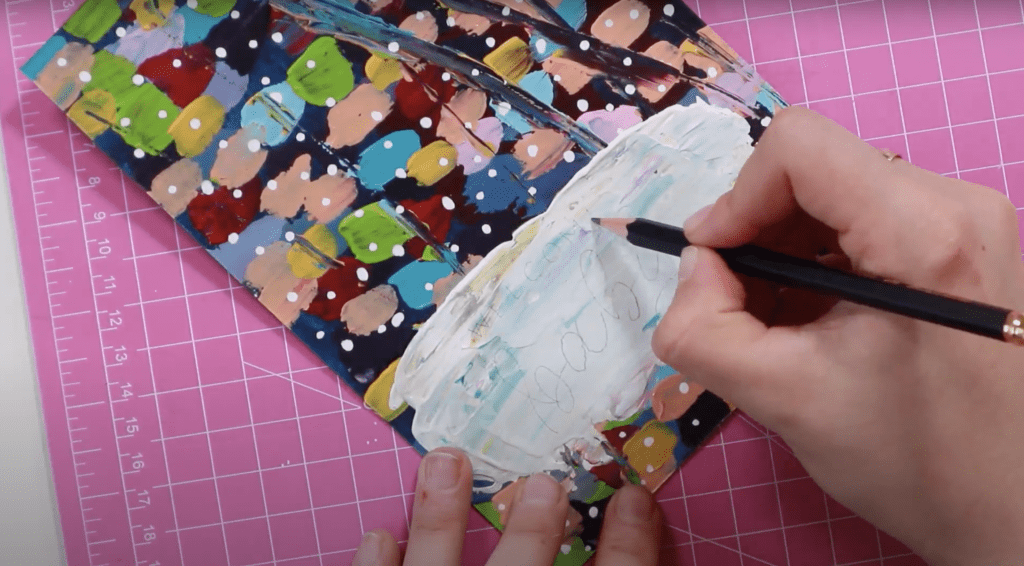
For block letters, use a Micron. For calligraphy or larger lettering, use a Sharpie. You’ll need to use faux calligraphy since water-based brush pens won’t work on acrylic paint.
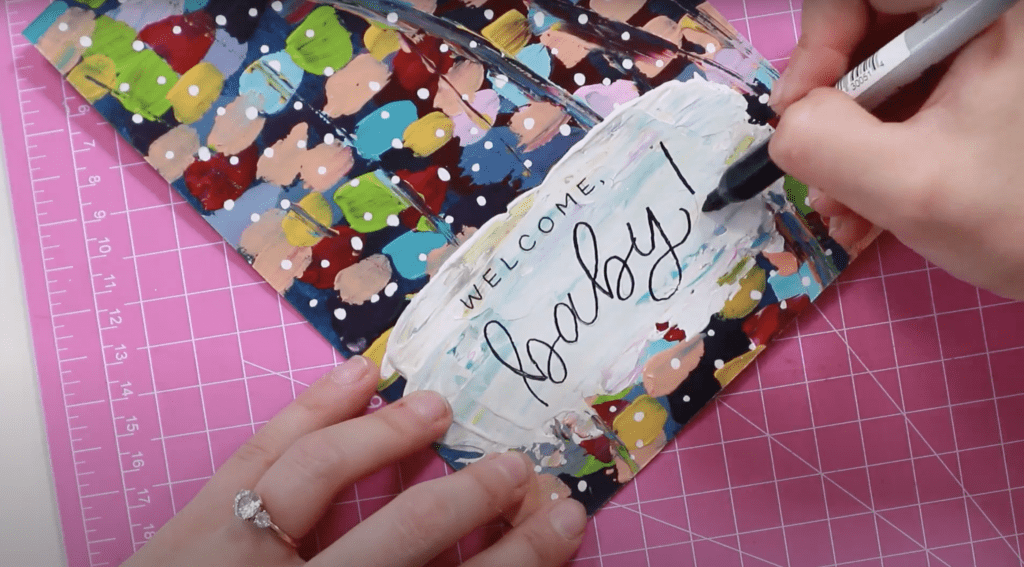
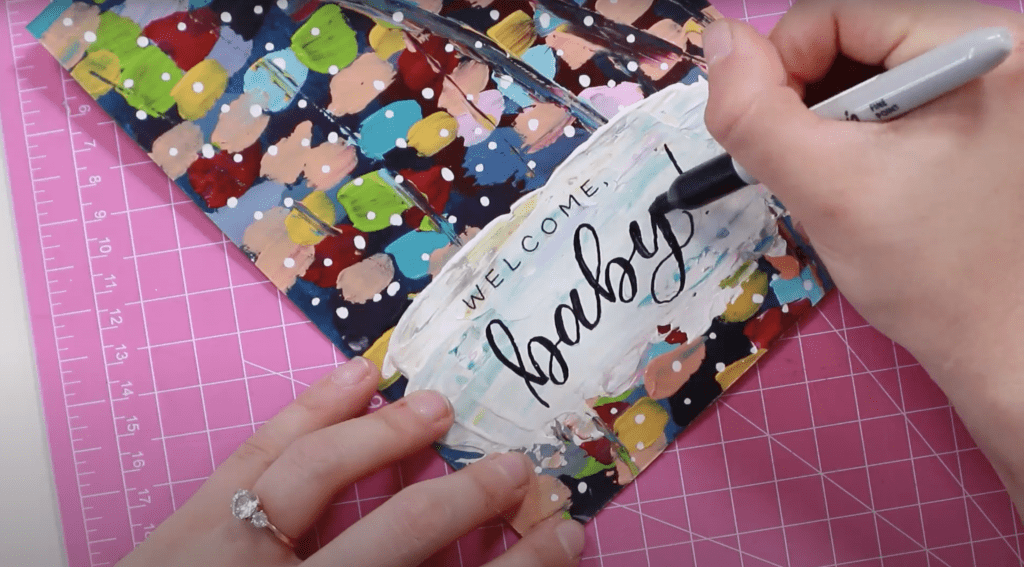
Need a faux calligraphy refresher? I got you covered.
Once you’re happy with your lettering, carefully fold your card.
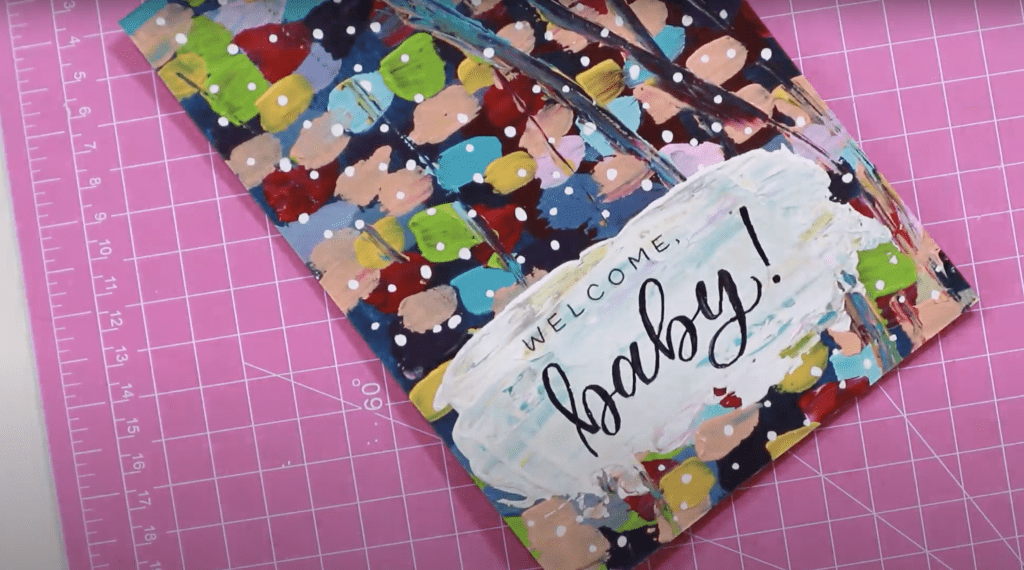
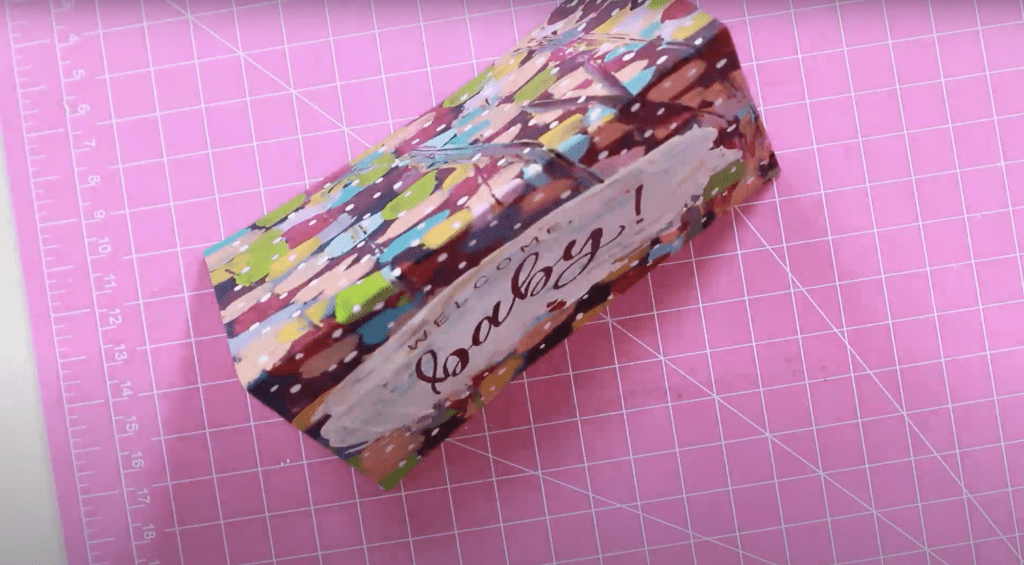
Voilà! You did it! A hand-made card for your pregnant friend! Hope you liked it!
And that’s a wrap!
If you need more card ideas, check out this post with a step by step birthday card tutorial!
And finally, your dad joke…
I’ve never much liked baby shower.
I much prefer full-sized showers!


Comments