In today’s tutorial I am going to show you how to create some easy floral doodles to add to your calligraphy work and how you can use these basic florals to create as many different compositions as you can come up with!
Doodles like this can make the difference between a plain lettering piece and a full composition – it’s really quite simply to do!! Let’s jump in!
Are you a visual learner? Check out my complete video tutorial below.
The links below may be affiliate links where appropriate. This means that your purchase through these links may result in a few cents in payment to me, to support creating further resources like this one! That being said, I will never suggest supplies that I do not personally use and fully recommend.
SUPPLIES USED:
Rhodia Blank Paper Tombow Mono Drawing Pen Size .03 Tombow Fudenosuke Brush Pen
ROSE DOODLE:
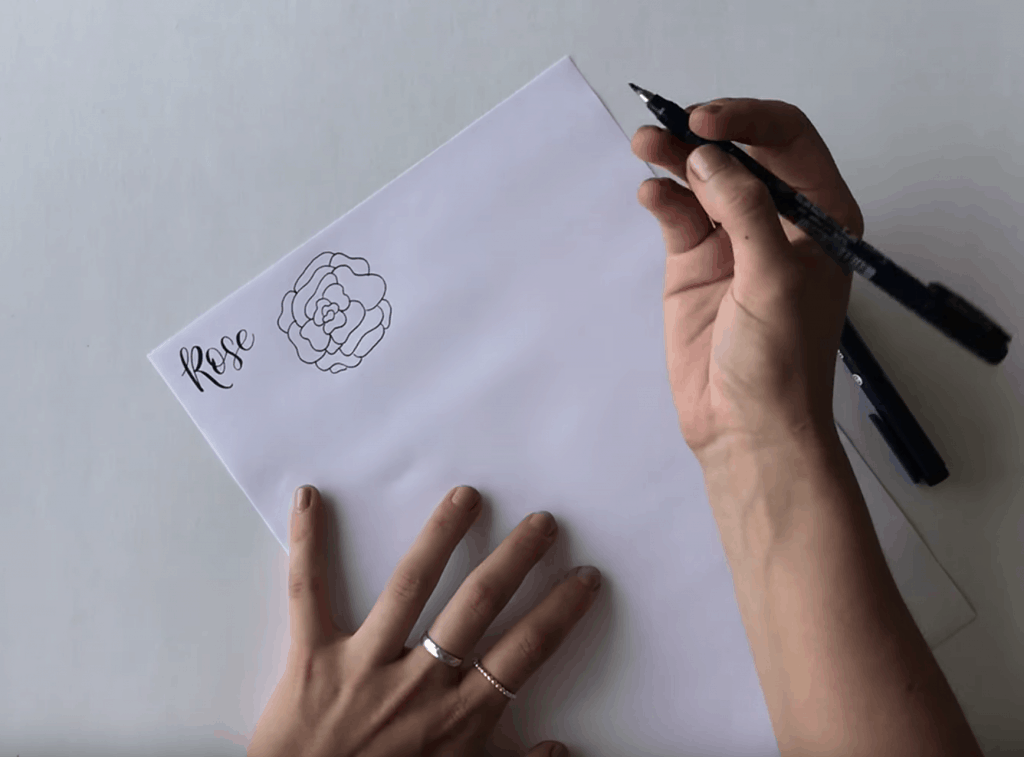
This is the main flower I tend to draw especially on wedding signage that I produce. It’s really quite simple and consists of a series of squilly (Yes I just made that up!) circles. You will want to start in the middle and draw an uneven bean type shape and then gradually keep adding that same shape around the center bean. I always say the more uneven and mis-shaped the better!!! If it was too uniform you won’t get that doodle effect we are looking for with these types of flowers. Continue to add your shapes creating a circle like shape.
LEAVES:
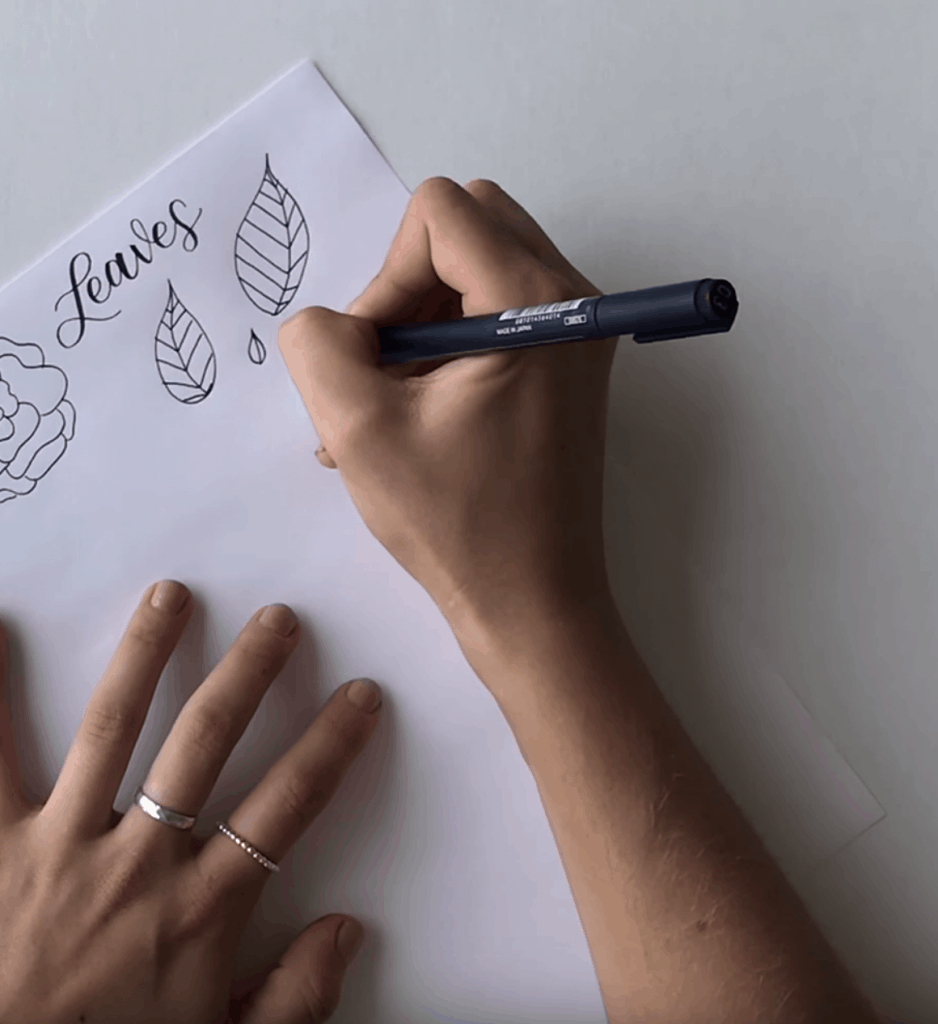
Start by drawing an S Curve on both sides joining them together at the top. Then draw a line down the center trying not to make it directly in the centre to create a more rounded leaf shape ( to do this try drawing the line more to one side of your leaf) then you want to add diagonal lines connecting the centre line to the S curves working your way down to the bottom of the leaf.
VINES:
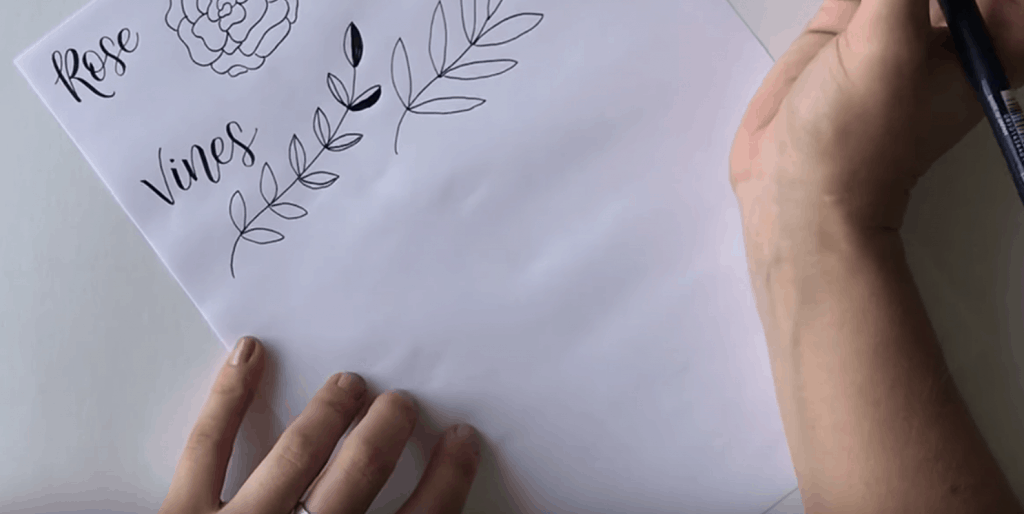
To start your vine doodles you will want to create one long swoosh ( another Becca word!) of a line, making sure not to include too many curves or it will end up looking too busy. You will want to add one small leaf to the end of the line and then continue adding leaves along the line. You want to make sure that your leaves are coming out in the same place on either side of the line or it will end up looking too messy!! Make sure to leave some space at the bottom. Add those diagonal lines down the middle the leaves and if you want to add some dimension you can colour in one side of each leaf. VARIATION: You can create another version of this vine by drawing long thing leaves coming out
BUDS:
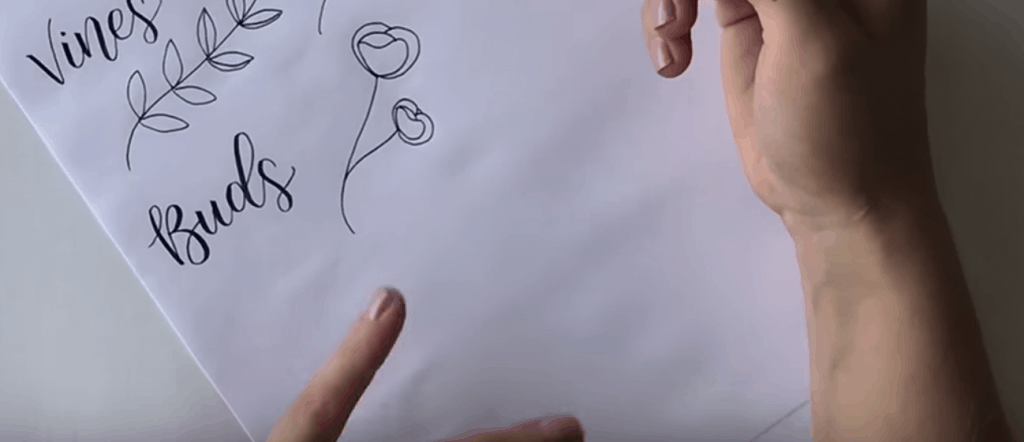
These are smaller versions of the flowers and will both come off of one stem. You will start again by drawing that bean shape that we talked about in the rose doodle but this time only adding a few more mis-shaped circles around creating a smaller flower.
FLUFFY THINGS:
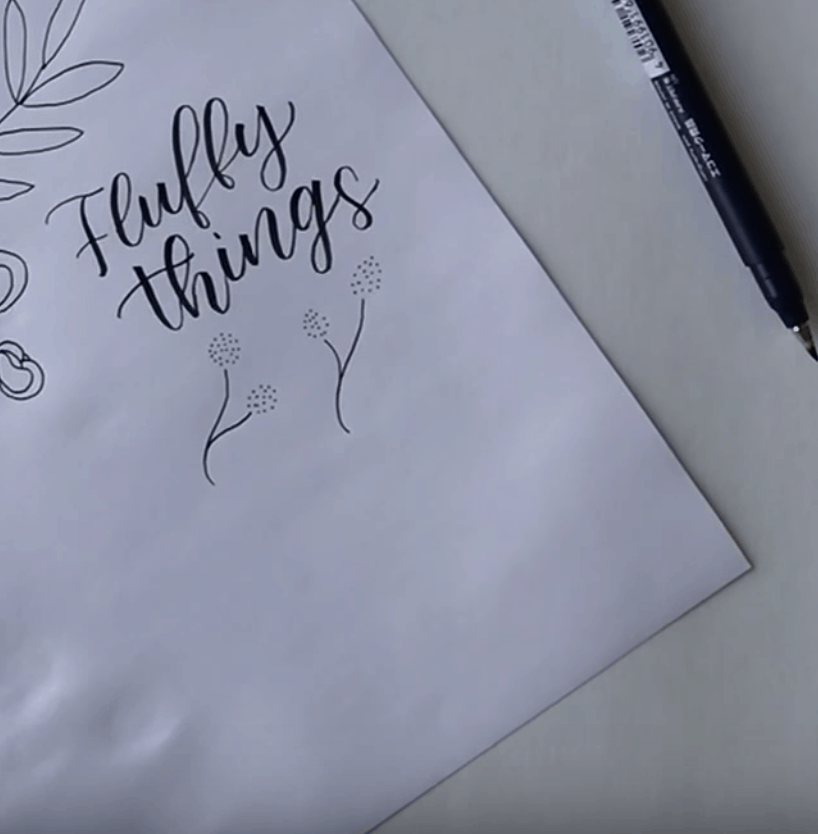
These are one of my favorite things to draw and I’ve coined the term “fluffy things” for them. They are similar to the bud stems but instead of drawing rose buds on the end of the stem you draw a bunch of small dots in a circle.
COMPOSITION:
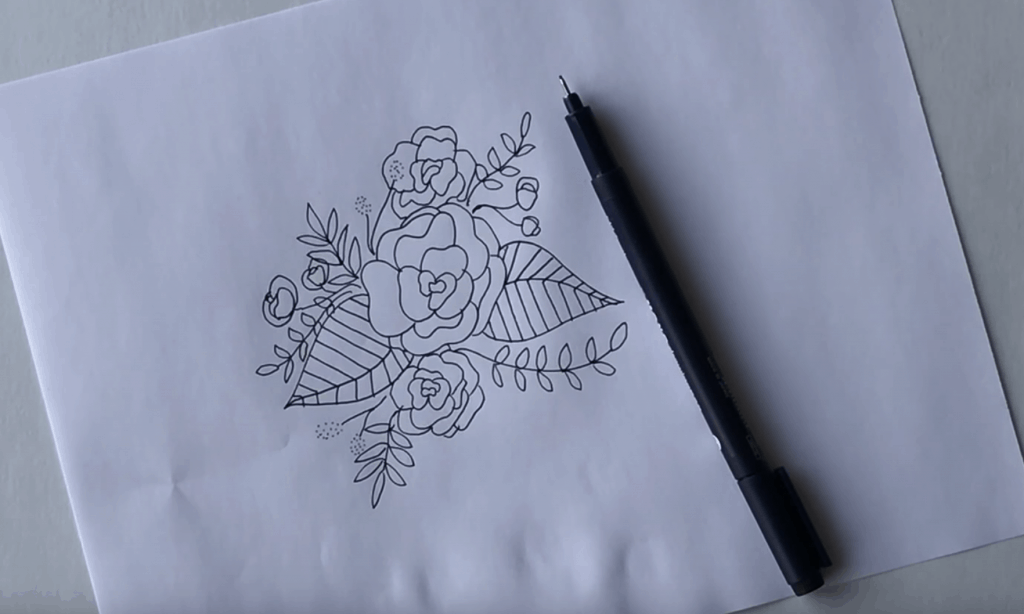
Now is the really fun part!!!! Getting to put all of these main floral elements together to create a larger floral drawing. You can use these components to make any number of floral doodle arrangements – have fun with it and see how many combinations you can come up with to add to your calligraphy work!
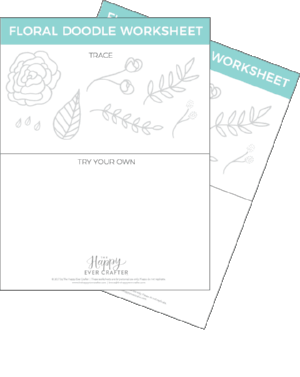
MAKE SURE TO GRAB MY FLORAL DOODLES FREE WORKSHEET TO PRACTICE!


Thank you for you online classes and free printouts. Helpful in many ways.
Nice
nice design
Thanks so much, Becca, for your wonderful generosity.
Dianne