Want to create a beautiful DIY birthday card? In this tutorial, I’m walking you through how to create a pretty calligraphy birthday card.
I’m going to show you how to set up your greeting card layout as well as how to add pretty florals to your card!
First Things First…
The links below may be affiliate links where appropriate. This means that your purchase through these links may result in a few cents in payment to me, to support creating further resources like this one! That being said, I will never suggest supplies that I do not personally use and fully recommend.
Tools Mentioned
- A card or folded cardstock
- Uniball Signo White Gel Pen
- Pencil
- Ruler
- Something round to trace
Prefer watching over reading? Feel free to skip right to the video and see these in real-time! ??
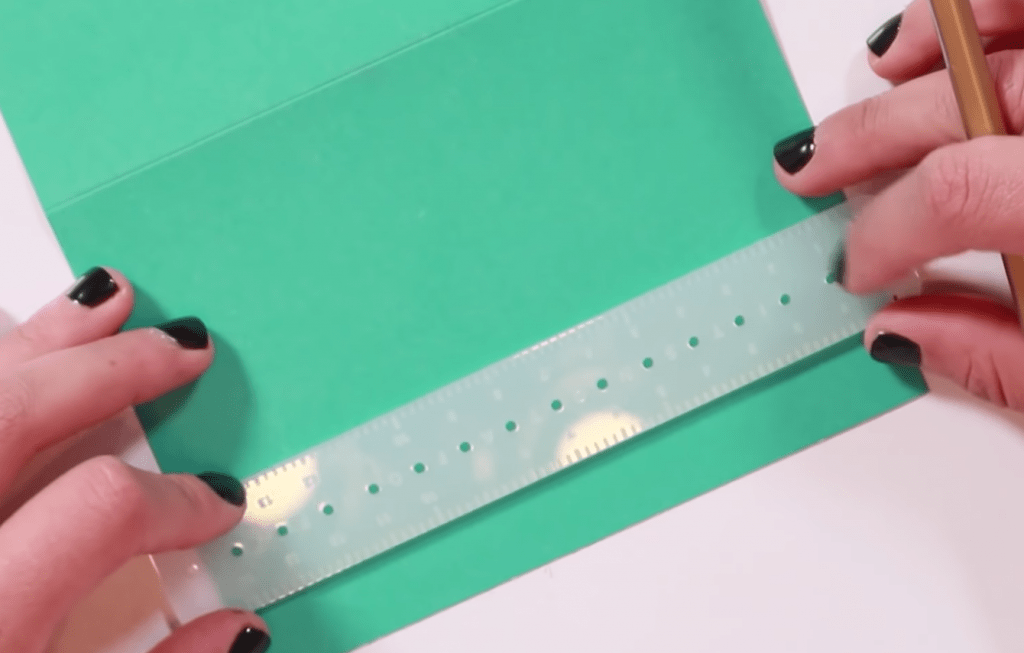
Step 1: Create your guidelines
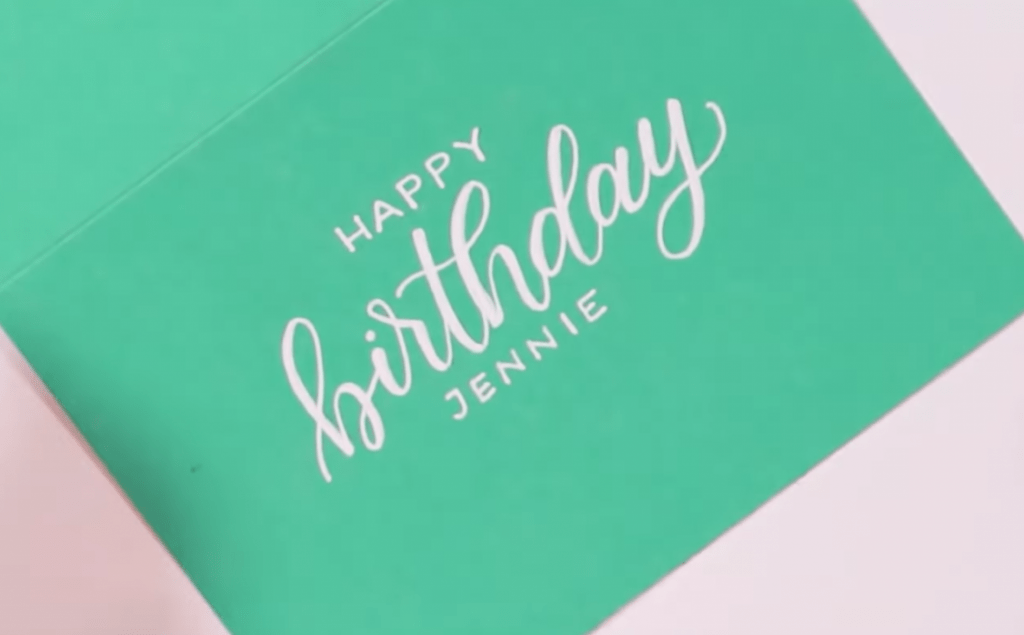
Step 2: Write the words in pencil
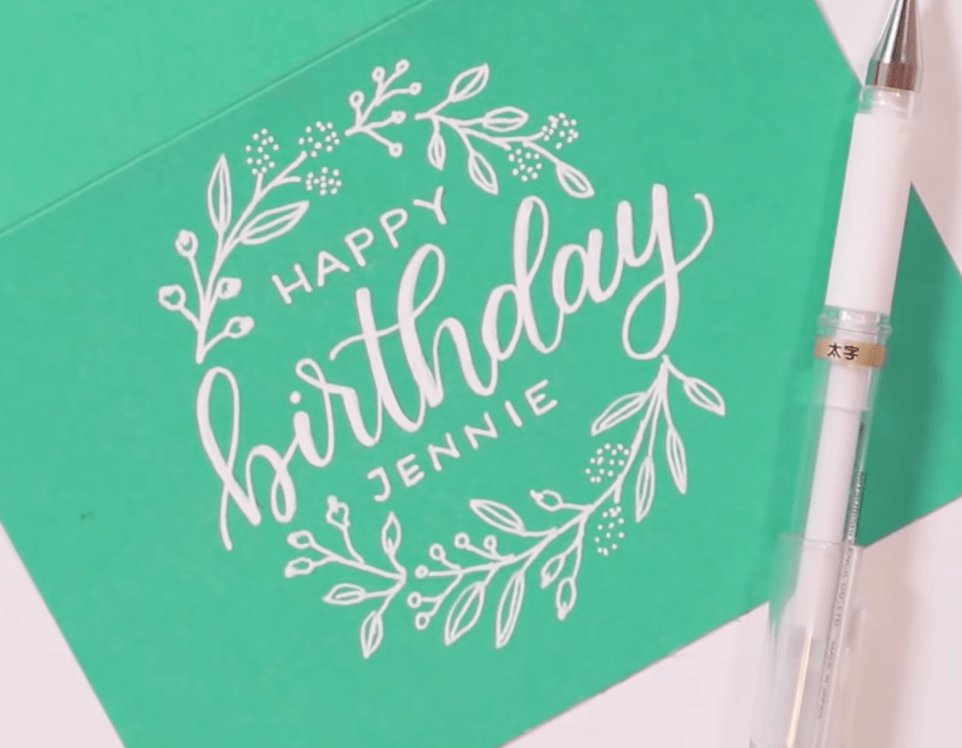
Write the word “birthday” in pencil using faux calligraphy – a super important skill if you’re in the calligraphy world! Adjust as necessary (a.k.a. erase as needed) until it’s centered and perfect.

Step 3: Add “HAPPY” and the name in block letters
Using your guidelines above and below, add in the word “happy” and the person’s name.
Step 4: Go over your design with pen
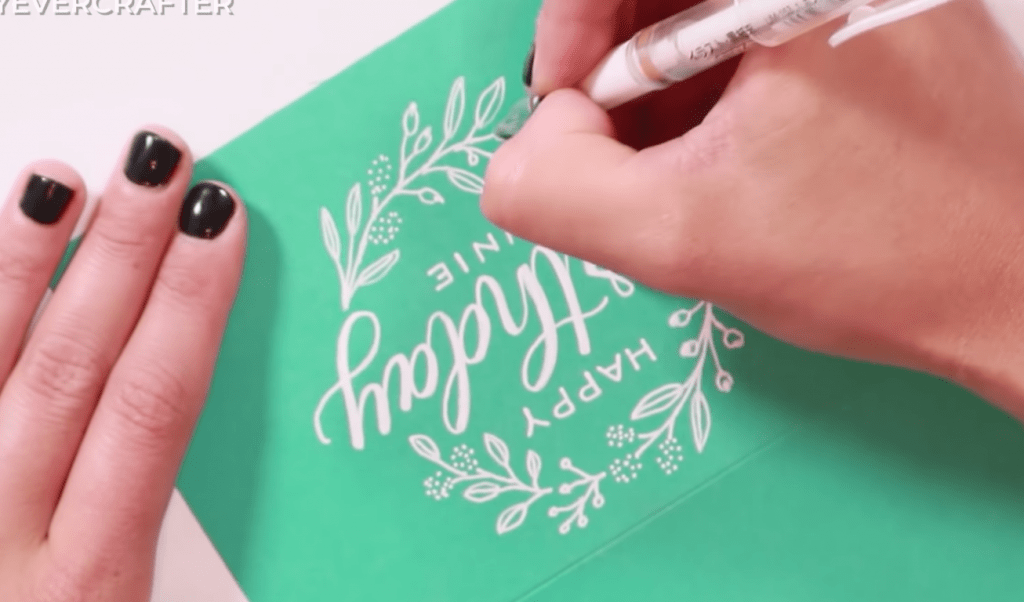
Step 5: Add the floral bits!
Gently add a circle, centered around your word (super gently so you can erase!), and use it as a guideline to build out a wreath. As you work, you may want to flip your card upside down to follow the same direction of your florals.
And that’s a wrap!
That’s it! Guaranteed to wow your friends ?. I hope you had fun with this and I’d love to see your creations… share them on Instagram and tag me @thehappyevercrafter if you do!
Lastly, if you want to ALSO decorate an envelope…check out this video next.


Comments