When I was growing up, my mom always asked me to make cute little place cards for guests for family dinners. Not much has changed now that I’m an adult.
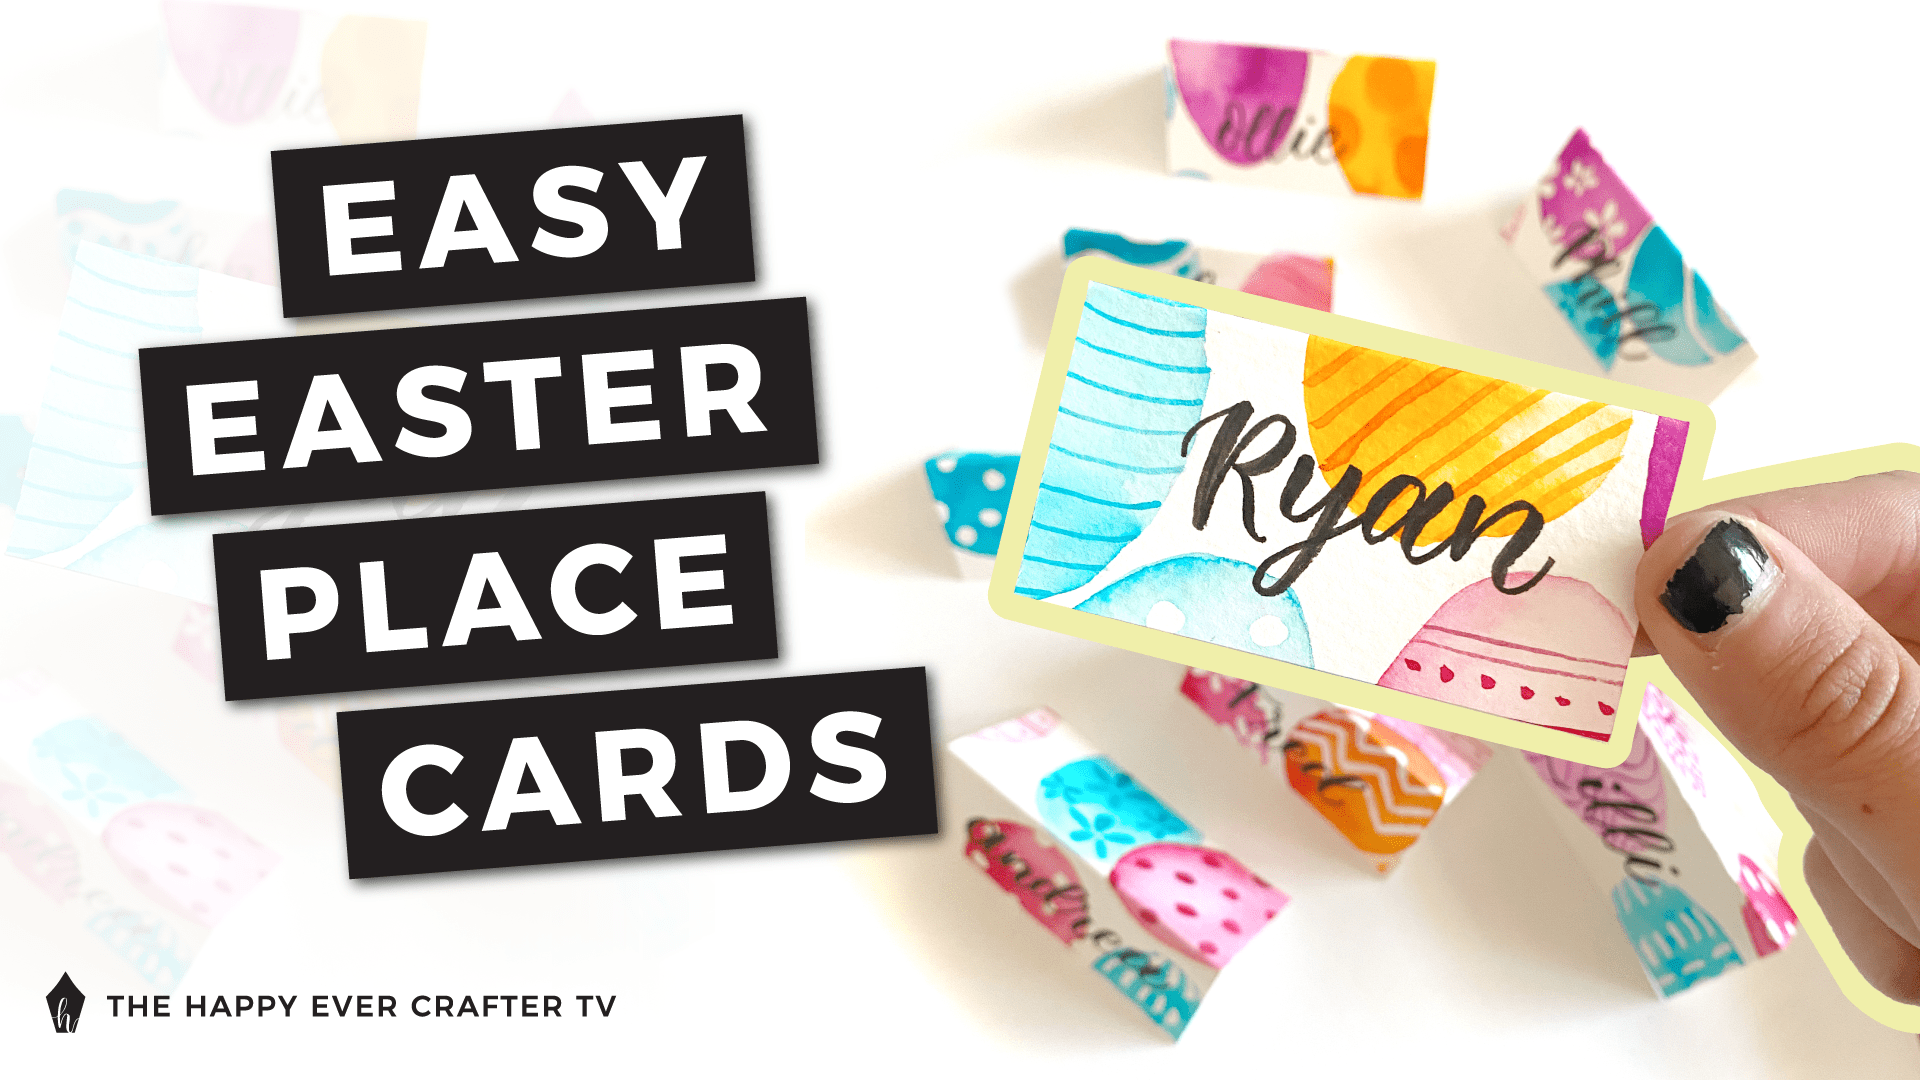
Place cards are such a cute touch on your table (even if it’s just for a few people). In this post, I show you how to make one of my favourite types of place cards for Easter.
Bonus – it’s super easy!
First Things First…
The links below may be affiliate links where appropriate. This means that your purchase through these links may result in a few cents in payment to me, to support creating further resources like this one! That being said, I will never suggest supplies that I do not personally use and fully recommend.
Supplies Used
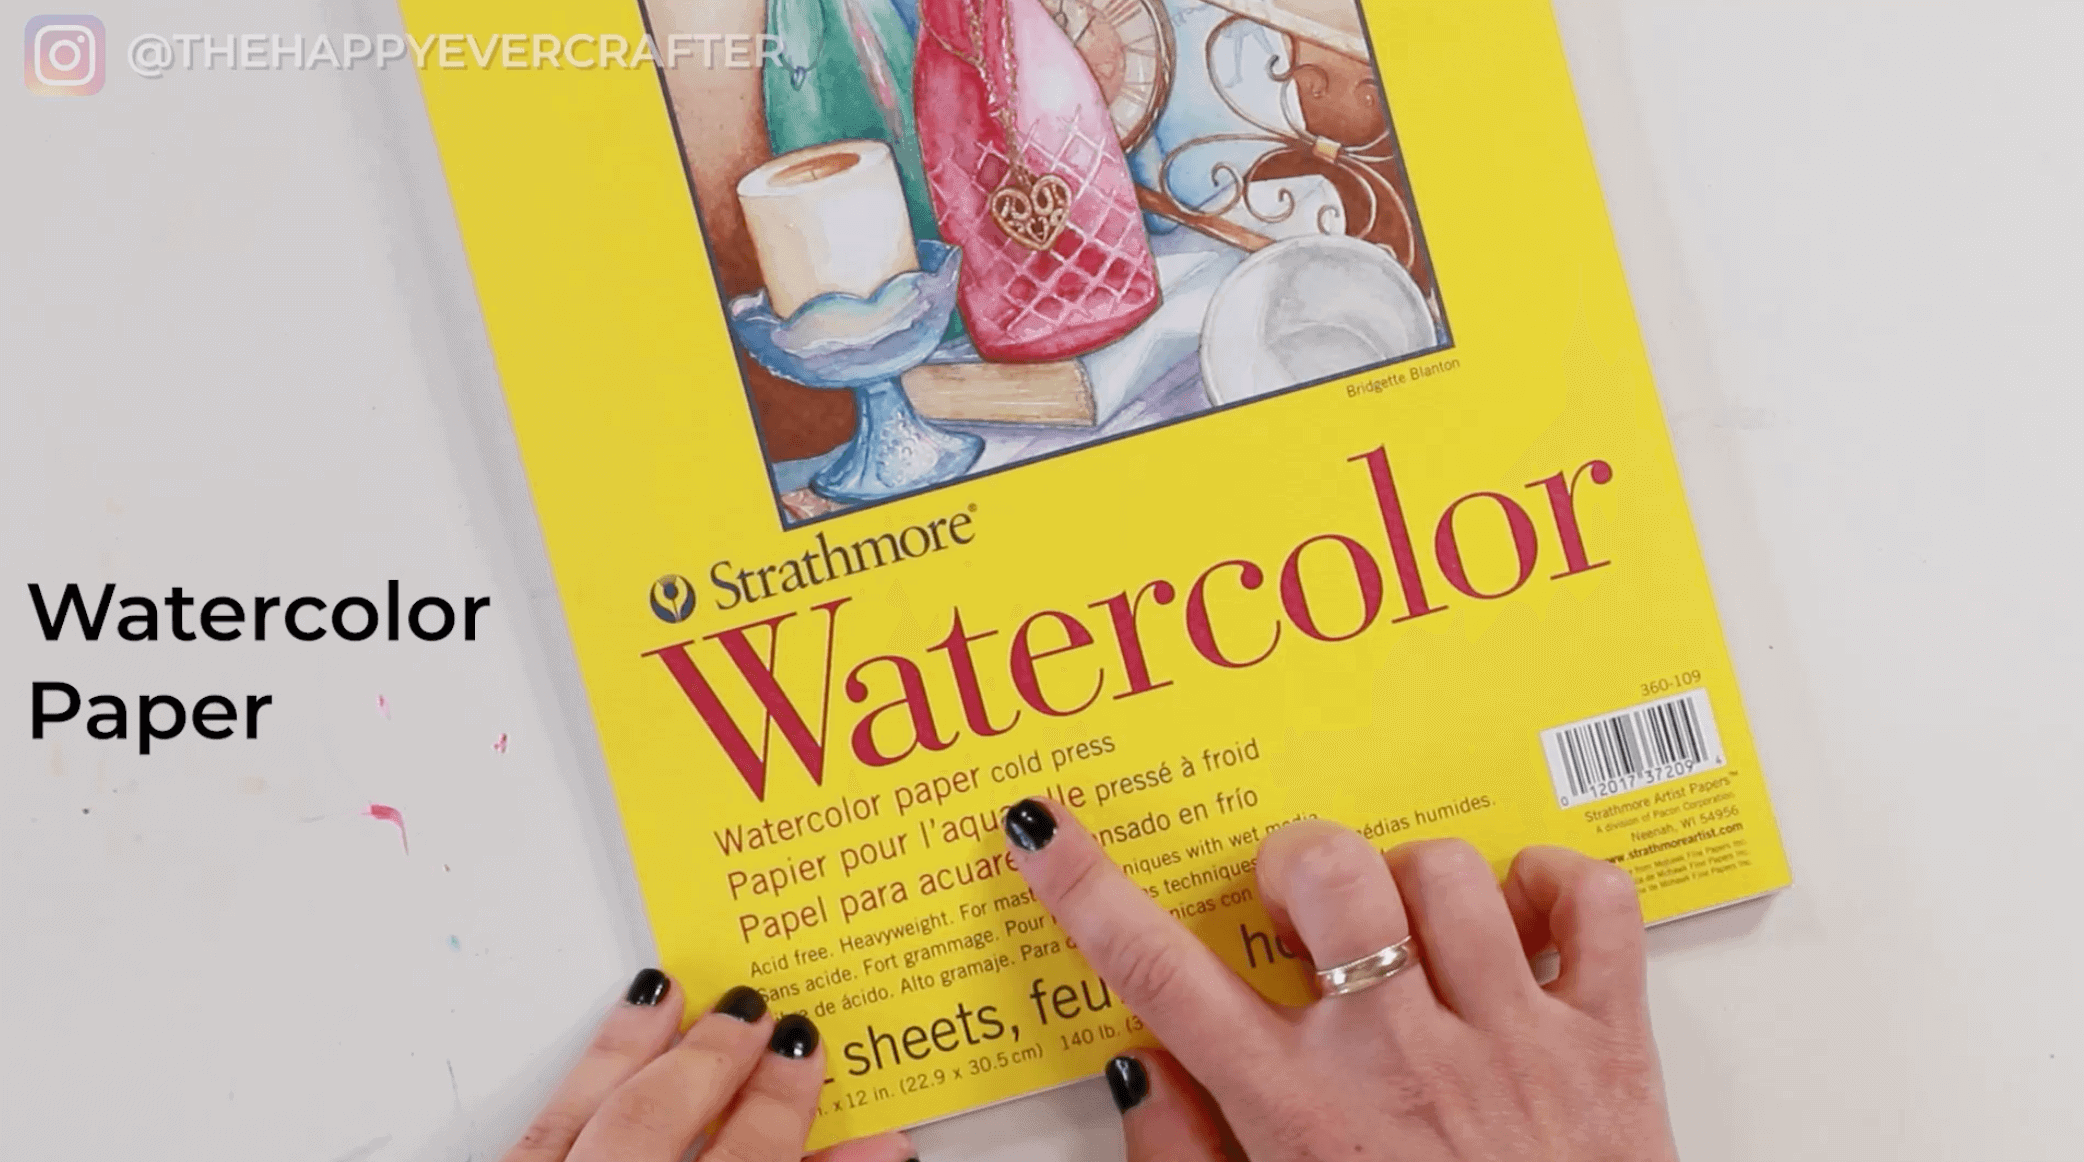
- Watercolour paper – I prefer cold press since it’s grittier and thicker but any brand will do
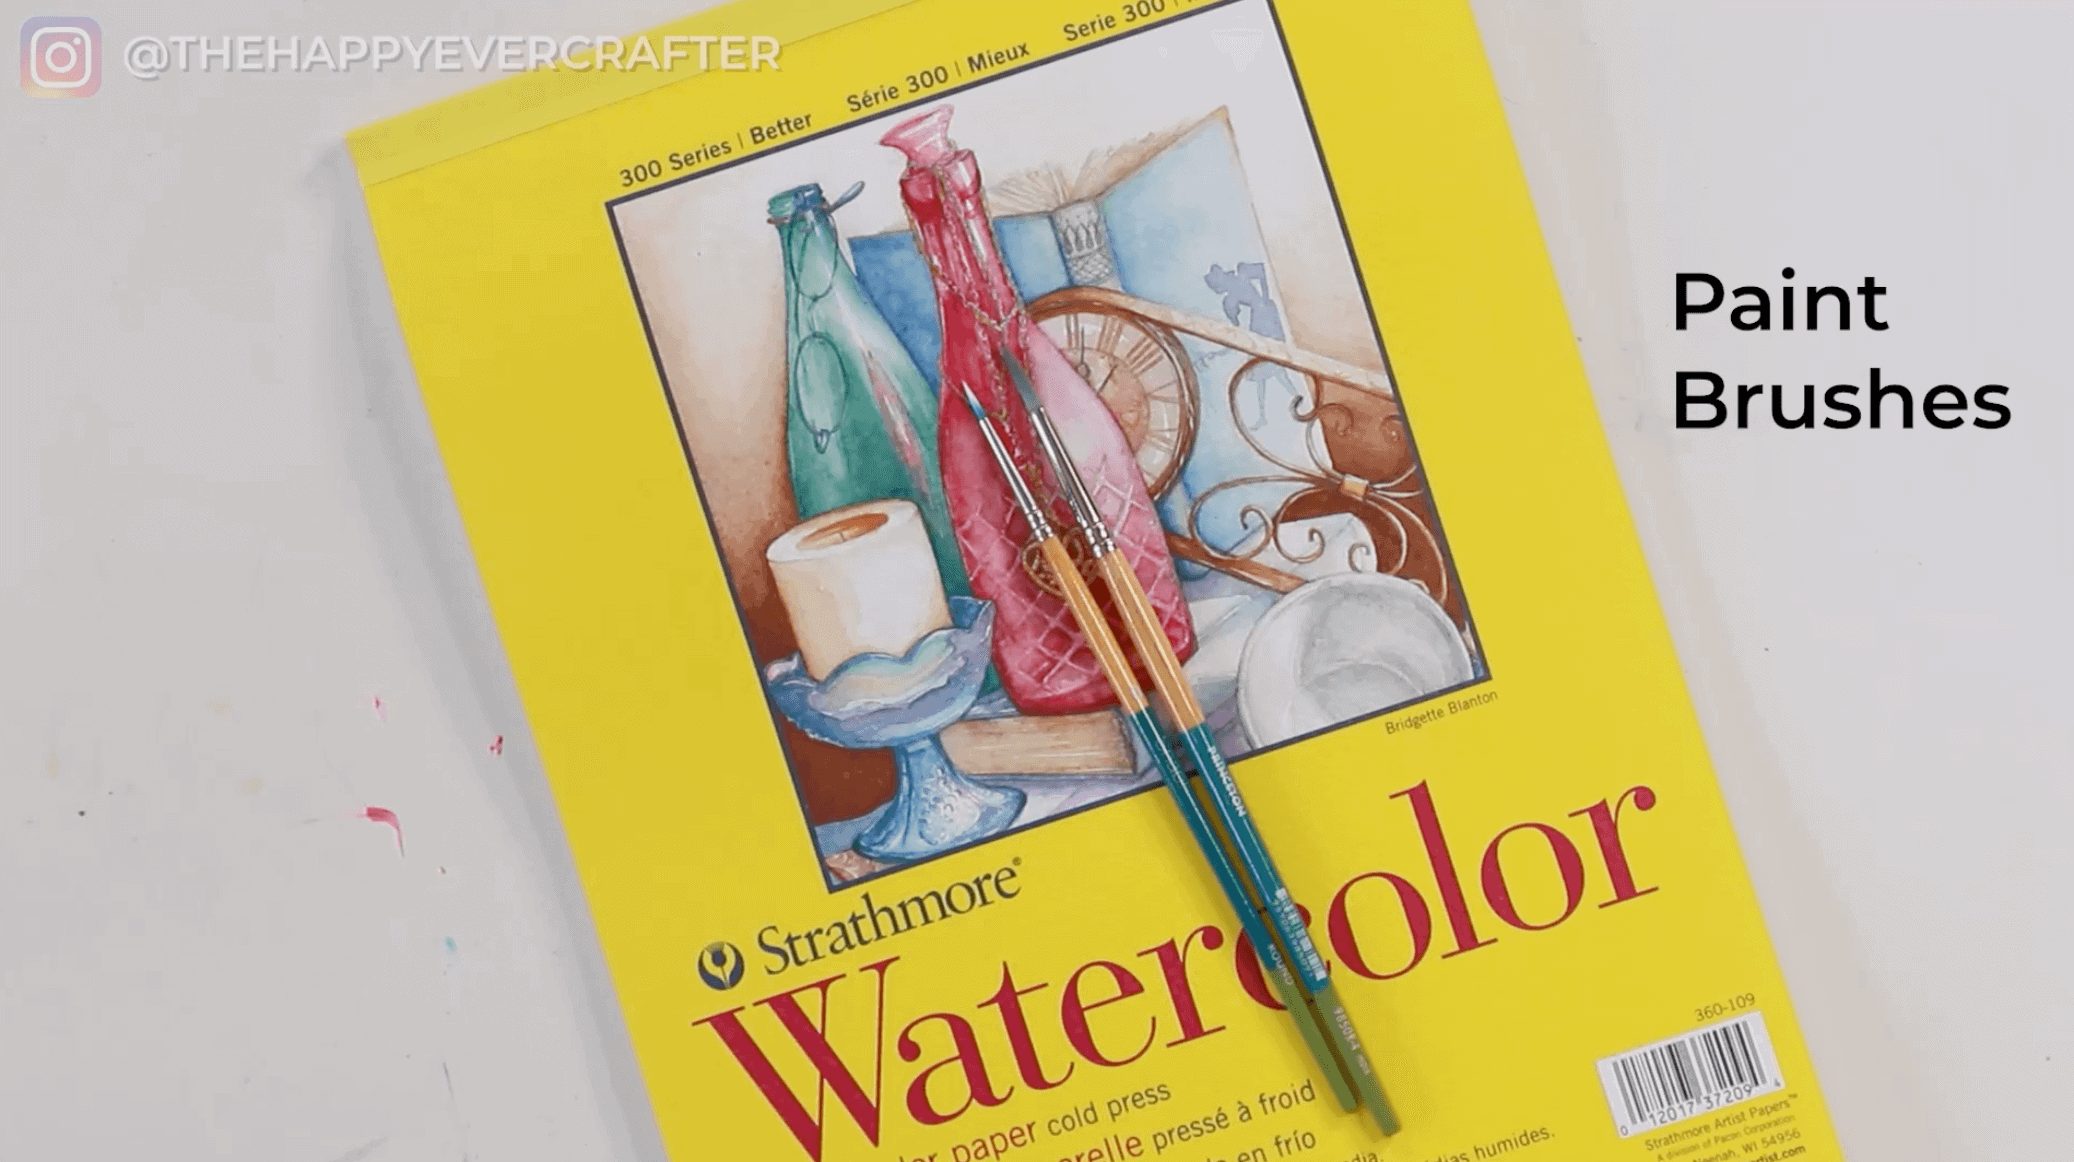
- Watercolour brushes in different sizes – Princeton Snap Brushes are my favourite but any brand will do
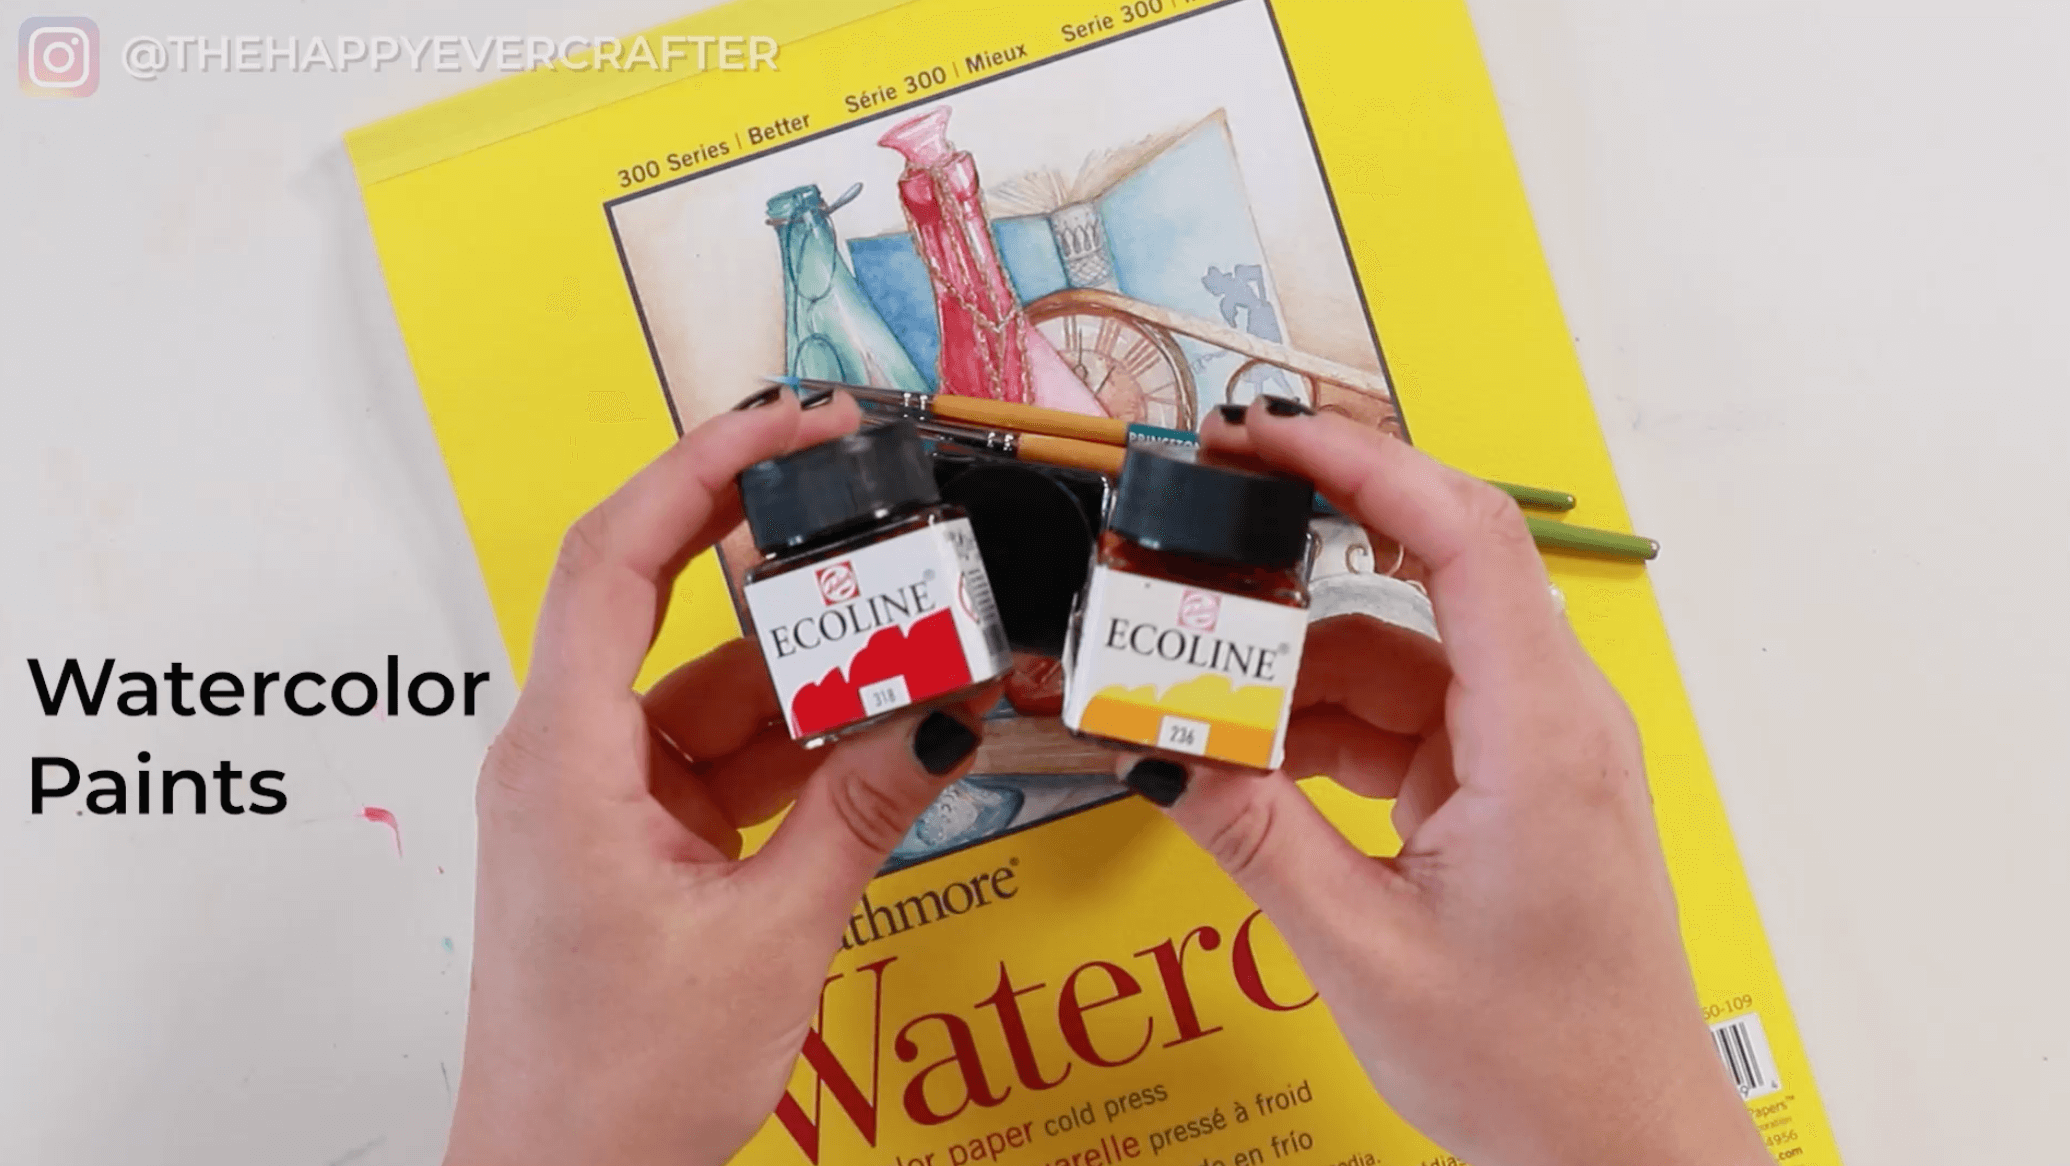
- Watercolour paints – I used Ecoline Liquid Watercolours but any brand will do
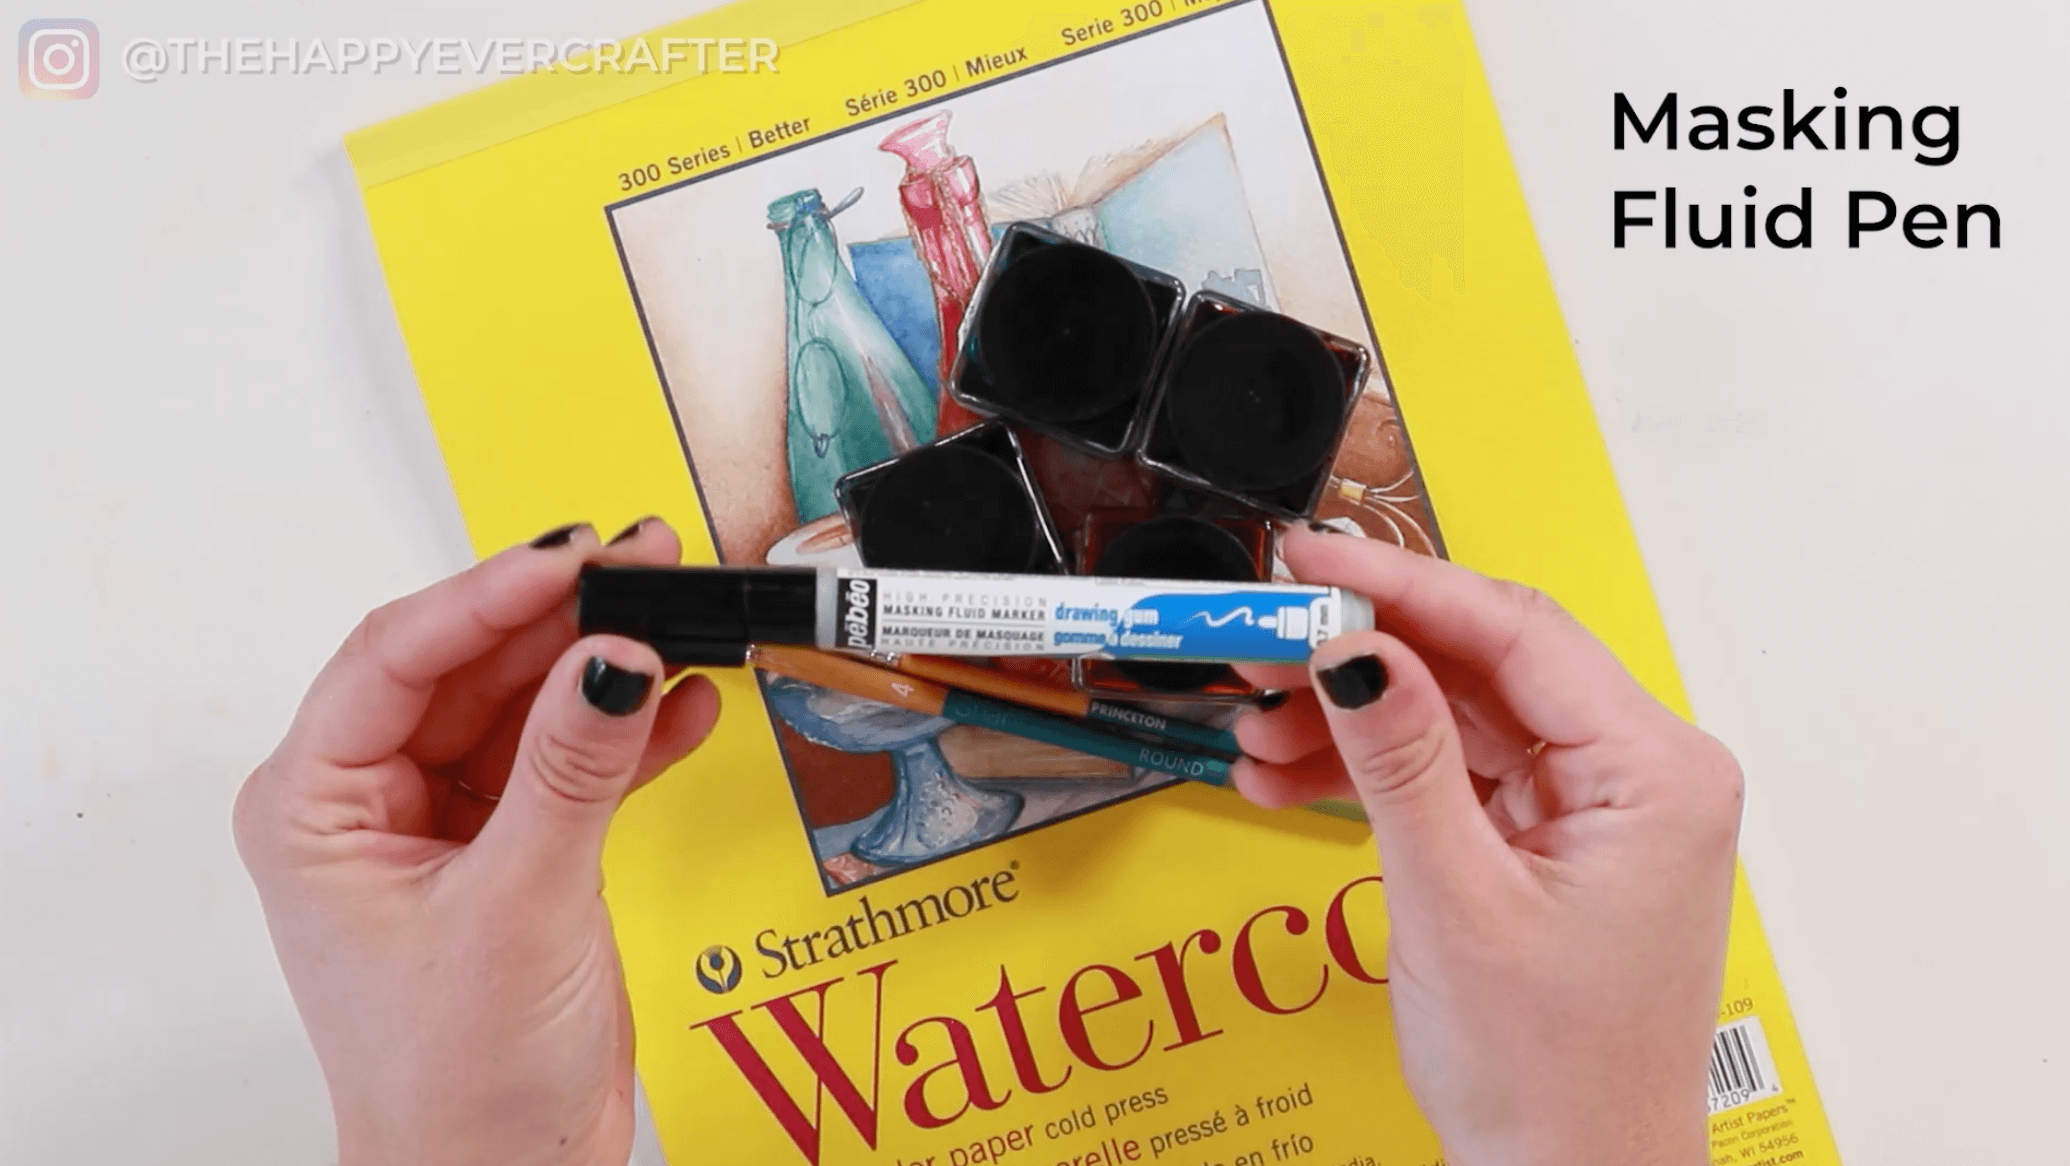
- Masking fluid pen (optional) – I prefer using a pen with a finer tip but this is totally optional
- Jar of water
- Pencil
- Scissors or paper trimmer
- Brush pen – I prefer using a Tombow Fudenosuke to write guests’ names in calligraphy but any pen will do
Rather watch than read? No problem! You can watch me create these cute Easter place cards in real-time by clicking the video below!
Let’s Get Started!
For these place cards, you need watercolour paper, watercolour brushes in different sizes, watercolour pants, masking fluid (optional), water, a pencil, scissors, and a brush pen.
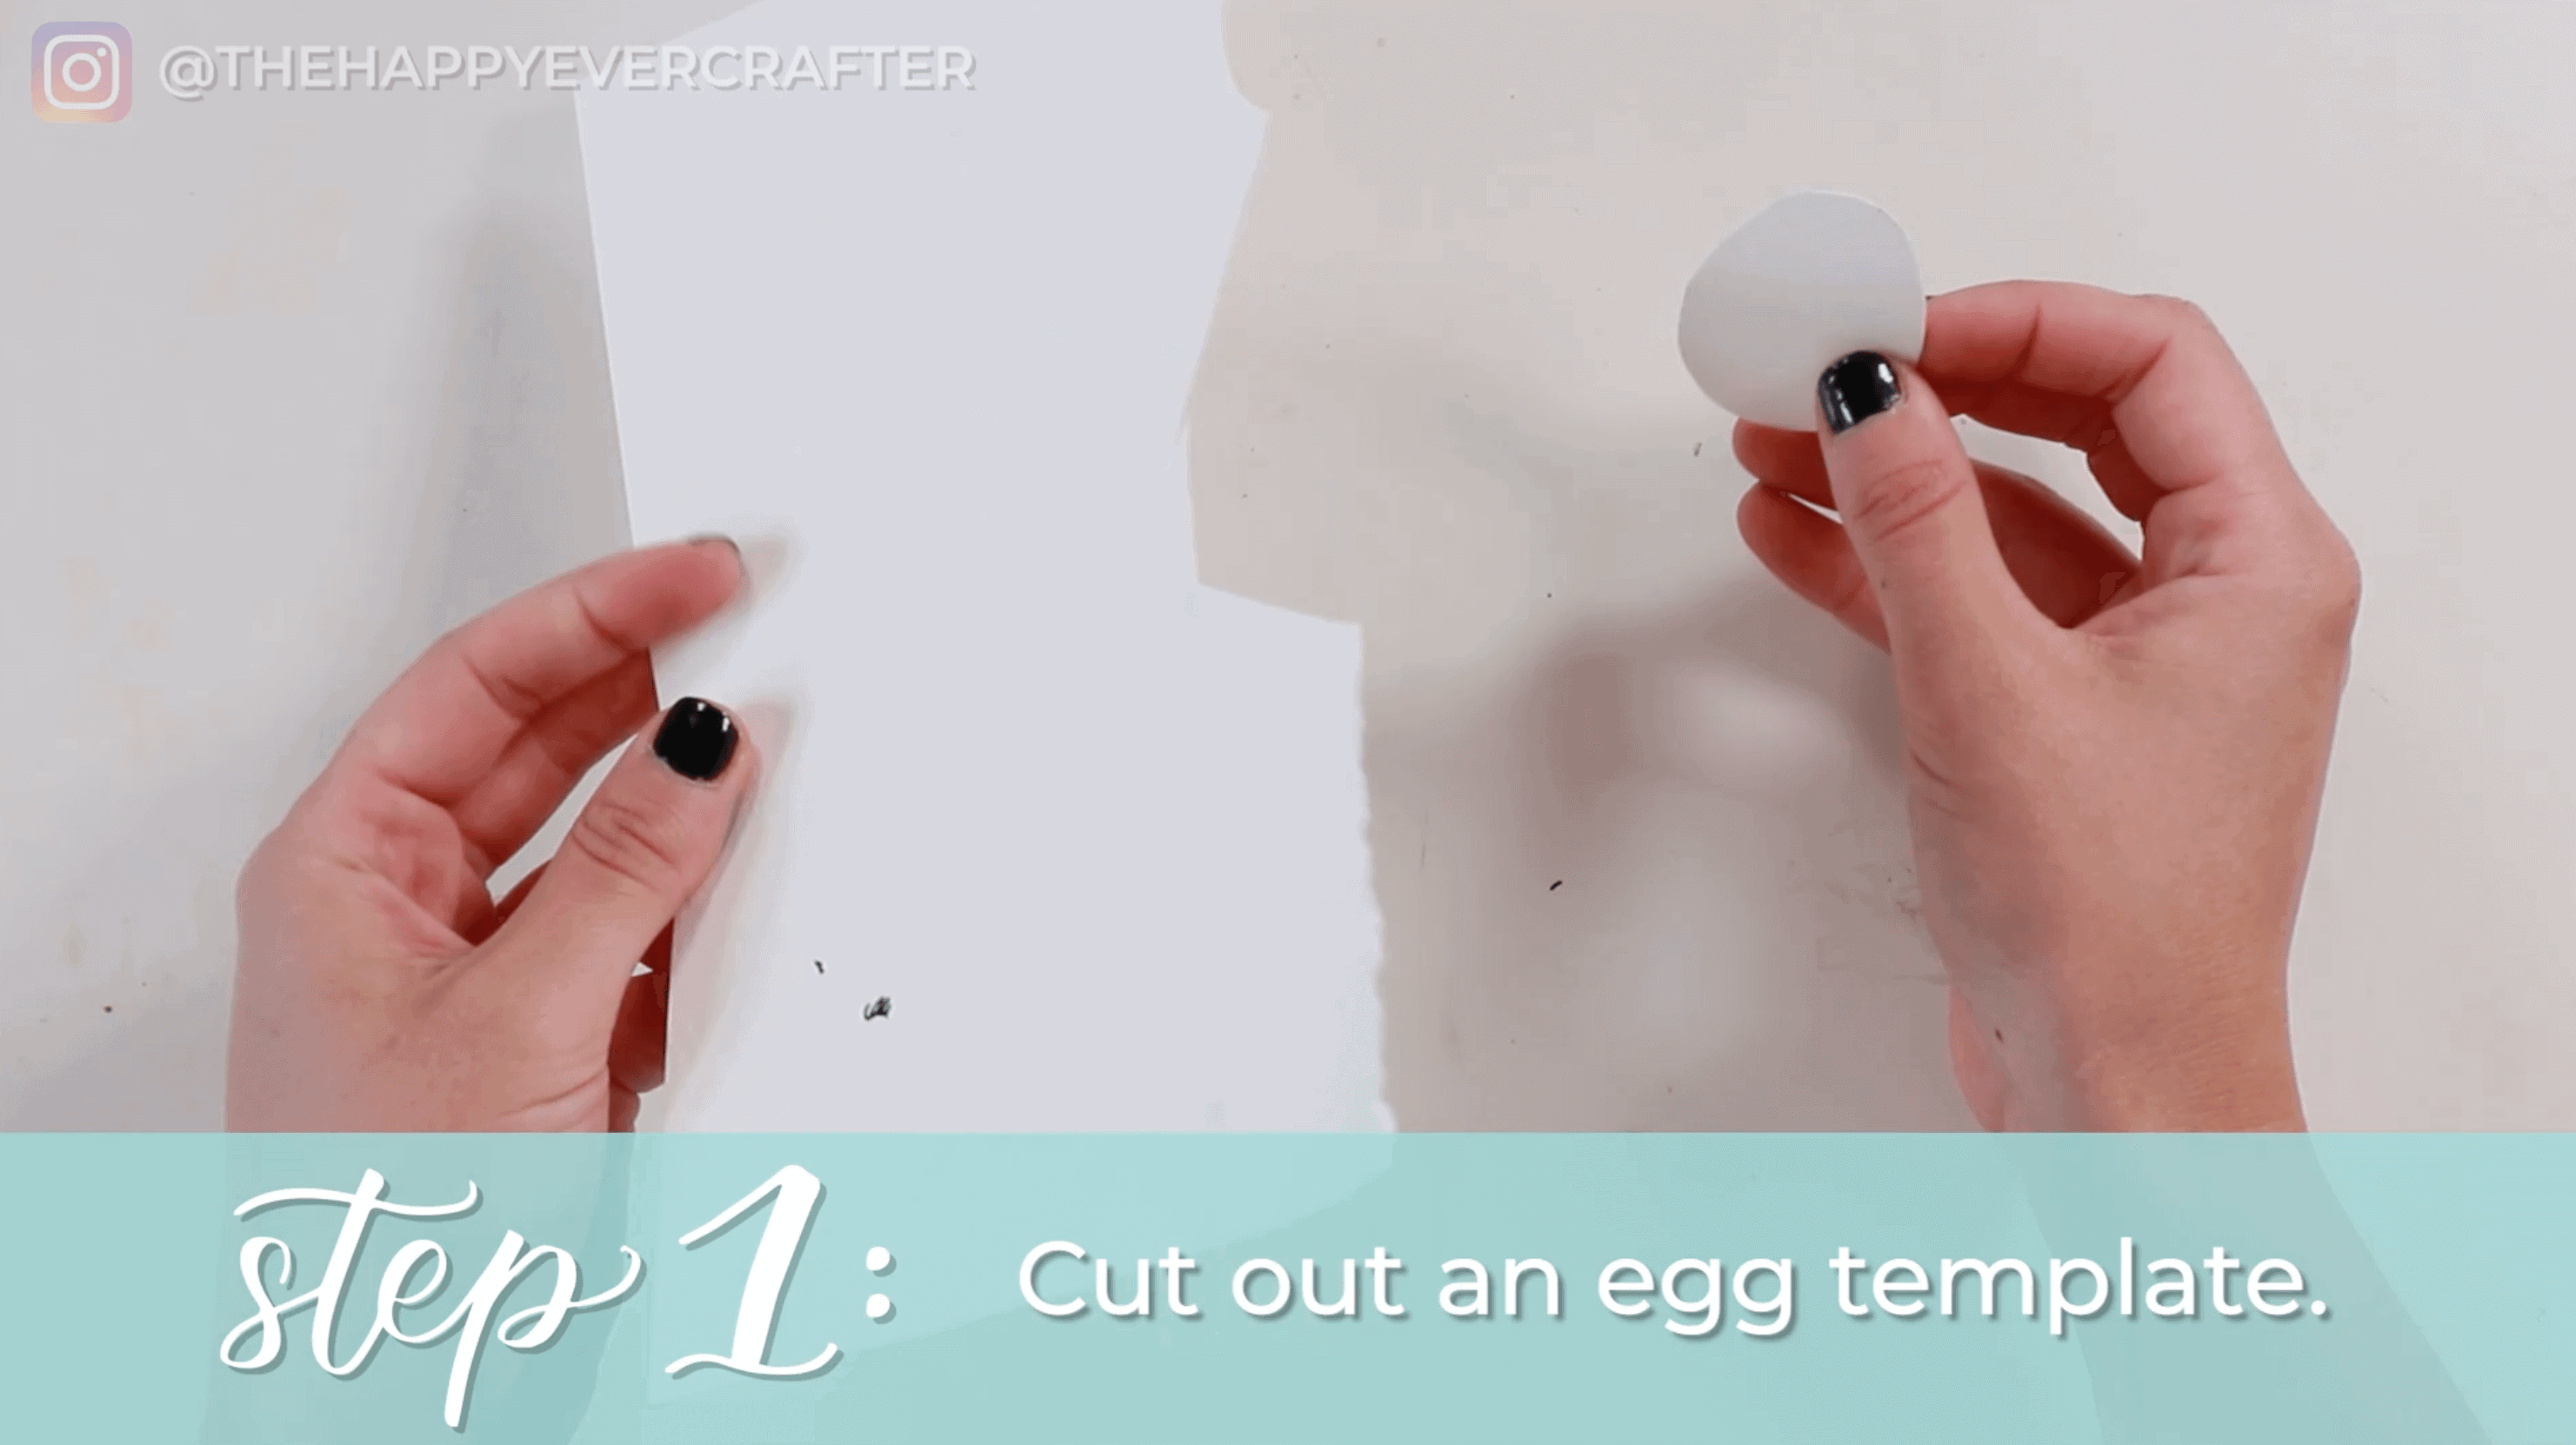
Step #1: Cut out an egg template
To help keep things easy, you want to create a little template of an egg. You can use any scrap piece of paper and scissors (I used the same watercolour paper I used for the place cards).
Keep it simple – just cut out an egg shape in the size you want to use.
Step #2: Trace many eggs onto a sheet of watercolour paper
Using your new egg template, put the egg in all different configurations on your page.
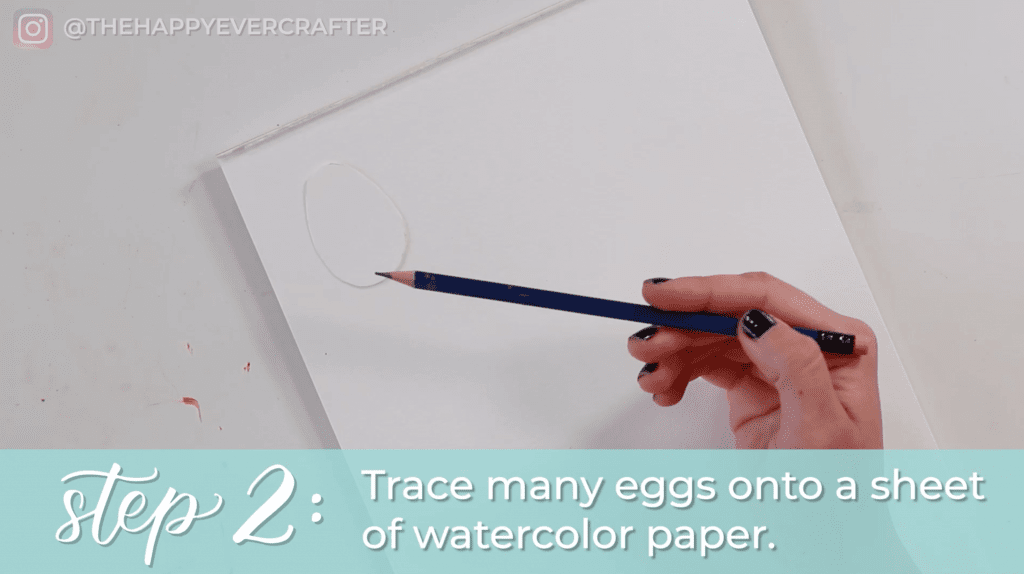
Feel free to angle some a bit to the left or to the right – keep them mostly upright though. You can even overlap them!
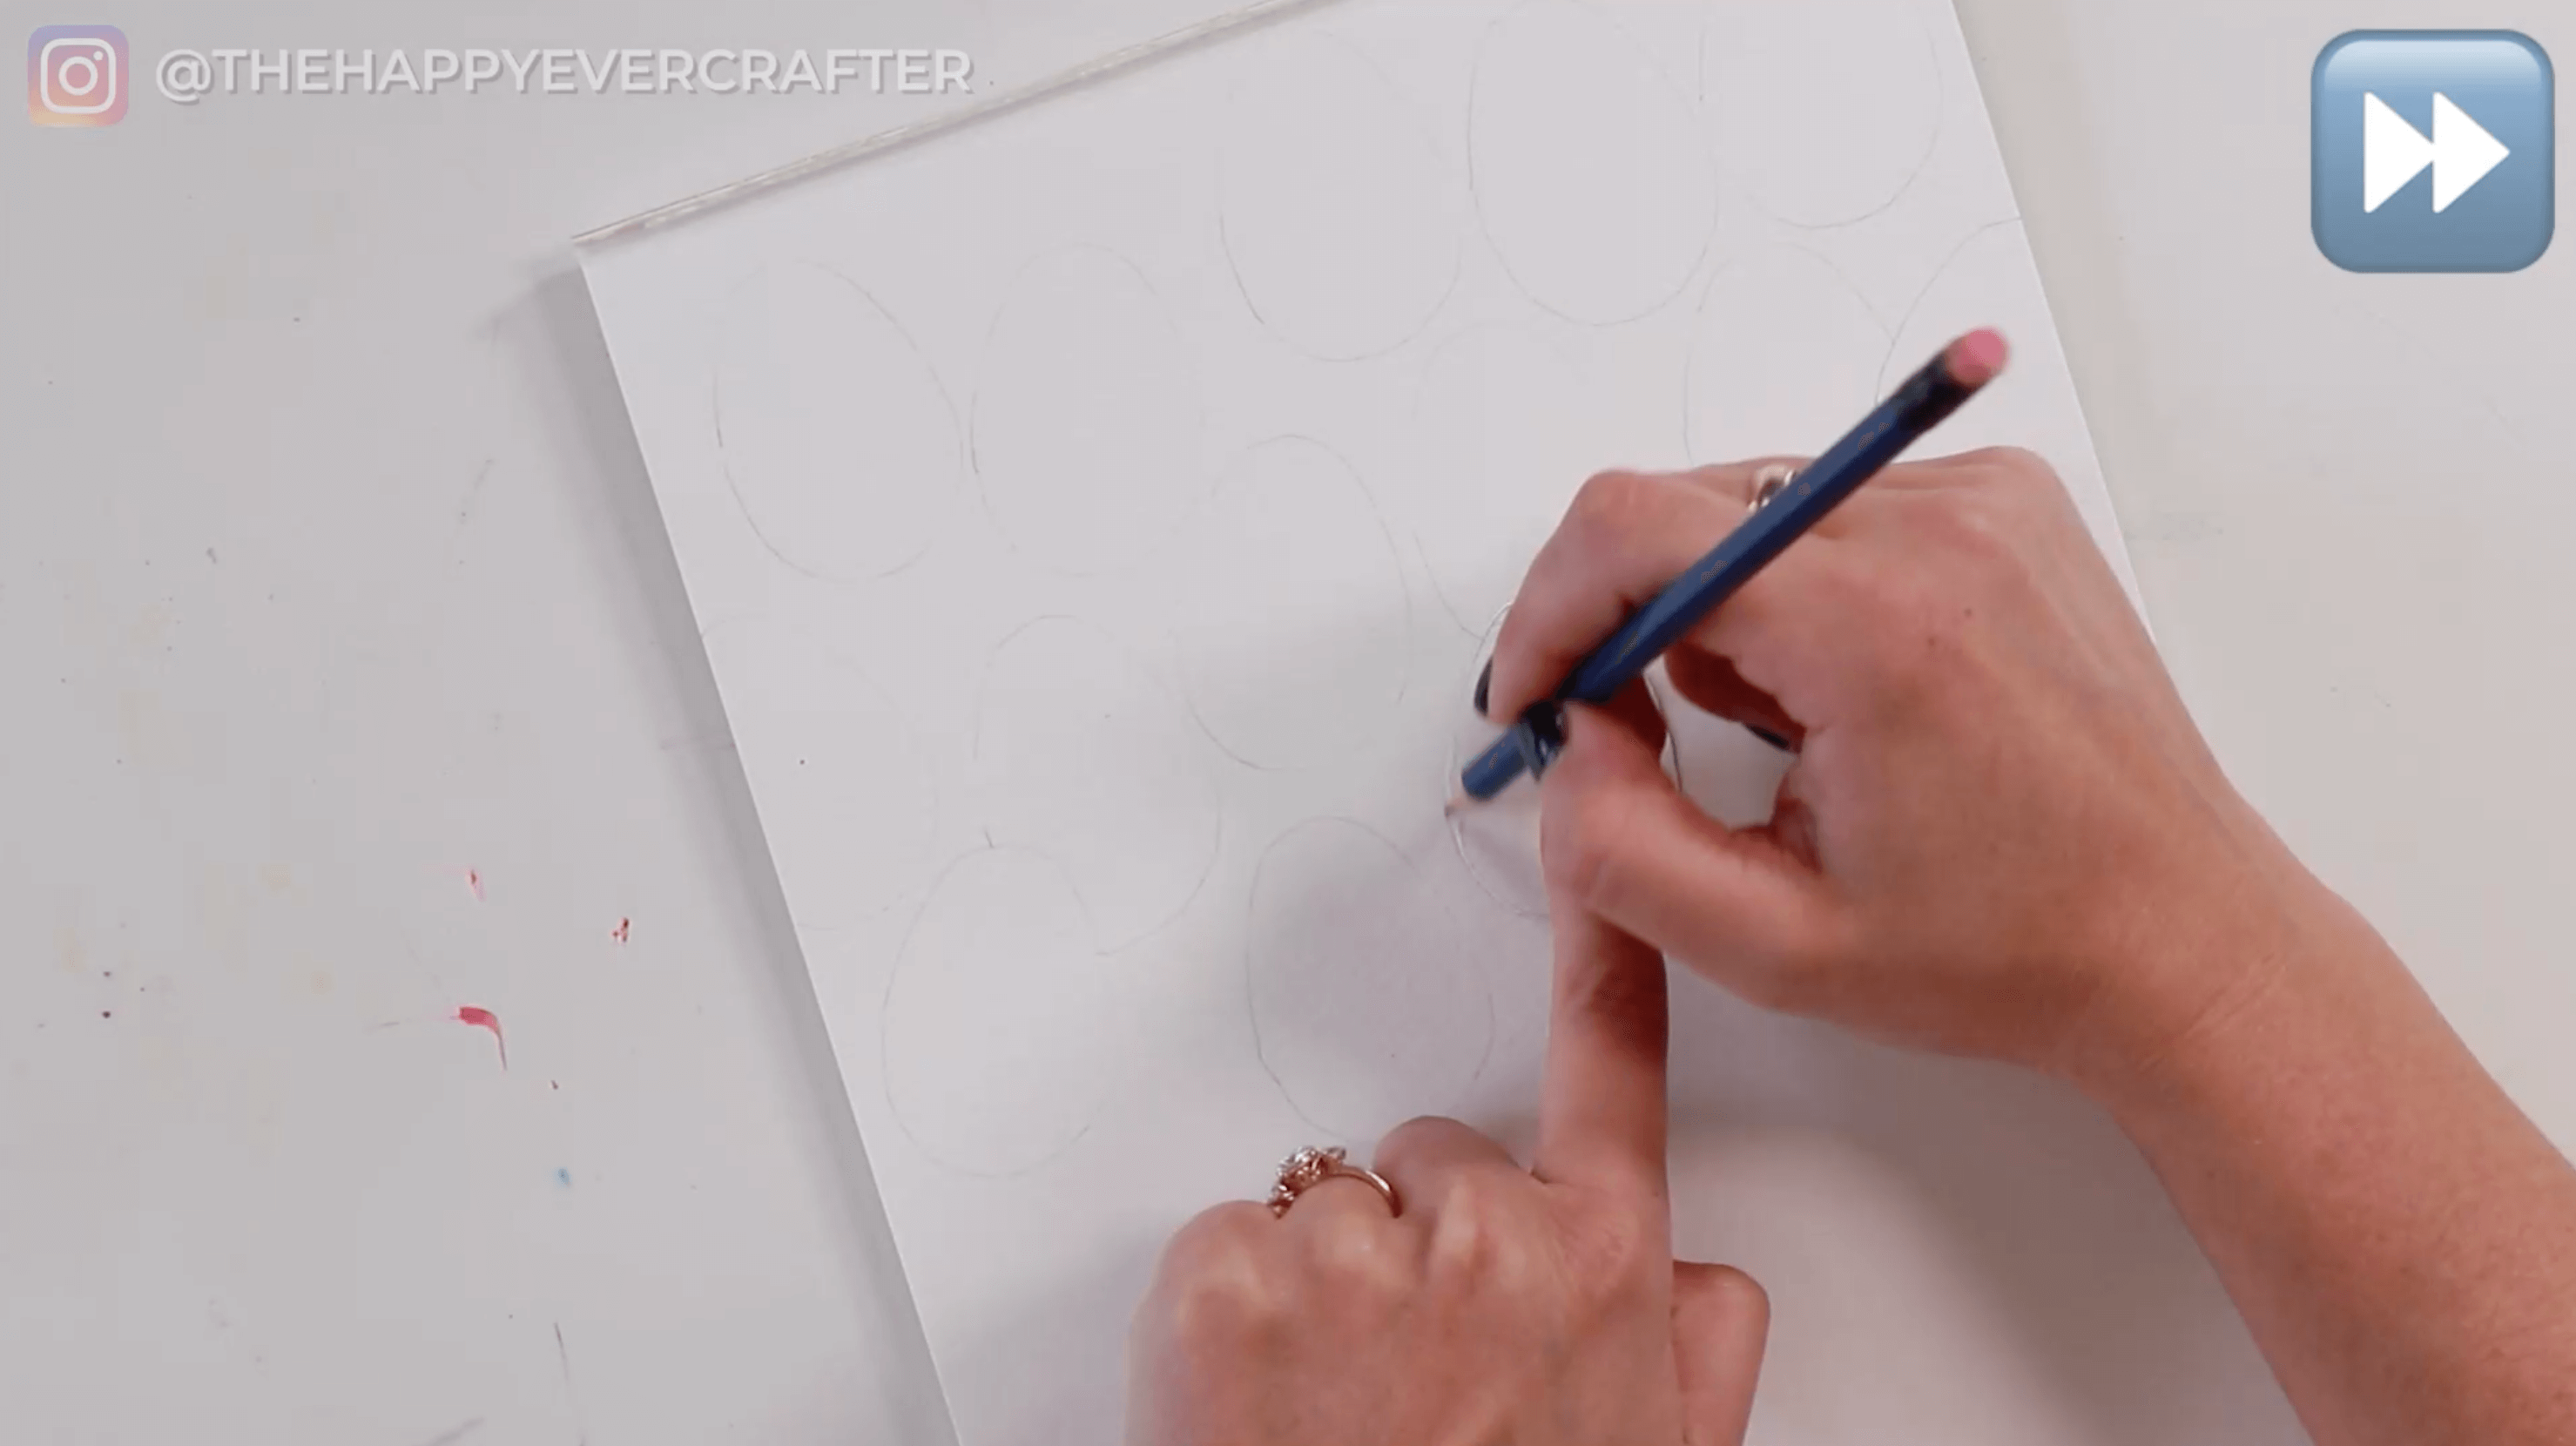
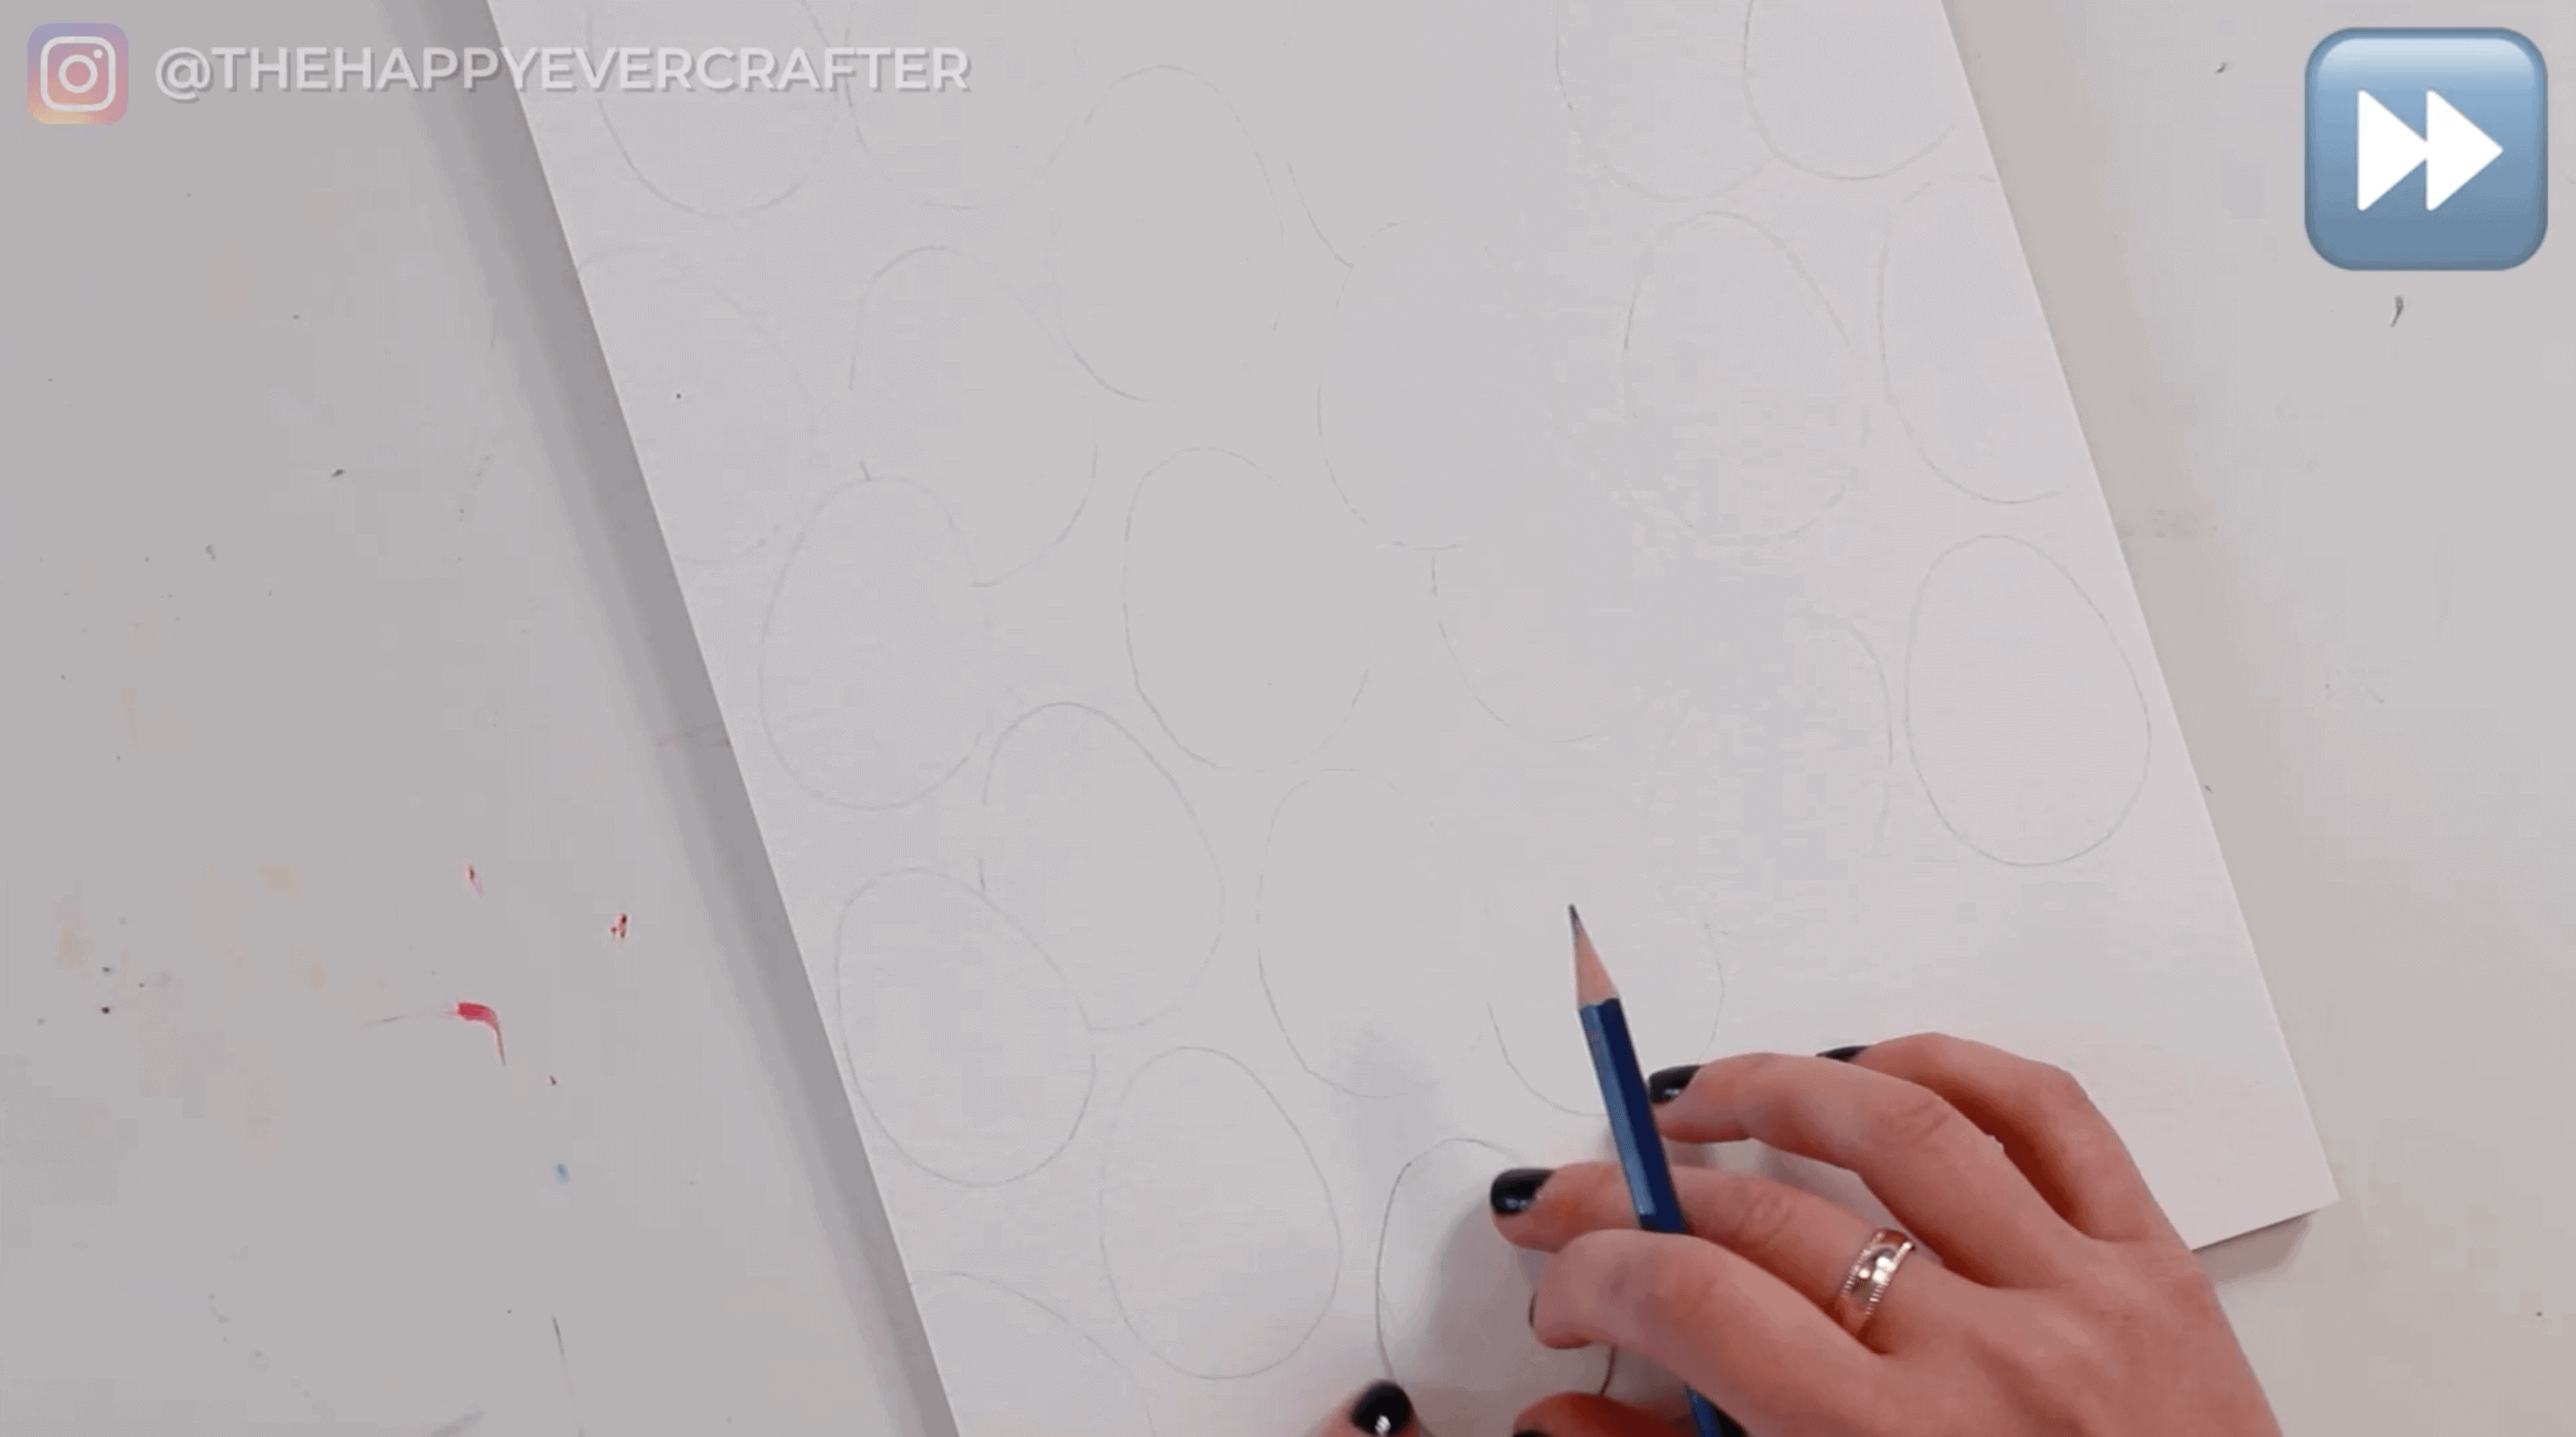
The goal is to fill up your whole page in whatever pattern/layout you prefer. You can be random a sporadic or more serious and consistent. No rules here. Just be sure to fill the page.
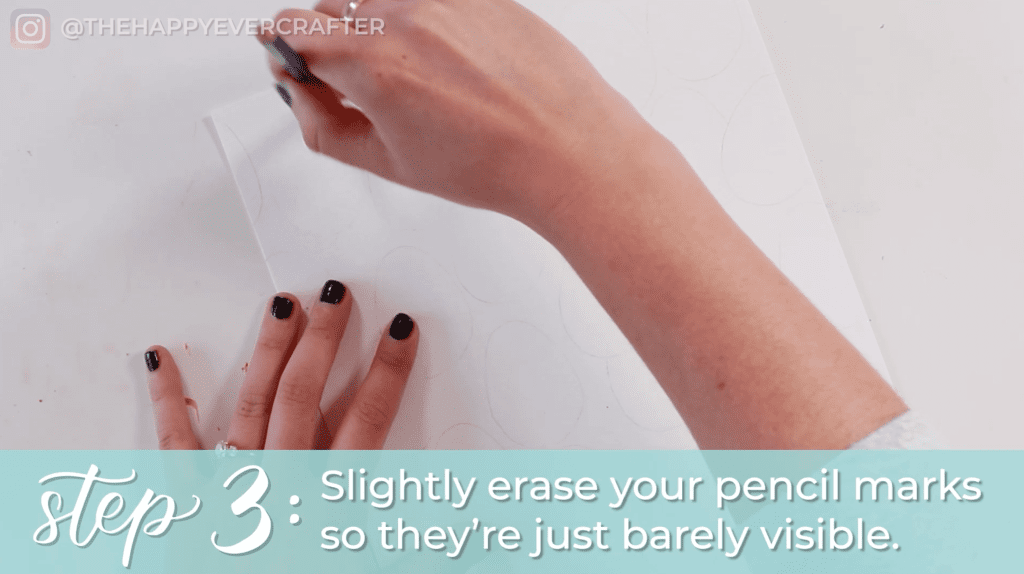
Step #3: Slightly erase your pencil marks so they’re just barely visible
Use your pencil (or a separate eraser), and erase the pencil marks a bit. You need to still be able to see them, but you want them to be really, really light. When you add your watercolour paint, you don’t want to have thick pencil lines that show through the paint.
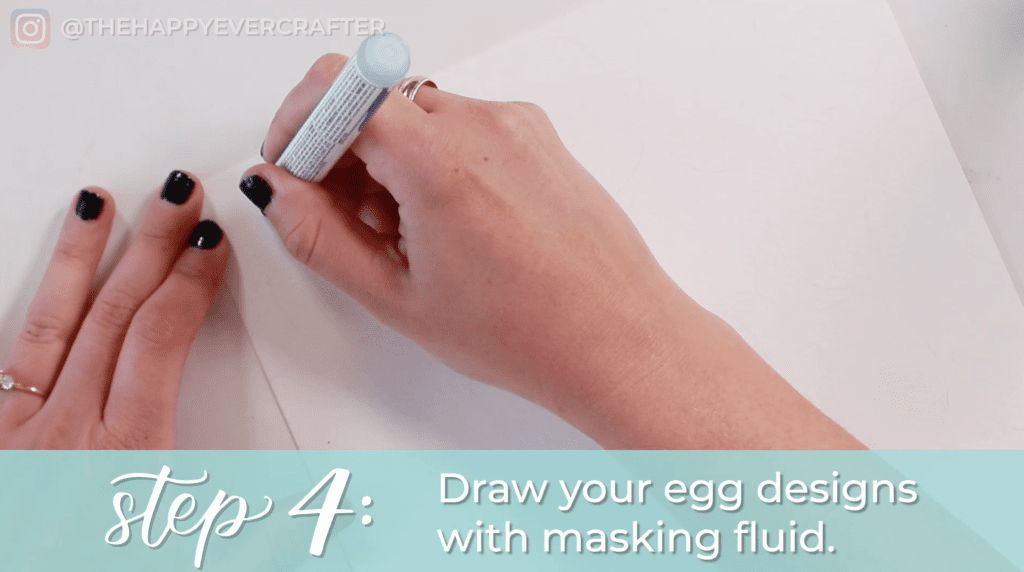
Step #4: Draw your egg designs with masking fluid
Making fluid is a gummy-like substance that hides your paper from the page. Basically wherever you put masking fluid, the paint won’t show up there.
So grab your masking fluid pen if you have one and start designing! Draw some designs on your eggs that you want to remain white. Once you put paint over top of your masking fluid designs, the white of your paper will remain.
Continue drawing some random, simple designs on the eggs. You can do whatever you want here. You can do dots, you can do lines. You can even Google “Easter eggs” and get inspiration.
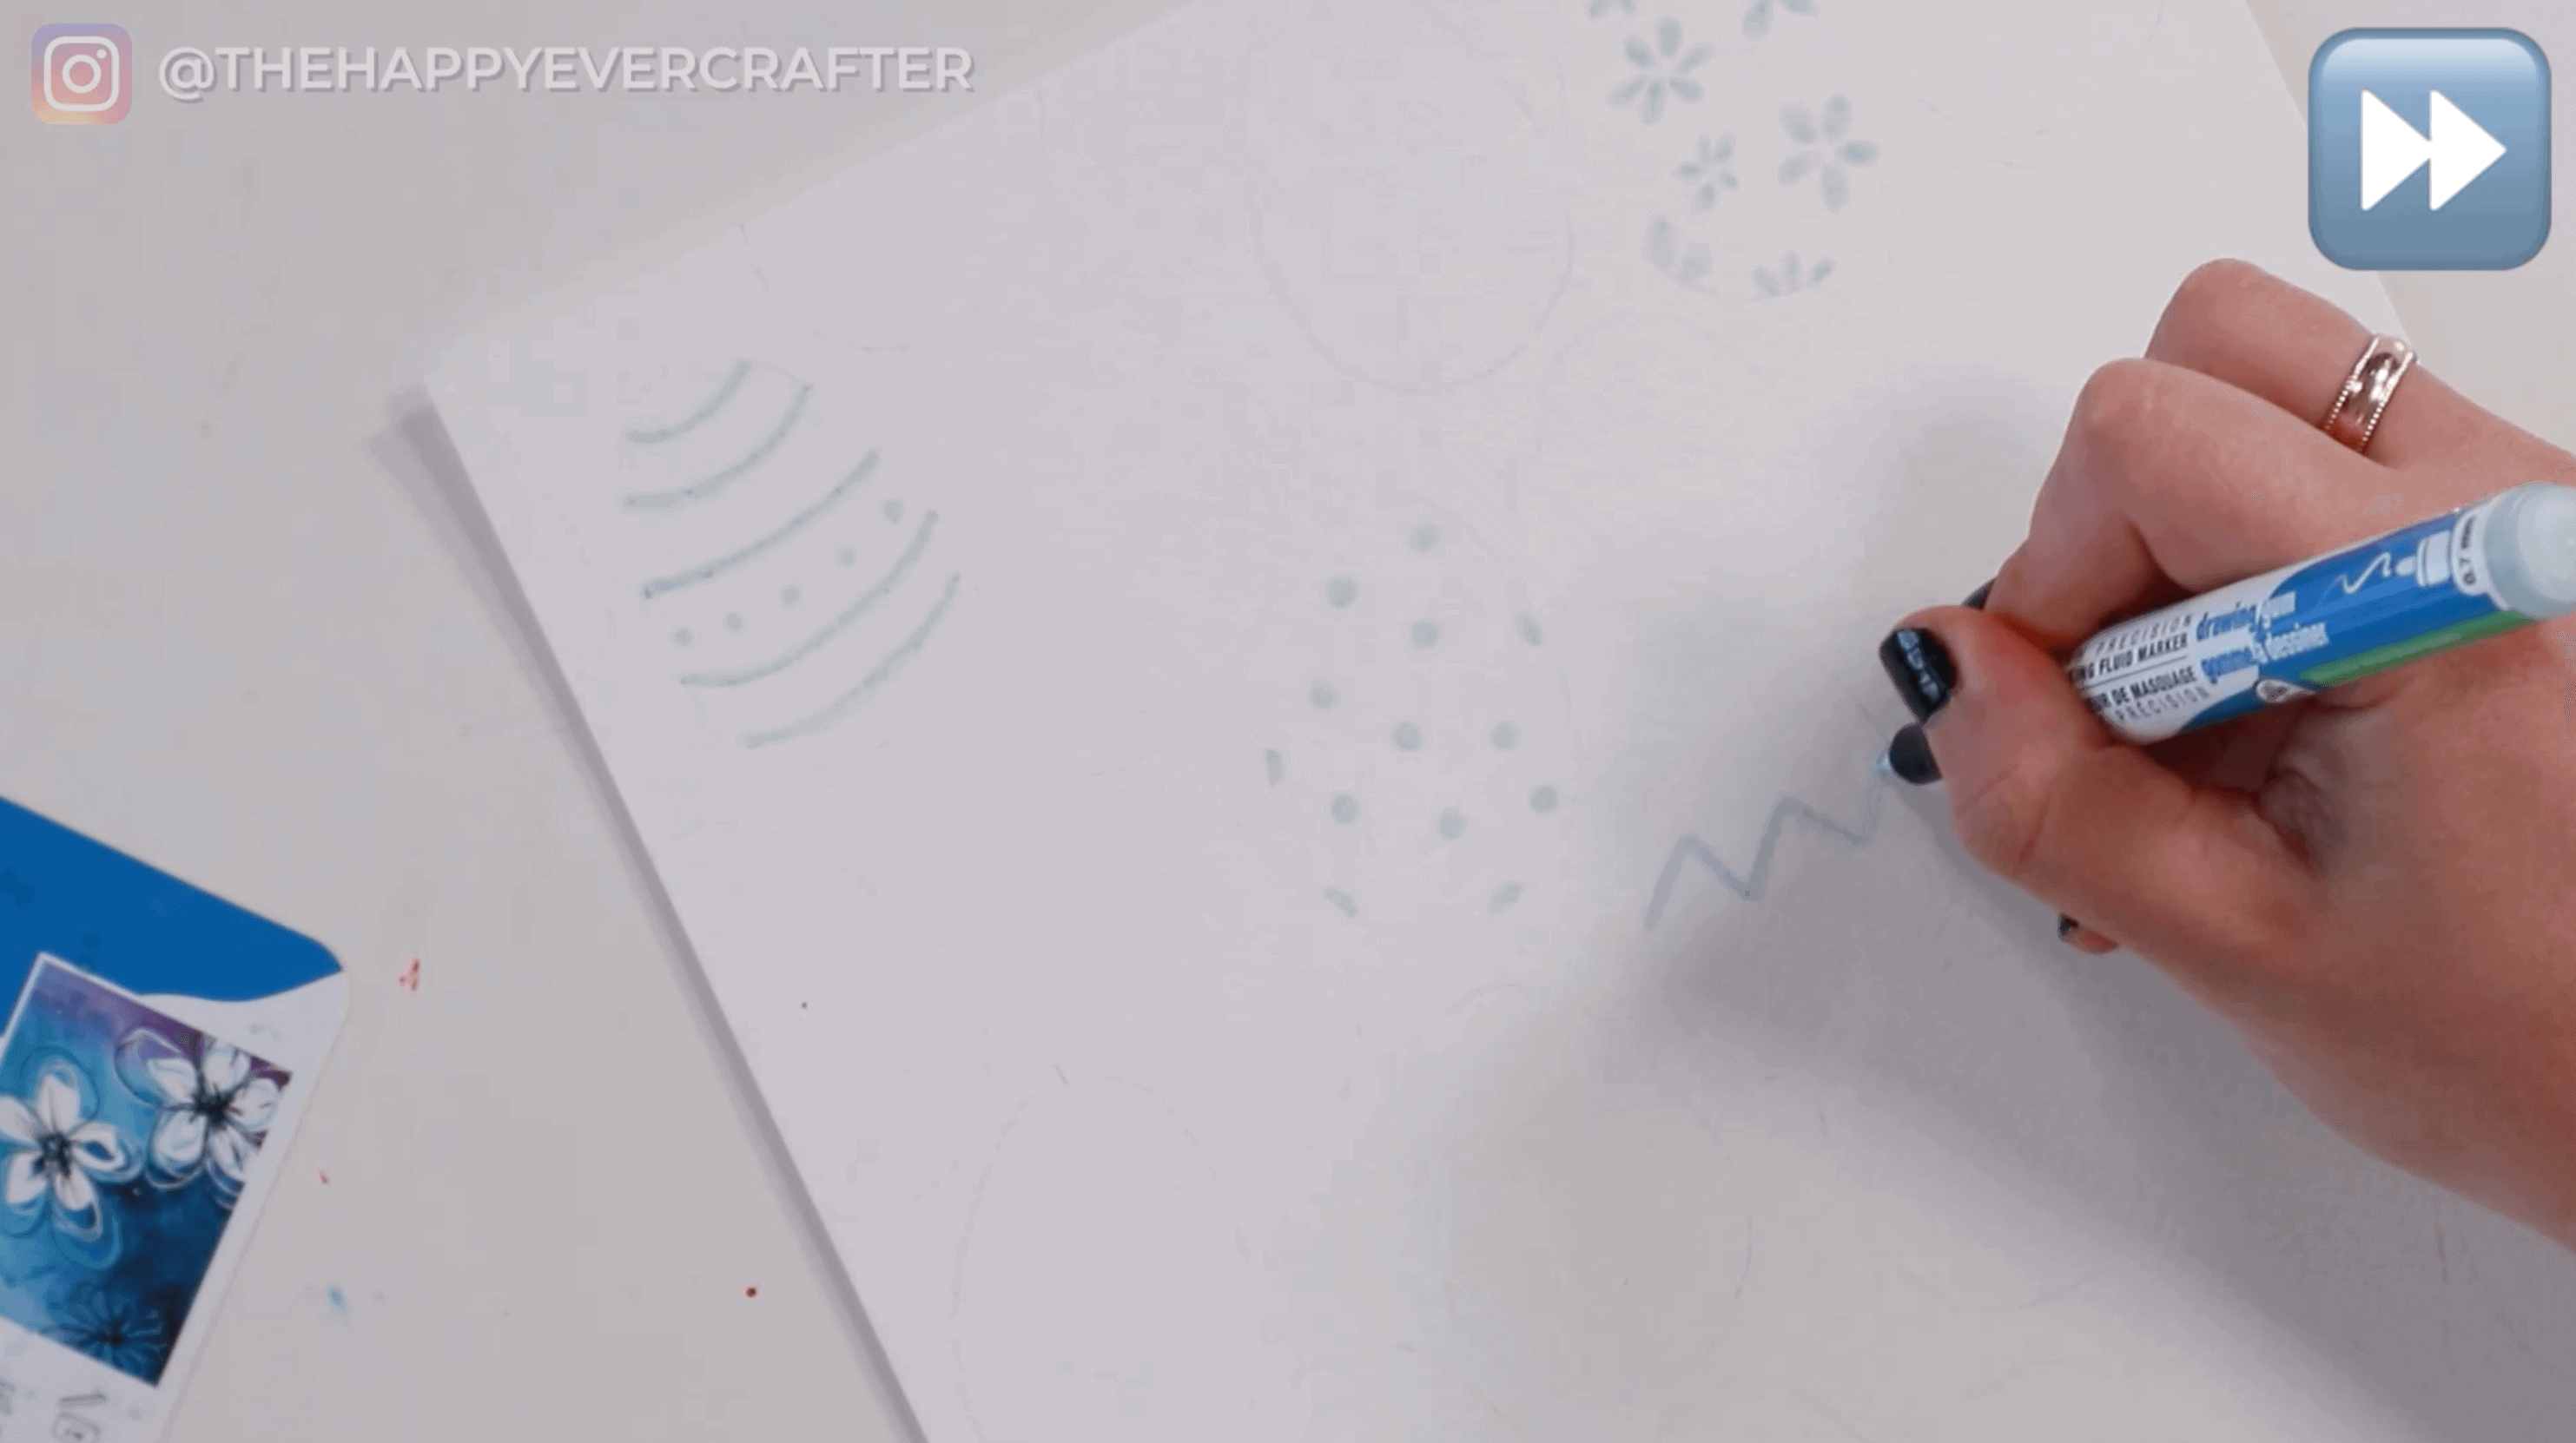
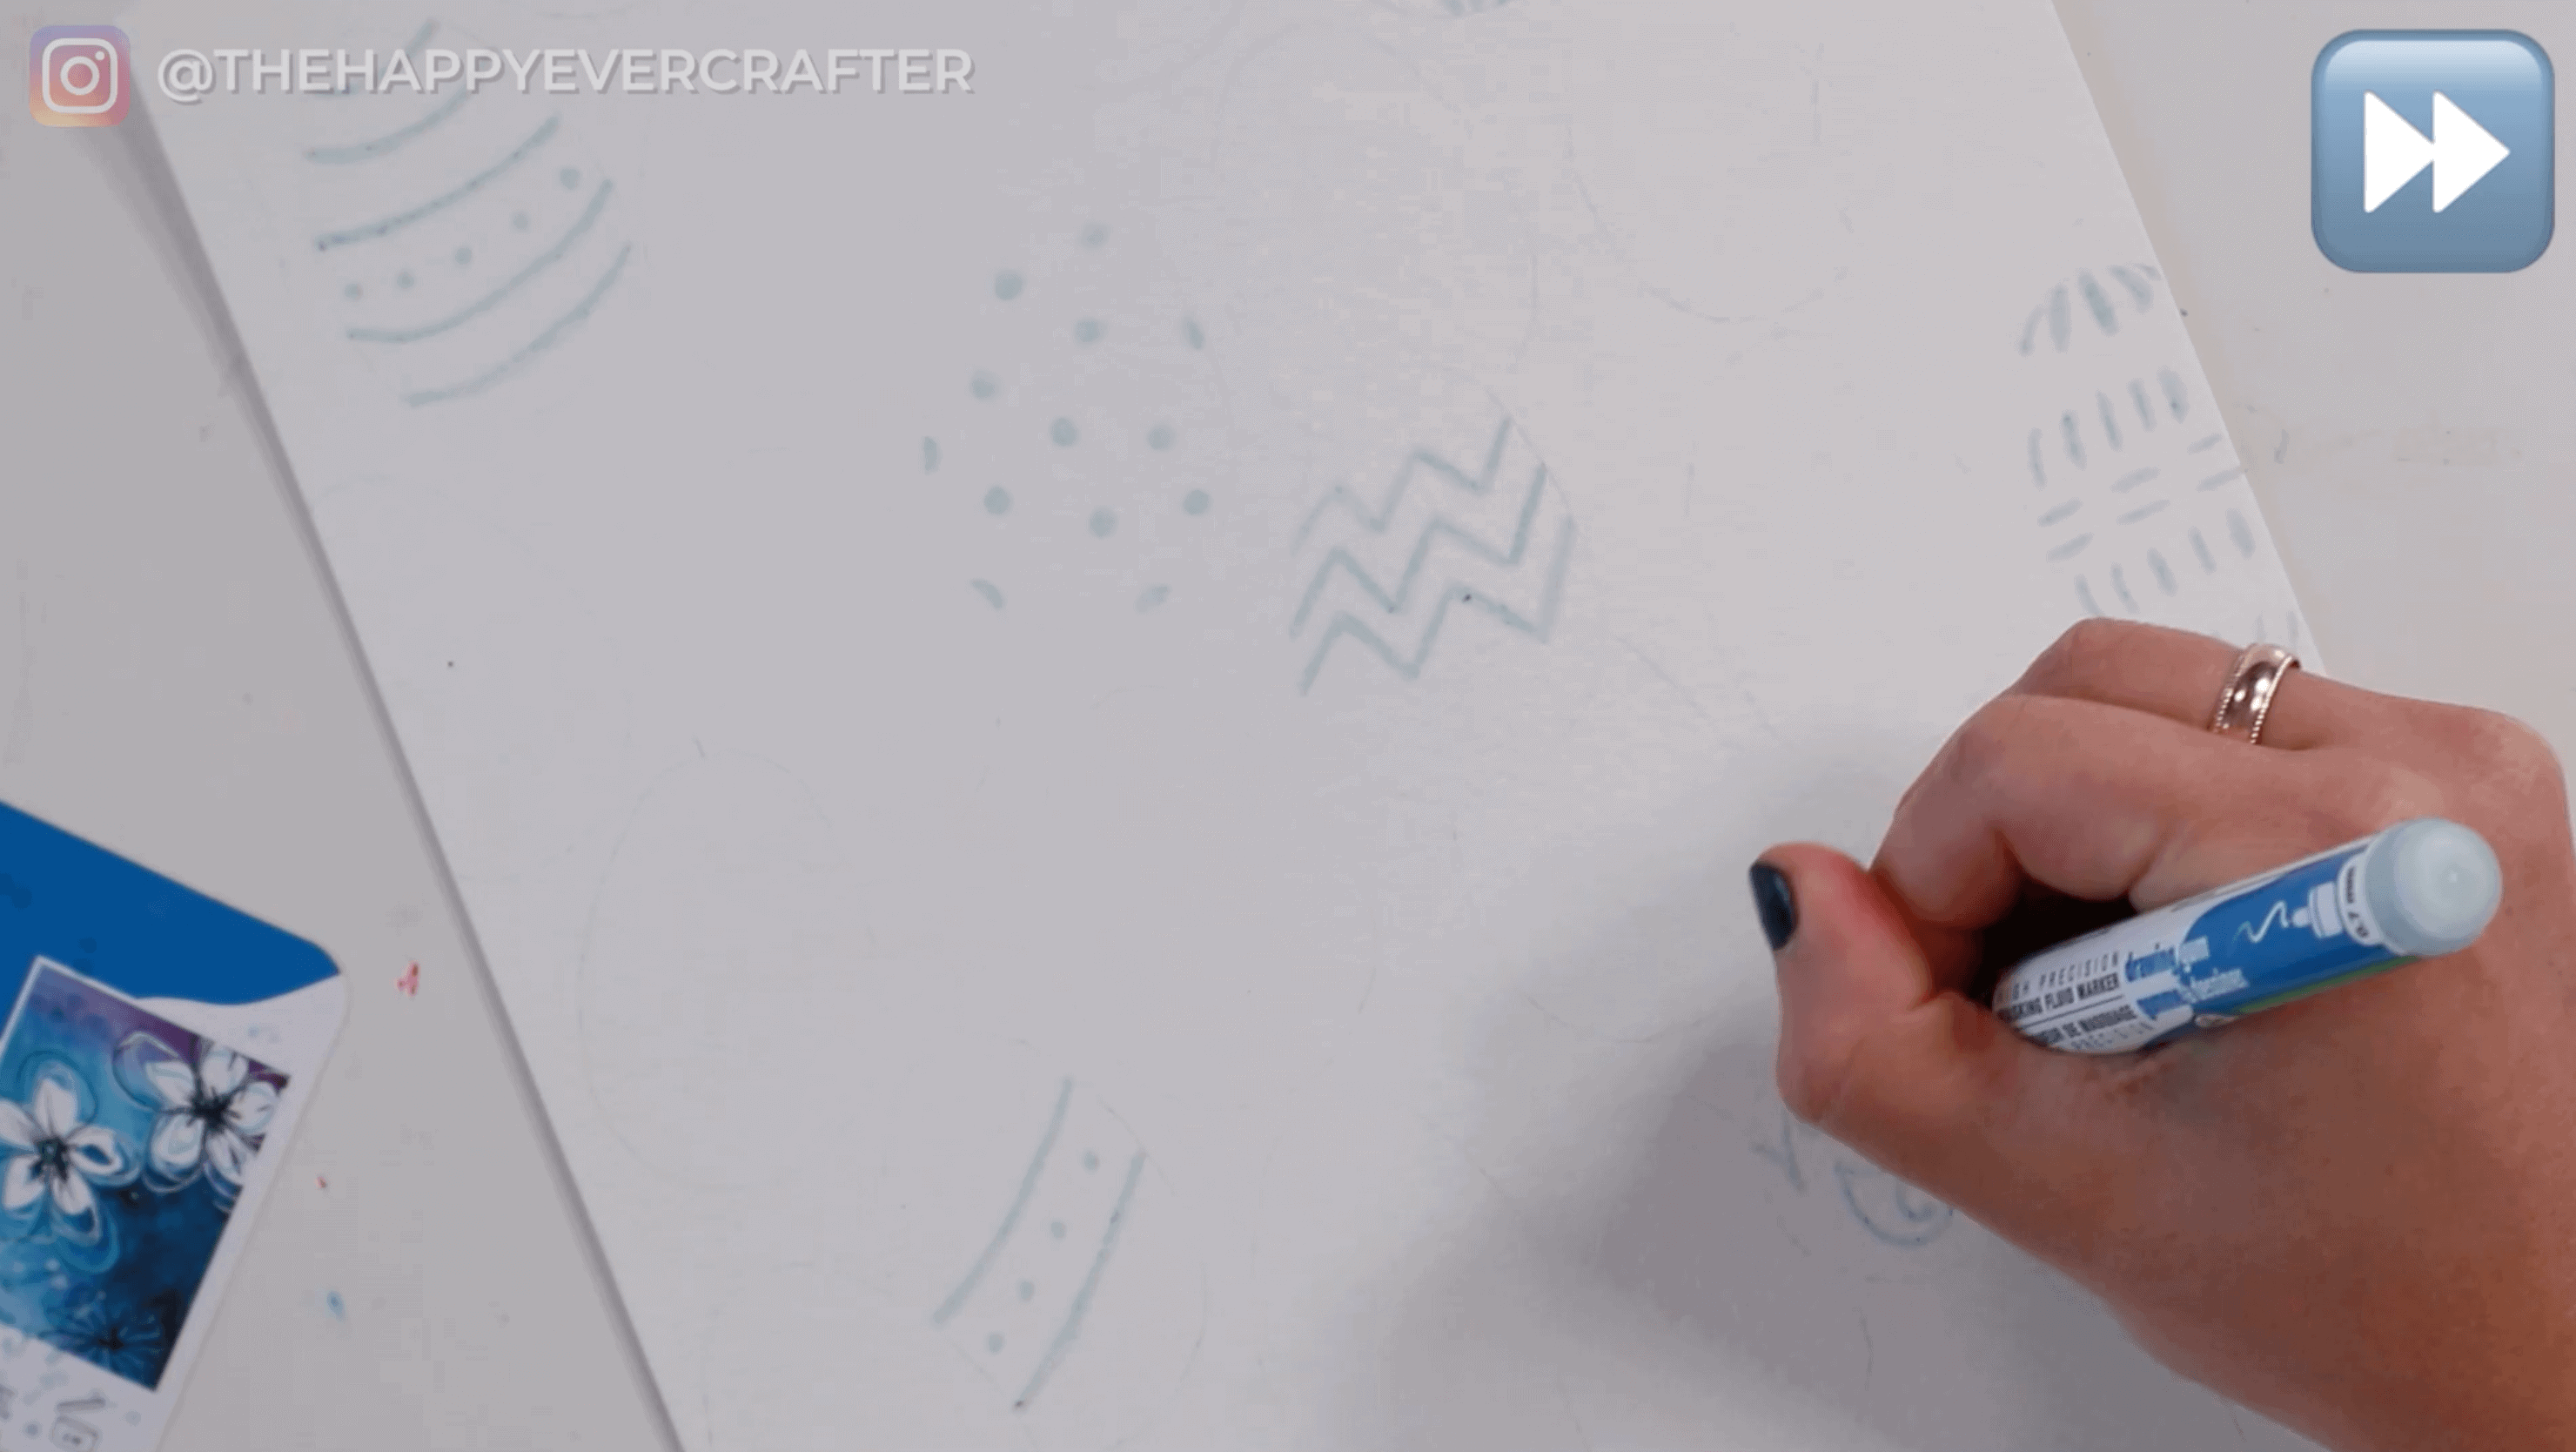
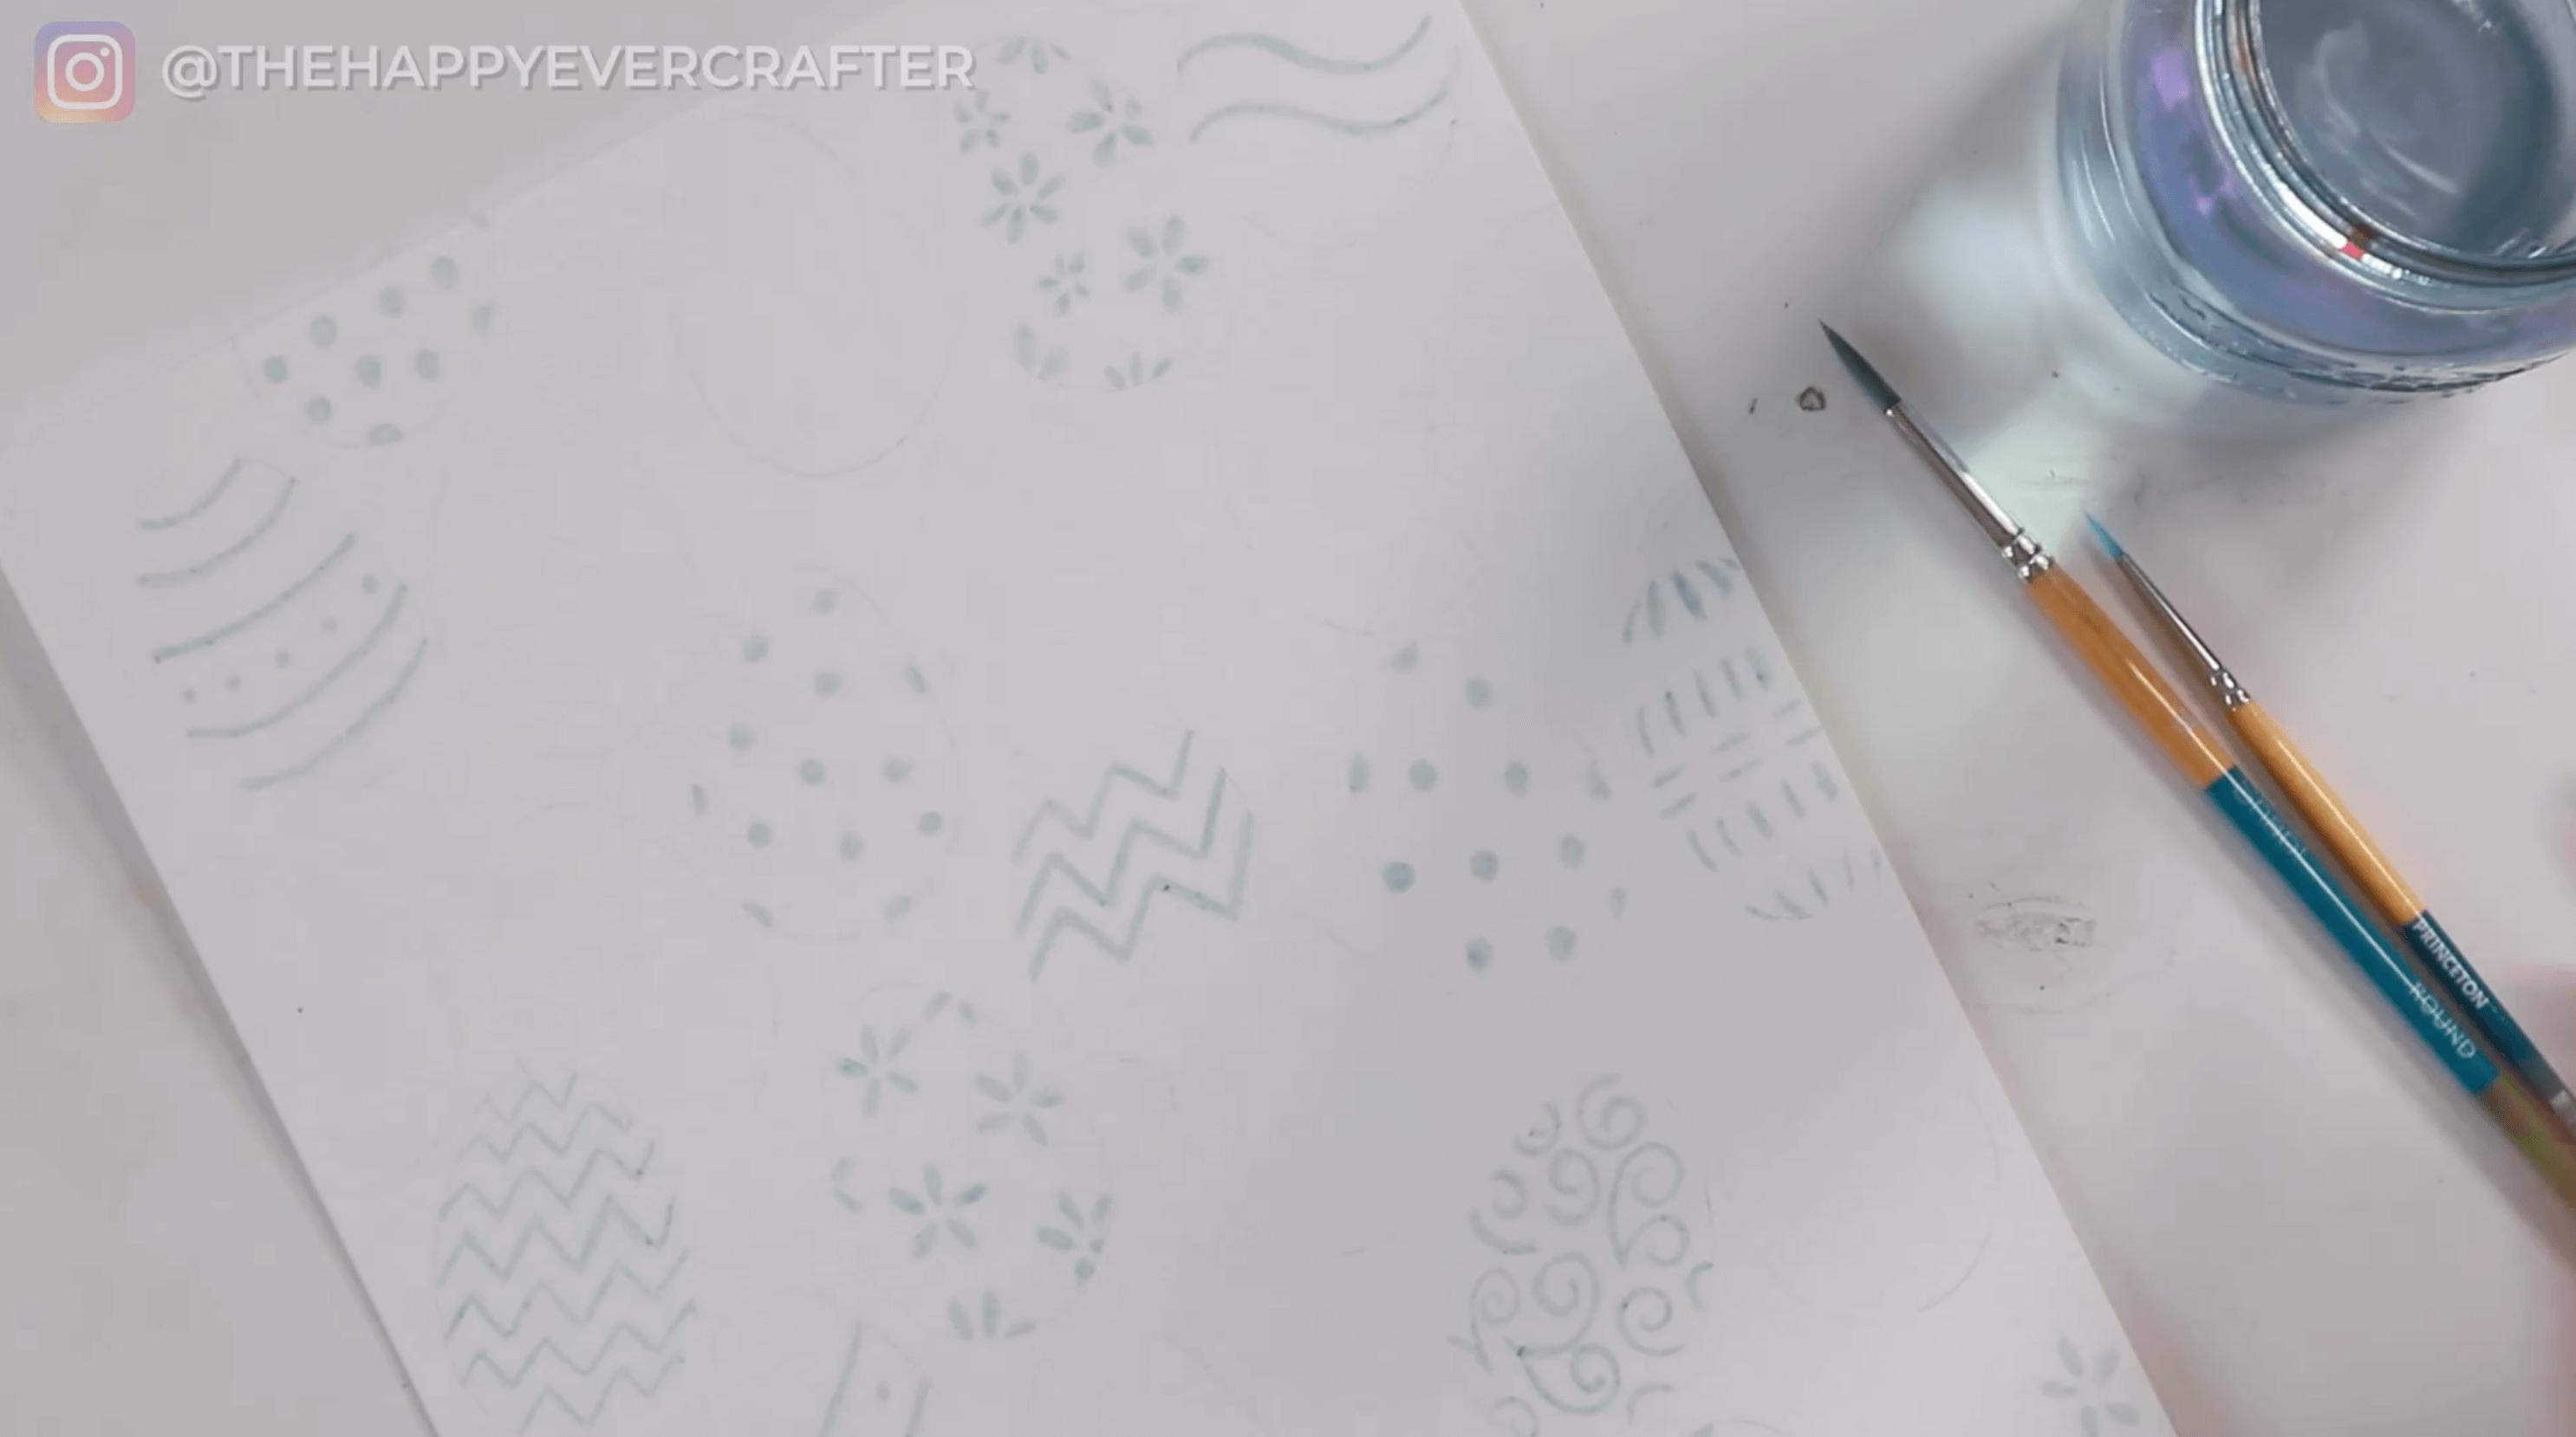
Do as many eggs as you want. I personally put masking fluid designs on every second or third egg (not every single one – it would take too long).
Note: Masking fluid is totally optional! You’re welcome to design all of your eggs with just paint (no masking fluid required).
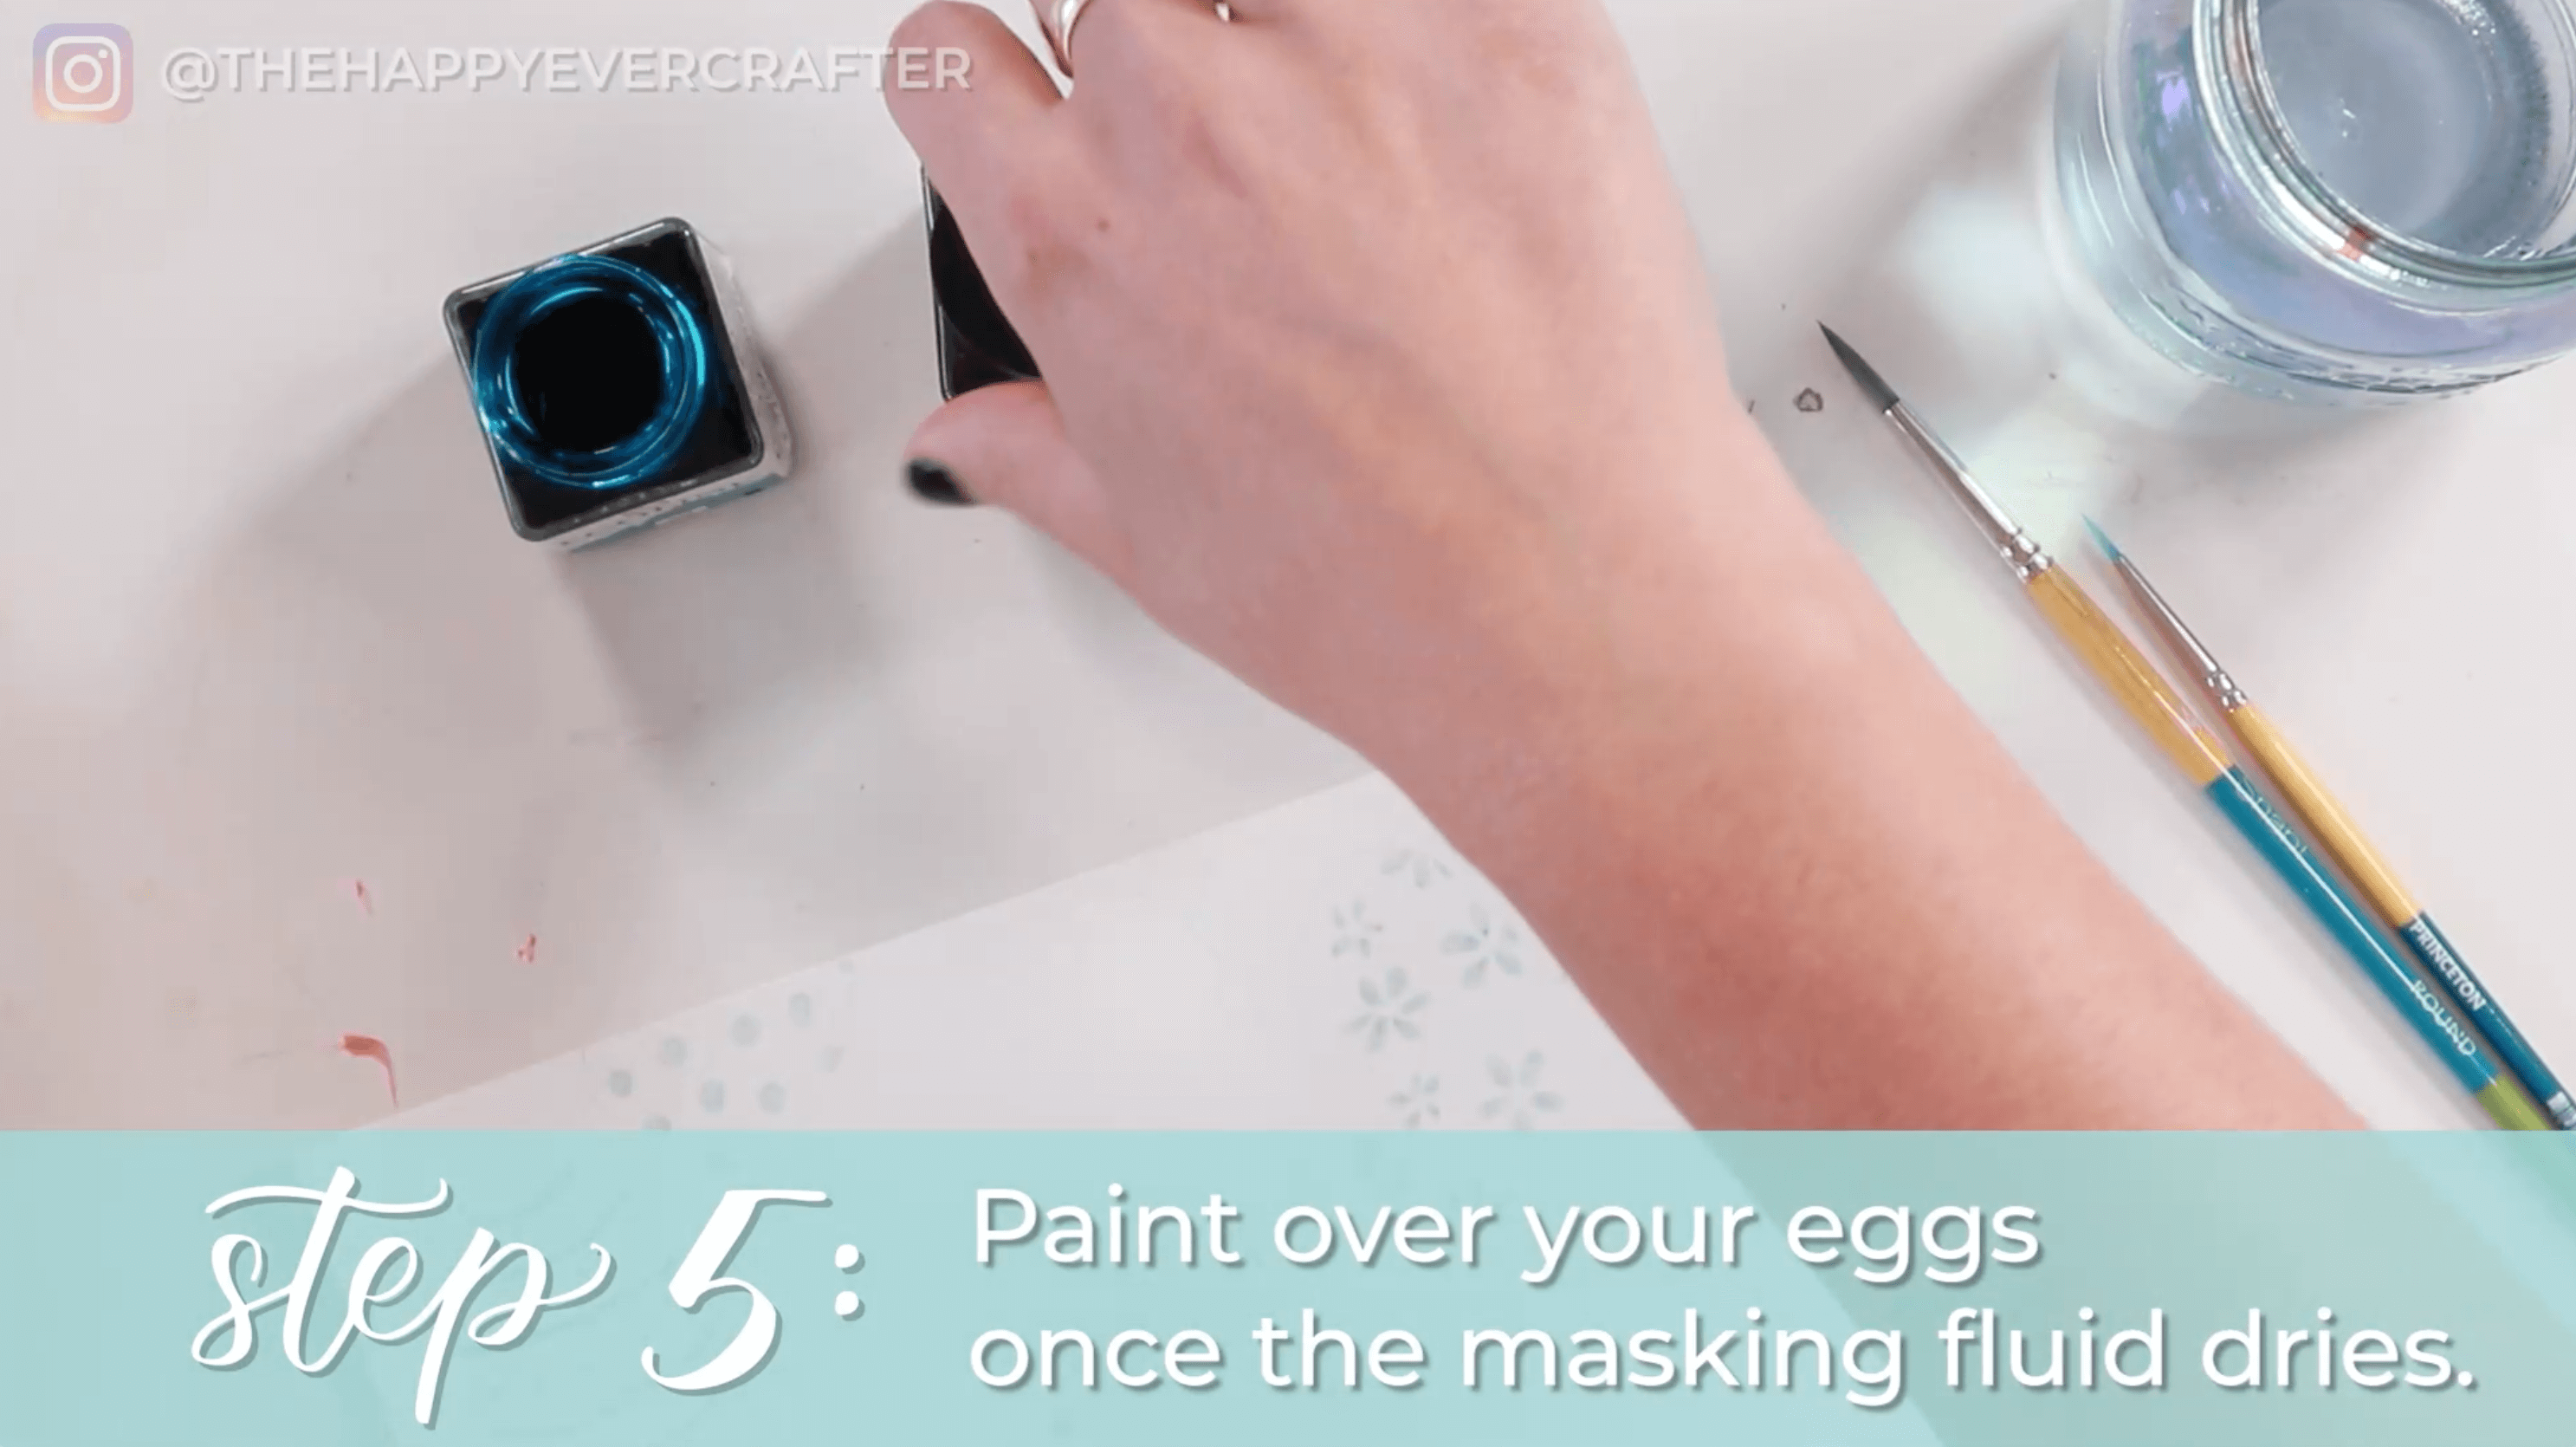
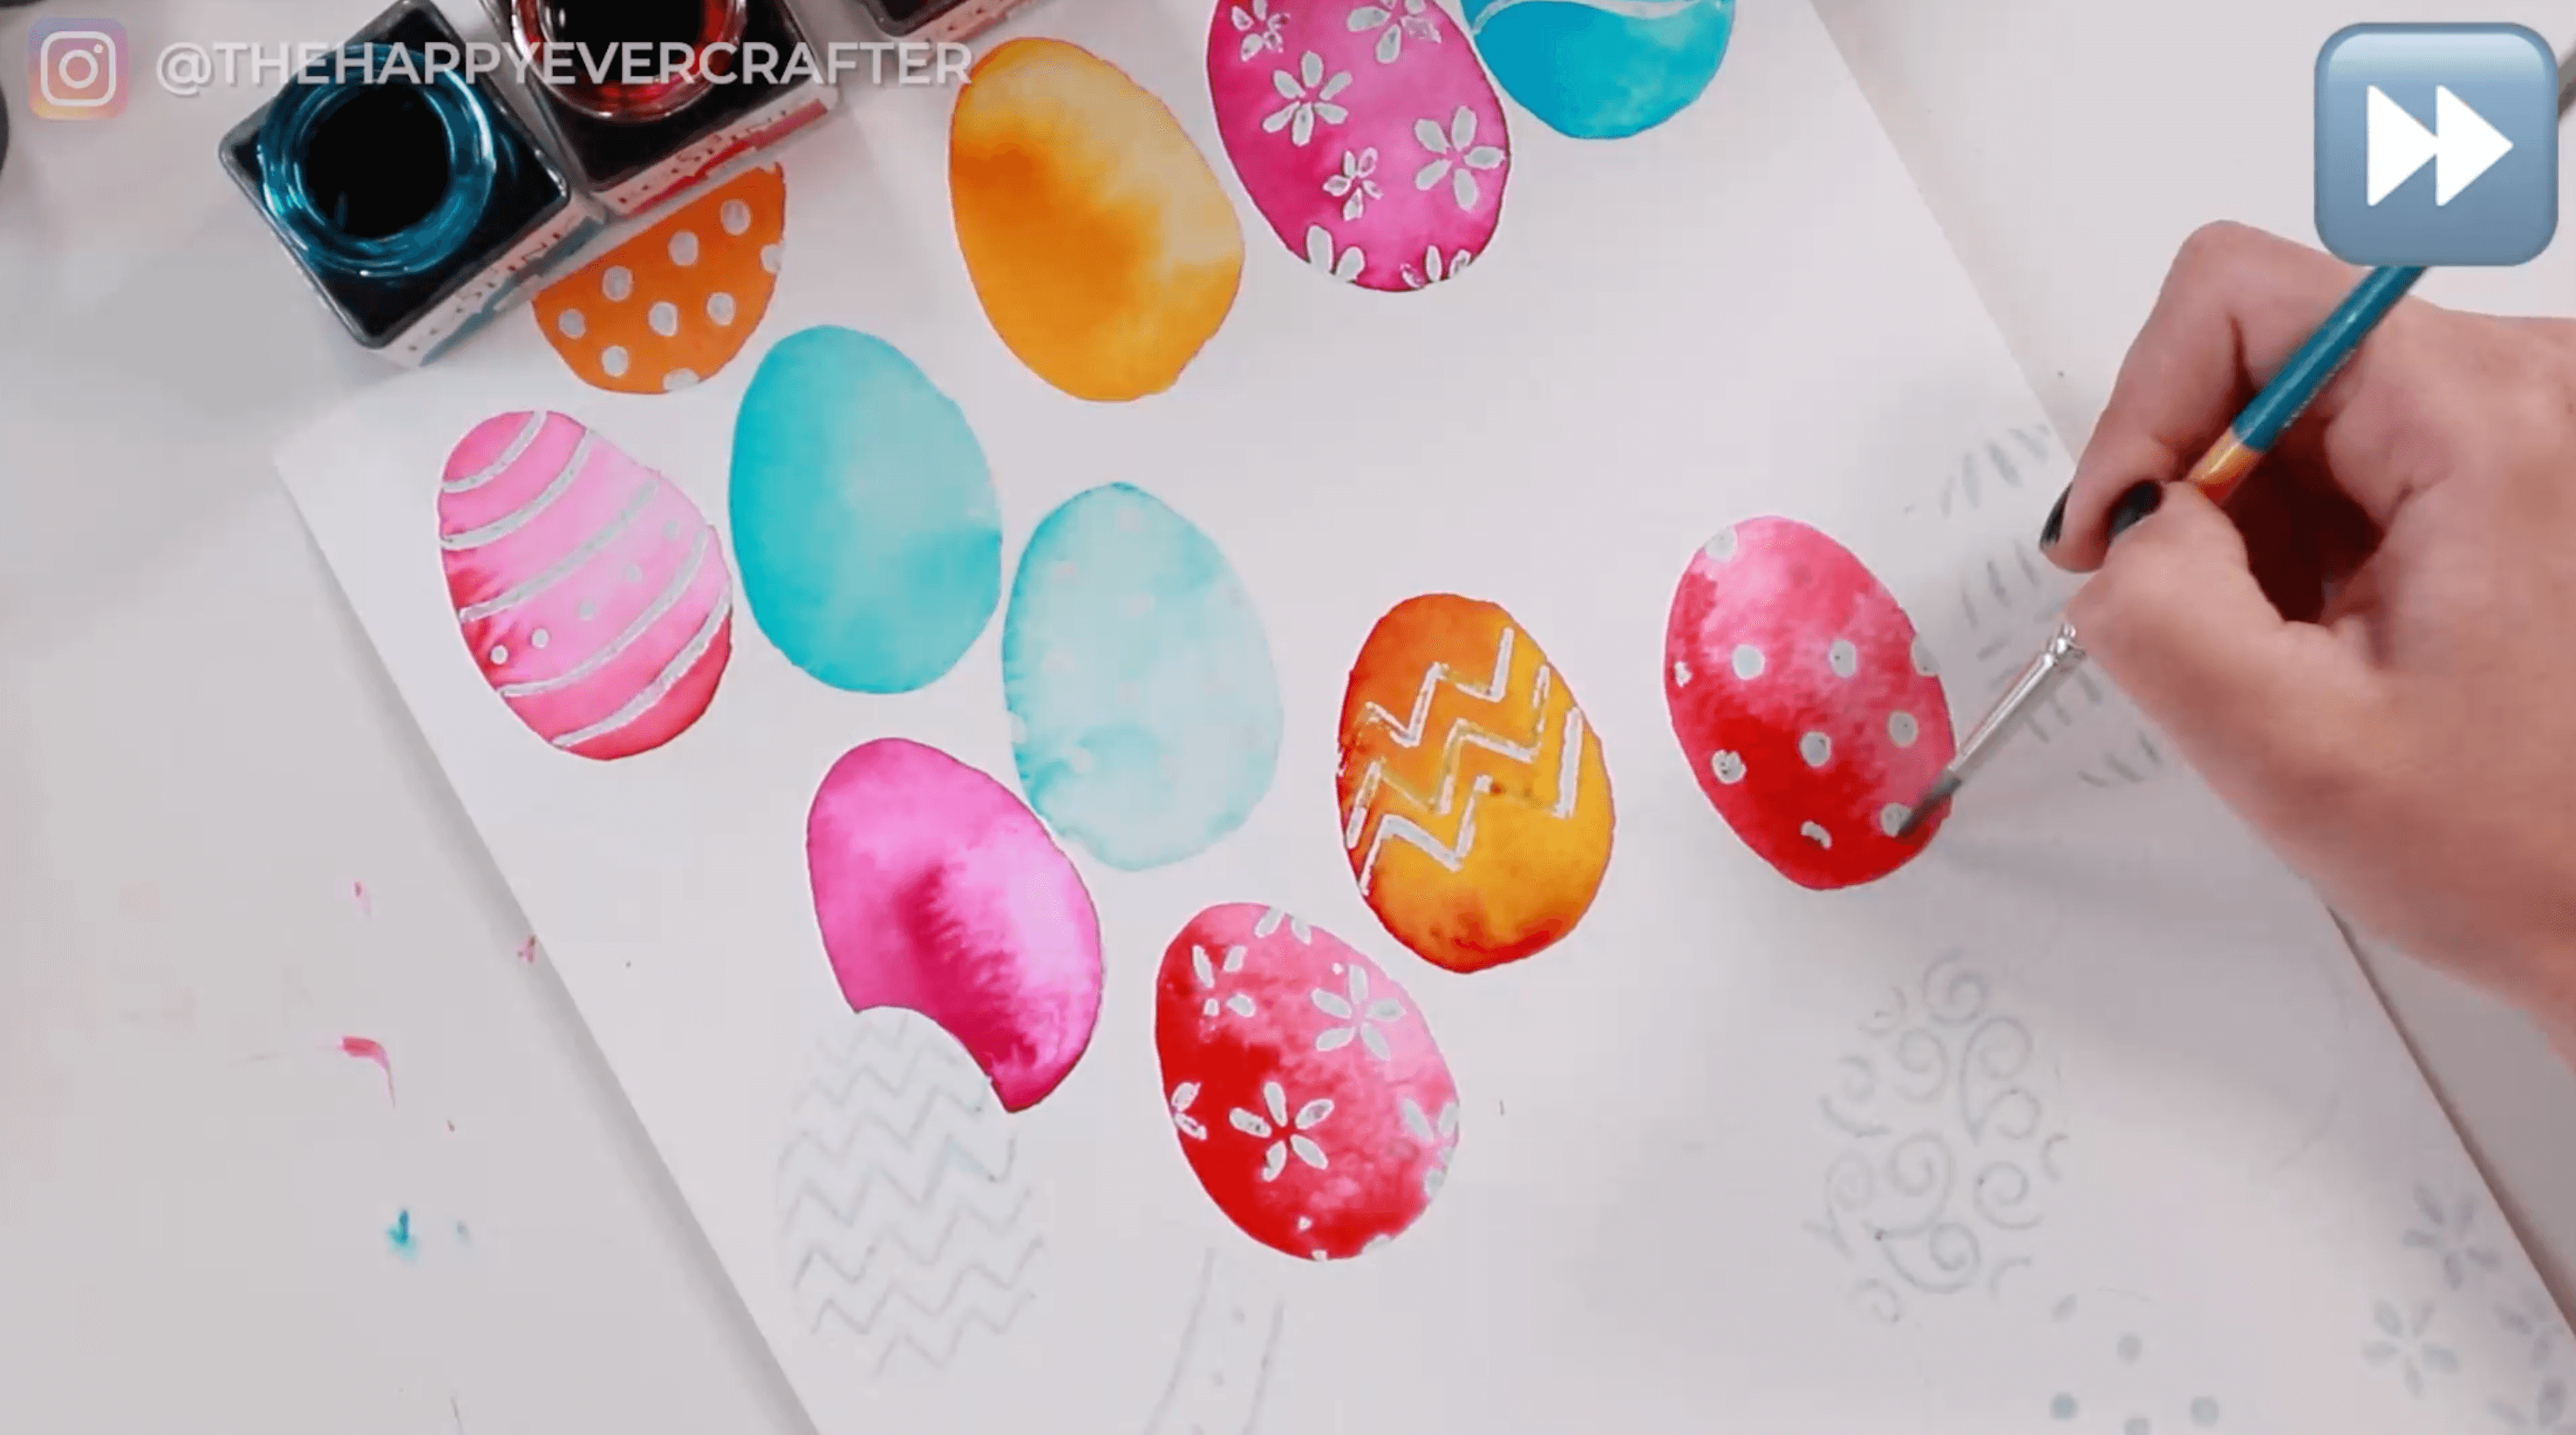
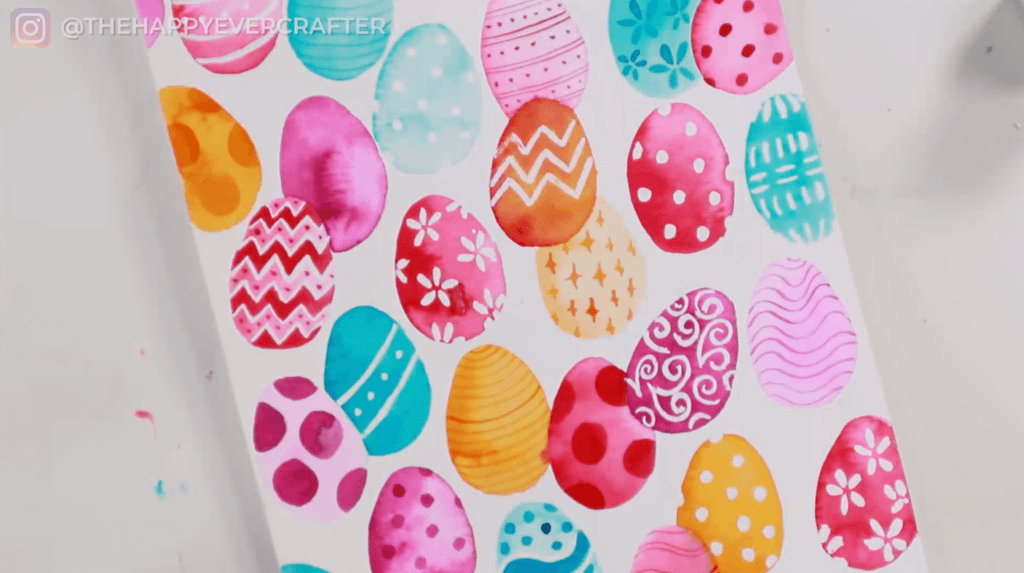
Step #5: Paint over your eggs once the masking fluid dries
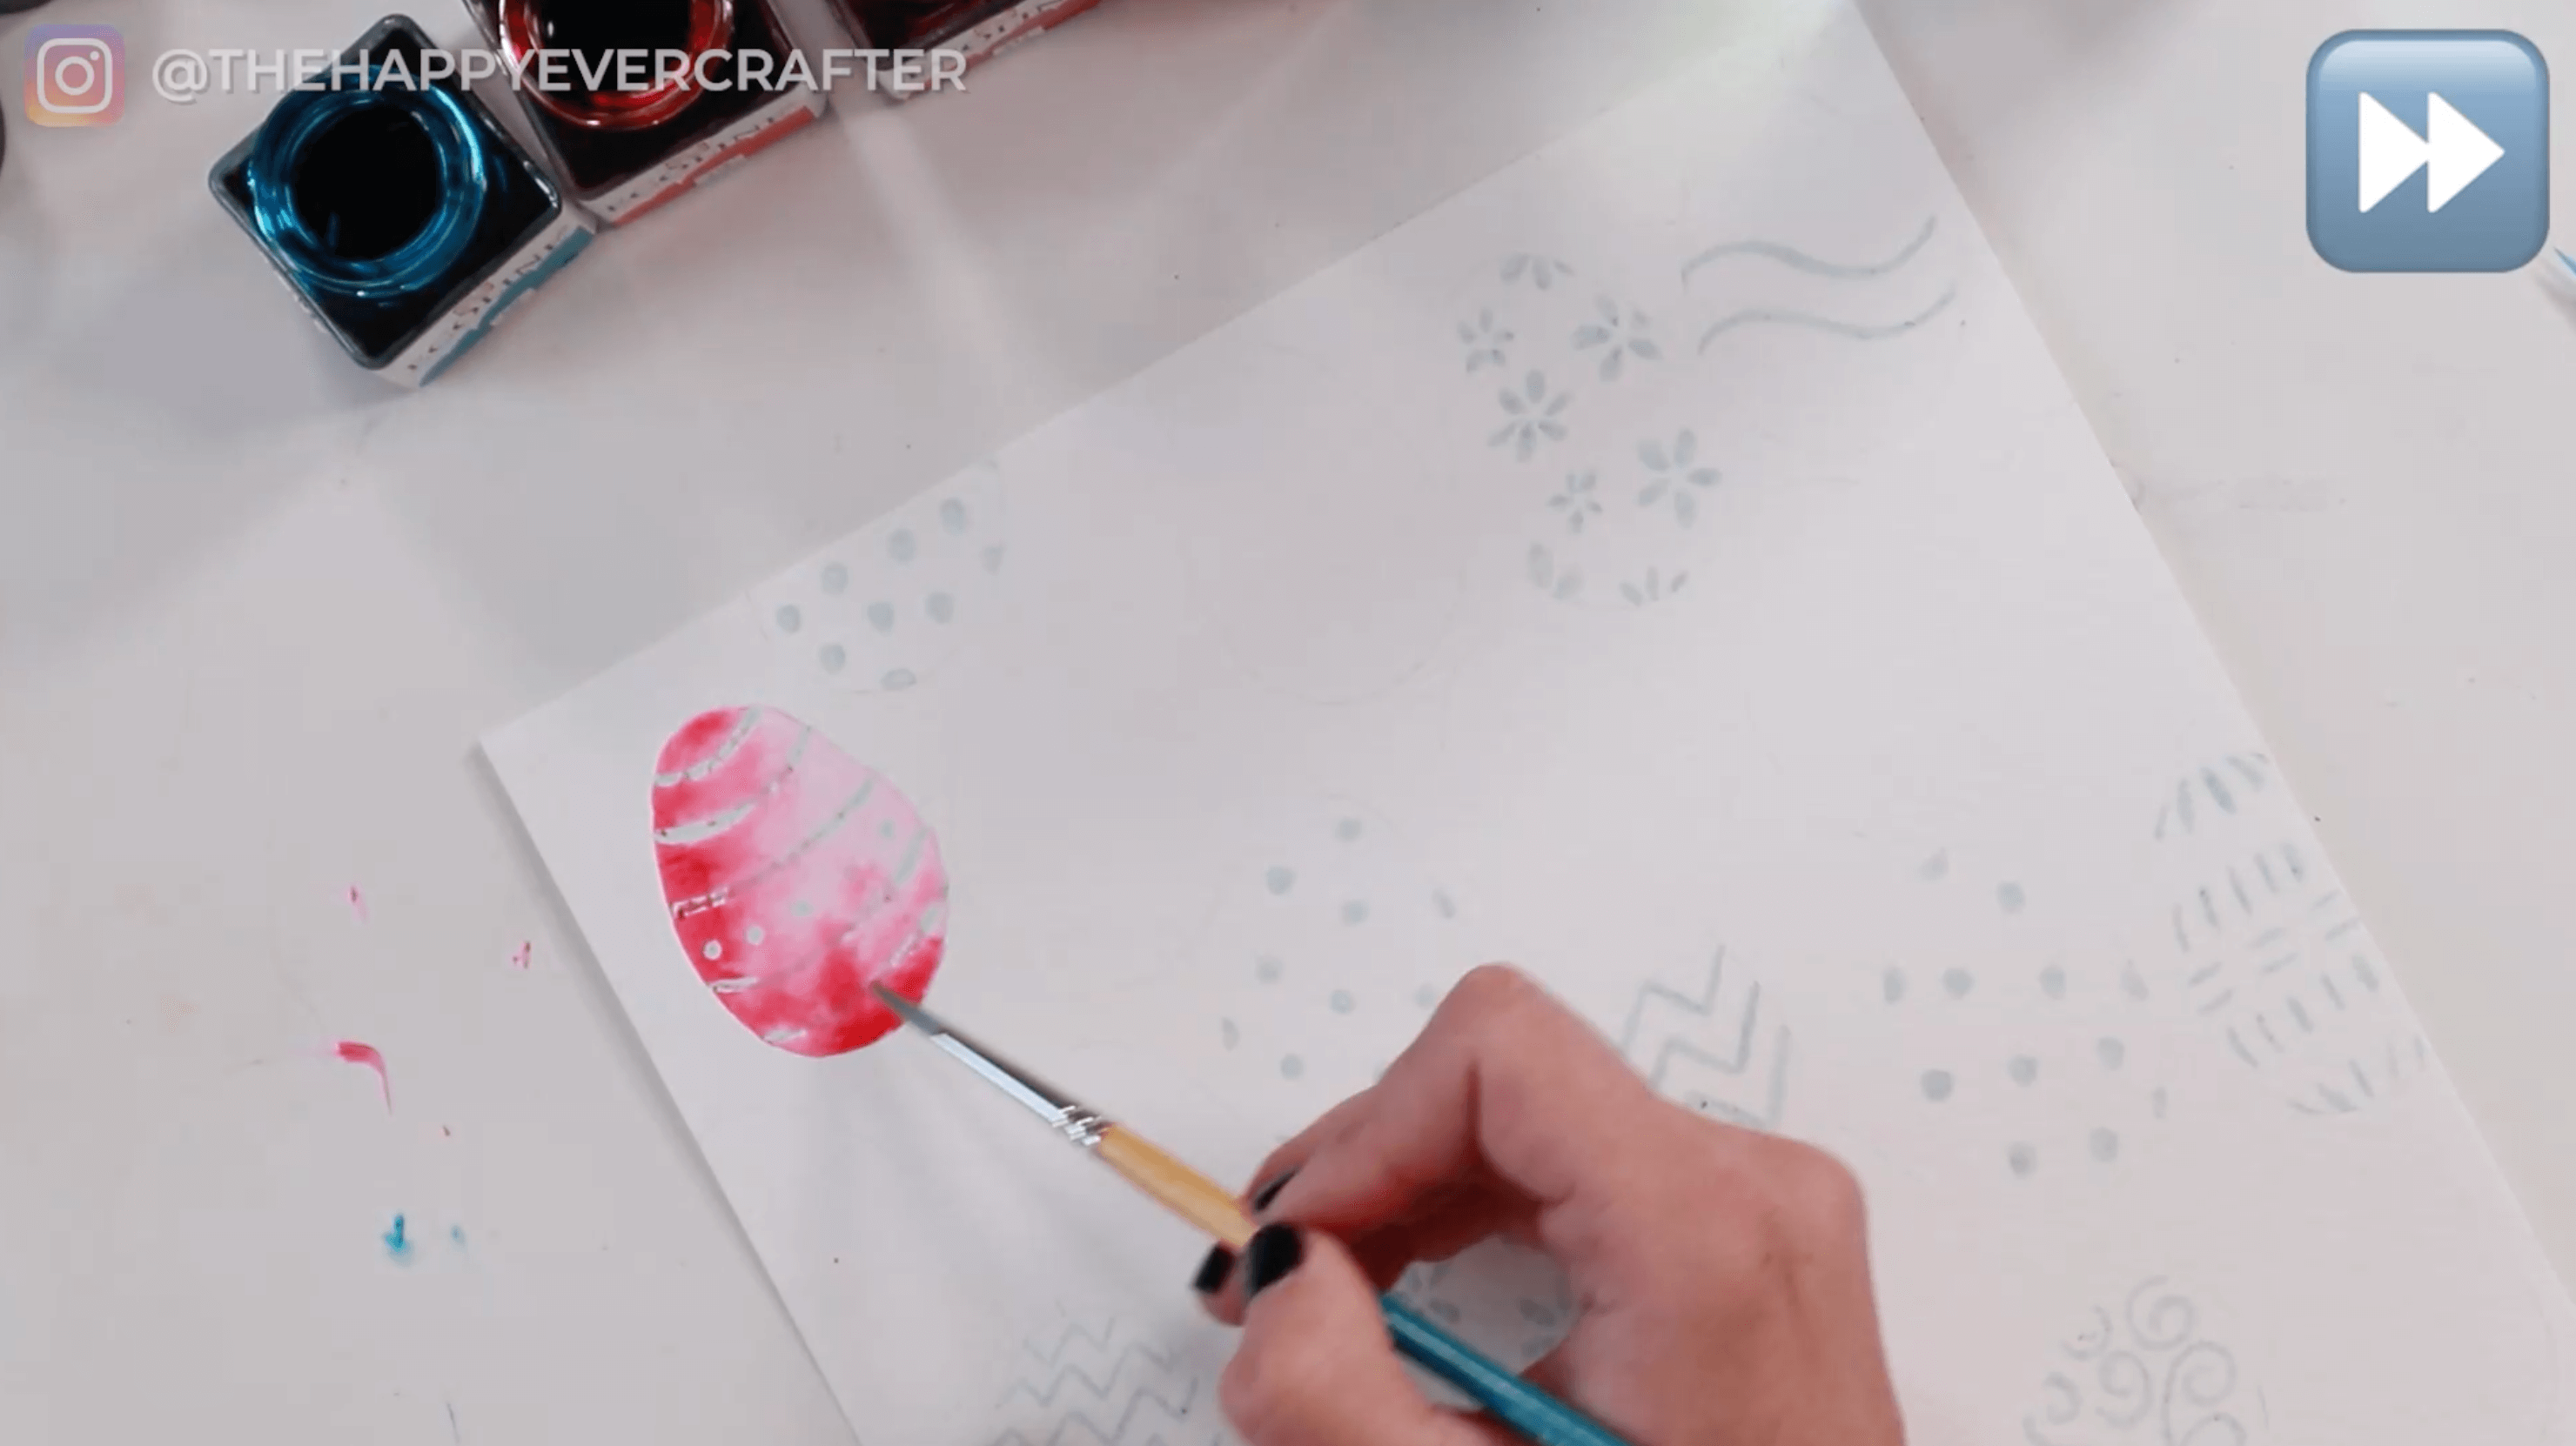
Time to paint! Grab your brushes, paint, and water. Again, feel free to use whatever paint you have (liquid, tubes, pans, etc.) and whatever colours you prefer. Make sure your masking fluid is completely dry before painting!
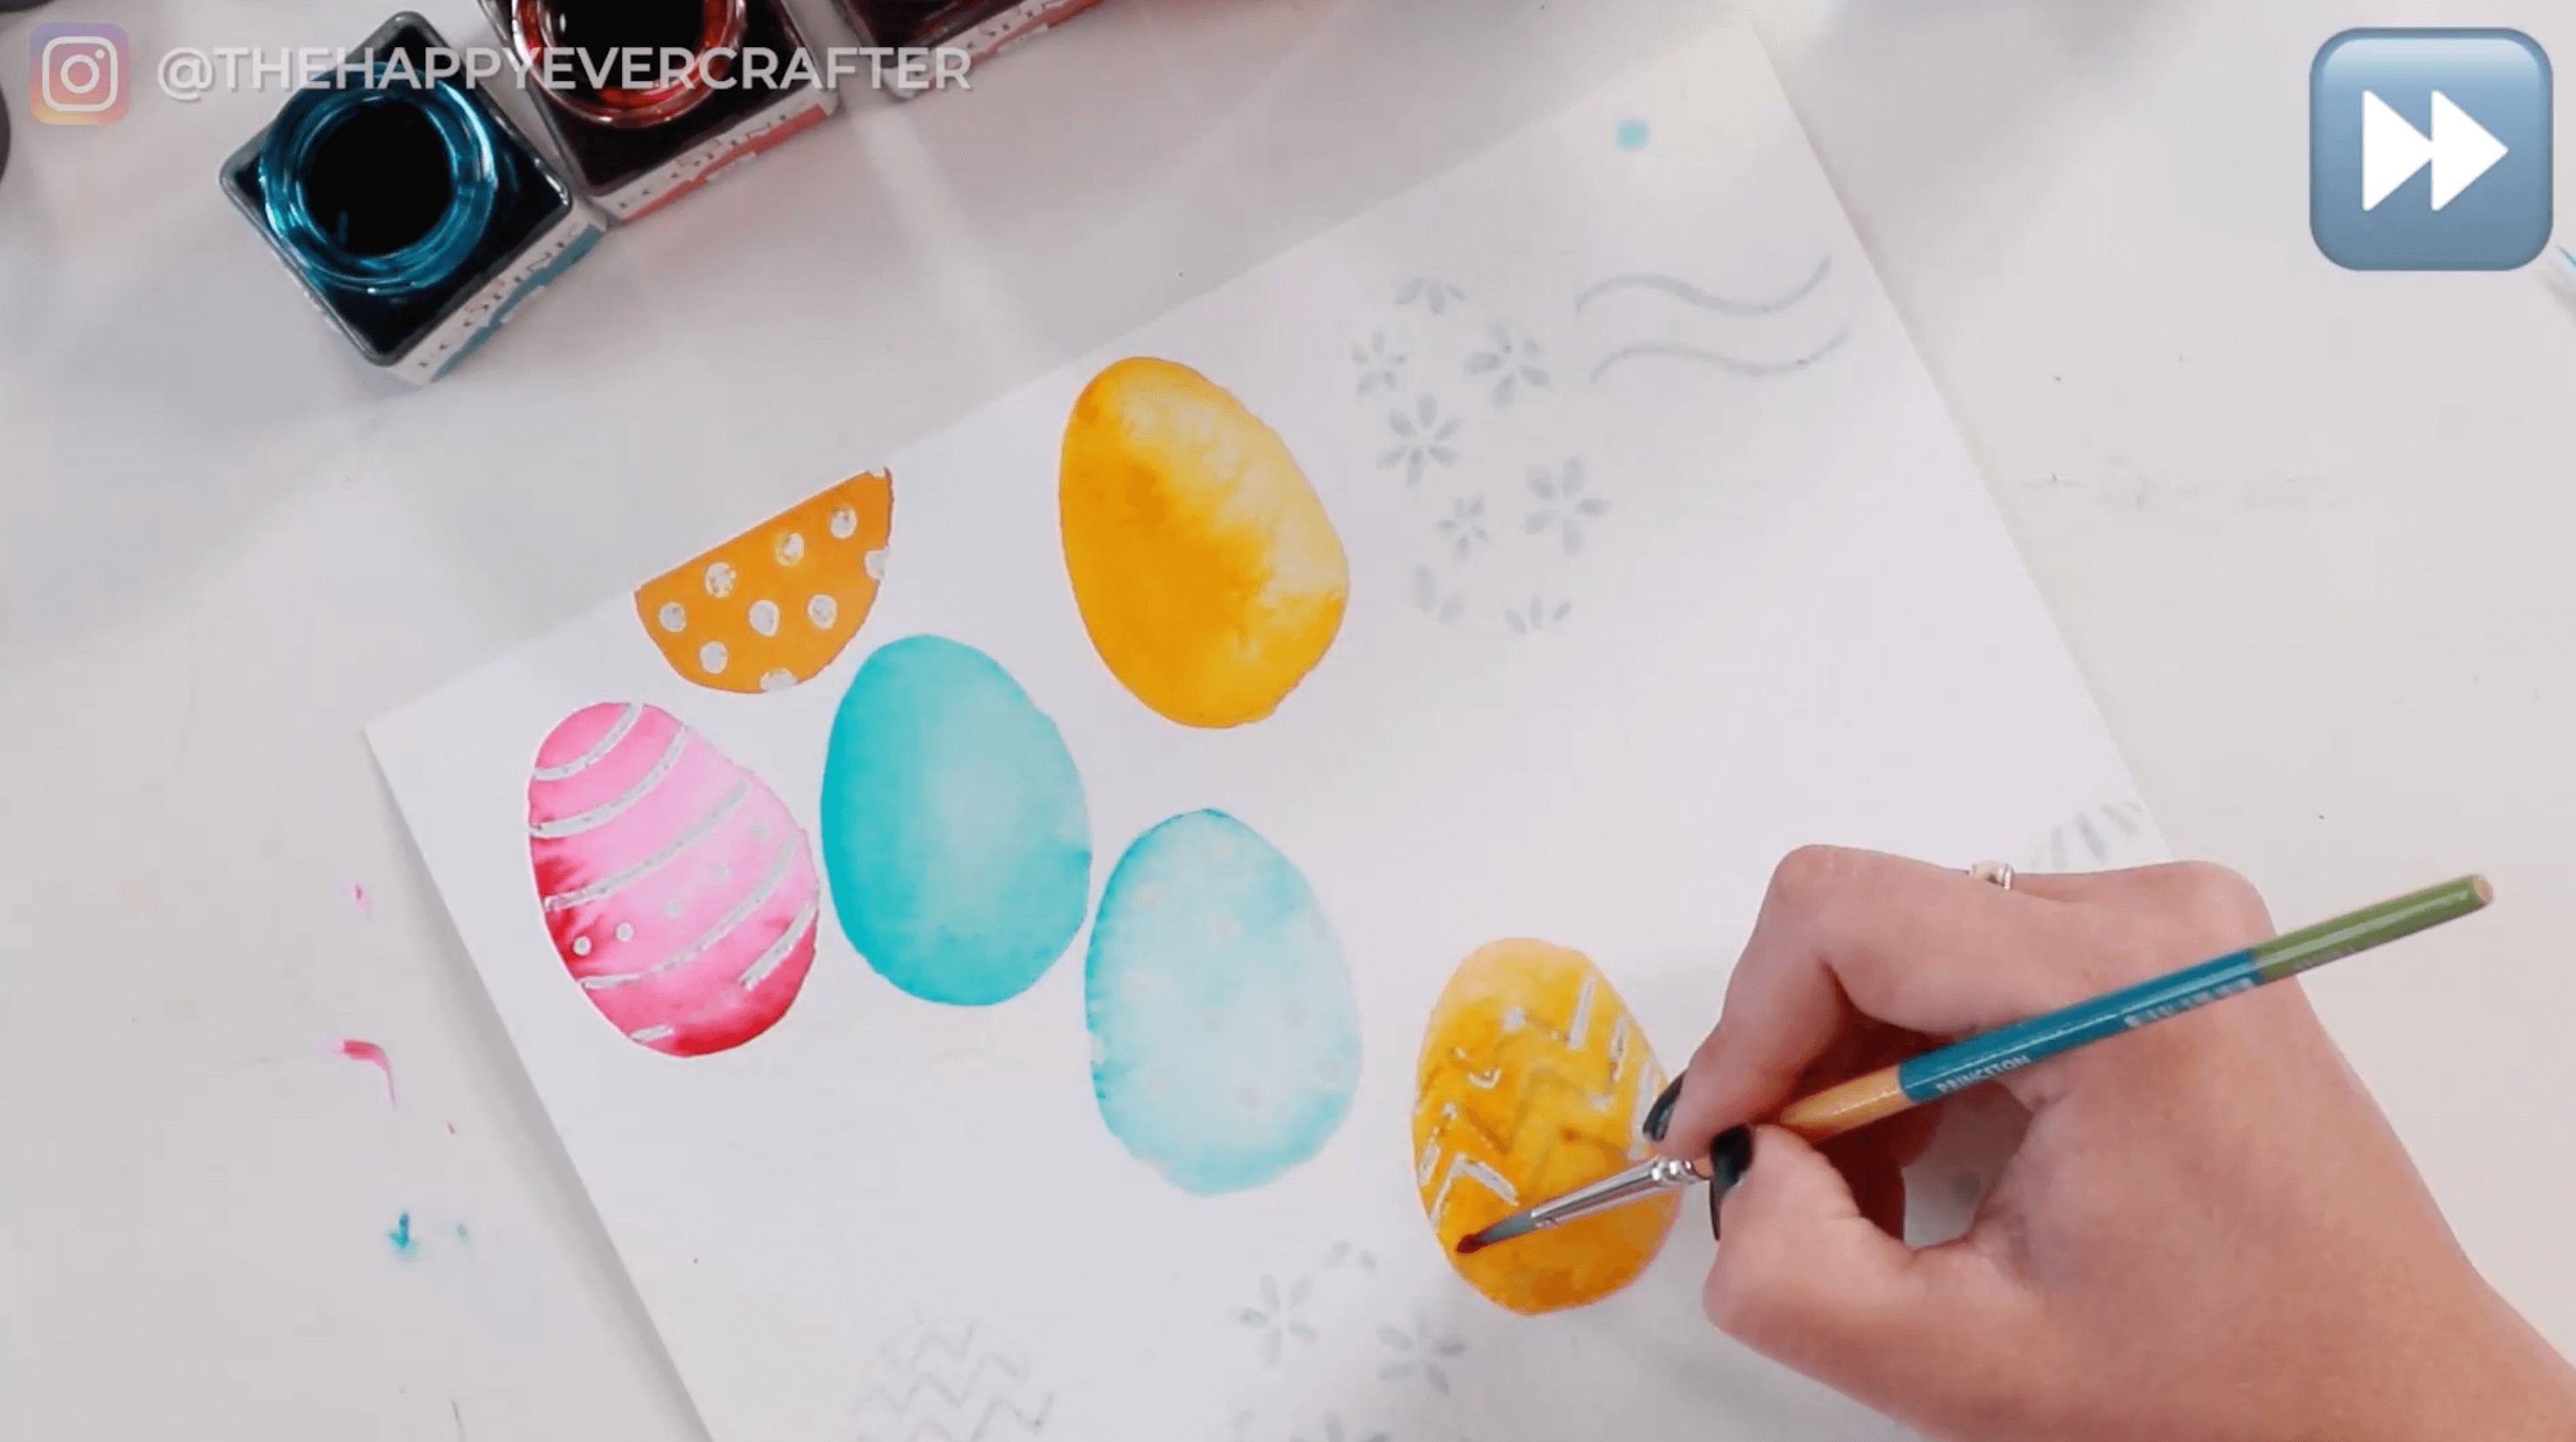
Start filling in your eggs. Work your way through, alternating colours, until every eggs is filled in.

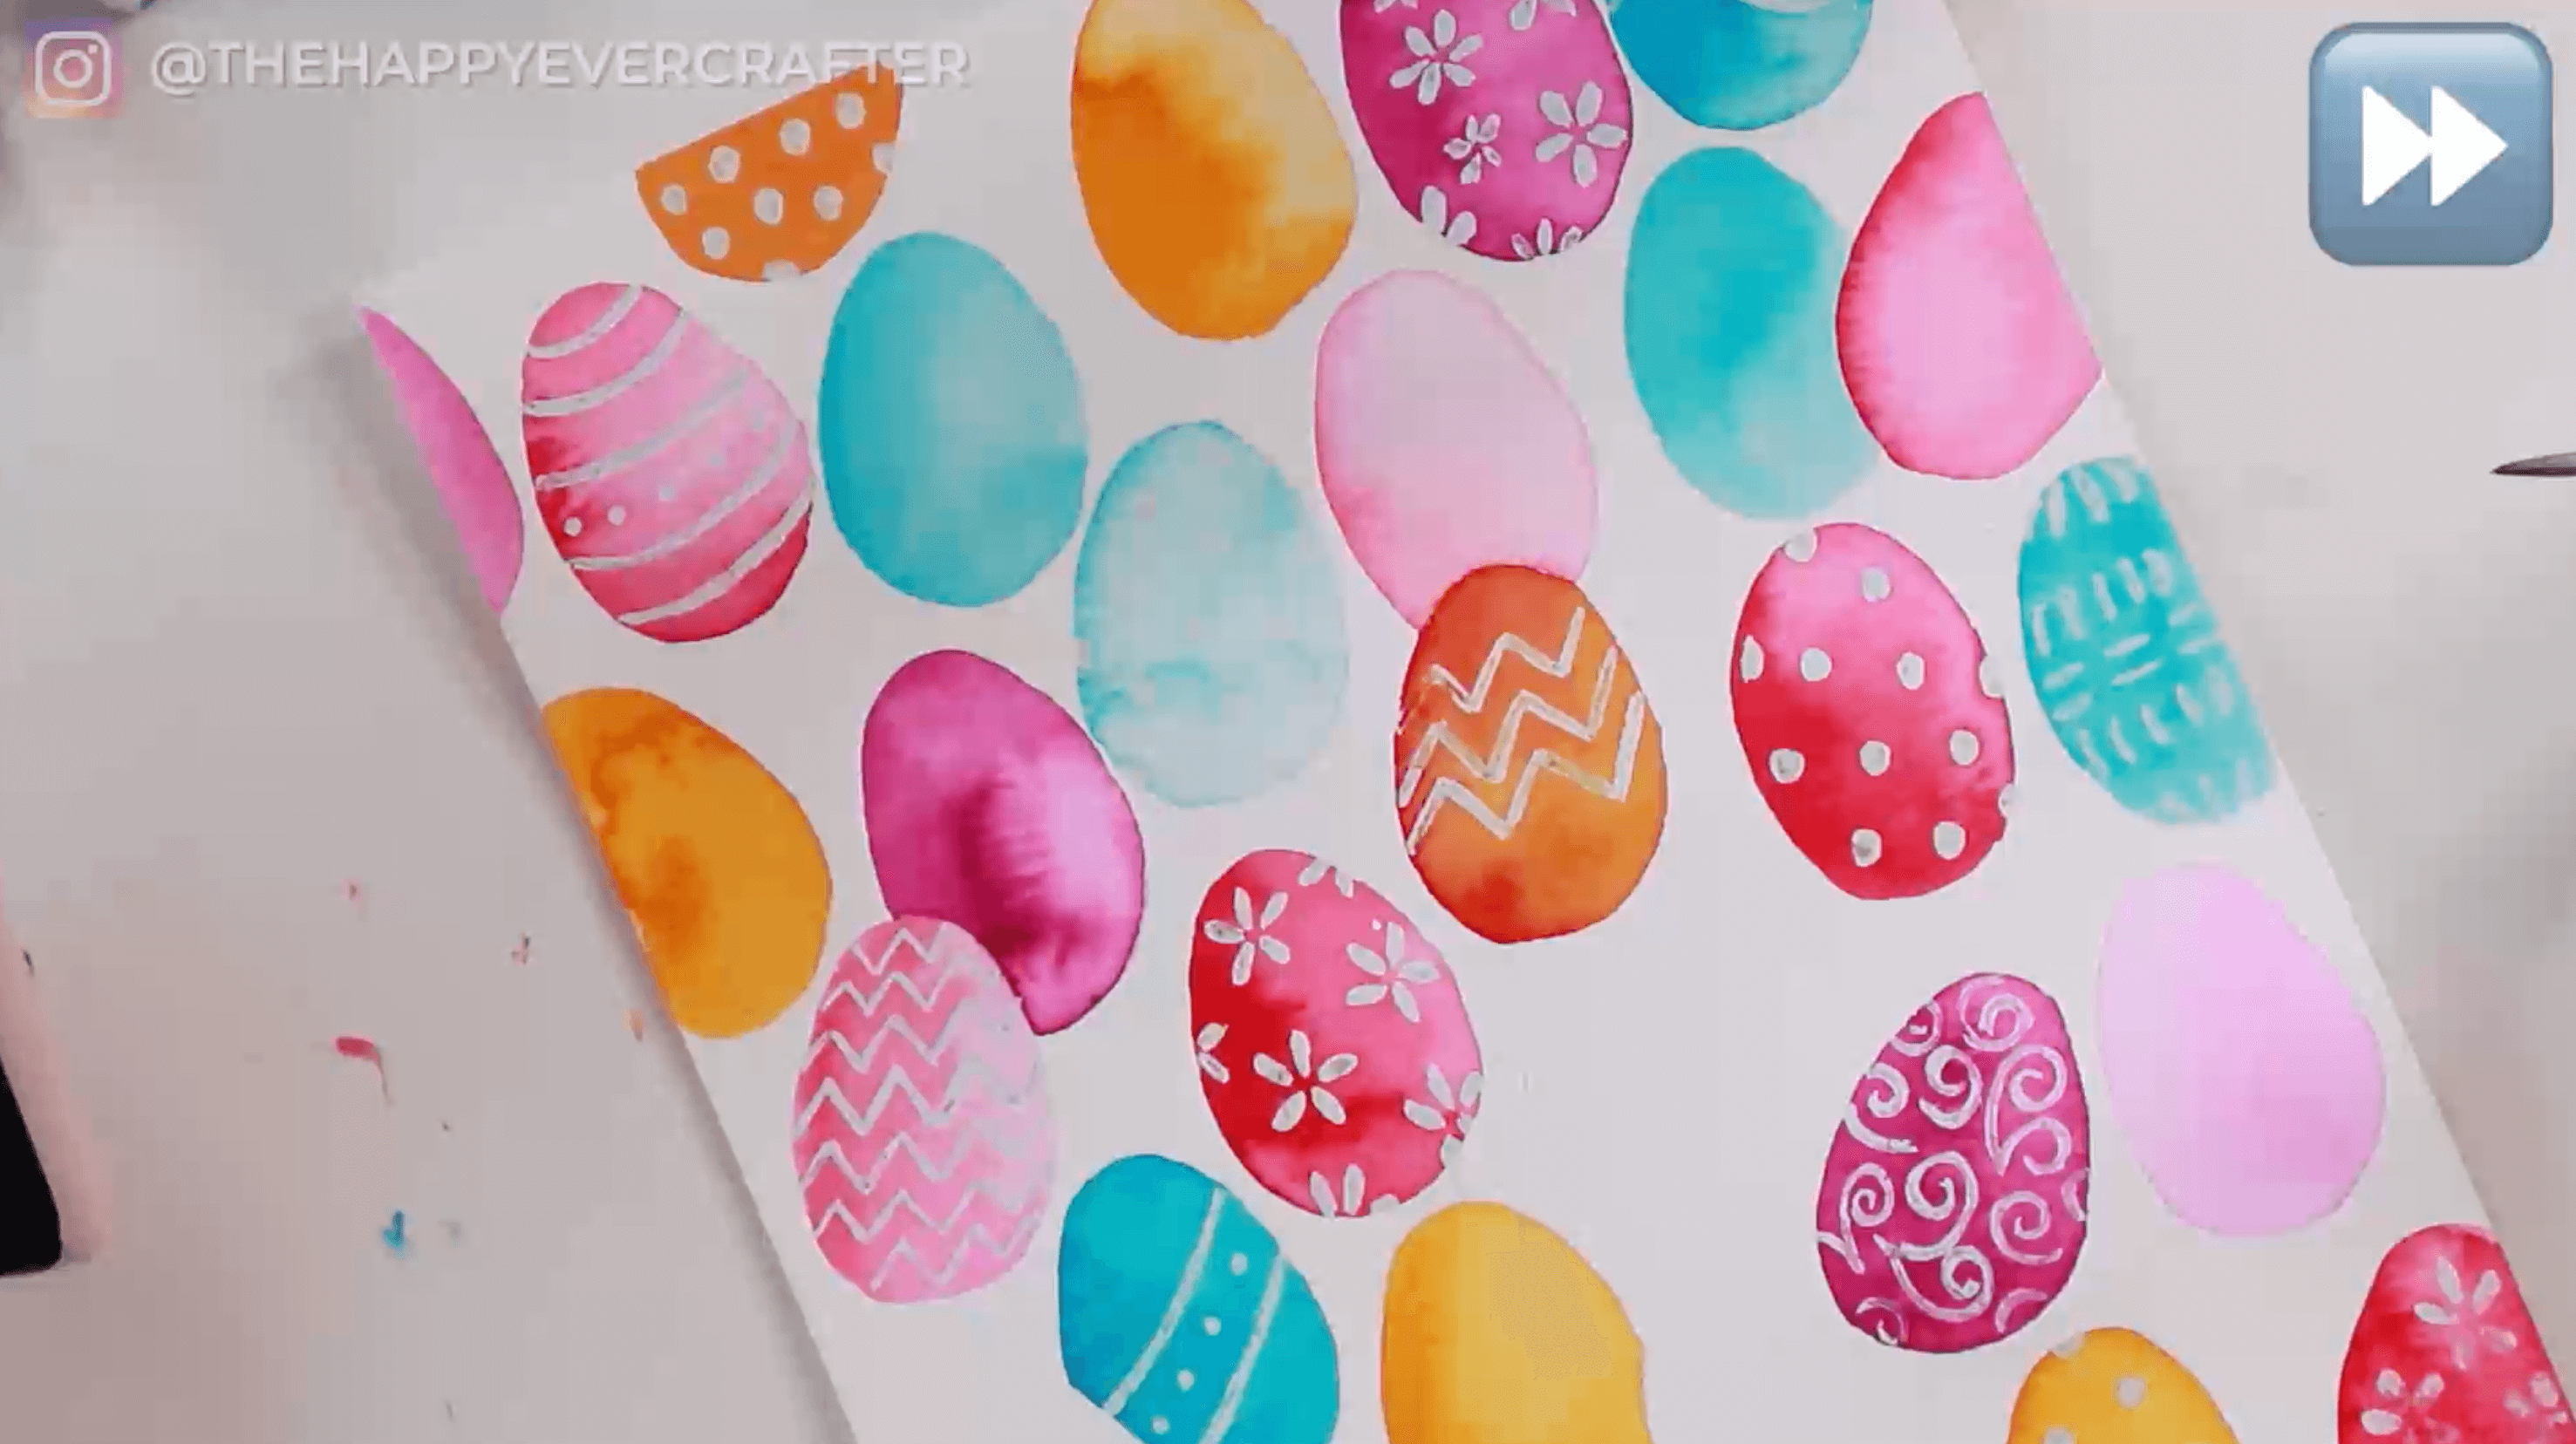
Step #6: Remove the masking fluid once your paint is dry
Once your paint is completely dry, you can remove the masking fluid. I used a rubber pickup tool, but you can use your finger or an eraser. You need to rub the masking fluid to remove it. Once it’s removed, you’ll see the white paper underneath! So satisfying.

Go through your full page until all the masking fluid is fully removed.
Step #7: Add in some fun details
Now it’s time to add the final details! Grab your smaller sized brush and your same paint colours, and start adding details to the plain eggs (the ones without masking fluid designs).
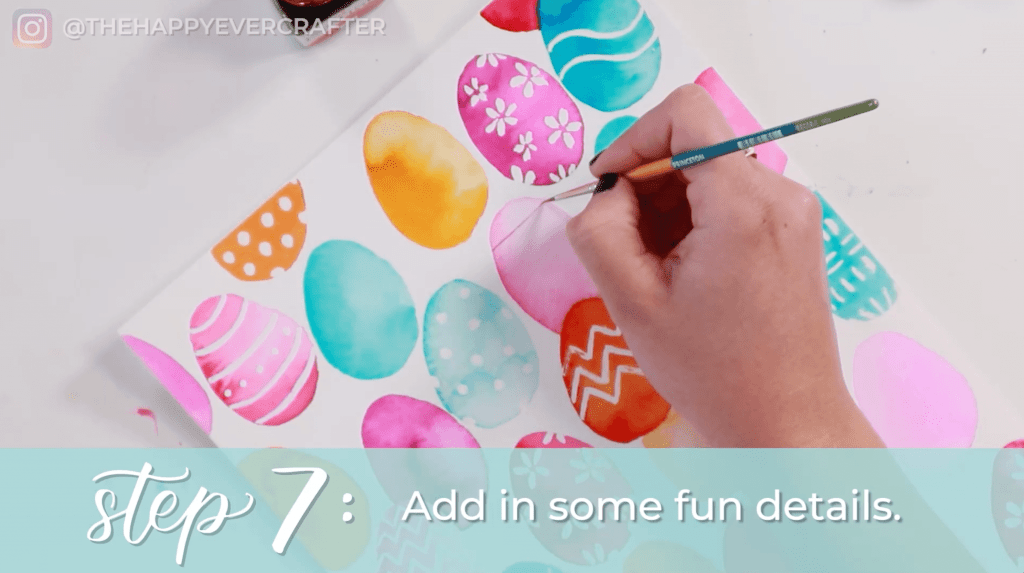
You can do really similar designs that you did with your masking fluid except you’re using paint this time. It will give you the opposite effect (white paper vs darker paint).

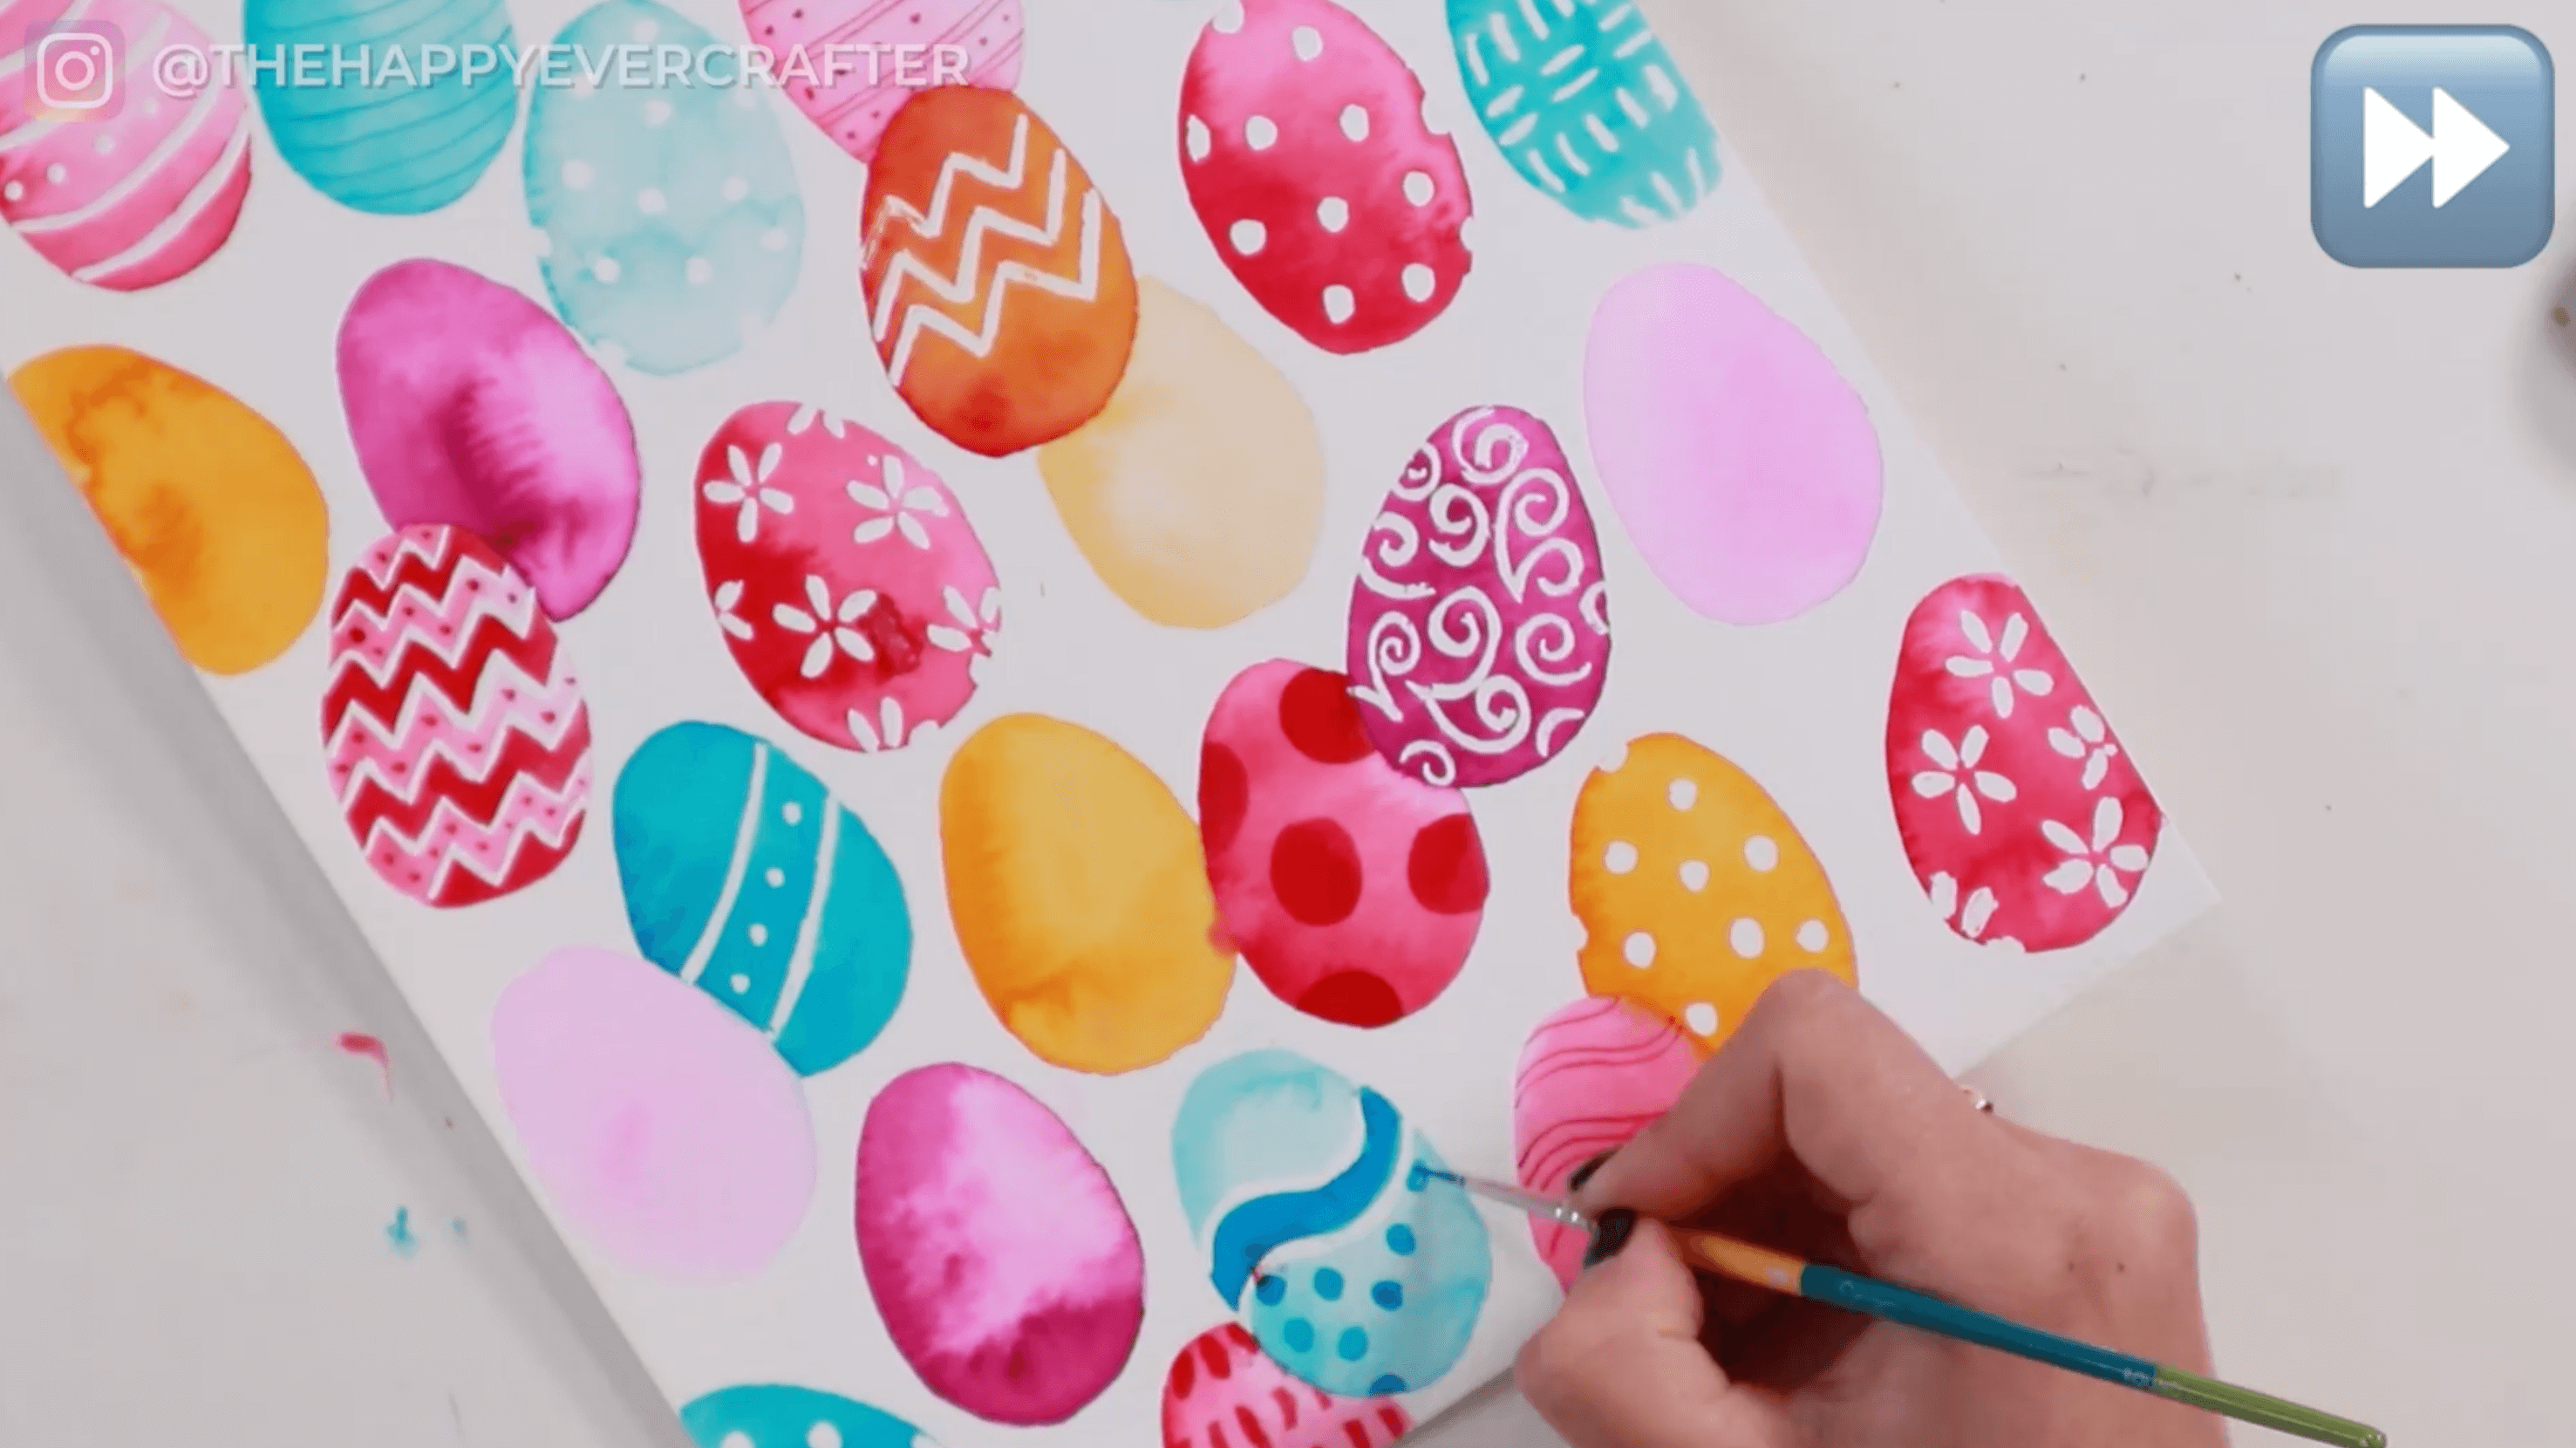
Keep working through the page until you’re satisfied with the final look.
Note: If you had any masking fluid that didn’t hold great, you can touch up any spots with a white gel pen!
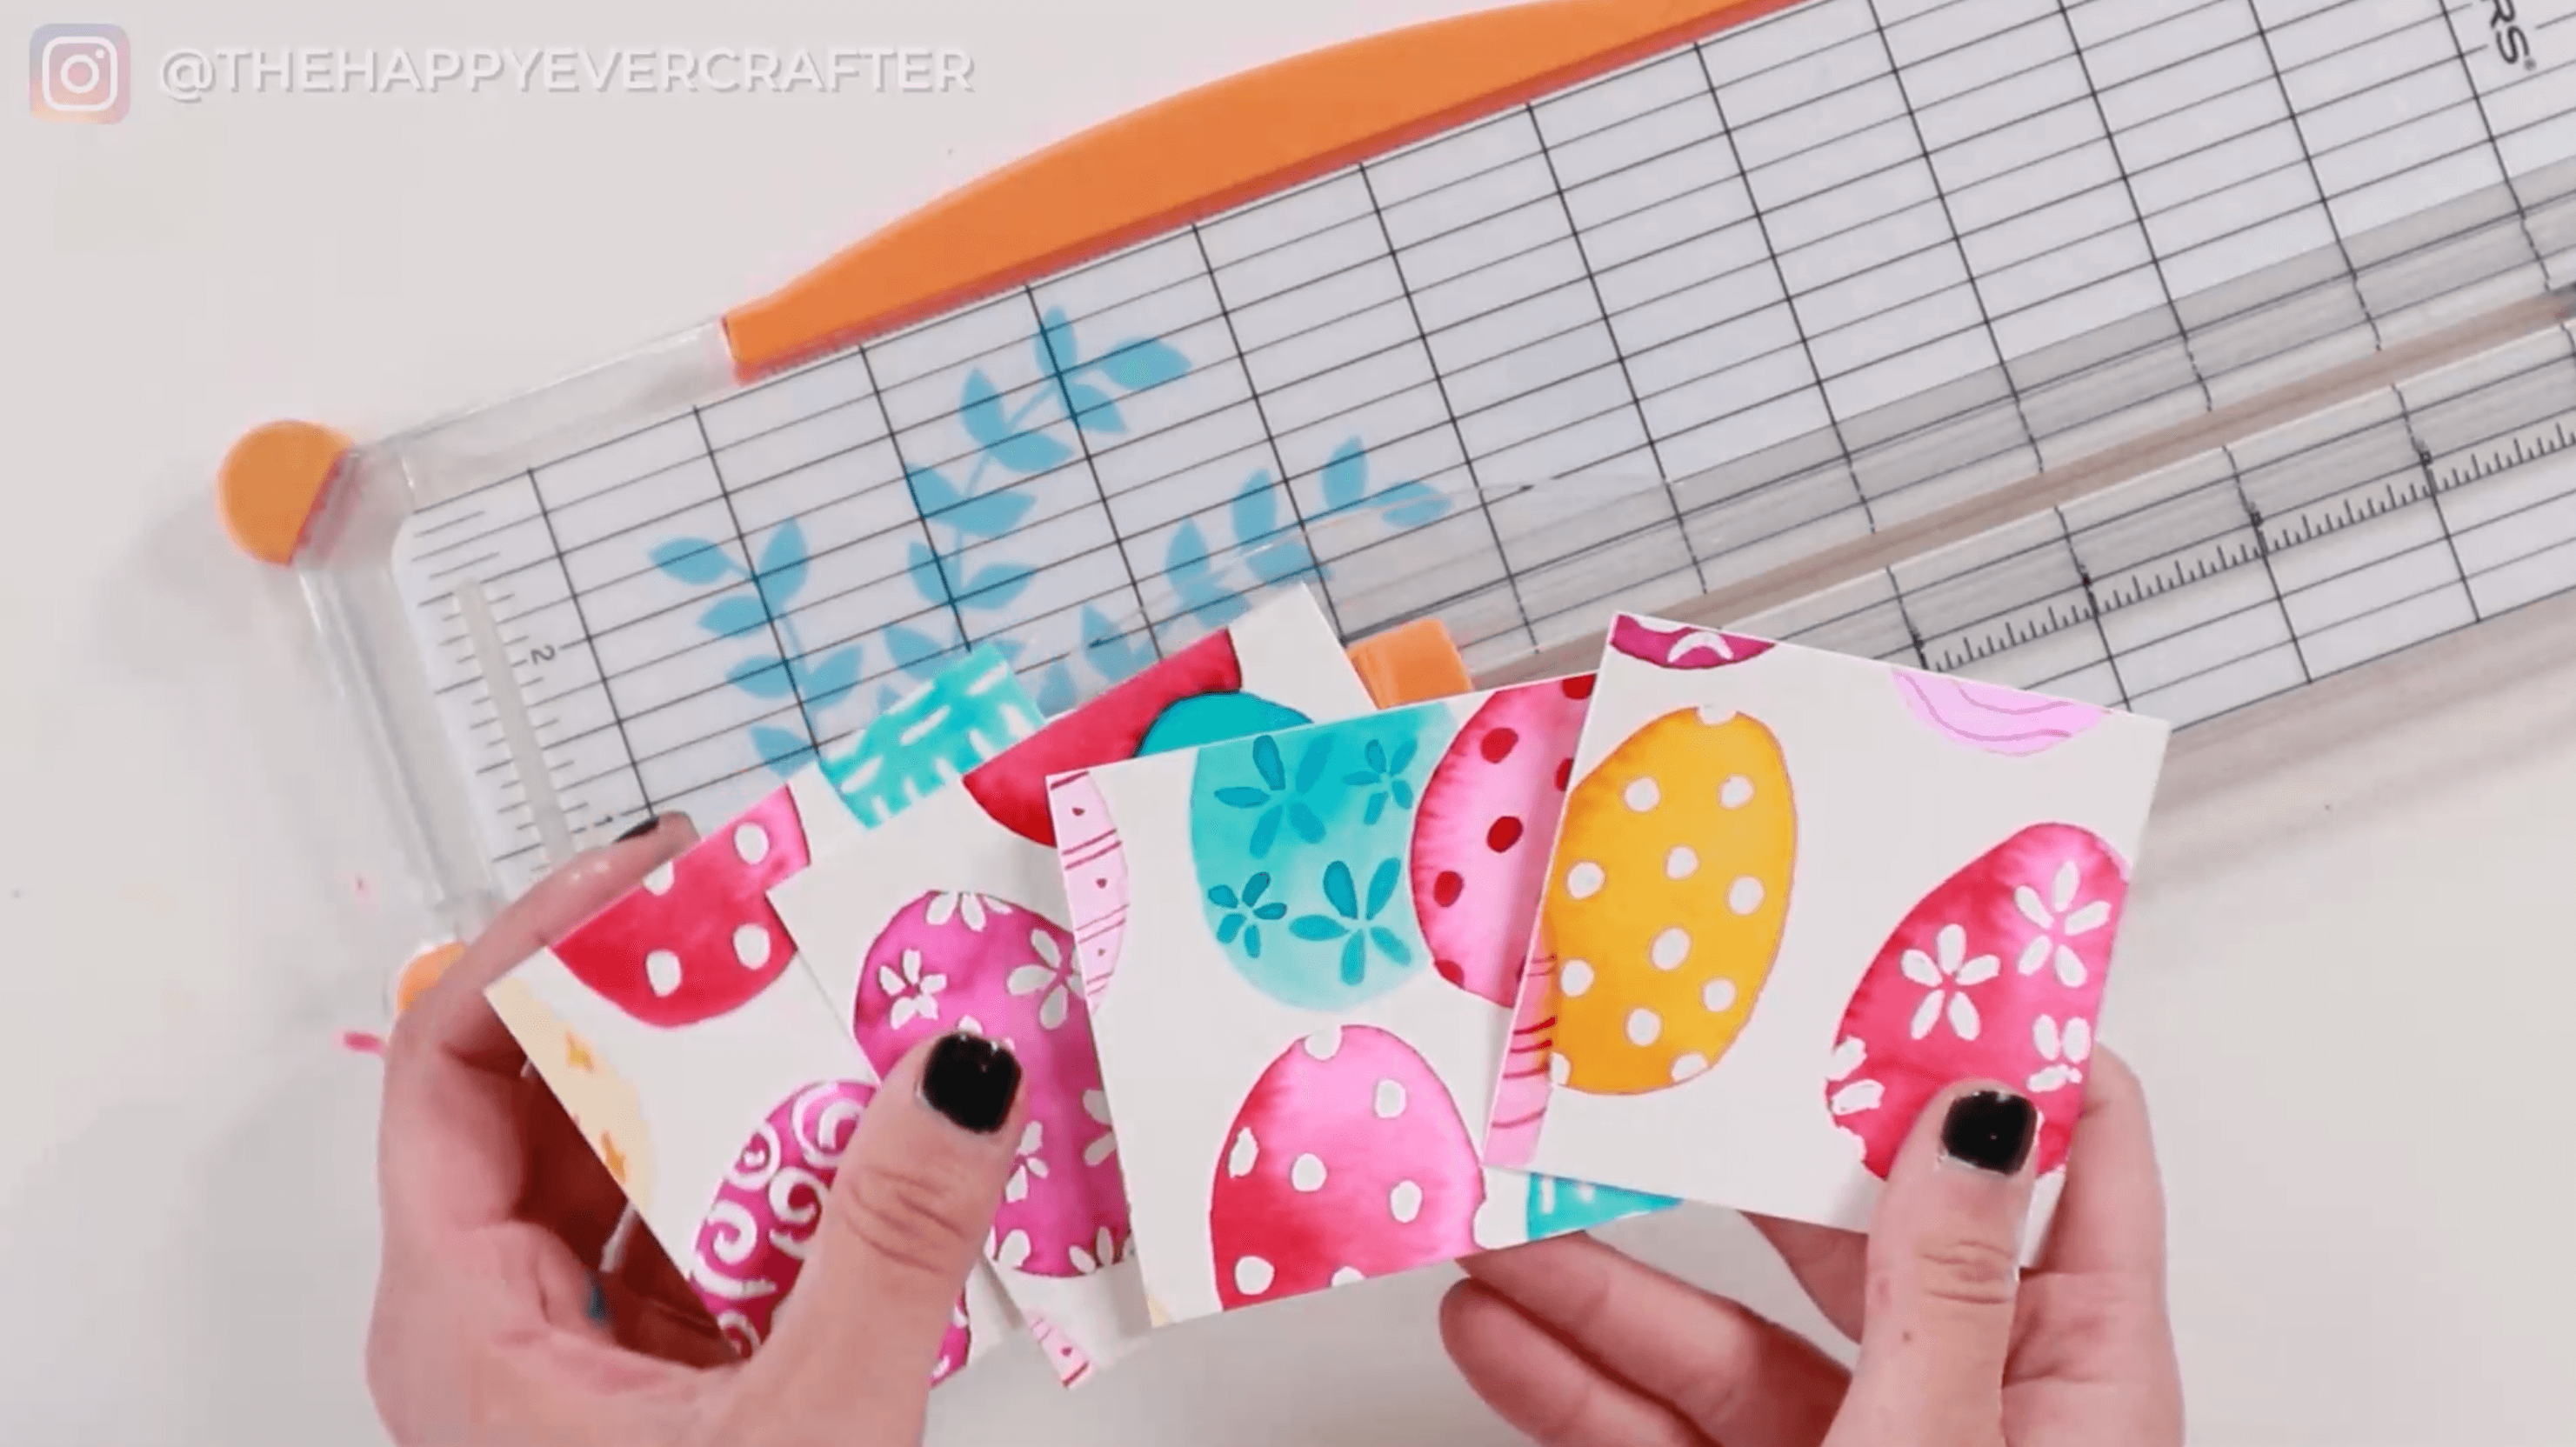
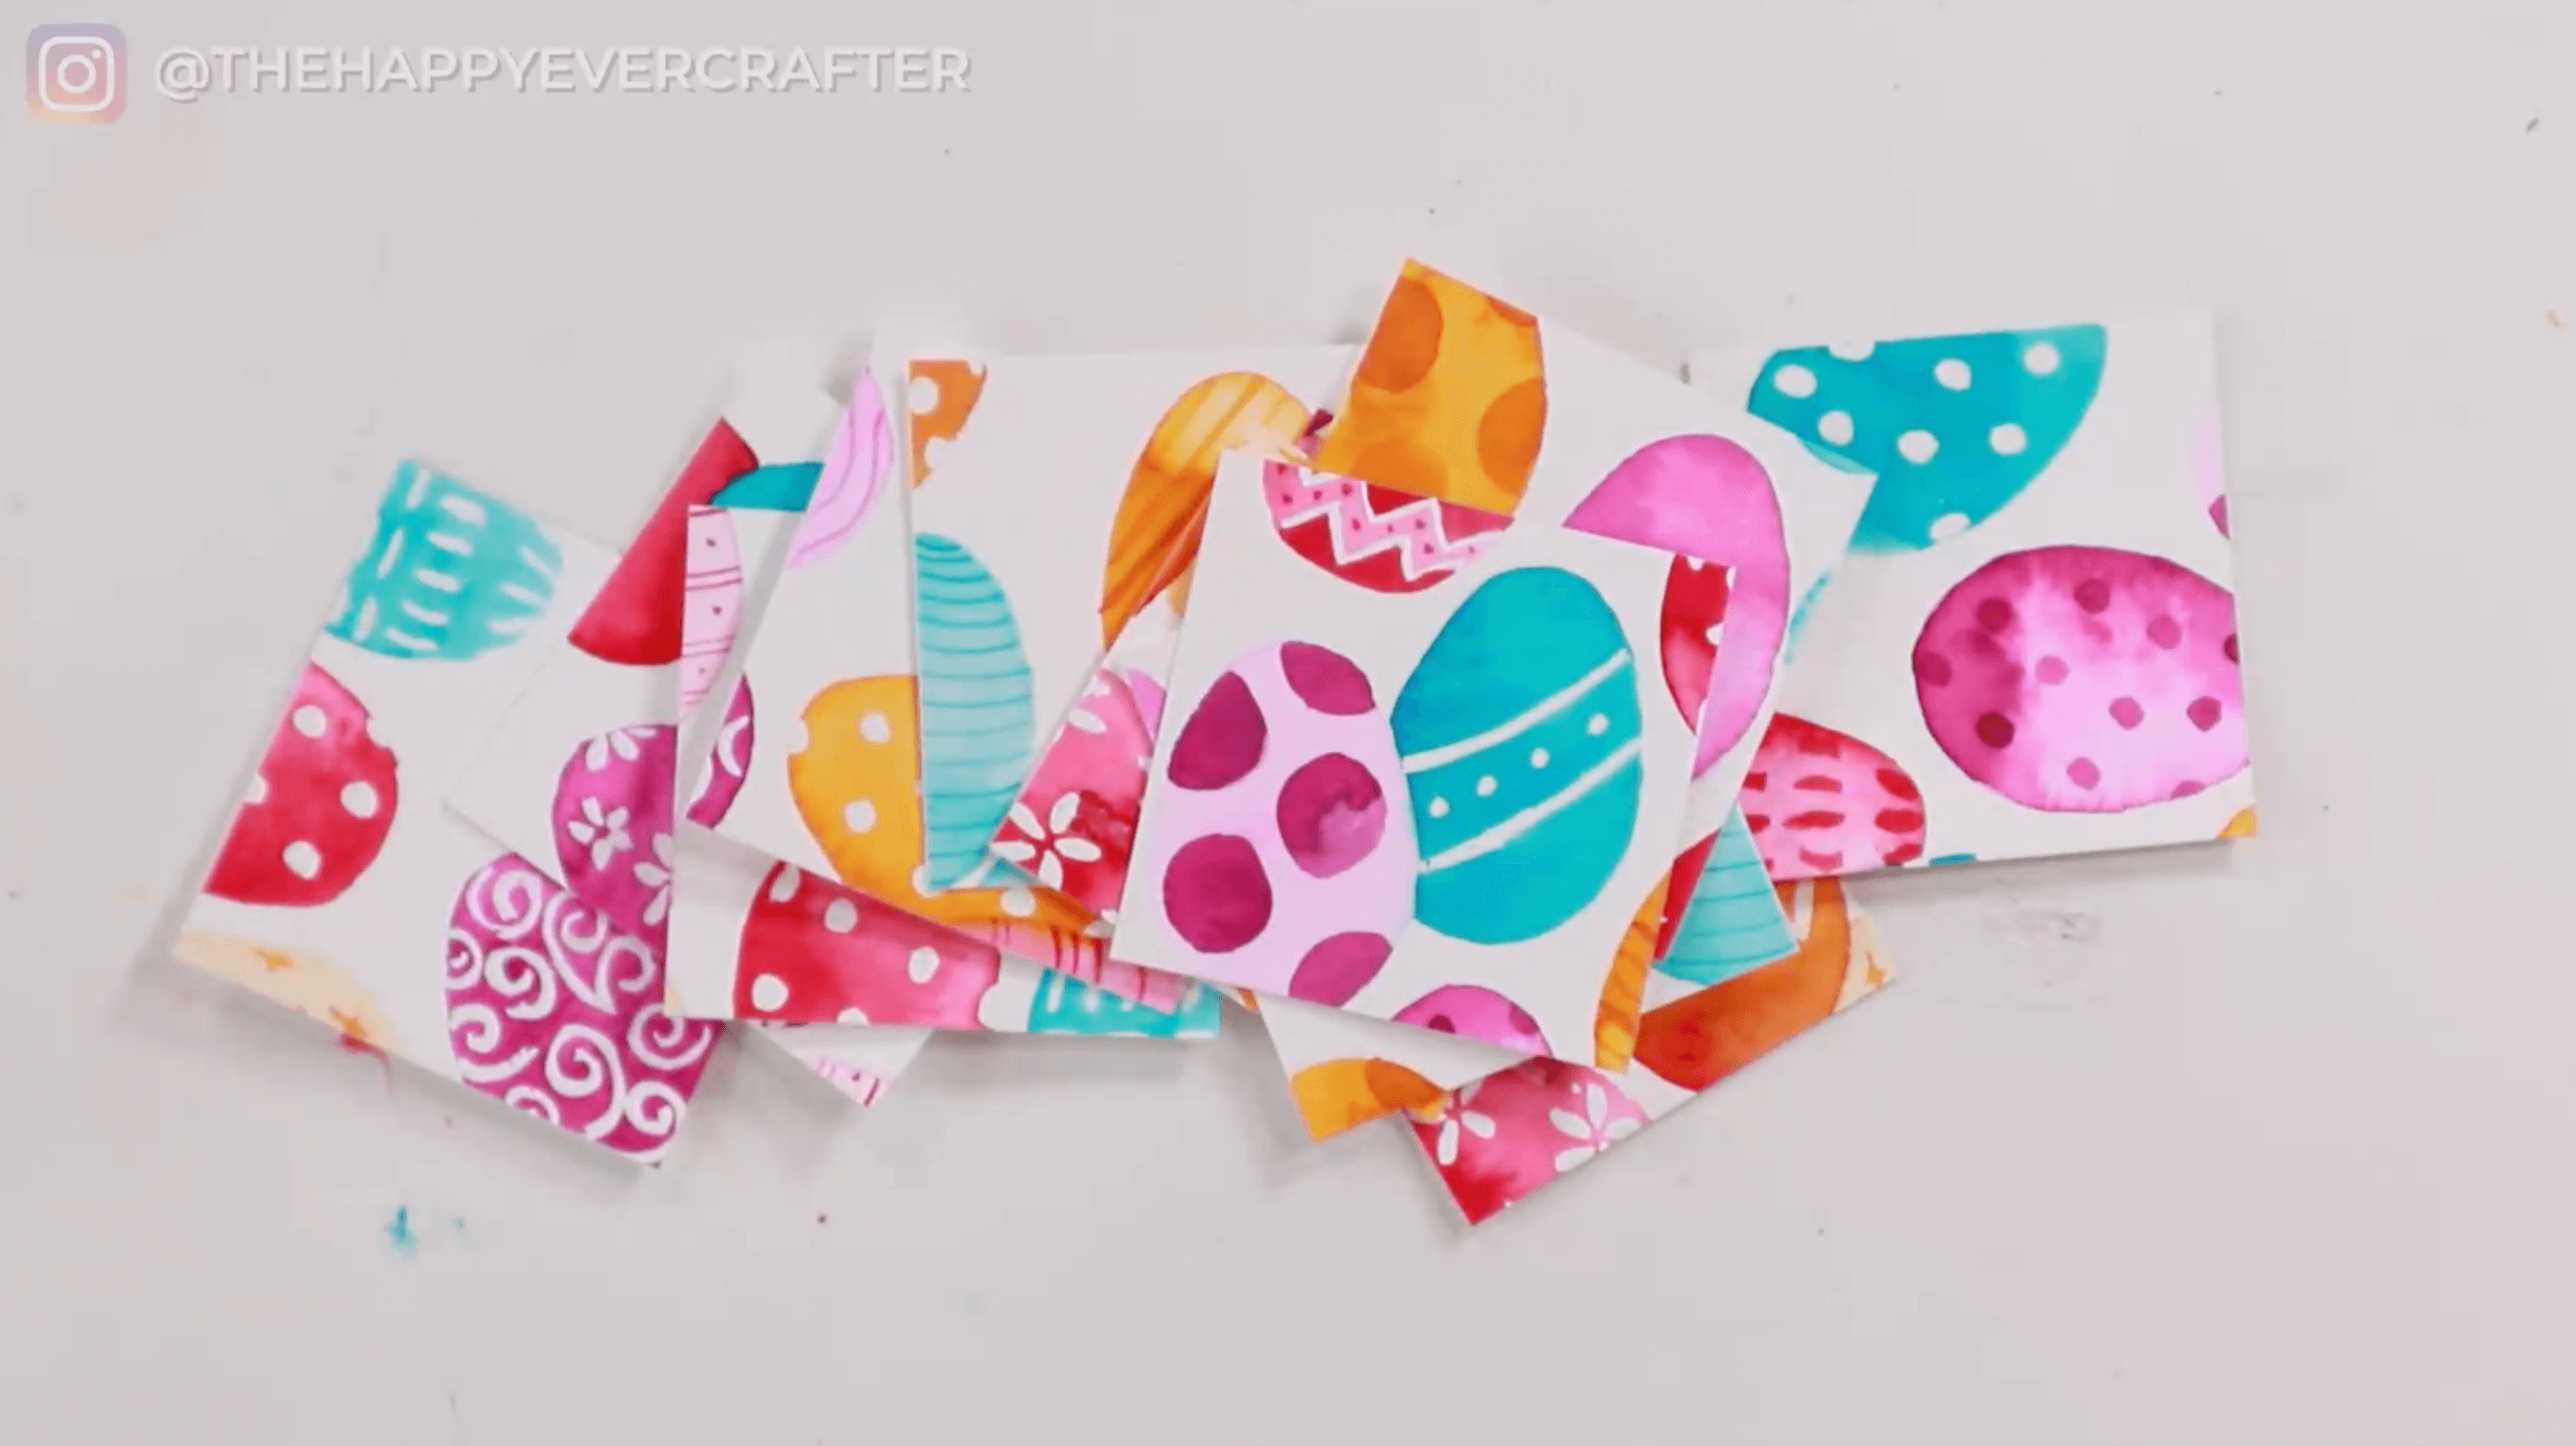
Step #8: Cut your painting into cards
Time to cut! You can use your scissors or a paper trimmer if you have one.
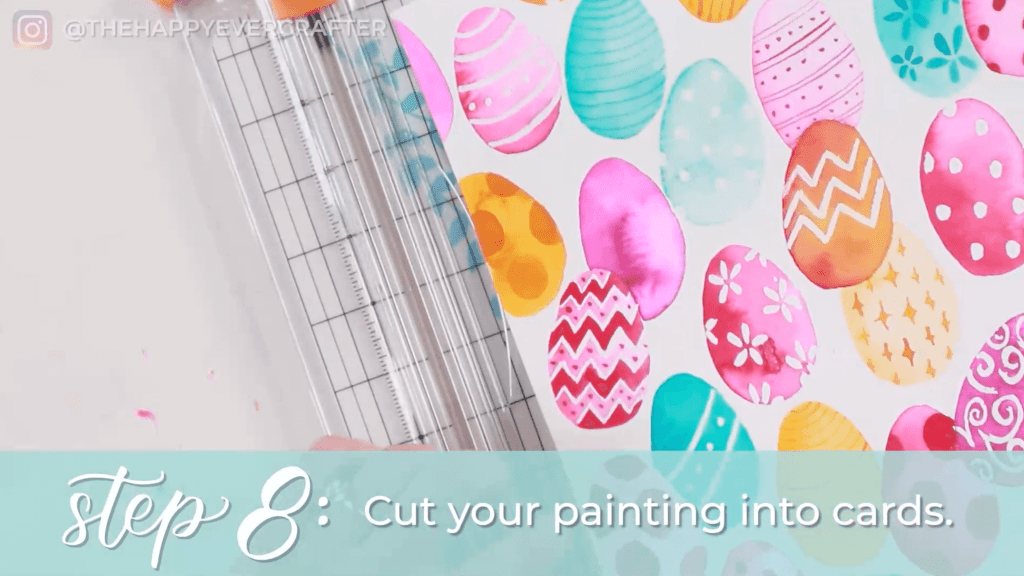
Cut your page into strips (I did mine about 2 inches, but you can make them as wide as you want).
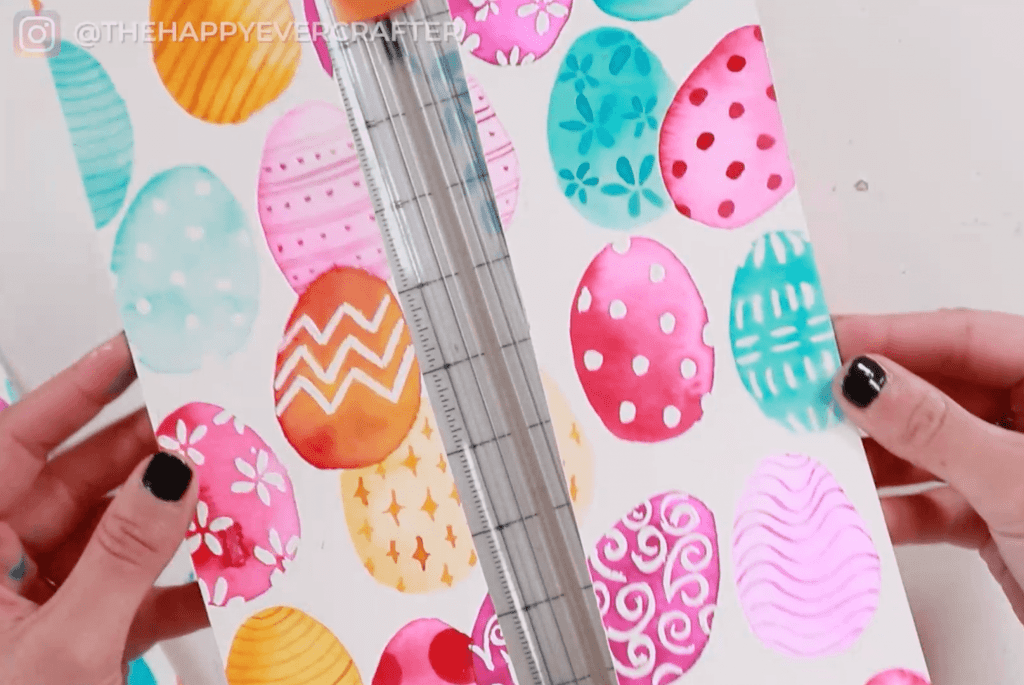
Once your strips are ready, you can cut them into actual cards (usually about 2.5 – 3 inches).
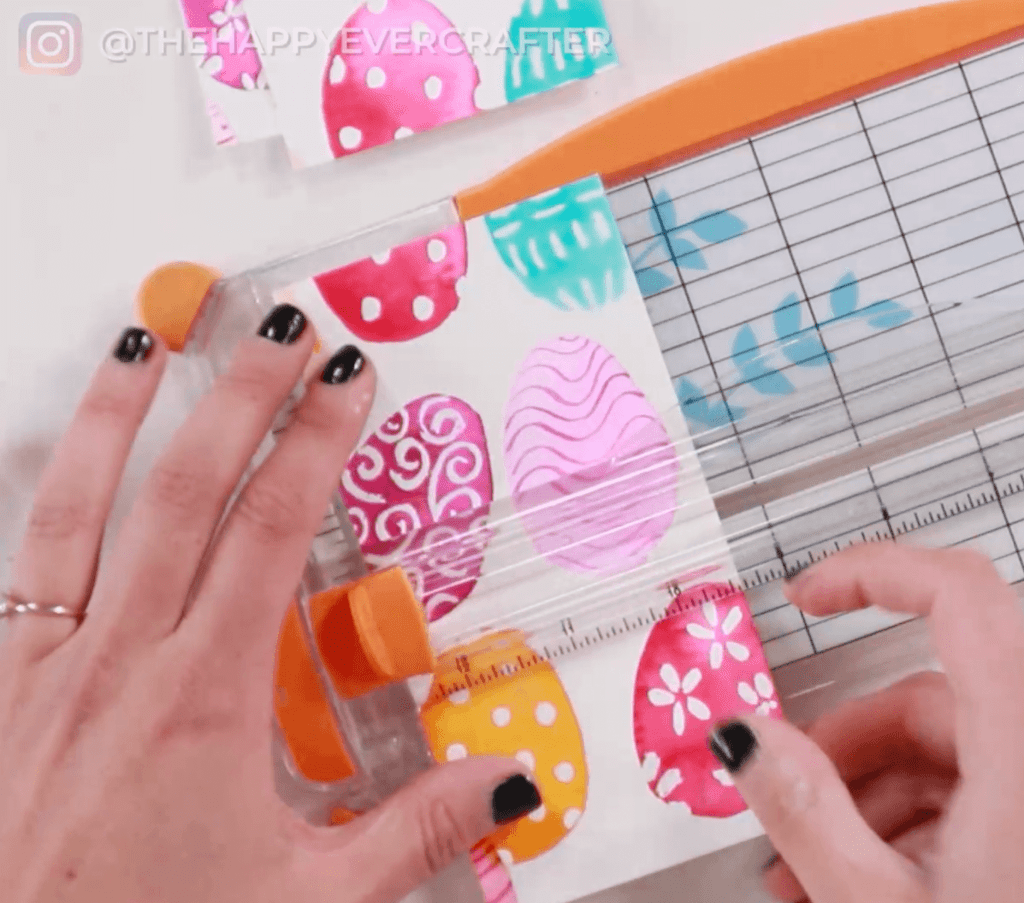
These do not need to be cut perfectly (unless you want to – feel free to measure). My goal was to get them all close to the same size, but I wasn’t being super precise.
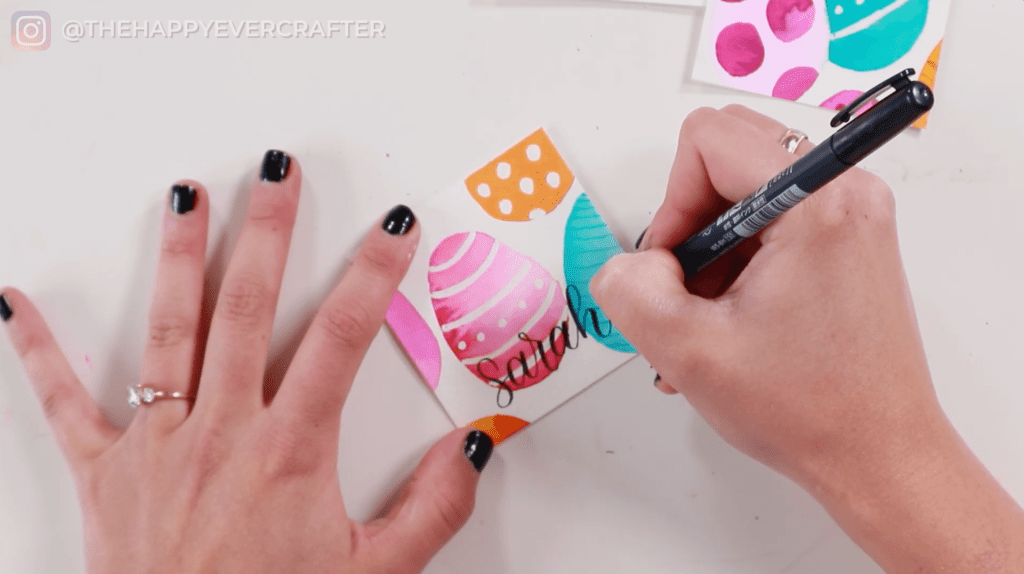
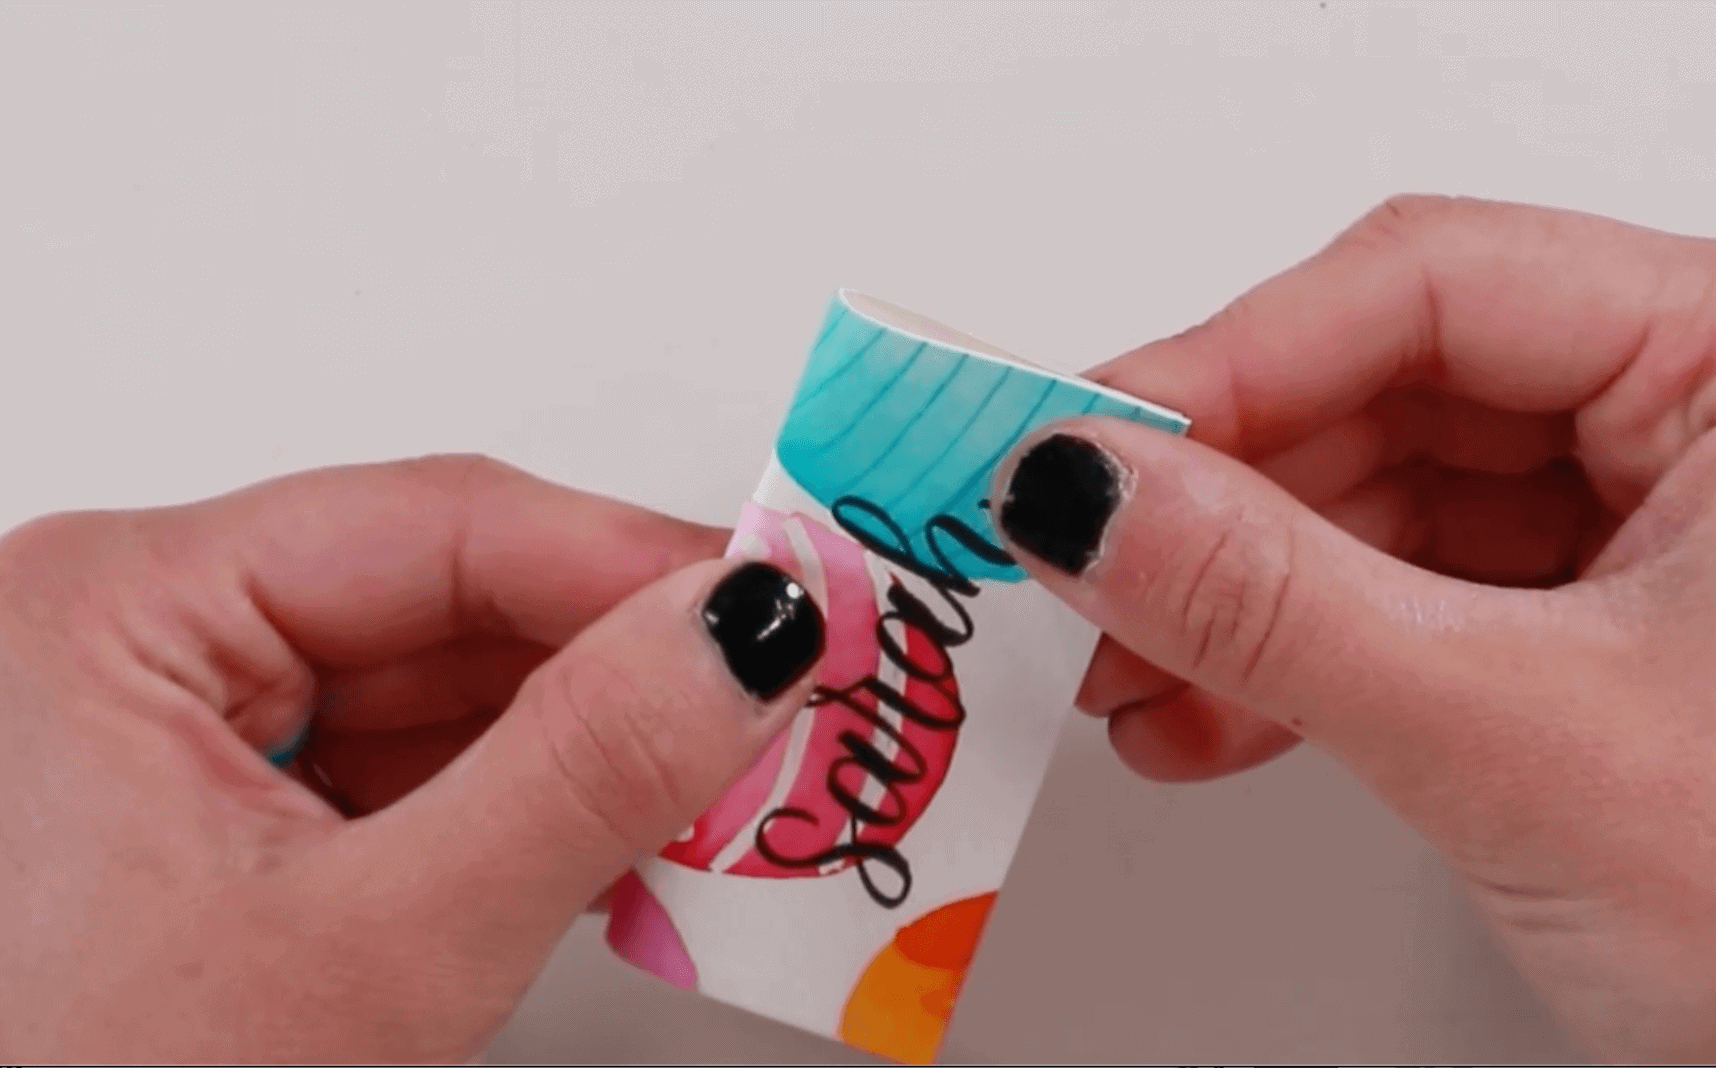
Step #9: Write out your names and fold the cards
Using the bottom half of the card, start adding your guest names.
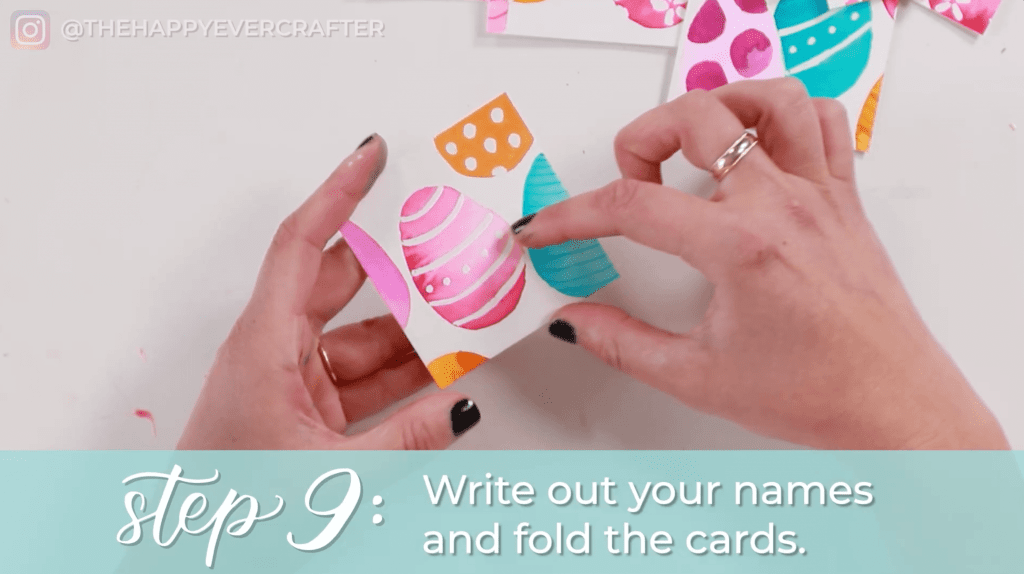
Feel free to sketch with a pencil if needed. If you’re comfortable though, you can go straight to using a pen. (I used a Tombow Fudenosuke – my fav! – but you can use any pen you’d like here.)
Once your names are written, you will fold your rectangles in half to finish the place cards!
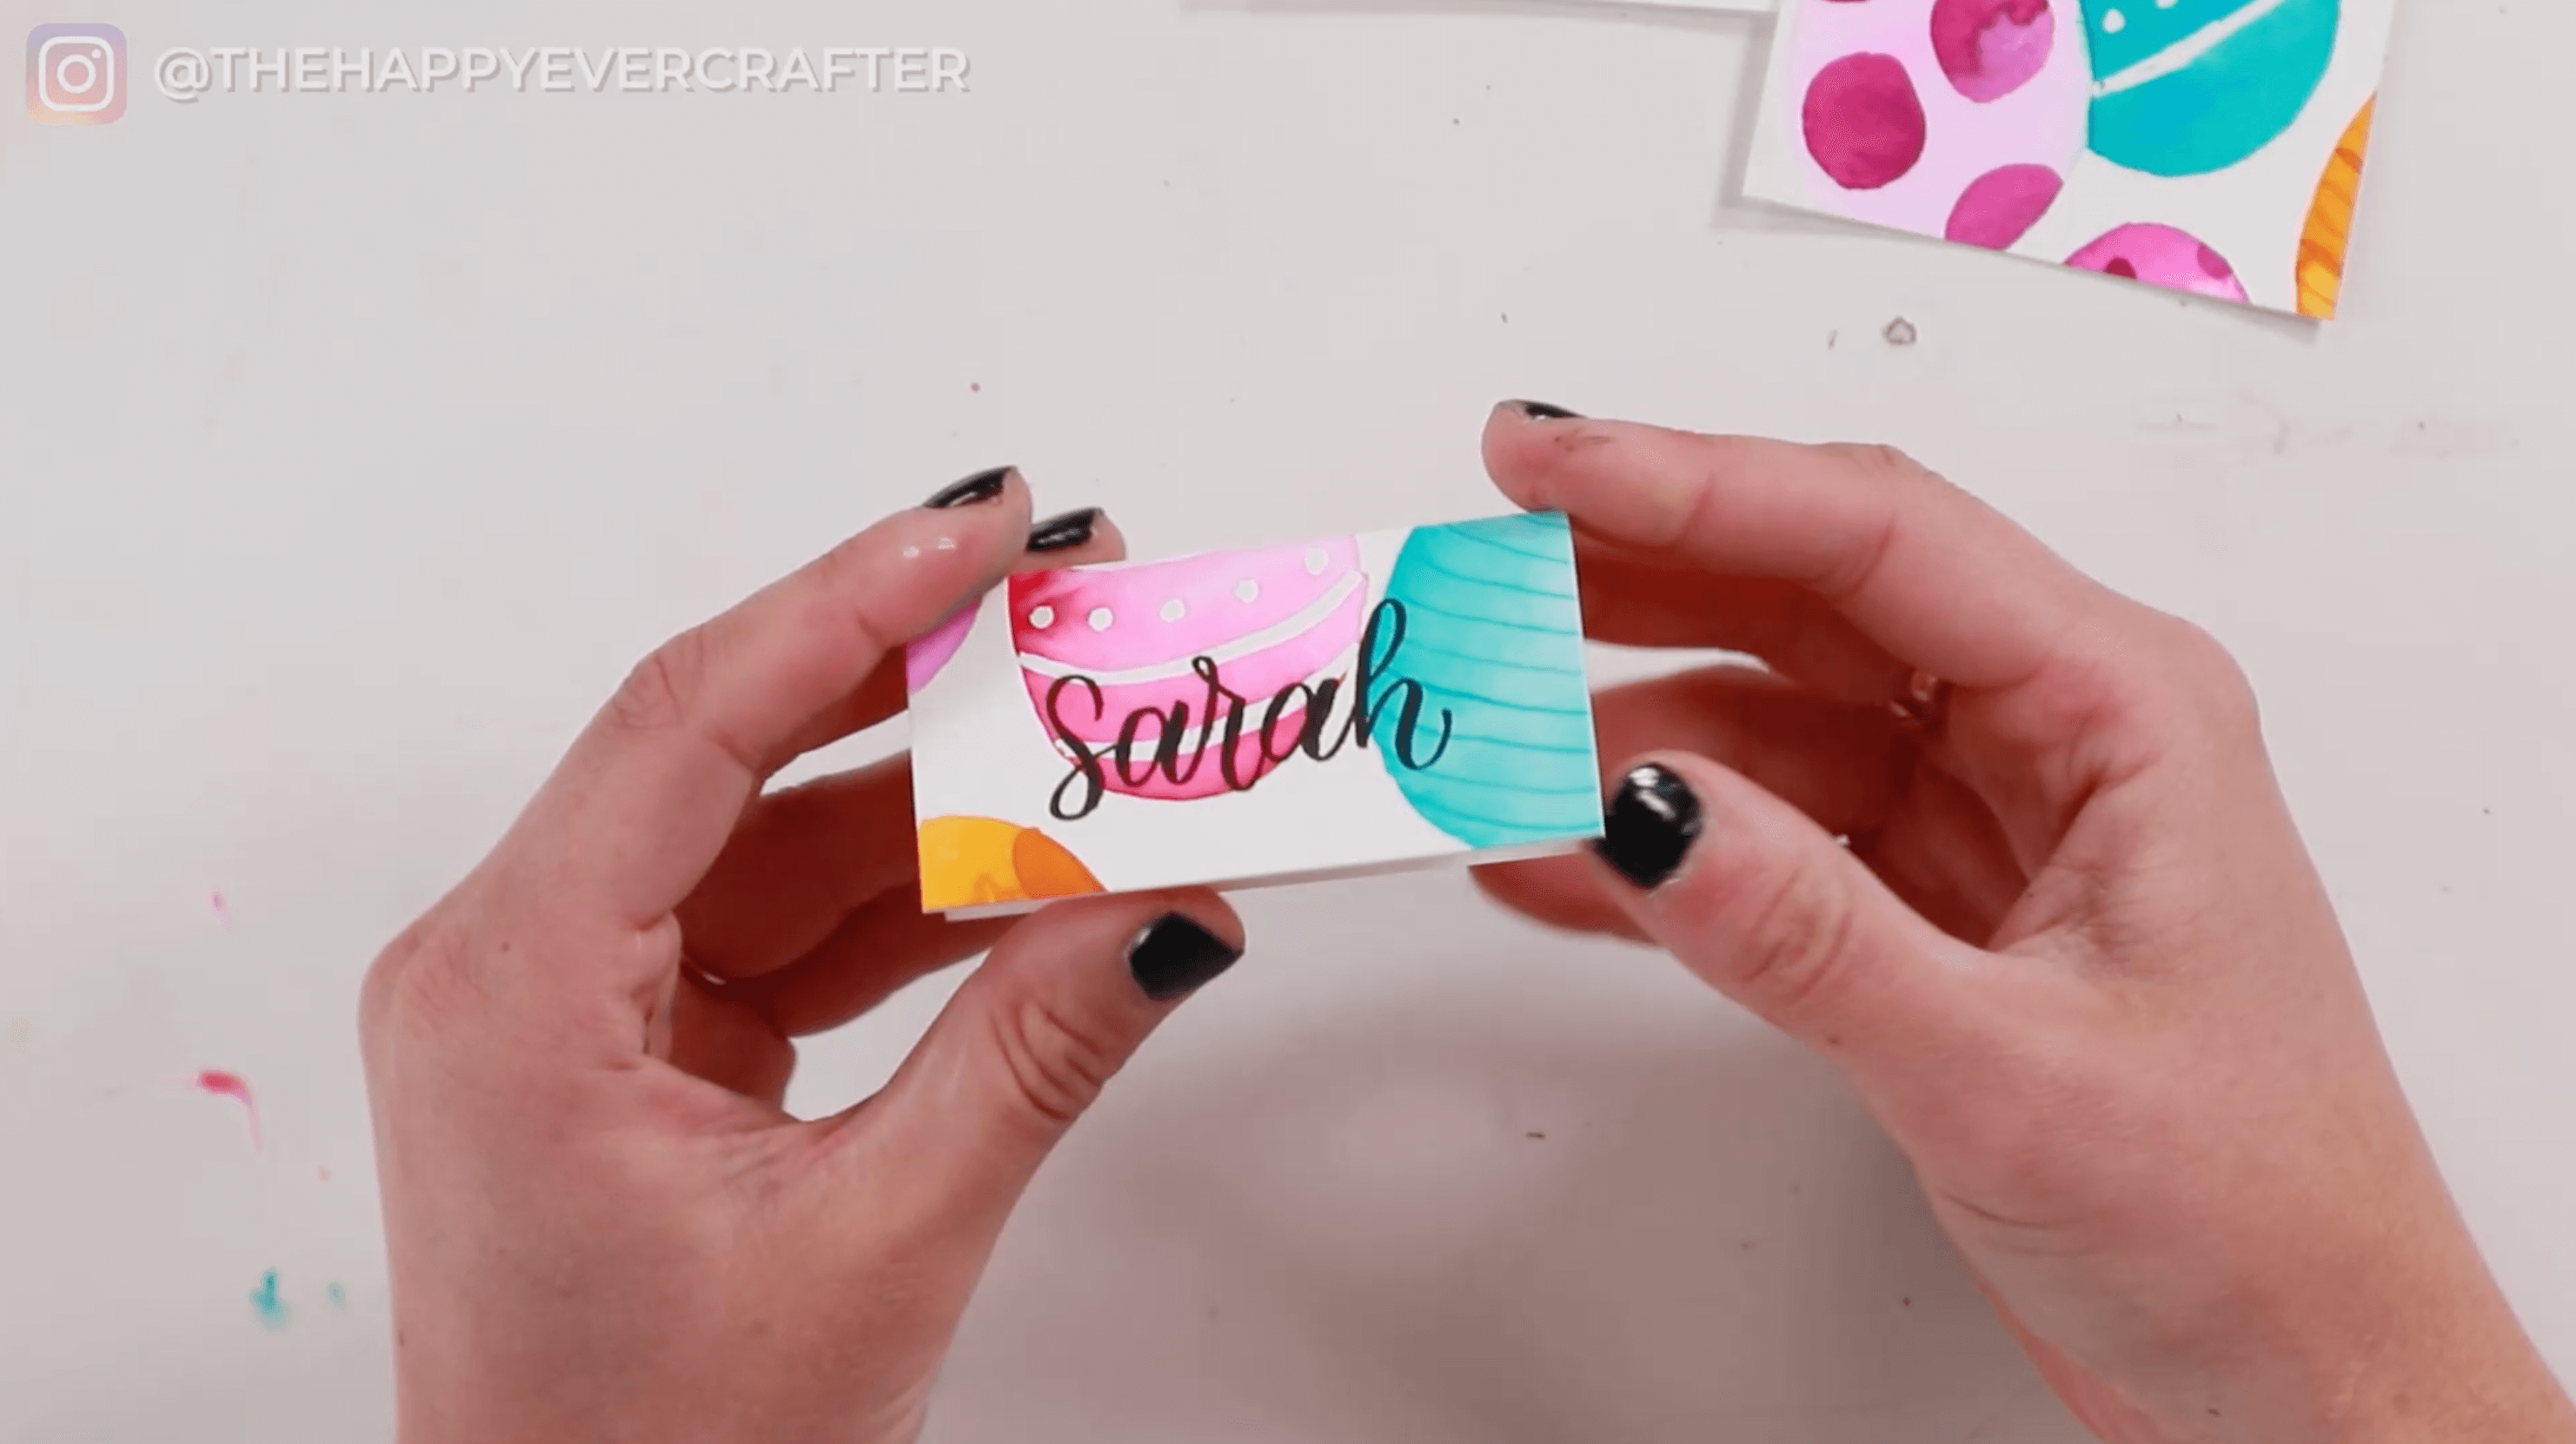
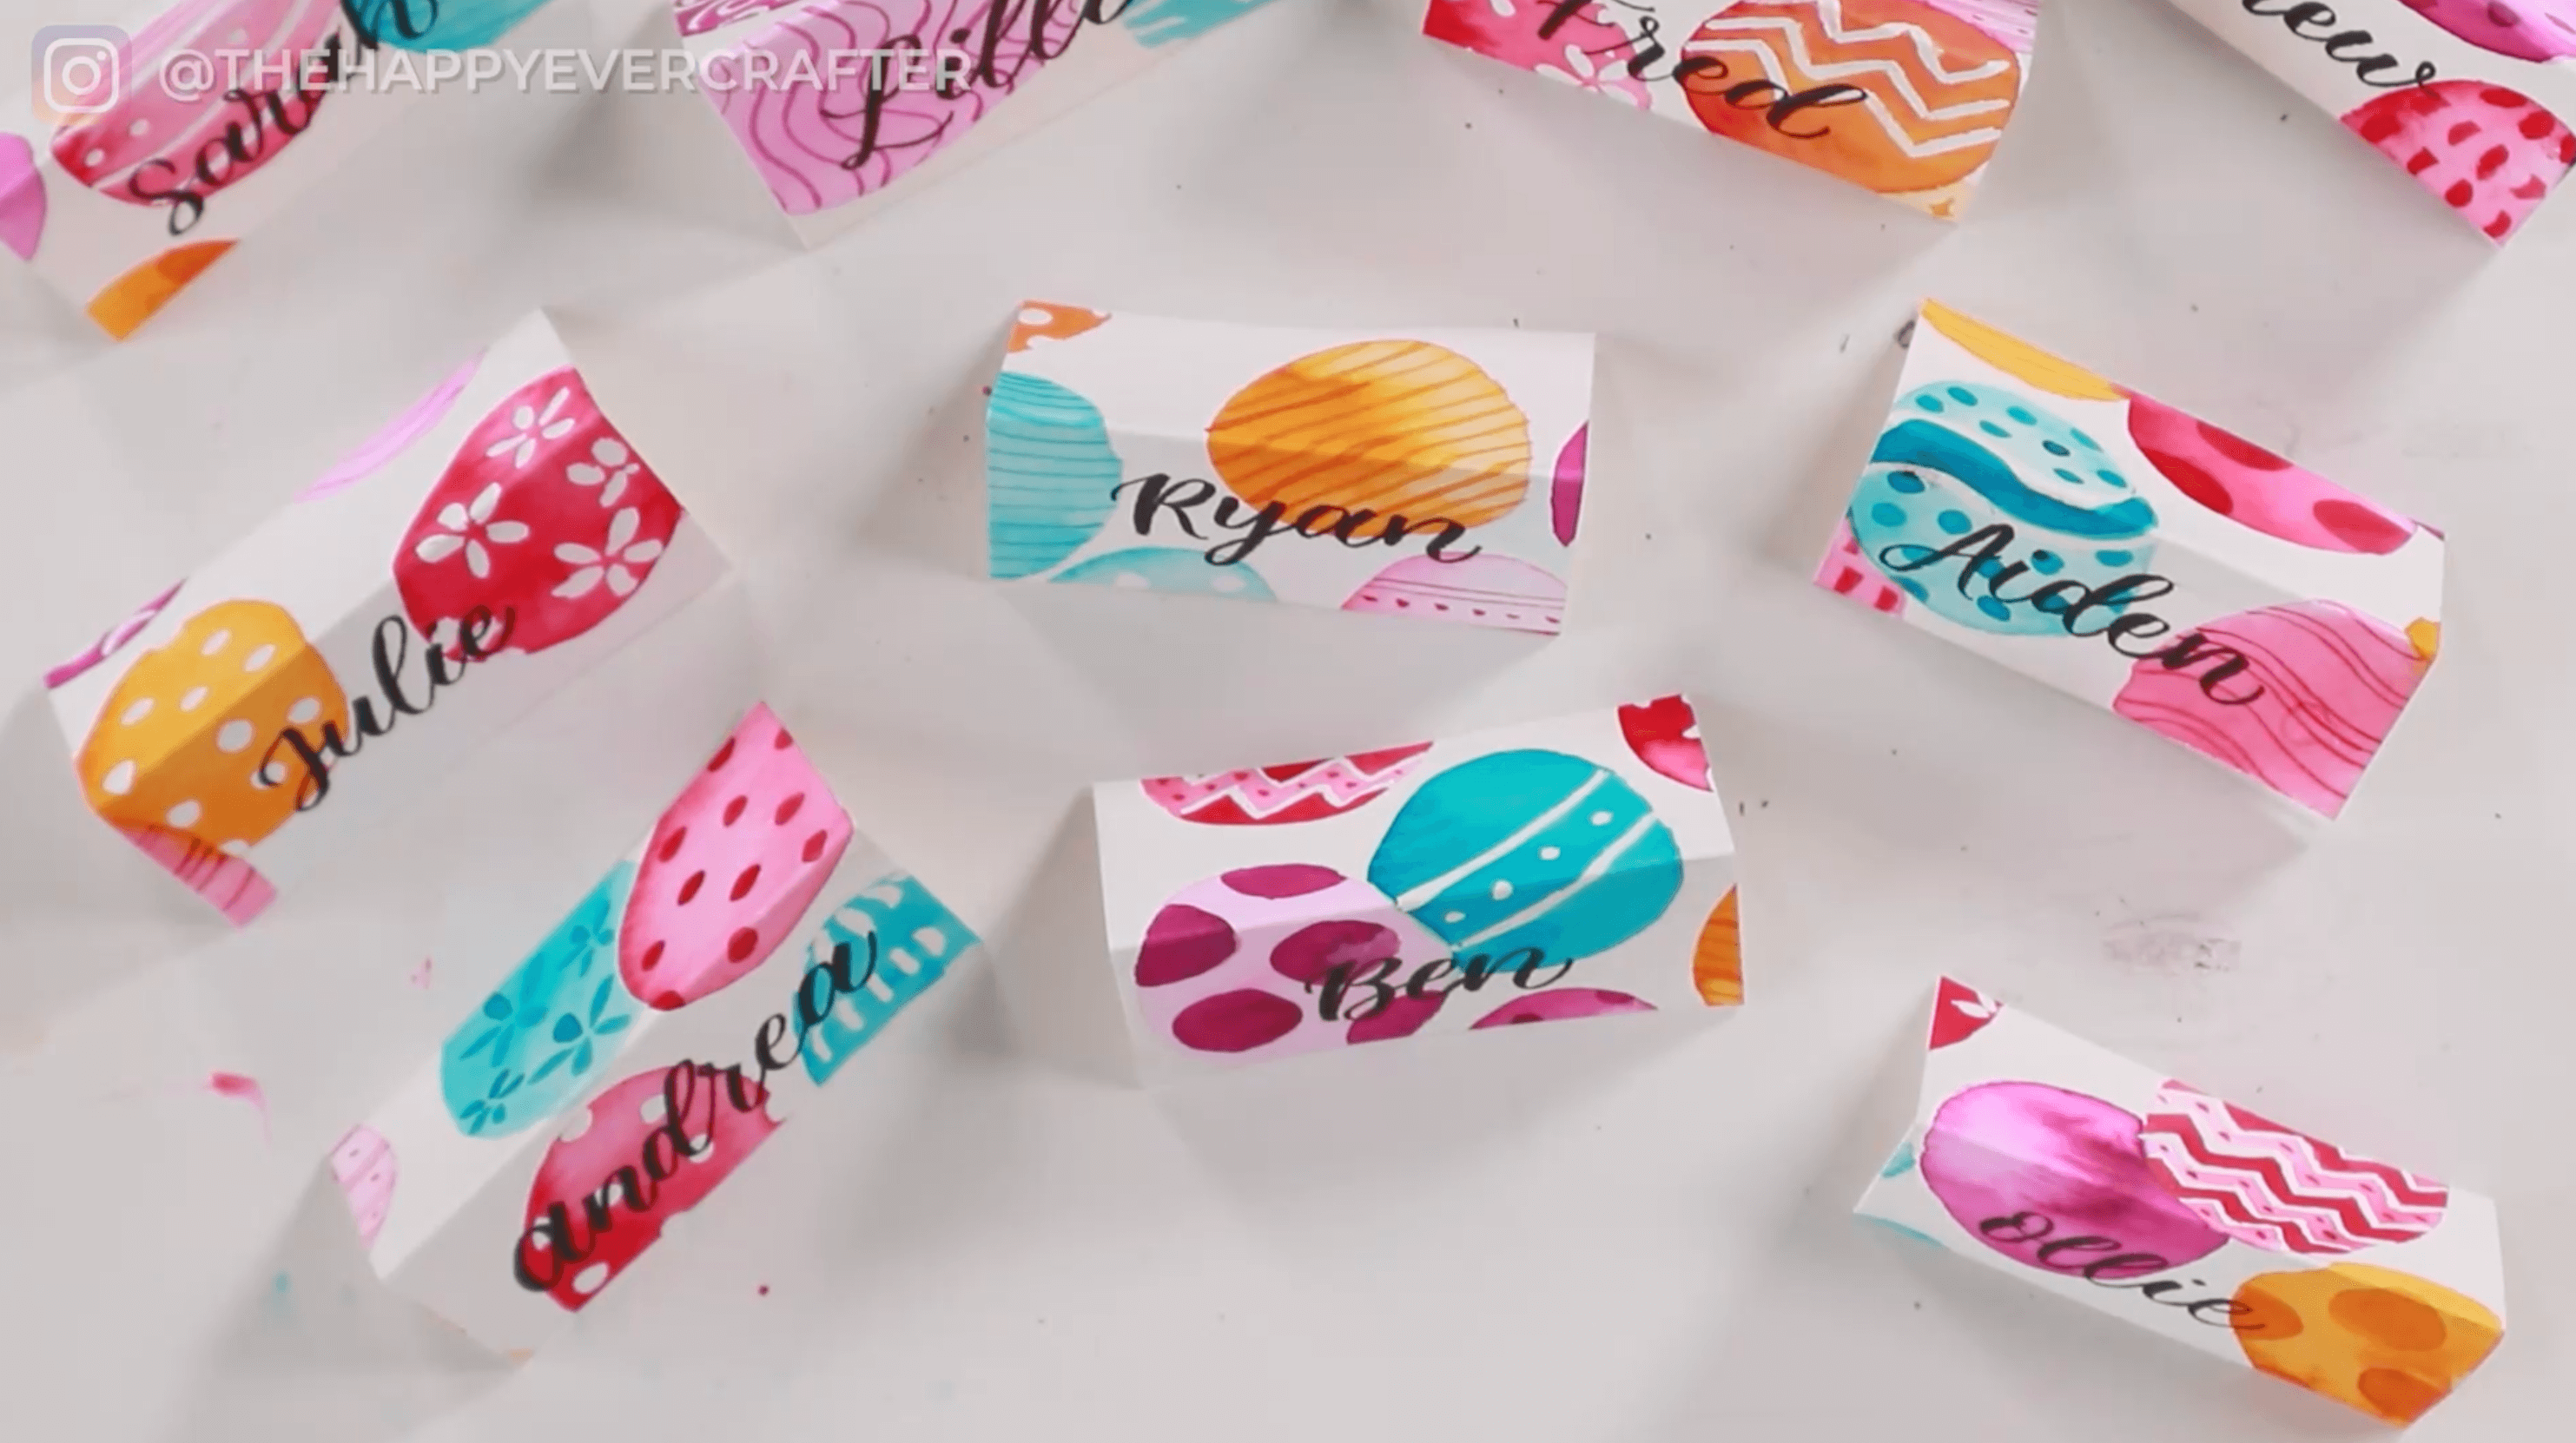
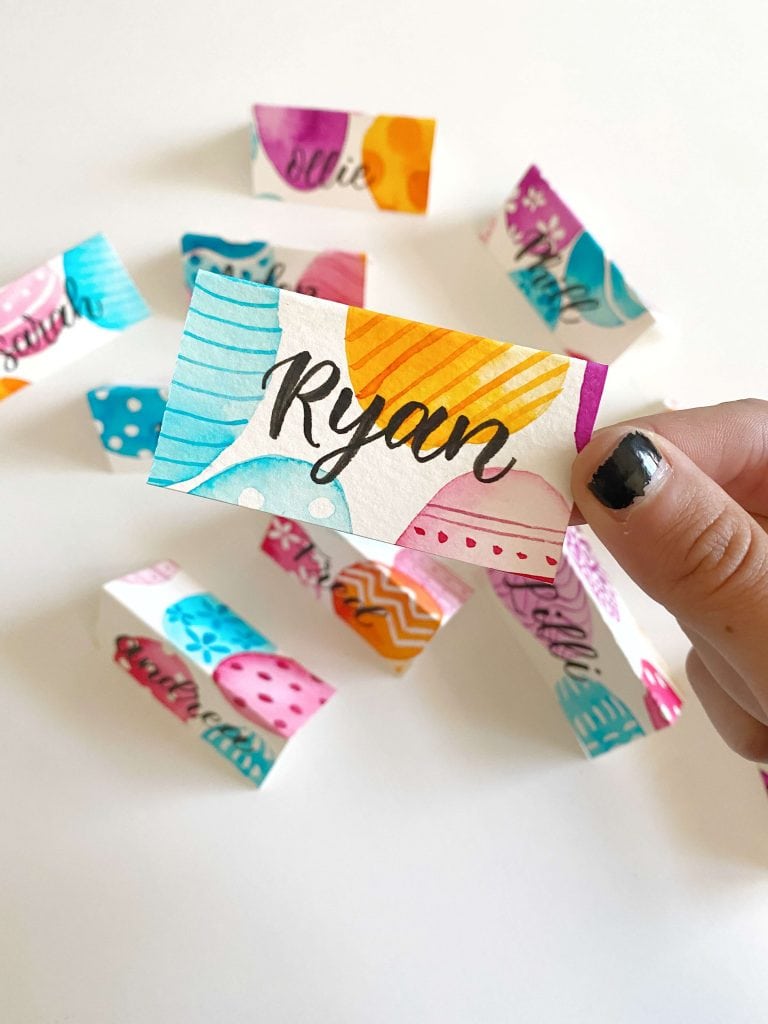
And that’s a wrap!
So cute right?! It’s just such a cute little design!
If you’re looking for more Easter crafts, check out these posts here and here.
And finally, your dad joke…
Easter can be hard, but do you know what makes it easier?
Replacing the ’t’ with an ‘i’!


Love, love, love all your tutorials, Becca! You are so giving with your time, so positive, and beyond inspirational! Thank you!
Very very good really enjoyed watching and trying out your tutorial . Thanks for sharing your fabulous techniques and ideas