
Looking for a fun, easy Halloween craft?
You can complete this on your own or have your kids help!
First Things First…
The links below may be affiliate links where appropriate. This means that your purchase through these links may result in a few cents in payment to me, to support creating further resources like this one! That being said, I will never suggest supplies that I do not personally use and fully recommend.
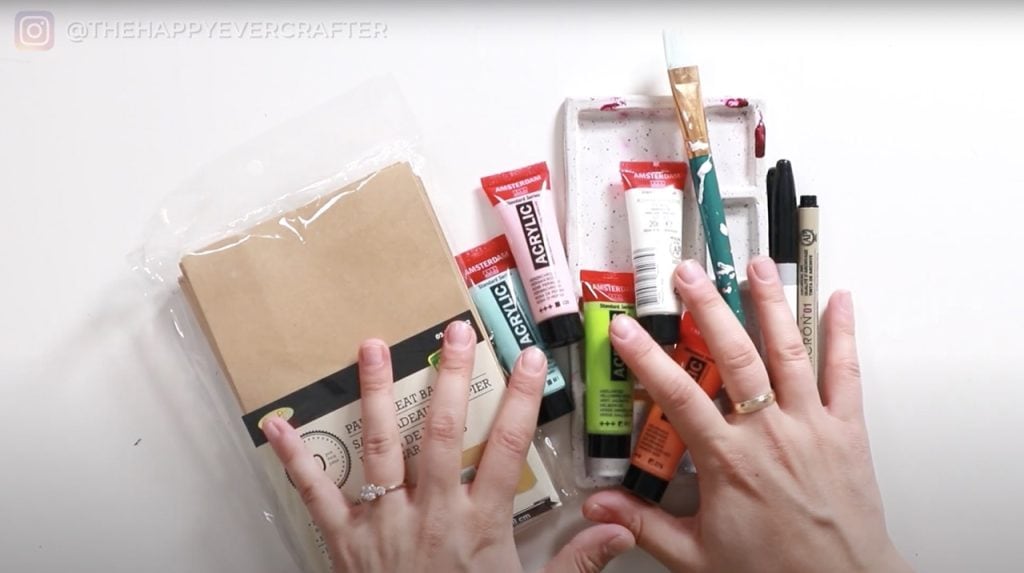
Supplies Used
- Treat Bags
- Acrylic Paint
- Paintbrush(es)
- Paint Palette
- Jar of Water
- Molotow Paint Pen (or Sharpie)
- Micron Pen
- Tombow Fudenosuke Pen
Rather watch than read? Check out the full video by clicking the video below!
What you need to know…
Gather up your supplies before you get started.
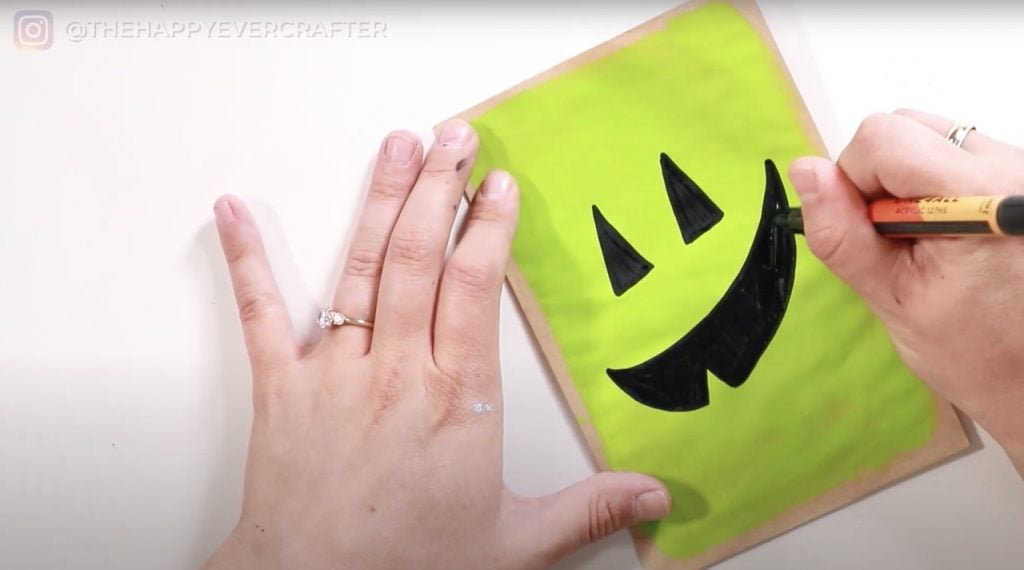
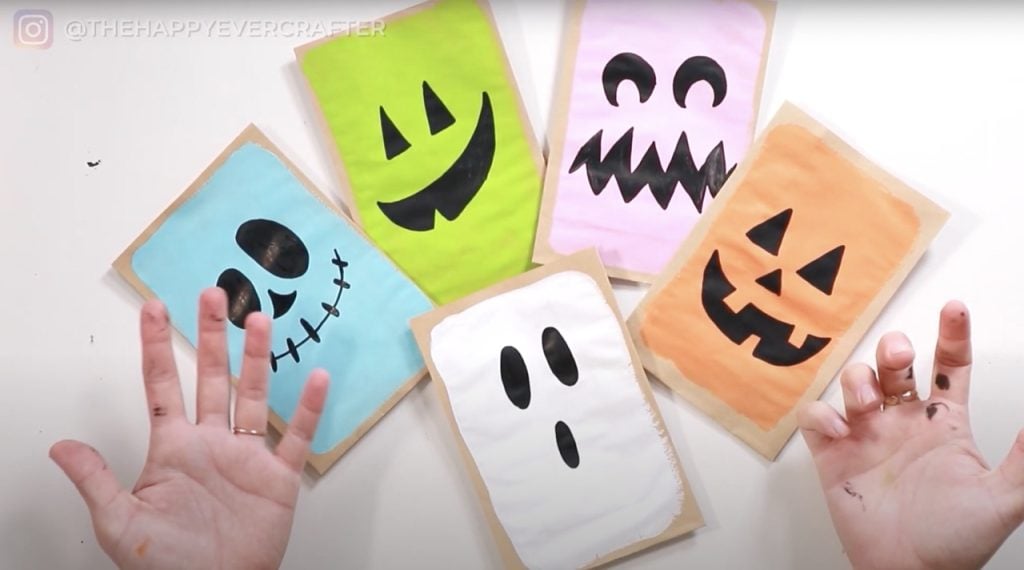
I wanted vibrant Halloween colours, but feel free to pick whatever colours you prefer!
Let’s Get Started!
I
Step #1: Paint your treat bags.
This can be quick and easy – no need to stress about it.
I left a margin on the edges where I didn’t put paint. Nothing has to be exact here.
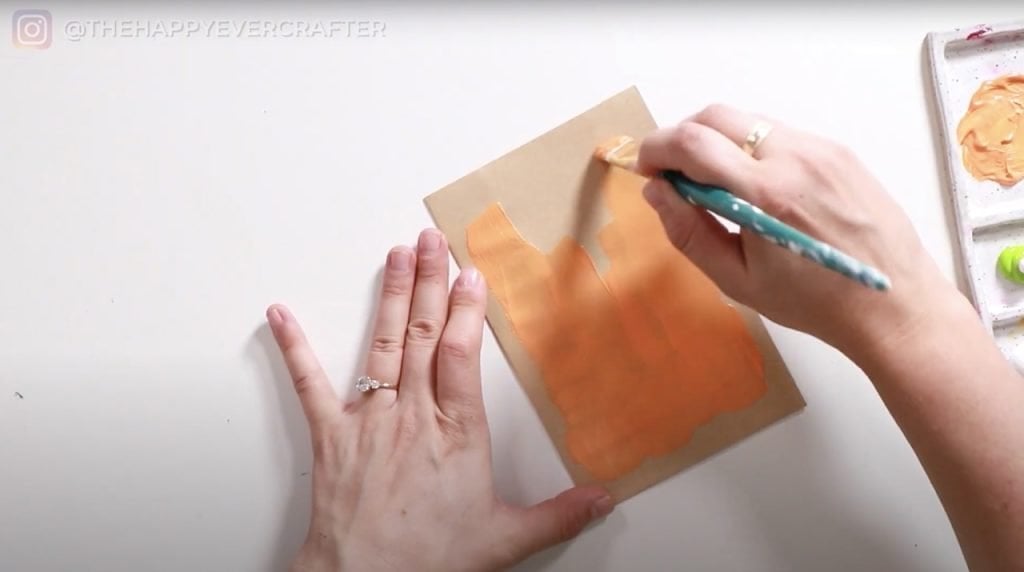
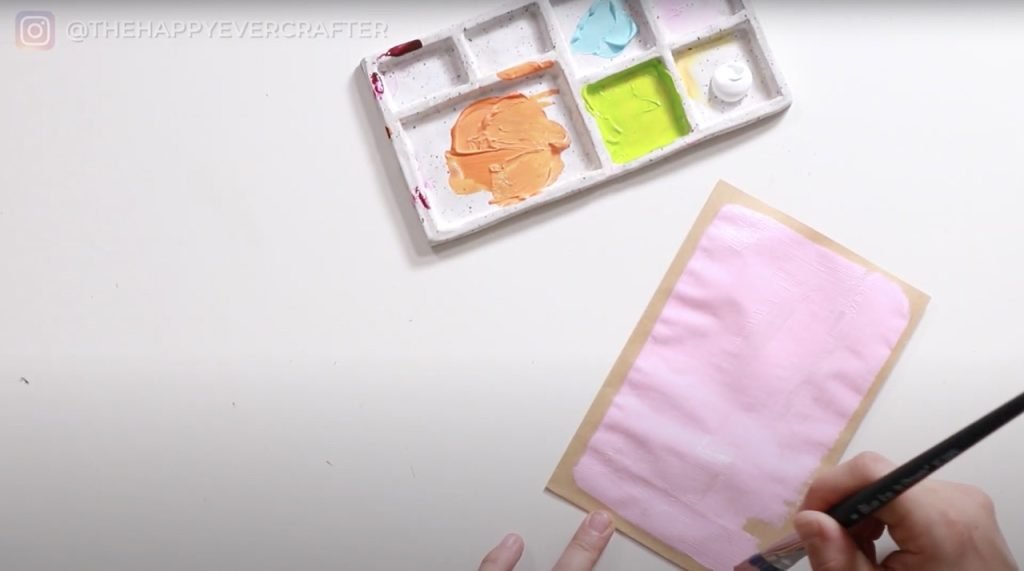
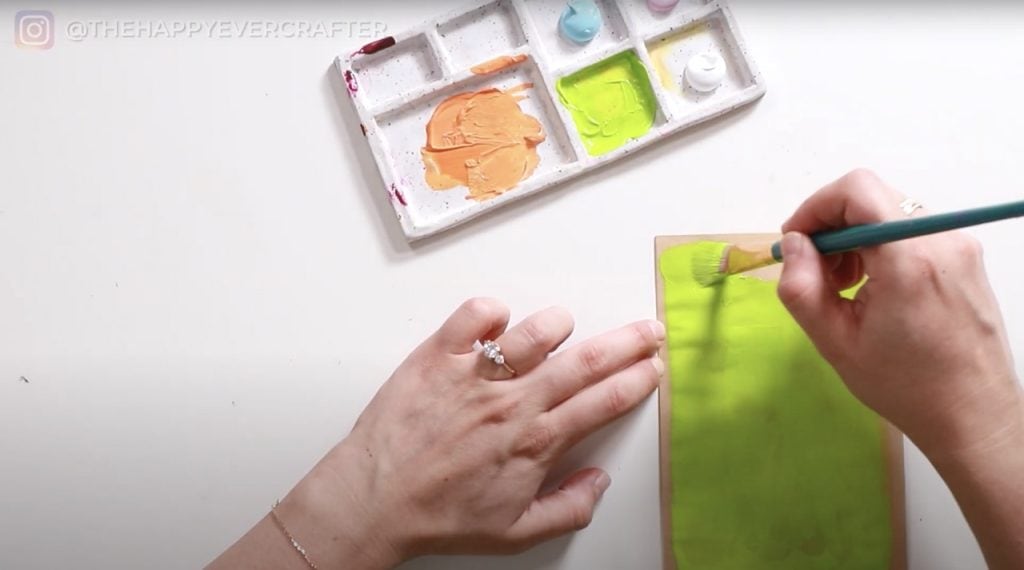
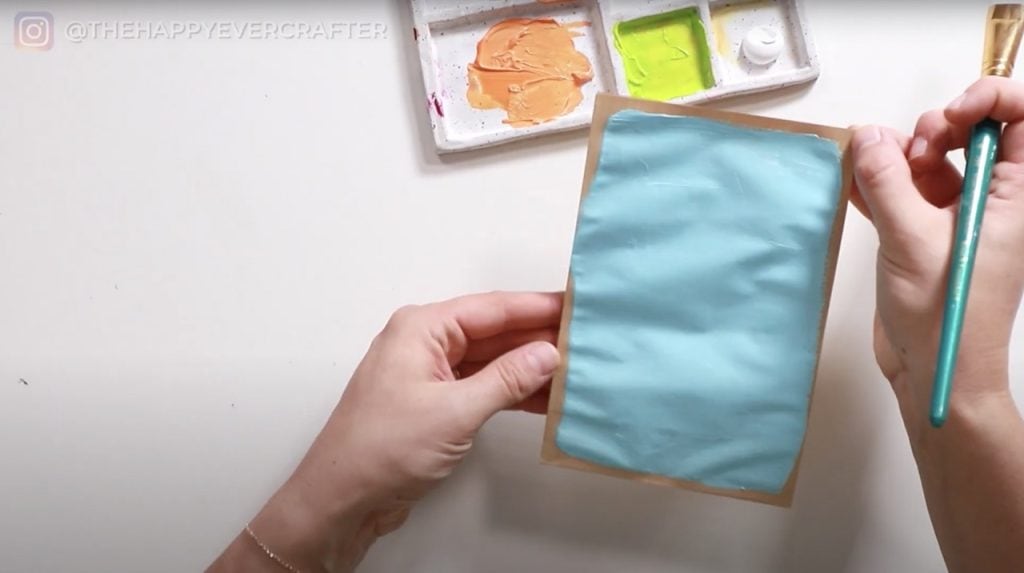
Repeat this process until you’ve painted all your bags.
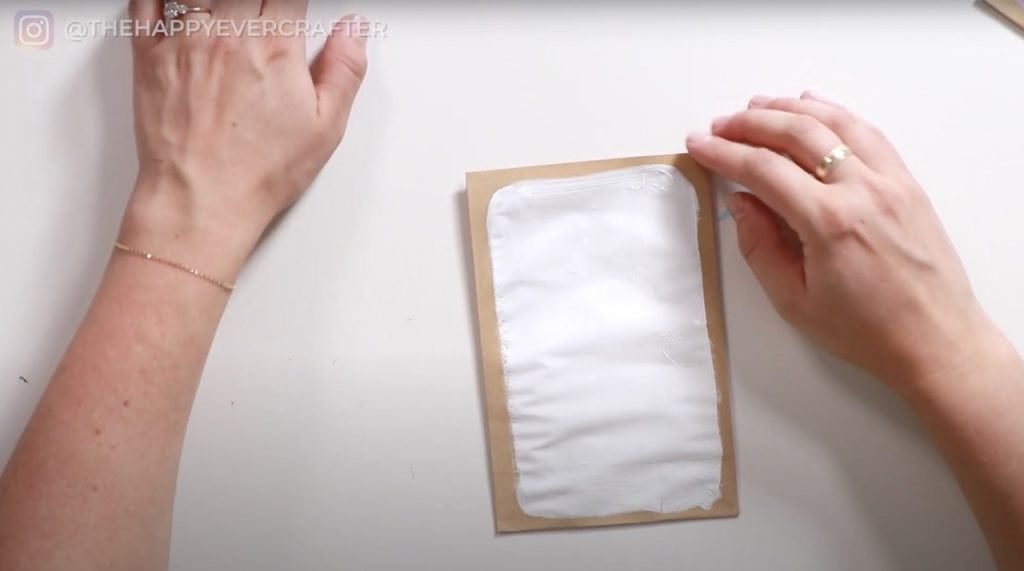
Step #2: Let your bags dry!
You’re going to want to add some details and faces, but be sure your bags are fully dry first.
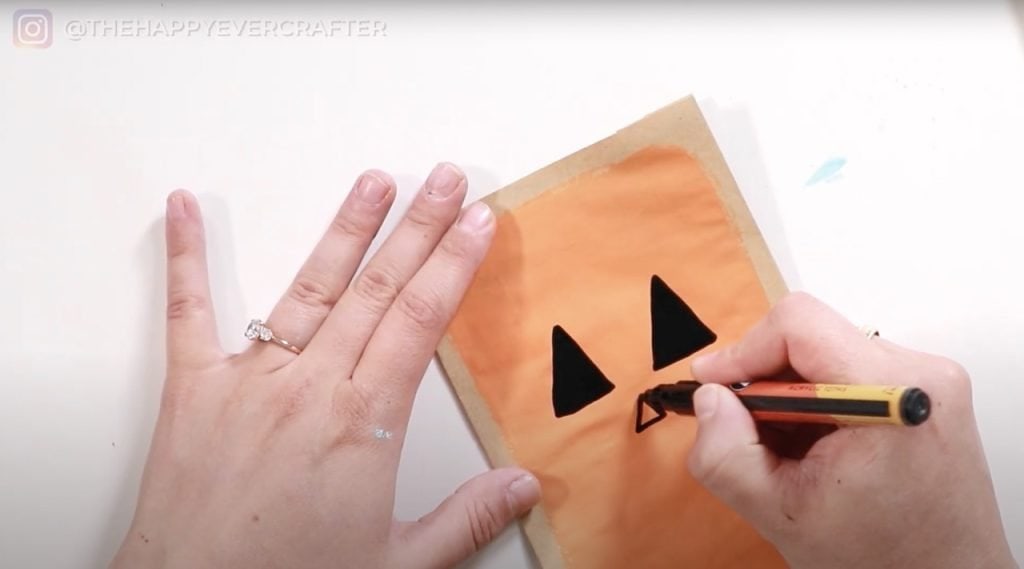
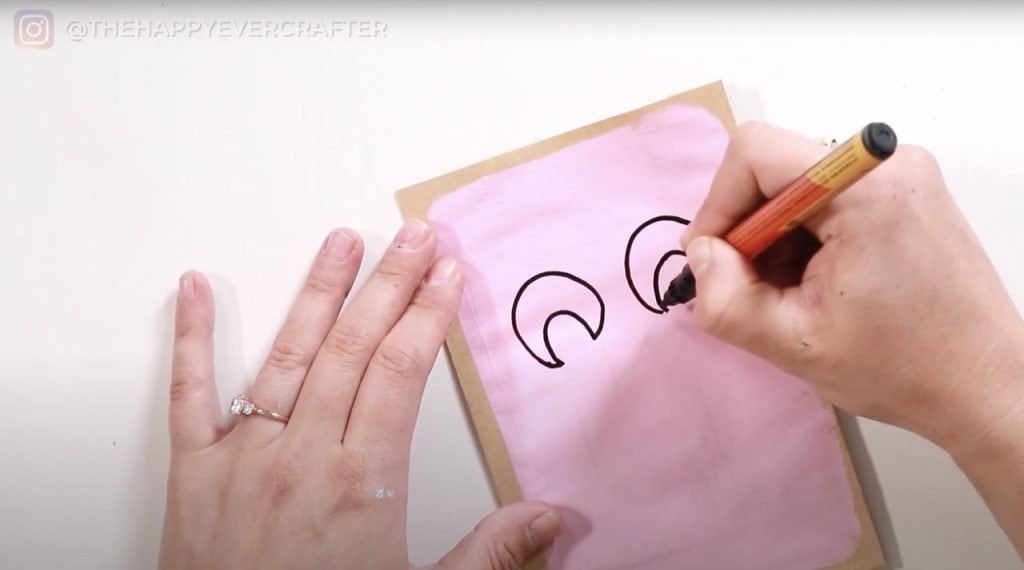
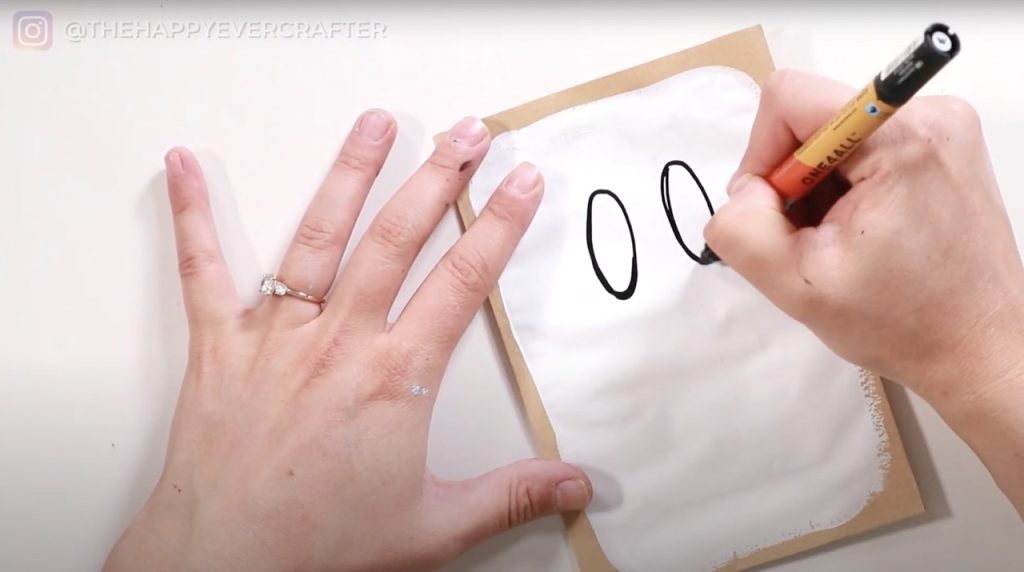
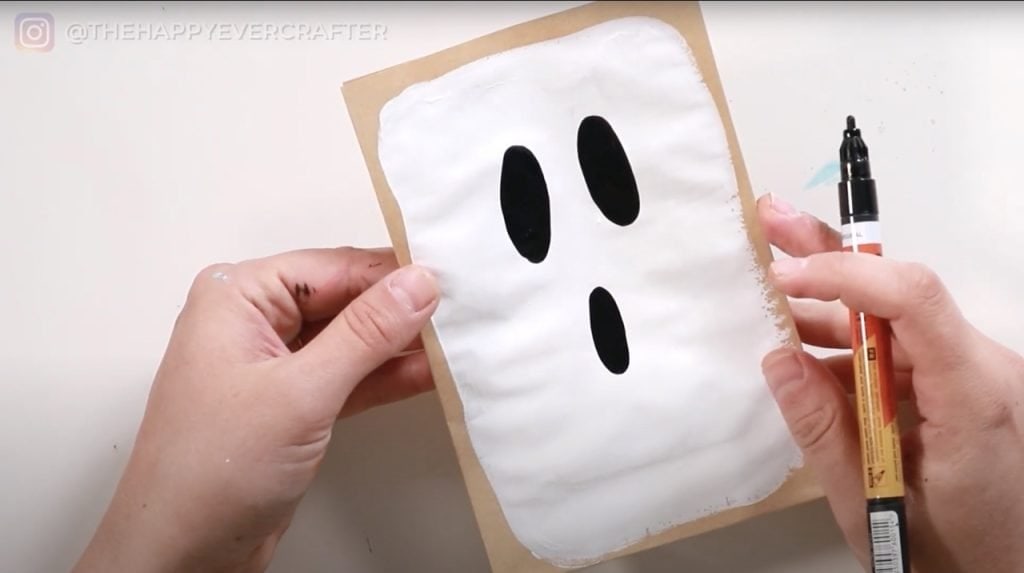
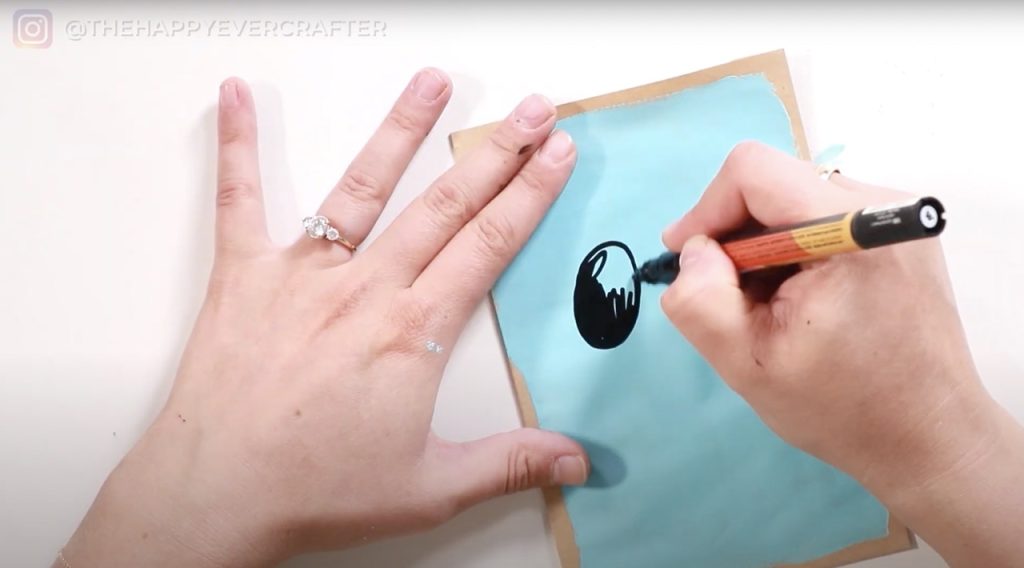
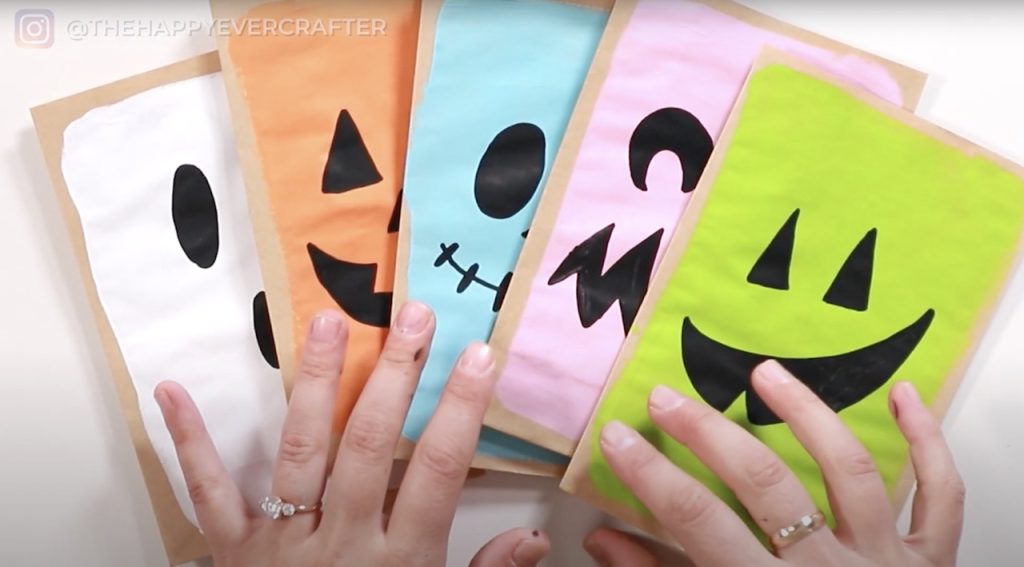
Step #3: Add faces to your bags.
Eyes only, jack-o-lantern faces, smiles, surprised faces – this is totally up to you.
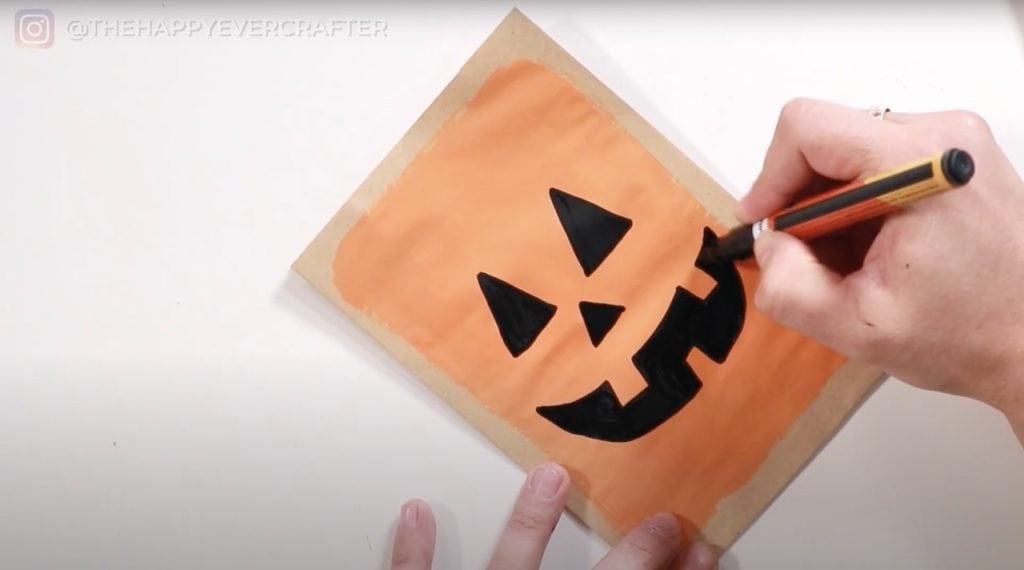
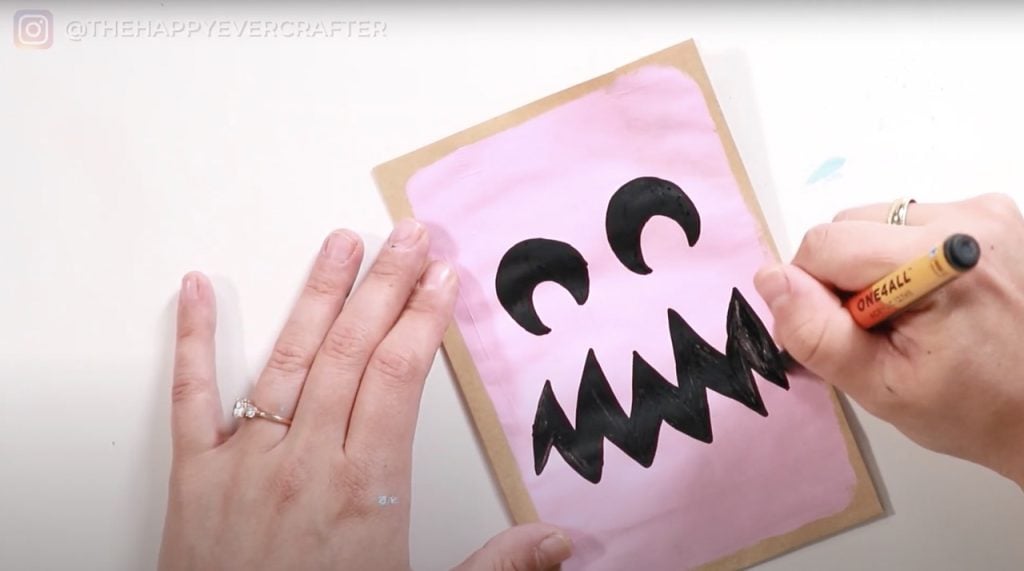

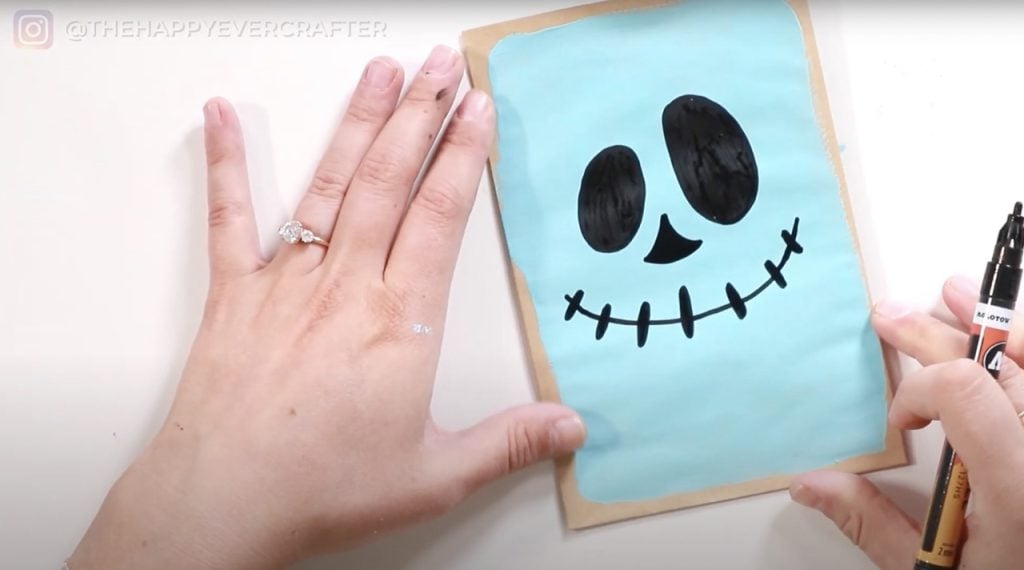
You did it! These seriously are so cute and so easy.
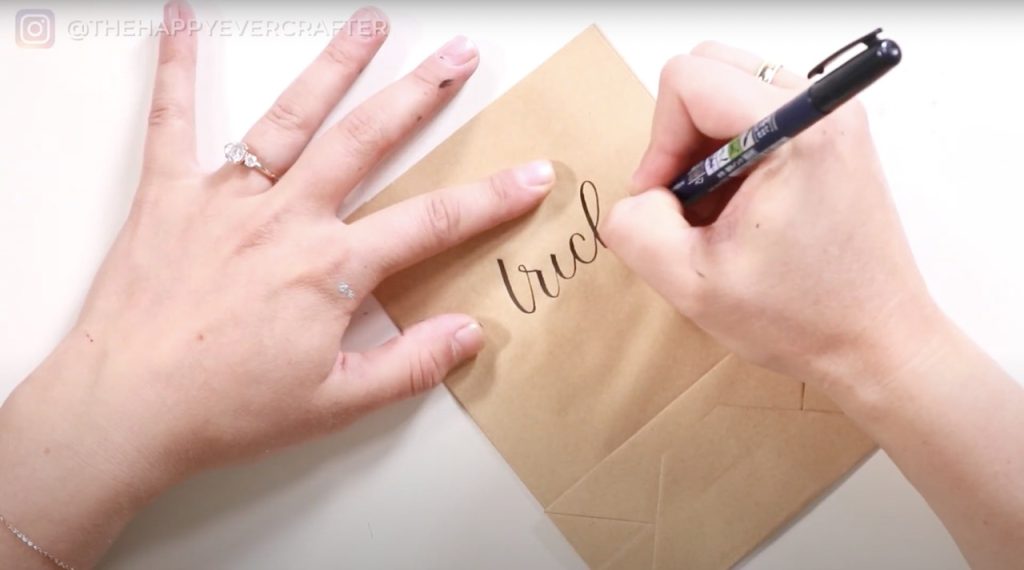
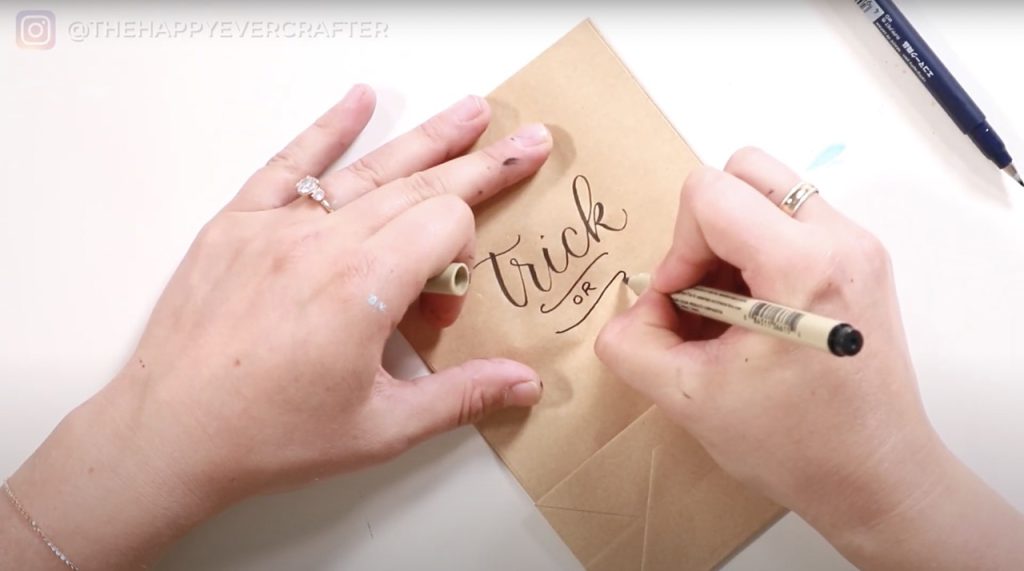
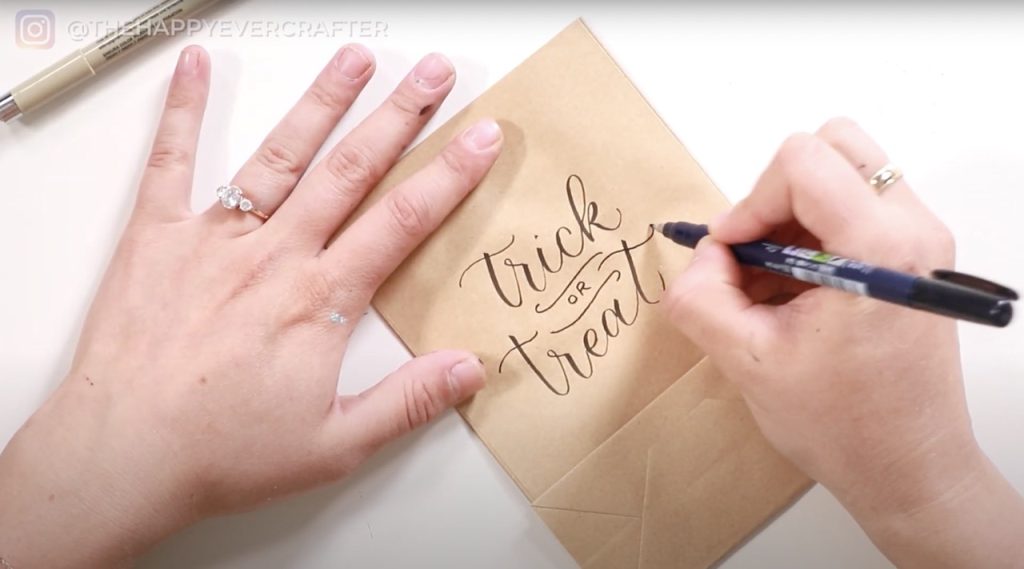
Optional: Add your greeting.
I’m always up showcasing calligraphy, and “trick or treat” is the perfect greeting for the blank side of the bags.
I used calligraphy for “trick” and “treat” and block lettering for “or”.
That’s a Wrap!
These are SO cute! Use them for class parties, friends, trick or treaters, or keep them for yourself!
Tag me on Instagram when your bags are complete – I’d love to see them!
I
If you’re looking for more Halloween tutorials, check this one out.
And if you’re looking to improve your calligraphy skills, check out my free course!
And finally, your dad joke…
What do you call a lost wolf?
A where-wolf.


Comments