Are you interested in hosting a calligraphy workshop? Not sure where to start? Amanda Reid and I spent some time chatting about what tips we have for hosting stellar workshops. We talked about how to set yourself up for success, creating a great experience for the students, and more!
First Things First… Meet Amanda.
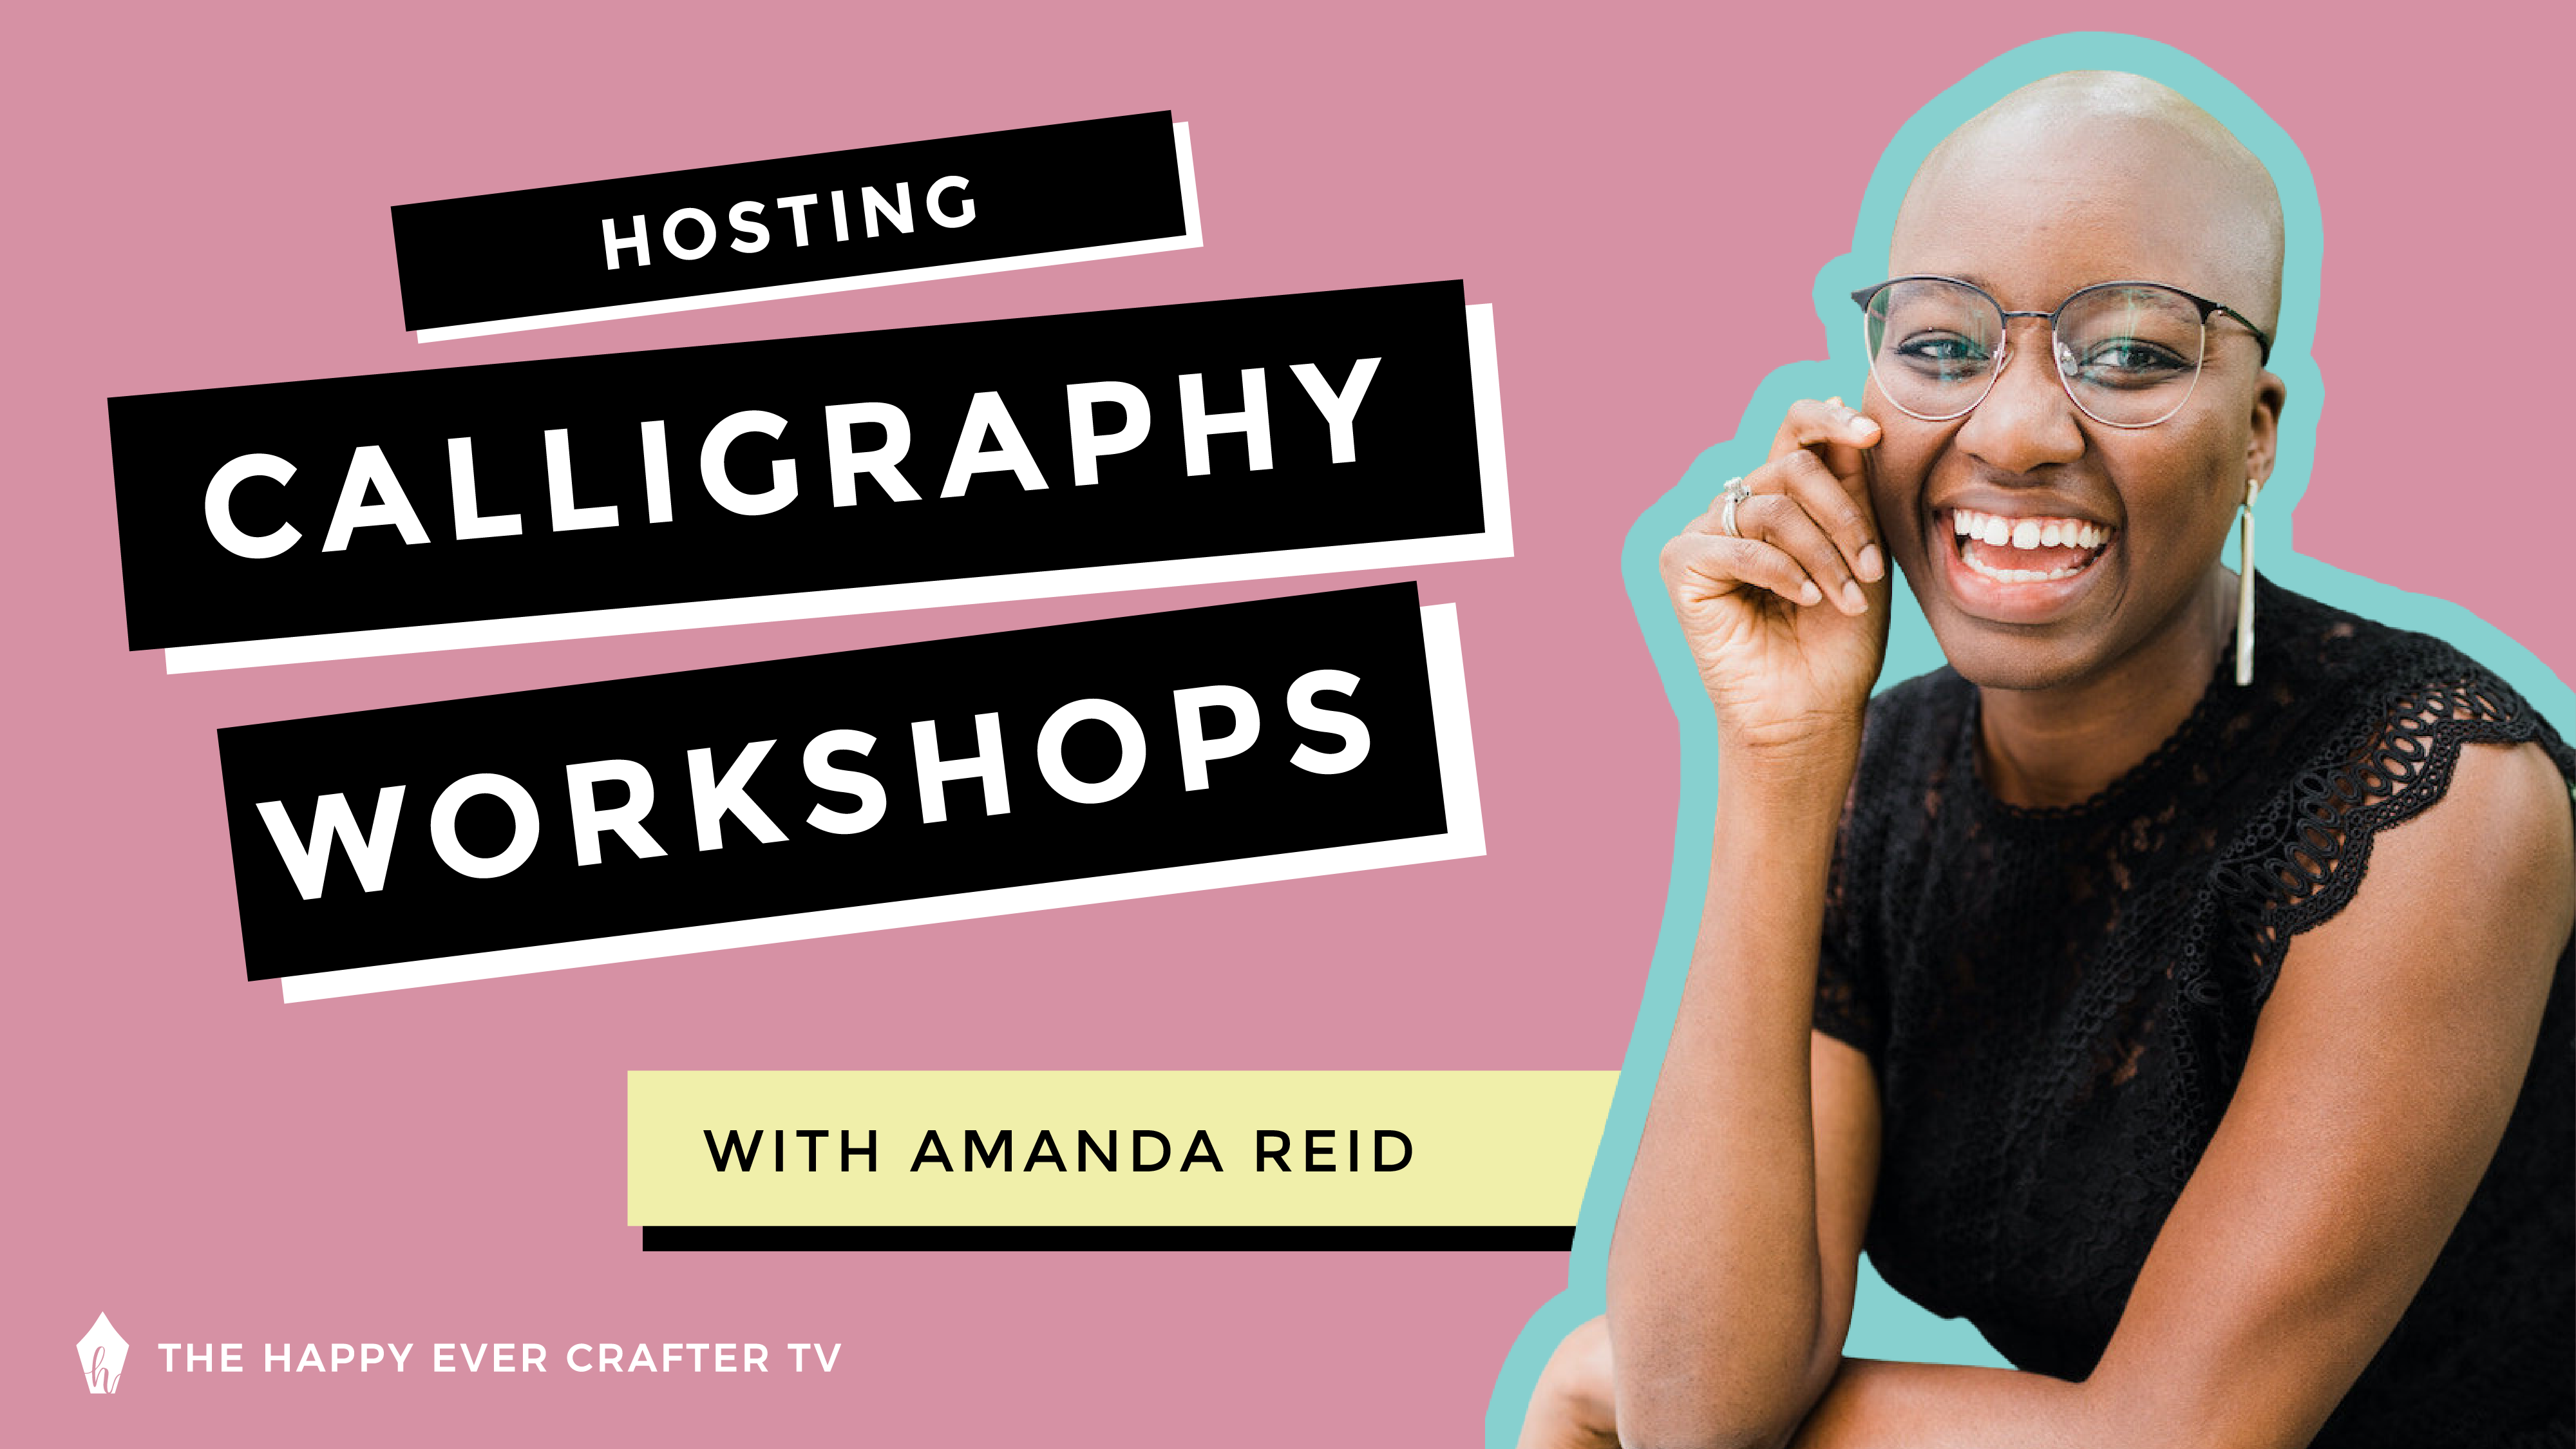
Amanda Reid is the owner of Amanda Reid Designs and the founder of Calligraphers of Color. She does custom lettering for brands and clients and also hosts a ton of workshops! She’s baaaasically an expert, which is why I asked her to share her best tips for hosting workshops!
Prefer to watch? Click below and find out Amanda’s top five tips for hosting a killer calligraphy workshop!
Tip Number 1: Know your audience
Make sure you know what kinds of students you like to teach. This will help you set the tone for your workshop. Some students are there for something fun to do. Others are there to learn (really learn) and are super focused on learning and the process. Some students are probably a mix of both.
They may want to know where you’re going with the lessons, how in depth you’re going to go, etc. Be sure you put it in your product description exactly what you’re going to teach. It’s great to manage expectations from the very beginning. And be sure you are ready for nitty gritty questions that may come up during the workshop.
Tip Number 2: Be more than just a teacher
Your students are coming for an EXPERIENCE. You need to be intentional to interact and engage with everyone at your workshop. Make sure they’re comfortable, holding the pen like they’re supposed to, following the strokes, etc.
People want to learn from YOU. That’s why they’re taking YOUR workshop. Be individualist, show your personality. Known for your dad jokes? Make sure to crack some during the workshop? Love to dance and enjoy good music? Make sure you have a great playlist going.
Tip Number 3: Get your [stuff] together
Prepare. Prepare. Prepare. Keep it simple and not too complicated. People are paying you – you need to know what you’re talking about, have a curriculum ahead of time, have all of the supplies they need, etc. Nothing worse than a host being disorganized or unprepared.
It doesn’t hurt to be over-prepared. This can ease your mind and nerves. Host a mock workshop if needed. Have extra sets of supplies. Have a detailed and timed schedule. Make sure you can come early to lay everything out.
Hack: Use a flip chart! Make a workbook on the flip paper to flip through during your workshop. This allows everyone to see what you’re doing.
Tip Number 4: Find a good location
Venue can really impact the overall experience. The location needs to be big enough that every student has enough space for all their supplies (no one wants to be cramped). It needs to be well-lit and not too loud.
Cost is something to be super mindful of when choosing a venue. Some places take a percentage of ticket sales, some take a flat fee (make sure to include time needed for setup and cleanup).
Work with small businesses – network, ask around. Small businesses want people in their space.
Tip Number 5: Follow-up
Reach out to your students after the workshop. Follow-up can help them connect with you!
Things you can include in a simple “thank you” email to them afterwards:
A list of your favourite supplies, details for future workshops if they want more, information on 1:1 teaching, encouragement to follow you on Instagram or Facebook, instructions on how to leave a review, a funny joke or thing that happened during the workshop.
You can also send a survey. Surveys are soooo important and helpful. Your students often want to help you. Keep it quick and simple. You can even make it anonymous. Friends and family are often SO helpful in the feedback survey!
Bonus Tip: Have a photographer come to the workshop and take photos for you!
This can be super expensive, so if you have a photographer friend, offer them a seat at your workshop! They can have a free seat but can bring their camera and snap a few photos for you. You can use these photos for a long time!
Don’t be afraid to connect with other creatives and trade services. Photography, venue, florals – you won’t make money on those free seats, but the value added can be huge.
What about VIRTUAL workshops?! Here are a few things to keep in mind:
Similar to Tip #4: Virtual workshops need to have a good platform and a good internet connection.
Students need to be able to see your face and what you’re writing, so you need a good setup.
You can’t see what they’re writing or how they’re holding their pen, so be sure you’re asking to see their positioning and their work. Engage with them and ask for feedback from them on how they’re doing.
You’re still giving them an experience, so still do things you would in an in-person workshop. Still do introductions, still provide worksheets (email them in advance). Make it as personal as you can!
What is Amanda’s Number One Tip for someone who is about to teach their very first workshop and is suuuuuper nervous about it?
If people ask you to teach a workshop, it means they want YOU. It’s nerve racking, yes, but you can do it! There’s a demand for your teaching, so go meet that demand!
If you want to practice in advance, host a mock workshop for friends and family. It’s super low cost, and you can see if it’s for you. This is usually MORE nerve wracking than teaching to strangers, so if you can get through it, you can do one for strangers! 🙂
And that’s a wrap!
If you’d like to connect with Amanda, you can follow her @amandareiddesigns and @calligraphersofcolor on Instagram! You can also check out Amanda’s website at amandareiddesigns.com
If you’re looking for some more workshop tips, check out this tutorial!
Workshop dad joke for you…
What kind of music do Santa’s elves play in their gift workshop?
Wrap music.


Comments