One of the most common questions I get from workshop students is “How do you write ‘love’?” Many of them want to know how to write “I love you” – it’s a frequently used word, especially in cards and letters, so I totally understand the requests. But to be honest, “love” is one of the HARDEST words to write in calligraphy.
With Valentine’s Day coming up this week, I figured it’s a pretty good time to teach you how to write “I love you.” Let’s get started!
First Things First…
The links below may be affiliate links where appropriate. This means that your purchase through these links may result in a few cents in payment to me, to support creating further resources like this one! That being said, I will never suggest supplies that I do not personally use and fully recommend.
Supplies Used
- Tombow Fudenosuke brush pen
- Rhodia Paper
- Pencil (optional)
- Monoline pen (optional)
Rather watch than read? No problem! Feel free to follow along in real-time as I letter “i love you” five different ways! ??
Thankfully you don’t need super specific supplies for this one – just a brush pen and quality paper. I used two of my personal favourites: a Tombow Fudenosuke brush pen and Rhodia graph paper. If you’re not familiar with these supplies, I have some helpful tutorials on pens and paper you can check out.
I’m going to show you how to write “i love you” five different ways using five different styles. Quick disclaimer for any calligraphy newbies out there. If you don’t have any calligraphy experience, you might struggle with this one. The techniques I use utilize the thin upstrokes and thick downstrokes that brush pens provide, so you really need to know how to use them.
If you’re a beginner and need some insight on how to use brush pens, I have a lot of videos to help (like this one).
If you’ve done calligraphy before and want to add some style to your work, these five “i love you” styles should help.
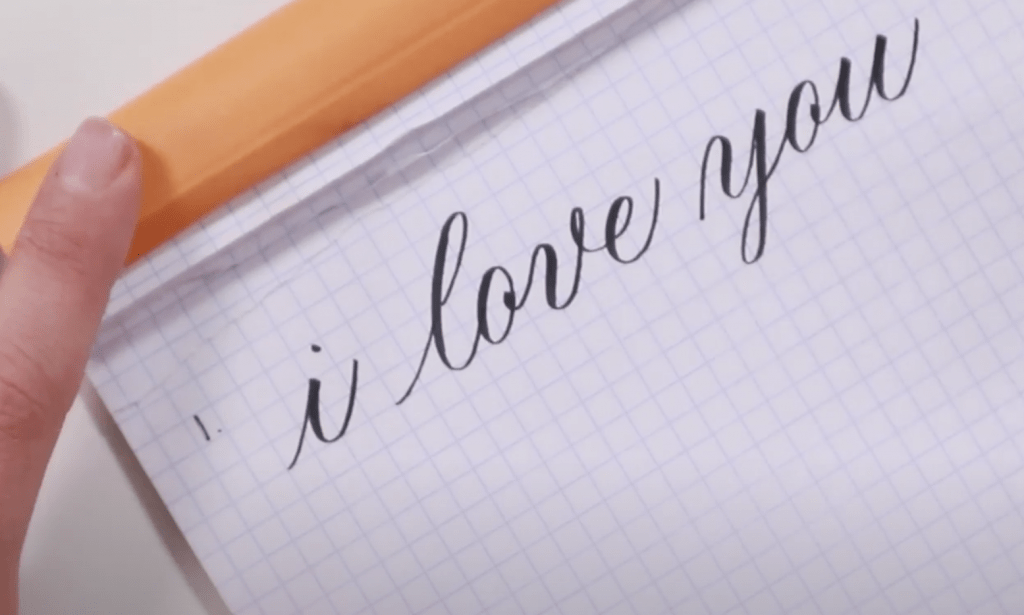
Style #1: Classic Calligraphy
This one is pretty basic. Make sure you maintain the same slant lines throughout as well as come from the baseline to the waistline every time. I used a classic style for my “o” with a comma dot to connect. The “v” can be a struggle – I used a loop to connect it to the “e”.
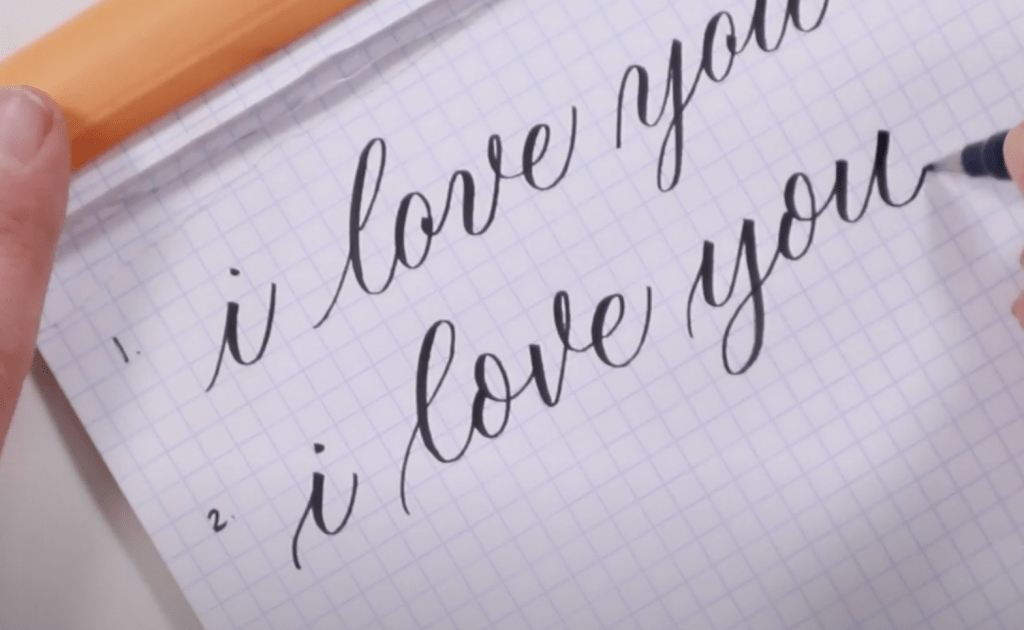
Style #2: Modern Flair
This style has a very similar layout to the first one. Change your upstroke a little bit to add a bit more flair. When writing your “l”, make the loop a little bigger. I used a more modern “o” this time and a more pointed “v”. The loop on the “v” is the same though to connect it to “e”. Add a bigger loop to your “y” (similar to how you made the “l” loop bigger). Overall, this style is a bit more bouncing.
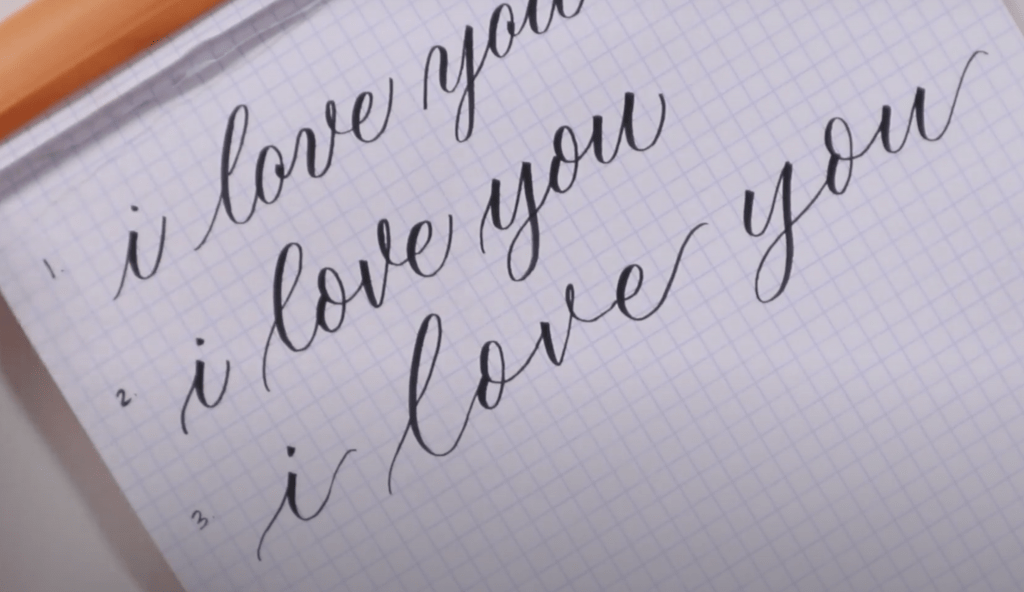
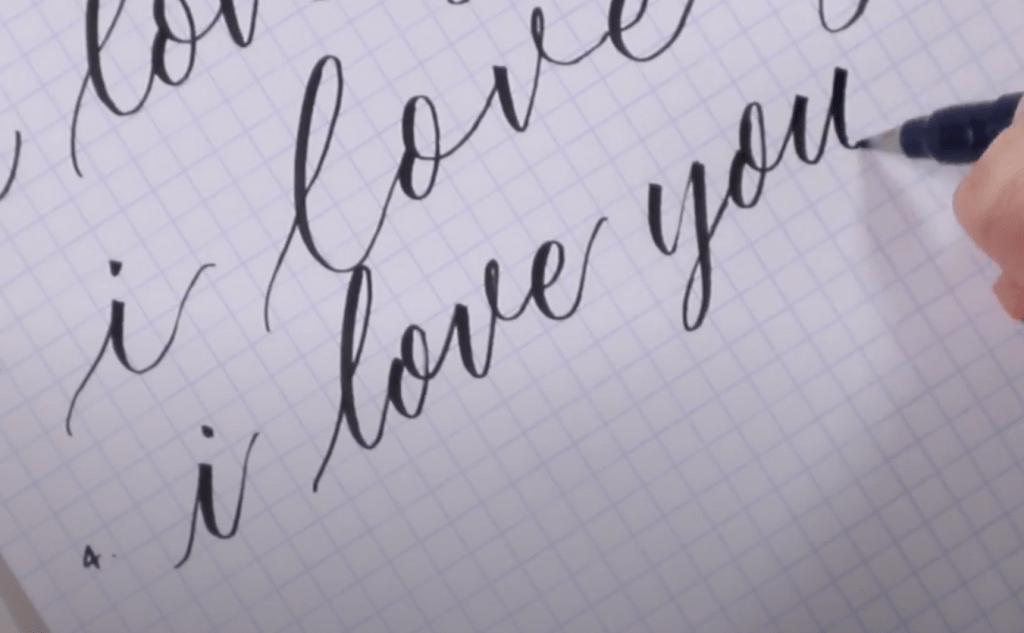
Style #3: Extended
This style is very whimsical and pretty common in Valentine’s Day cards. It is very similar to the previous two styles in terms of the strokes and the foundation of the word. However, you will stretch it out a bit. You’ll want to start by stretching out your “i”. From there, you want to stretch out between the letters all the way through.
Style #4: Condensed
Opposite of the condensed style, this one is a little more squished, a little taller, and has sharper upstrokes. You want your upstrokes to be quick and sharp. Your downstrokes will be slow – everything should be a bit heavier and more casual. Overall, the letters should be narrower and sharper with a little flair throughout.
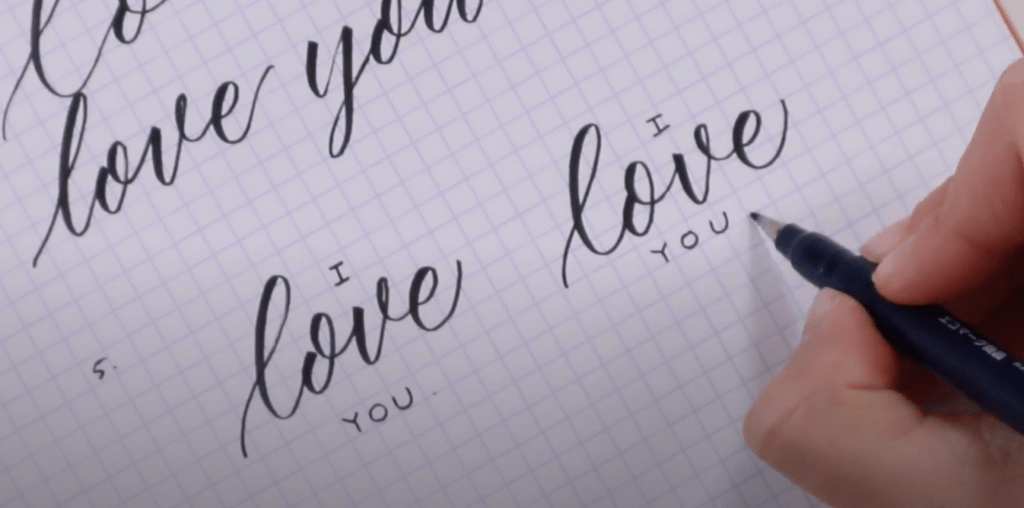
Style #5: Calligraphy and Block Lettering
This one is my personal favourite – I really enjoy combining calligraphy with block letterings! You are going to combine “love” in calligraphy with “i” and “you” in block lettering.
For the calligraphy element, pick your favourite style of “love.” My favourite style is from #2, so that’s the one I used. Feel free to use your favourite from one of the previous four styles or another style that you love (pun intended).
To finish this style, you’re going to use really simple block letters for “i” and “you”. This style is very common for greeting cards since it’s so condensed and super simple.
You can use a monoline pen or just use the brush pen you’re already using (I stuck with the Fudenosuke). I recommend centering the “you” under “love”. Feel free to use a pencil if you need. A hack for you – start with the “o” in “you” to center under “love”. Then you can add the “y” and “u” to complete it.
And that’s a wrap!
There you have it! Five different ways to write “I love you” in five different styles. I’m excited to see your creations and cards!
Looking for more hacks like the one mentioned in Style #5? Check out this tutorial on layout hacks!
Here’s a lovely dad joke for you.
Why do painters always fall for their models?
Because they love them with all of their art.


Comments