
Card tutorials are some of my most requested videos.
This tutorial can be used for anything – congratulations, thank you, thinking of you, etc.
It might *look* complicated, but I promise you, it isn’t.
Let me show you…
First Things First…
The links below may be affiliate links where appropriate. This means that your purchase through these links may result in a few cents in payment to me, to support creating further resources like this one! That being said, I will never suggest supplies that I do not personally use and fully recommend.
Supplies Used
You’ll find more about this below – keep scrolling!
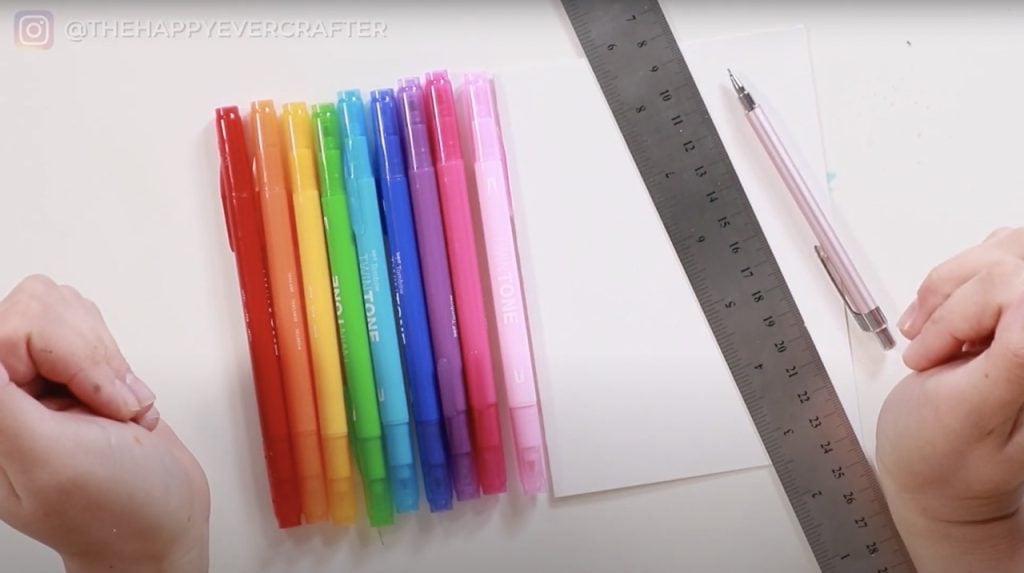
- Tombow Twin Tone Markers
- Cardstock or Paper
- Pencil
- Eraser
- Ruler
Rather watch than read? Check out the full video by clicking the video below!
What you need to know…
Gather up your supplies before you get started.
I used the fine tip of Tombow Twin Tone Markers.
Let’s Get Started!
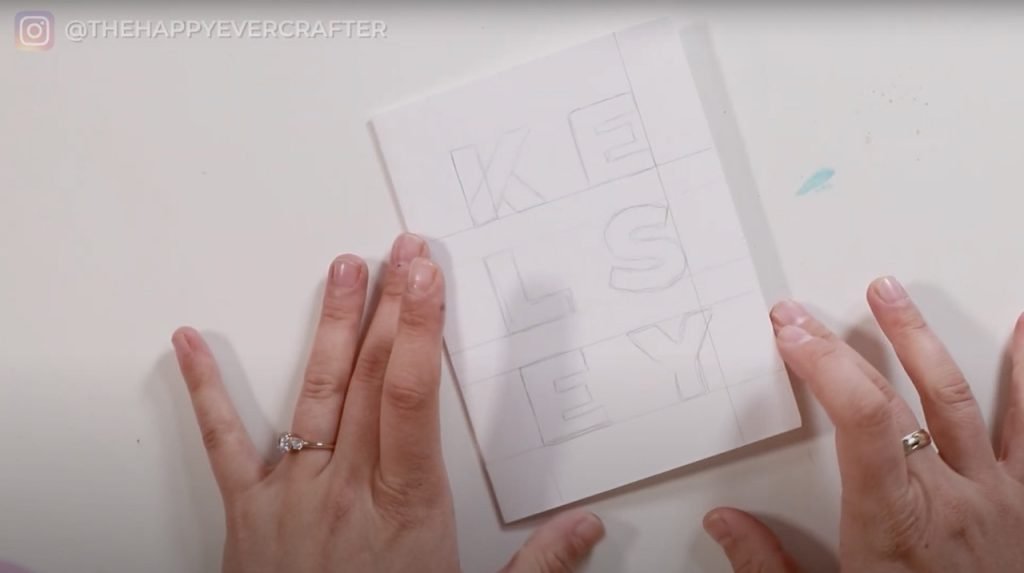
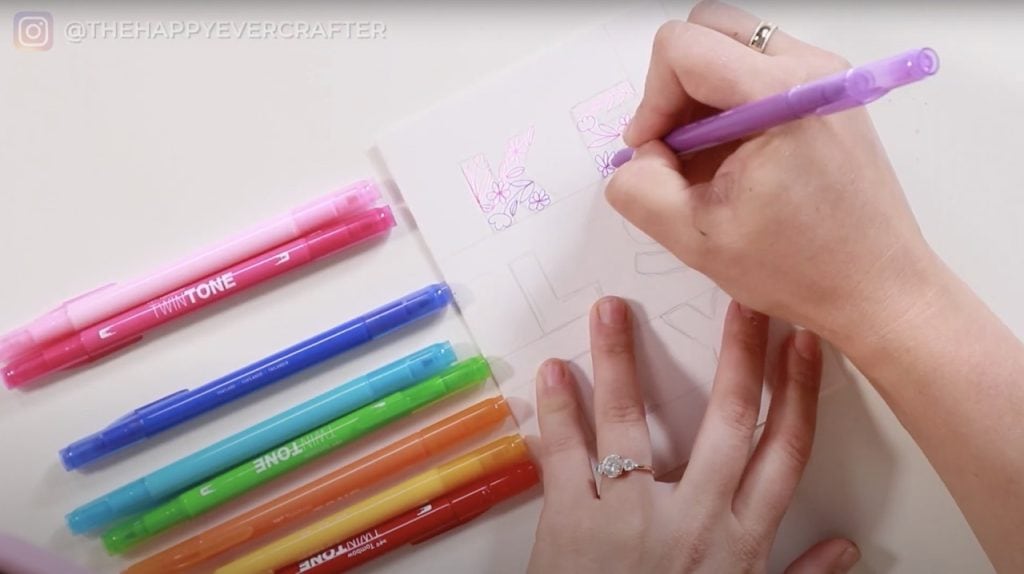
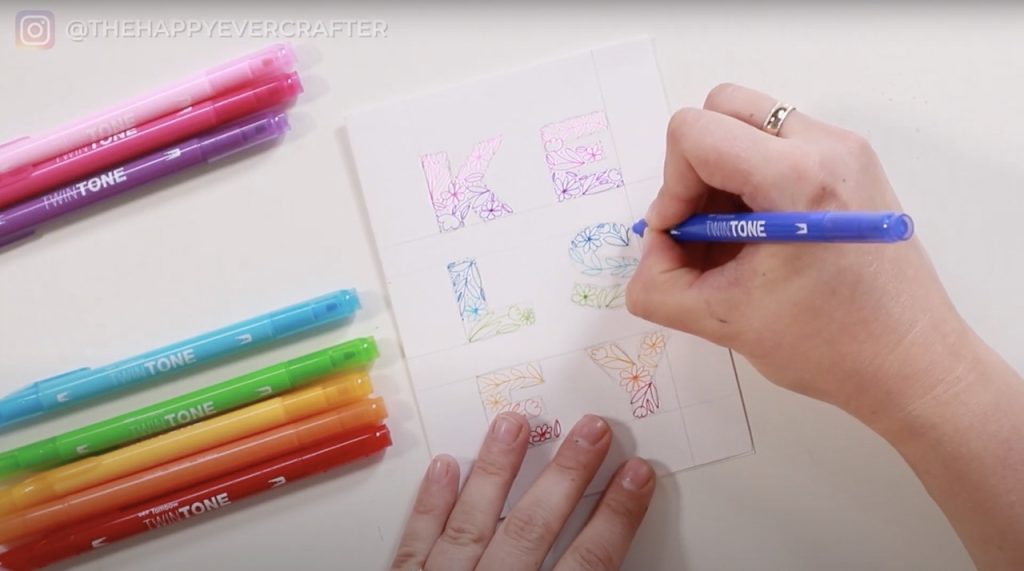
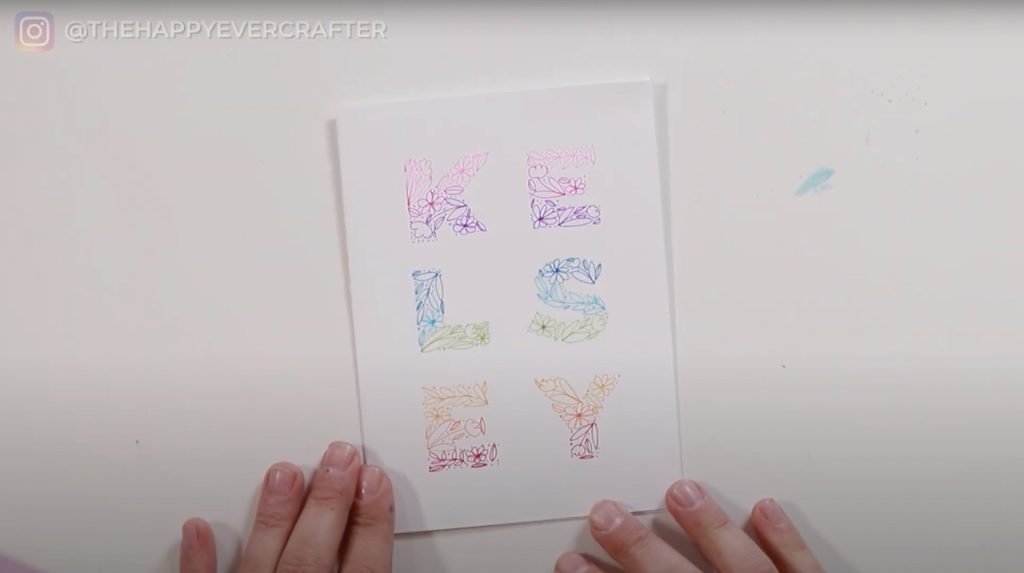
I’m going to doodle the name KELSEY since this is a thank you card for her. You can do whatever name you’d like!
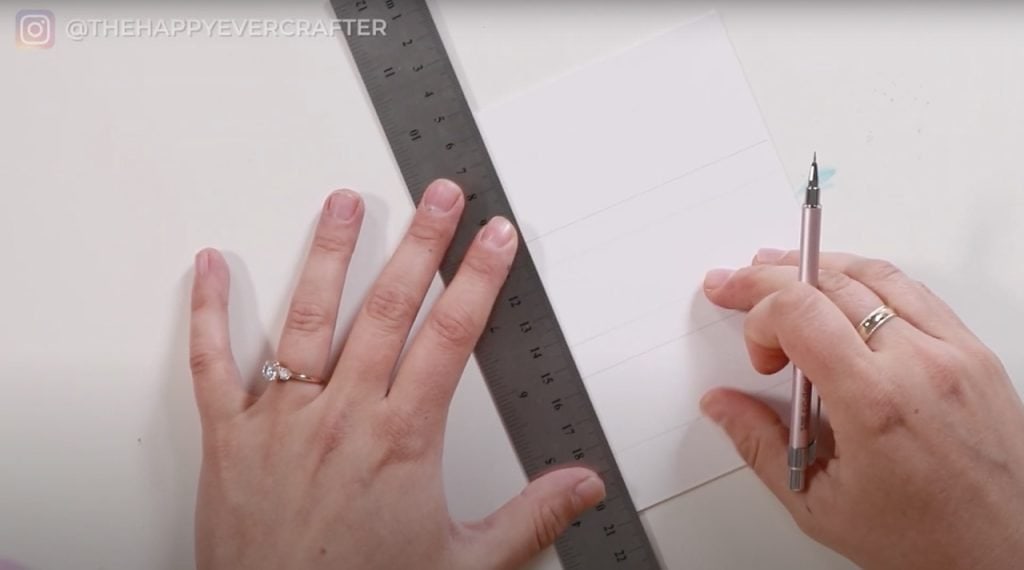
Step #1: Sketch out your margins and your letters.
Optional step: Decide what doodles you want to implement in your card design.
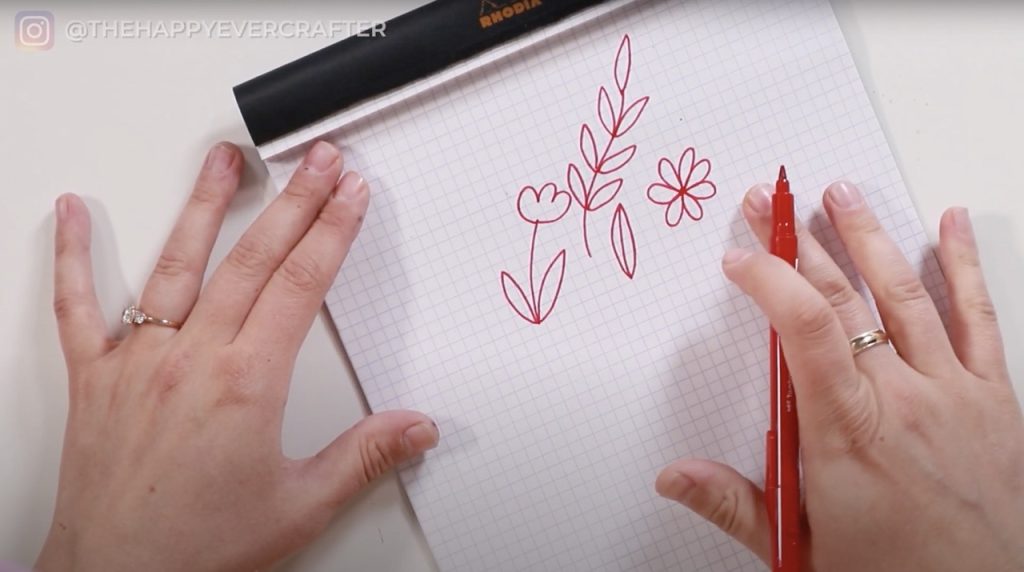
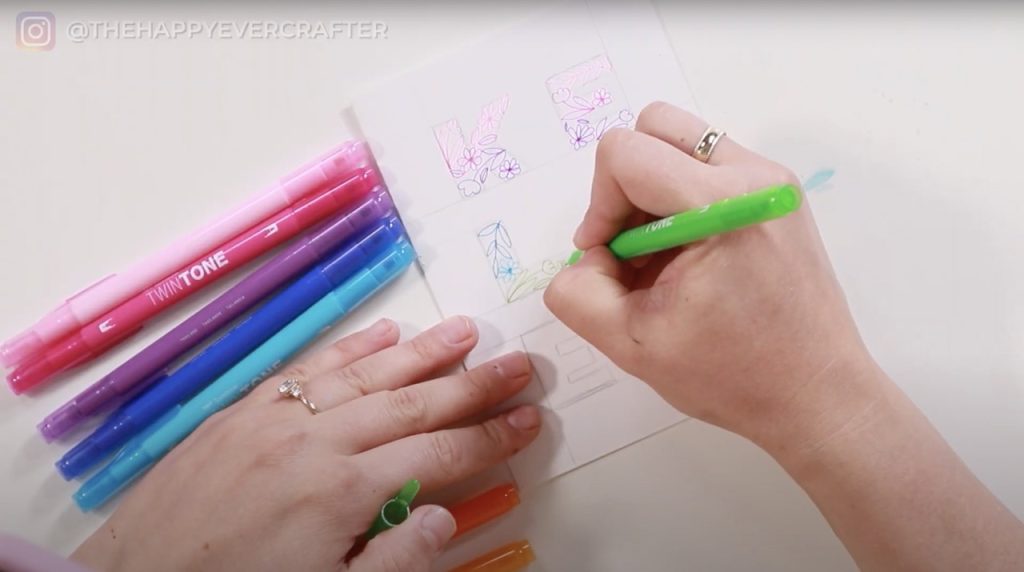
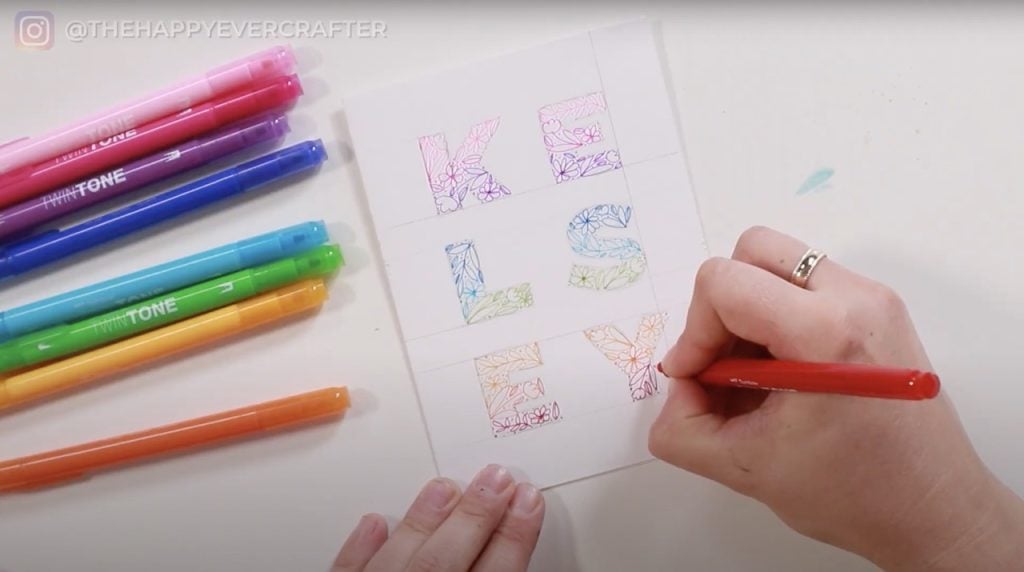
Step #2: Using your writing tools, start doodling to fill in your letters!
I used nine colours, so I used three colours for each set of letters.
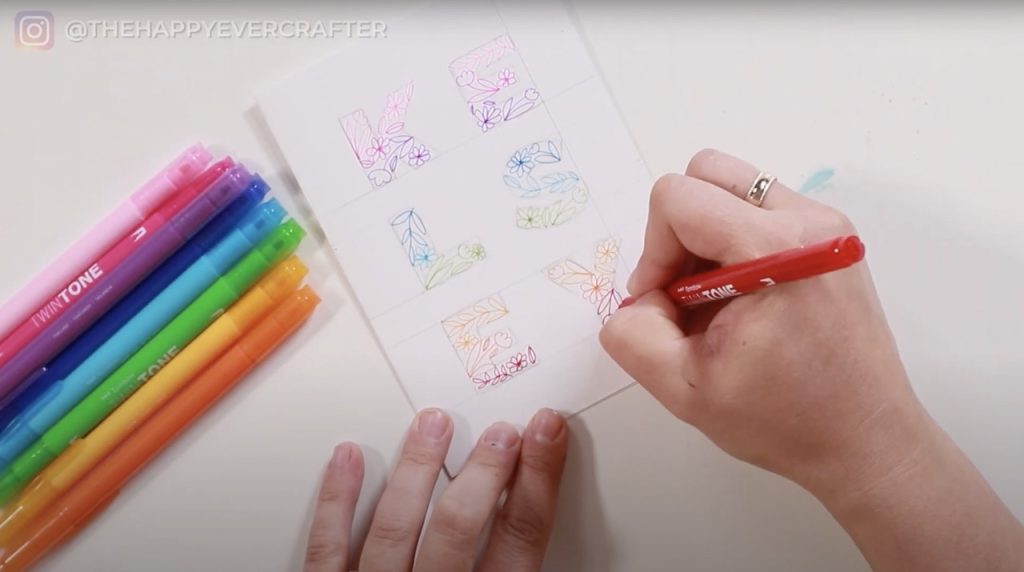
Step #3: Add more details to fill in the remaining white space.
I added small leaves and dots mostly!
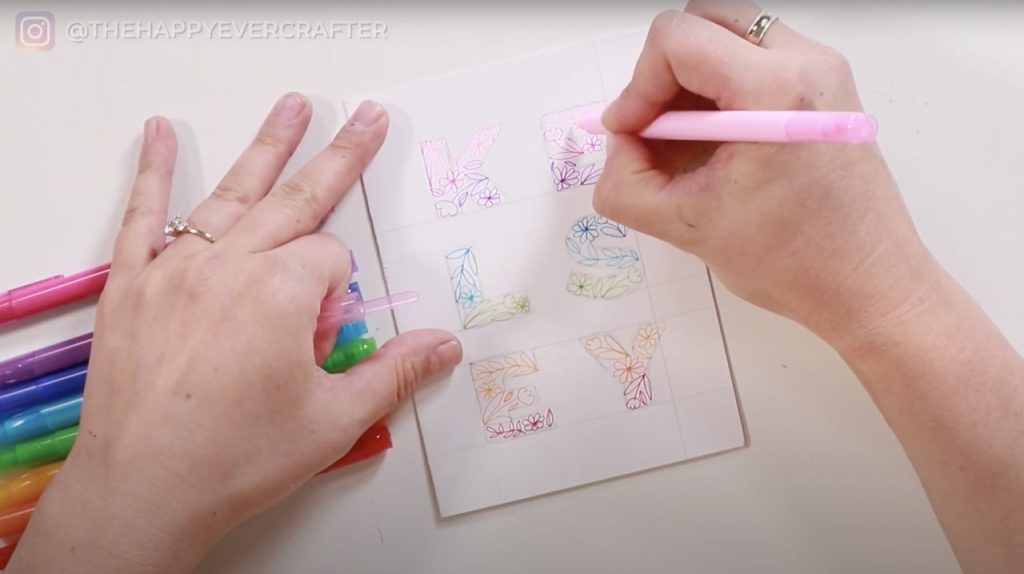
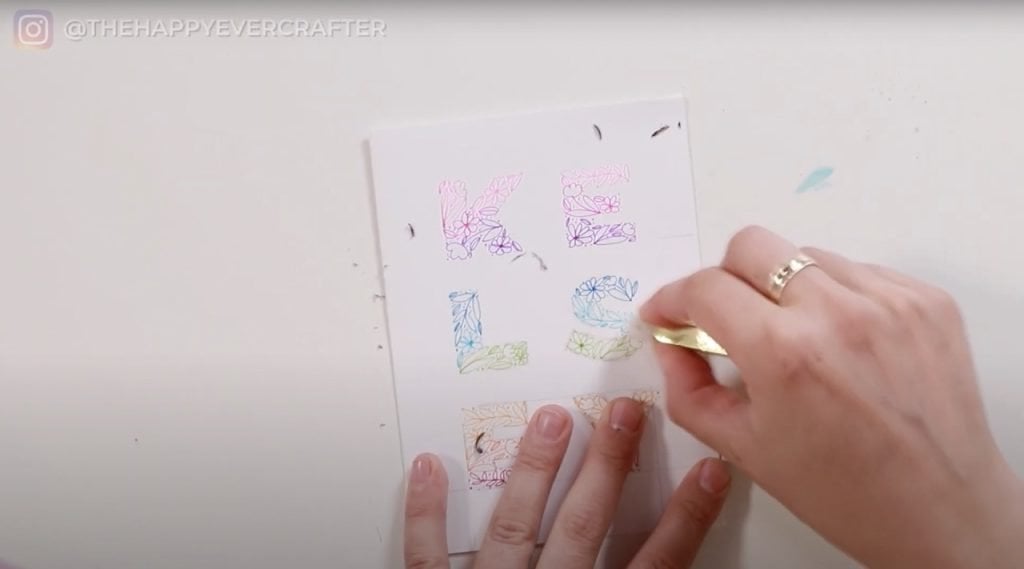
Step #4: Erase all your guidelines!
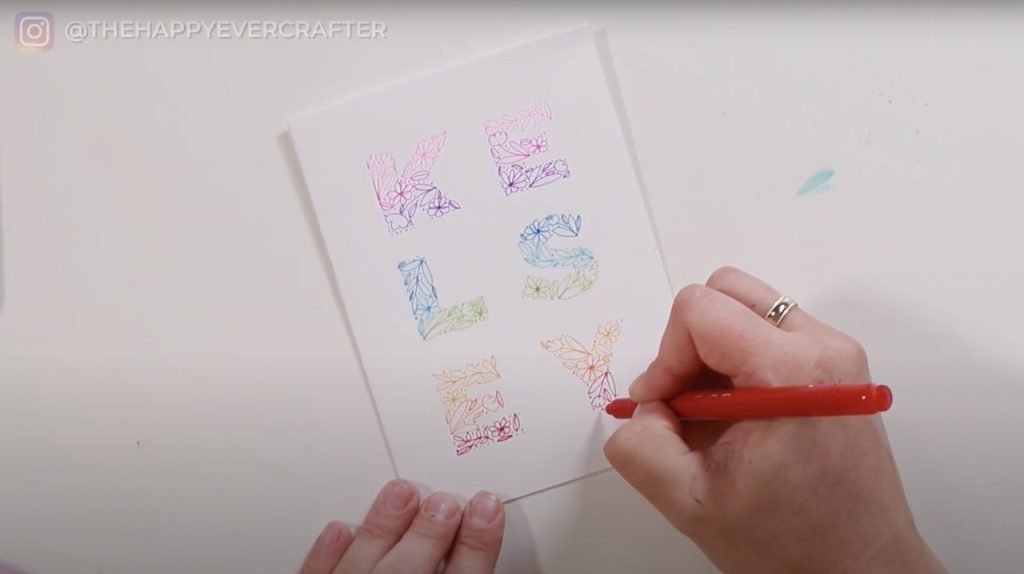
Step #5: Fill in any remaining white space.
Once all your guidelines are erased, you might notice some more white space. Grab your tools and fill those in. Again, small leaves, dots, etc.
That’s a Wrap!
You did it!
I hope you loved this card design.
If you’re looking for more card designs, check this one out.
And finally, your dad joke…
Why did the pumpkin lose the boxing match?
He let his gourd down.


Comments