One of my most common tutorial requests is birthday card designs.
While I have several up on the blog already, I made a new one for you this week!
First Things First…
The links below may be affiliate links where appropriate. This means that your purchase through these links may result in a few cents in payment to me, to support creating further resources like this one! That being said, I will never suggest supplies that I do not personally use and fully recommend.
Supplies Used
- Watercolour Paper
- Watercolour Paint – Ecoline Liquid Watercolours
- Watercolour Brush – Princeton Snap (Size 10)
- Micron Pens
- Palette
- Cutting Mat
- Ruler
- X-Acto Knife
- Washi Tape
- Paper Towel
- Jar of Water
Rather watch than read? Check out the video by clicking the video below!
What you need to know…
These greeting cards so quick, easy, and so fun to make.
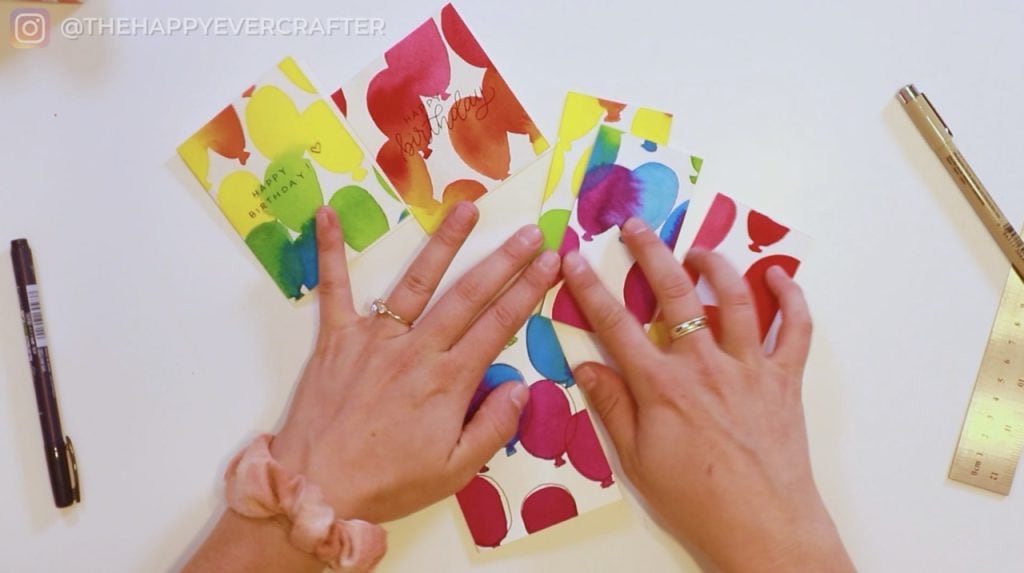
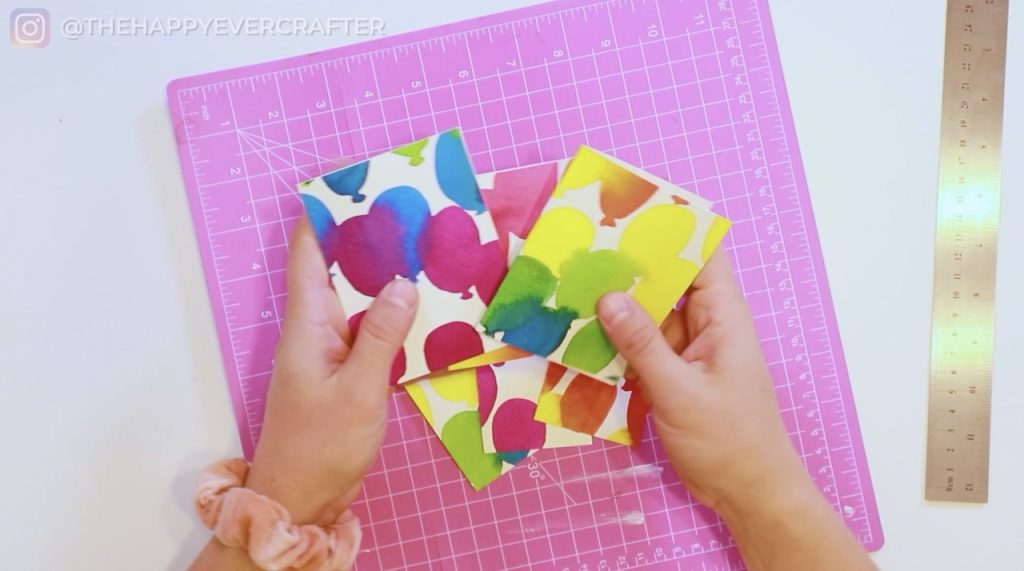
Depending on how you cut your watercolour paper, I got three small cards and three gift tags.
Keep reading for a quick overview of my process, but I highly recommend watching the video for the full tutorial.
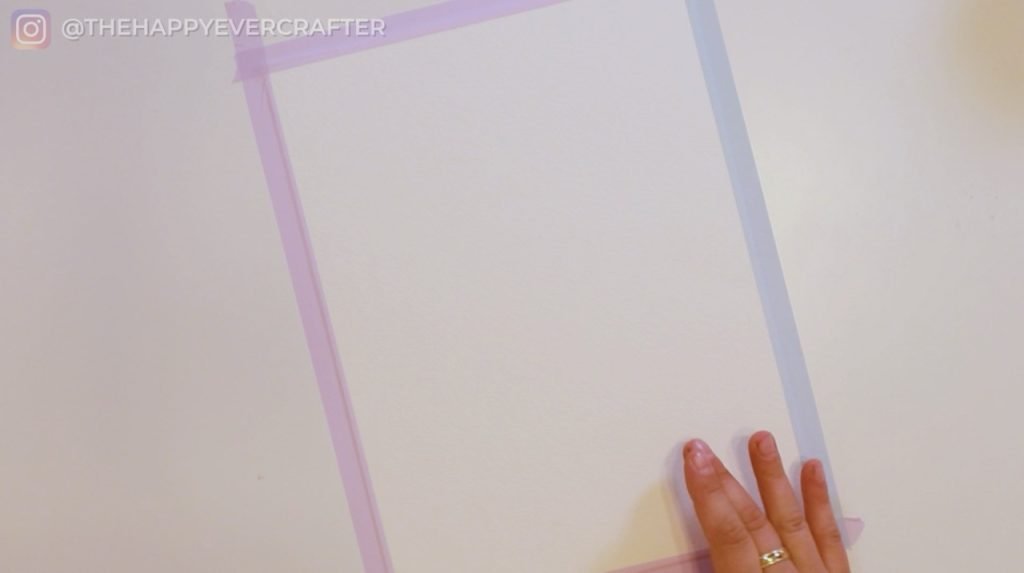
Step 1: Tape down your paper
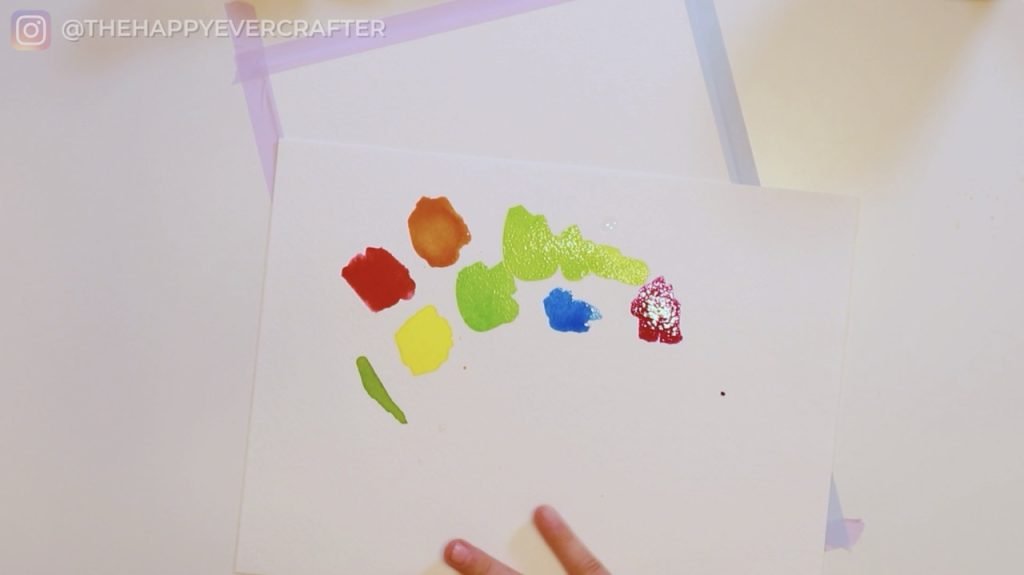
Step 2: Test out your colours
Step 3: Start painting balloons
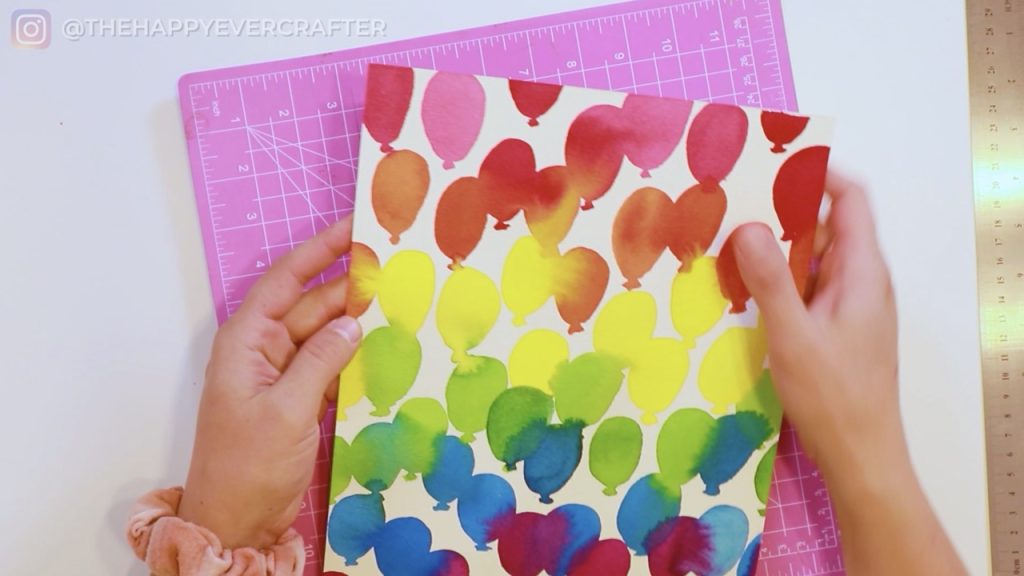
Step 4: Let the painting dry
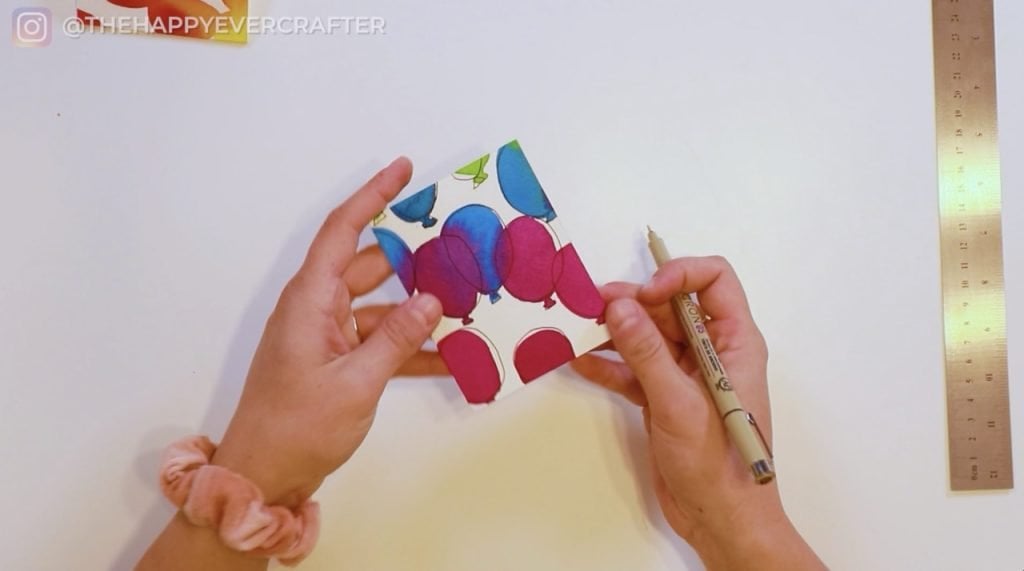
Step 5: Cut the painting into cards
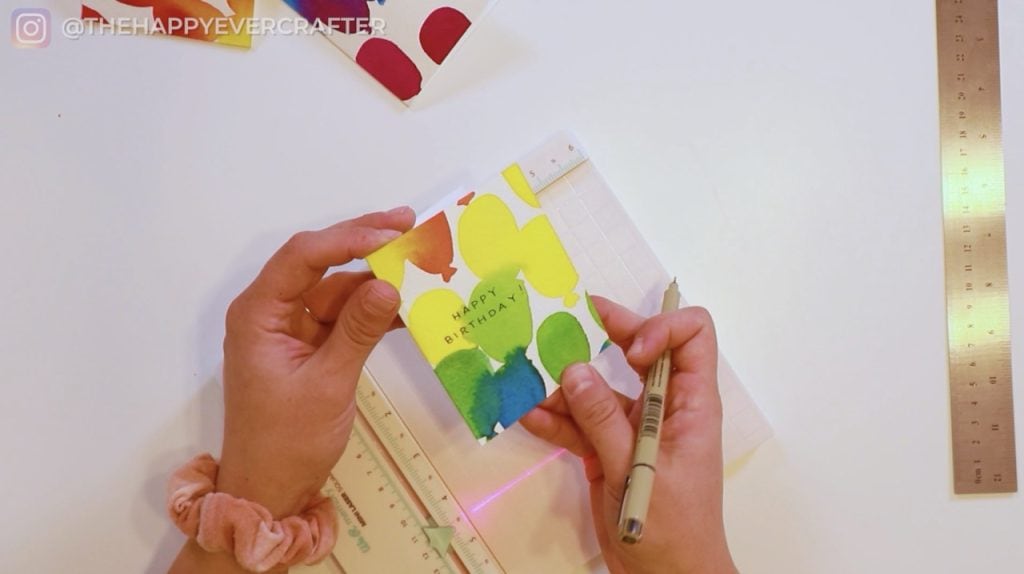
Step 6: Write your message
You can write whatever messages you’d like – both inside and outside of the card.
Calligraphy, Block letters. Pens. Paint. Get creative with it or keep it simple with “happy birthday” in black ink.
That’s a wrap!
I’d love to see your finished cards. Tag me on Instagram at @thehappyevercrafter
Looking for more birthday card tutorials?
Check these out:
- Easy DIY Calligraphy Birthday Card
- Super Simple DIY Botanical Birthday Card
- Easy DIY Watercolour Birthday Card
And finally, your dad joke…
What is a ninja’s favourite type of shoes?
Sneakers!


Comments