Nearly two years ago, Maggie Enterrios of Little Patterns came on my YouTube channel to share three colouring book hacks using her just released colouring book, Flowerscape.
To this day, it’s one of my most popular YouTube videos with nearly 200k views.
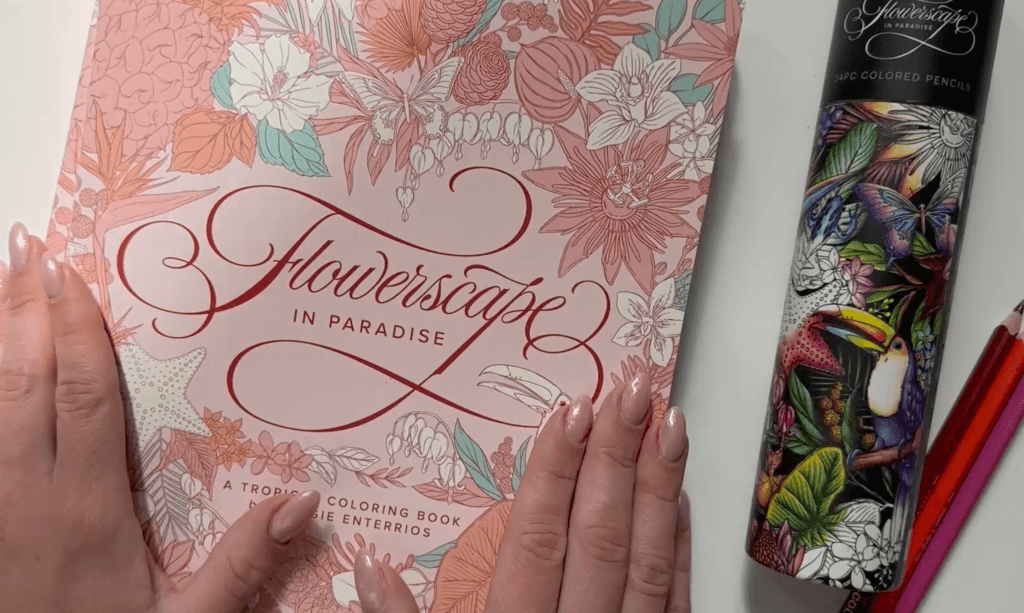
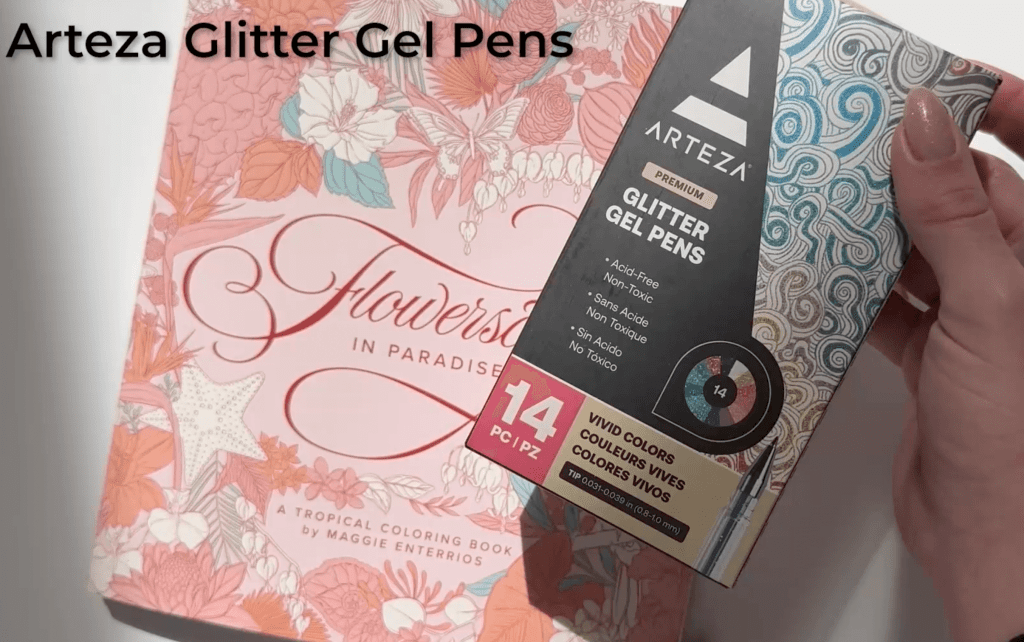
Maggie is back with a new colouring book, Flowerscape in Paradise, and it is amazing!!
And there’s a chance to win a copy of Maggie’s colouring book. Keep reading to find out how!
Meet Maggie
Maggie is an illustrator and an author. You can find her across the internet as @littlepatterns. Her first colouring book, Flowerscape, was released two years ago! Her second book, Flowerscape in Paradise, is available now!
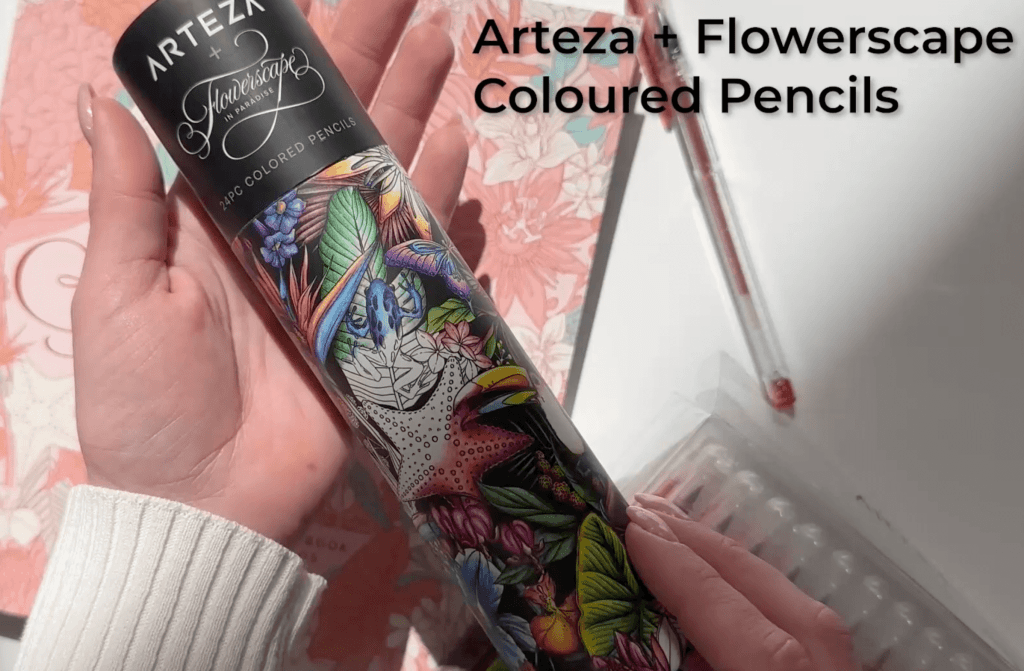
Flowerscape in Paradise is completely tropical themed. It’s based on plants from Hawaii and coastal Australia. Maggie also released her own line of coloured pencils with Arteza. The colours were handpicked and go perfectly with her new colouring book.
Maggie’s work is AMAZING. She’s called “Little Patterns” for a reason. Her colouring pages are literally little patterns. Everything is so intricate and detailed. They’re really fun to experiment with!
Maggie graciously donated a copy of her colouring book and coloured pencils (as well as the markers and gel pens she uses), so be sure to enter! Just like the video and leave a comment on which technique you liked best (over on YouTube), and you’ll be entered to win!
First Things First…
The links below may be affiliate links where appropriate. This means that your purchase through these links may result in a few cents in payment to me, to support creating further resources like this one! That being said, I will never suggest supplies that I do not personally use and fully recommend.
Supplies Used
- Flowerscape in Paradise Coloring Book
- Arteza and Flowerscape Colored Pencil Collection – this is the collection Maggie created!
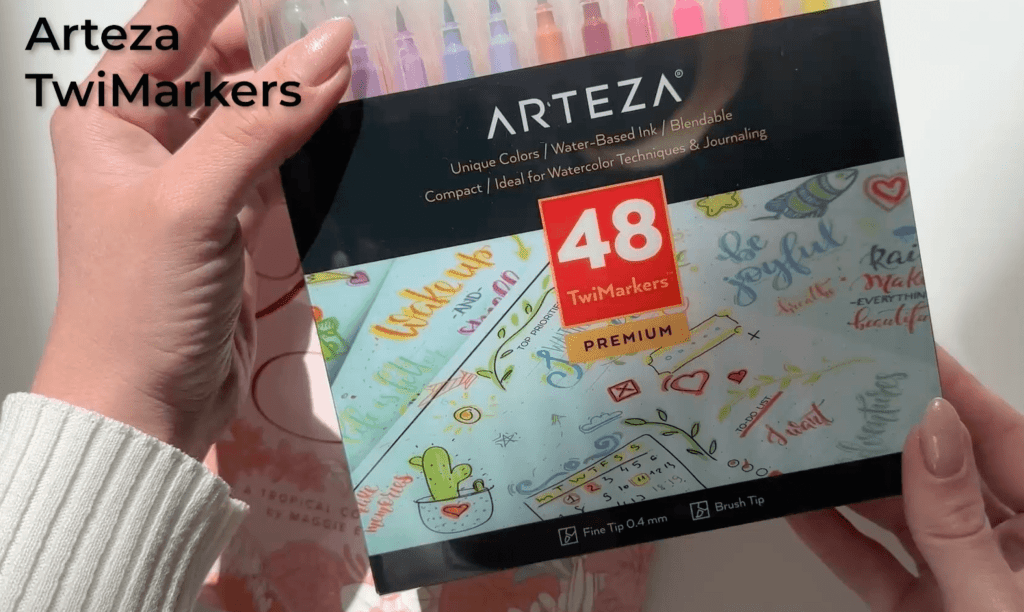
- Arteza Twi Markers – these are dual-tipped water-based markers
- Arteza Glitter Gel Pens
Rather watch than read? No problem! I definitely recommend watching this one in real-time to see Maggie work through each technique! Aaaaaaand you can enter the giveaway for a copy of Maggie’s colouring book and all the colouring supplies she used in the video!
Let’s Get Started!
Maggie’s colouring book is SO well made. It’s 96 pages on 160 GSM (the quality is amazing!). The sewn binding means it lays flat, and the paper is so thick. Each page also comes with a QR code for easy colouring references.
Maggie thought of everything!
In Maggie’s full tutorial, she shows three different colouring techniques. I definitely recommend watching the full video (link above). If videos aren’t your thing though, you can get a step-by-step below.
Technique #1: Mixed Media
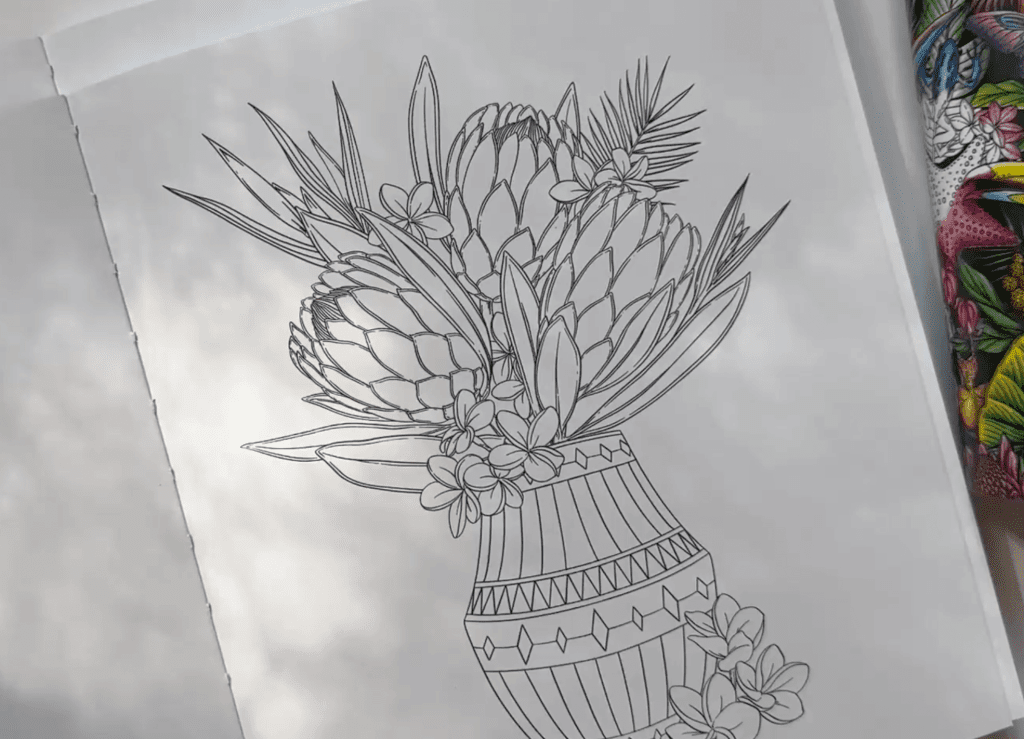
For this technique, you will need watercolour markers, coloured pencils, and gel pens.
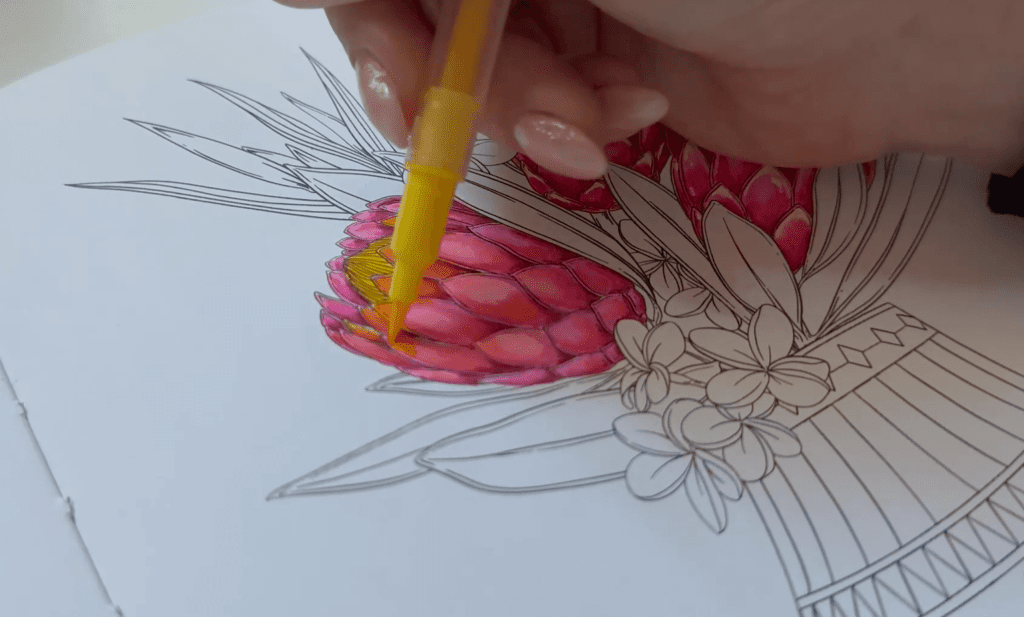
Marker colours used: two pink tones (blush pink and watermelon) and one yellow (lemon yellow)
Coloured pencil colours used: hot pink, tangerine orange, and red
Gel pen colour used: white
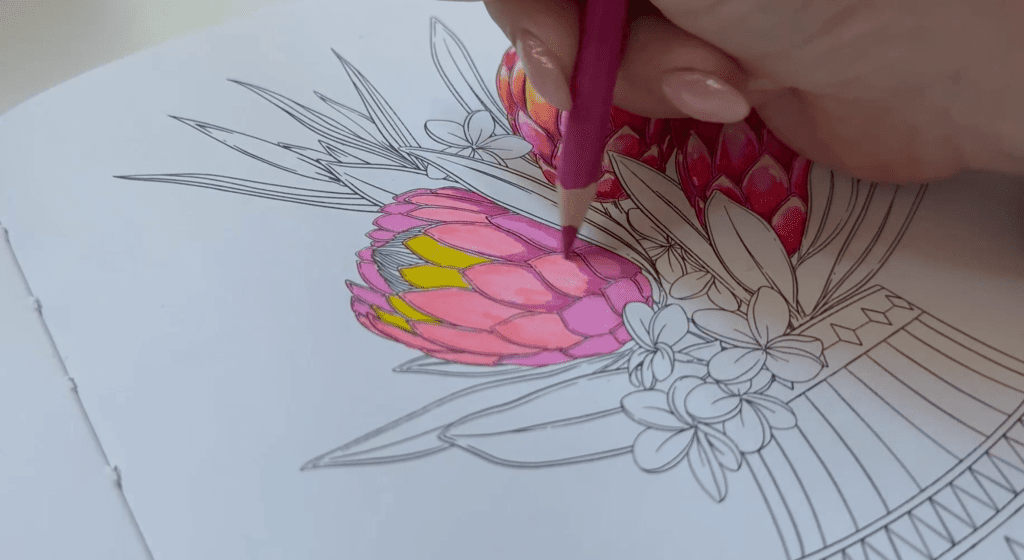
Start by colour blocking the large pedals using your water-based markers. Maggie started with one pink at the bottom, moved to the other pink shade, and used yellow at the top.
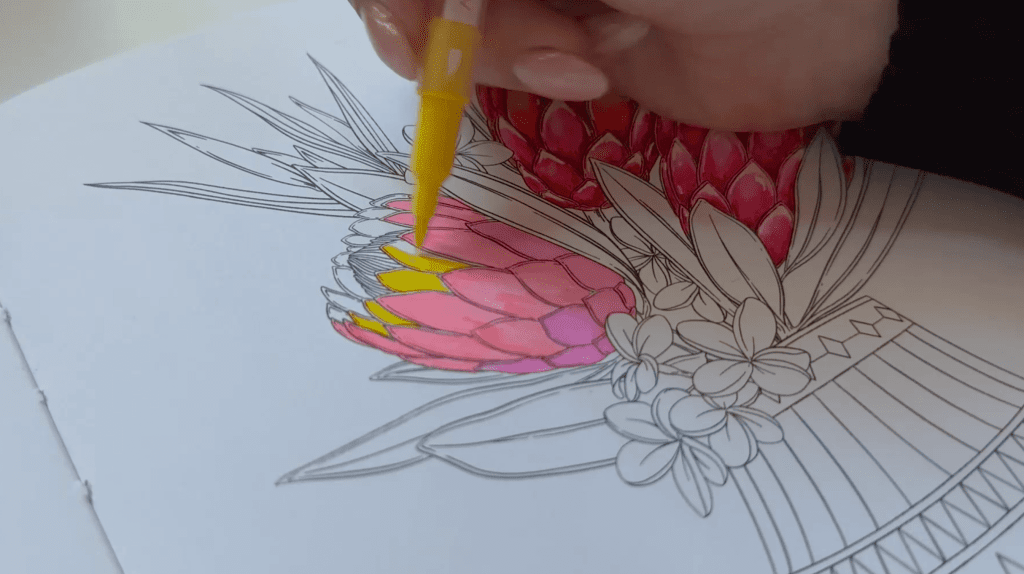
No need to be perfect here! It’s okay if colours overlap.
Time for some shading and details!
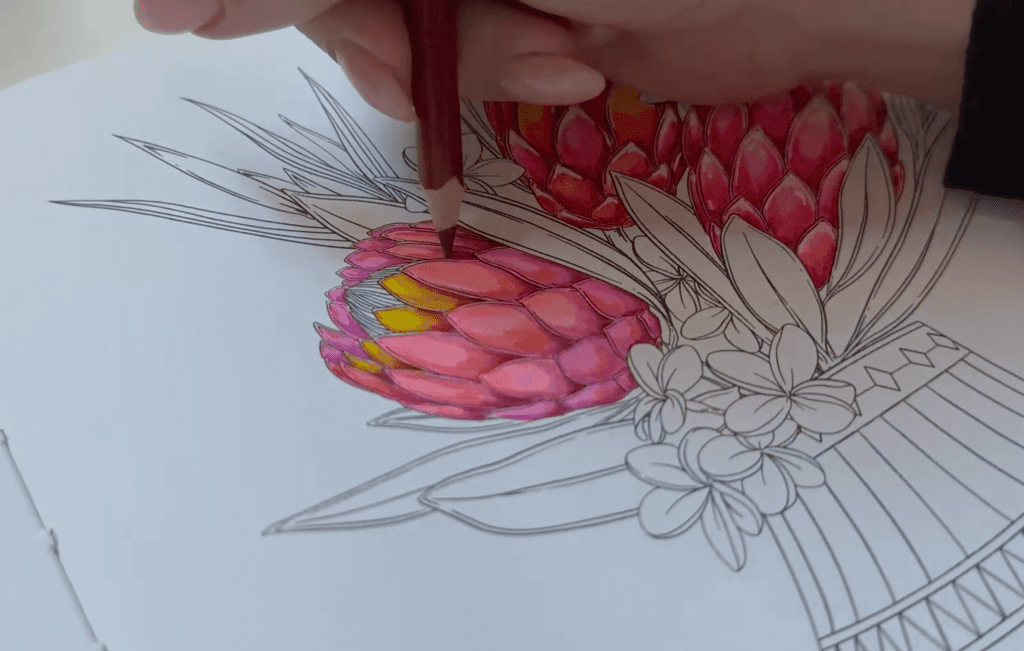
Using your pink coloured pencil, add shading to the bottom of each petal (even the yellow ones). You will create a U shape in each pedal. If a petal is near another flower, feel free to add extra shading. You want to create some shadows and dimension with your shading.
By using the same coloured pencil colour, you will start to unify the various pedal colours.
Once you finish adding shading with your pink coloured pencil, it’s time to add your orange. You don’t need to add it to every single pedal, but this helps add some additional dimension and tons. You can add the orange right above the little U shade that you just added with pink.

Feel free to play around with this a bit. You’re adding tone variance, so feel free to add more to some than others – you don’t want everything identical.
Next grab your red coloured pencil. With a heavier hand, add some red in the spaces between pedals. This will make each pedal pop when you add some V shapes of red at the base of each one. You’re deepening shadows.
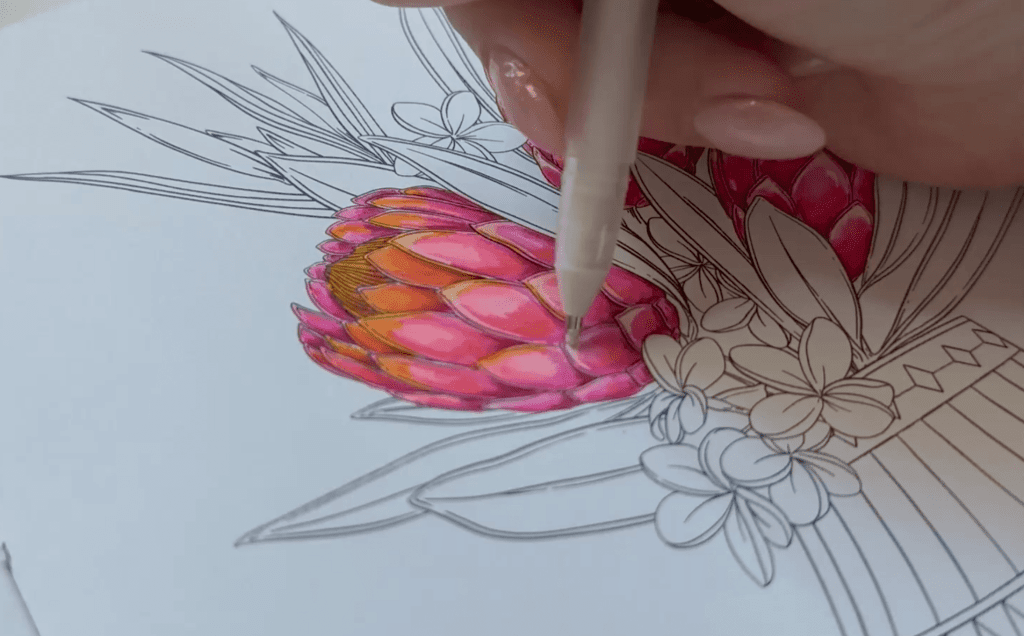
Next grab your markers again – it’s time to blend! Using the markers, swipe along the each pedals to blend the coloured pencil and marker together. It’s almost like watercolour painting!
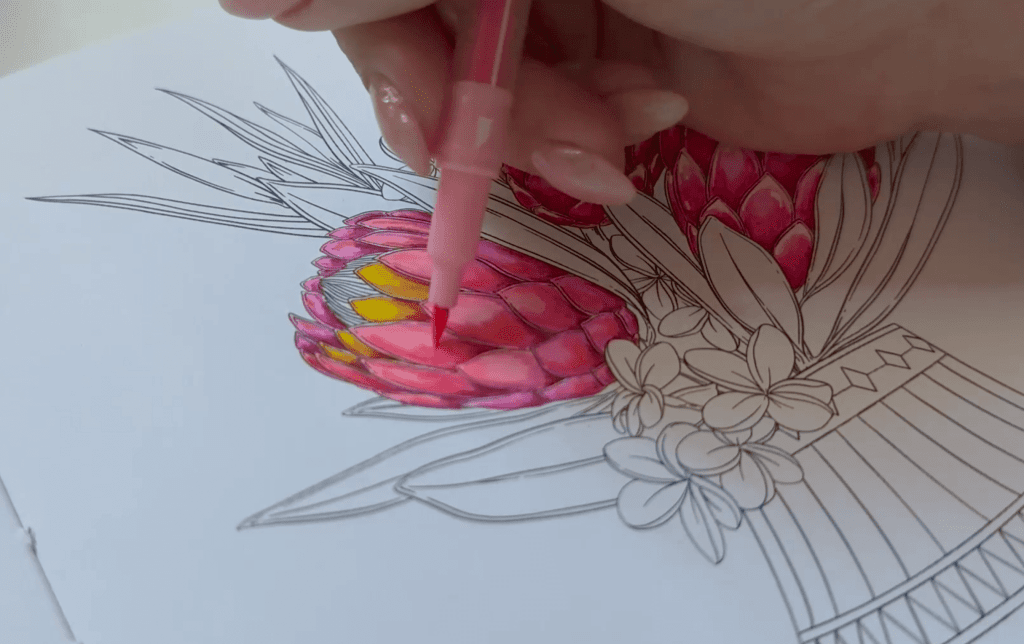
The yellow marker from the initial colour blocking turns into this beautiful apricot colour.
No need to be perfect on this step either. Have fun with it!
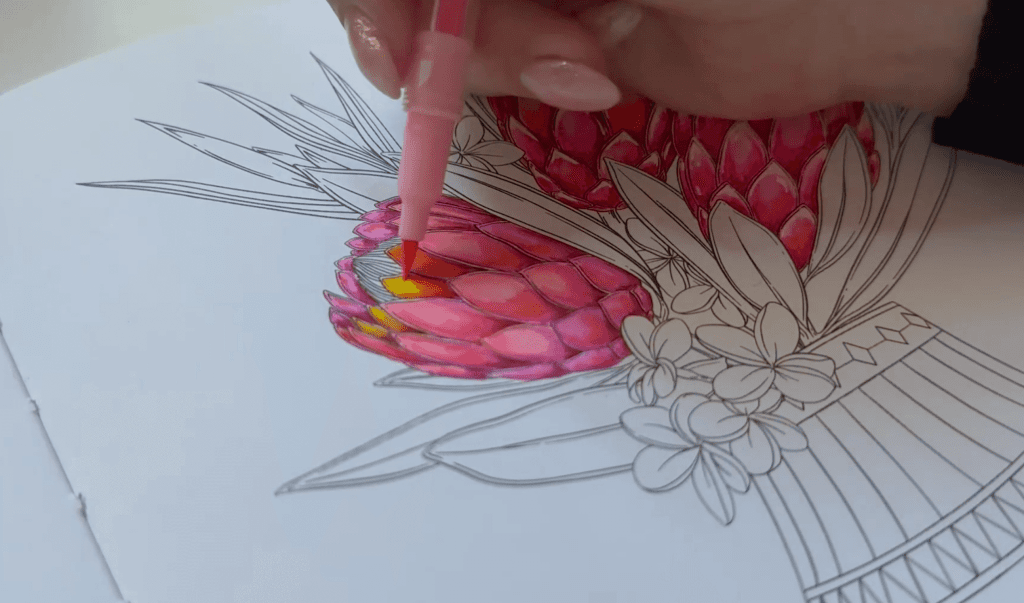
Next fill in the center of your flower with your yellow marker. Feel free to add some yellow to other pedals too for more dimension and blending.
You can then add some pink coloured pencil to the center.

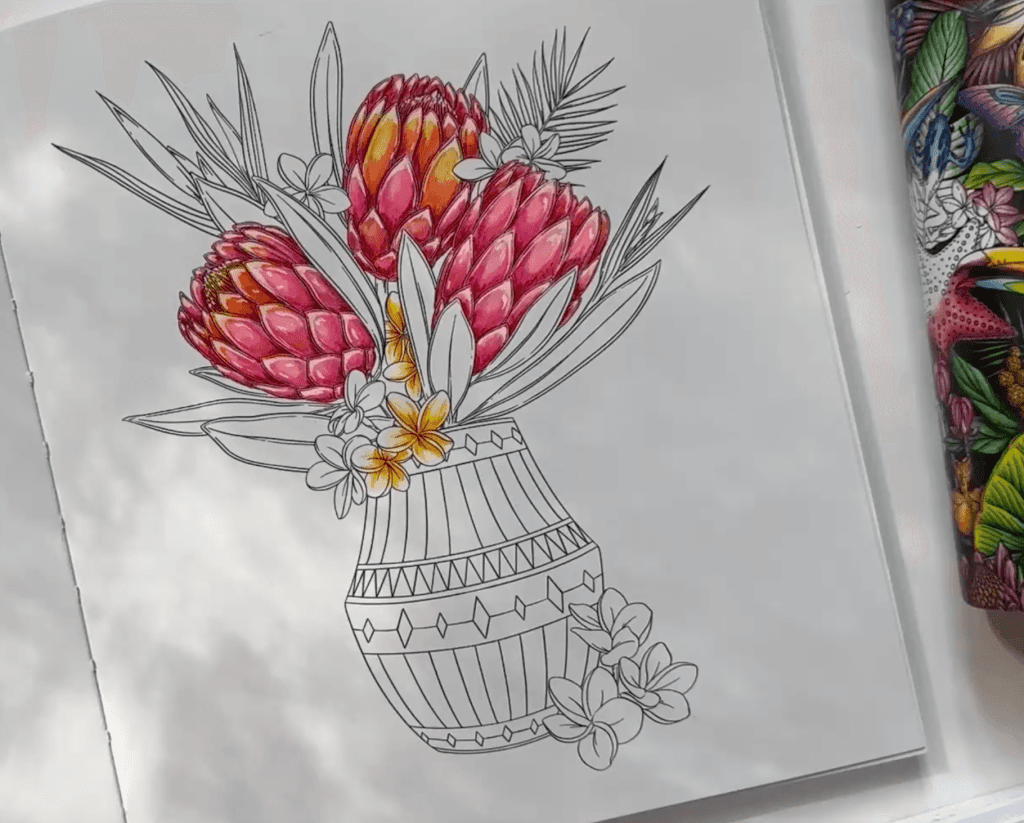
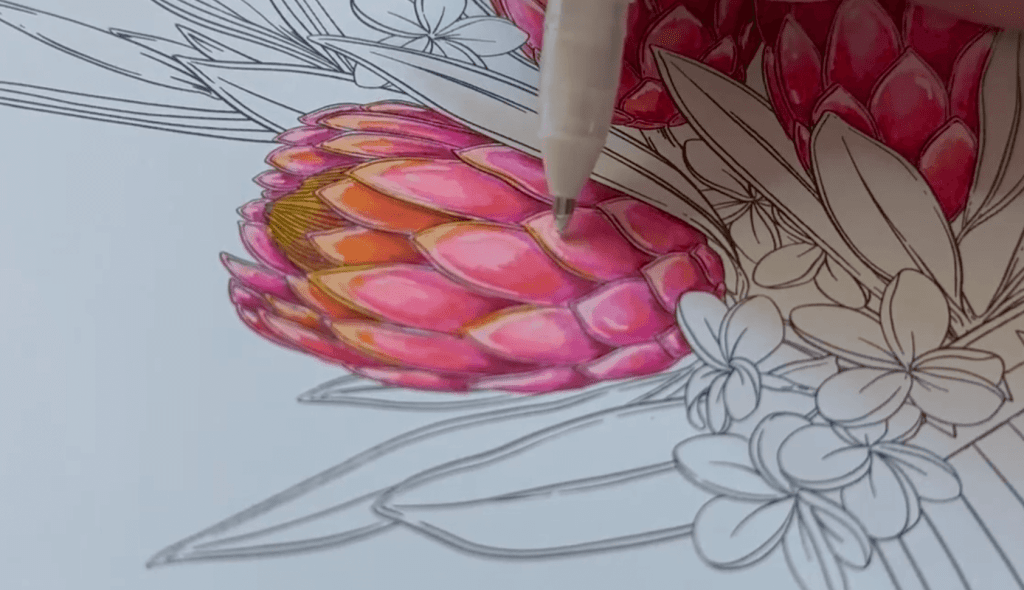
Now that all your colour is laid down, it’s time to add pops of white with your gel pen. You’ll be working on the tips of the pedals now instead of the bases. Add a fan shape downwards from the very tip of each pedal to create highlights.
You can also add a few along the sides of your pedals to add interest. Little lines or dots here and there will add some more pop. Don’t forget to add some dots to your center too.
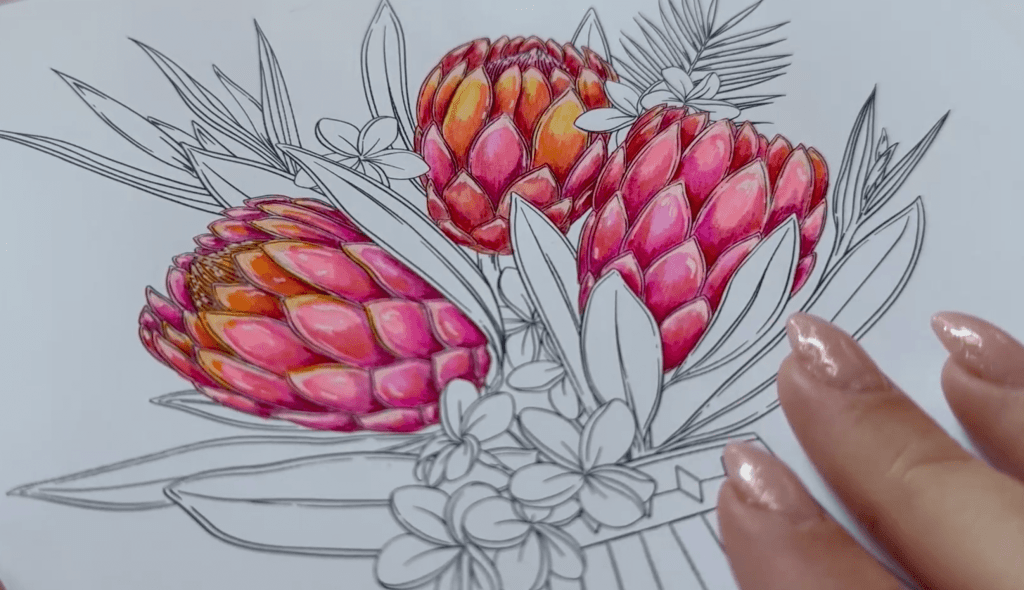
And there you have it! Your coloured protea flower using mixed media markers, coloured pencils and gel pen with a gradient effect.
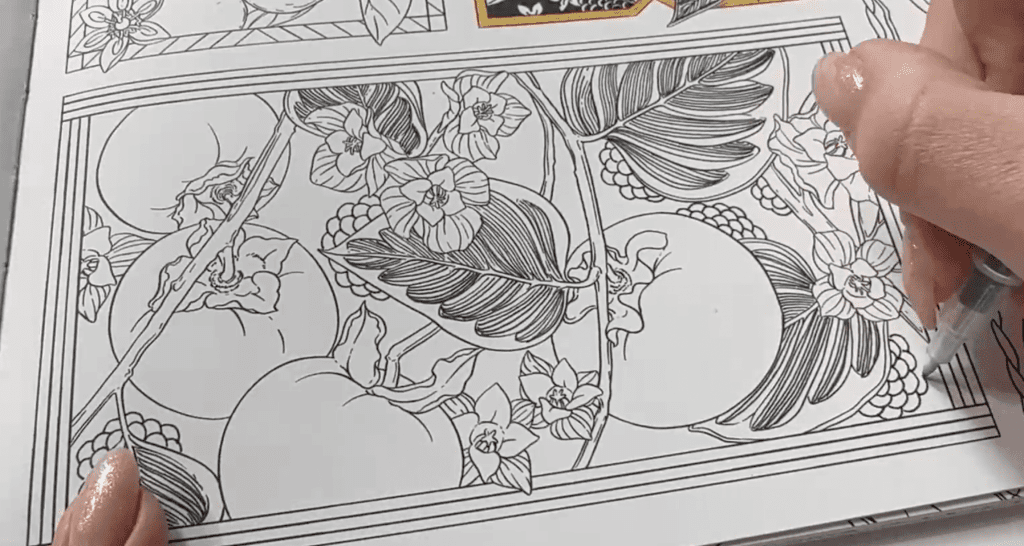
Technique 2: Negative Space and Gold Detailing
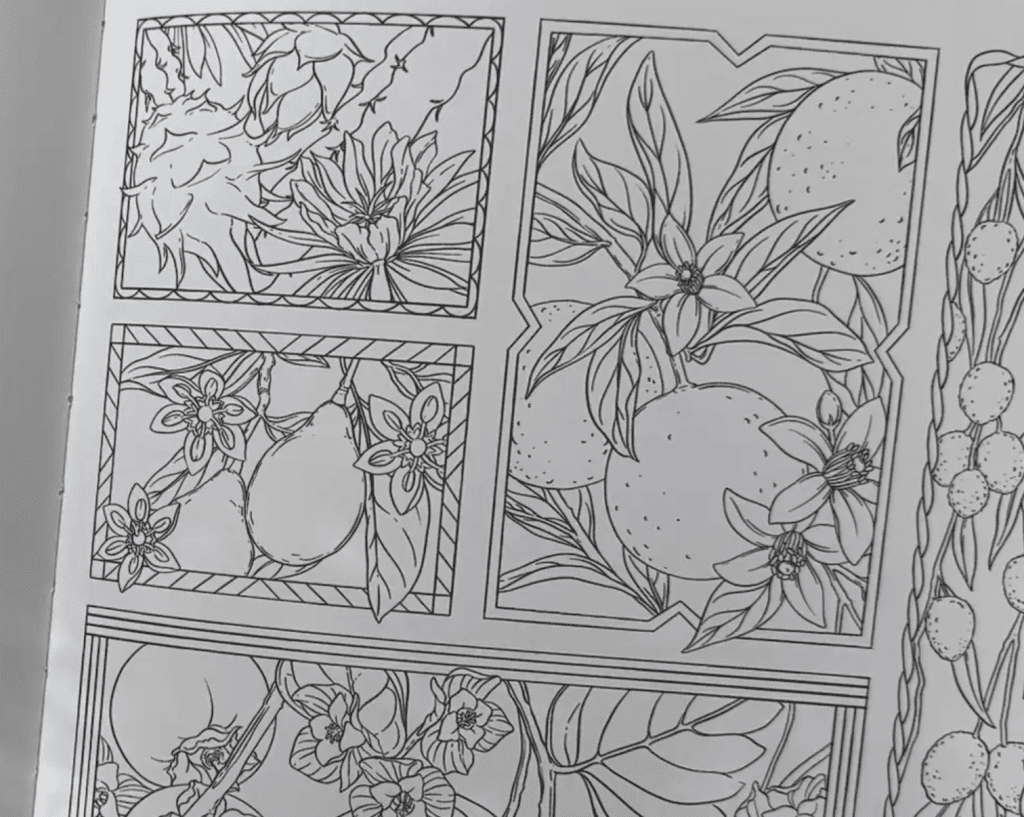
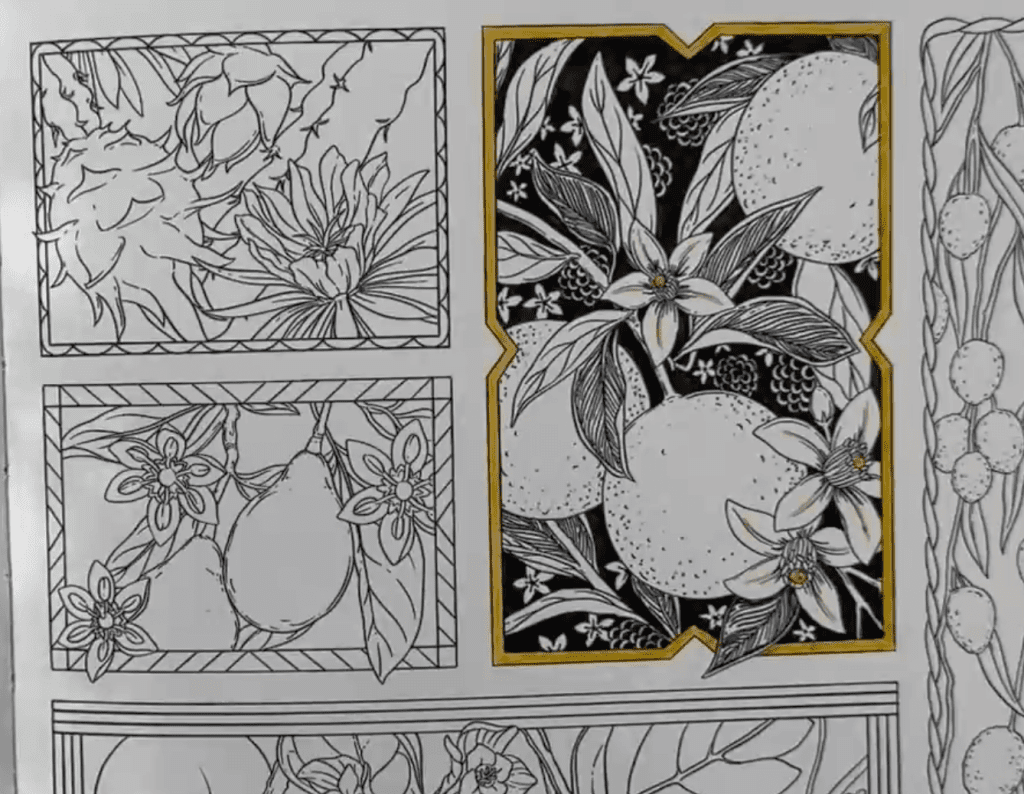
All you need for this technique is a black water-based marker and a gold gel pen.
To start, add some shading by creating strokes (using the fine nib end of your black marker) to some of the larger leaves.
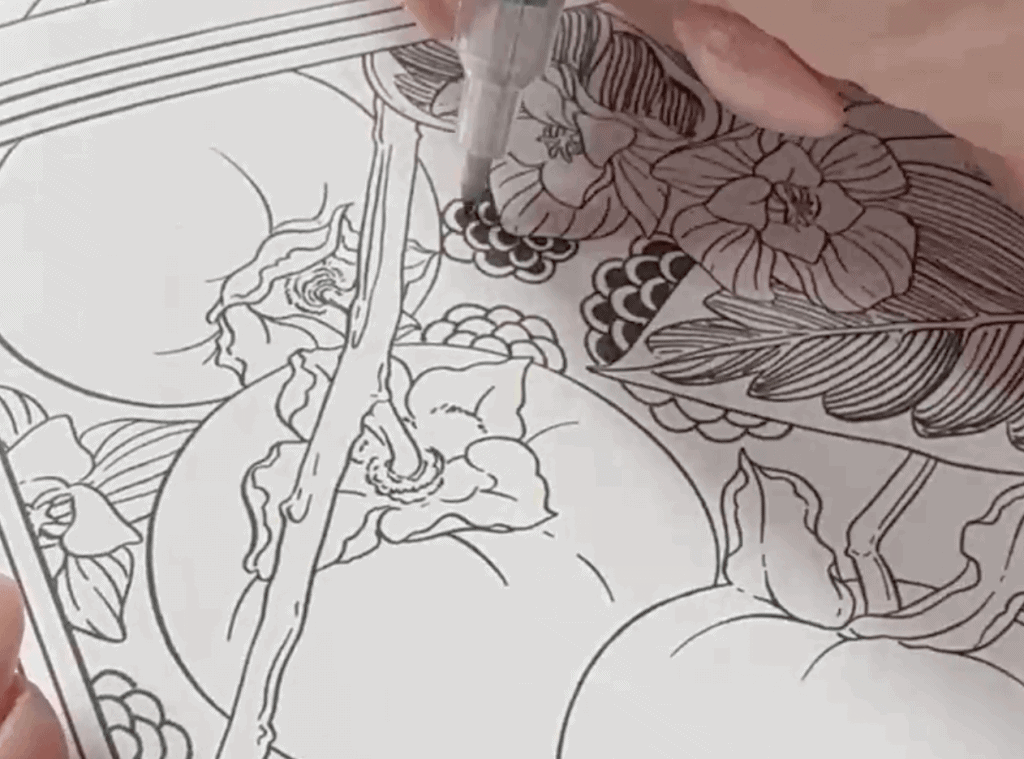
Next, add some little half moon shapes in between other elements. Start with one little half circle and add more around it – almost like drawing little fish scales. You’ll want to round out the shape to be circular. Add several of these throughout the composition.
Next, partially fill in those shapes you just drew. Draw a second semicircle leaving a little white space and colour the rest in with black. Do this throughout the composition.
In your remaining white space, add in some orange blossoms in varying sizes – these are little five pointed flowers.
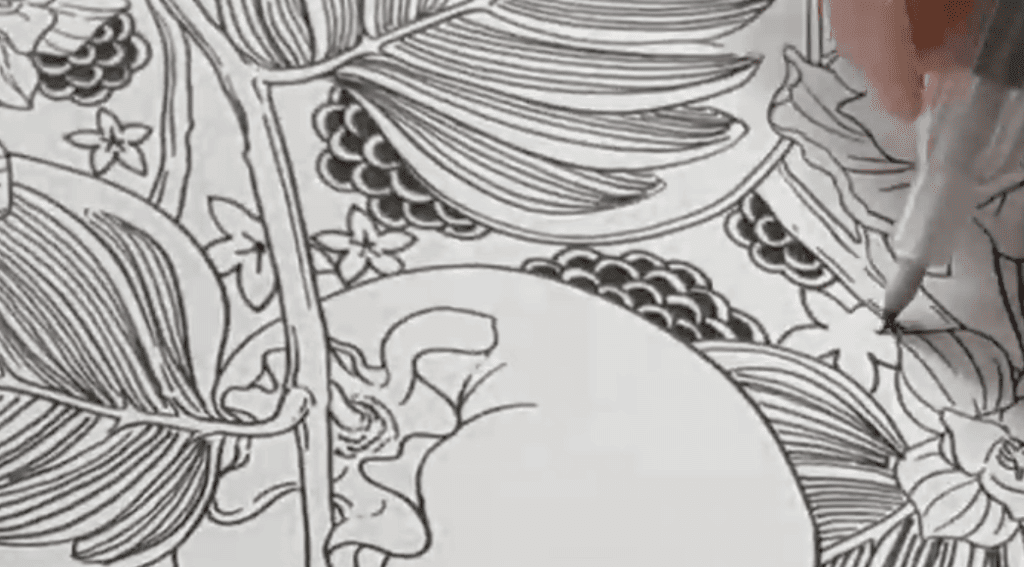
Then, colour all remaining negative space black. (Using the bigger tip of your marker will help, but you might need to use the fine tip for small spaces.)
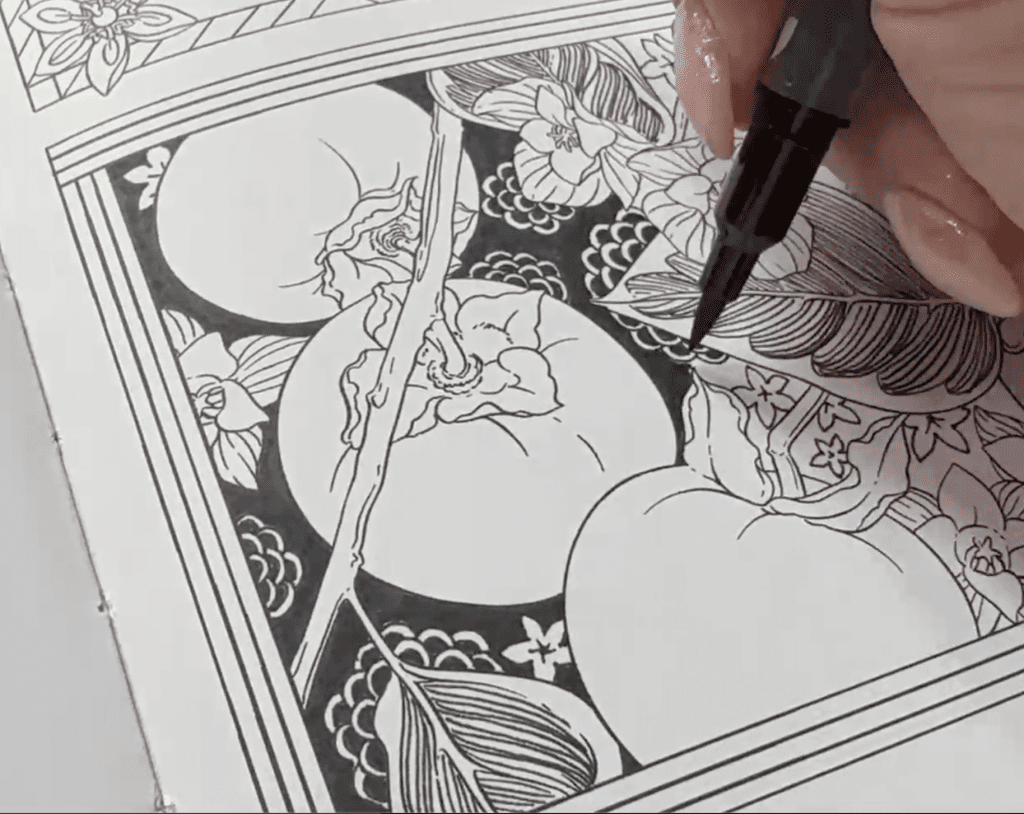
Once all the negative space is black, grab your gold gel pen. It’s time to add some gold detailing!
Add a light outline inside each fruit and inside the leaves. You can also fill in the little star shapes in the flower.

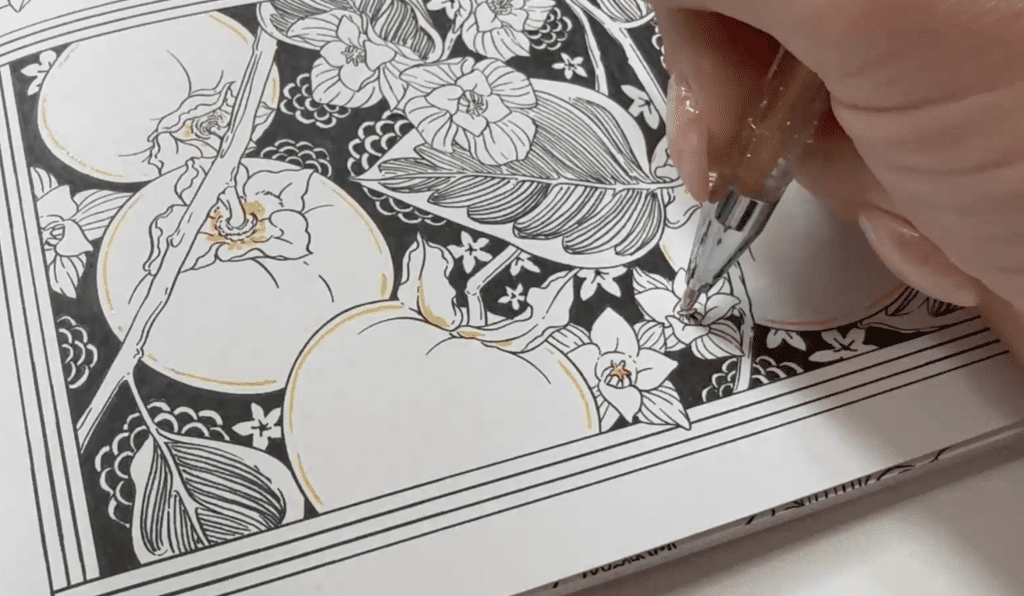
For the frame, Maggie filled in the center line of each side of the frame (but you can do the inner and outer lines if you want!).

Here’s the final effect!

HINT: If you want to add in full colour to this, add in your colour before the gel pen step. Black and white first, then colour second, then gel pen last.
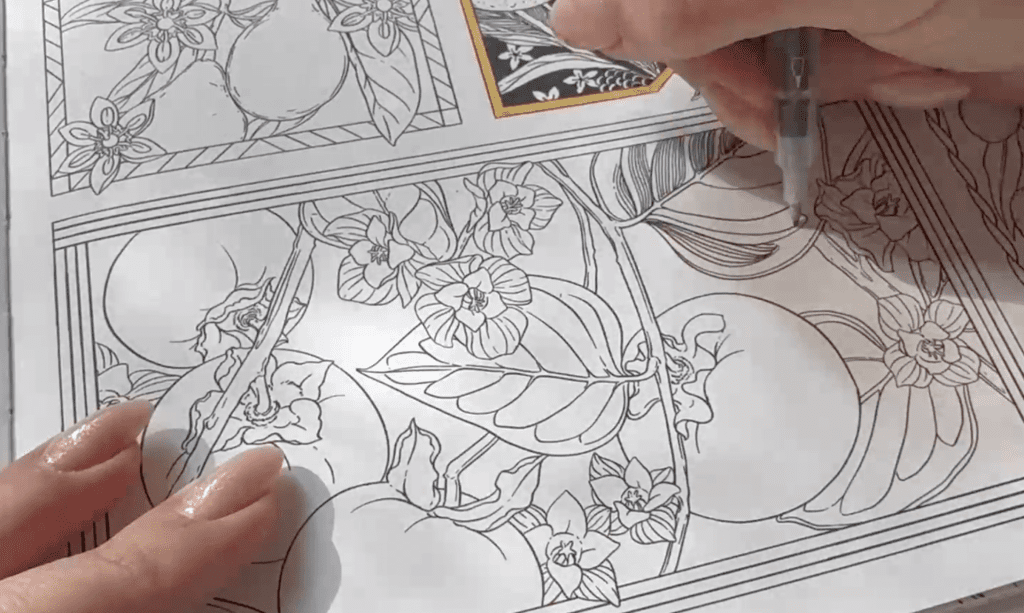
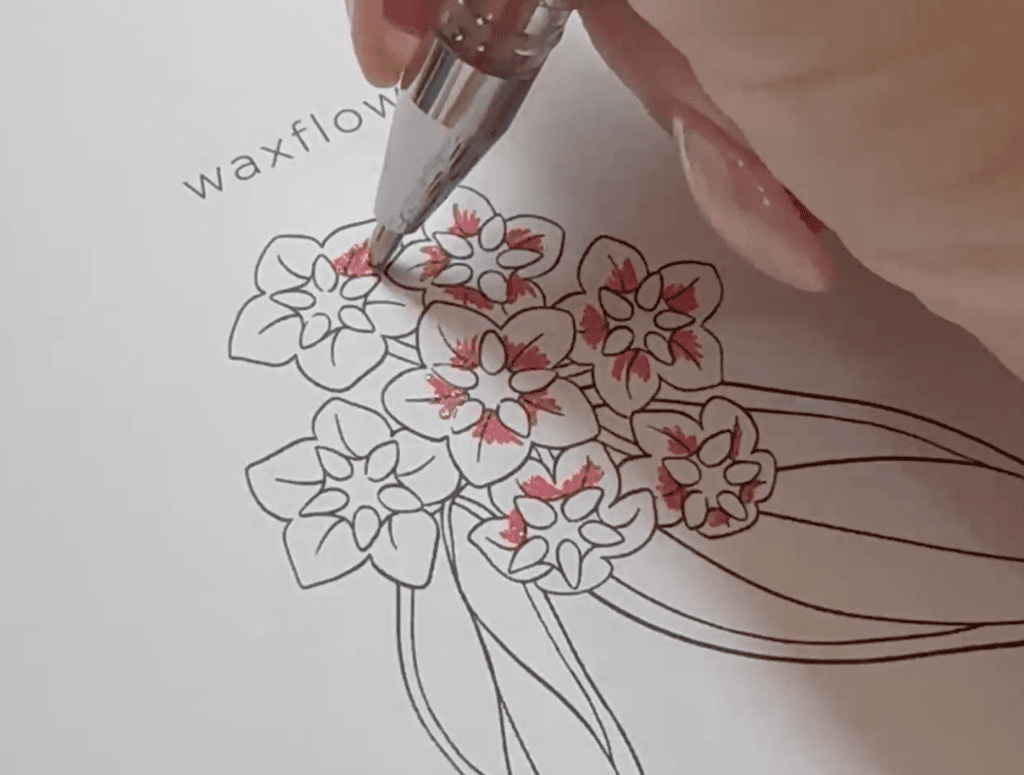
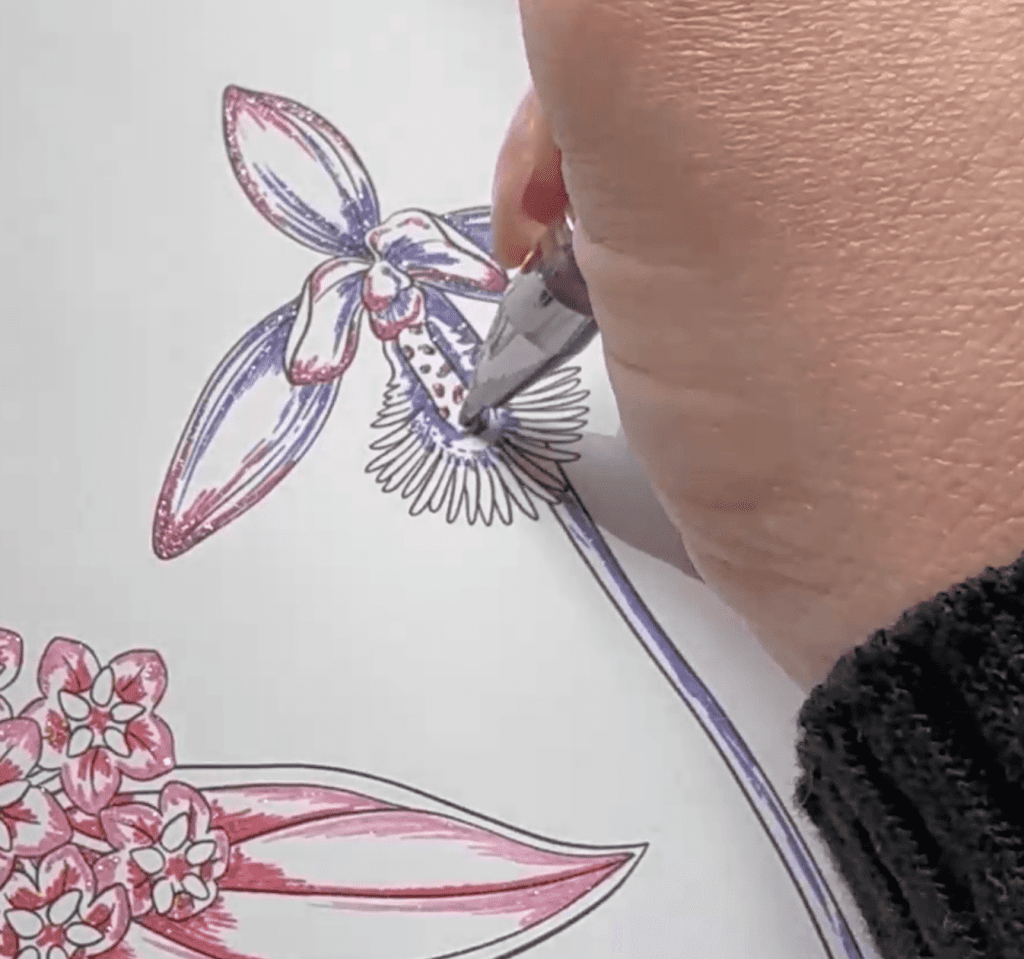
Technique 3: Limited Gel Pen
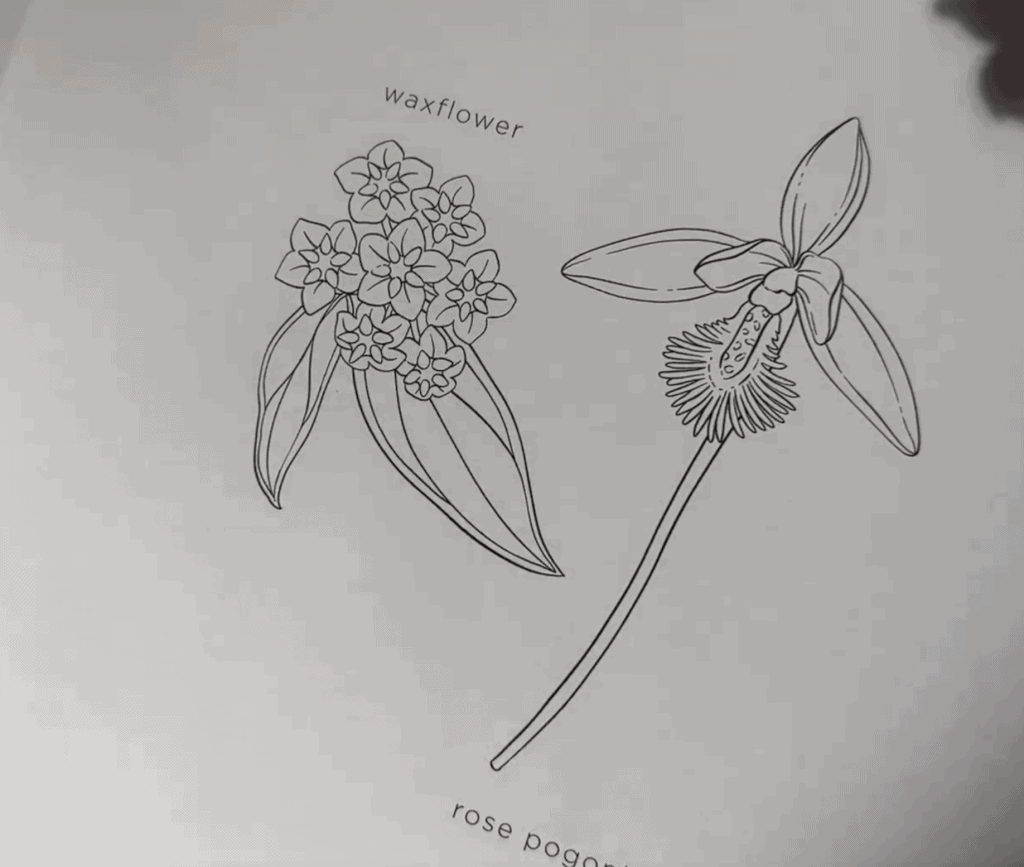
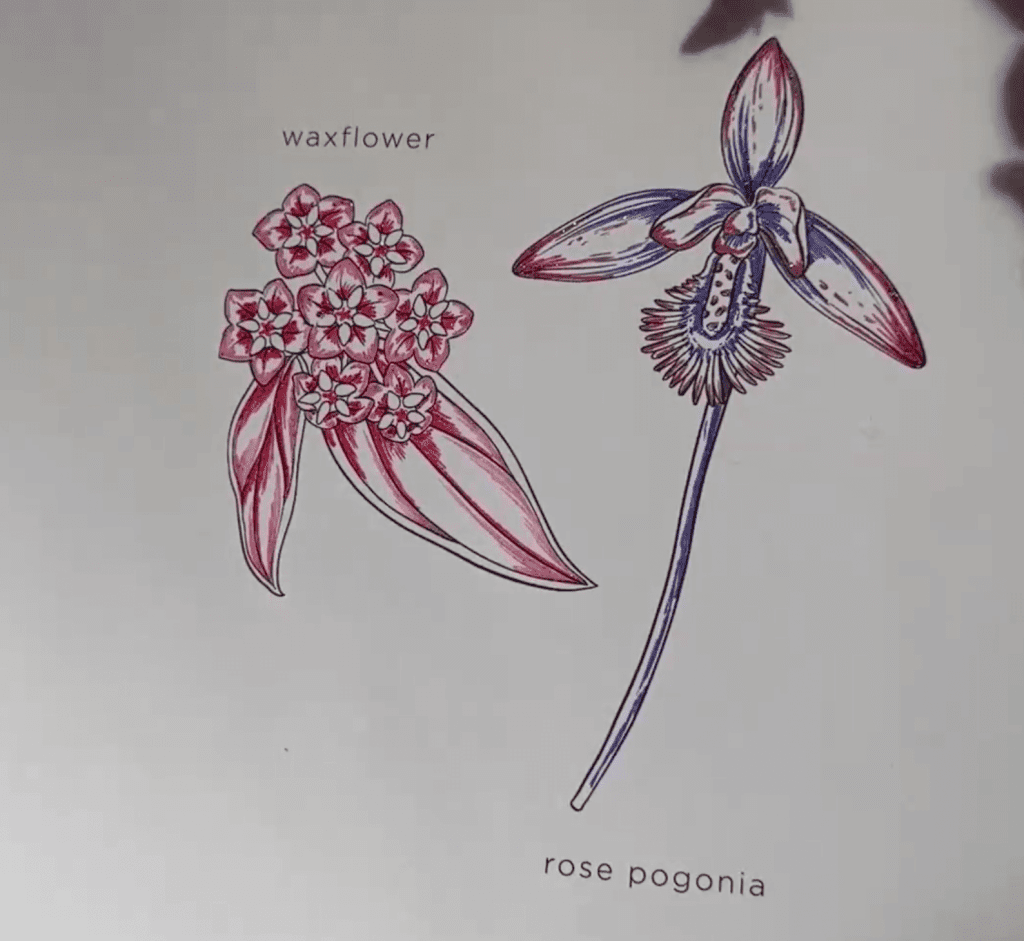
For this technique, you only need two gel pens for each flower. For the first one, you need one red and one pink gel pen.
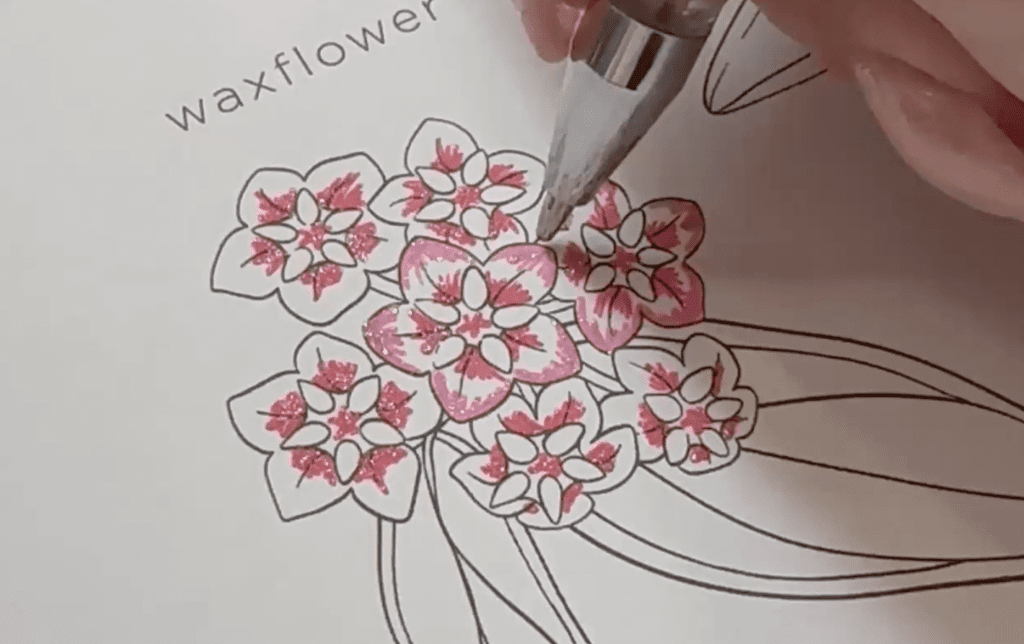
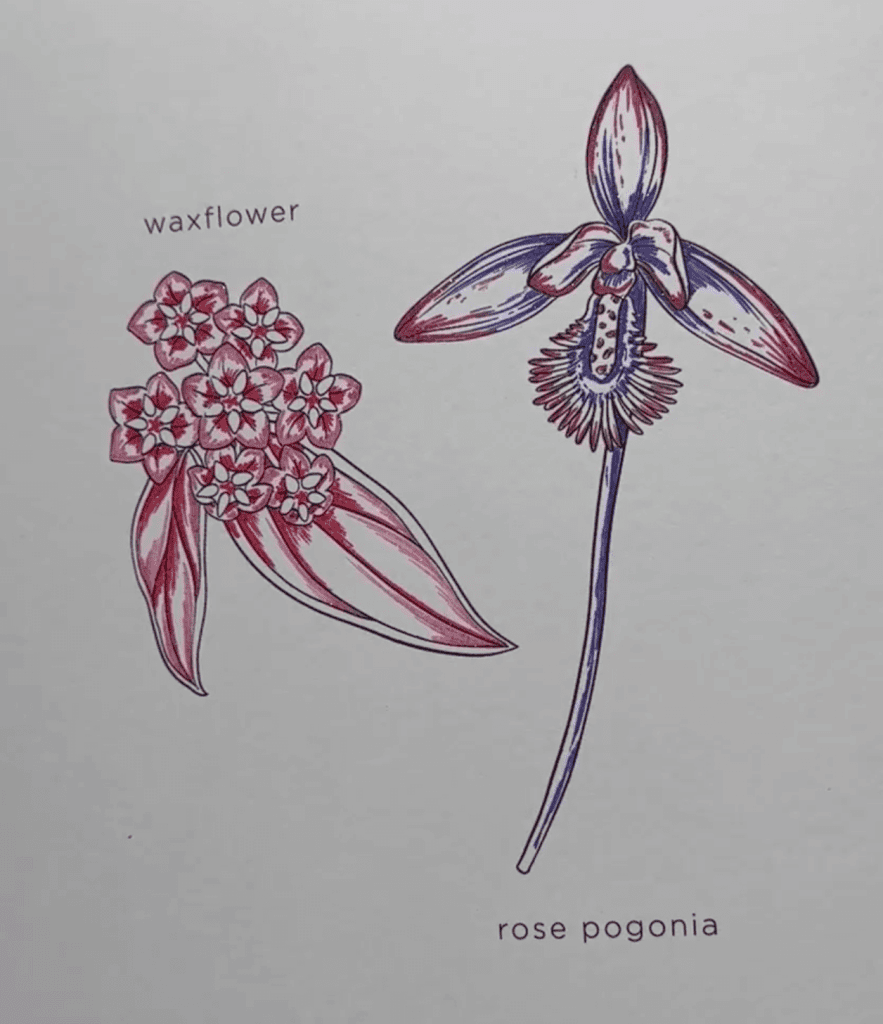
This page is a flower identification page. In Maggie’s Flowerscape in Paradise colouring book, every single flower is shown and labeled to help you identify the various flowers in each composition. The QR codes will help for colour reference too.
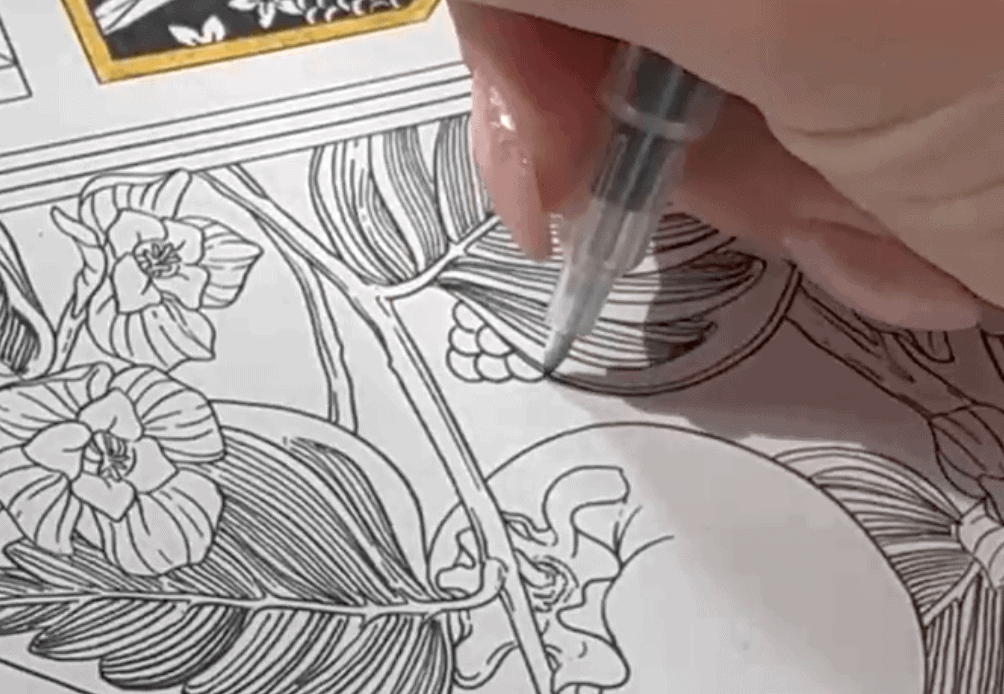
Starting with your red gel pen, work outwards from the flower’s center in small strokes to create little bursts. Be sure to add a little red dot in the center as well.
Using your pink gel pen, do the opposite. Start at the tip of each pedal and fan inwards. The negative space (the white space) is now the highlight of the flower.
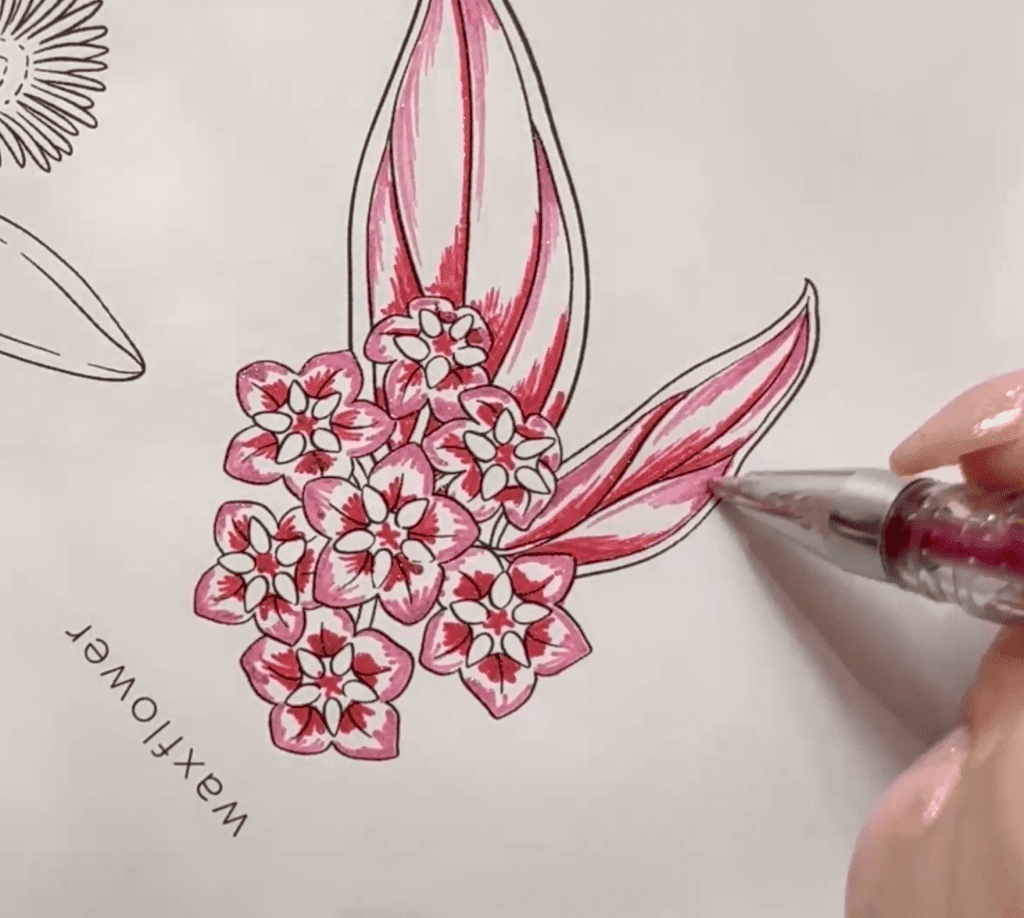
Time to colour the leaves. Grab the red gel pen, and add some stripes of red at the base of the leaf. Stay on one side of the line (Maggie stayed just to the right of any black line in her example).
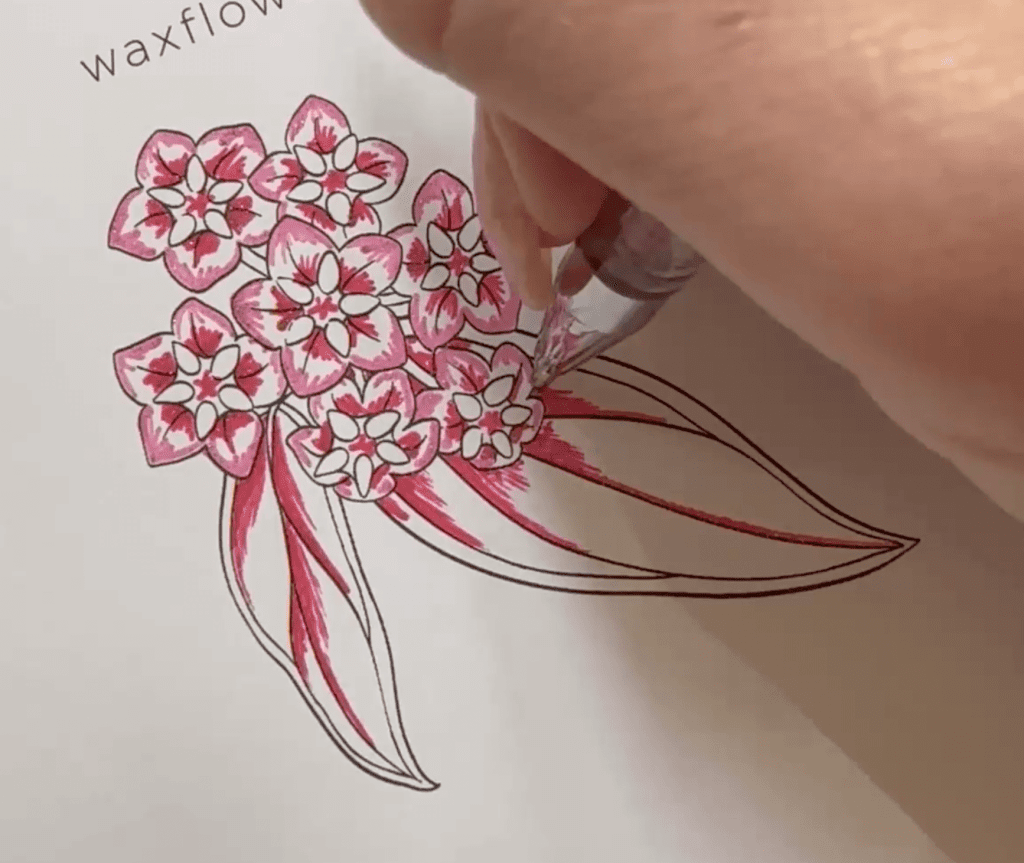
Just like with the flower pedals, you’ll do the opposite with your pink gel pen. Add pink to the tips of your leaves to create the highlight effect.
For the other flower in this technique, grab two different purple tones – one pinkish and one true purple.
Using the darker, true purple, start at the base of each flower and fan out using outward moving strokes. You could use a variety of colours for this, but Maggie focused on using just two.
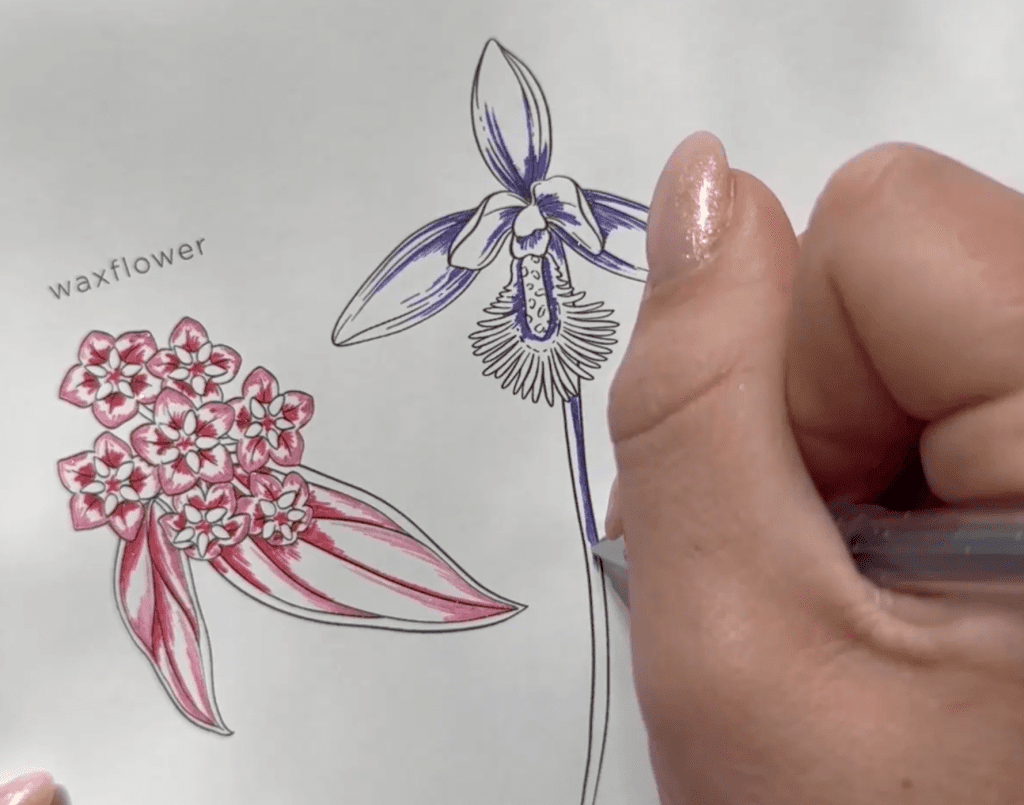
Anywhere you’d consider a center, use the darker purple gel pen. Use this one on the stem as well.
Grab your pink gel pen and add some highlights via the tips and outer edges of each pedal. You can also add some loose dots for some more texture and dimension.
There you have it!
Each flower was coloured using only two different colours. You can use as many as you want though!
And that’s a wrap!
Seriously, I LOVE these techniques. They’re pretty simple to do and require supplies I already have on hand. I just never would have thought to do them on my own!
Don’t forget to enter Maggie’s giveaway over on YouTube. You can win a copy of Flowerscape in Paradise and Maggie’s coloured pencil pack – as well as the markers and gel pens she used!
Just like the video and leave a comment on which technique you liked best (over on YouTube), and you’ll be entered to win!
Wanna connect with Maggie? Or go buy her amazing colouring book? Or both?
Maggie is known as @littlepatterns across the internet! You can find her all over the place, but here are quick links to her Instagram and website.
Flowerscape in Paradise is available where books are sold. You can find out more about it here or on Instagram!
And finally, your dad joke…
What colour is the wind?
BLEW!


I love the artistic black and gold. So beautiful, and I would have never thought about doing that