Kuretake sent me their Zig Clean Colour Dot Markers, and they’re pretty unique. I’ve never seen a marker that looks quite like these, so I filmed a video of me trying them in real-time for you.
Feel free to watch the full video down below. If you’d rather read than watch, keep scrolling to find my real-time thoughts.
First Things First…
The links below may be affiliate links where appropriate. This means that your purchase through these links may result in a few cents in payment to me, to support creating further resources like this one! That being said, I will never suggest supplies that I do not personally use and fully recommend.
Supplies Used
Rather watch than read? No problem! You can watch me review these pens in real-time by clicking the video below!
Let’s Get Started!
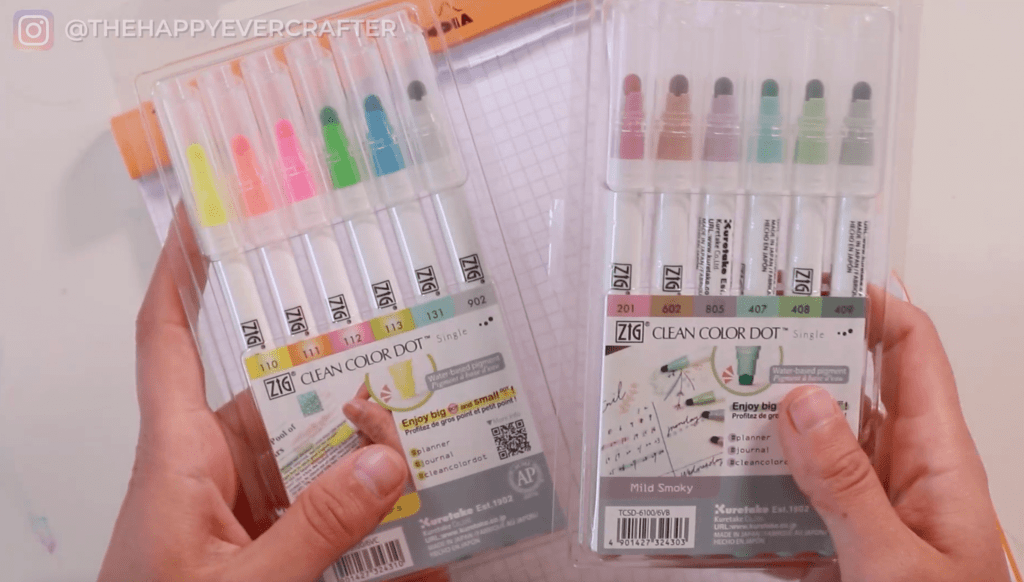
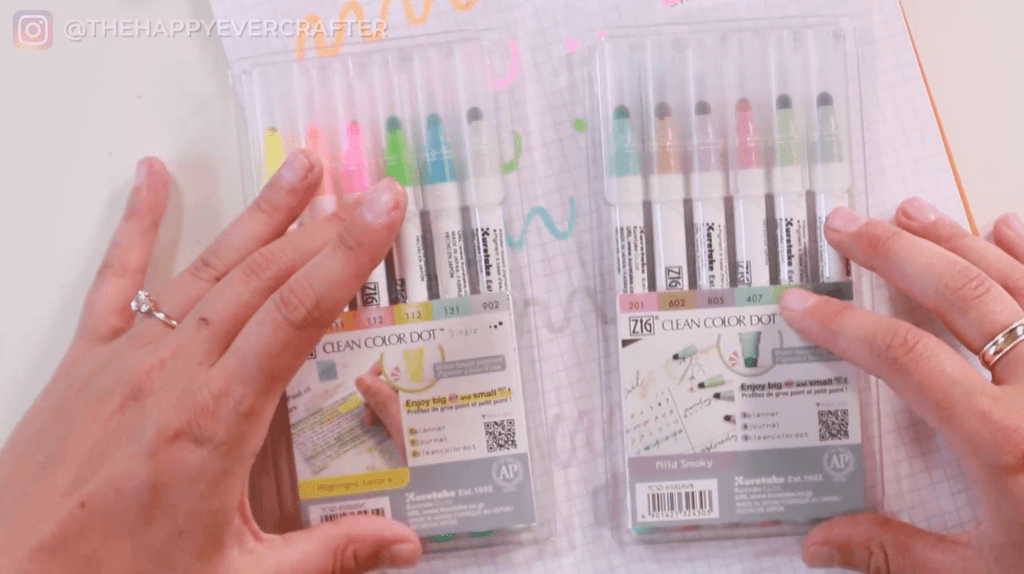
Kuretake sent two different versions of these pens – one is more muted (called Mild Smoky) and one is neon colours (called Highlighter Colors).
They also offer a dual-tip option, so there are some that you can buy that have a bigger tip and a smaller tip on the end. The ones they sent me are called Zig Clean Colour Dot Single – it says “enjoy big dot and small dot”, so it’s when you put more and less pressure on this dot. Let’s test them!
Initial Testing (Muted Smoky Pack)
I wanted to swatch the colours and test them out to see what they’re like. Muted is more my jam, so I started there.
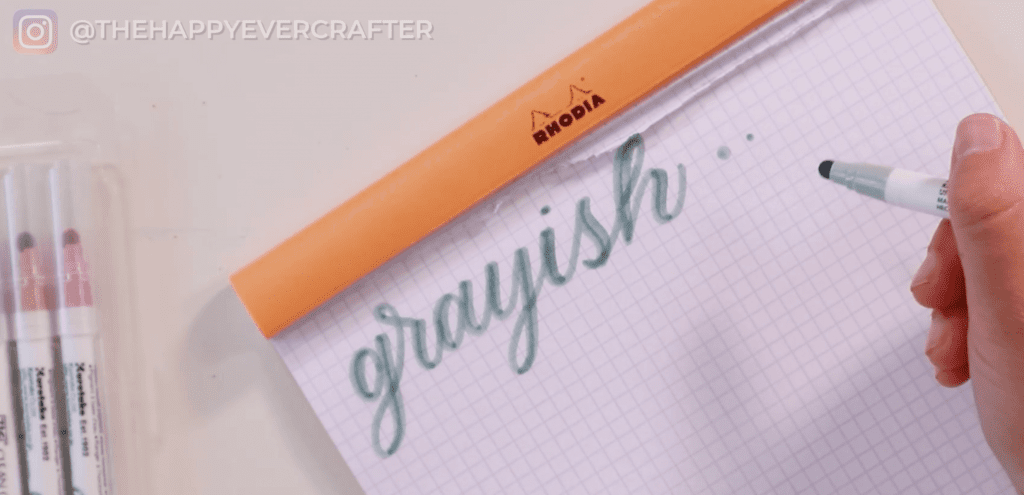
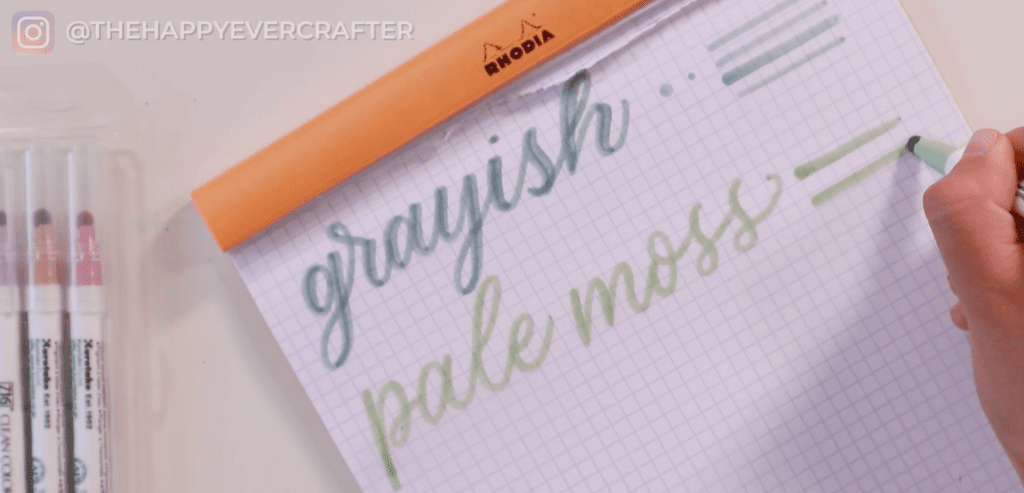
These are water-based pigment, and they say to keep horizontal (so don’t store them vertically). Each marker is labeled – this grayish green is 409. I wrote with each colour and tested the dot sizes.
It’s a pretty fat line that comes out – I liked the flow of it. It’s really pretty. When I tried to overlap to create faux calligraphy, you could really see where the lines overlapped. It didn’t blend super well. Sometimes that can be cool, and you can add an unintentional shadow to it.
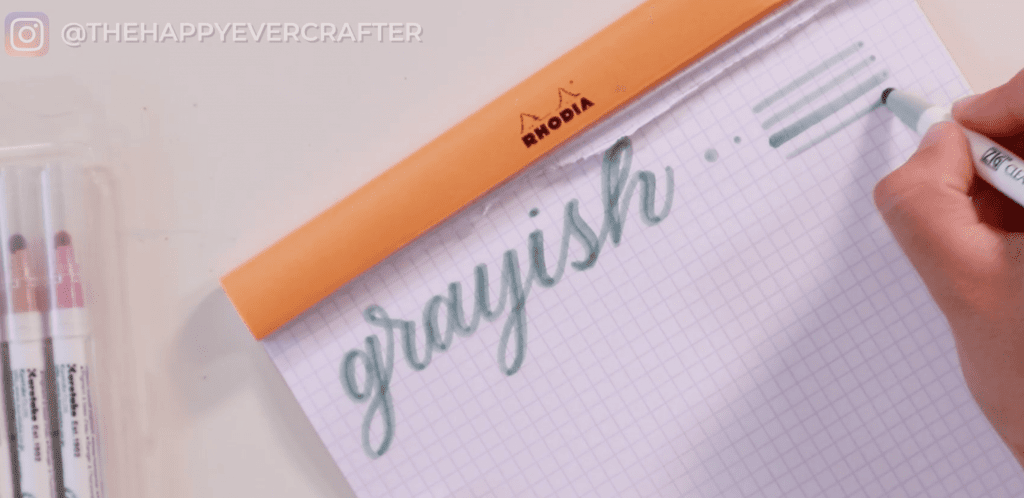
To test the dot – if you push straight down and hard, you get a bigger dot; if you push lightly, you get a smaller dot. You’d use the dots for bullet journaling or borders or extra details. You could also use these markers as a highlighter (bigger lines and smaller lines depending on pressure). Even though they’re dot tips, they’re kind of flexible.
More colours…
Pale Moss – I liked the colour a lot. One thing I noticed when I did the P is there’s a colour gradation. If I pressed really hard at the start and then let go at the end of the line, it gave a gradient. Fun! Definitely something to keep in mind if using for a highlighter though.
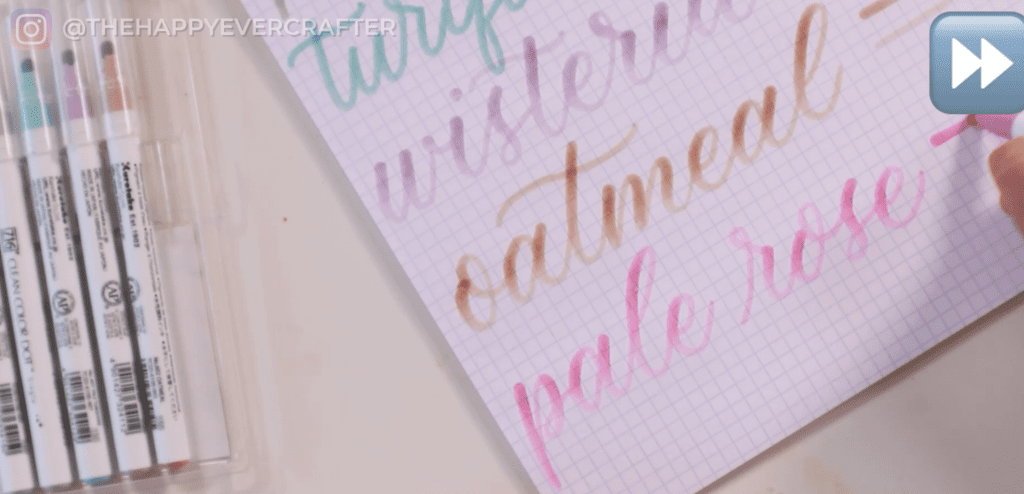
As I swatched the various colours, I pressed harder like I would with a brush pen. I adjusted pressure, harder and lighter in some spots, as opposed to doing it all in one line to get a bit of a variation. You can see where I pressed harder and lighter – the thick and the thin. If I pressed really hard and really soft, I could totally do brush calligraphy with these. They are flexible enough, so that’s fun!
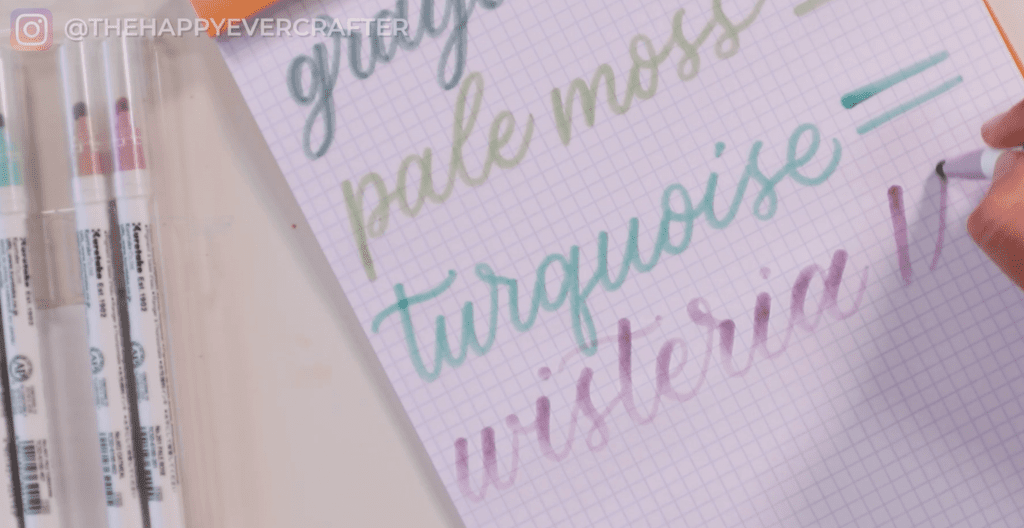
Overall, I didn’t love these for full brush calligraphy, but for a single monoline script, they’re pretty nice. I liked the thickness and boldness of them. To use them, you’d want to write nice and big. I was pleasantly surprised that they did work for doing brush calligraphy too, even though they’re not a brush. I definitely think these would come in handy for dots too.
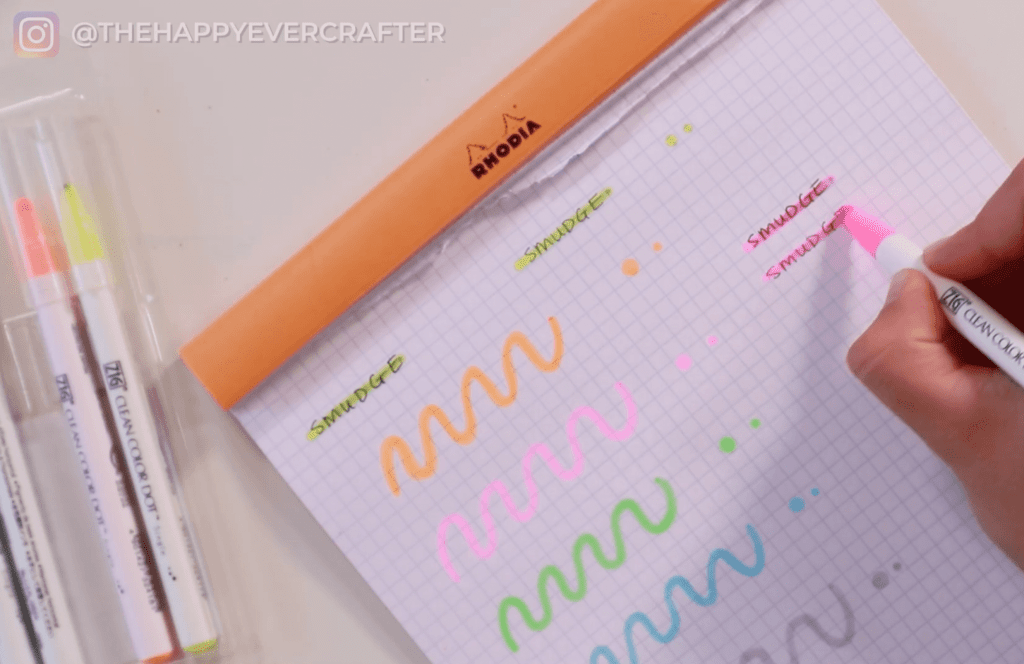
Smudge Test #1 (Highlighter Colors Pack)
For the highlighter colours… I don’t usually love highlighter colours, but these seem to be useful for actually highlighting. I used a Micron pen and a Uni-Ball pen since those are the pens I usually use in my bullet journal to do a smudge test.
I gave it one second to dry, but I didn’t want to leave it too long. Using the yellow colour, it smudged the Micron pen and the Uni-Ball. It could be the pens I used, it could be that they didn’t dry long enough, who knows…
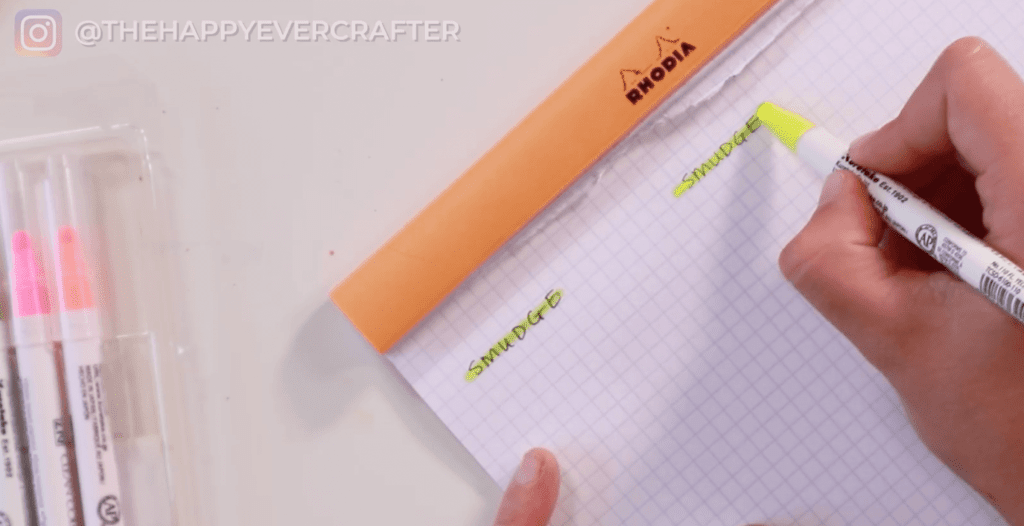
Overall, it was a pretty typical yellow highlighter.
These markers could definitely be used for taking notes and stuff. These would have been great when I was in university – I was meticulous about taking notes and colour coding things.
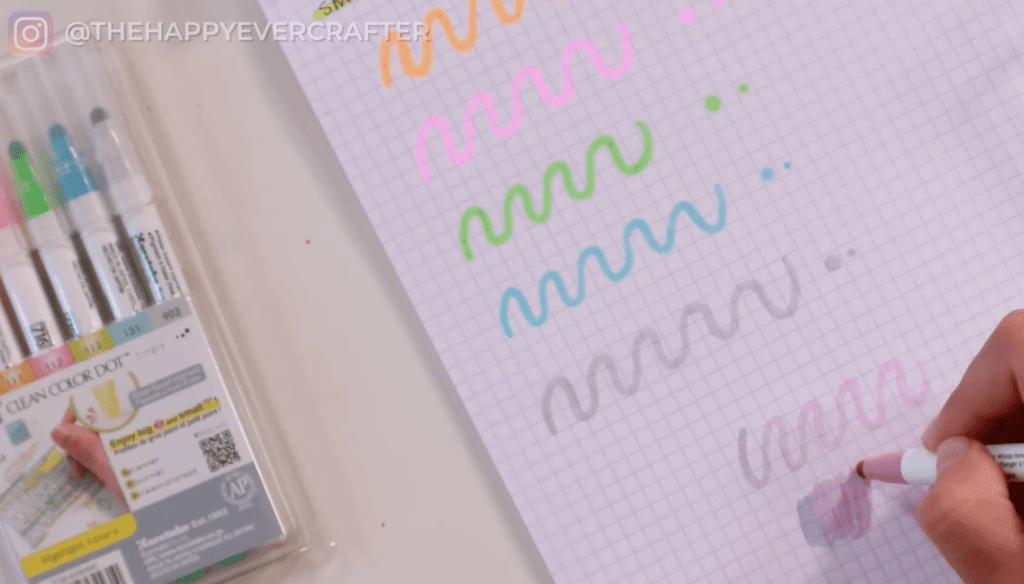
Smudge Test #2
I went ahead and did the smudge test again, but I let the pens dry completely (about 30 seconds) while I swatched the other colours. For the second smudge test, the ink definitely smudged but less than the first time. If you let the ink dry a bit longer, that would be ideal. I’m just not a patient person.
Overall, the markers were very typical neon colours plus a gray one. I use gray highlighter more than any other highlighter colour, so I appreciated they included this one!

And that’s a wrap!
There you have it – my review of the Zig Clean Colour Dot Pens. Again, you can get the ones with the smaller tip on the other end as well if you wanted to do smaller writing. They also come in a ton of different colours too.
I love the pigments of each of them, and I love that they’re water-based. Since they’re water-based, they’ll even blend. That’s fun! You could probably make a million different colours out of these if you wanted to. I love the tip too.
If you’ve tried them, leave me a comment down below for what kind of stuff you use them for! I’d love to know.
If you like this kind of post where I review things and give my opinion, check this one out!
And finally, your dad joke…
What do you call two cubes with the dots all over them?
Paradise!


Comments