Without fail, every single time I survey my audience and ask them what type of tutorials they want, I get asked for more birthday card tutorials.
So I created a fun one for you and will walk you through it step by step!
First Things First…
The links below may be affiliate links where appropriate. This means that your purchase through these links may result in a few cents in payment to me, to support creating further resources like this one! That being said, I will never suggest supplies that I do not personally use and fully recommend.
Supplies Used
- Watercolour card/paper – I used watercolour paper to make my card because it’s thicker, absorbs water well, and doesn’t buckle with water and paint. You can buy watercolour cards, but I just used cold-pressed watercolour paper
- Watercolour paints – I used Ecoline Liquid Watercolours but any brand will do
- Watercolour brushes – Princeton Snap Brushes are my favourite but any brand will do. For this card tutorial, I used one brush that’s in the shape of a square for the candles (it makes it a lot easier!) and a really small round one (size 2/0). You can use whatever brushes you want though. Notice a theme? 🙂 Use what you have!
- Pencil (optional)
- Washi tape
- White Gel Pen (optional) – I used a Uniball Signo (white)
- White Paint Pen (optional) – I used an ultra fine Posca Paint Pen (white)
- Pen (optional) – I used a Micron 05
- Pencil (optional)
- Paper towel
- Jar of water
Rather watch than read? No problem! You can watch me create this easy birthday card in real-time by clicking the video below!
Let’s Get Started!
Grab your card and your washi tape, and let’s go!
Step #1: Create a border with washi tape
Use the washi tape and create a border in the middle of the card for the writing (this is where the birthday greeting will go).
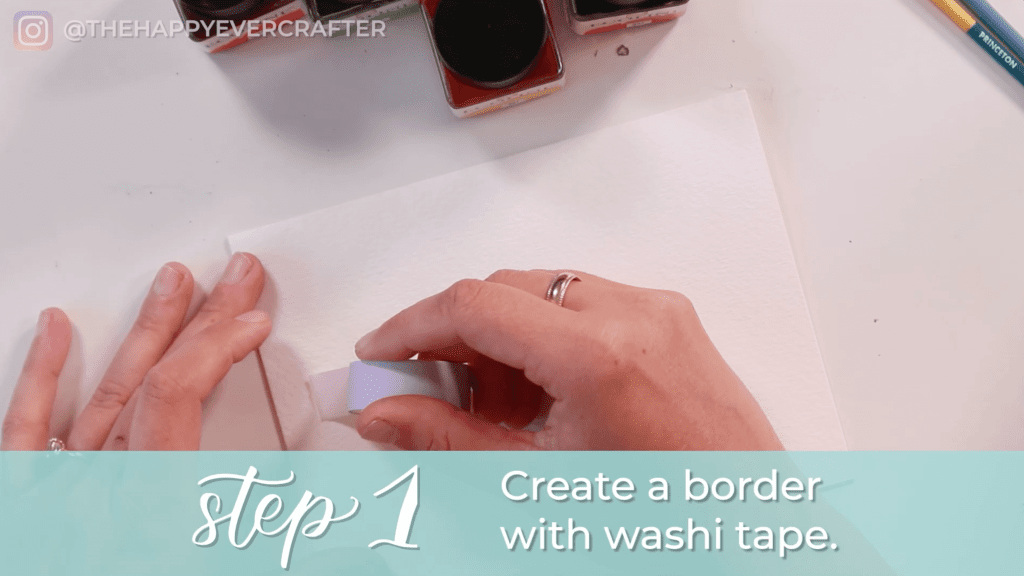
Place the tape where you think the writing should go – doesn’t need to be perfect. I did 1.5 rows of washi tape since my tape is a bit thinner, but use your judgement given the tape you have.
Hack: Take a ruler and line it up straight so that you can cut the tape straight.
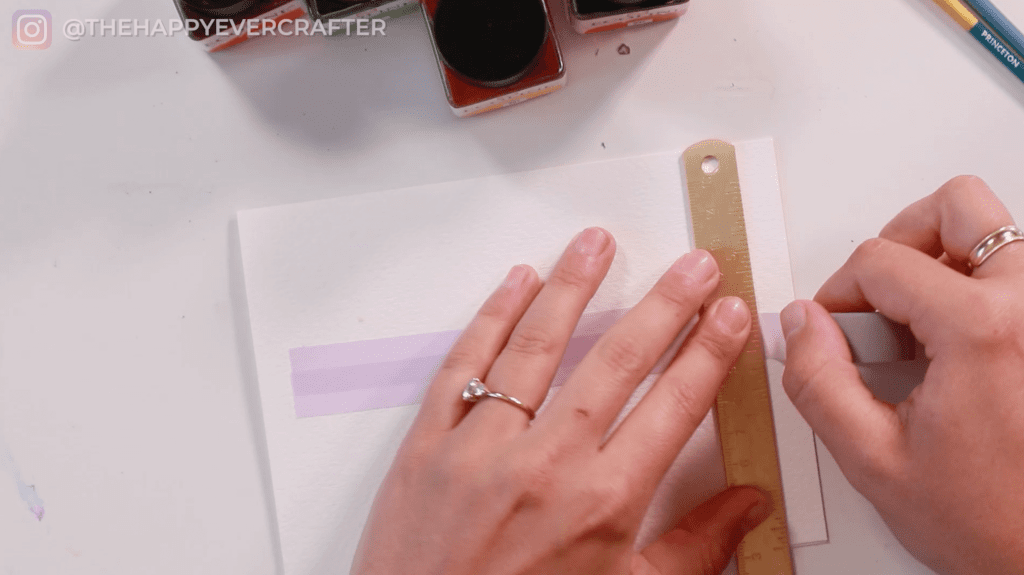
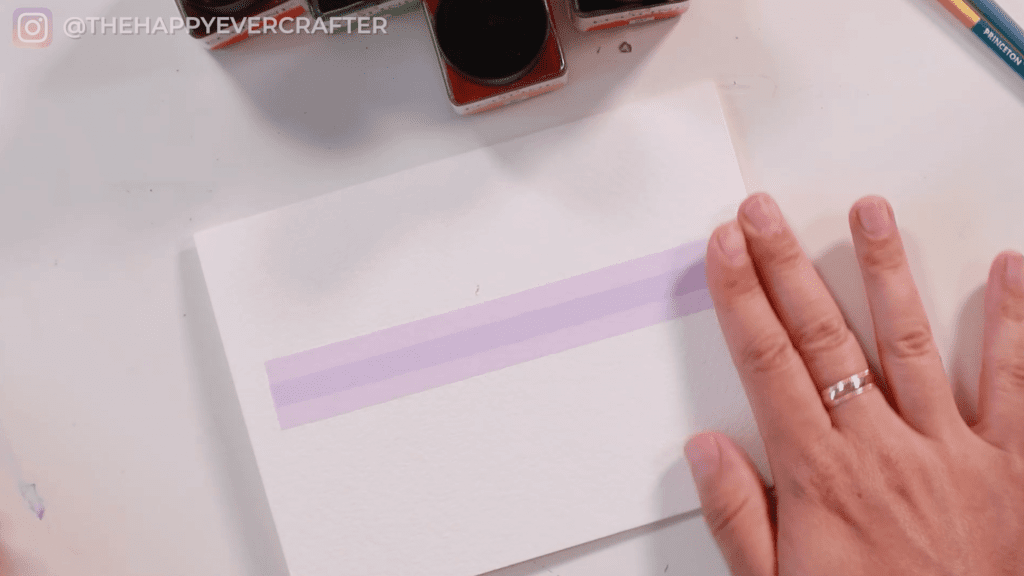
The purpose of the tape is to protect the watercolour paper from paint. This is where your birthday greeting will go, so you don’t want to get paint here. Be sure your tape is pushed down really well.
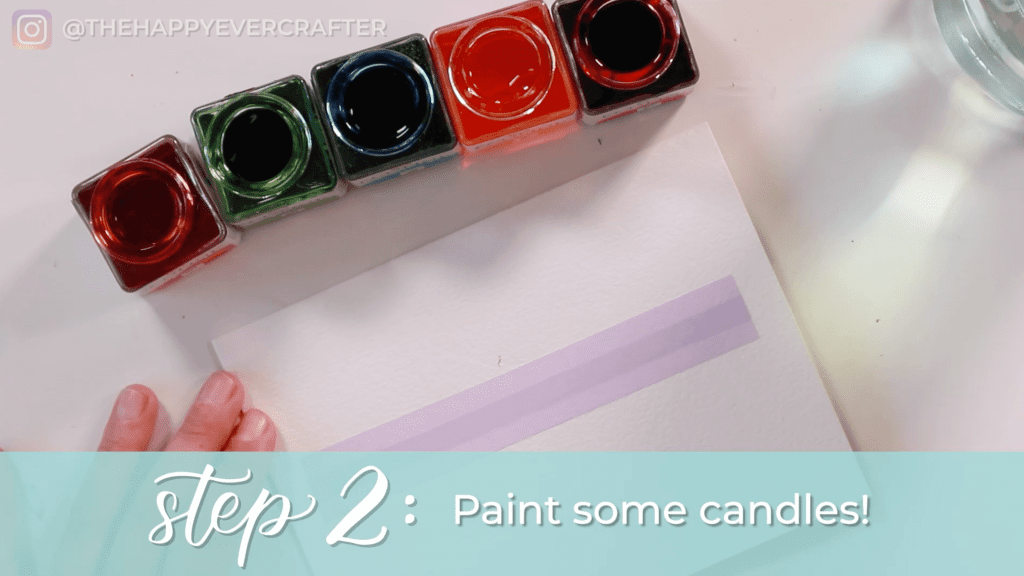
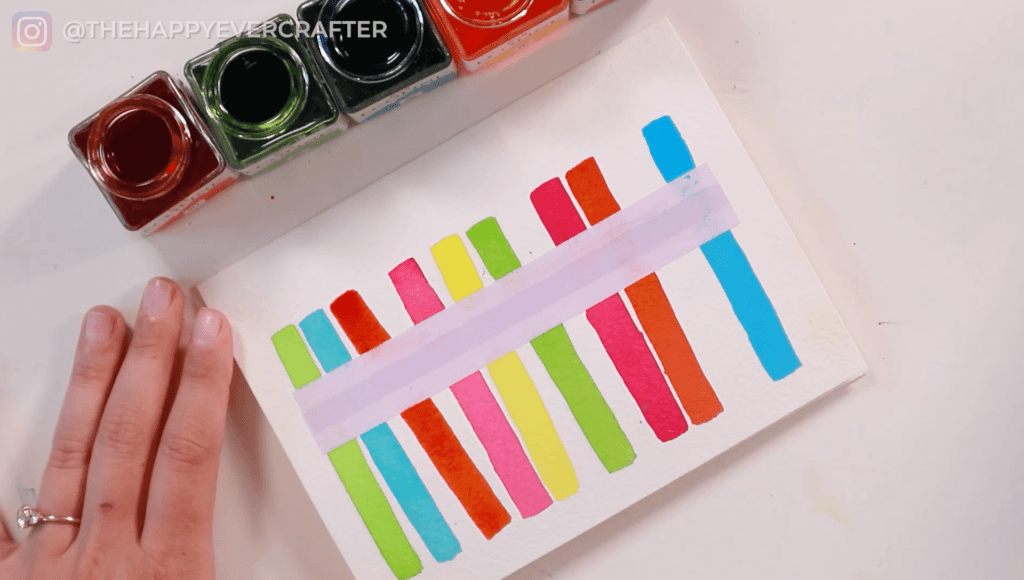
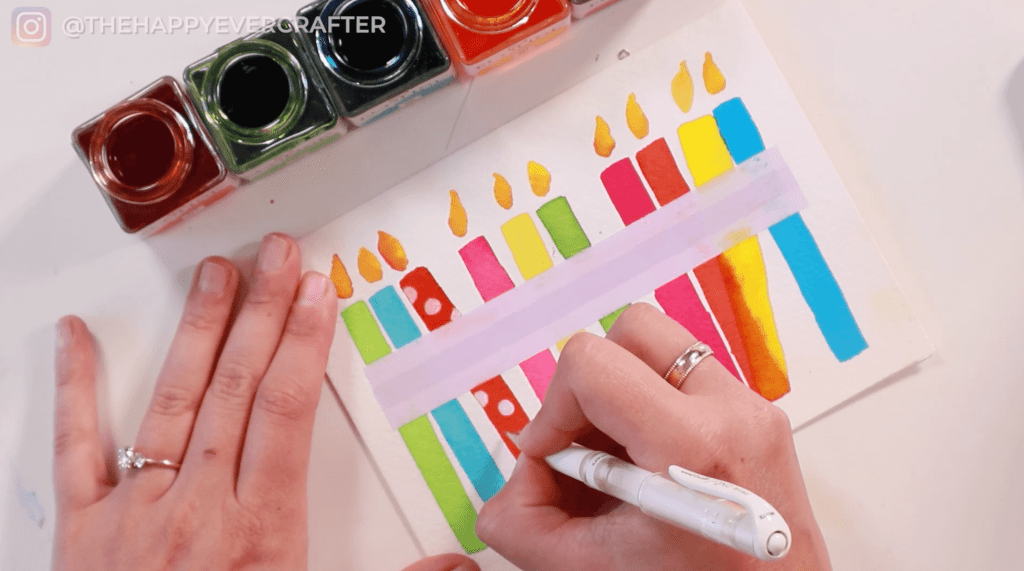
Step #2: Paint some candles
Open up all your paints – I used several different colours, but do what you prefer. Using your square brush, paint, and water, start painting candles.
If you’re using Ecoline watercolour paint, I prefer to get lots of water on my brush and then dip in the paint. Do what works for you.
Start up at the top and paint a line down to the bottom for your candle. When you get to the bottom, square it off (since candles are generally more of a square shape).
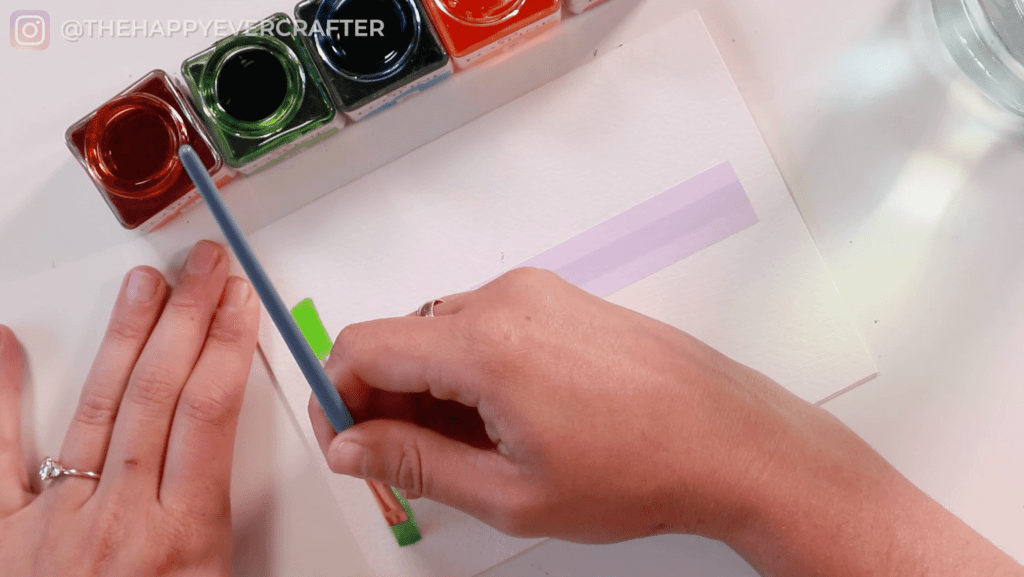
That’s it! A candle. Keep doing that with all different colours. Maybe make some of them angled a little bit ( not too much of an angle!). Make some of them straight. Maybe make some overlap. It’s really up to you what you want to do here.
Try to make all of your candles about the same length and at the same spot on the bottom. If you accidentally make some longer or shorter, you can always add more paint to the others to line them up to be the same length (just work fast because it’s easiest to add more paint when the paint is still wet).
You can paint right over top of that washi tape.
No need for perfection here. Candles on real cakes are never perfectly lined up.
If you notice excess paint on your washi tape, use your paper towel to wipe it off. You don’t want your hand to smudge it.
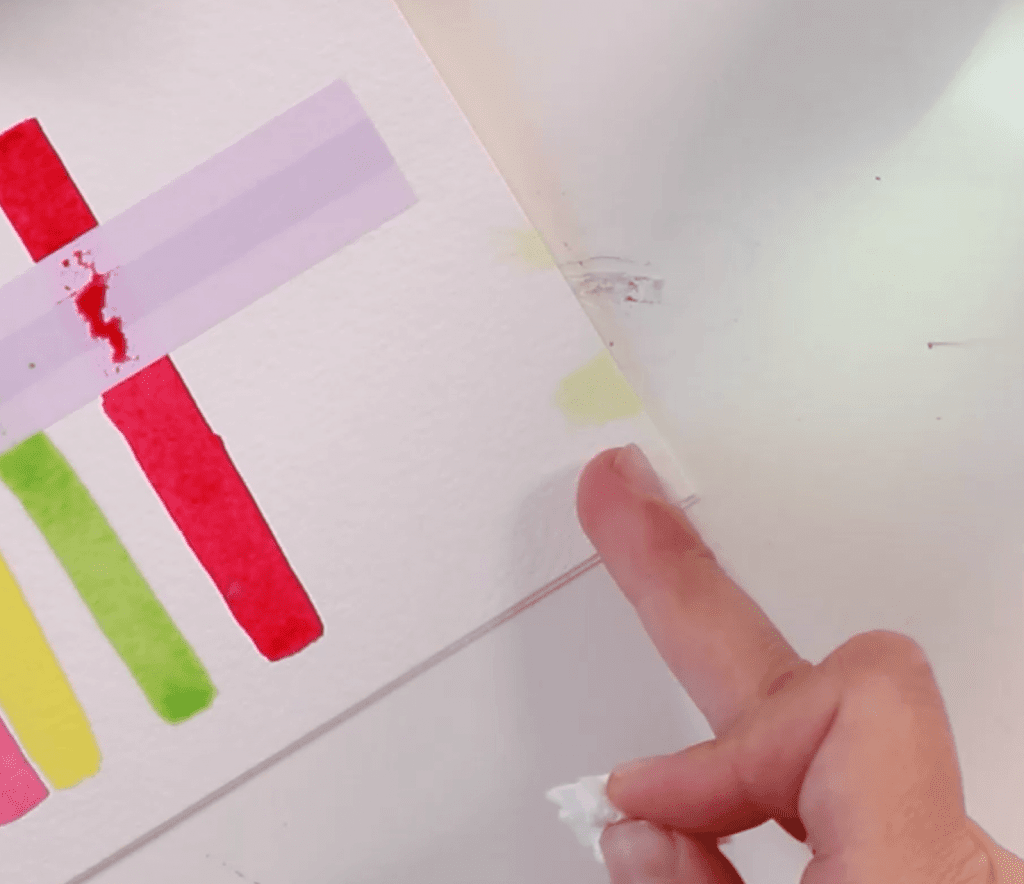
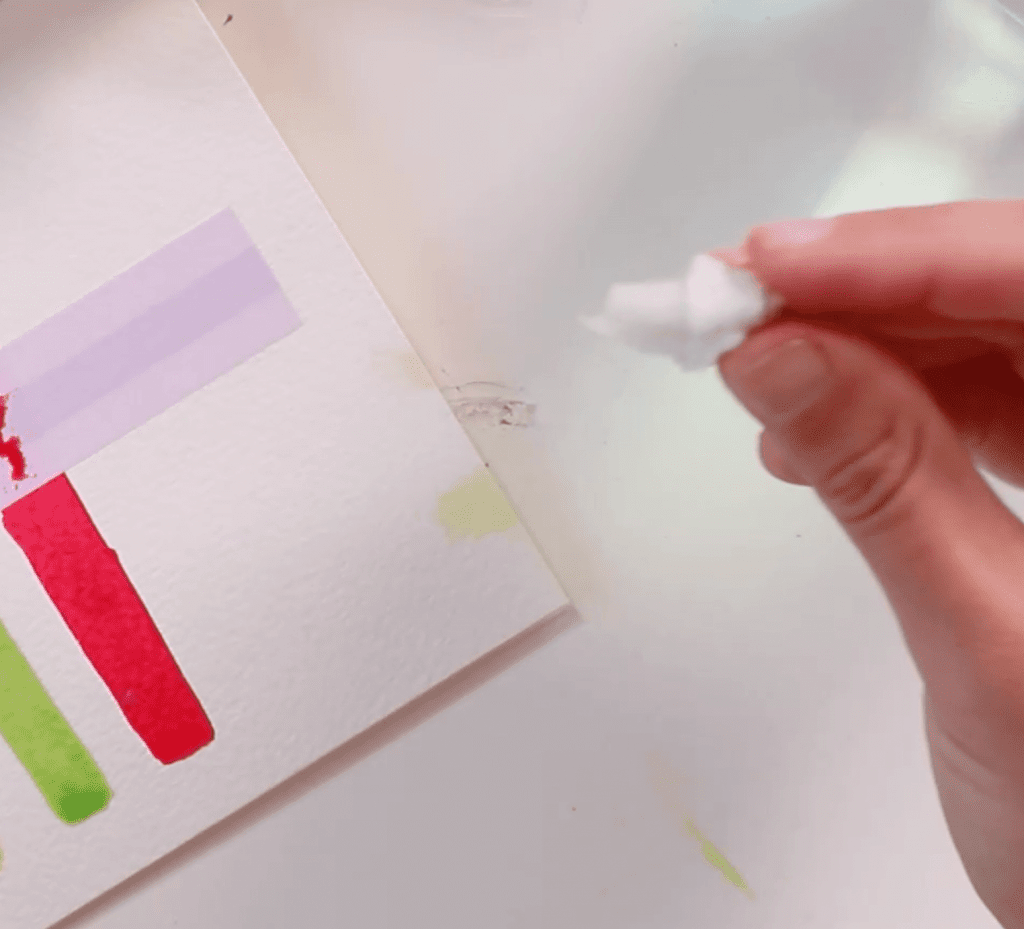
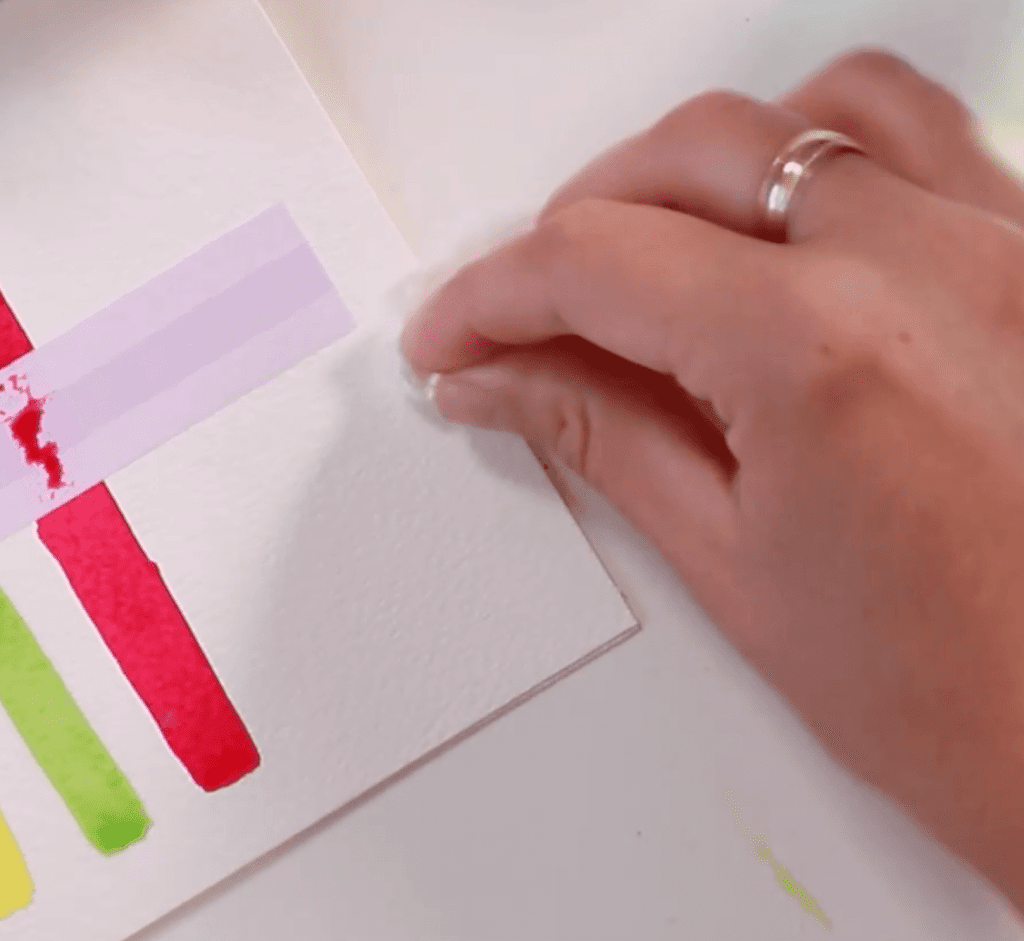
Hack: If you do get some paint on your card where you don’t want it, you can take a piece of paper towel and get it a little bit wet in your water and then wipe it off. It’s like a watercolour eraser.
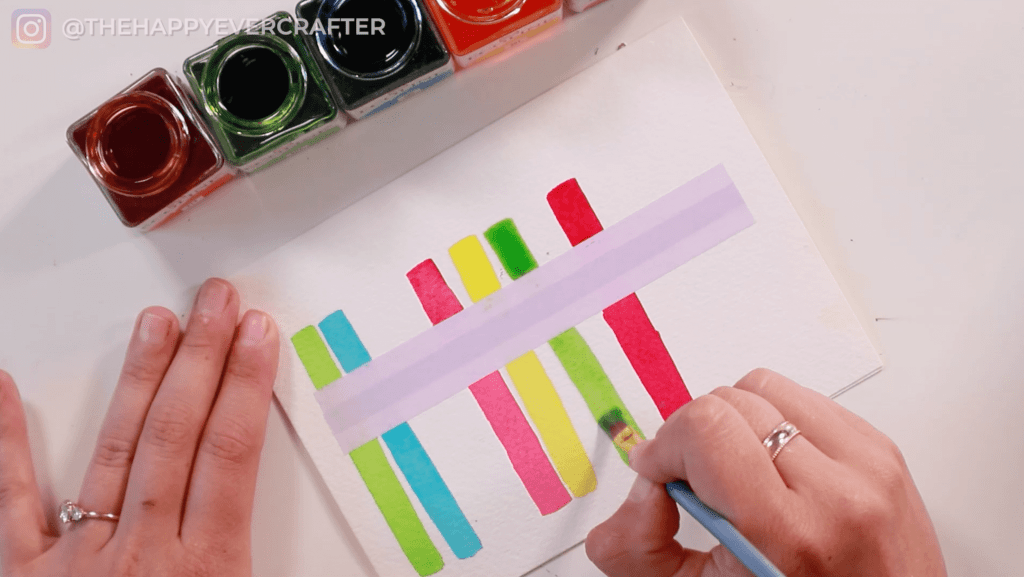
Just keep going, adding more candles, until your card is full. No need for perfection. Space them out however you want. Angle them however you want. Use different colours however you want. Don’t overthink it. Just jump in, and get some colour on the page.
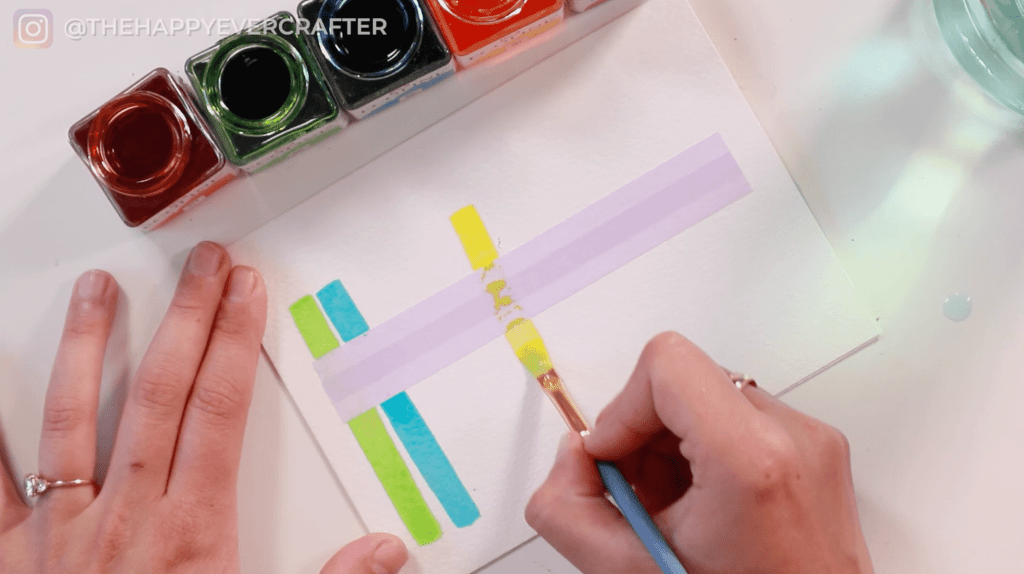
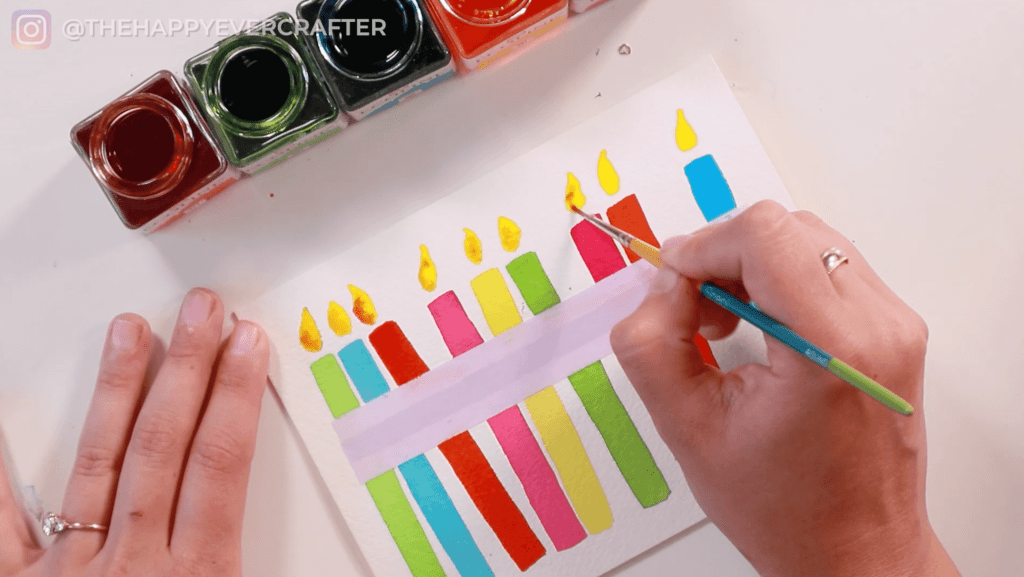
Once your candles are all painted, you’ll need to add your flames.
Use your small round brush and yellow paint to add fire above each candle. Again, your fire doesn’t have to be perfect – just try to make the general shape of a flame. Each flame doesn’t have to be identical. In fact, I encourage you to make them not identical because what flame is ever the exact same shape as the one beside it?!
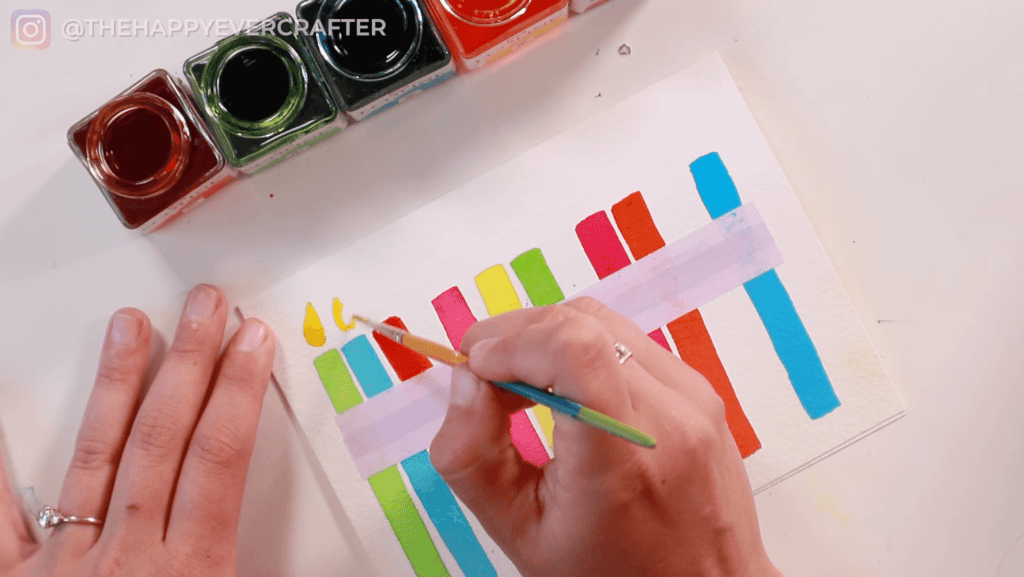
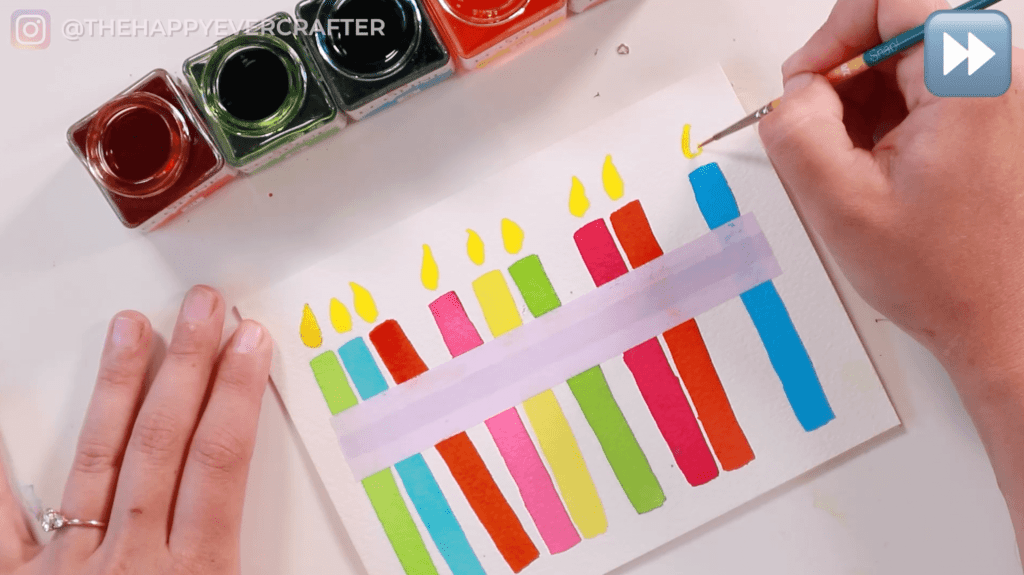
Next add in a TINY tiny bit of orange into the yellow flames to help make it look more like fire. This adds more depth, and the colours should blend nicely as long as the paint is still wet.
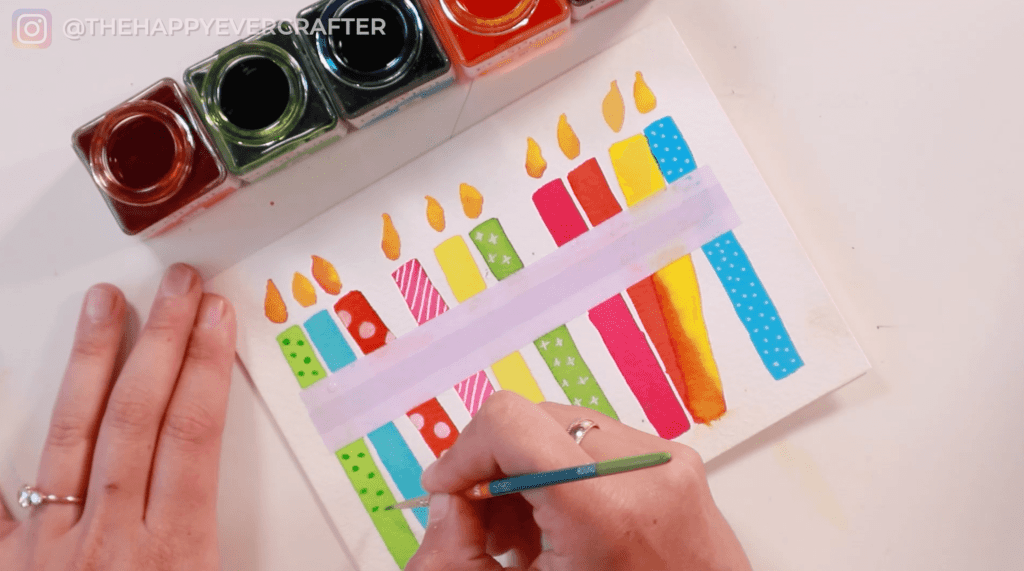
Step #3: Add details to candles
Now that you have your candles and your flames, it’s time to add some details!

A lot of little birthday candles come with details made of white wax on top of the colourful candles. To achieve this effect, I recommend a Uniball Signo gel pen (I also recommend a fine-tip Posca paint pen for dots).
Be sure your paint on your candles is COMPLETELY dry. Once you’re sure, use your white gel pen to add in some little details on some of your candles. You don’t need to do all of them but several! Polka dots, lines, crozzes/plusses, big dots, little dots, horizontal lines, diagonal lines – so many options. Again, don’t overthink it. Your designs don’t need to be elaborate at all – they’re candles!

For your remaining candles, you can use your paint to add details. One of my favourite things to do is use the same colour for details. So on your green candle, use your green paint for the details. This is optional, of course, but I love the effect from using the same colour.
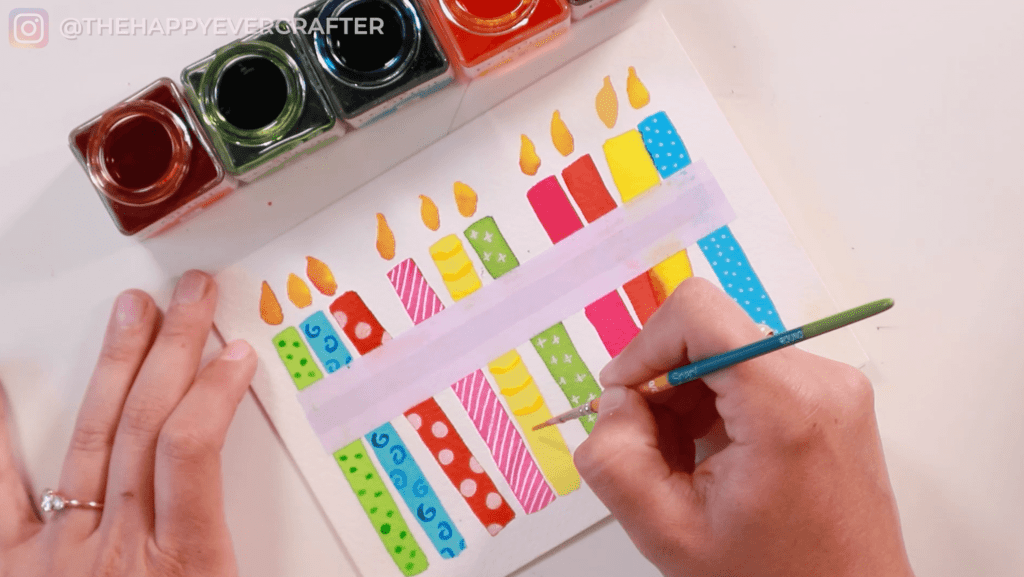
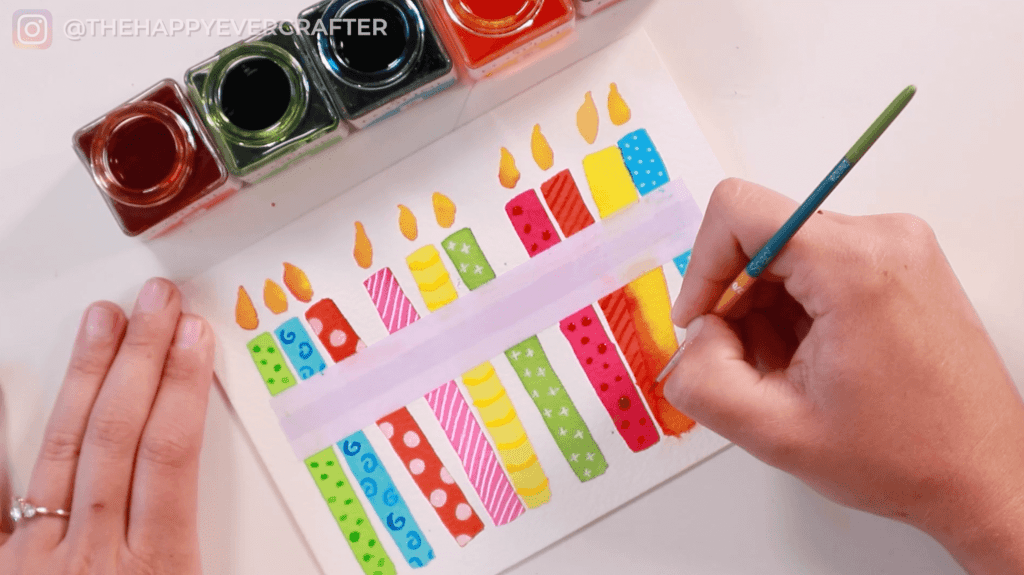
Any colours. Any designs. Some can even be left blank. There is so much freedom with this card design and no need for perfection.
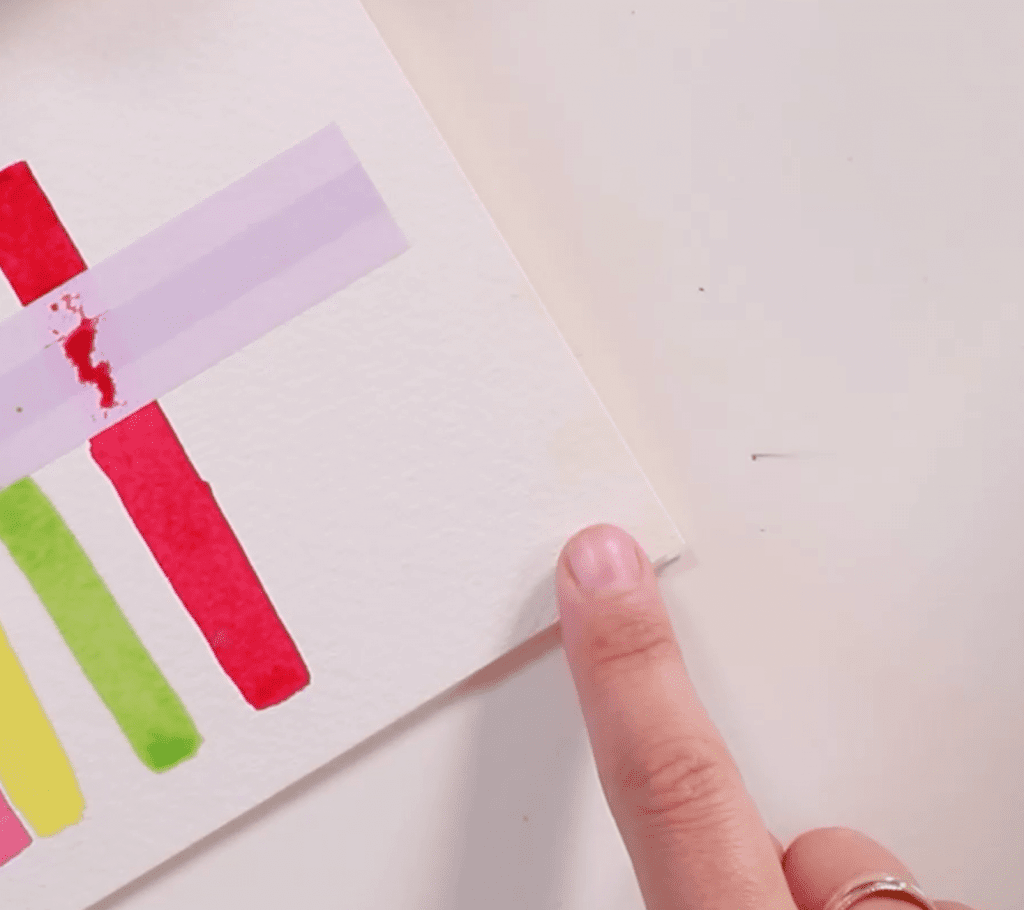
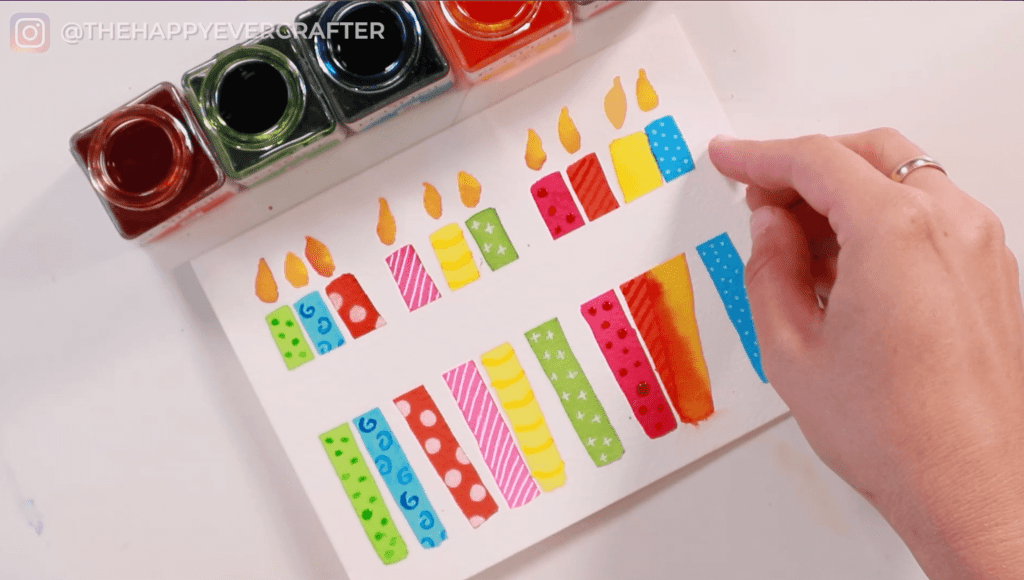
Step #4: Peel off washi tape
Time to peel (I love this part!).
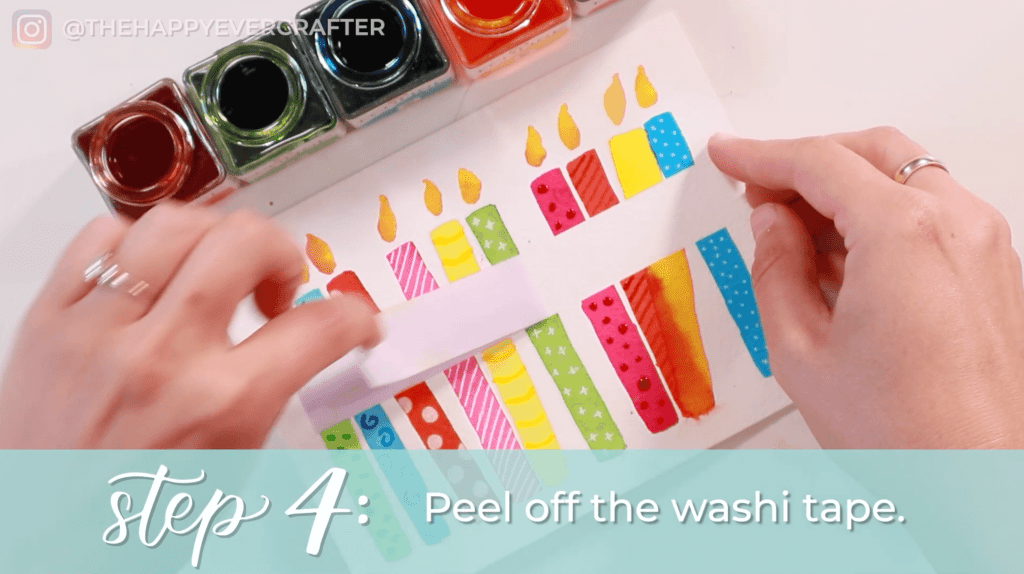
Once your card is completely dry, carefully peel off your washi tape. You should get a sharp, perfect line when you peel it off.
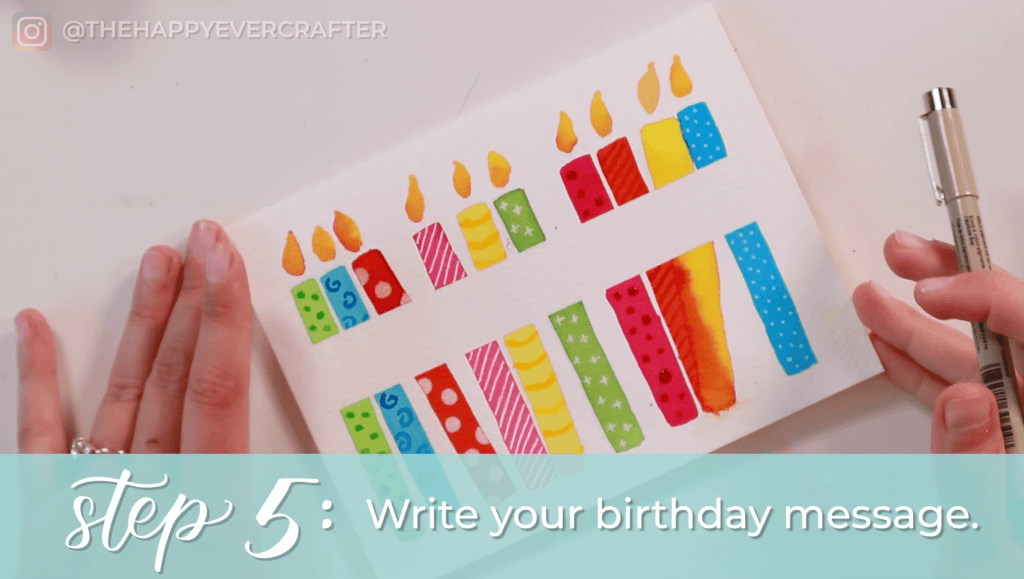
Step #5: Write your birthday message
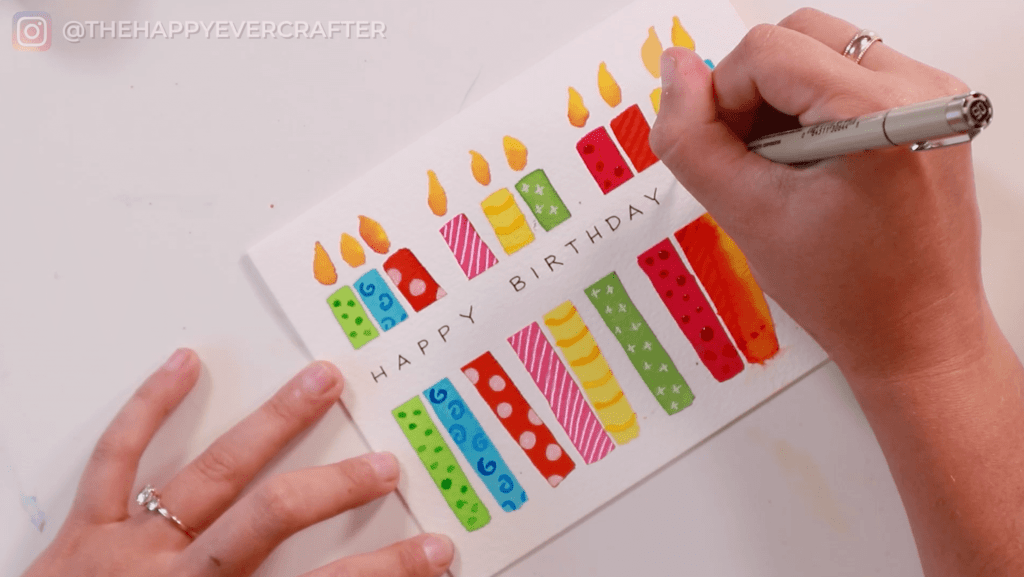
Next, it’s time to write your birthday greeting. You can do whatever you want here – use the words you prefer. You can sketch in pencil first or dive straight in. I used a Micron 05 with block letters, but you can use any pen, any style of writing, and any message.
Again, feel free to use a pencil if you’re more comfortable. The spacing for mine wasn’t perfect (I added exclamation points to help center it), so always feel free to use pencil first.
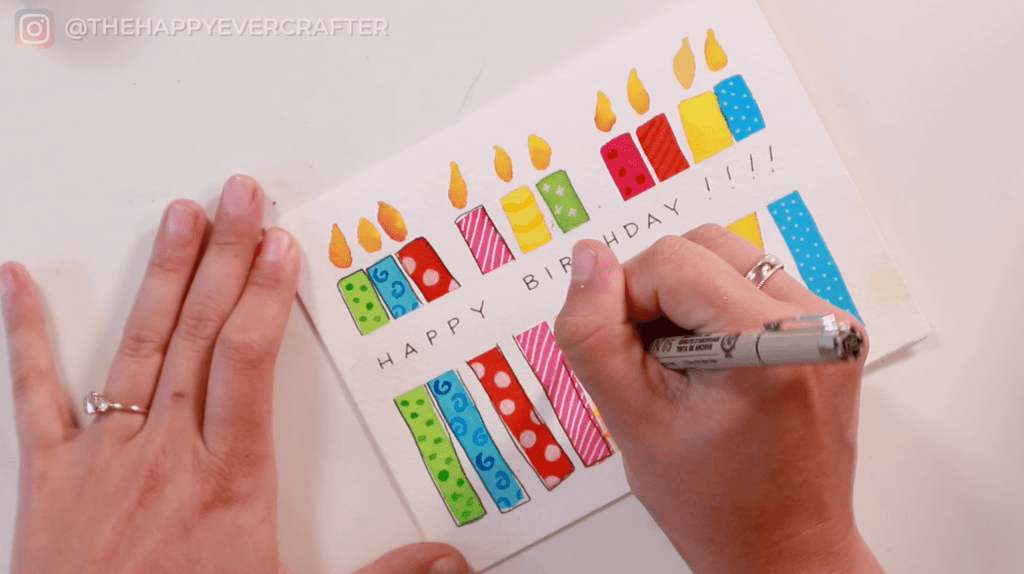
Step #6: Outline your candles (optional)
This last step is optional, but I think it adds a lot of fun to the design.
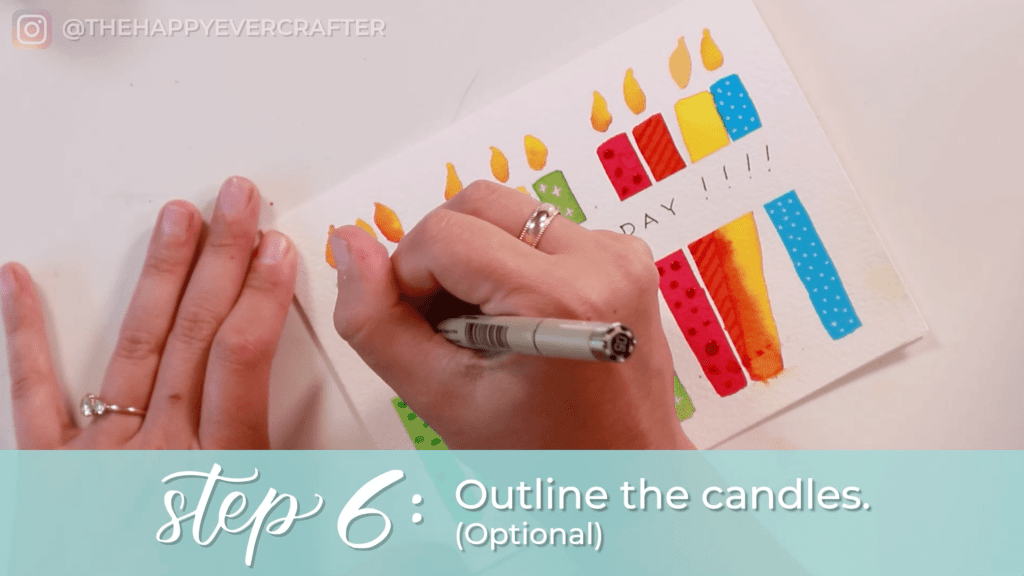
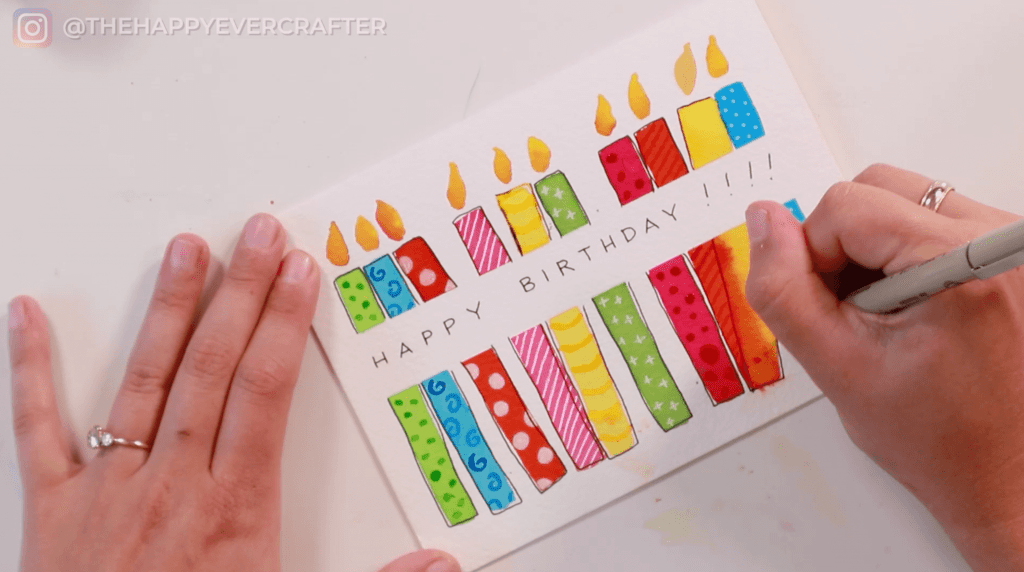
I love outlining the candles! Use the same pen you used for your birthday greeting (Micron 05), and trace over the candle edges – but not perfectly. Leave a little bit of white space and don’t make the lines perfectly straight. You can do this really quickly and trace over everything. Imperfectly. Such a fun look!
As always, make sure everything is completely dry before you outline your candles. The last thing you want is to mess it up on the last step because you were too impatient.
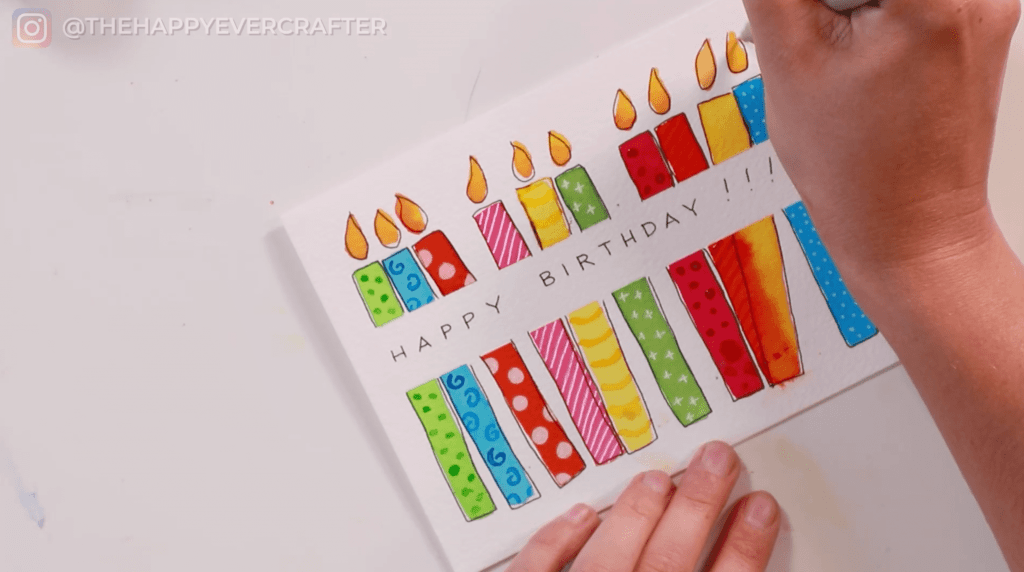
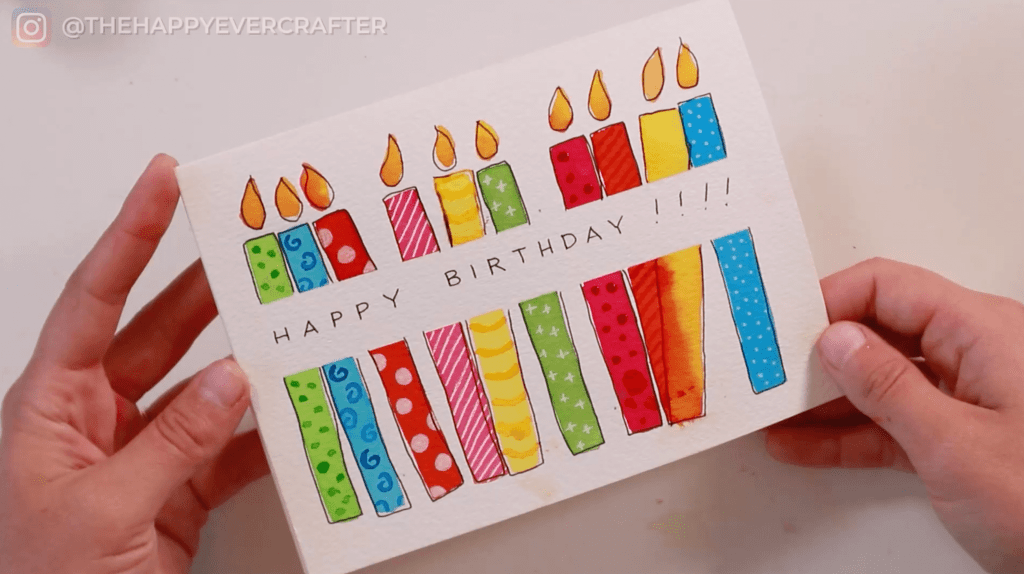
And that’s a wrap!
You did it! You made a happy birthday card!
Feel free to write any message you’d like on the inside once your design is finished and completely dry.
This design is so fun but also super versatile and flexible. Have fun with it!
Hack: Make several of these at one time, so then you have extras on hand.
If you’re looking for more card tutorials, check out this one!
And finally, your dad joke…
Did you hear about the birthday candle sale?
It was a big blowout.


I love this! Going to make it for my grandson who is turning 8. Going to use his favorite colors. Your technique resonates with me so much. I can never wait for anything to dry and I’m not a perfectionist. Thank you so much for making this video!!