You know the little valentines that kids typically exchange for Valentine’s Day?
That’s what we’re going to make today! (Although there are no rules saying adults can’t exchange these too.)
If you’re looking for another Valentine’s Day card tutorial, check out this one.
I also have another tutorial all about writing “I love you.”
Now back to today’s tutorial.
First Things First…
The links below may be affiliate links where appropriate. This means that your purchase through these links may result in a few cents in payment to me, to support creating further resources like this one! That being said, I will never suggest supplies that I do not personally use and fully recommend.
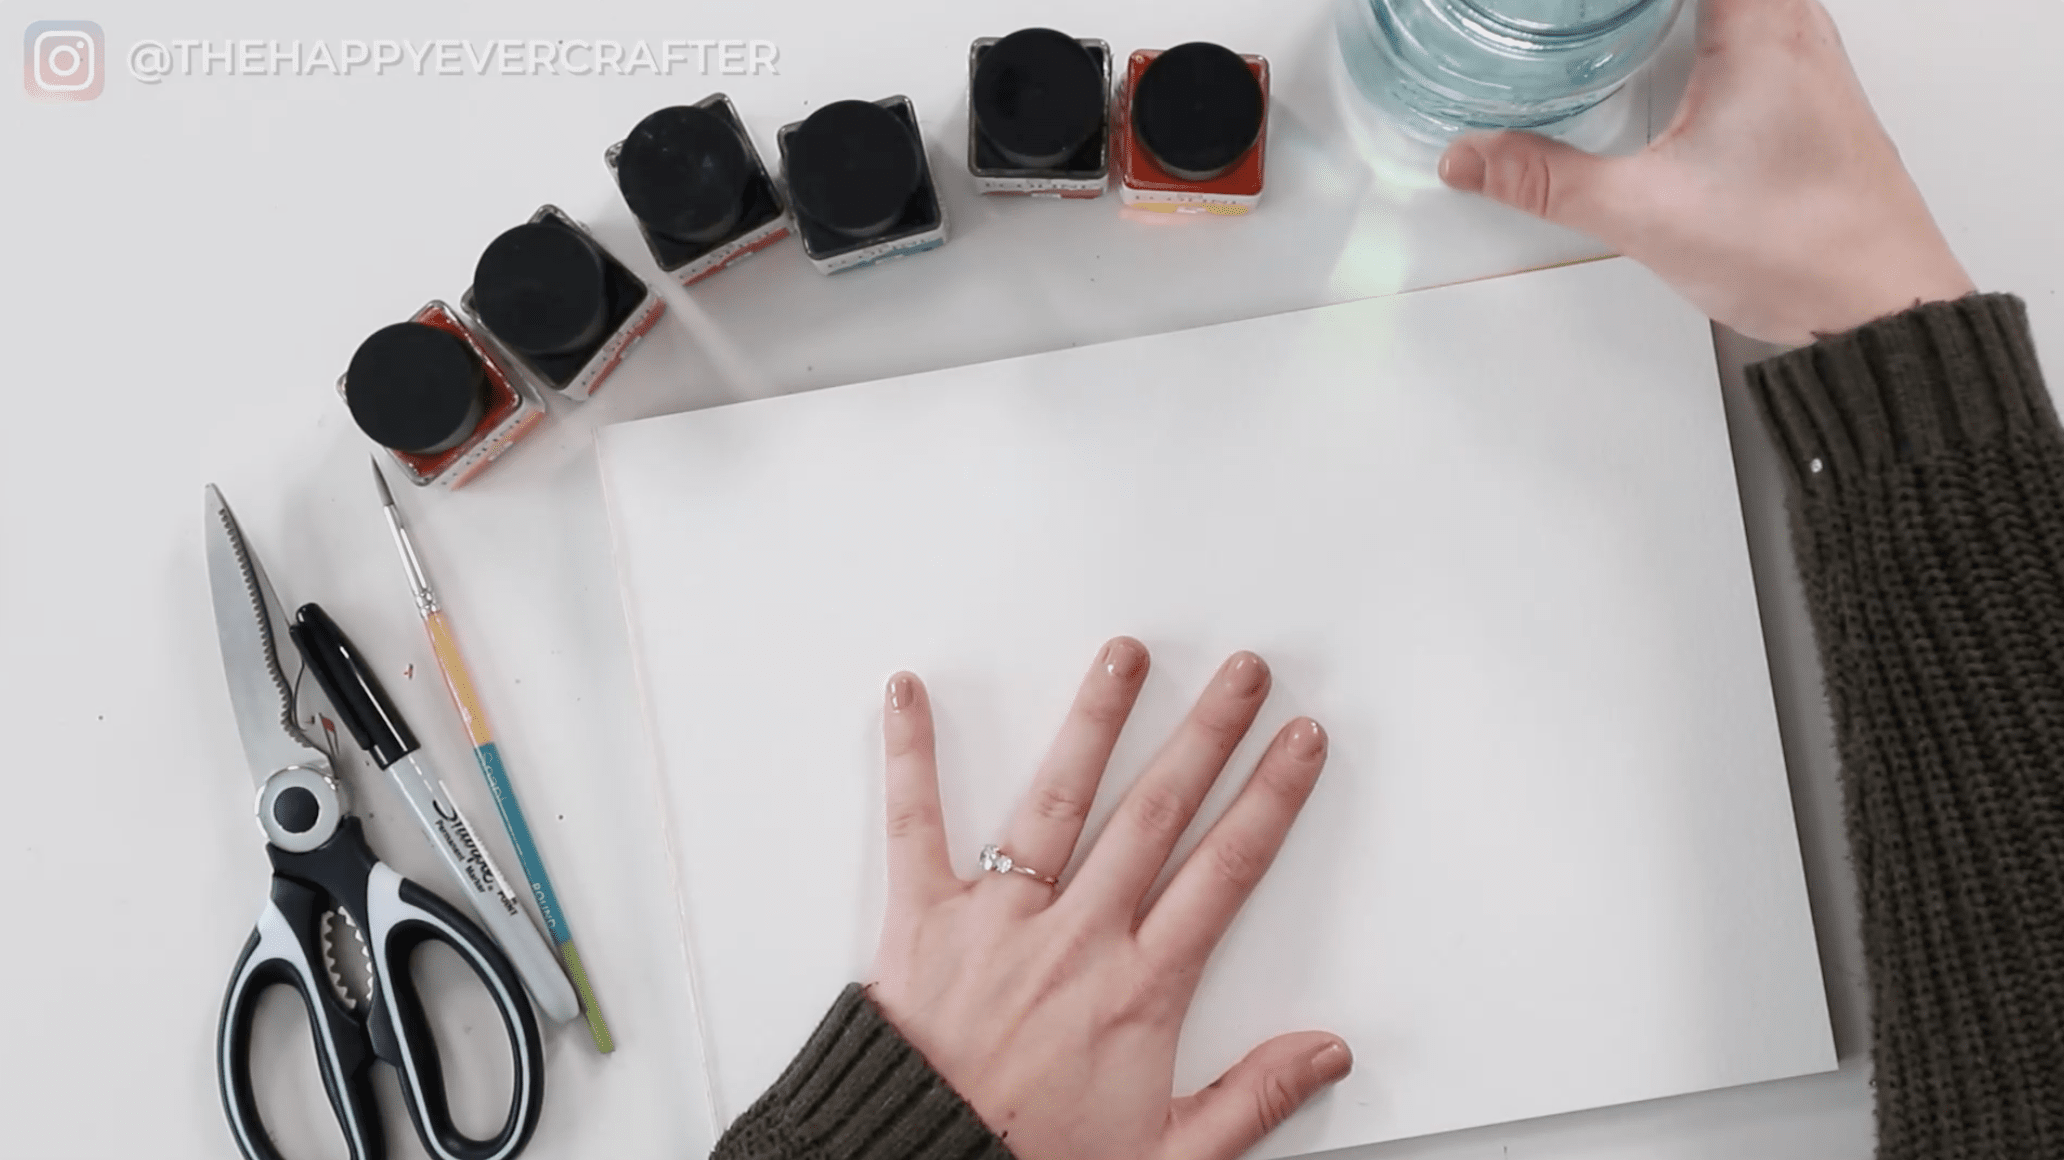
Supplies
- Watercolour paper – I used Strathmore Watercolour Paper (cold-press). Cold-press is a little bit grittier than hot-press paper, which is smooth, and I prefer the way cold-press picks up the watercolours. Hot-press is fine though. You just want some thicker paper than can hold watercolour.
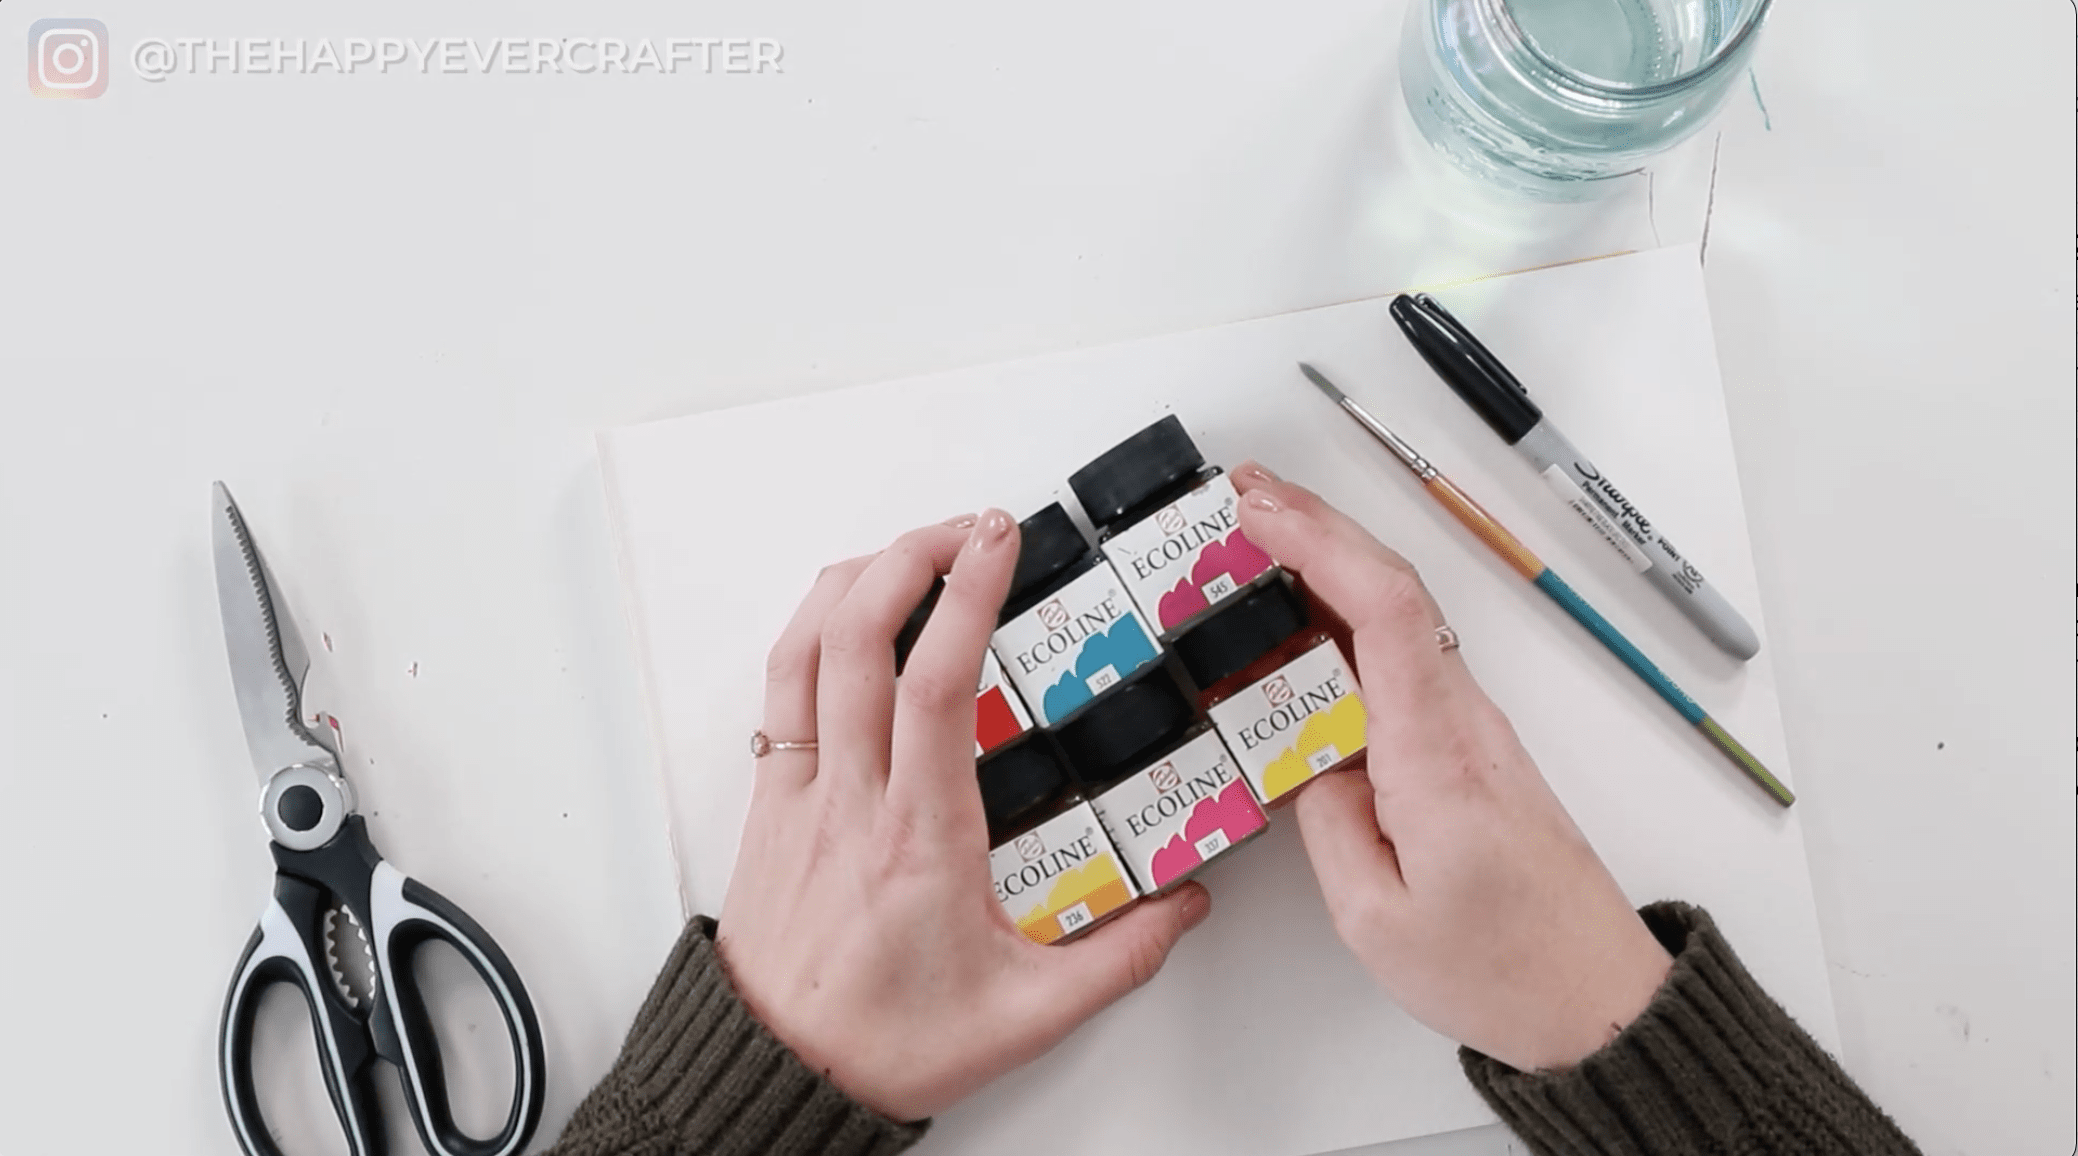
- Watercolour paints – I used Ecoline liquid watercolours in a bunch of different colours. You can choose whatever colours you want, and it doesn’t have to be liquid watercolour. You can use normal watercolour, a cheap watercolour pan set from the art store – anything really.
- Paint brush – I used a Princeton Snap size 4. You can use whatever paint brush you want (no need for anything fancy).
- Permanent marker – I used a Sharpie. I liked the size of this one. Sharpie is great – it’s permanent, and the water won’t mess it up.
- Pair of scissors or a paper cutter
- Jar of water
Rather watch than read? No problem! You can watch in real-time by clicking the video below!
Let’s Get Started!
Make sure you have all your supplies ready to go. This tutorial is pretty straightforward and should be fairly easy to follow.
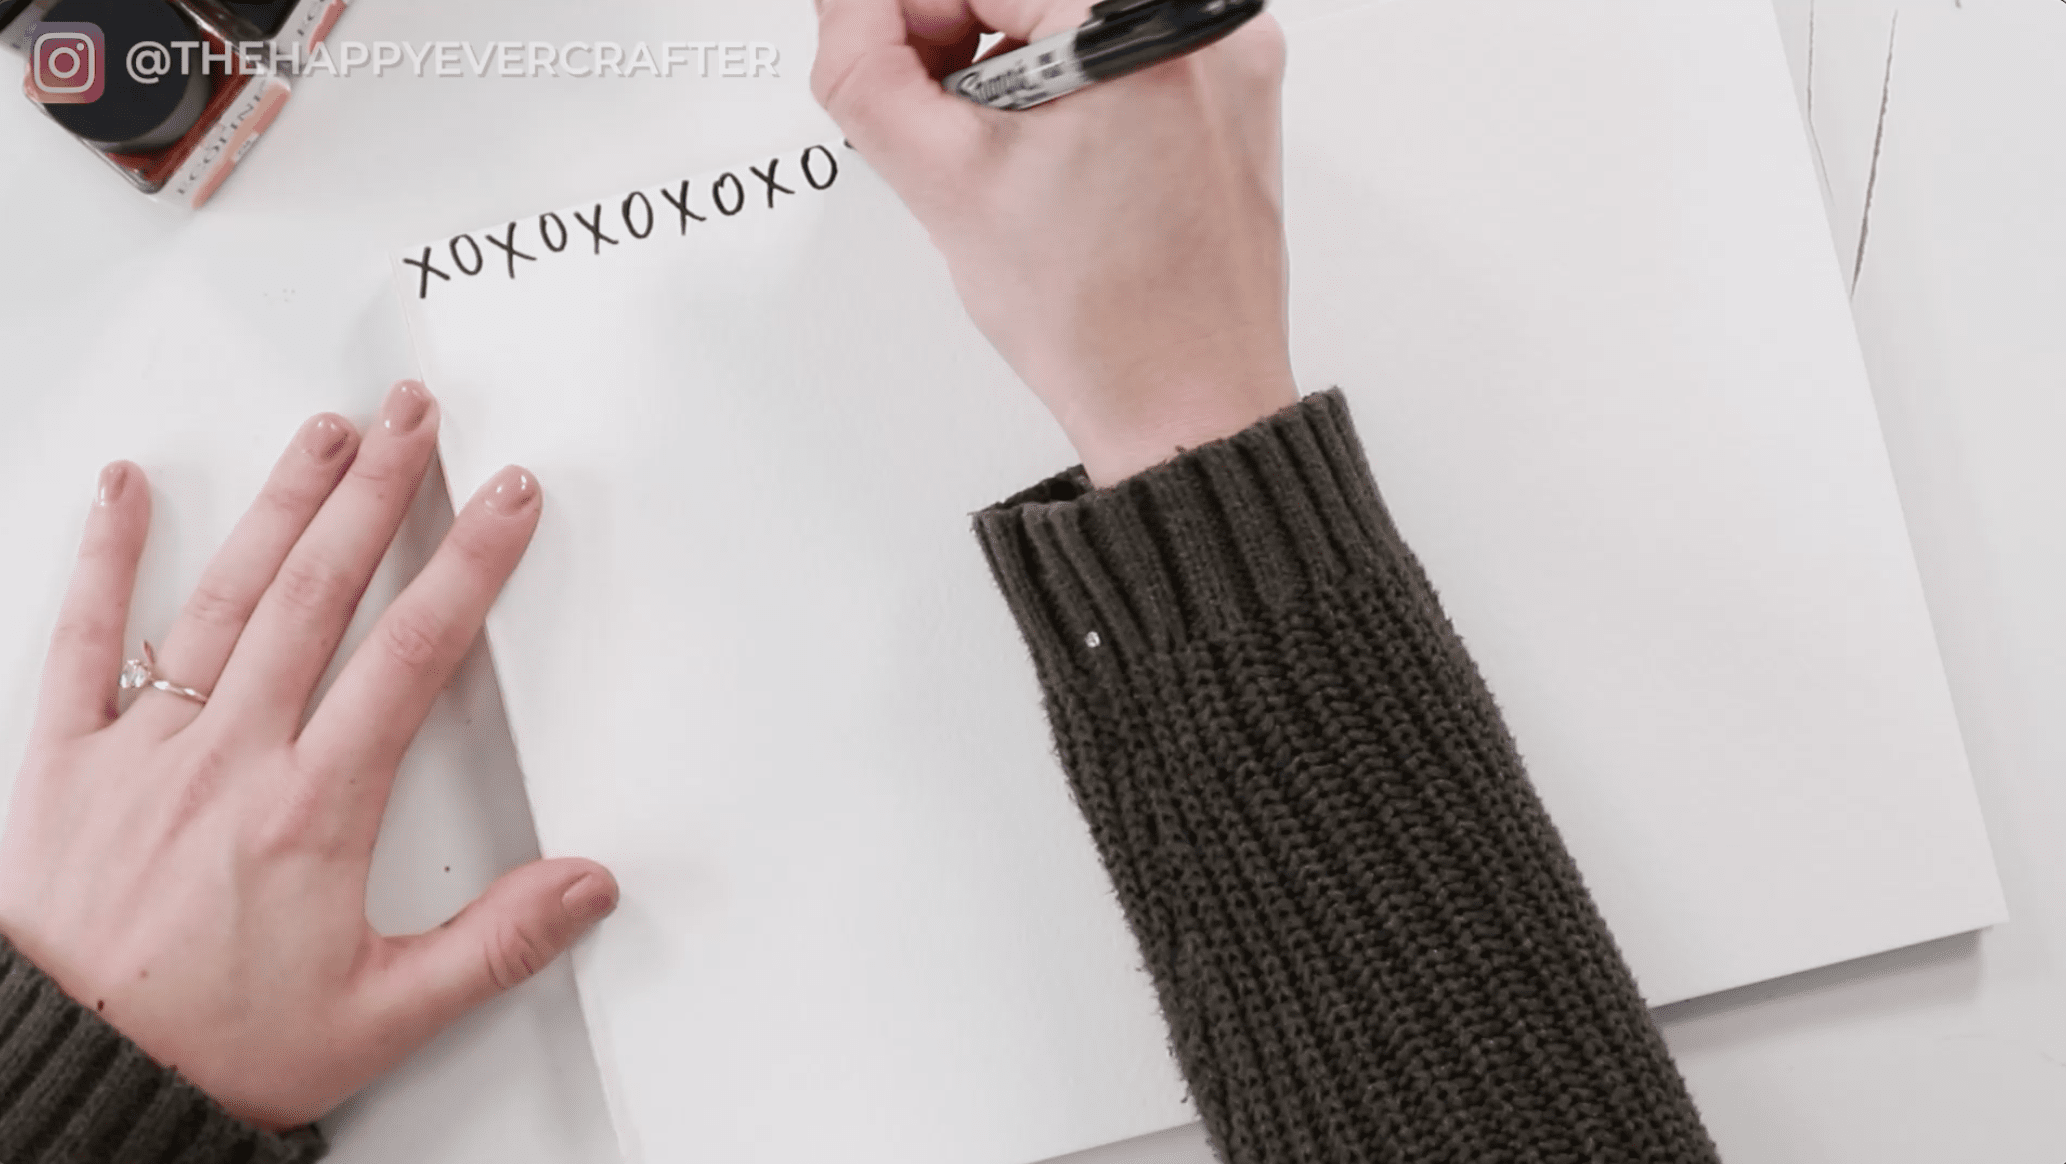
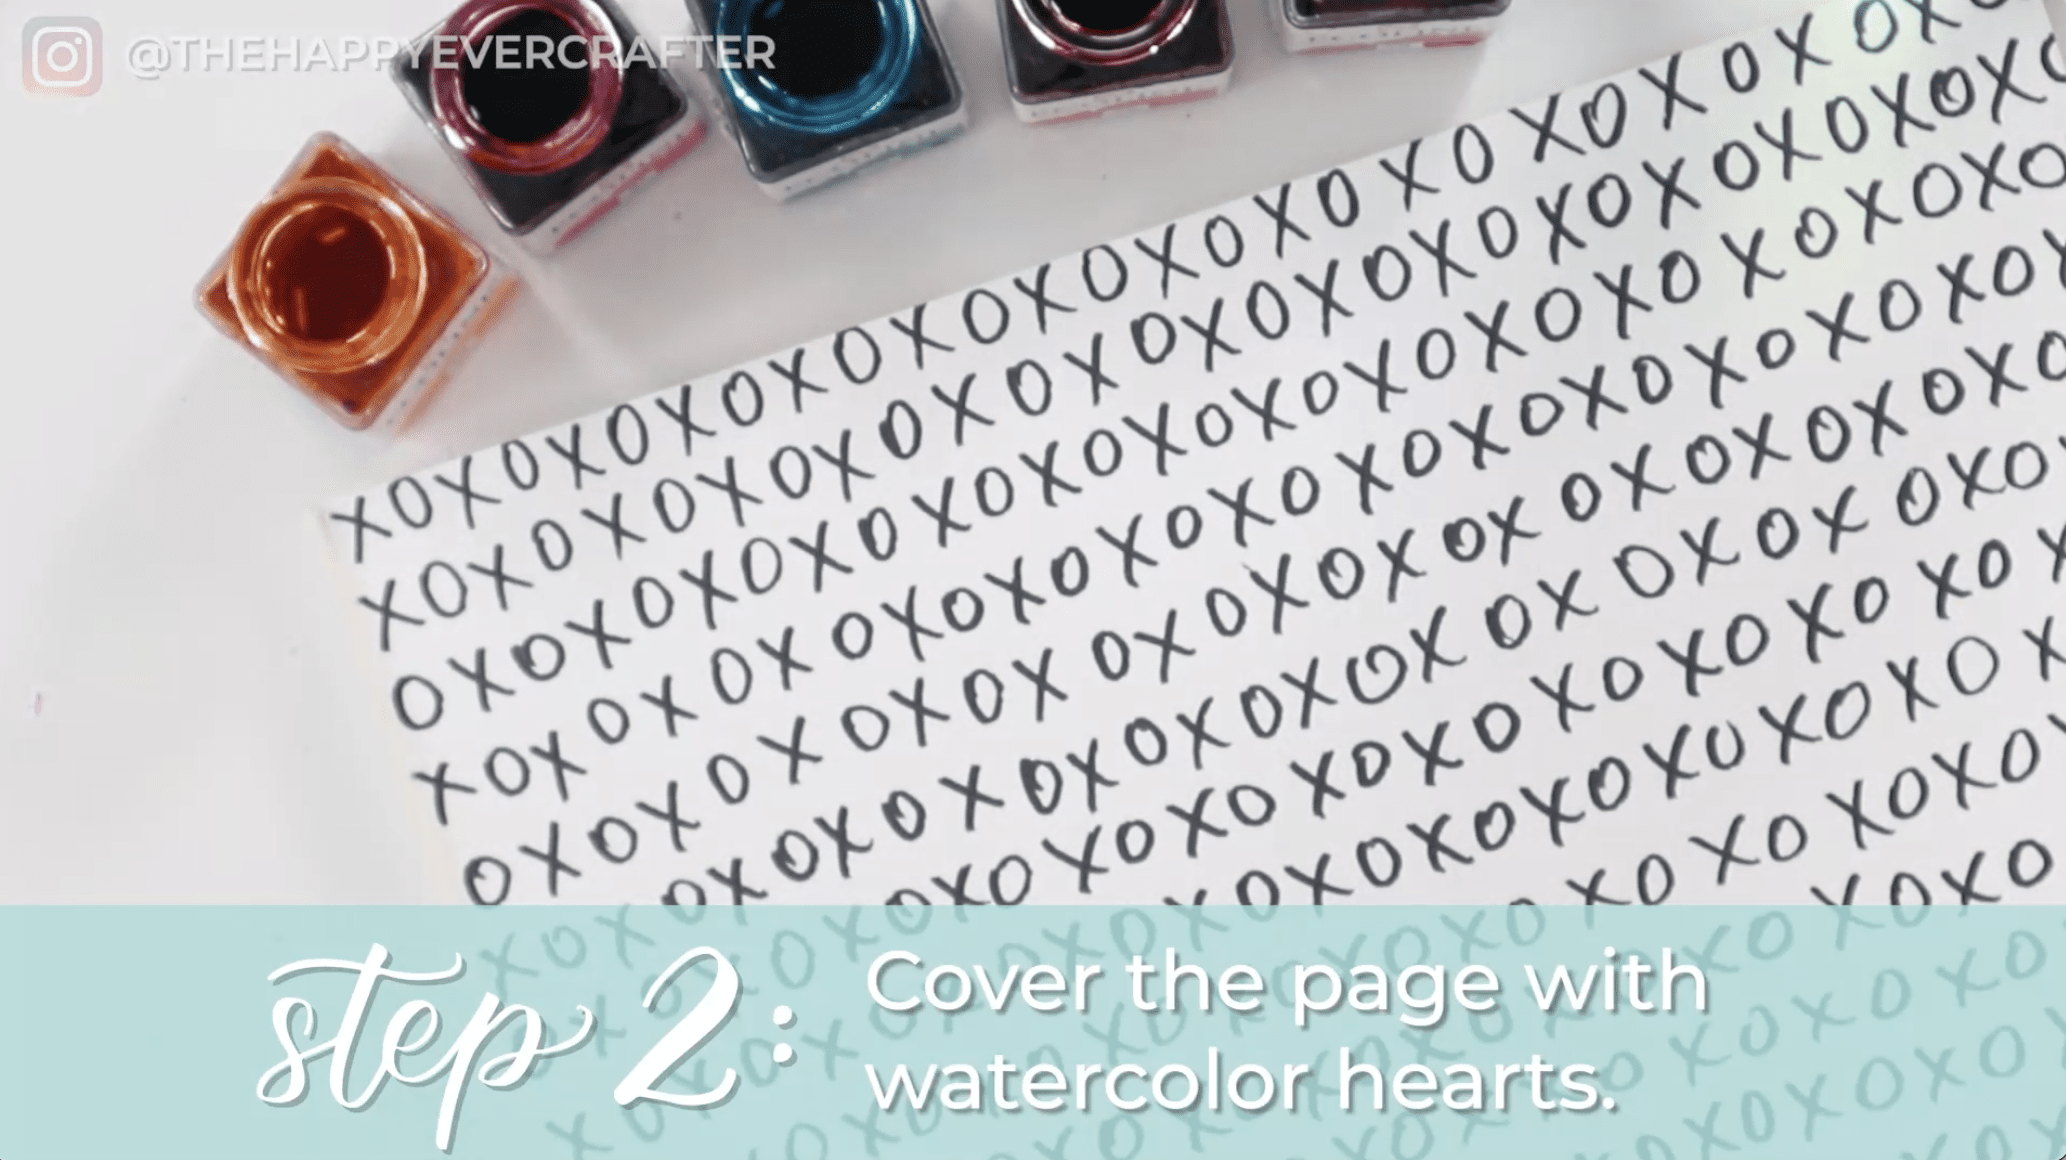
Step 1: Cover the page with X’s and O’s

The very first thing you need to do is use your Sharpie permanent marker and write the letters “X” and “O” all over your entire sheet of paper. Very simple – just jot it down. Doesn’t have to be fancy or even straight. Just get it on the page.
I do recommend going right up against the edges. Doesn’t have to be perfect (it might exactly be pretty messy). Just cover the entire page and don’t worry about perfection.

Once your page is all full of X’s and O’s, it’s time to open up your watercolours. I used purple, pink, blue, orange, and red, but you can use whatever colours you want. You don’t even have to follow my theme – feel free to do what you prefer. All pink, all red – you do you!
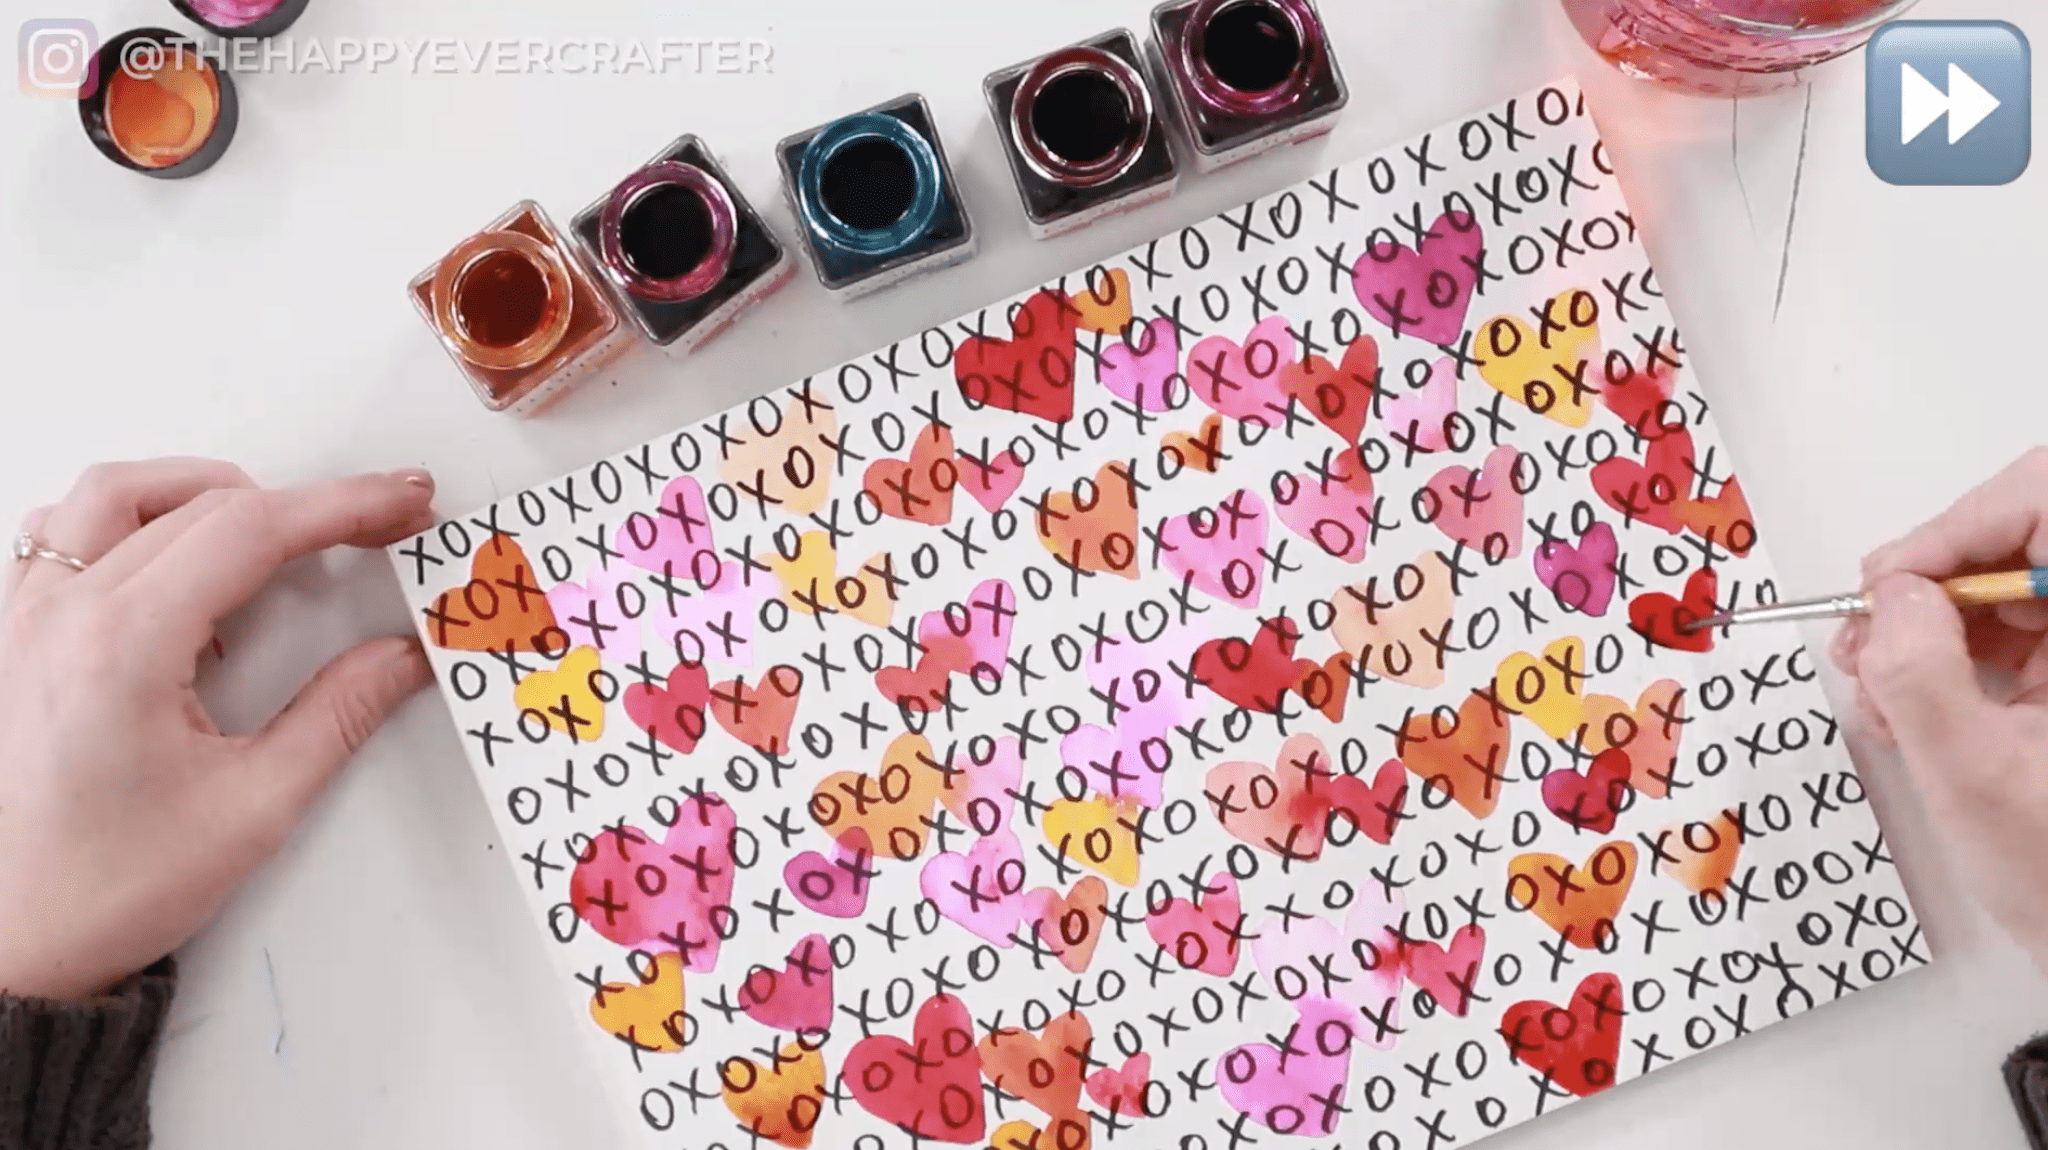
Step 2: Cover the page with watercolour hearts
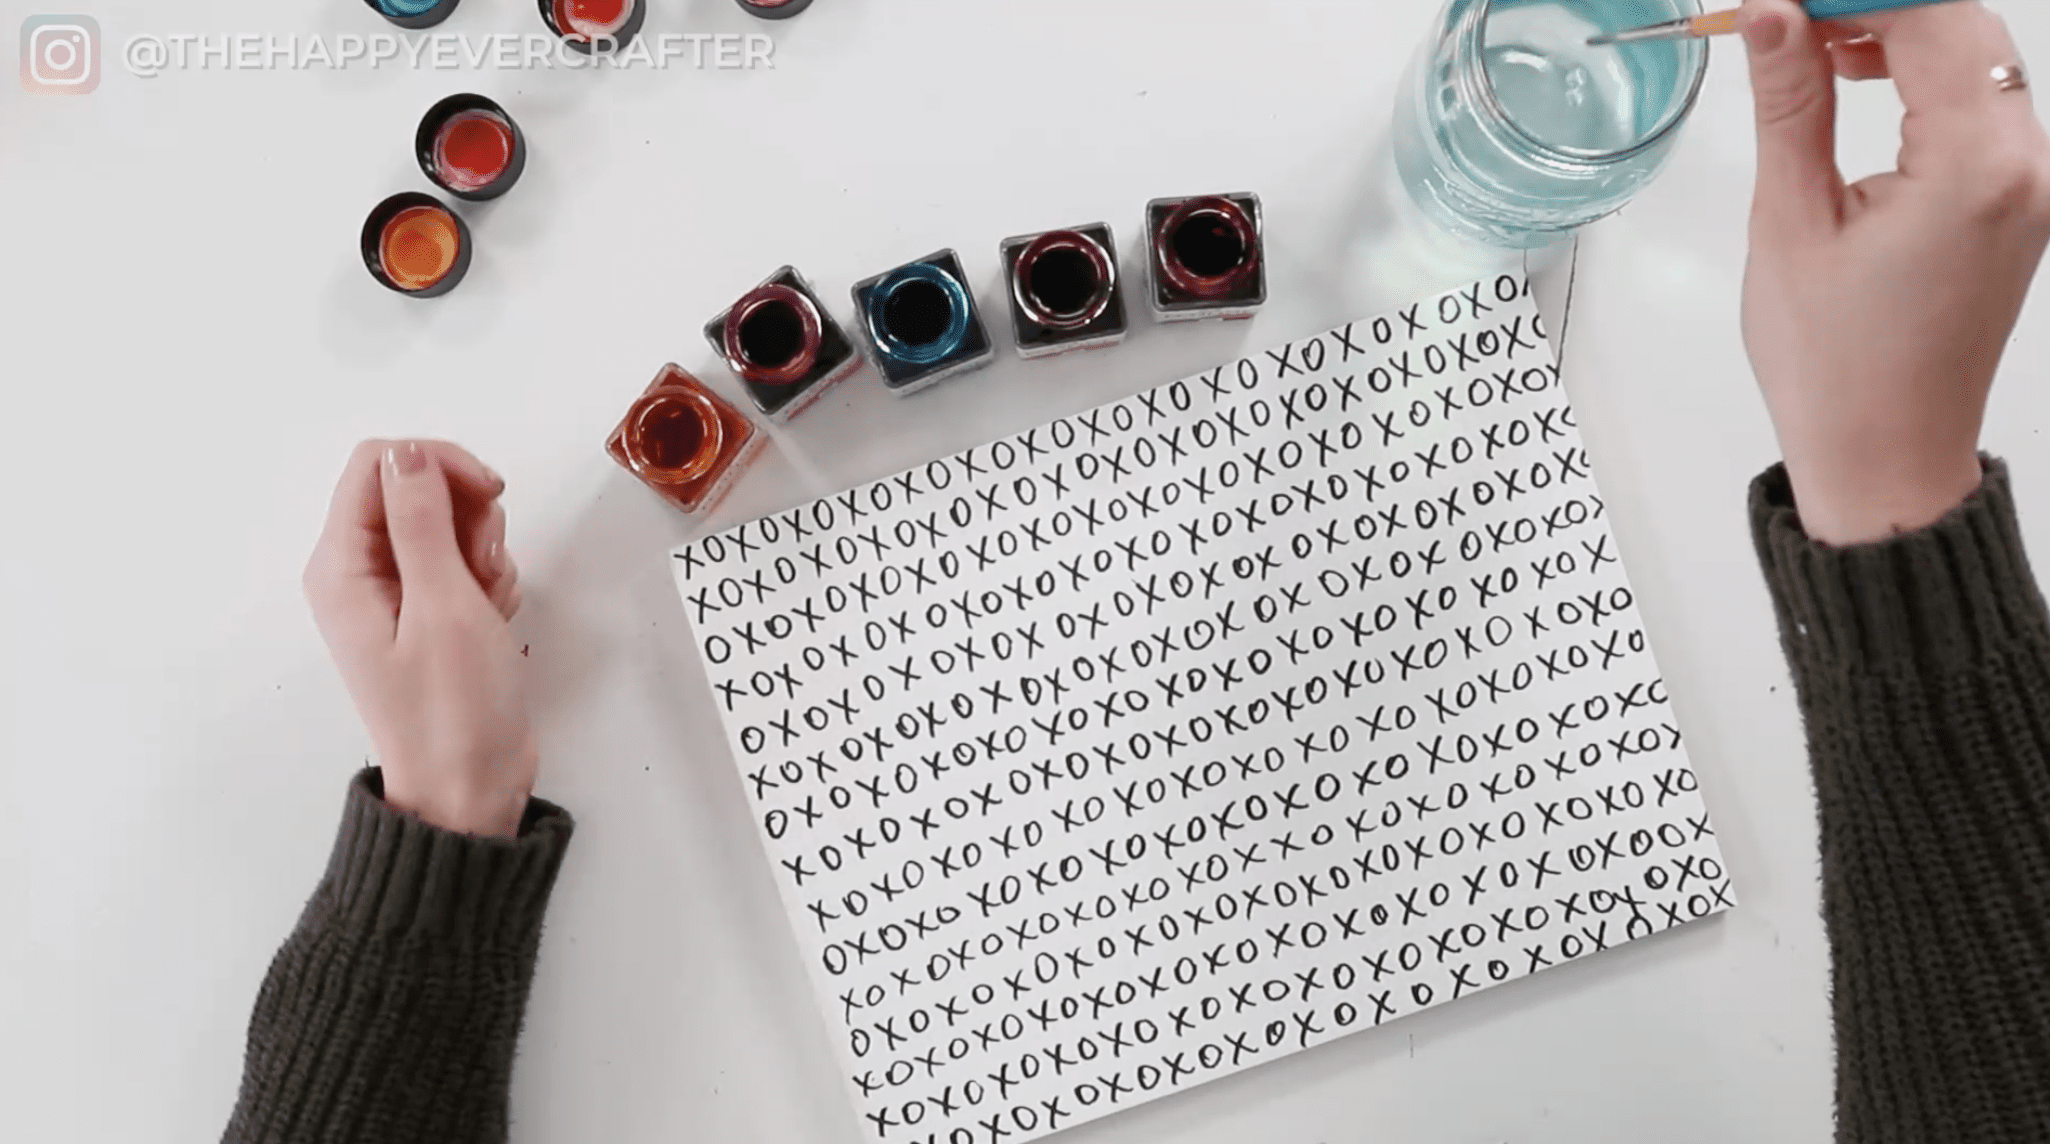
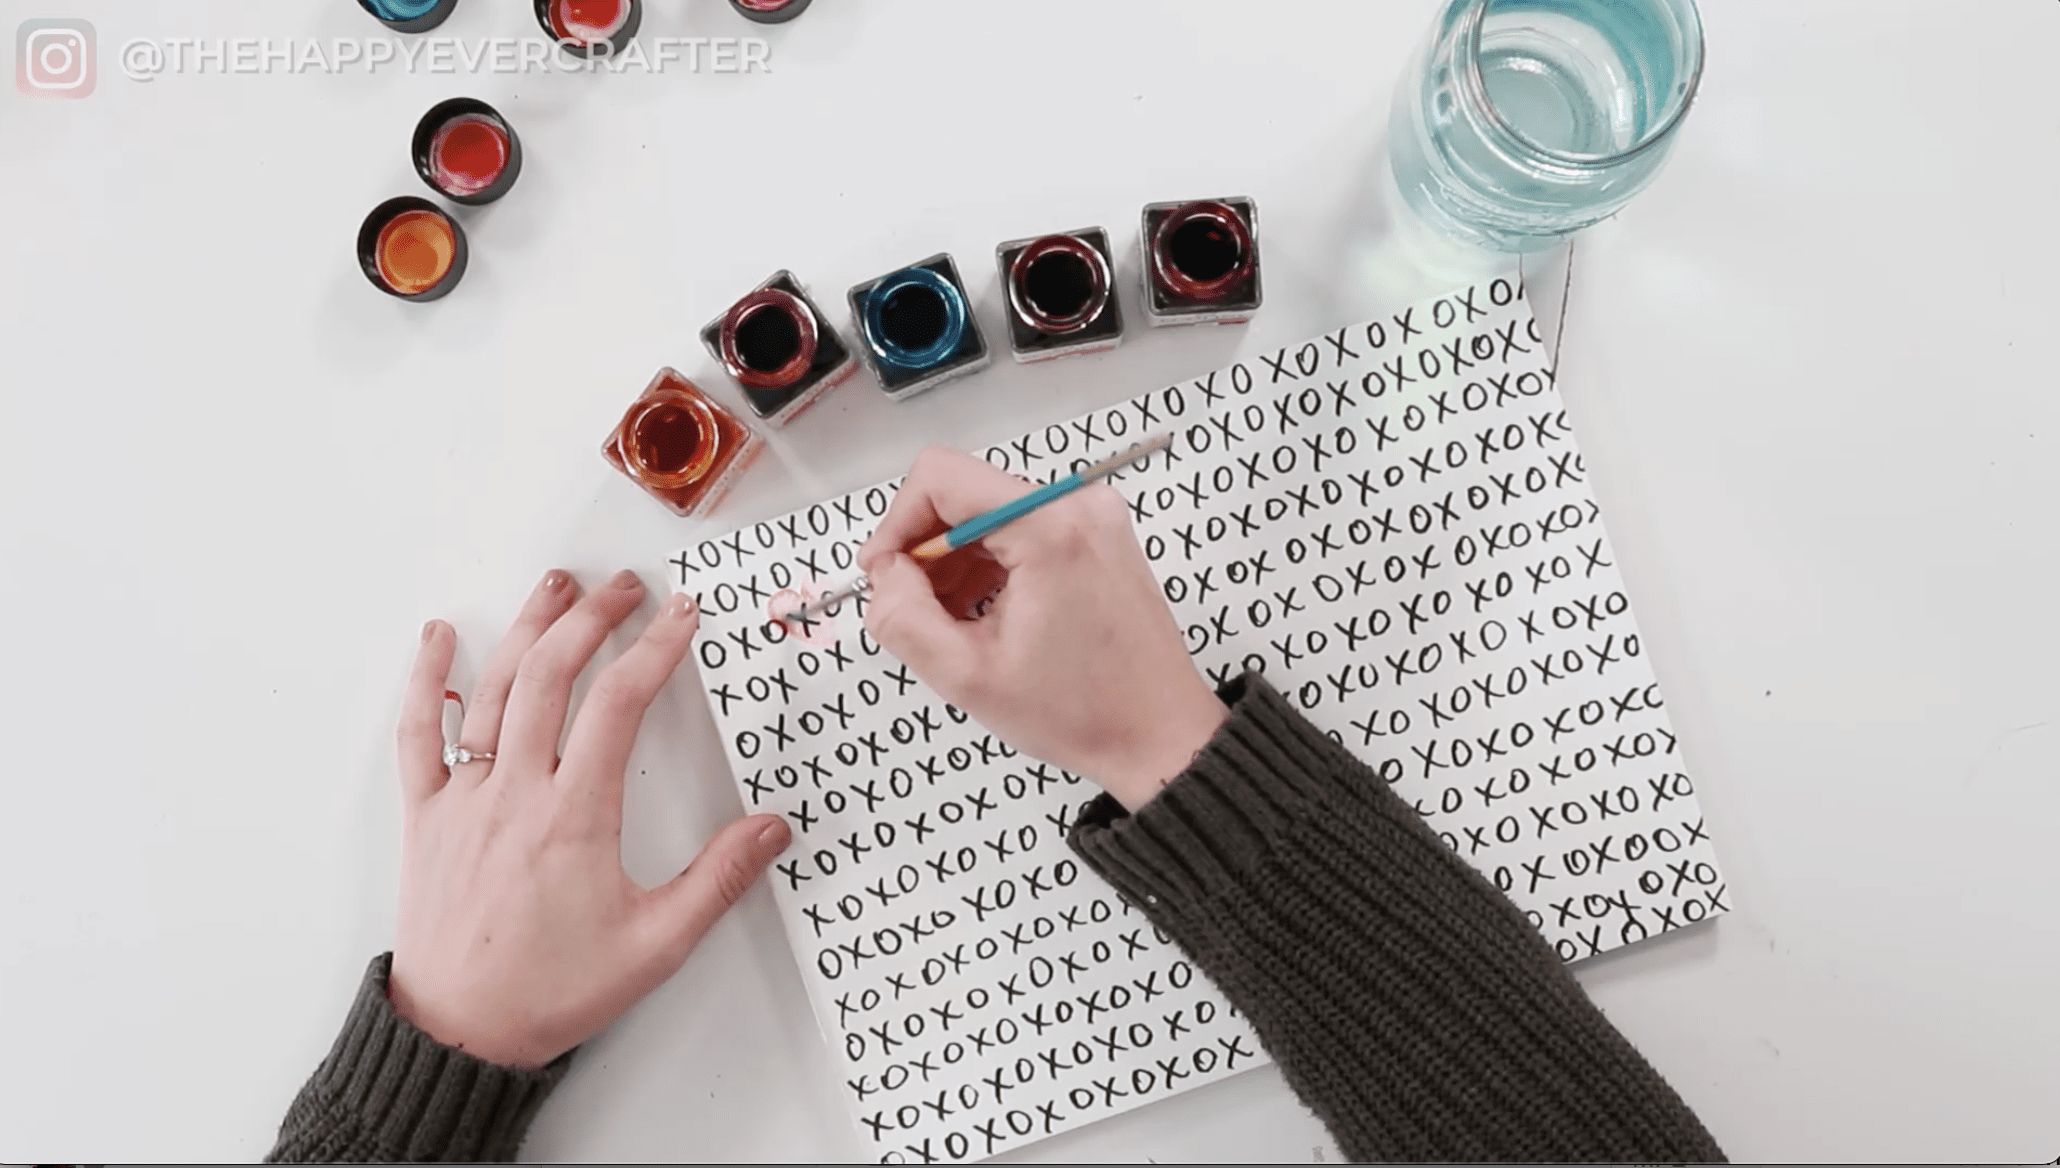
Grab your paint brush, your paints, and your water jar. Now, start painting hearts really randomly all over your page – different colours, overlapping… just fill up the whole thing.
When using liquid watercolours, I like to dip my brush in my water first just to get my brush nice and wet. I don’t like to use a ton of watercolour especially for this project. I wanted these to be light and pastel. Lots of water and a tiny bit of paint.
Like I said, just fill up the page. Literally hop anywhere on the page and paint a heart. Add some water, pick another colour, make another heart. You can do different sizes, different colours, whatever you want.
Every once in a while, I recommend adding a little bit more paint onto the brush than usual to make a darker heart. You can touch the edges to some of the ones you’ve already done, and you’ll see how the watercolour bleeds together.
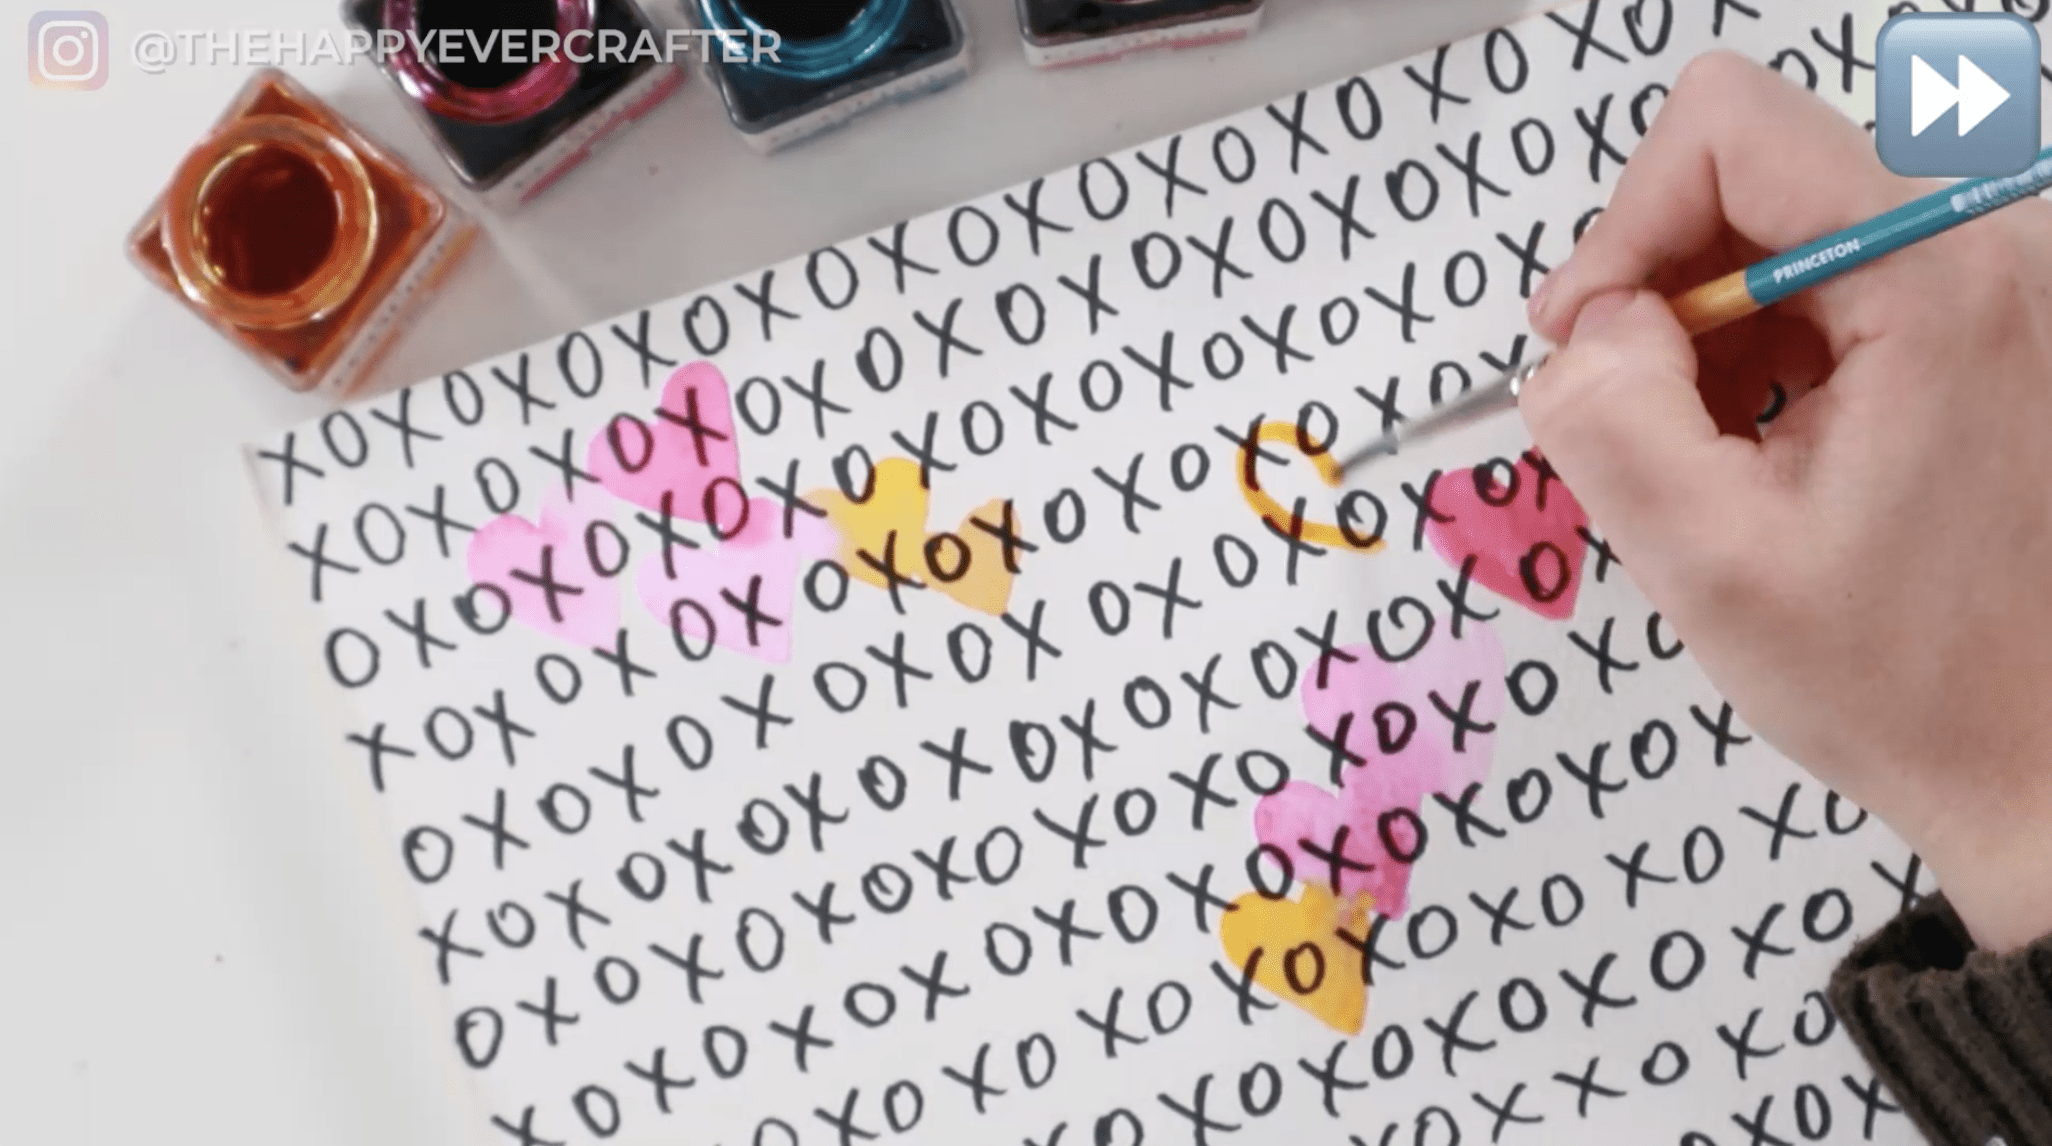
I also recommend keeping all of your hearts facing in an upwards direction. You can angle them to the left and the right a little bit, but you don’t really want any upside down. Feel free to jump all over the page as you go. Add a bigger heart and build off of that. Cluster as you go.

I really liked the way that mine looked with all the pinks and purples, but I added a bit of blue at the end. I was careful not to make them super bright (so lots of water!).
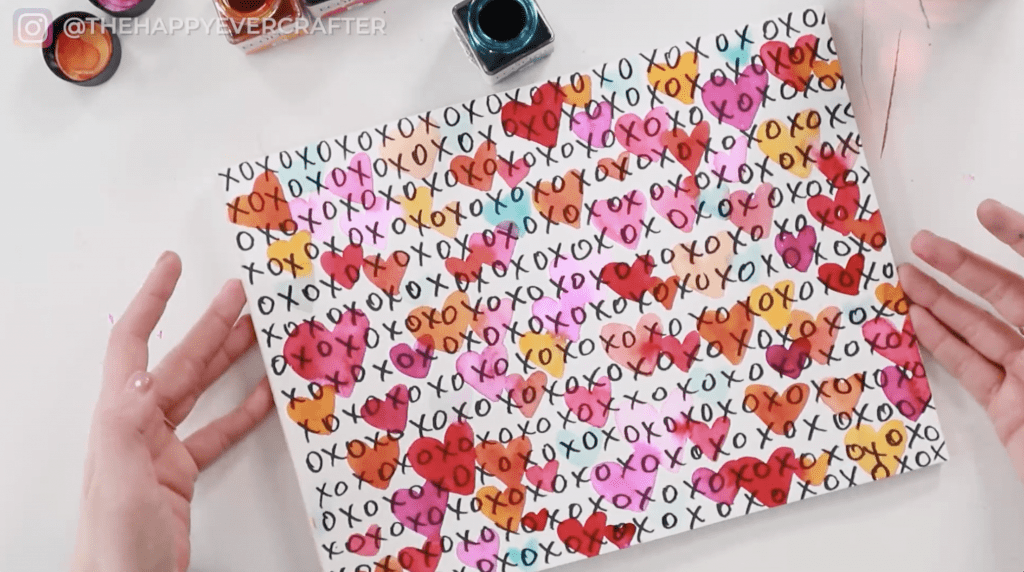
Feel free to stop whenever you want. Honestly, you could fill the entire page with hearts if you wanted to. You could wait for it to dry and do some more layers. You could do whatever you want. I was happy with this, so I stopped adding anything.
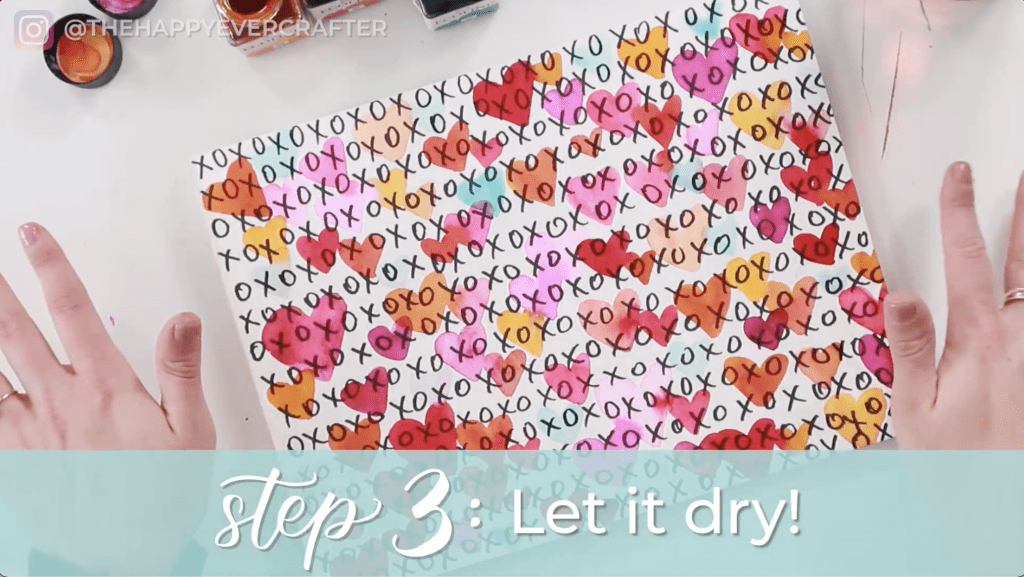
Step 3: Let it dry!
Let it completely dry and then come back. Once your painting is completely dry, pull the page out of your book (or block).
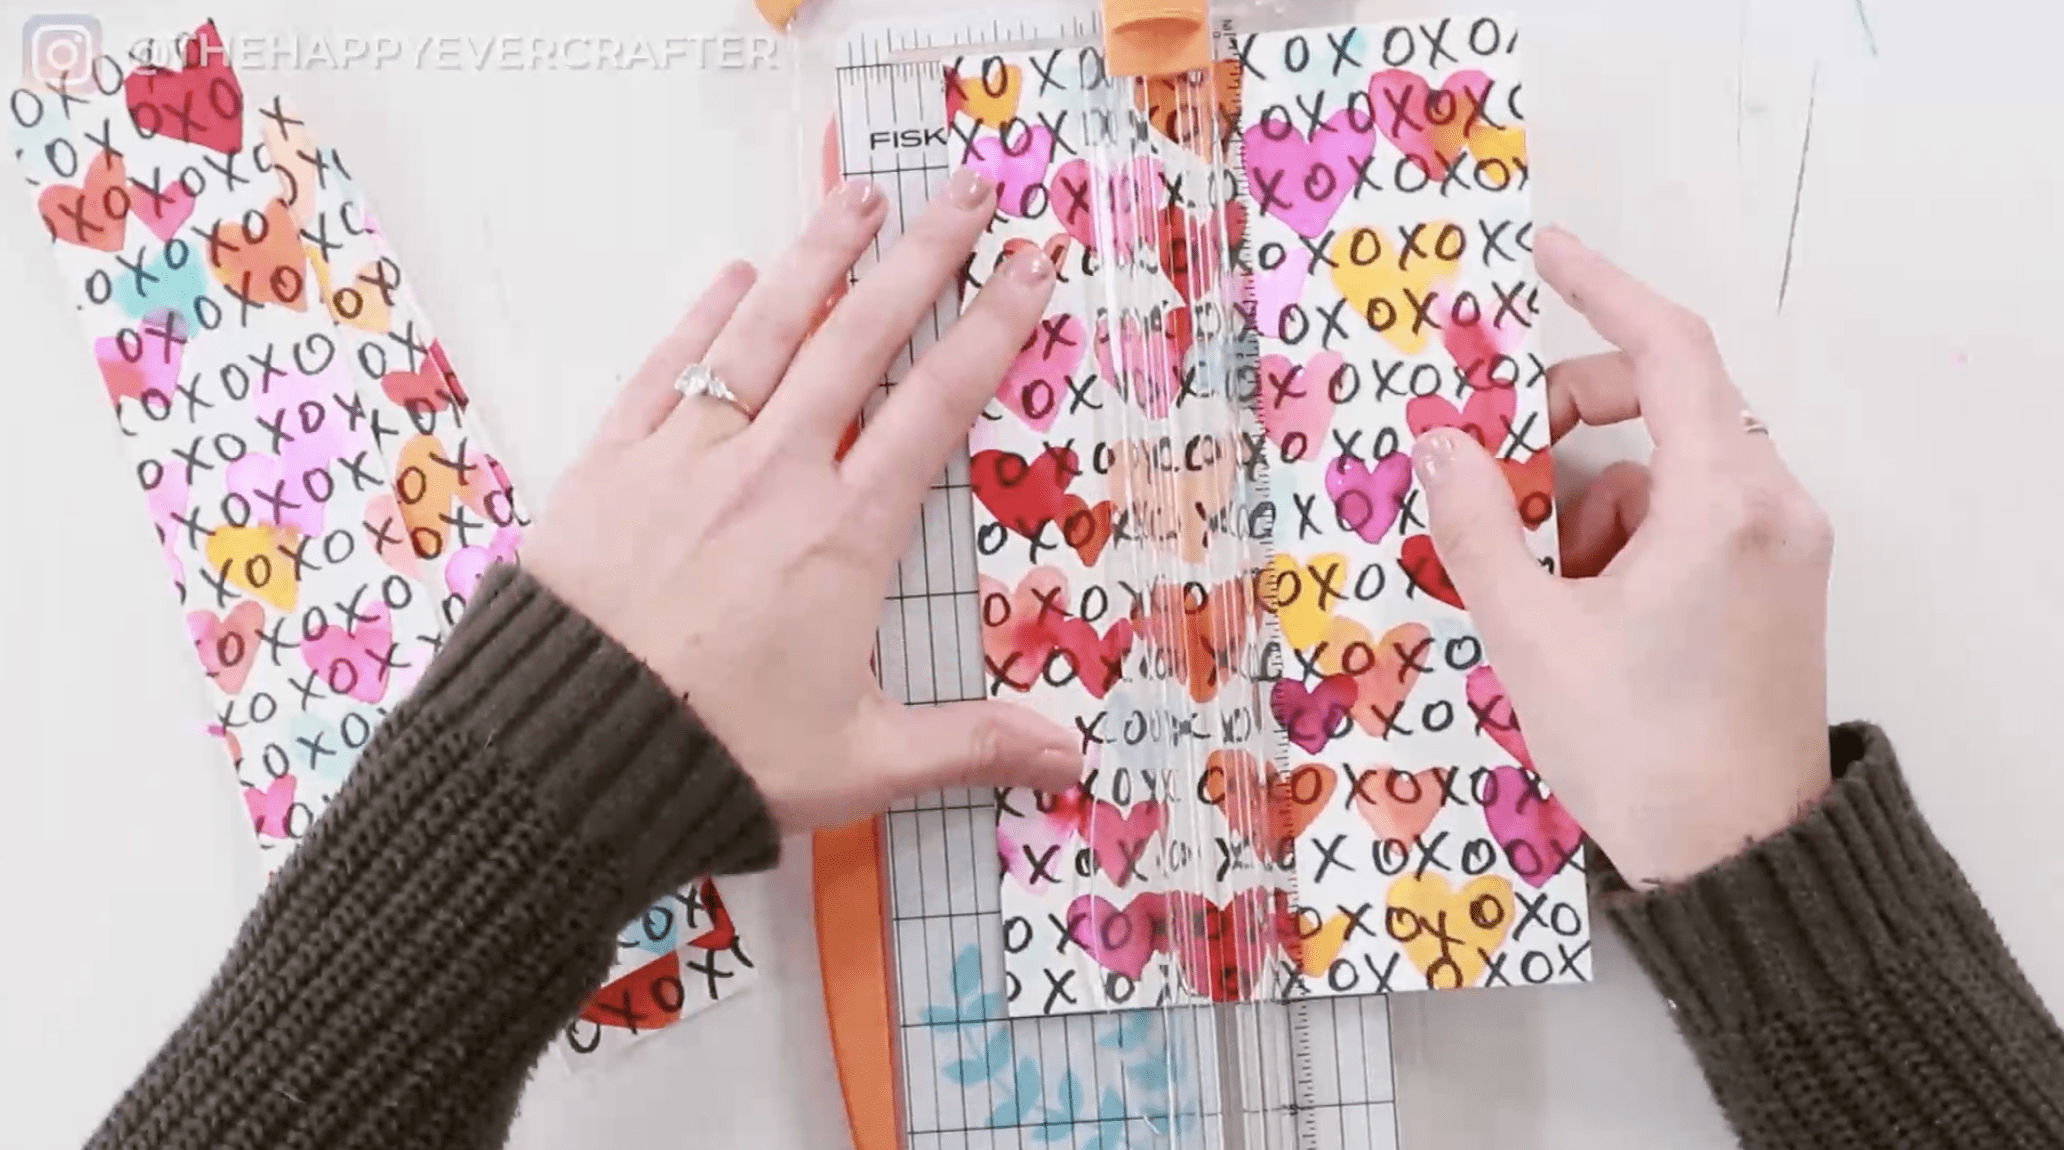
Step 4: Cut your page into small cards.
Next grab your scissors or your paper cutter. A paper cutter is faster but not required – you could measure and cut with scissors.
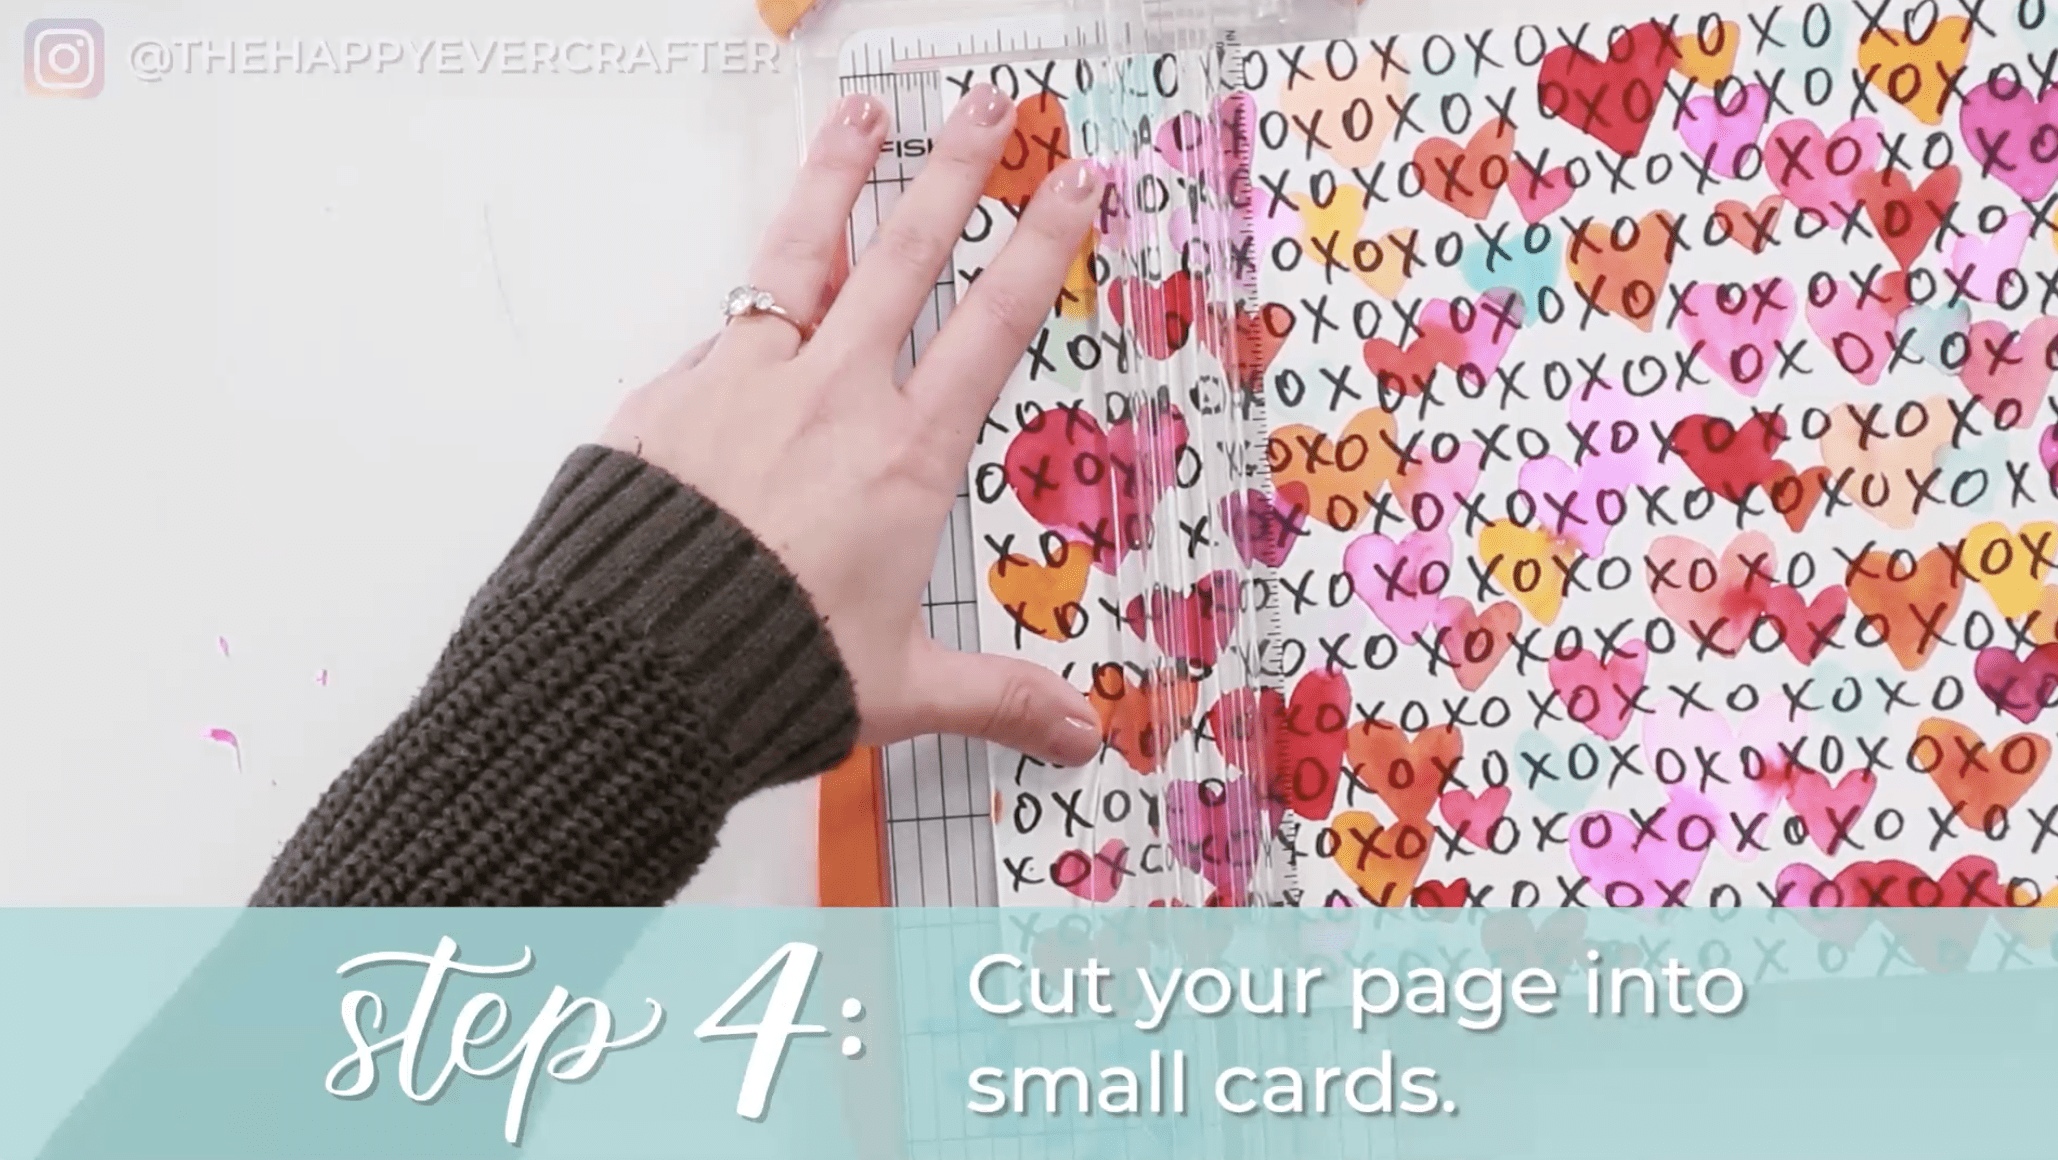
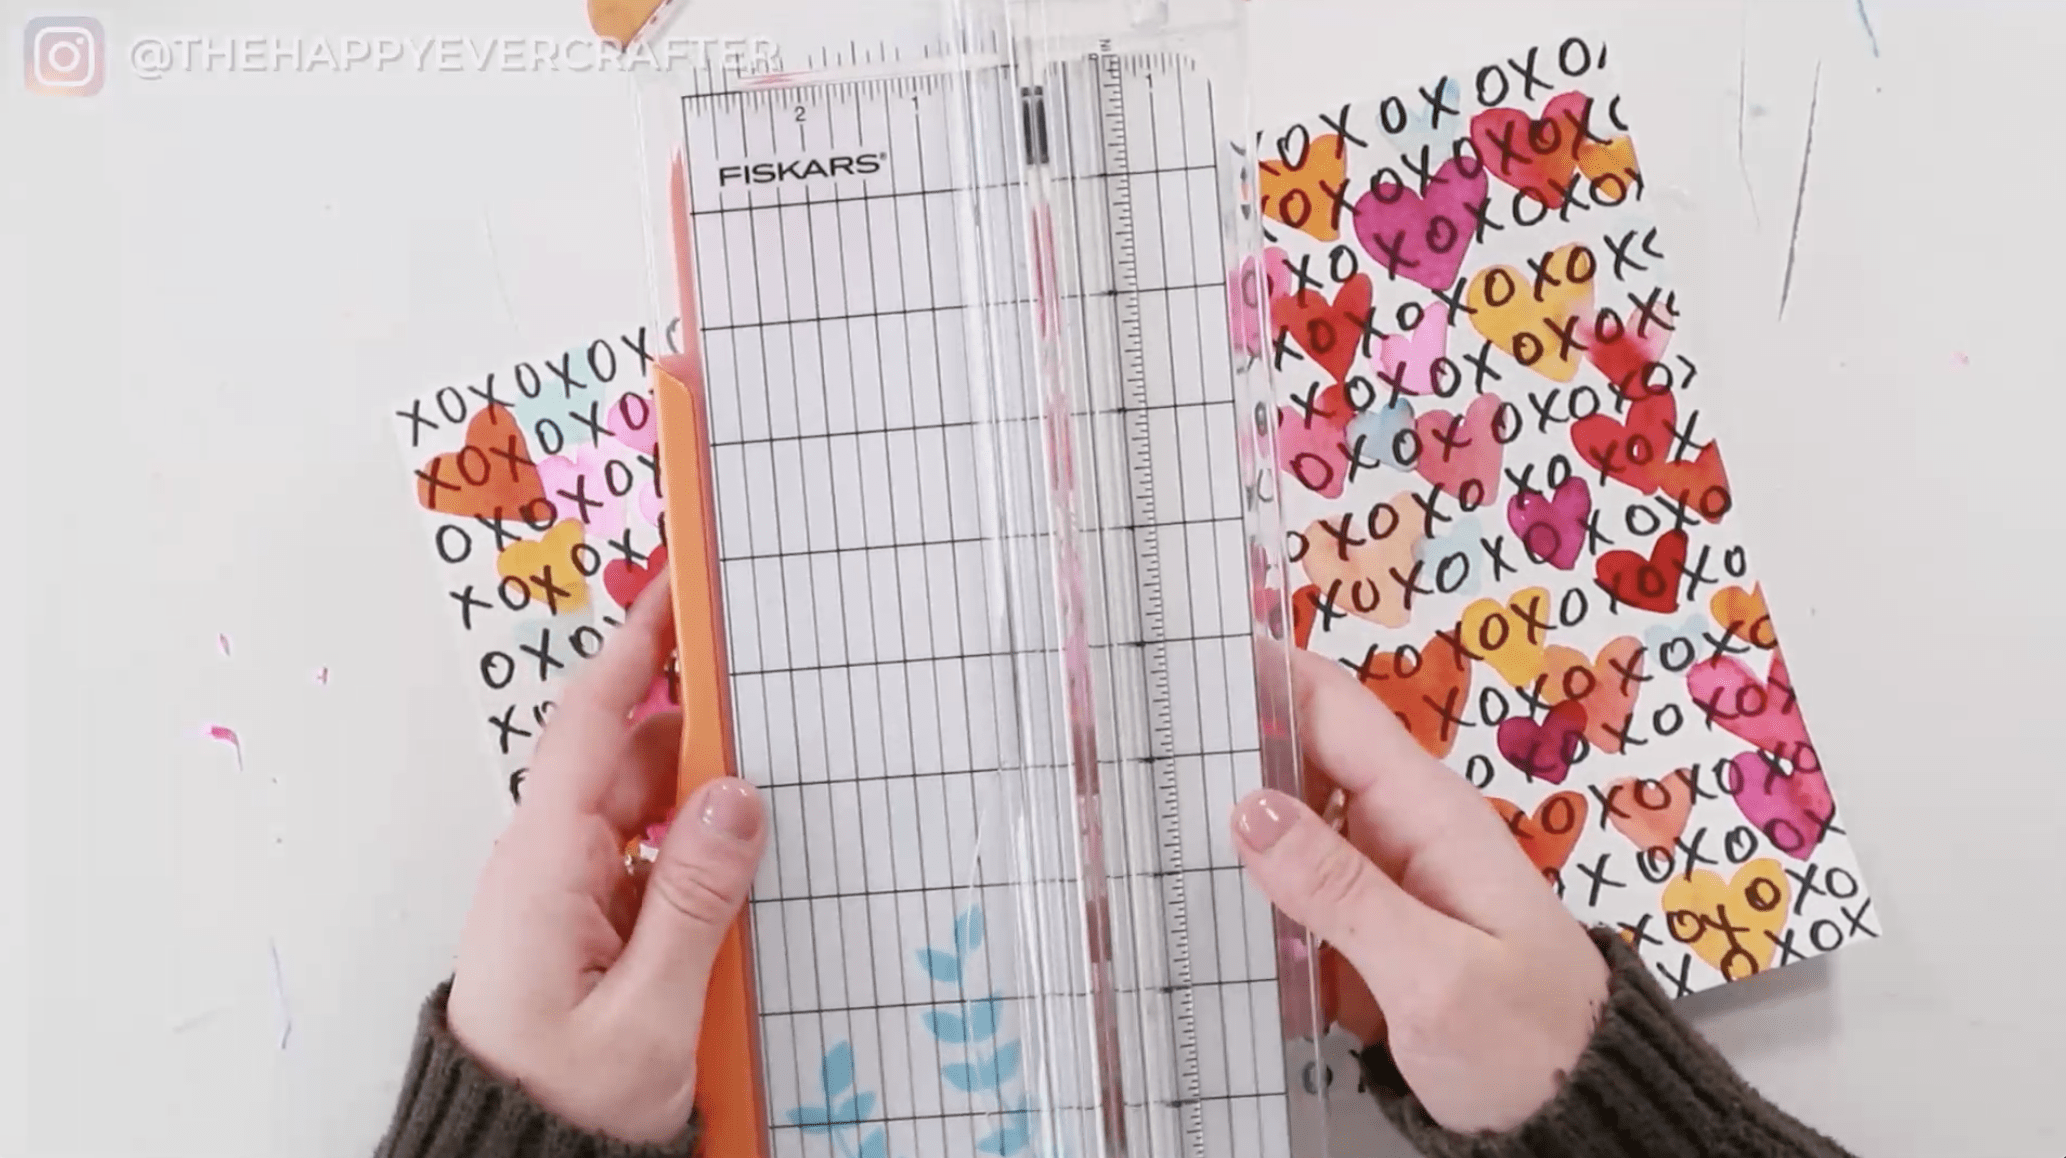
I cut my cards to be two inches wide, but feel free to choose sizing that works for you.
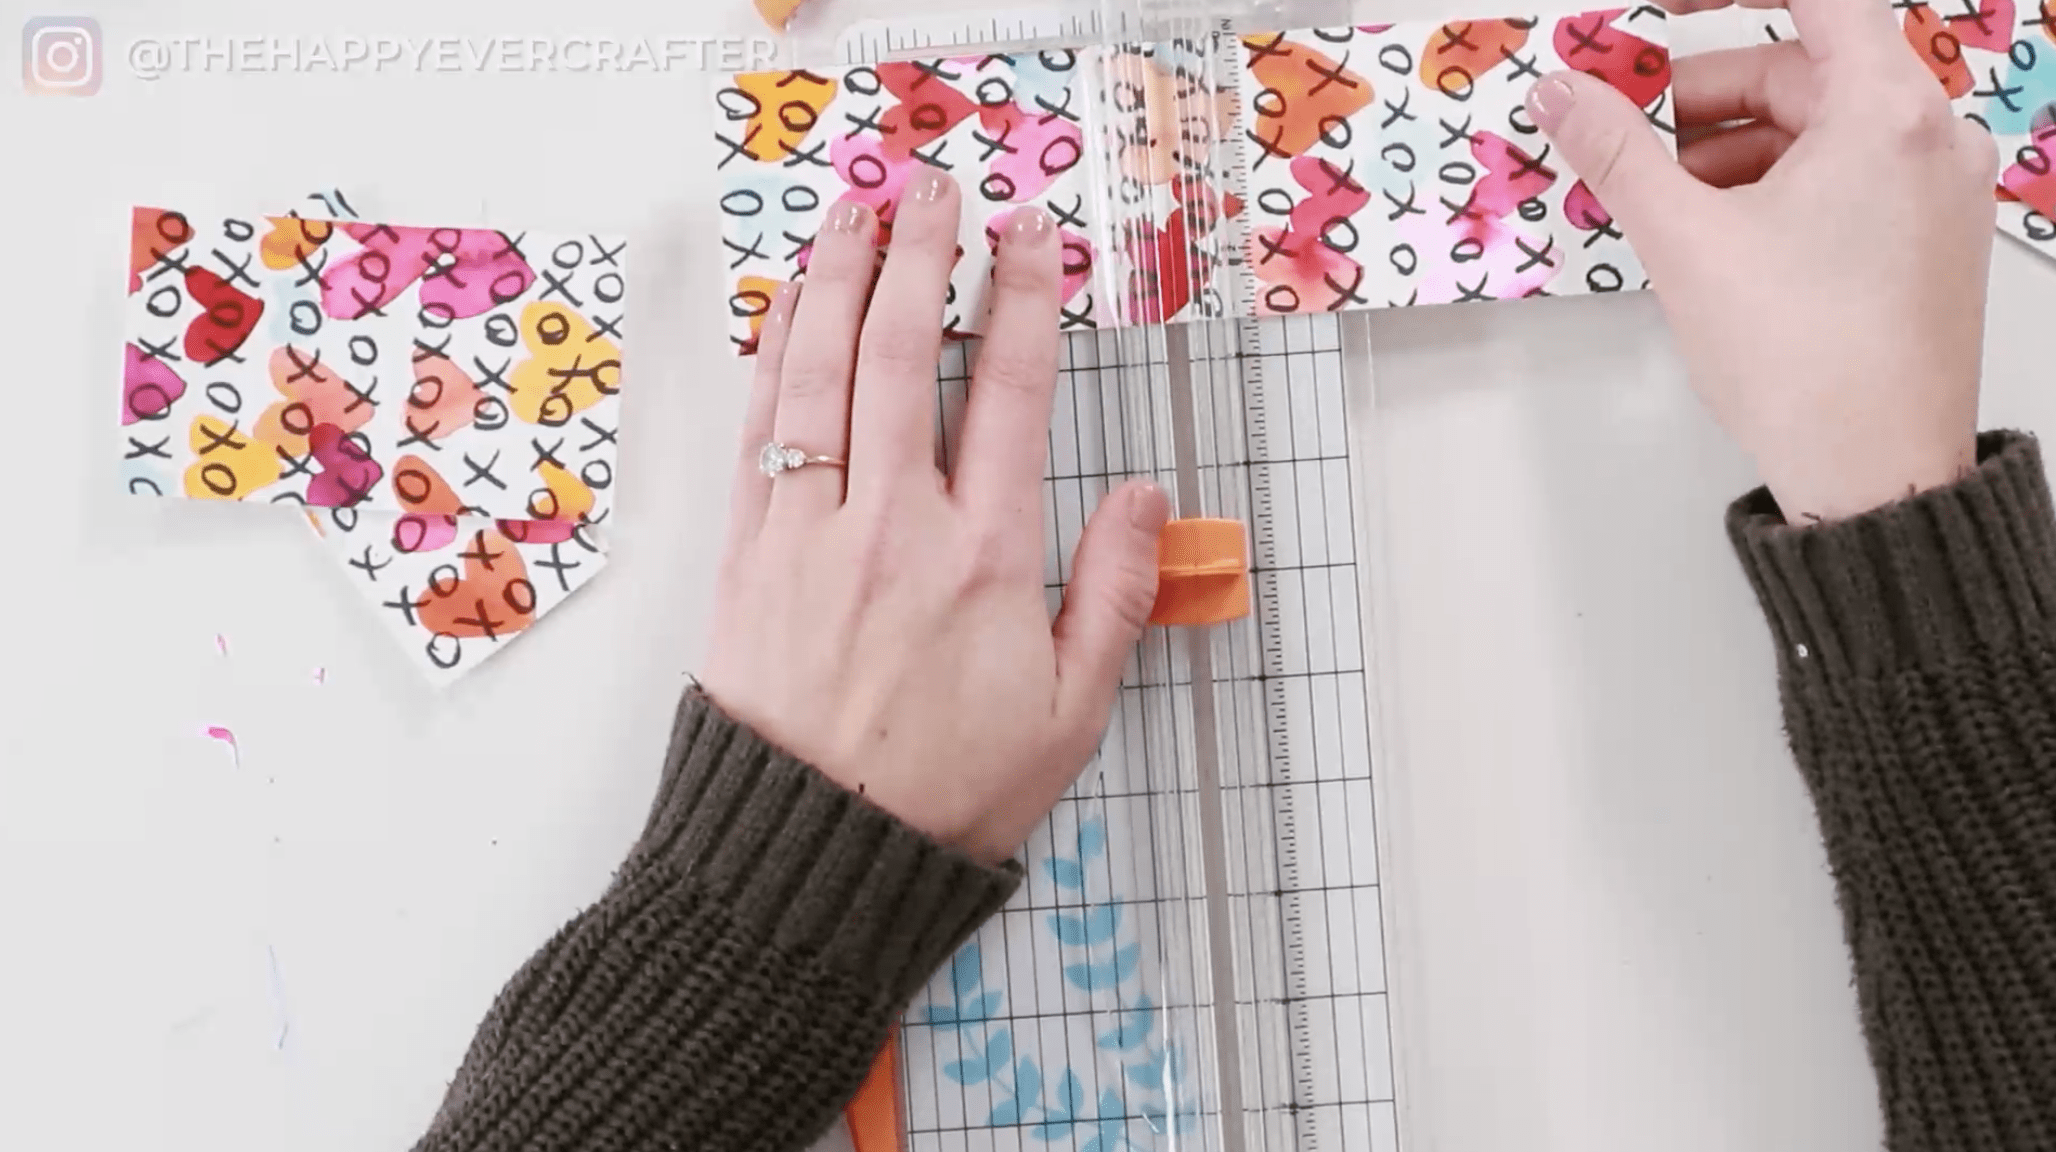
Once you cut your strips, then cut them in half. Your cards don’t have to be all the exact same size. If you don’t feel like doing a ton of measurements, that’s totally okay. Just kind of eyeball it. I’m definitely NOT a perfectionist, so no pressure!
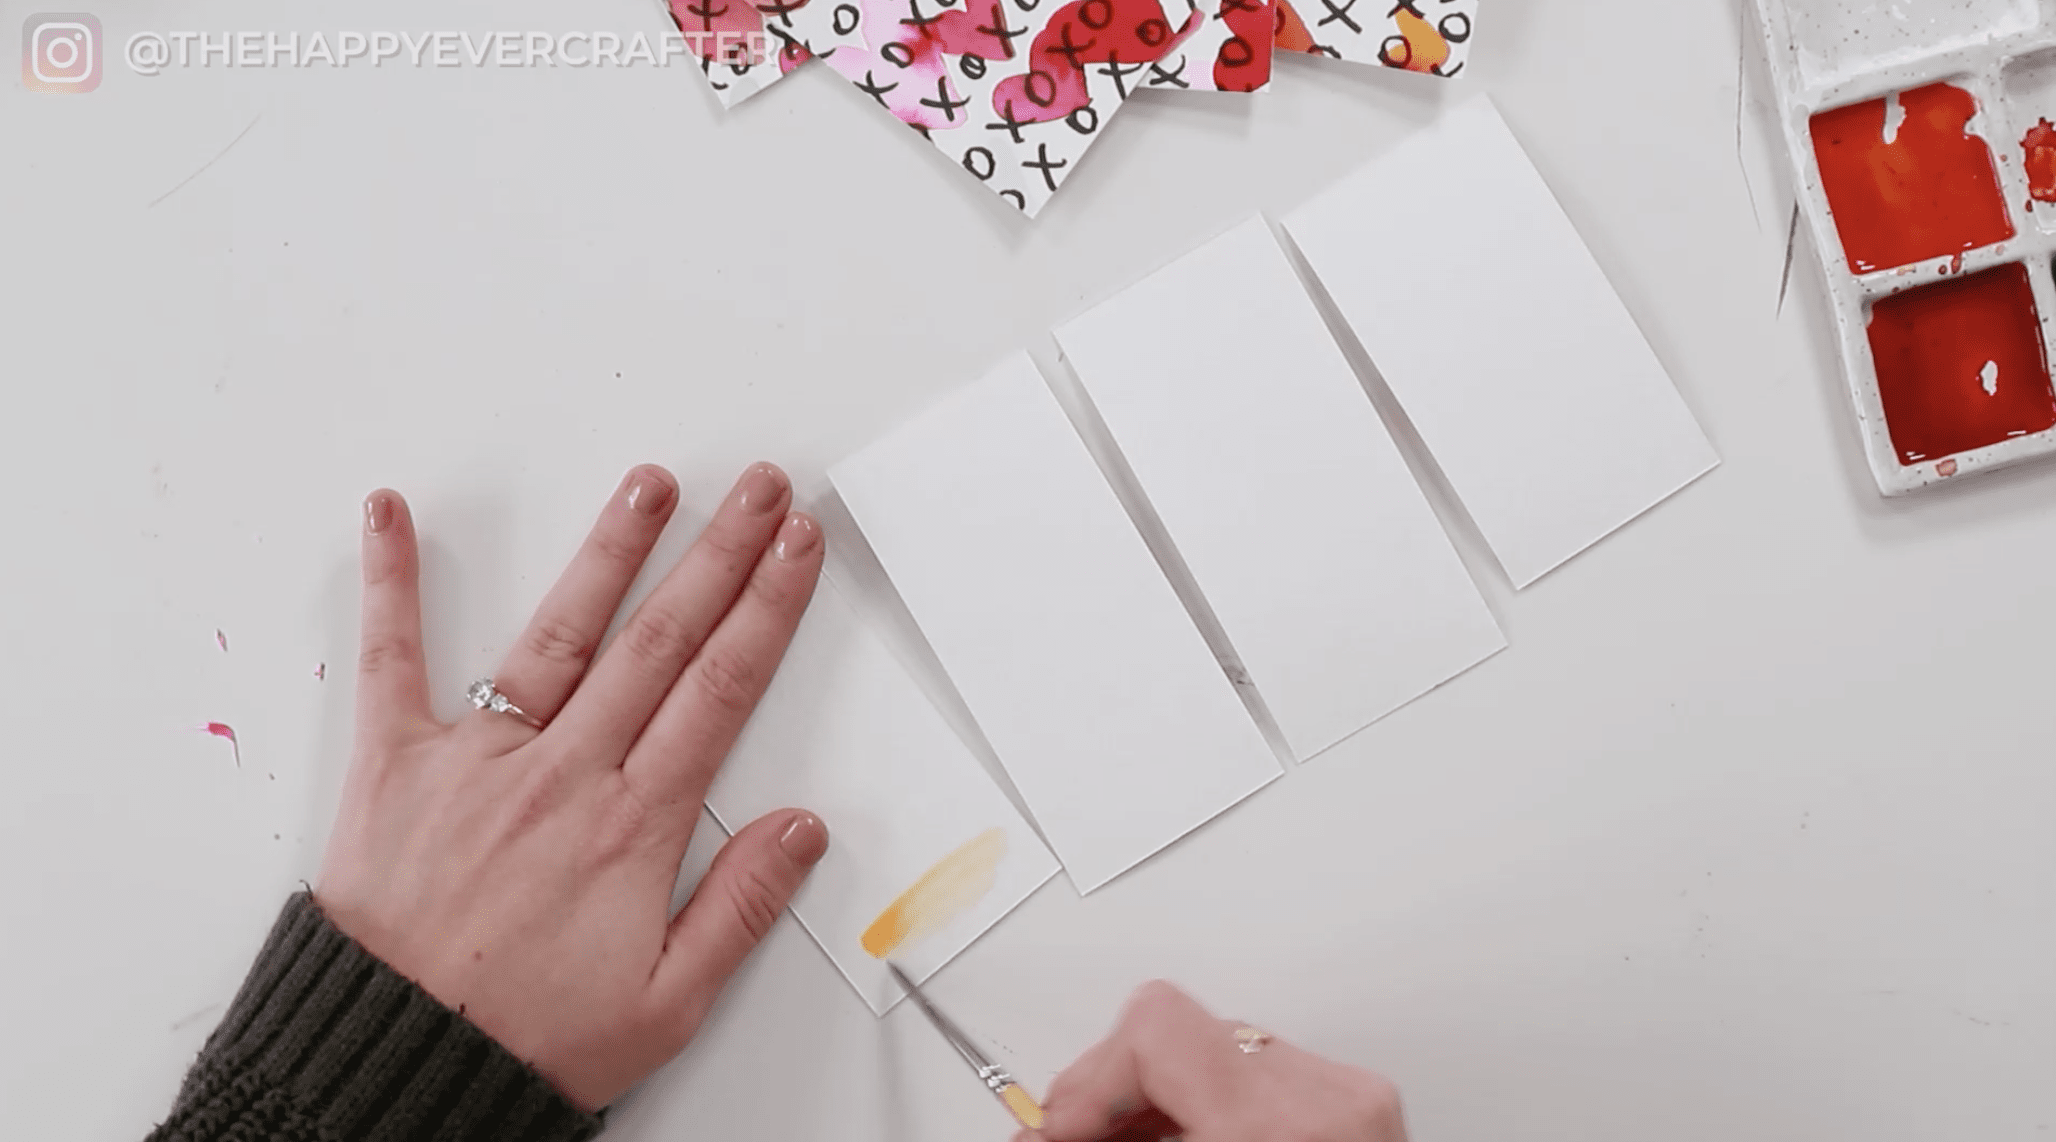
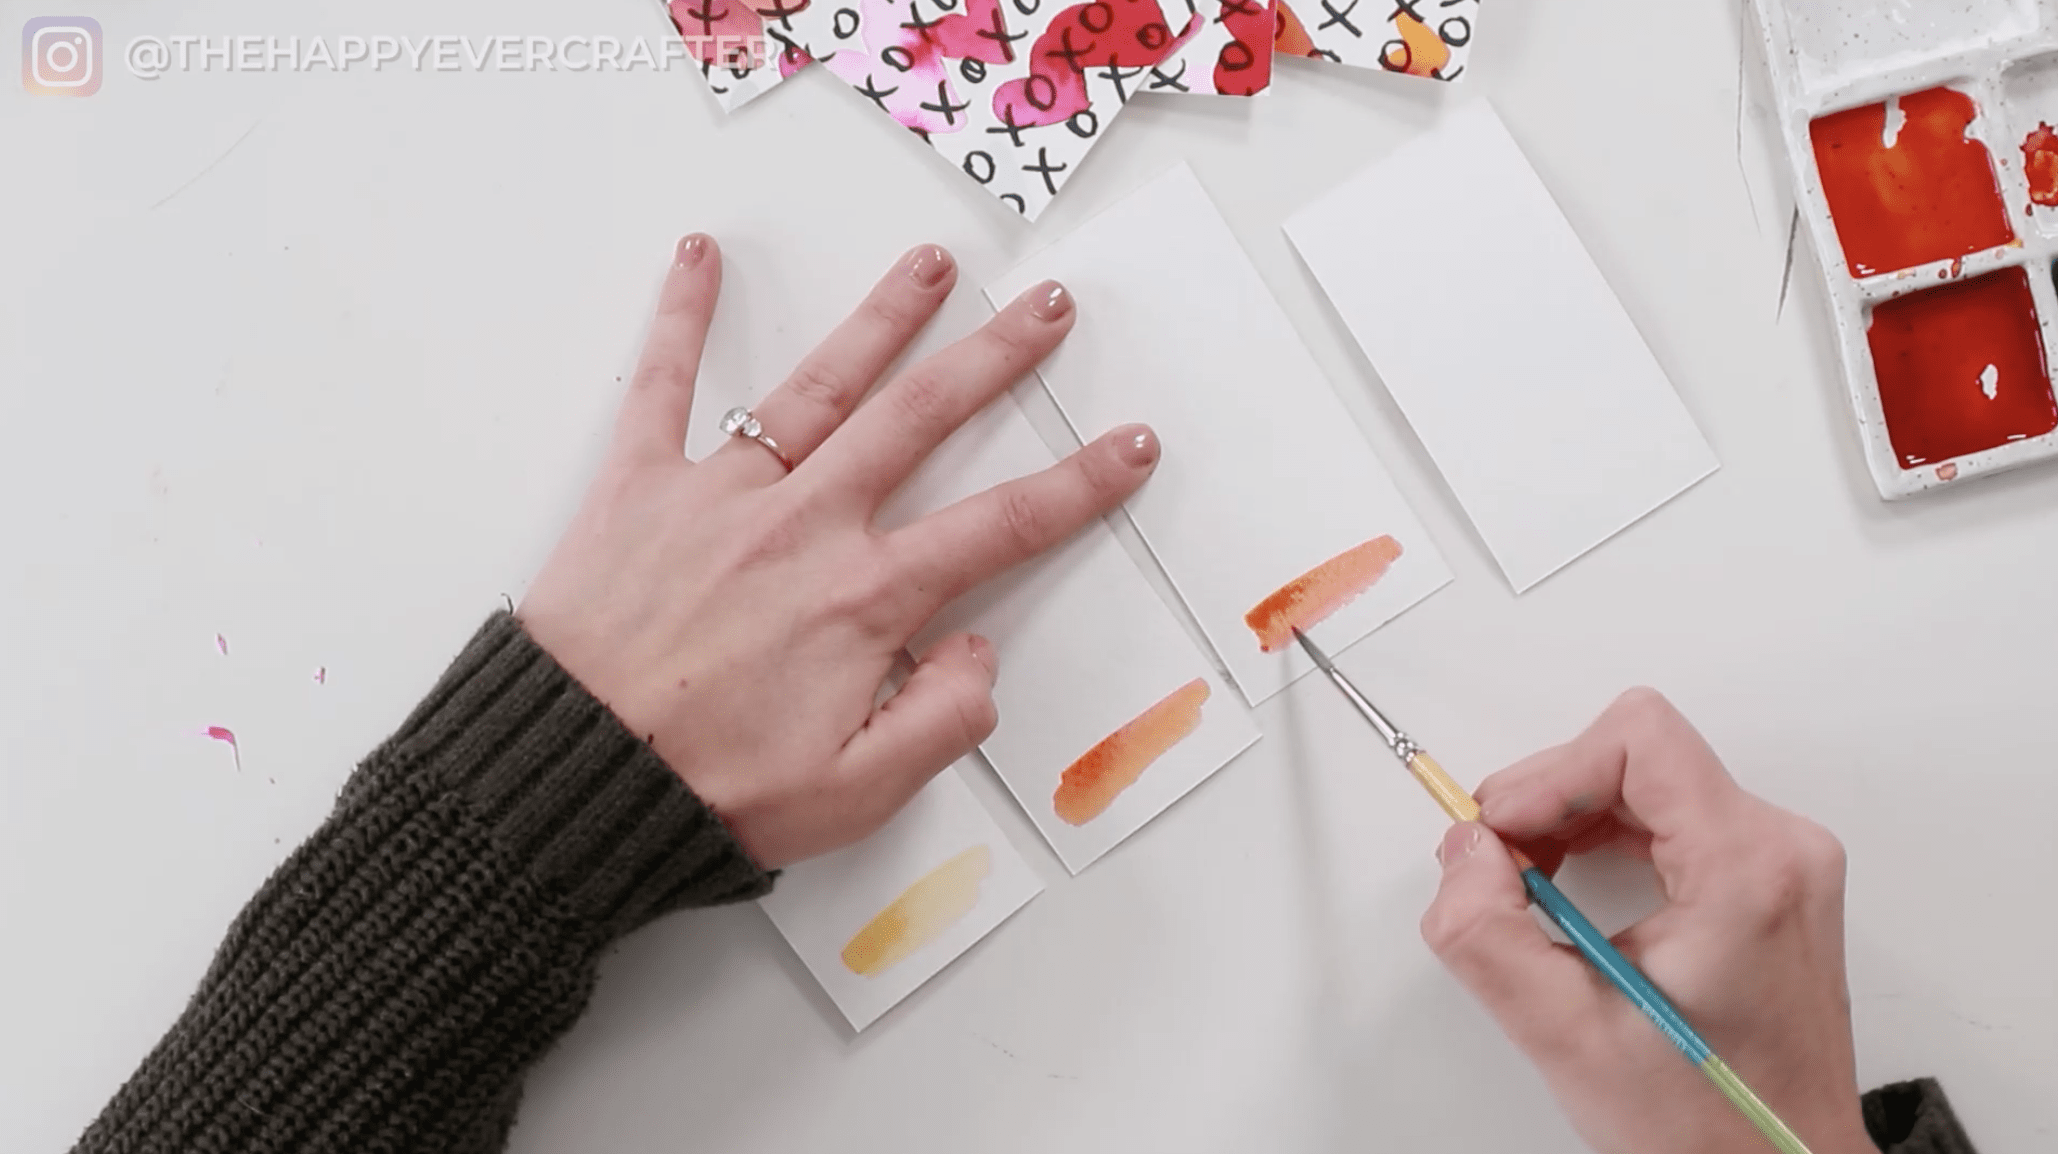
Step 5: Paint a swatch on the inside
Next you’re going to paint a little swatch on the inside of your cards where your signature is going to go.


Turn your cards over and grab your paint brush. Since you’re going to fold these in half to make cards, you know the bottom half is where you’re going to write. You’ll put the swatches (and your signature) down at the bottom.
Using the same colours you used for the hearts, paint your swatches. Lots of water on your paint brush first, get a tiny bit of colour in, and paint a little squash on the bottom. They can be in different colours, the same – I prefer matching to the front for cohesion, but do whatever you’d like.
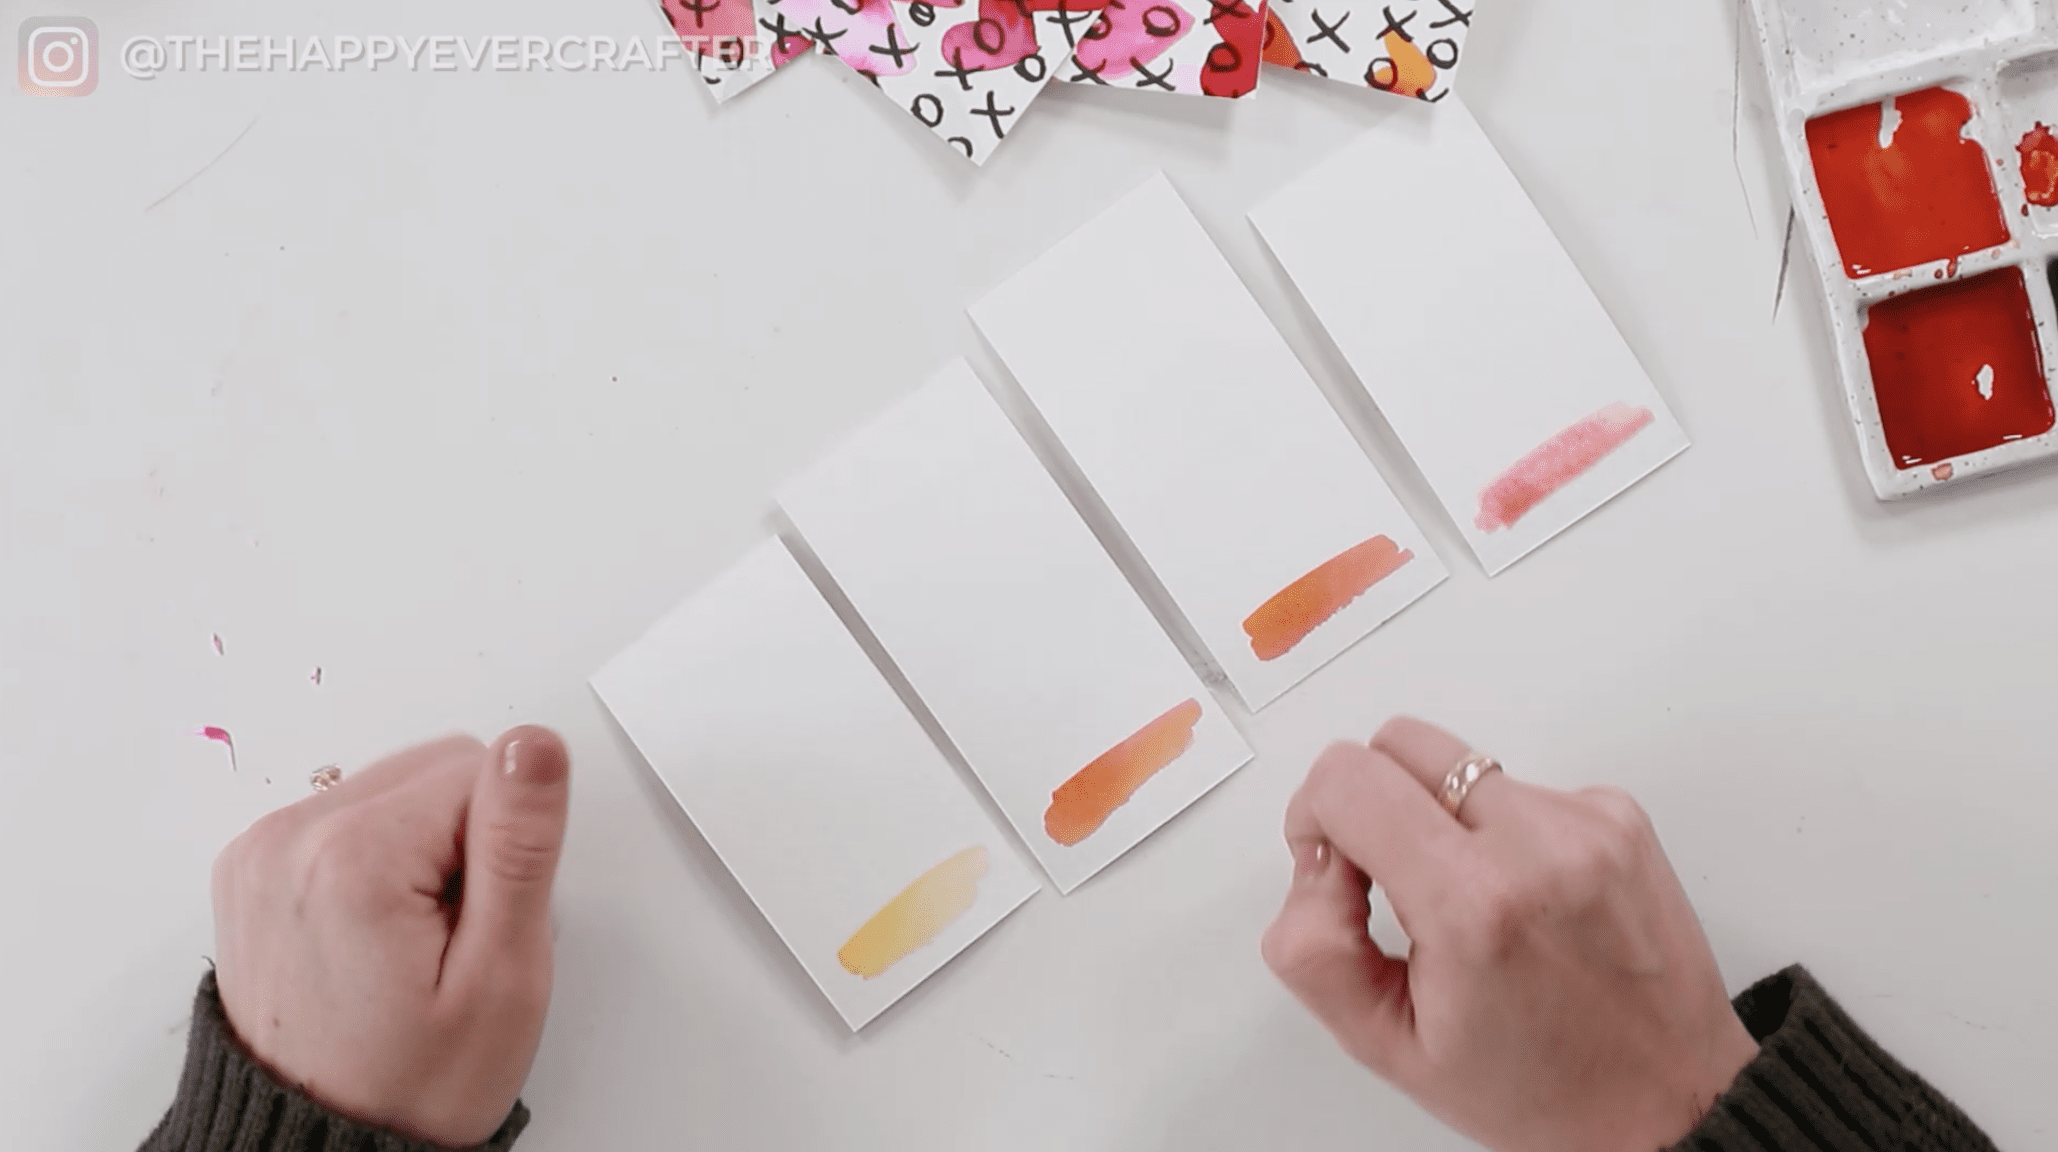
You can make them lighter, darker, whatever you want. And if you don’t like them, just touch them up as you go and add a little bit more colour.
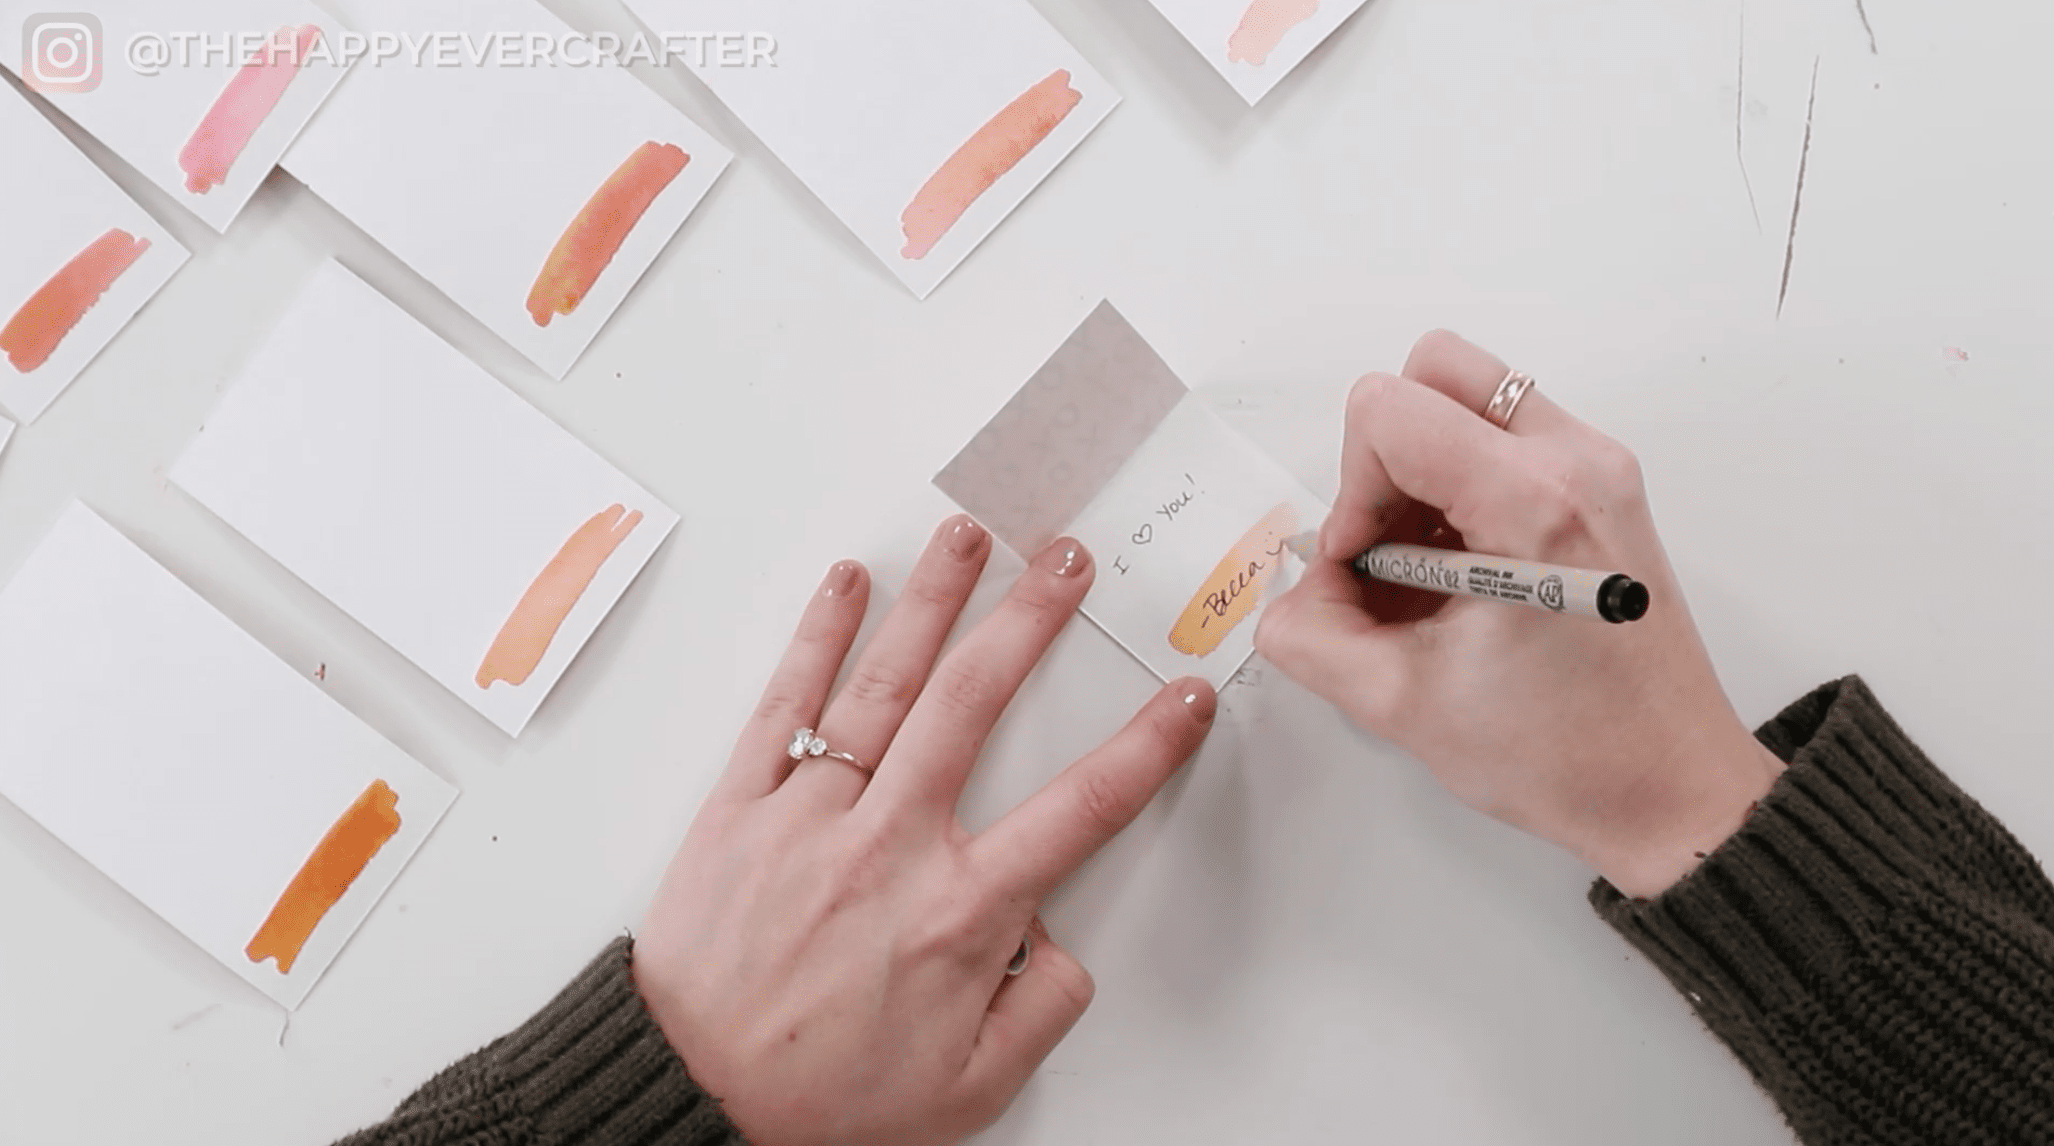
Paint a swatch on all of your cards. Once those dry, you can add your name!
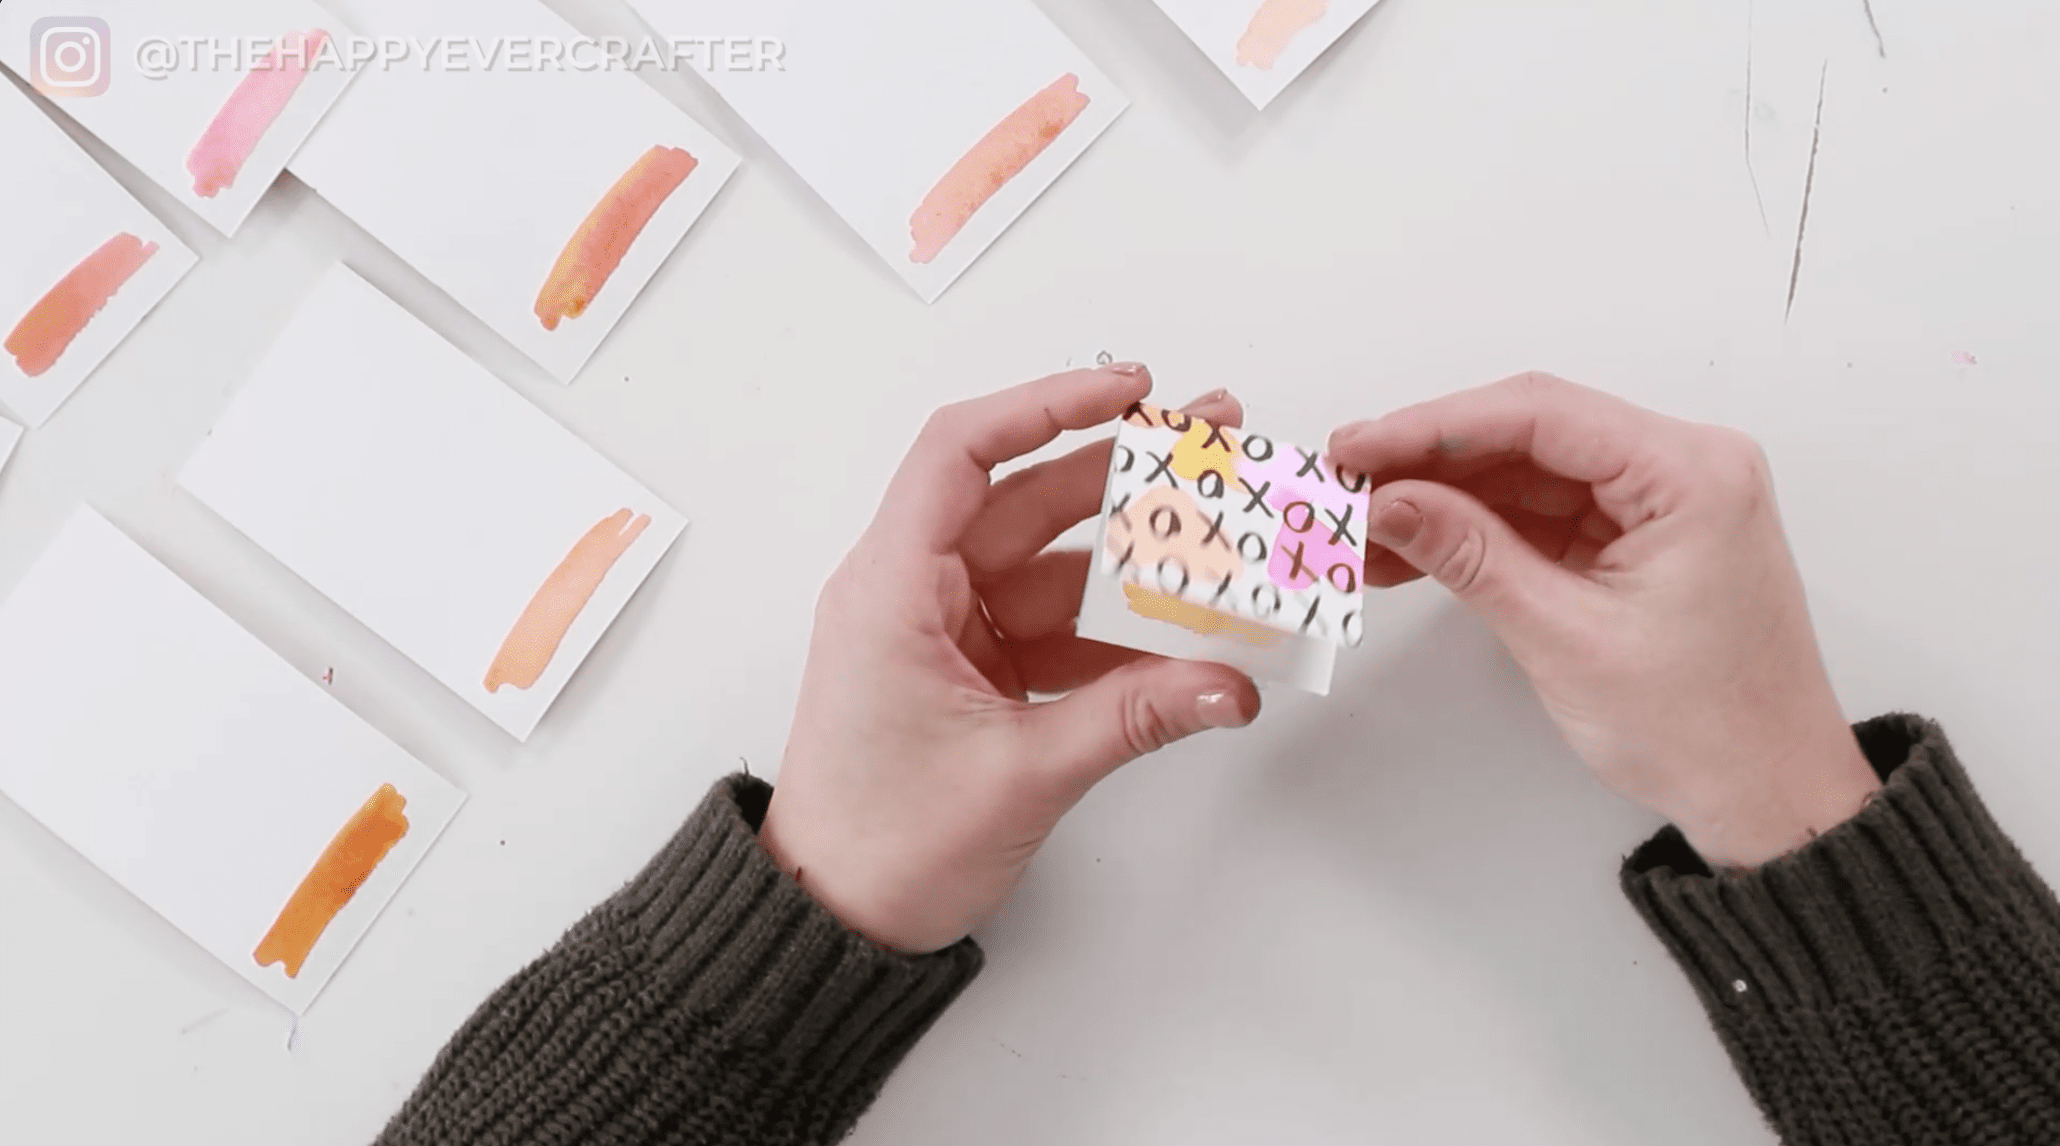
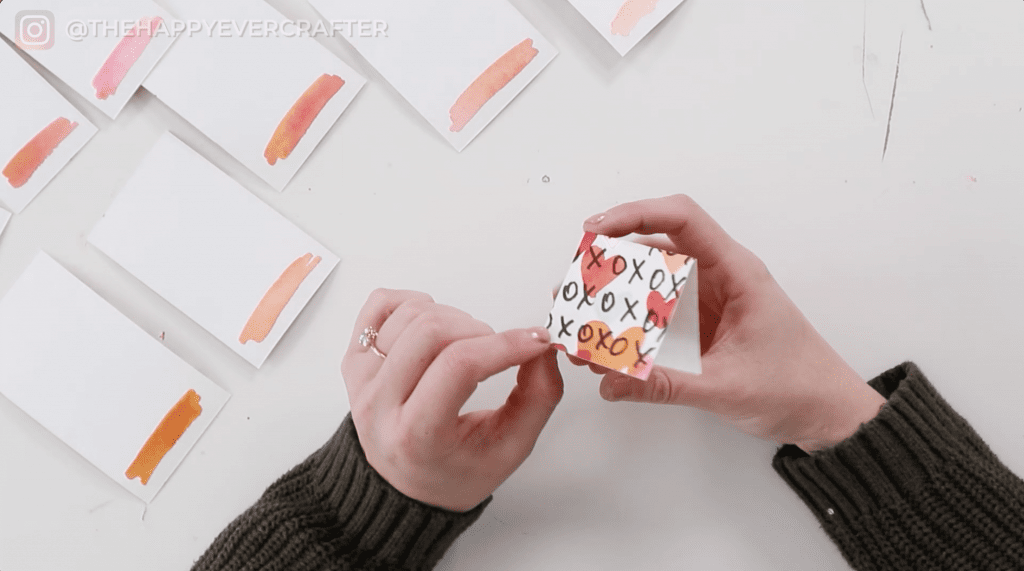
Step 6: Fold your card!
Last step is to fold your cards. Sometimes watercolour paper can be a little bit tricky to fold, but again, these are handmade. They don’t have to be perfect.
And That’s A Wrap!
There you have it! Super simple, fun little Valentine’s Day cards.
If you want a full-sized card tutorial, don’t forget to check out this one.
And finally, your dad joke…
What do you call a colourful heart that loves books?
…well-red.


Comments