Guess who’s back?! MABZ! If you’re new here, Mabz (of @chalkedbymabz) and I do a ton of signage projects together. Projects like big storefront windows, big murals, smaller signage – all sorts of things.
Over the years, we’ve picked up some pretty handy tips and tricks (pro hacks things) that save us tons of time when we’re doing signage projects. But… we had no idea these even existed until we actually started doing it ourselves and discovered these tips for ourselves.
The YouTube video for this post is actual footage taken right from our full signage course! The course is called Signing Up, we give tons of these pro hacks in it. We wanted to share three of our favourites here in this post and on YouTube – they’re just too good to keep to ourselves. I hiiiiighly recommend watching the video (it’s only 5 minutes!) if you’re interested in our Signing Up course – it’s a sneak peek into what to expect!
Rather watch than read? No problem! You can watch and listen in real-time by clicking the video below! (Seriously – you’ll want to watch this one!)
Let’s Get Started!
We’re so excited to share these hacks with you. They’re SO good, and they save SO much time.
Signage Pro Hack #1: Chalk Transfer!
Use a chalk transfer on everything. This is seriously the best tip. Here’s a quick example.
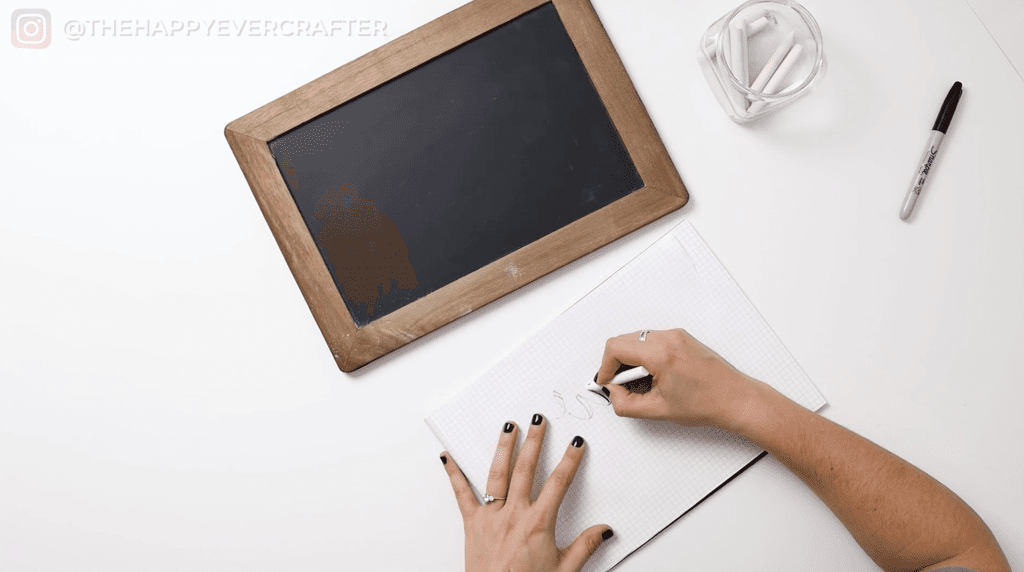
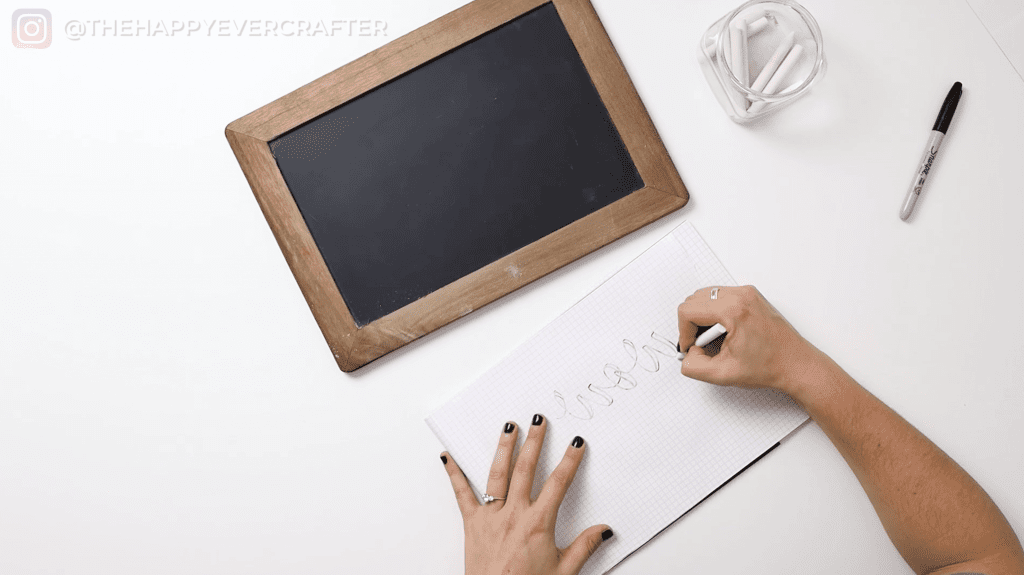
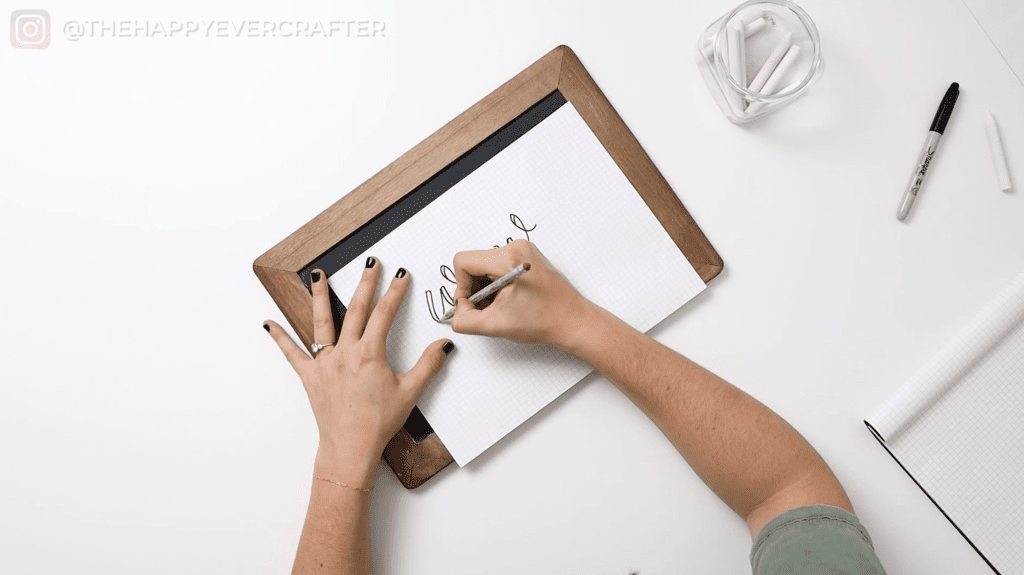
Write whatever word(s) you want to transfer to your sign – be sure to add your thickness (no need to fill in though). Then take the paper with the word on it, flip it over, and trace over all your word lines with freshly sharpened chalk. You could do this without freshly sharpened chalk, but it just leaves more residue on the board if it’s fresh.

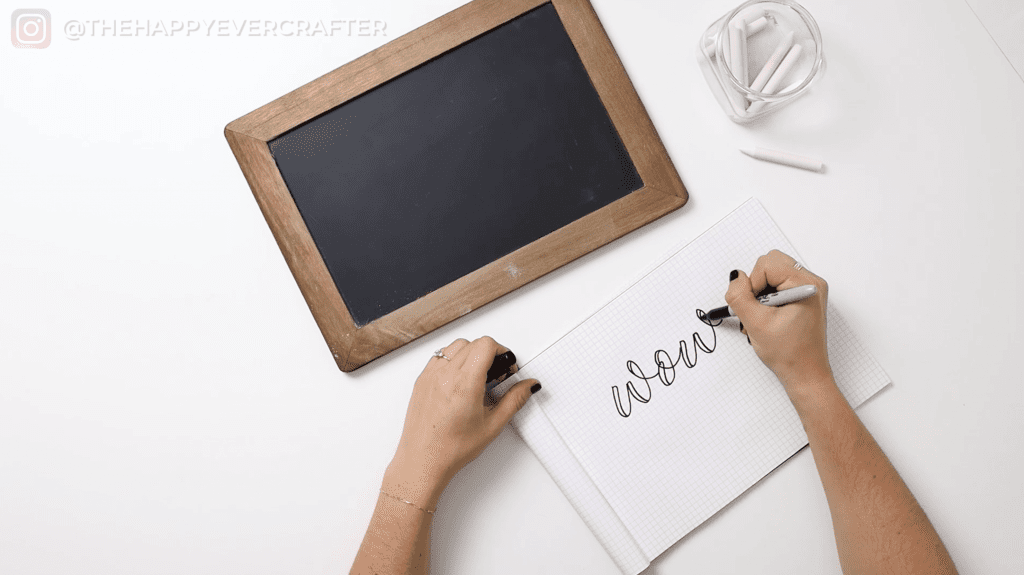
You want to be as precise with this as possible. You don’t have to fill in your downstrokes or anything like that though.
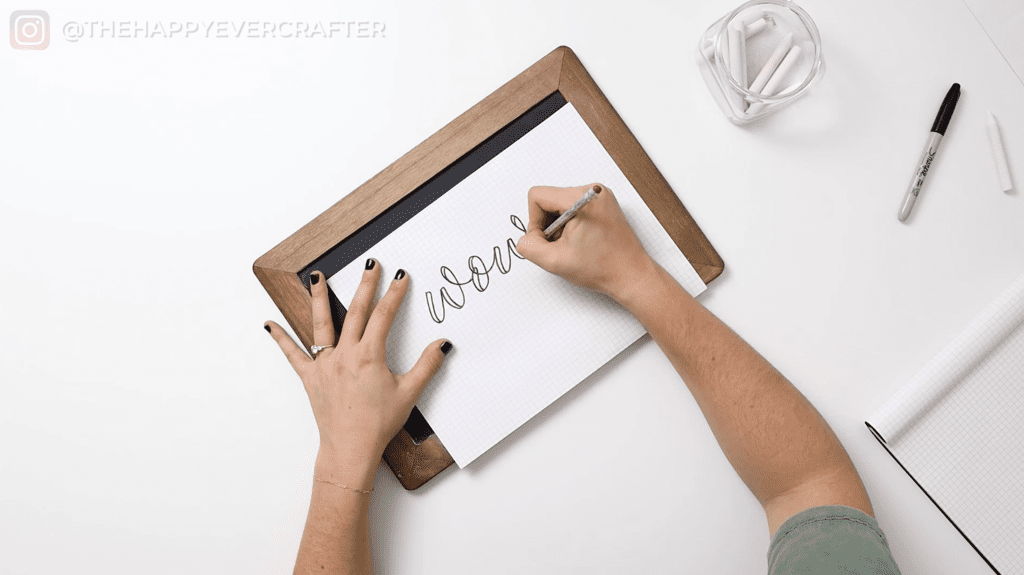
Once the back of your word is covered in chalk, take your paper and place it on your board wherever you want it. You can either hold it down or tape it down. You can now retrace over all your lines. How careful and detailed you want to be here is up to you. If you want to be reeeeally accurate, like with a detailed logo or really anything that you were transferring, go slow and be careful!
Here’s what it should look like. Boom. Wow. Wow. Wow. (See what we did there?)
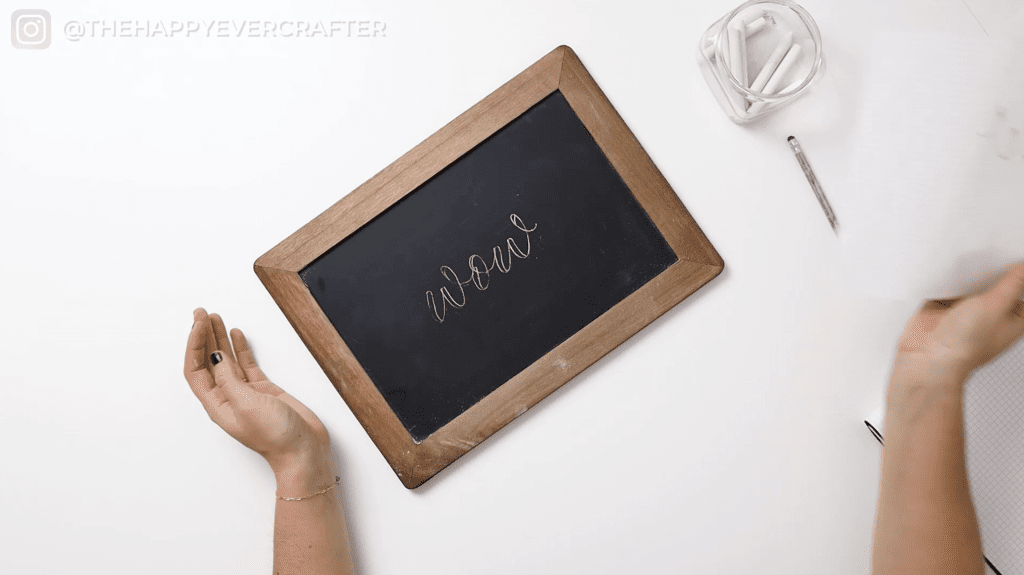
This hack is SO helpful. It’s not only for chalkboards either. You could use this on any surface – almost everything. People always think you can’t do it on glass or on mirrors because the surfaces are so hard and you can’t see it, but you can see it enough that it gives you a little bit of a guideline.
So when in doubt, use a chalk transfer – it is game-changing for signage.
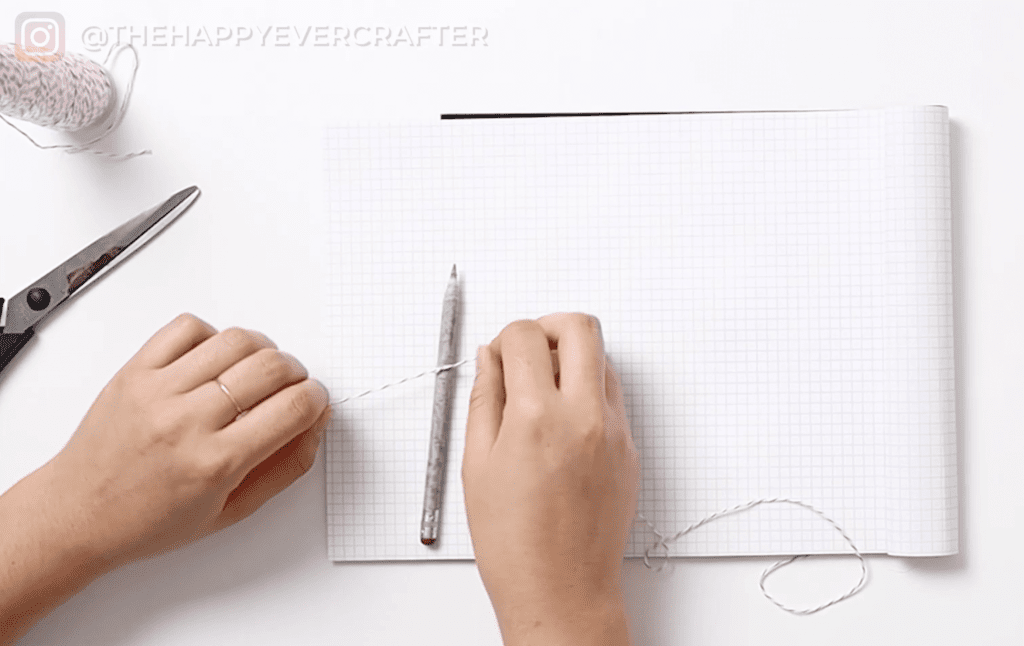
Signage Pro Hack #2: Perfect Circles!
With this hack, you don’t have to eyeball your circles. Imagine you have a big storefront window, and you have to make a big circle. All you do is grab a piece of string, and tie it up around your pencil/pen/marker. Find the center of your circle and hold the string in the center.
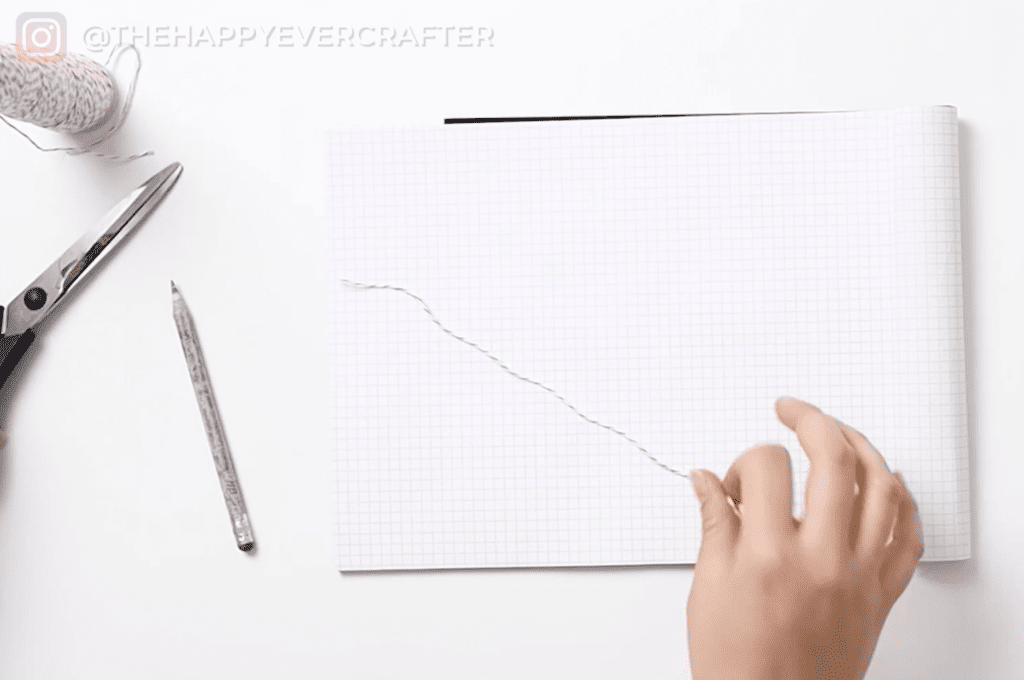
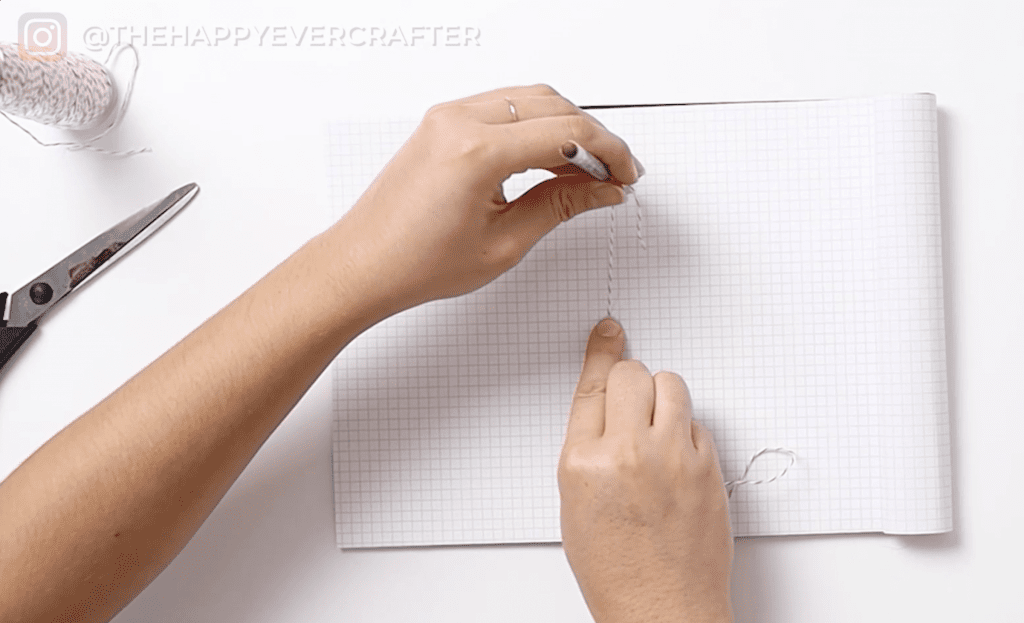
And then use the string to guide your marker or whatever it is you’re using to make a circle,
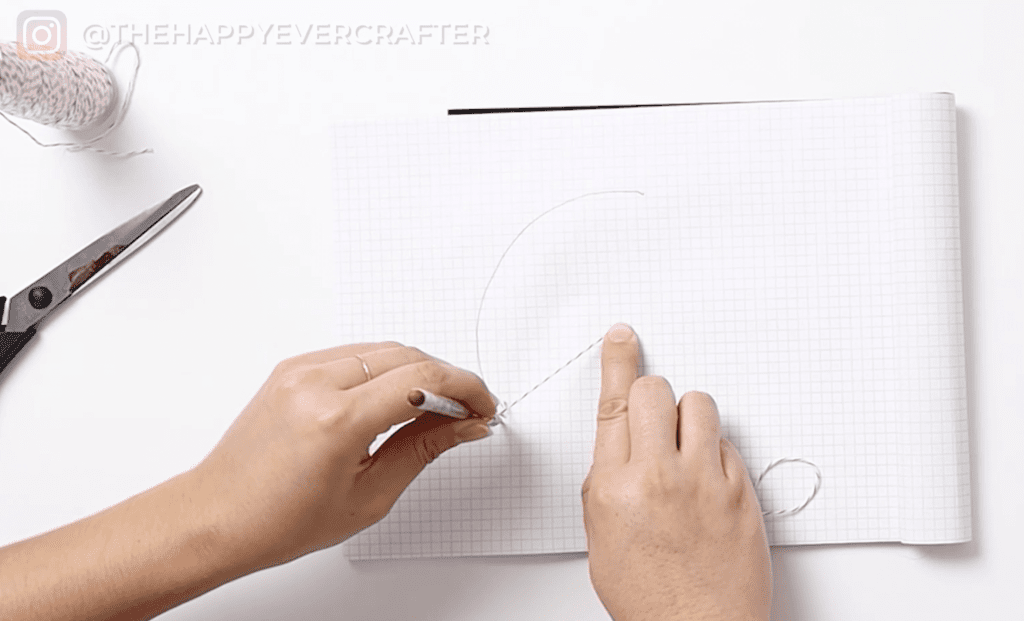

Genius. Seriously. It is very helpful.
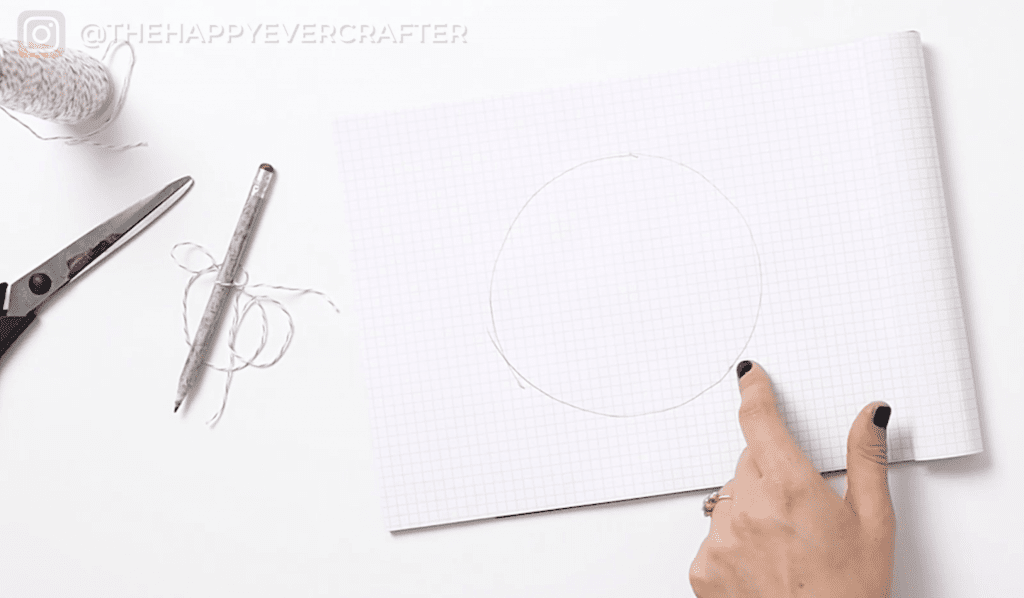
This came in really handy when we did a job together and had to draw really giant snowflakes. We really wanted to use circles as our guides.
It’s not the most perfect circle in the whole world, but when you’re onsite, it gives you a much better guide than just trying to eyeball. Some people draw four dots on either side and try to connect it, but this method is so much easier. We’ve even used a phone charger when we didn’t have string. Use what you have! 🙂
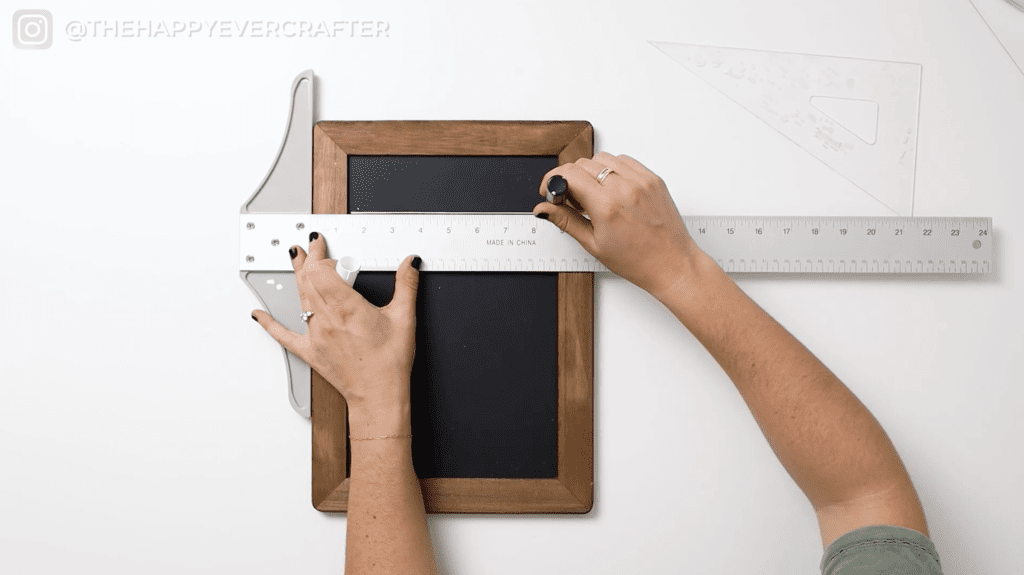
Signage Pro Hack #3: Perfect Angles!
Use a T-square or a set square or both to get perfect angles. I usually have both in my kit to make sure things are perfectly 90 degrees.
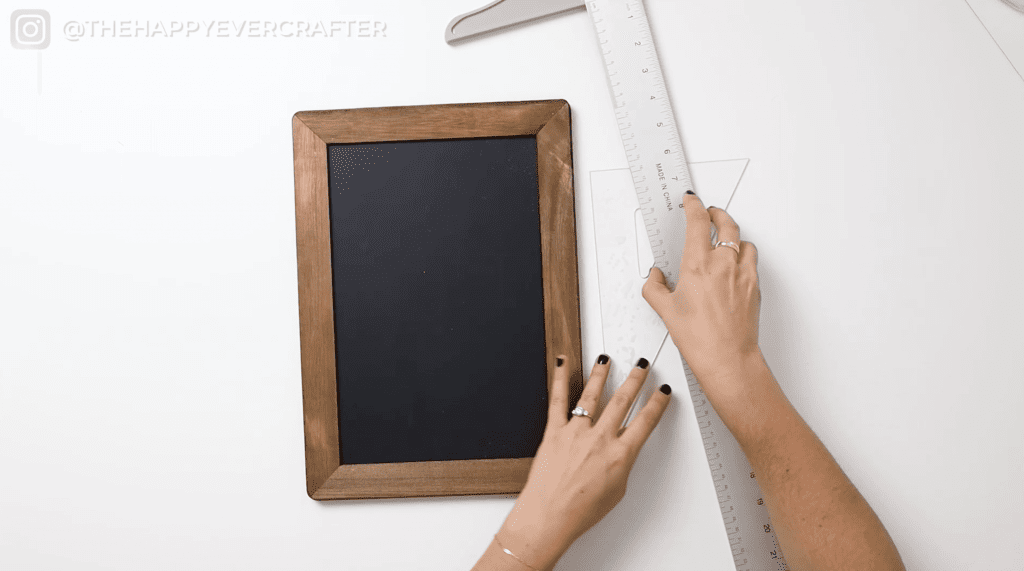
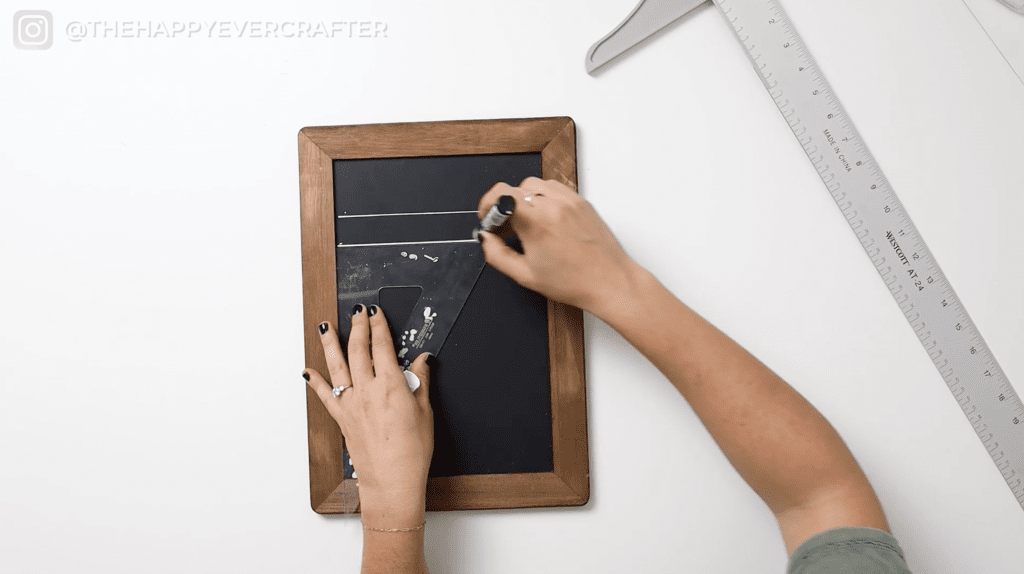
The way you use the T-square is you align it up with the edge of your surface so that this part is perfectly aligned. It gives you a perfect 90 degree angle. From there, you can line it up wherever you need it, and draw your line(s).
The same thing goes for the set square. You line up one edge with the edge of your board, and the other edge is 90 degrees. You can just draw your lines across as opposed to having to measure once on one side and once on the other side and attaching the lines. Again, it’s just a time-saver.
And That’s A Wrap!
Hope you found these helpful! Let us know in the comments if you yourself have discovered any pro hacks like these. We’re always on the lookout for more. 🙂 Like I mentioned, we share so many more of these in the full course – like more than 20 of them!
The course is called Signing Up, and it’s all about how to do all sorts of signage projects. If you’re interested in that, you can find it at SigningUpCourse.com
If you want another signage related post, here’s one where we talk all about the exact tools that are in our kits.
And finally, your dad joke…
Here’s a great life hack when you’re cold…
Stand in a corner – it’s 90 degrees!


Love these tips! Especially the chalk transfer tip for signage.
Thank Y💓U
These are great tips and I am excited to try them on some personal projects.