First things first, before we get into any of this, all I want to say is that if you’re reading this when it first goes out, this week is my birthday.
And all I really want for my birthday is for you to try this tutorial and send me a picture of it on Instagram once you make it – wink wink. ??
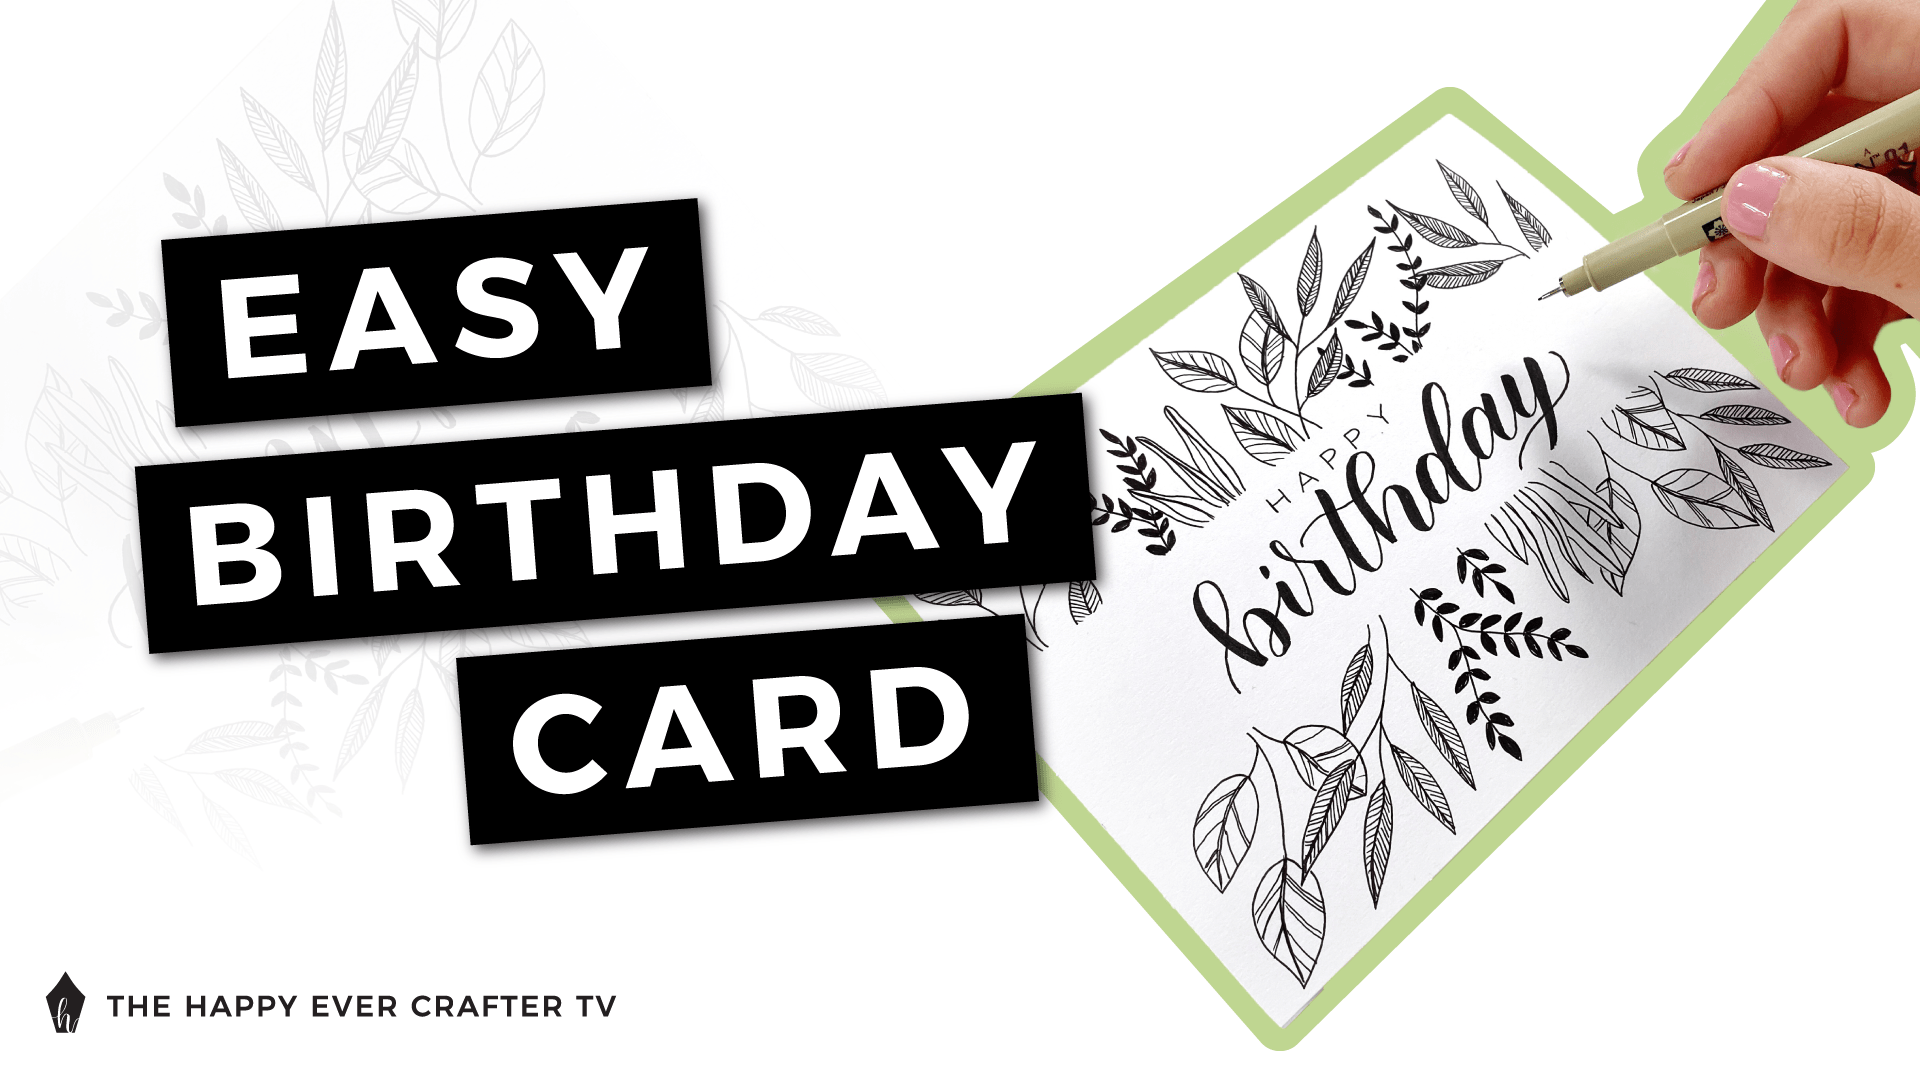
In this post, I show you how to make this super simple birthday card design (even if you think you’re not artsy enough, you can definitely create it).
First Things First…
The links below may be affiliate links where appropriate. This means that your purchase through these links may result in a few cents in payment to me, to support creating further resources like this one! That being said, I will never suggest supplies that I do not personally use and fully recommend.
Supplies Used
Rather watch than read? No problem! You can watch me create this card in real-time by clicking the video below!
Let’s Get Started!
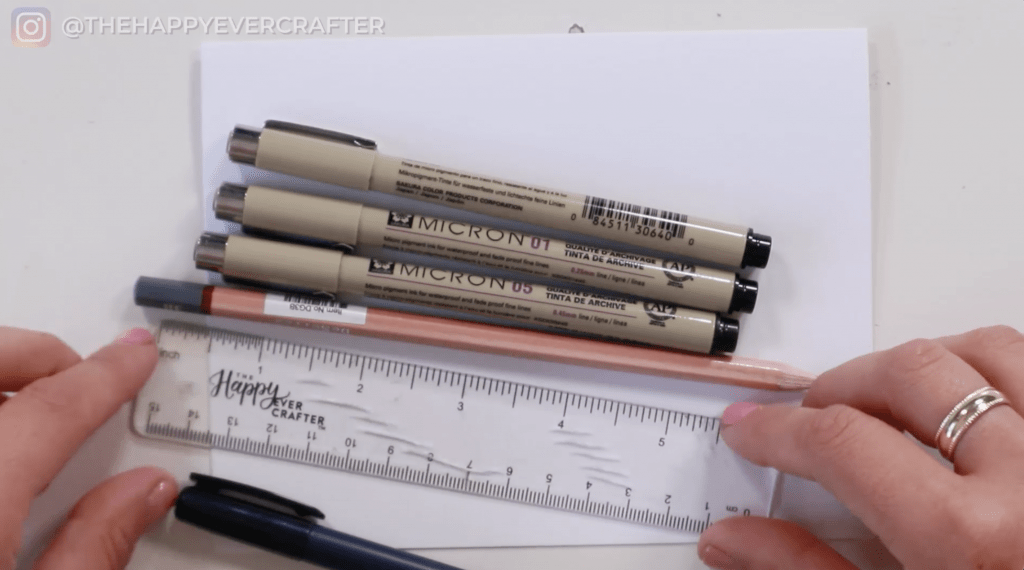
The tools needed for this one are pretty simple.
- A ruler and a pencil (for some rough guidelines) – my Happy Ever Crafter ruler is from my goodies box.
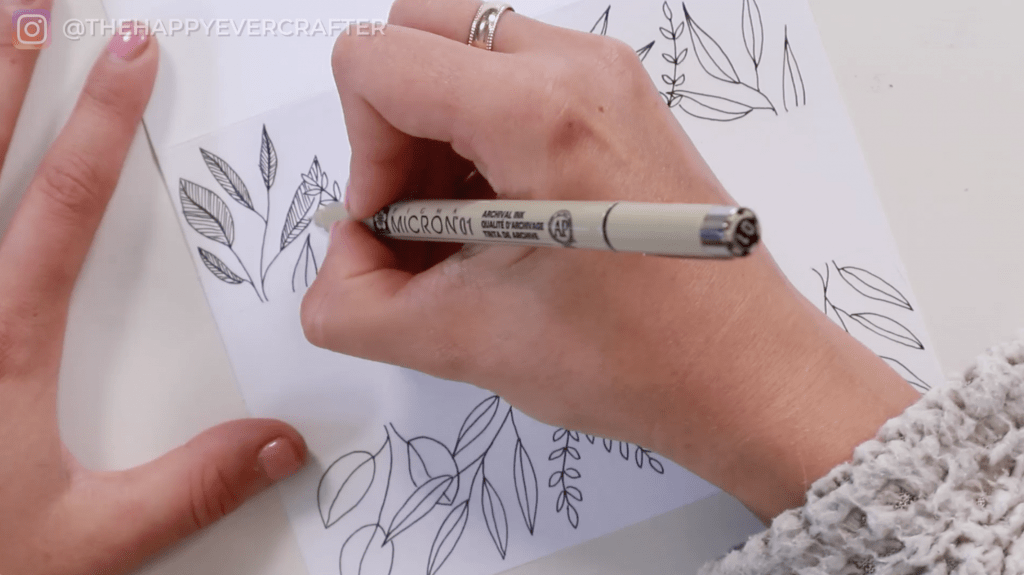
- Micron pens (sizes 01, 03, and 05) – but you can use whatever drawing pens you want. I really like these because they’re archival ink, and they stay on for a long time.
- A brush pen – but again, you can write with whatever you want. I’m really comfortable with brush calligraphy, so that’s how I’m going to write happy birthday.
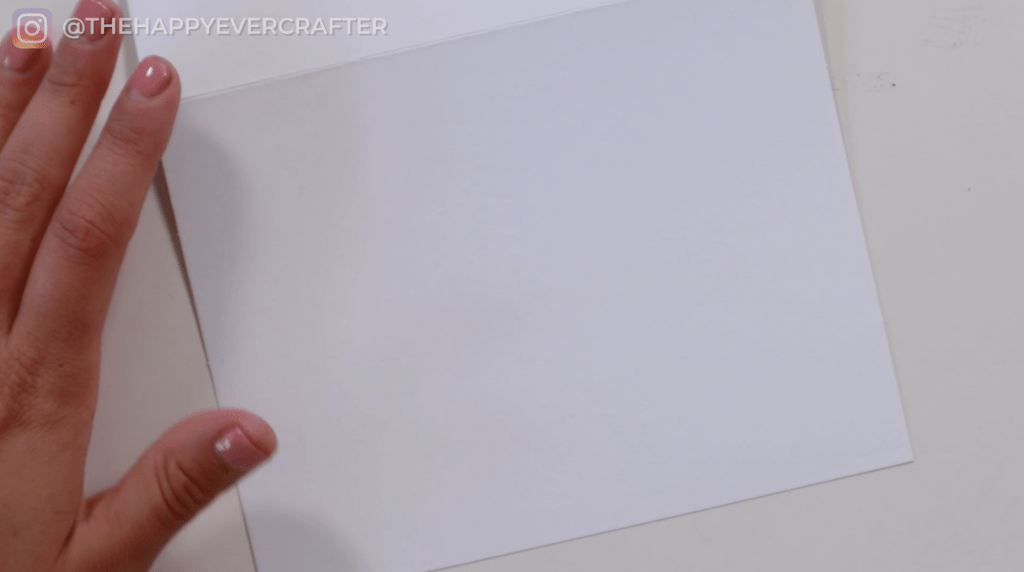
Once you have your supplies, open up your card.
I don’t like working on a card with two layers, so I always open them up.
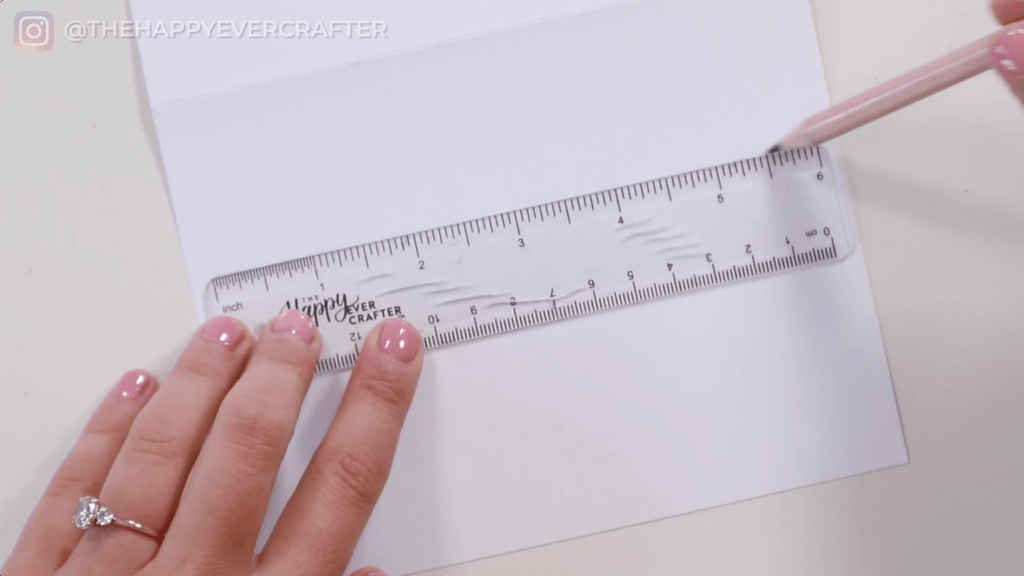
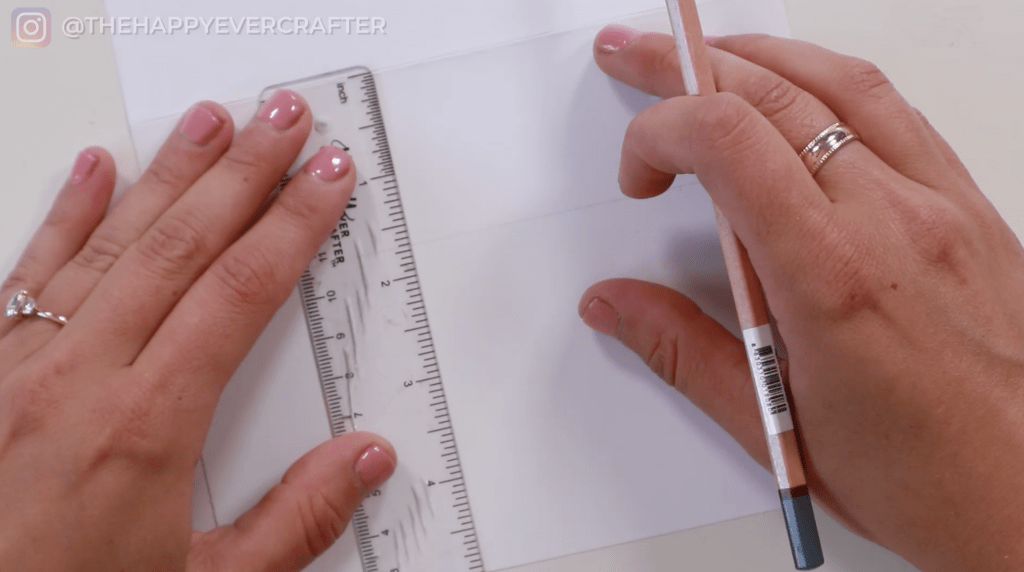
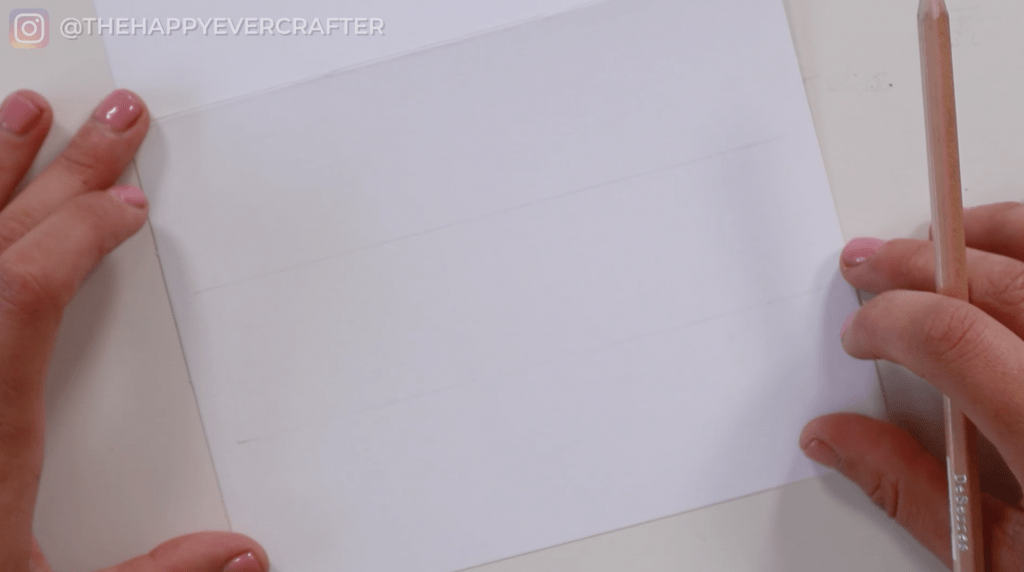
Time to grab my ruler and start drawing some guidelines.
You can draw these wherever you want. I suggest splitting the card in three sections. So add your first line up here. And then measure how much room you gave yourself from the top of the card to that line, and then repeat the same thing at the bottom.
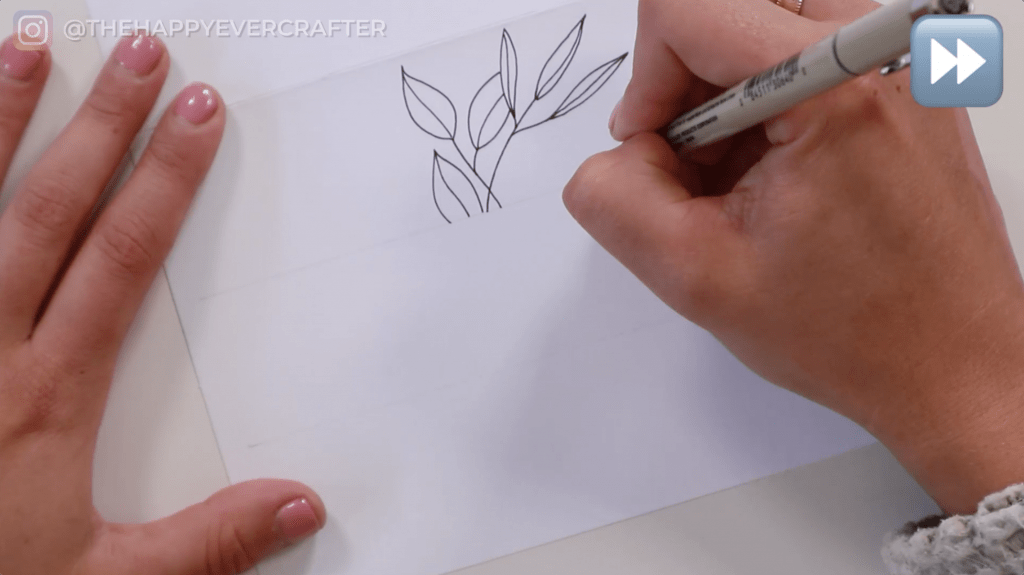
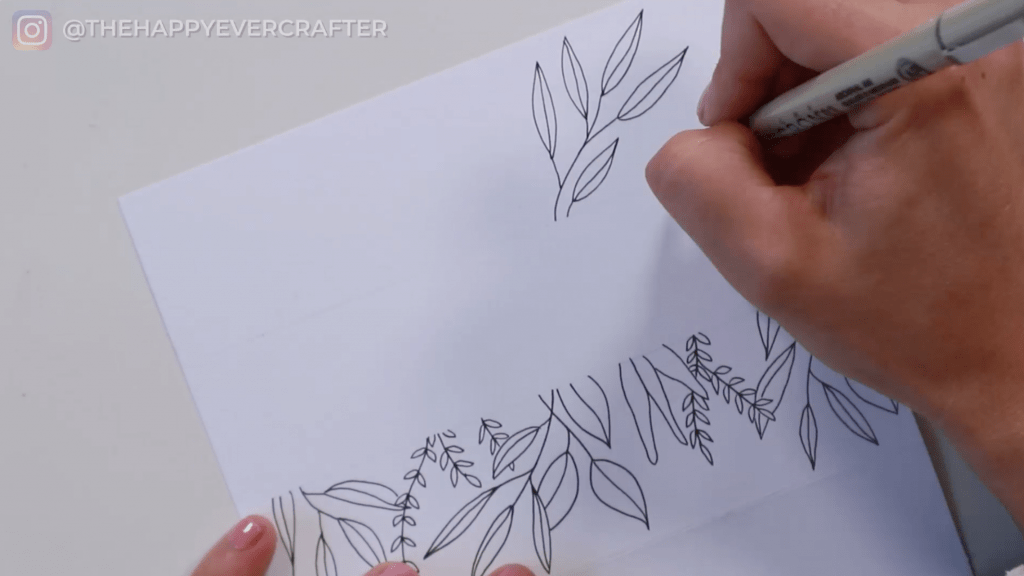
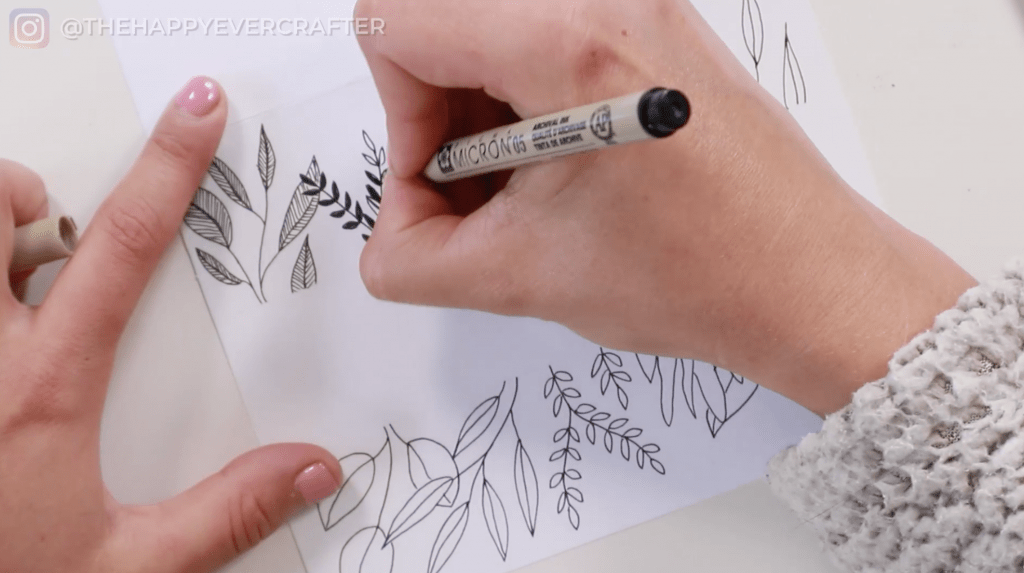
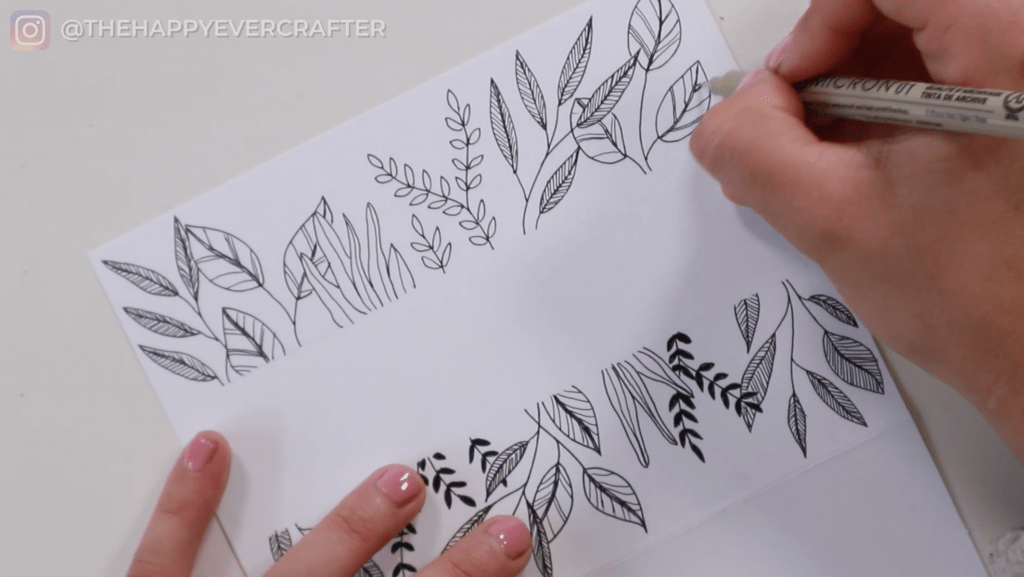
Once you have it split up, you’re going to start adding some flowers.
You could do this with a pencil if you’re not comfortable jumping straight to ink. Personally, I went straight to ink with my Micron 03. Add some kind of leaves and vines and things like that. If you’ve never seen how to draw leaves and vines, I actually have a whole video about that. You can go check that out here.
Anyway, be sure you’re using that top pencil line as your boundary. Start all of your doodles on that line and work up towards the top of the card. Just fill this out with all sorts of different leaves and vines. You can use whatever styles you want. You could draw flowers, you could draw just leaves and vines. You could do a mix of both. It’s really whatever you want here. But the idea is that you use that pencil guideline as your boundary – you don’t ever go over that because that is where we’re going to write all the lettering.
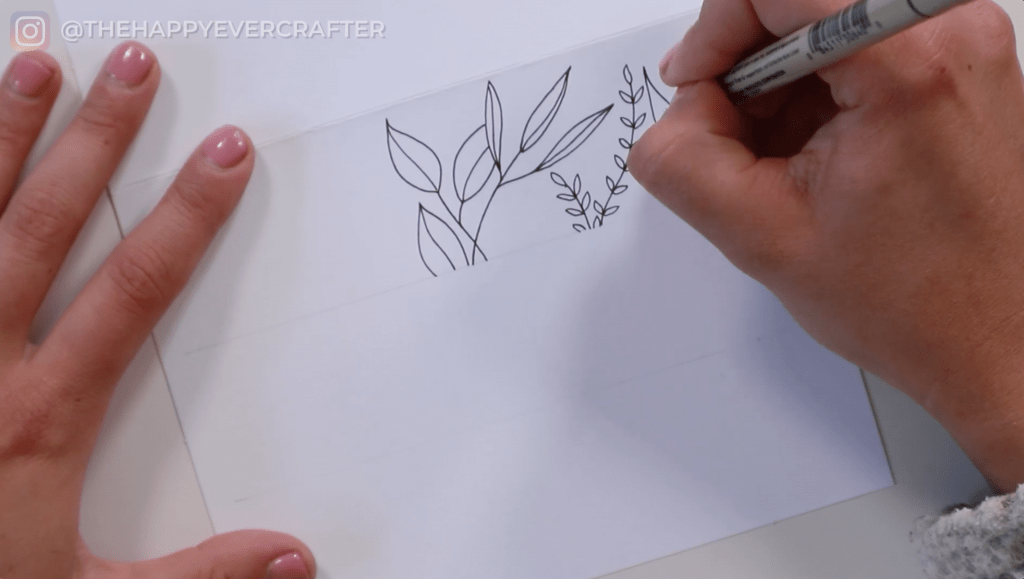

Just take your time, fill out the top and the bottom the same way. And you can give it as much detail and dimension as you want, or as little as you want.
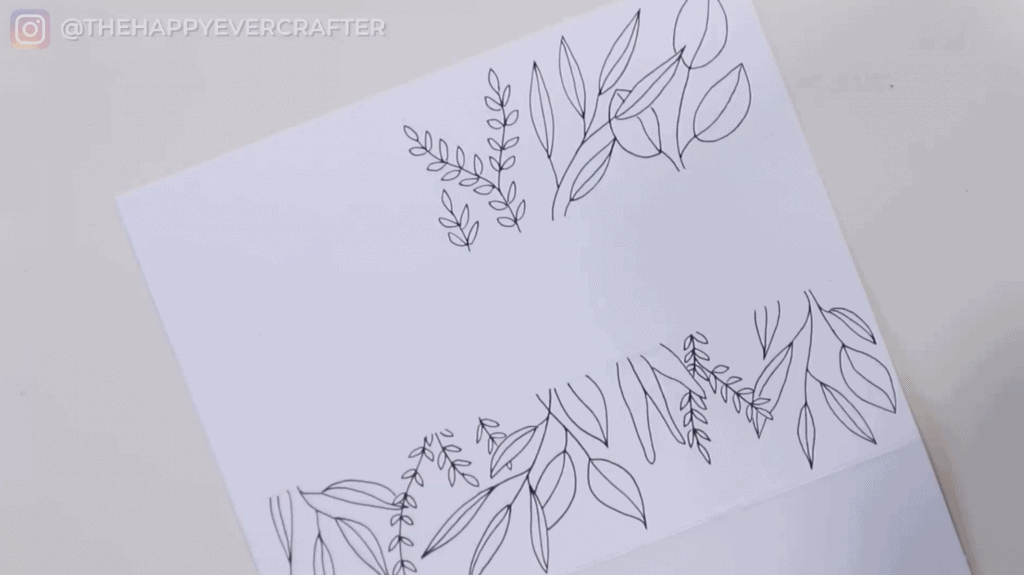
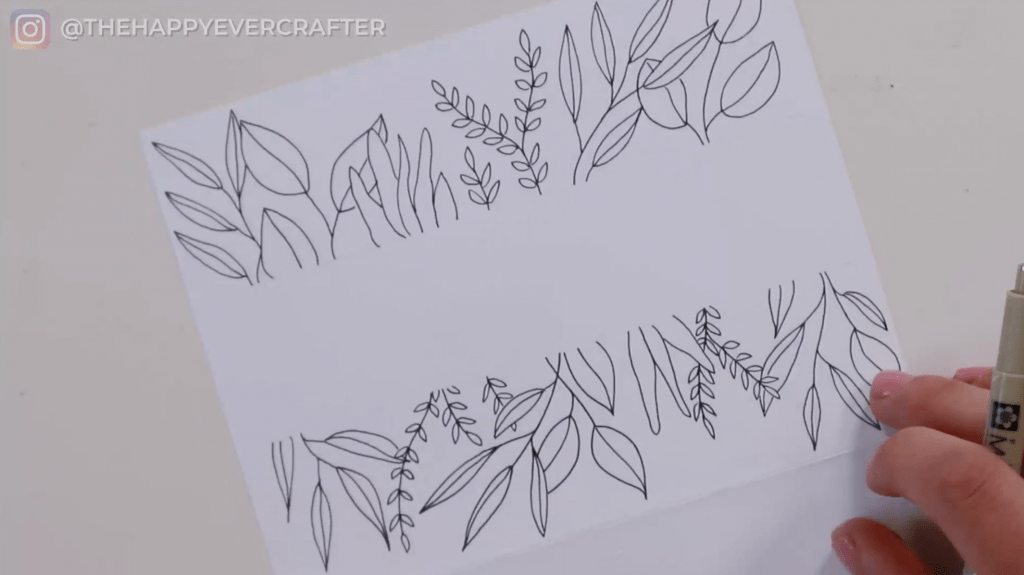
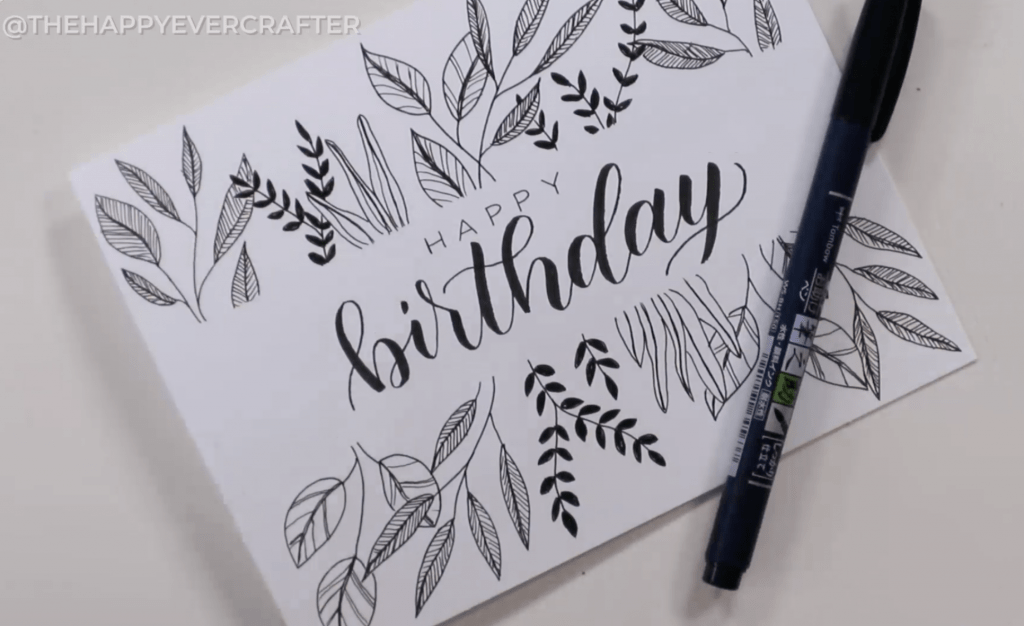
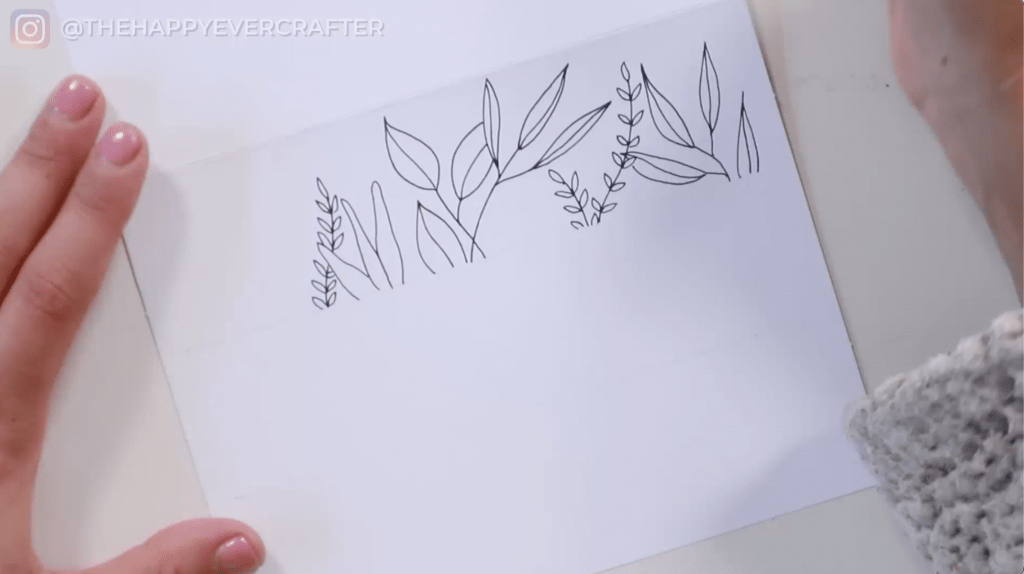
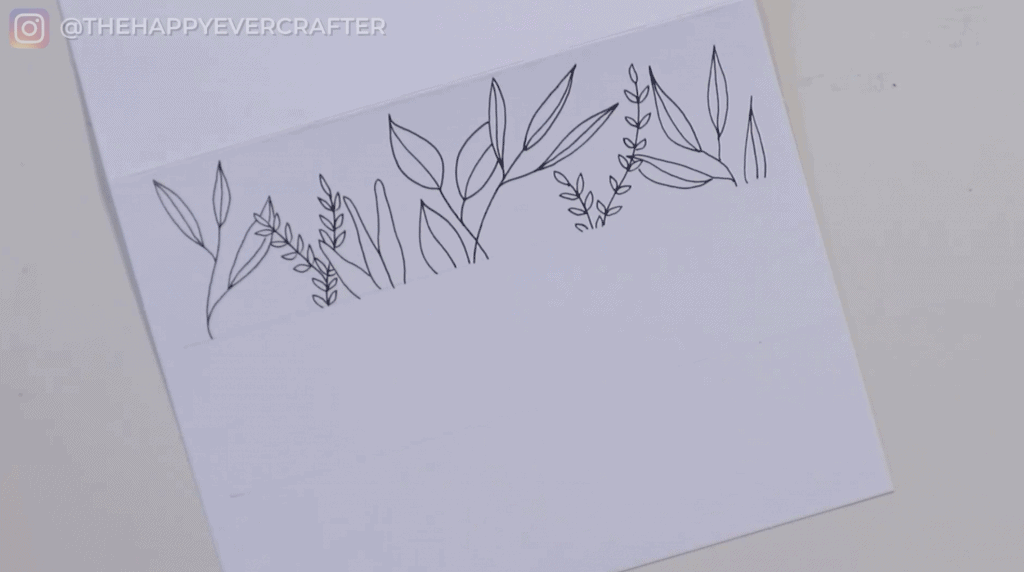
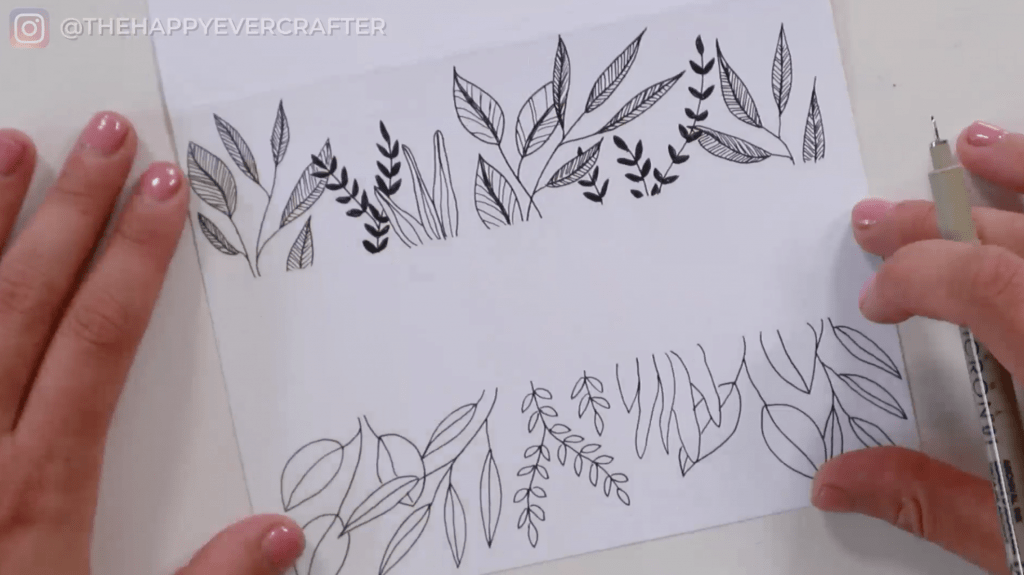
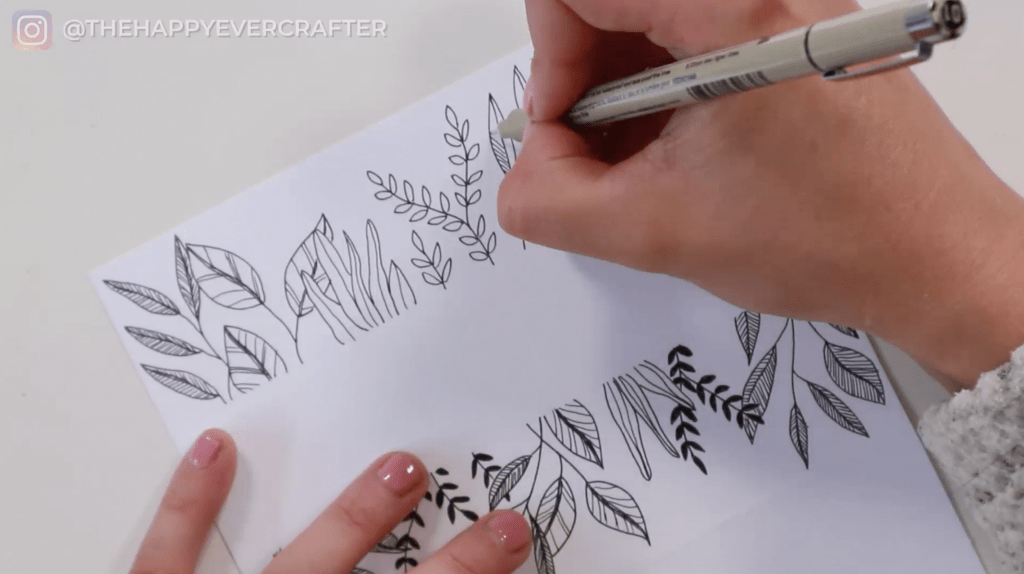
Once all the outlines are drawn, add some detail and dimension.
I put some lines in some of the leaves, but this is totally personal preference. You could just leave it as a blank line drawing how it was at the very beginning, but I personally added detail to add a little bit of contrast.
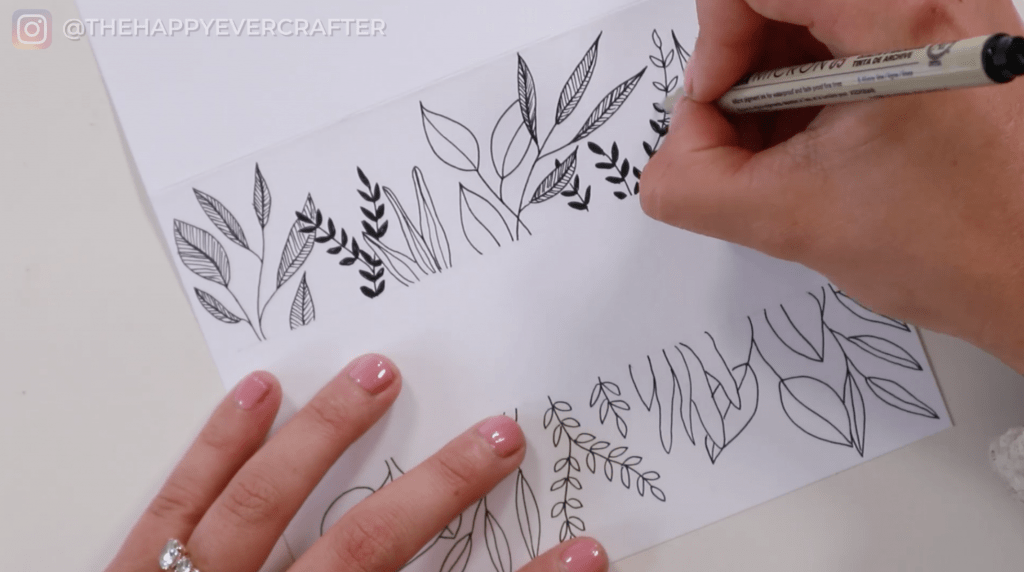
Also, don’t be afraid to flip your card upside down. You don’t have to work on it in the same direction the whole time. I find it much easier to draw in an upwards direction than a downward. So as soon as I was done with the top, I flipped it over to do the bottom.
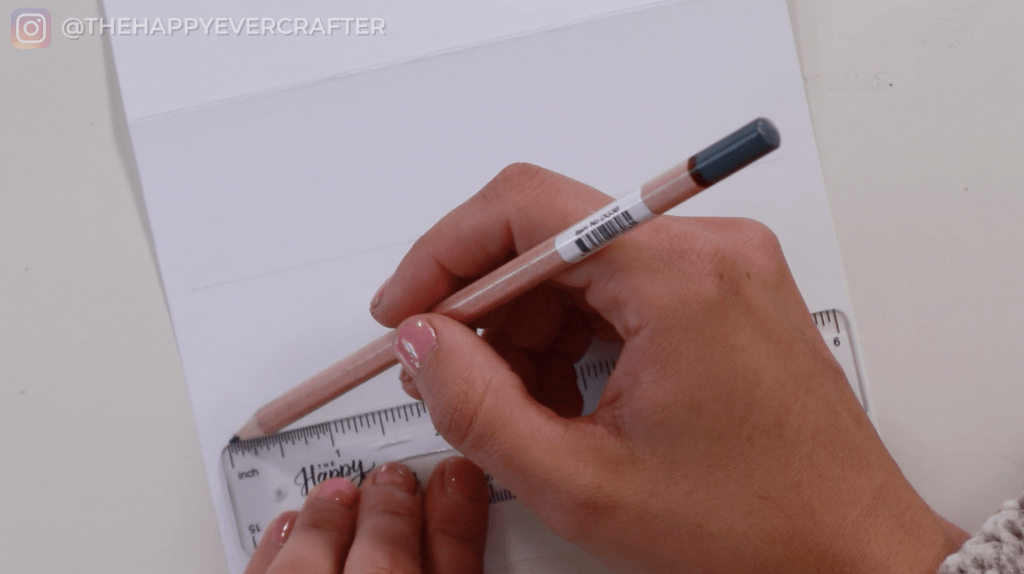
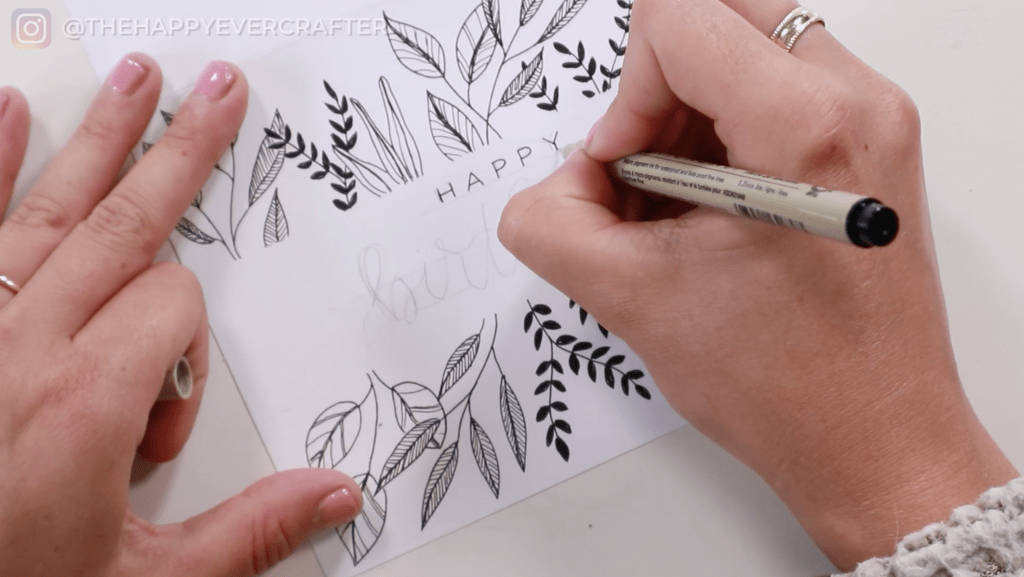
Once you finish the flowers and are happy with them, use your ruler and pencil again to draw yourself some guidelines for your lettering.
I wrote happy birthday, but you could write whatever you want.
Give yourself some guidelines however you like. I did calligraphy because that’s what I specialize in, but you could write it in block letters. You could write it in just your normal handwriting. You could do whatever you like.
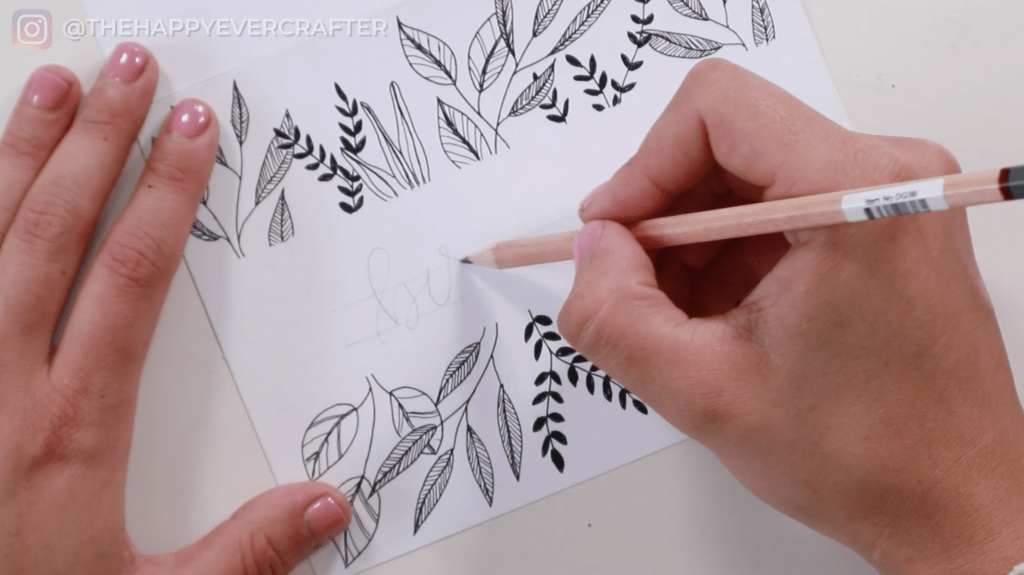
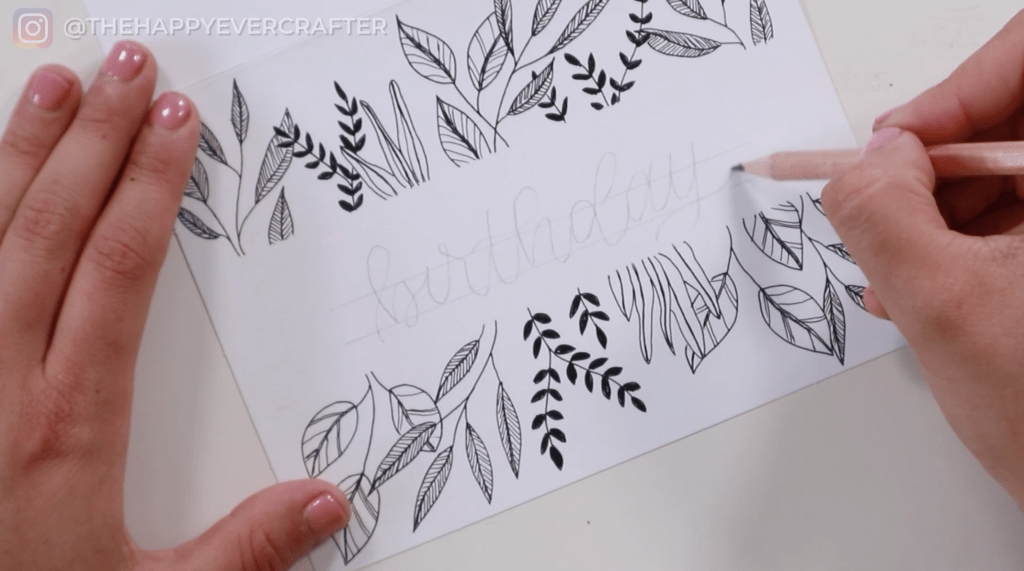
I wrote happy birthday, but I started with the lettering for “birthday” because that part was in calligraphy, which was harder to place on the page. And then I wrote the word “happy” in block letters above it. I roughed the word “birthday” in pencil first, and then added some more guidelines above and roughed the word “happy.”
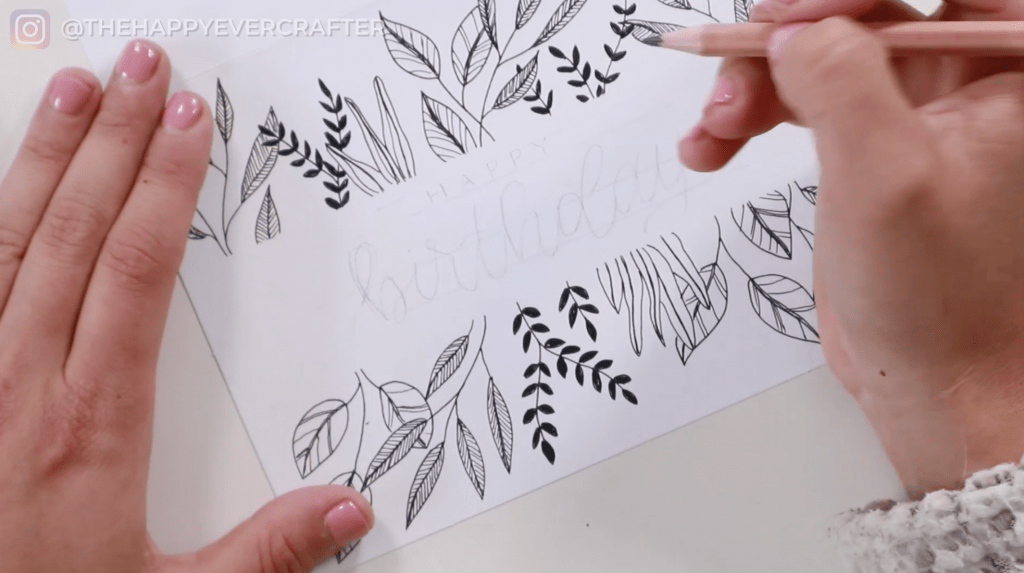
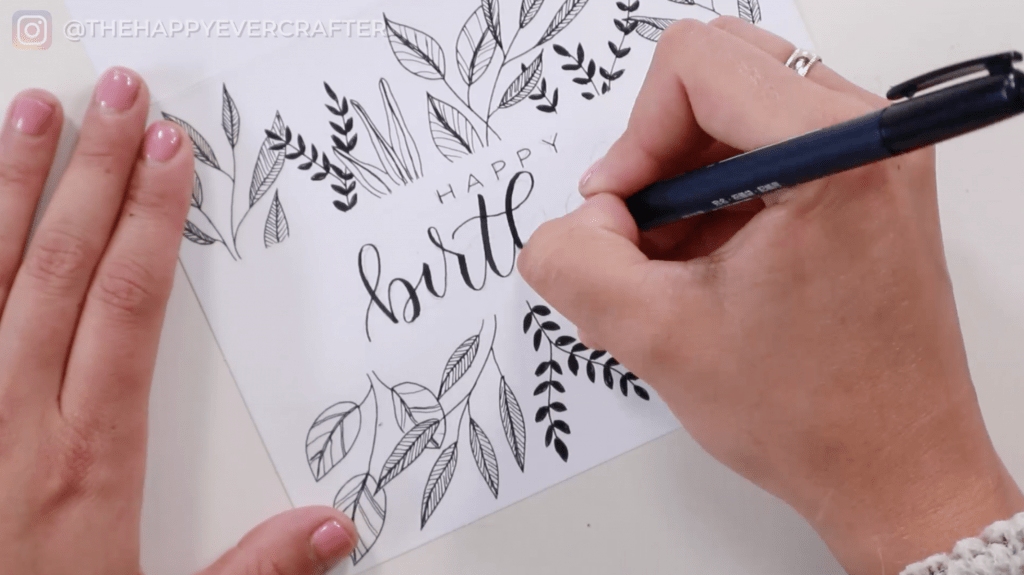
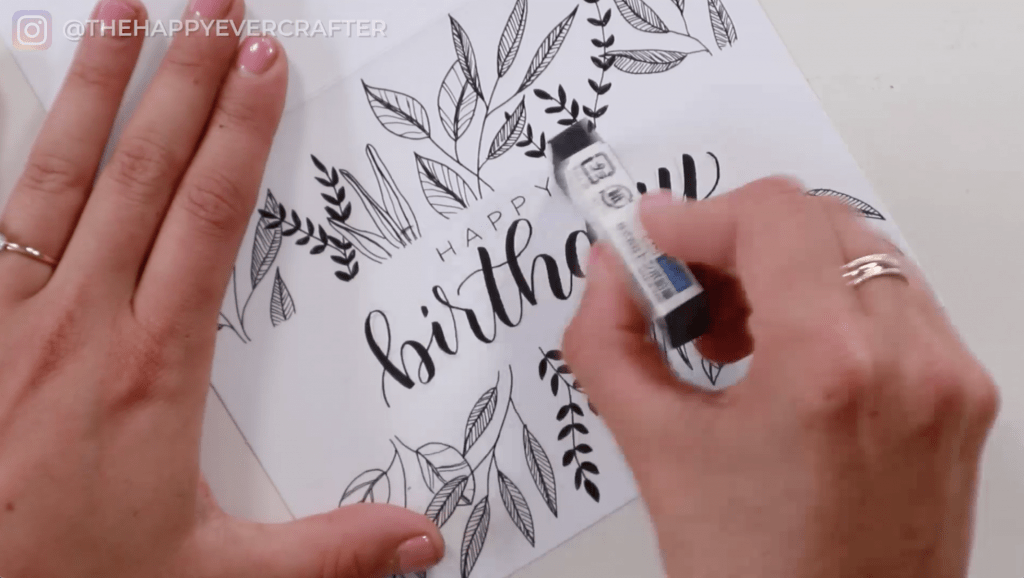
Once you have all of my pencil lettering drawn, use your pens to write your words.
I used Micron 01 to write the word happy in my block letters. And then I grabbed my Tombow Fudenosuke brush pen to write the word birthday in my modern calligraphy. After I finished, I decided to make my letters a bit thicker, but again, all of this is personal preference.
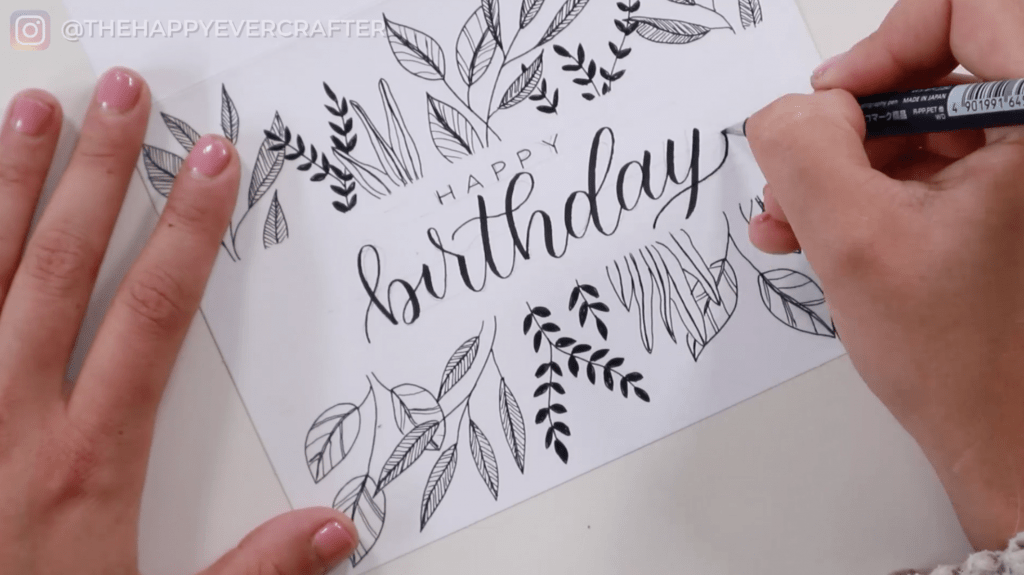
Once all of that’s finished, erase all of your guidelines.
If you’re using a pen that might smudge, I definitely recommend waiting for this to dry. I used archival ink, which dries super quick, so I was able to erase right away.
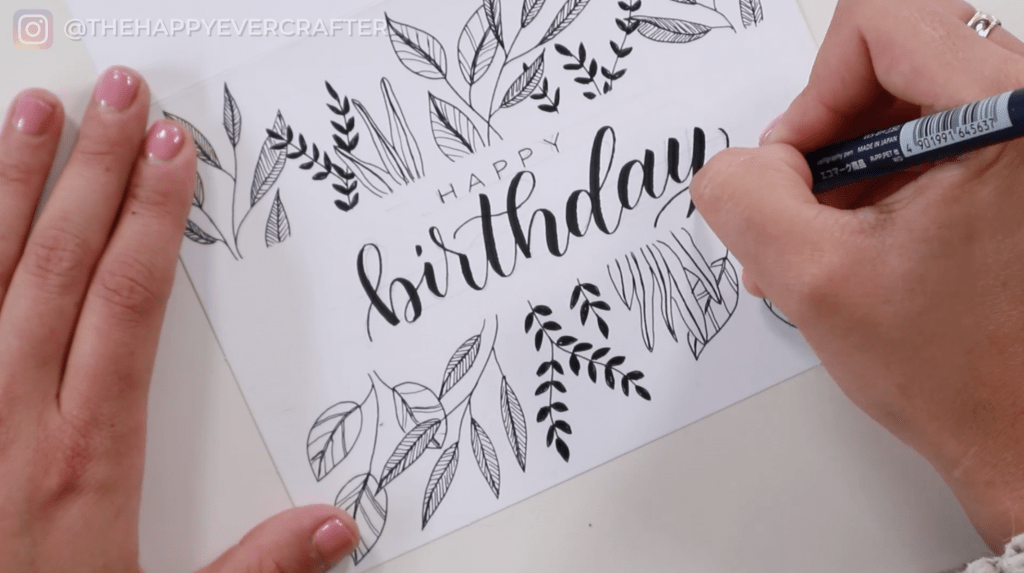
And That’s A Wrap!
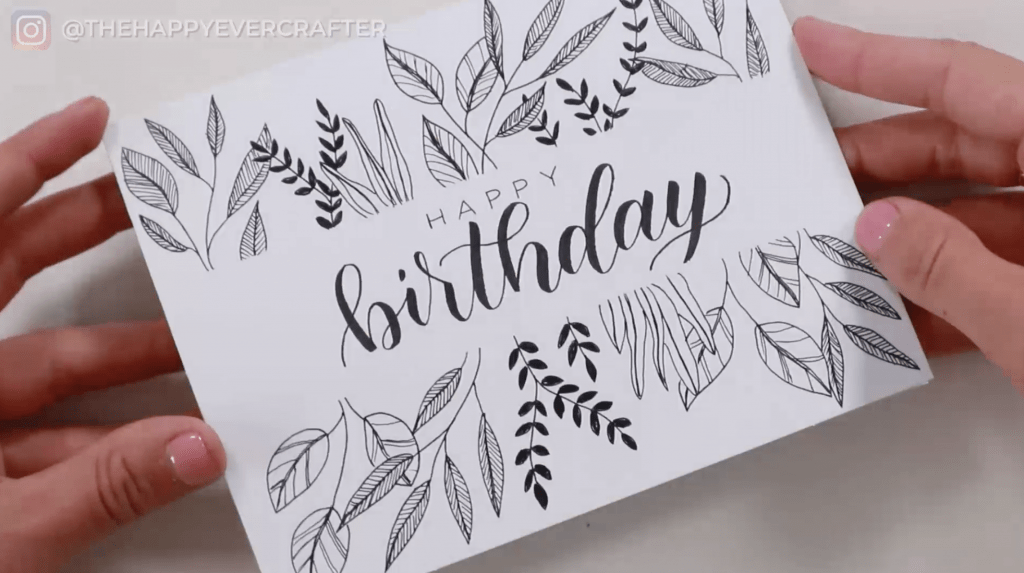
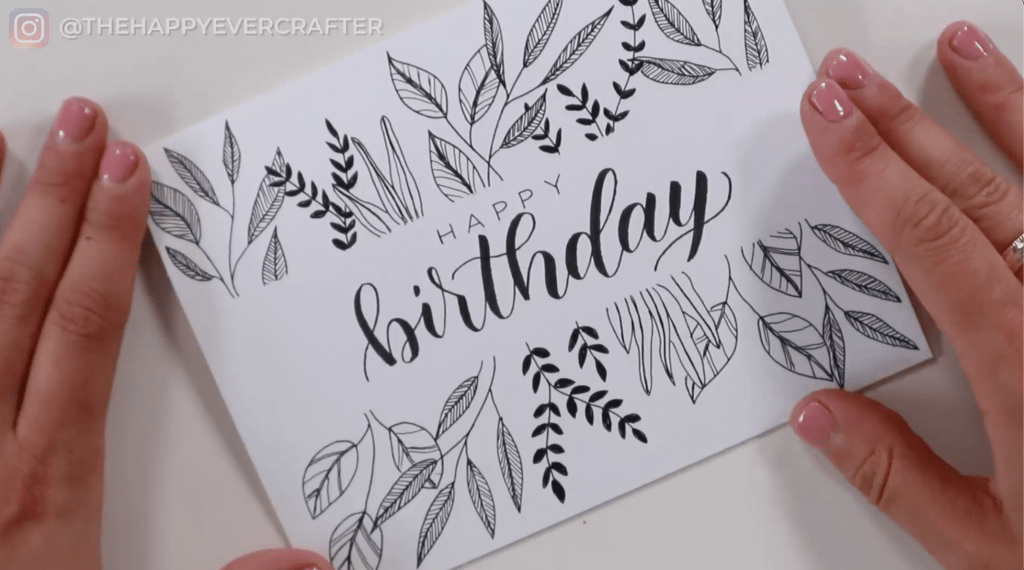
And there you have it! Your completed birthday card. It looks fancy and really full, but it’s pretty simple when you break it down!
Again, it’s my birthday. So if you wouldn’t mind, I would love to see you create this. Just send me a picture of it on Instagram and tag me @thehappyevercrafter. It’s going to basically be like you’re sending me a birthday card! ? Oooooor if you don’t want to create this card and you just want to give me a gift, I would love it. What gift? If you would hit like on this video on YouTube and then subscribe to my channel, that’s always appreciated too.
But seriously, I hope you enjoyed this tutorial. Next step. I’m going to link you to another birthday card tutorial I have and hope you like that one too!
And finally, your dad joke…
What type of music is scary for birthday balloons?
POP music!


This was amazing
This we so easy and will make a real impression on the birthday girl I’m giving it to.