Okay HAVE you ever seen this item?
If your answer is no, you need to keep reading. And even if your answer is yes, you also need to keep watching. I have some super helpful hacks – I don’t just use it for its intended purpose. I think everyone needs to have one in their toolkit.
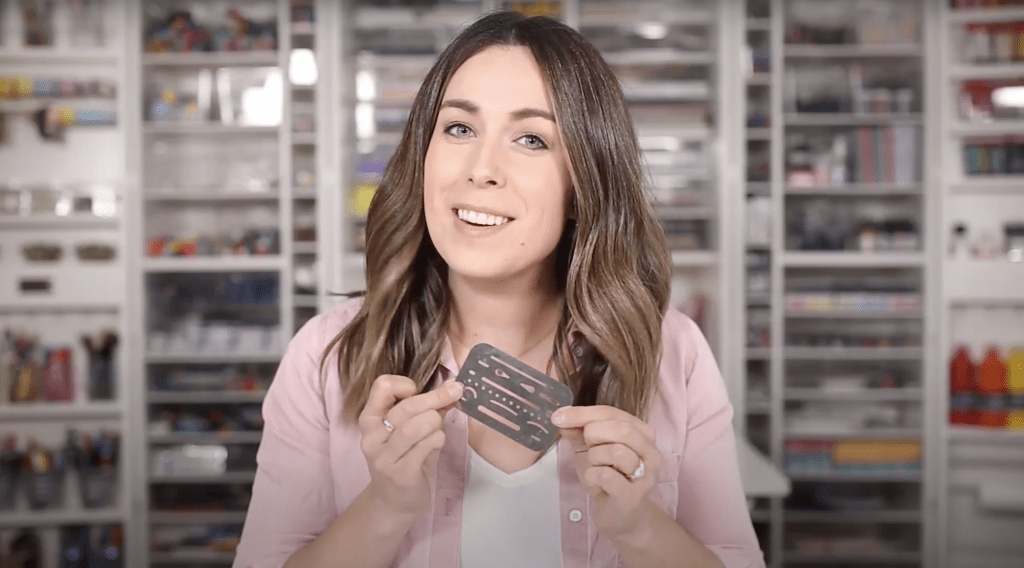
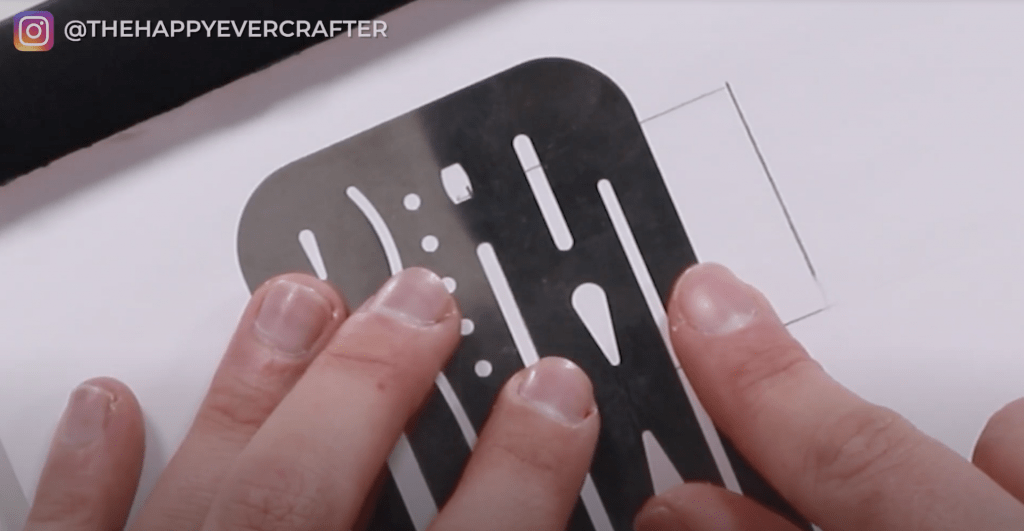
In this post, I’m going to show you this little-known, underrated tool I always have in my pencil case: An eraser shield.
But again… I don’t just use it for erasing. Let me show you some ways I use it.
First Things First…
The links below may be affiliate links where appropriate. This means that your purchase through these links may result in a few cents in payment to me, to support creating further resources like this one! That being said, I will never suggest supplies that I do not personally use and fully recommend.
Supplies Used
Rather watch than read? No problem! You can watch me demonstrate the various ways I use my eraser shield in real-time in the video below!
Let’s Get Started!
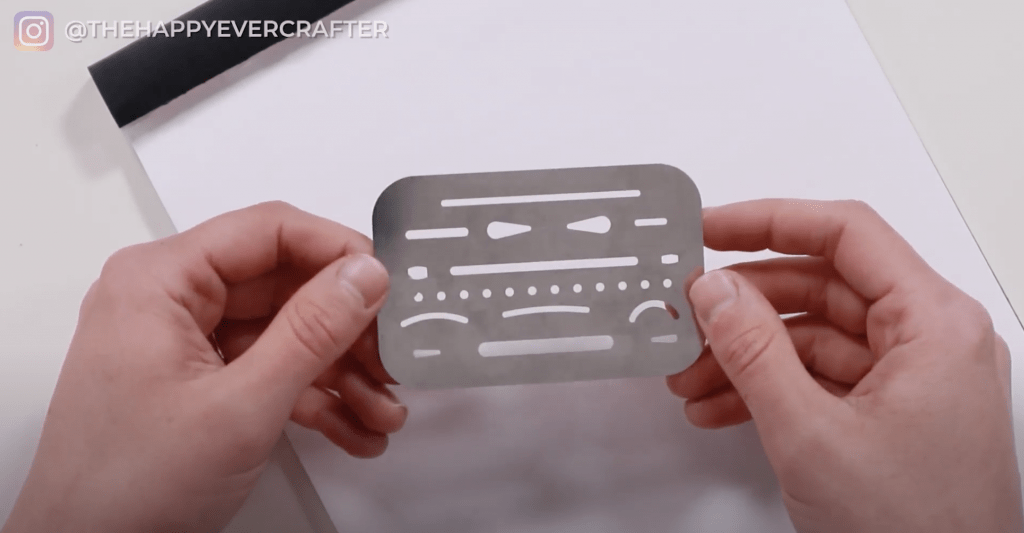
Okay so I know about this tool because of my background – in university, I did a lot of hand-drafting for floor plans. If you know anything about that kind of stuff, you know it’s all done in pencil and has to be VERY precise. You can’t have any smudging or extra lines because photocopies have to be super clear.
This little tool is SO helpful. I think it was originally invented specifically for hand-draftsmen – hand-draftswomen. 😉 And ever since university, I always have one in my pencil case. They are SO handy and can be used for so many things.
First way to use it: Erasing tiny lines.
Erasing teeny tiny lines is really challenging.
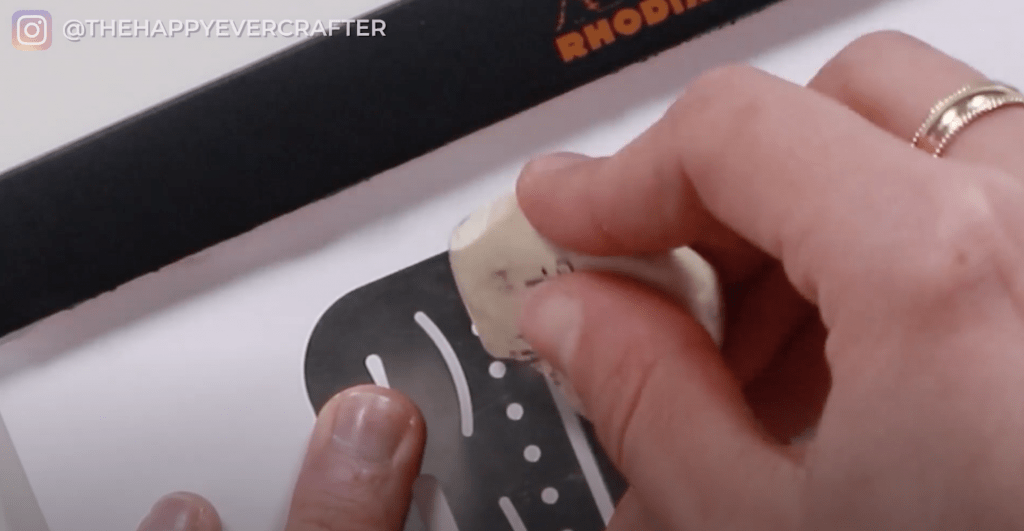
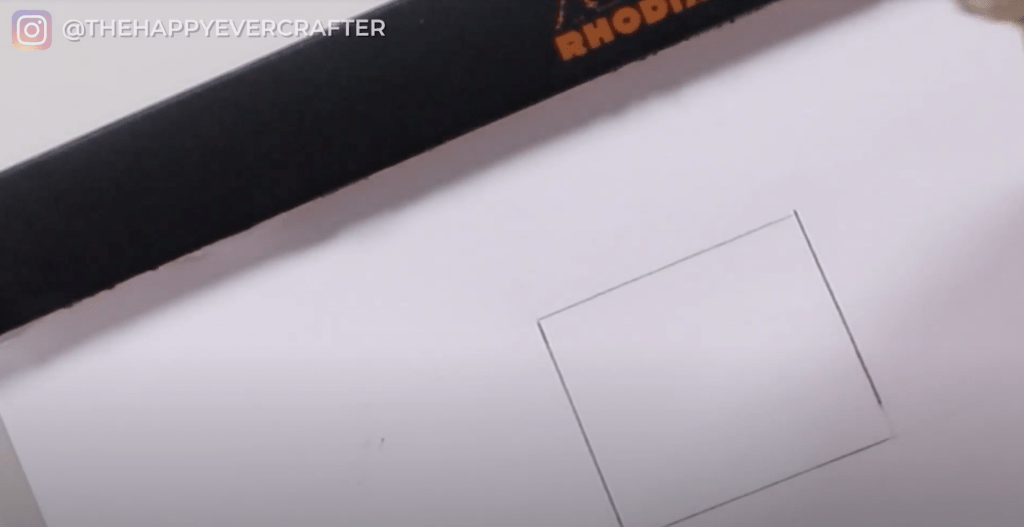
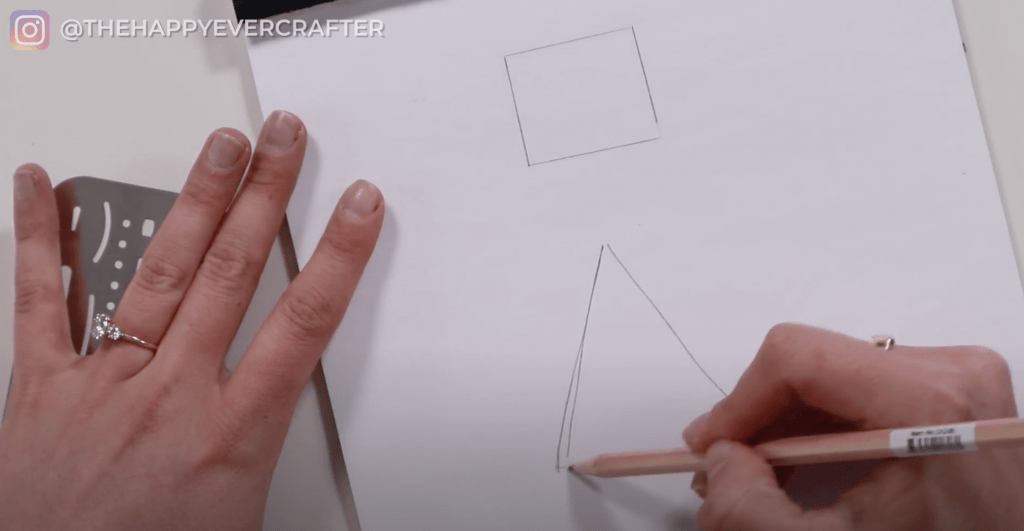
For example, let’s say you were drafting and drew a square/rectangle like this. If you notice, some of the lines extend a little too far. You can erase long excessive lines with a big eraser – no problem there.
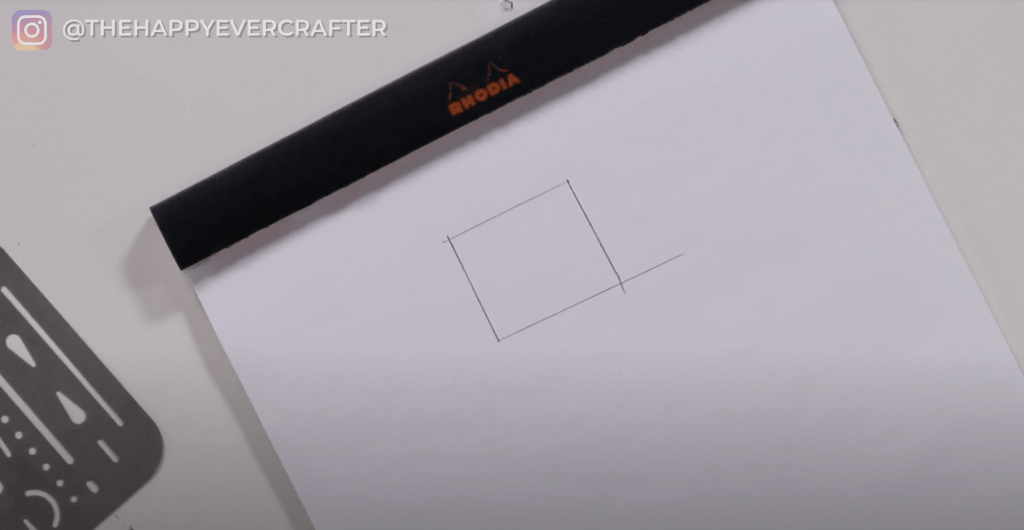
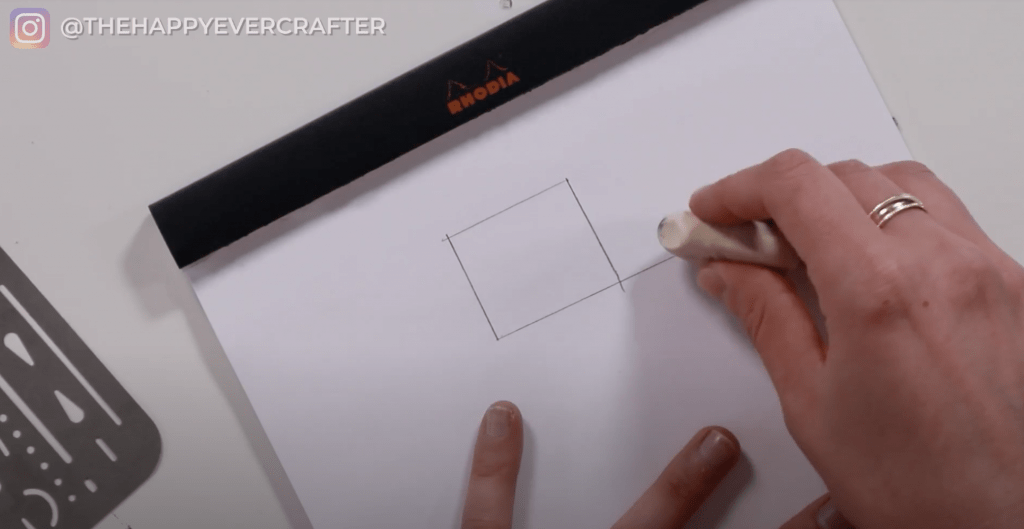
But if you want to erase these tiny lines, you’ll accidentally erase pieces of the lines you want to keep. The eraser is too big. (Even with smaller erasers, precision is hard to achieve.)
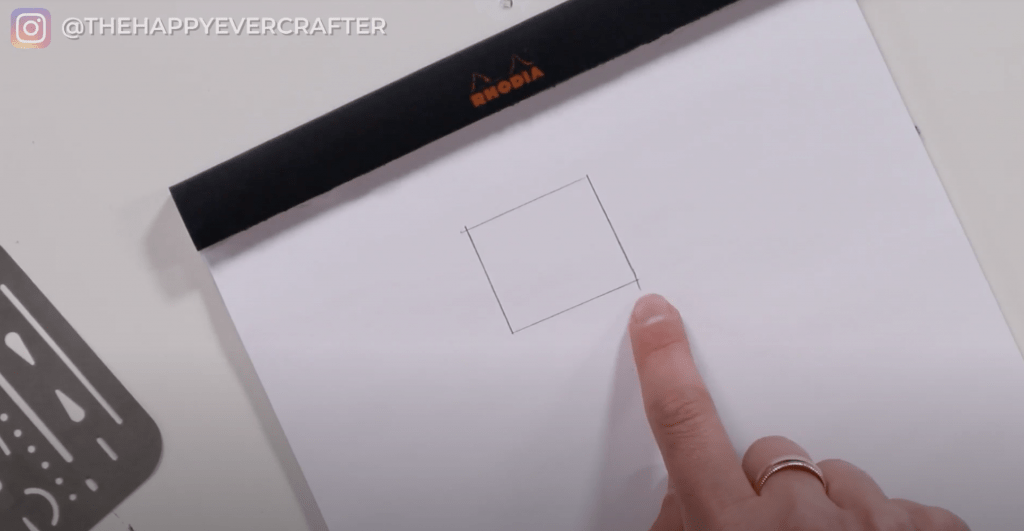
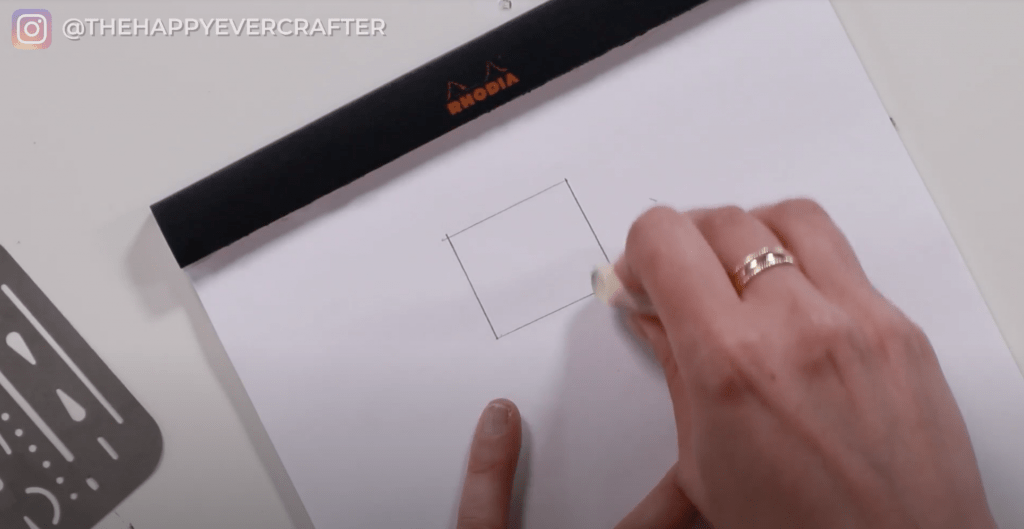
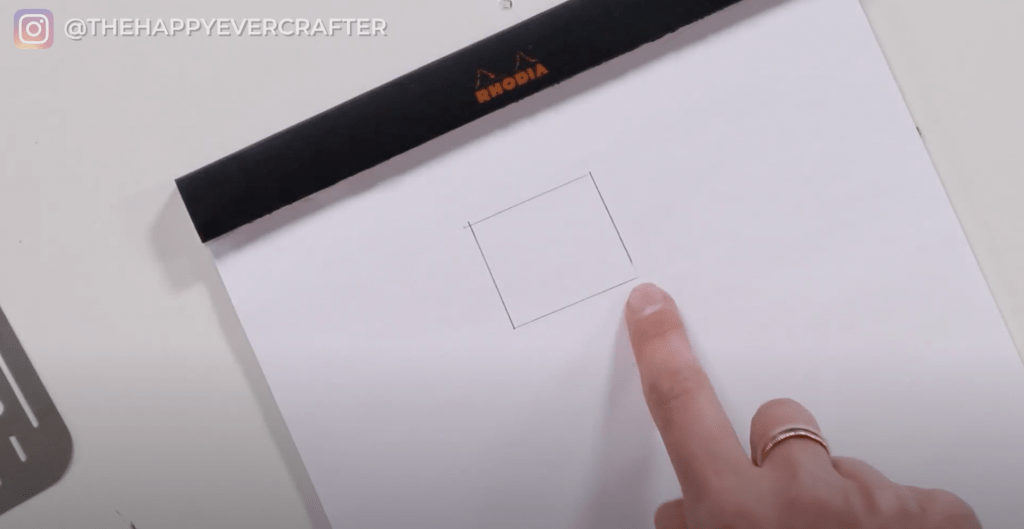
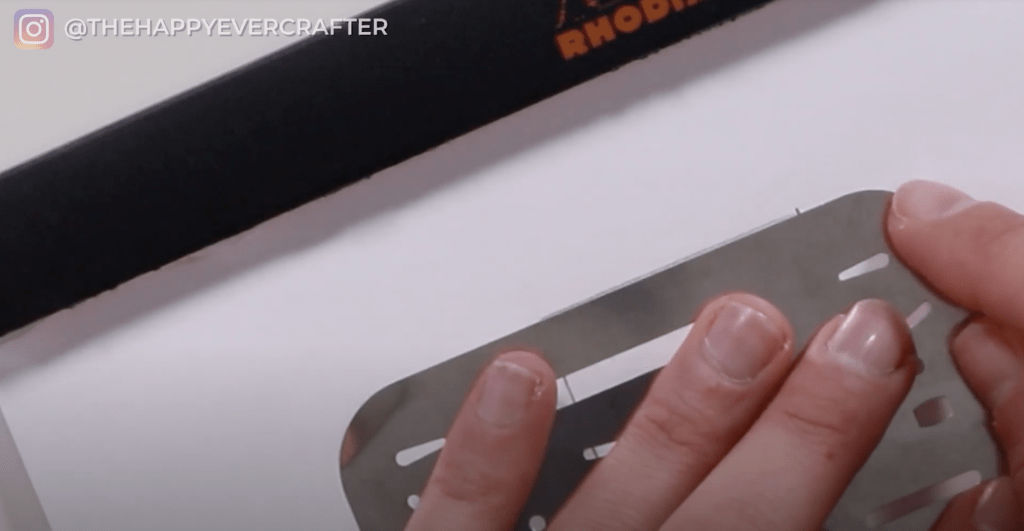
That’s where the shield comes in handy. You find the shape on the eraser shield that matches the area you need to erase the best. Then you shield the rest of your drawing and erase. And your resulting corner is perfect.
You can even just use the edge if you want!
That’s a really really simple example, but that’s its intended purpose.
Want to know how else I use it in my calligraphy and lettering work?
There are seriously so many uses for it, which is why I always keep it with me. It’s so tiny, which makes it easy to carry around in my pencil case all the time.
Honestly, there’s no, like, “I always use it for THIS”… it’s sorta one of those tools that can be handy in so many different ways that I just make sure I always have it.
I do want to show you a few of my common uses for it.
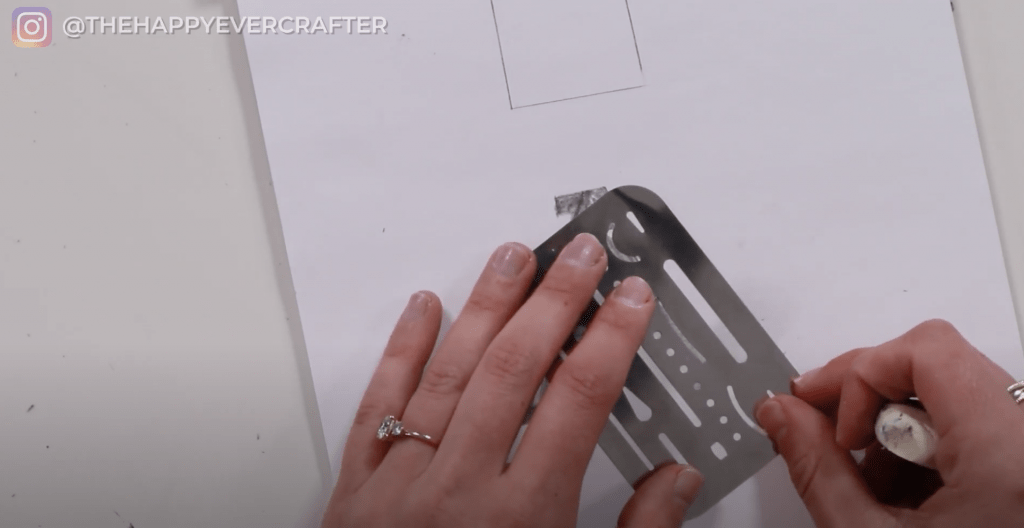
Erasing excess.
Let’s say you’re drawing a serif A, for example. You draw it in pencil first and accidentally make the left side a little uneven. It’s already a little too thick, so you don’t want to just add more to it to even it out.
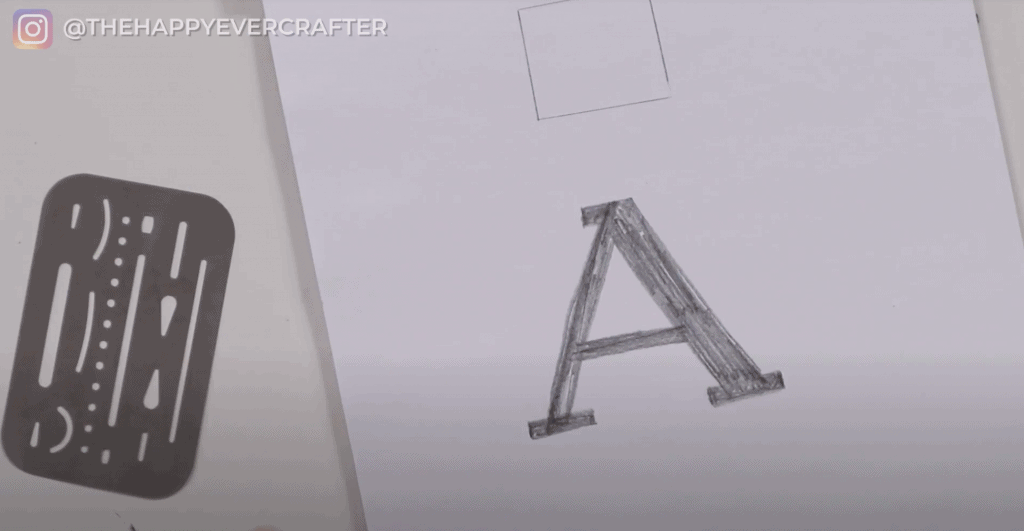
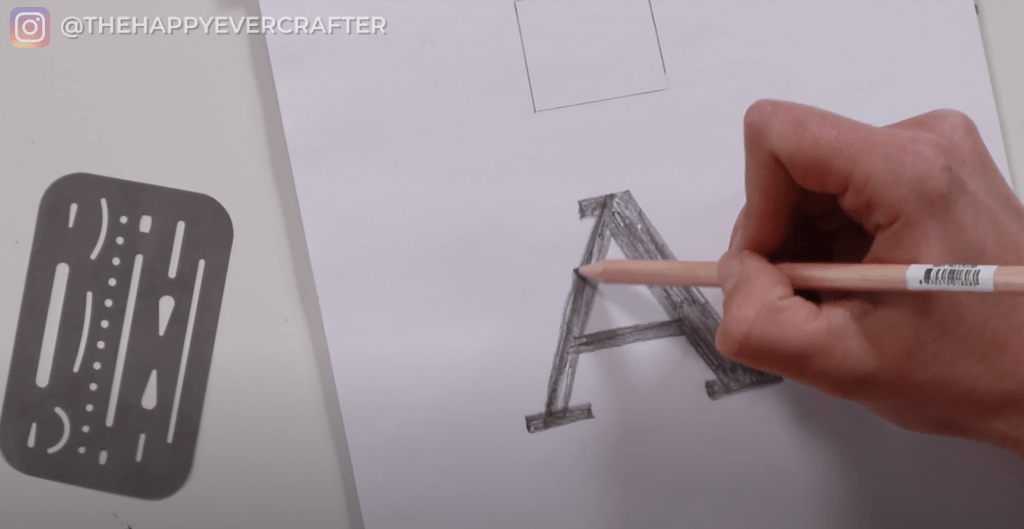
So what do you do? You use the eraser shield! Line up your shield shape where you need it, so it’s only showing the part you want to erase. Then erase the unevenness.
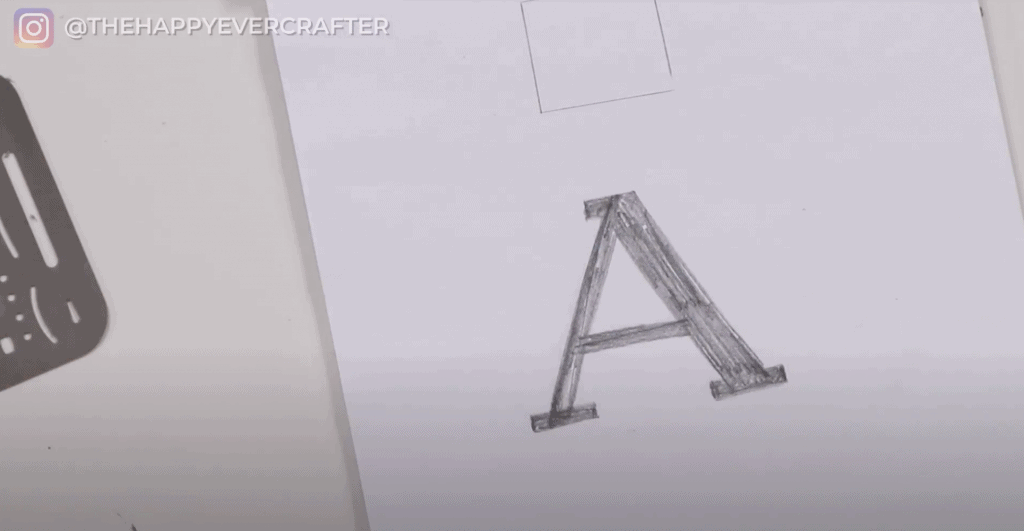
BOOM.
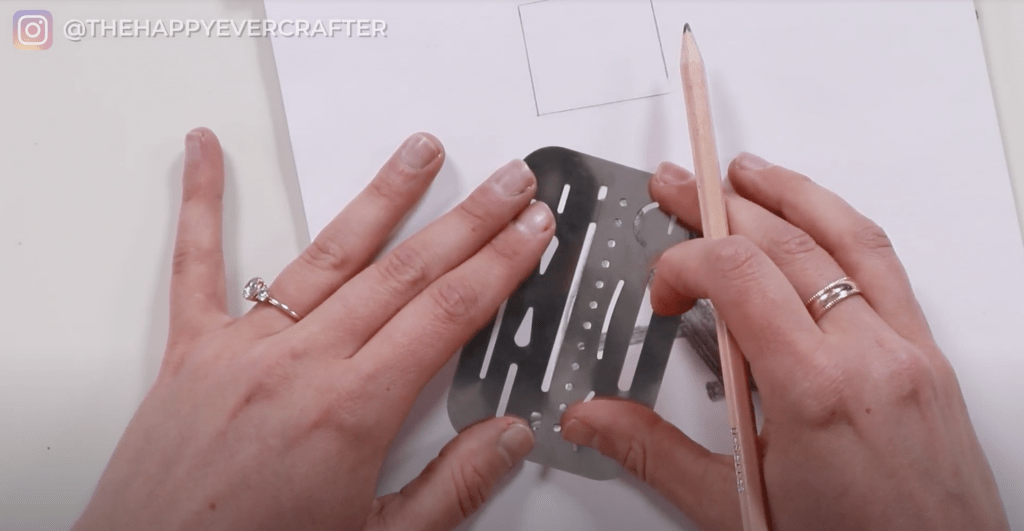
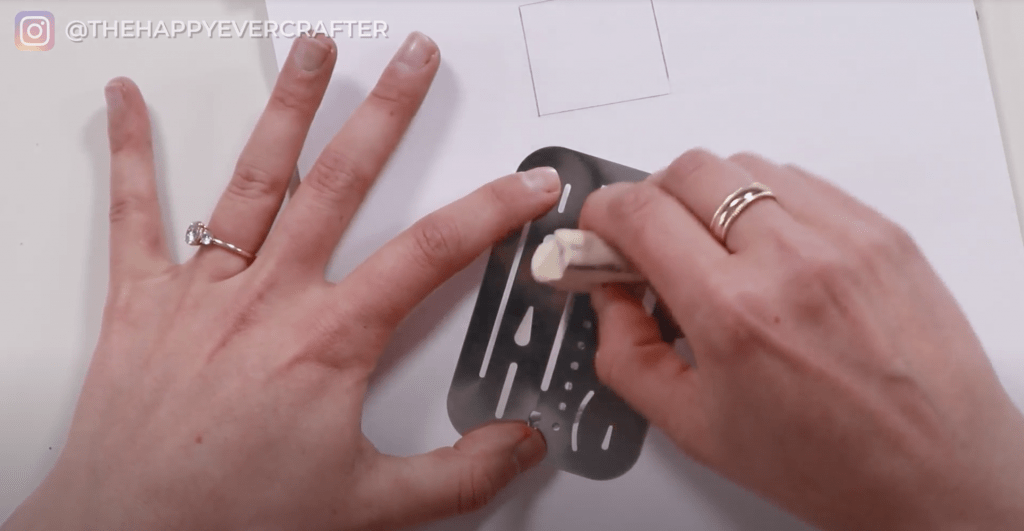
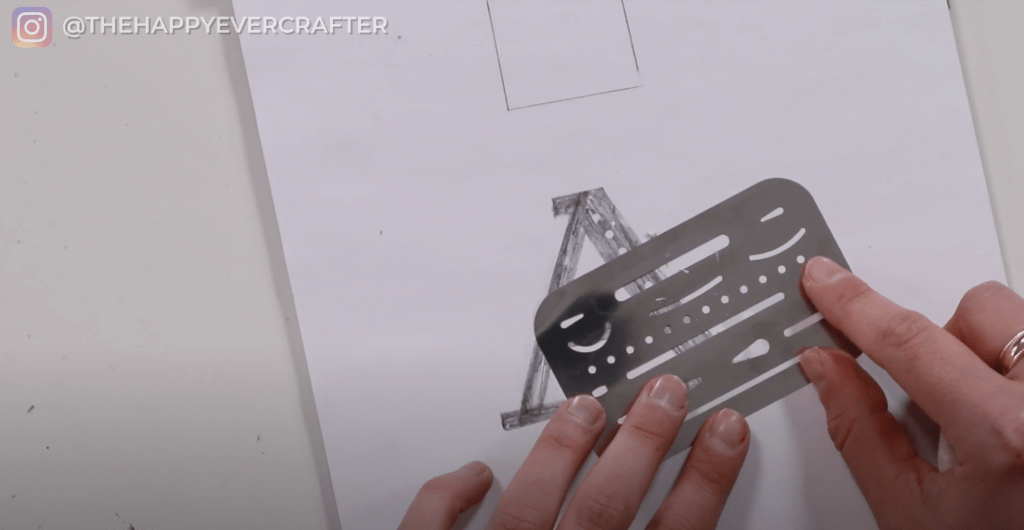
You can also use the eraser shield for embellishments.
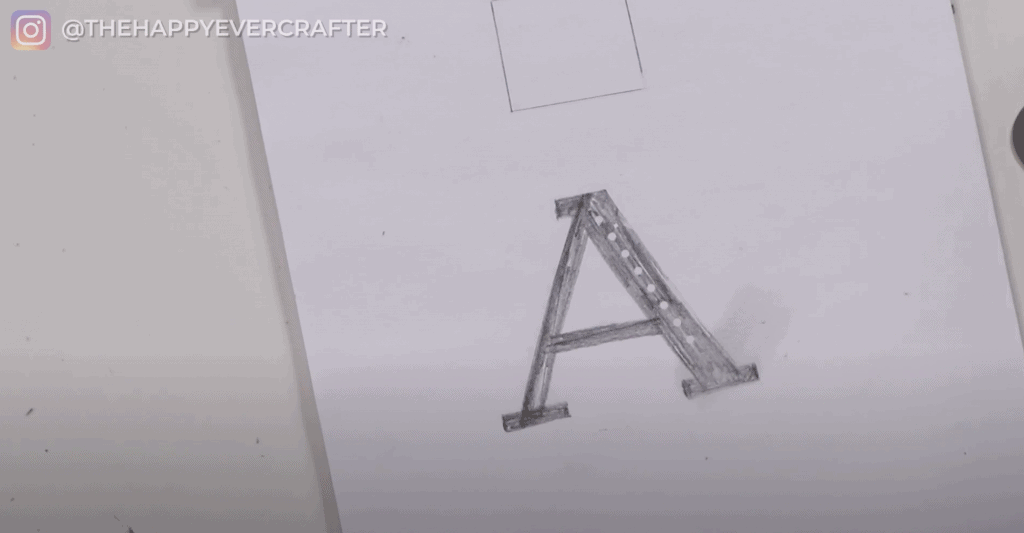
What if you wanted some dot embellishments in your serif A? You can use the eraser shield for that!


Those dots are perfect! Perfectly sized, perfectly spaced, perfectly aligned.
You can erase smudges!
Or what if you accidentally smudge but don’t want to erase any of your letter? Use the shield. Line it up where there are any weird smudges, and erase! The shield lets you get up close to the letter and erase all the smudging. Then you’re free to erase any excess that’s further out.
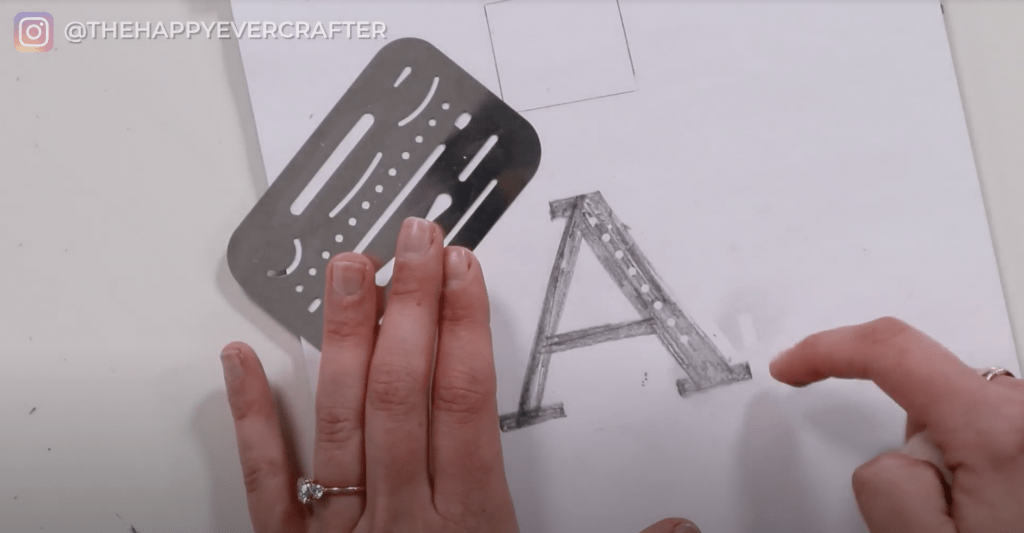
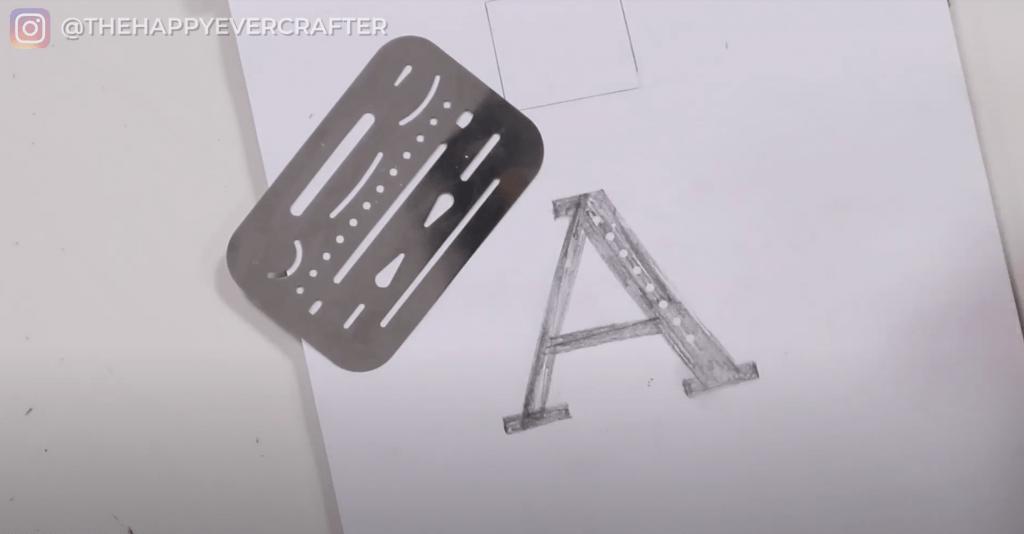
Now obviously these methods I’ve described only work with pencil. BUT the long story short is that if you do use a pencil first and then go over it with ink, you have the perfect outline already. Those dots on the serif A are perfect and can easily be traced in ink now. You also don’t have to worry about a super messy paper that’s covered in marks and smudges – you have a clean copy to use for adding ink.
Erasing letters in calligraphy projects.
Or maybe you’re writing out a rough draft of a long calligraphy quote in pencil. Your lettering is really small, and there’s not a ton of room. And then you accidentally screw up a letter. You don’t want to erase the whole word or the letters beside it. What do you do? Boom. Shield it.
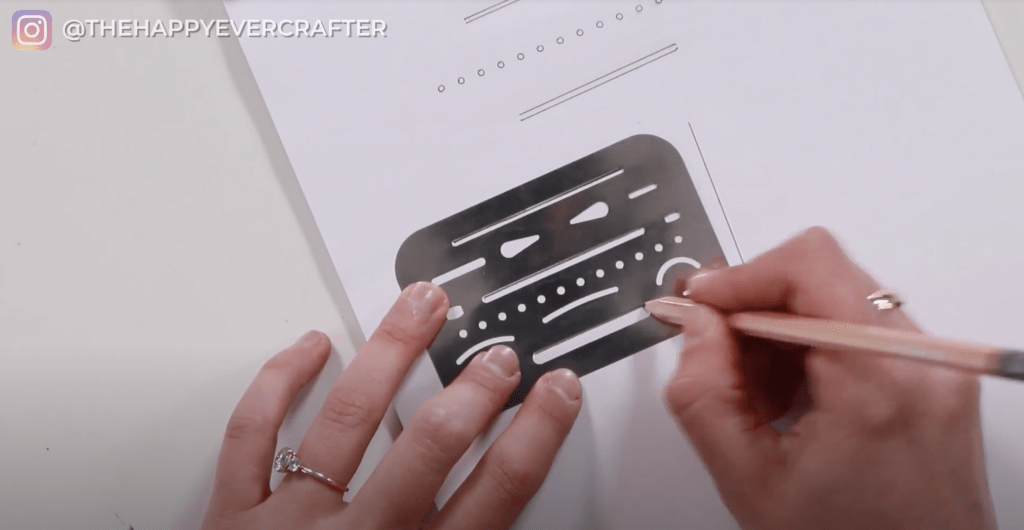
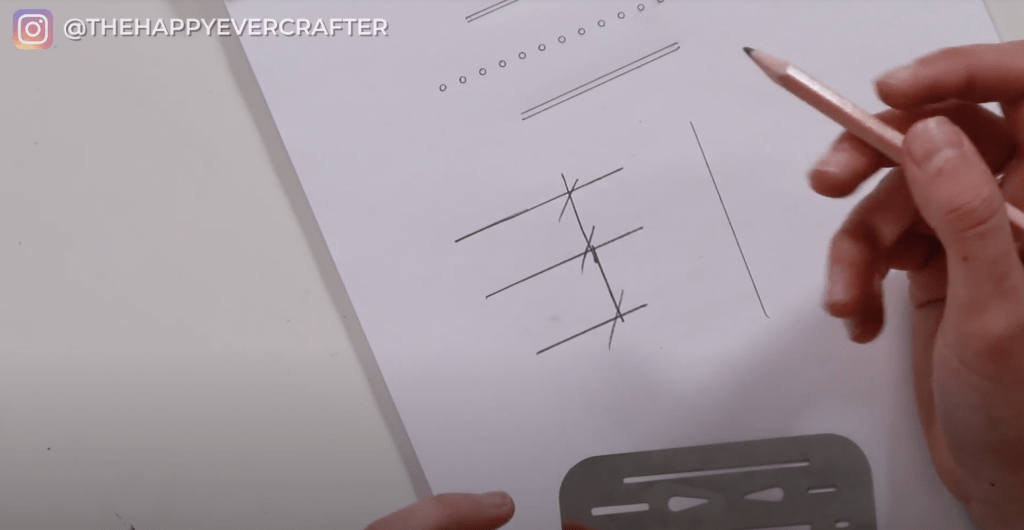
Another way to use this is as an actual stencil or a ruler.
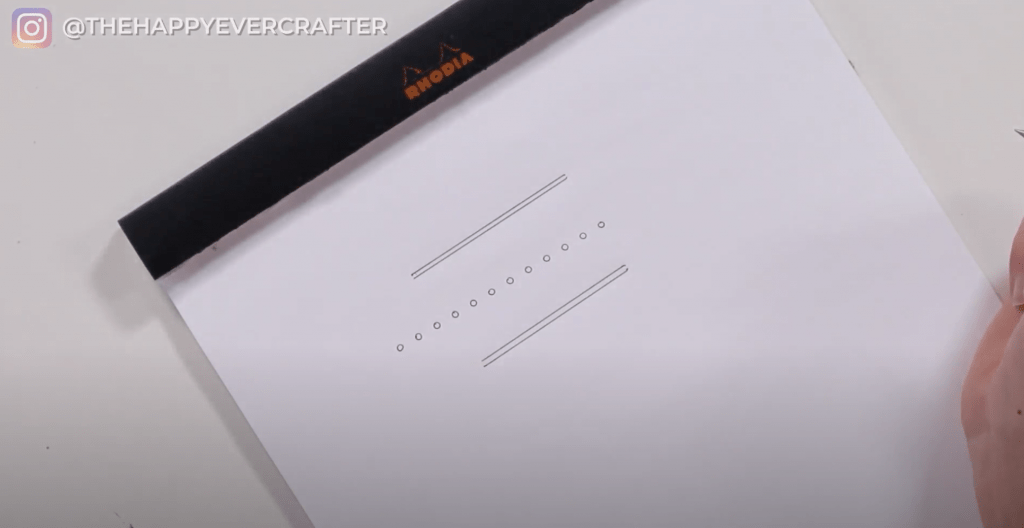
For those who bullet journal, you can use this as SUCH a handy stencil tool for drawing lines and dots for borders and underlines, etc. Using the narrow rectangle will give you perfect double underlines every time. Or you can get a perfect line of dots. So helpful. So handy.
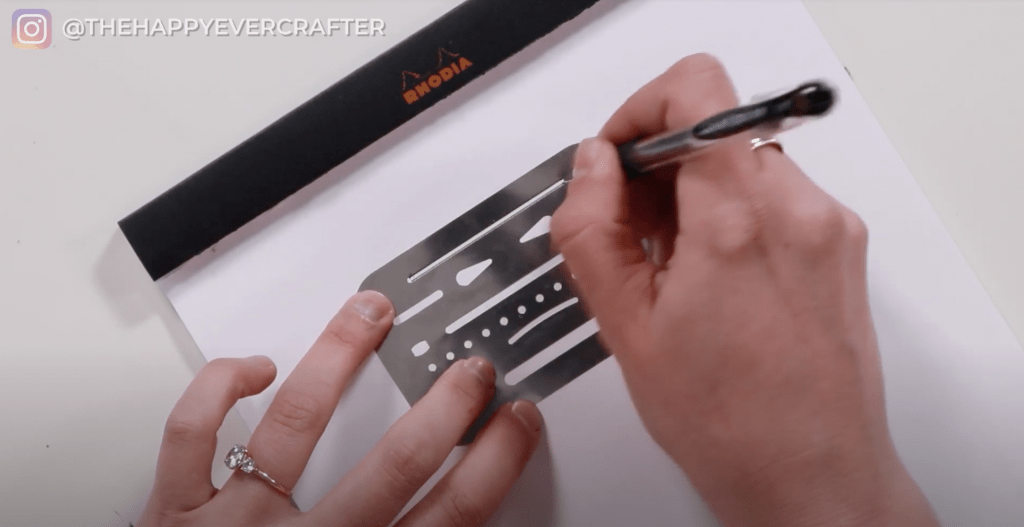
The stencil aspect of this can be used for bullet journals, planners, art compositions, mailing envelopes – so many options.
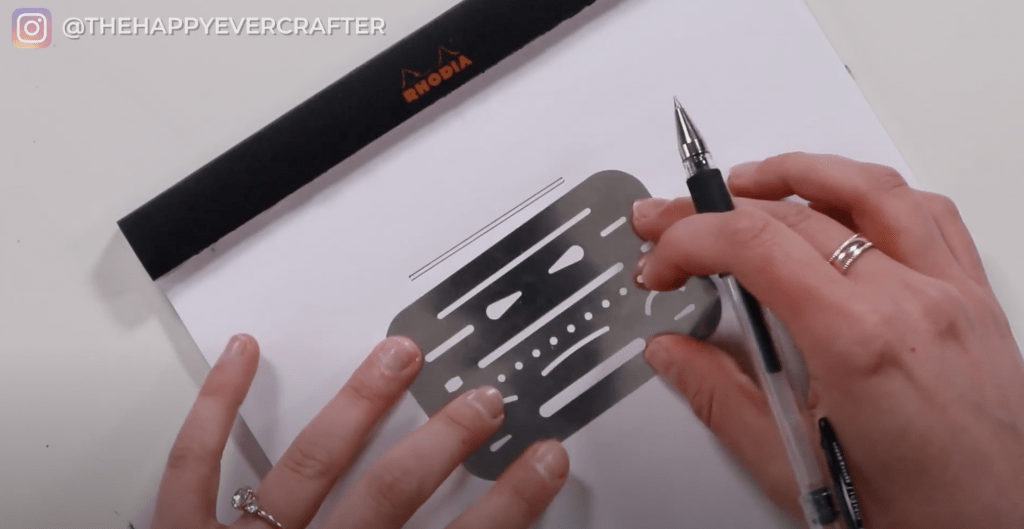
Creating guidelines!
AND, lastly, you can even use your eraser shield to make you some guidelines if you need them but don’t have any handy. Using the tops of these three long narrow lines is the proper distance for guidelines! I’ve used it to whip up some super quick guidelines if I need them for my calligraphy!
And that’s a wrap!
So how’s all THAT for a multipurpose tool?! Pretty sweet right? And it’s SO tiny that it doesn’t take up much room in a pencil case at all. Oh aaaand it only costs a few bucks. I’ll link to it HERE.
It’s basically the Swiss army knife of calligraphy, right?!
What’s another tool you ALWAYSSSSS have in your pencil case. I told you mine, now you tell me yours in the comments. 🙂
Want some more tool tutorials?
You can find several more posts like this one HERE. 🙂
And finally, your dad joke…
You know I gotta say, I’m a big fan of shields.
They’re really something I can get behind.


Comments