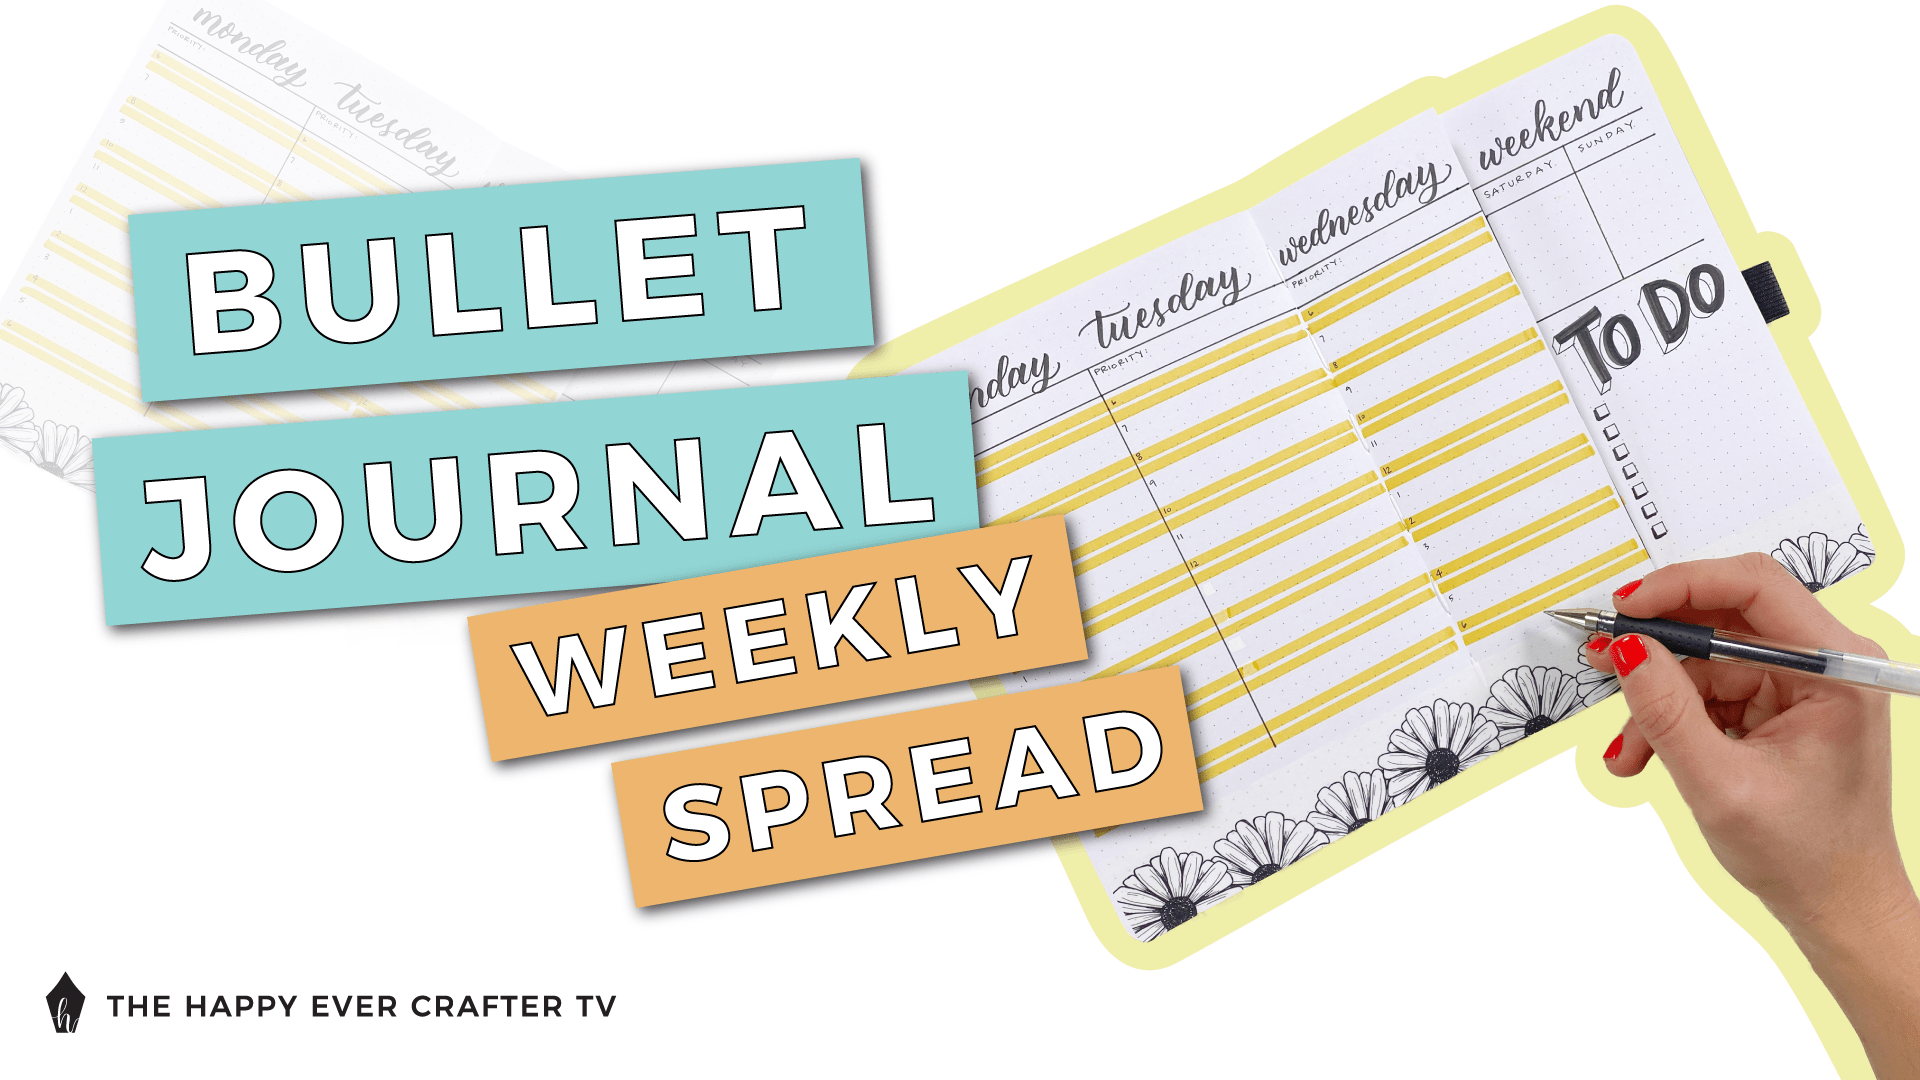
2021 is *finally* here, and it’s a great time to set up a bullet journal! I’ve been playing around with different layouts for years, and here I’m going to show you my favourite weekly layout.
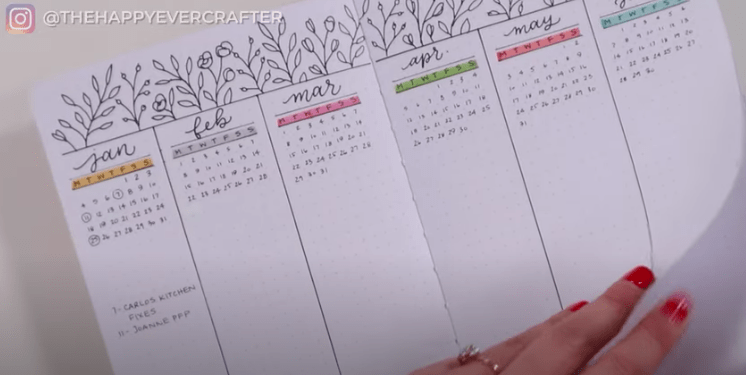
If you watched the first two videos in this series (part 1 – the yearly spread and part 2 – the monthly spread), you already know how to make the perfect yearly and monthly spreads for your bullet journal… now it’s time to go weekly!
First Things First…
The links below may be affiliate links where appropriate. This means that your purchase through these links may result in a few cents in payment to me, to support creating further resources like this one! That being said, I will never suggest supplies that I do not personally use and fully recommend.
Tools Mentioned
Prefer watching over reading? Feel free to skip right to the video and see these in real-time! ??
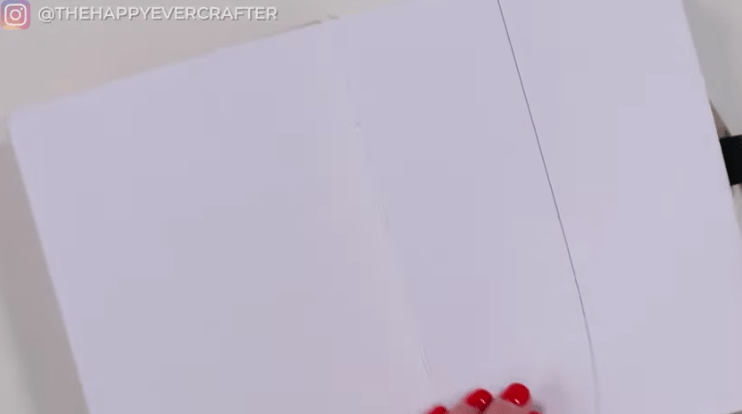
Step 1: Cut the right page in half lengthwise
Count your dots to find the right center spot.

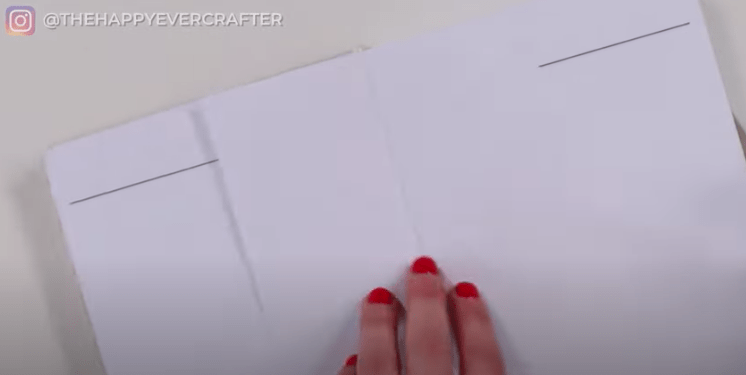
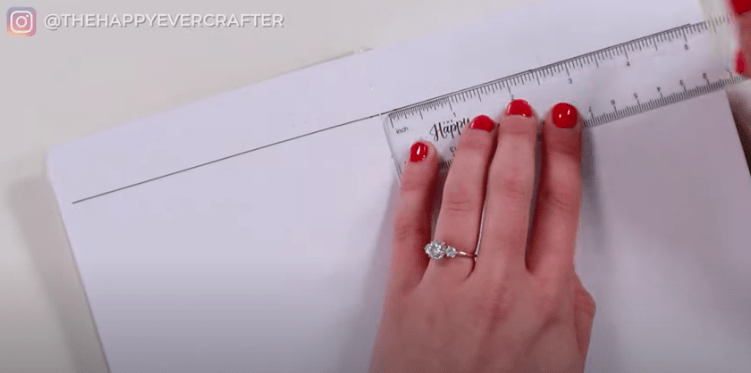
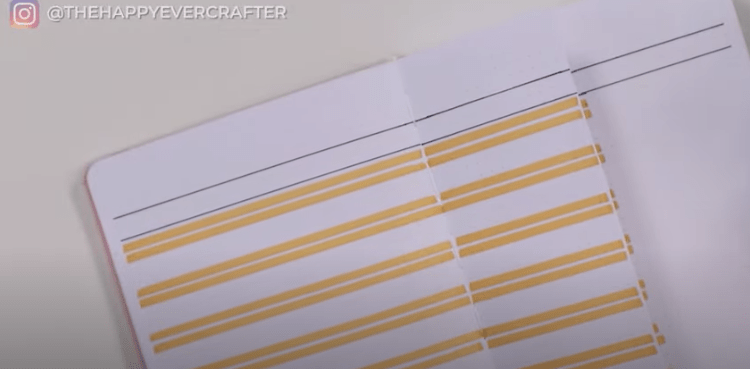
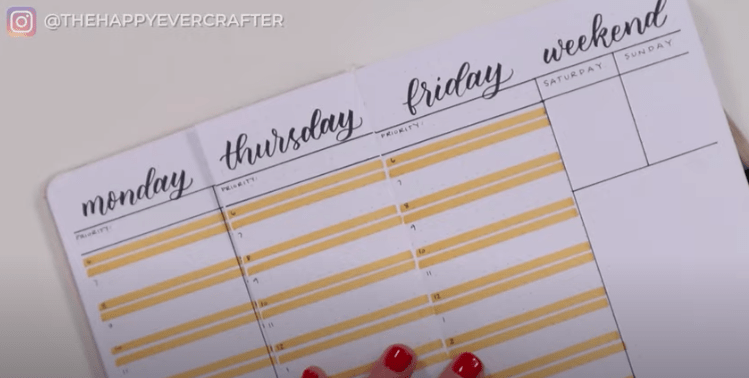
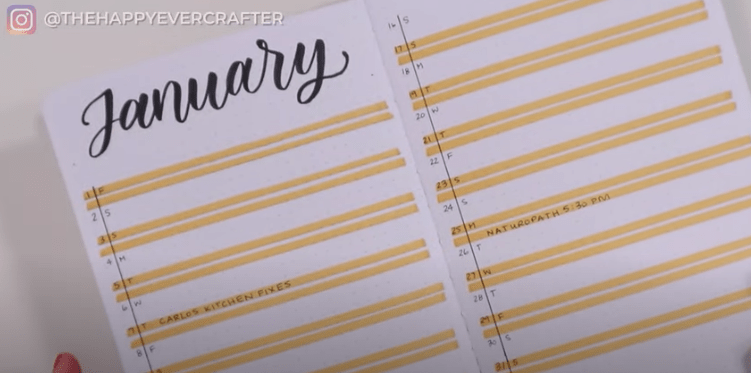
Step 2: Create your header
Using your pen, draw in a line all the way across and on the backside of your half page.
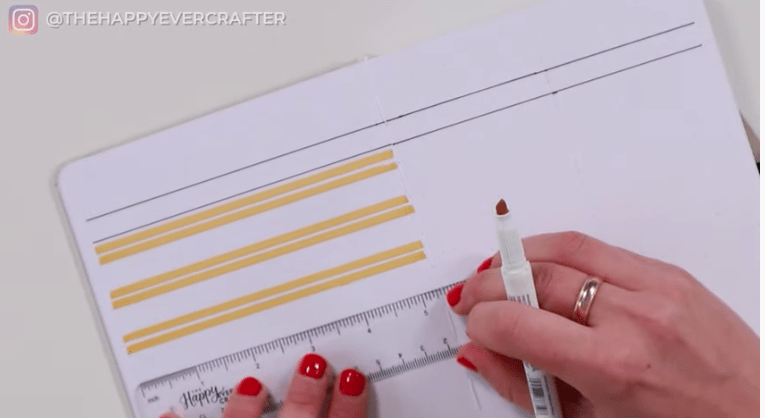
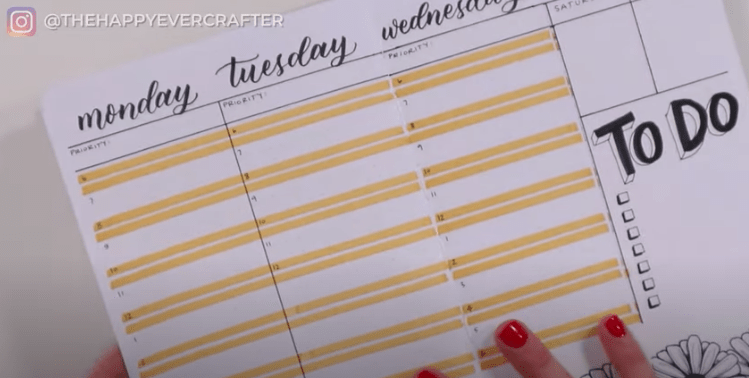
Step 3: Highlight section for each hour of the day
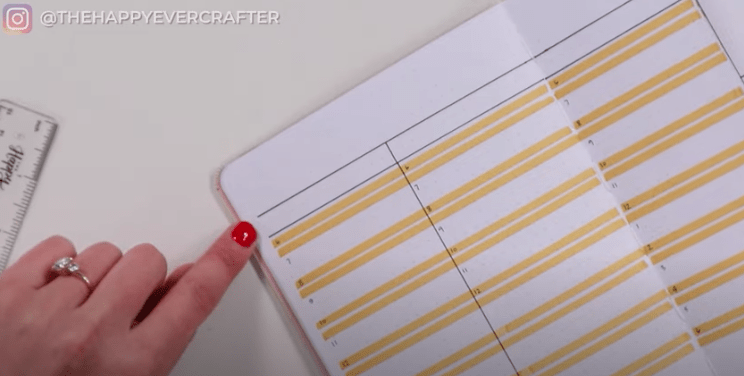
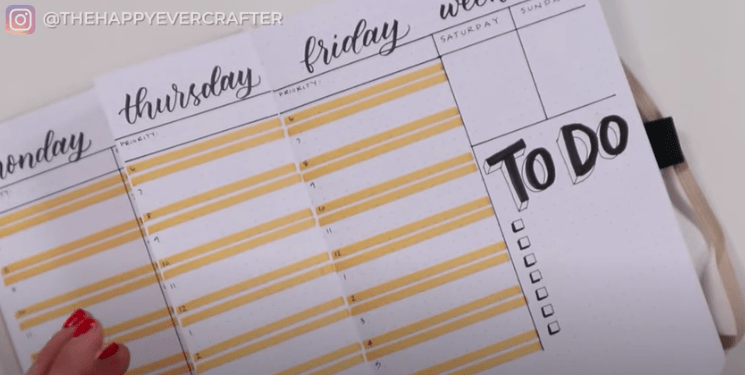
Step 5: Start labelling!
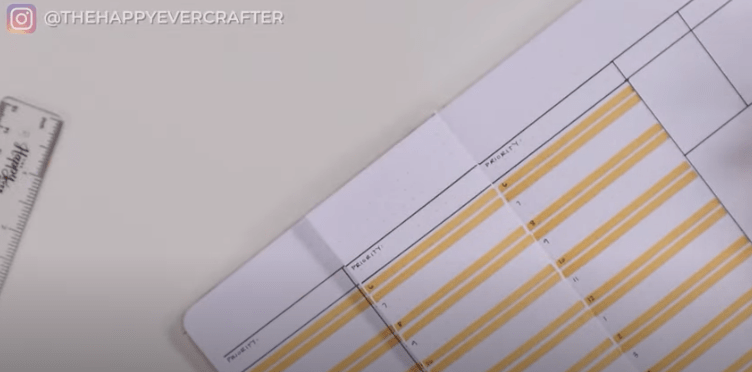
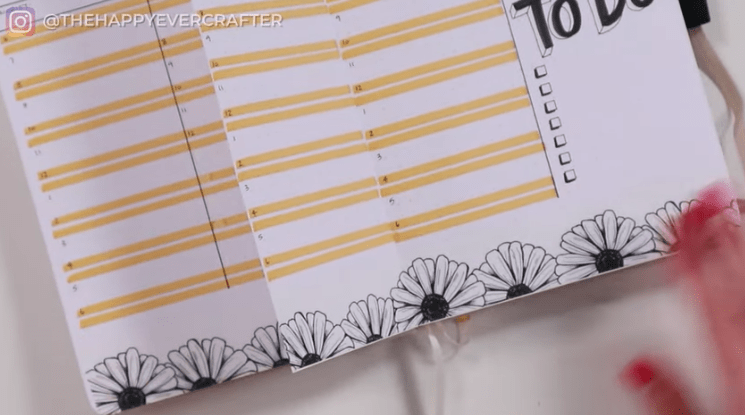
Don’t forget to add in your to-do section! I use a stencil for my checkboxes but that’s totally optional.
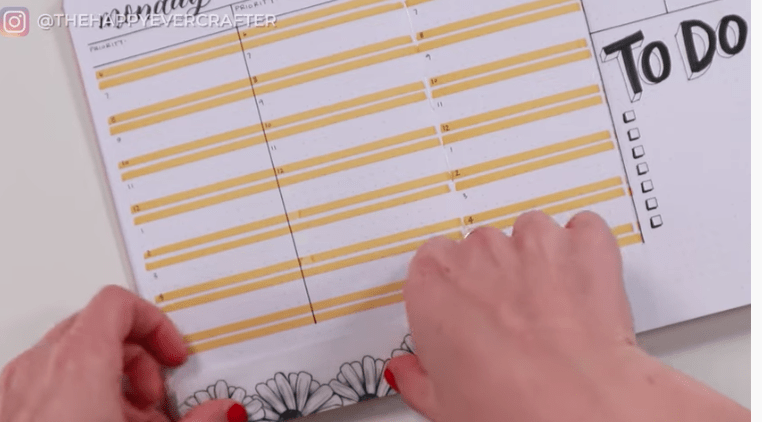
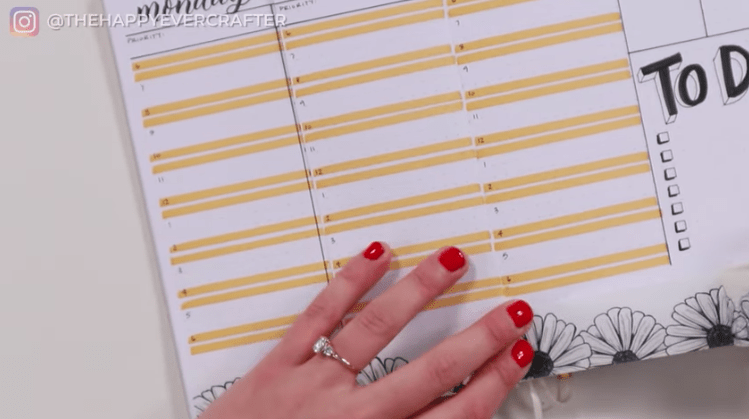
Step 6: Decorate your border
You can use my custom washi tape, or just doodle some florals at the bottom.
And that’s a wrap!
Now you’ve got your year at a glance, your month at a glance, and your week at a glance! Now it’s just a matter of repetition throughout! Be sure to subscribe to my Youtube channel and like this video. For more on how to do floral doodle borders, check out this video!


Comments