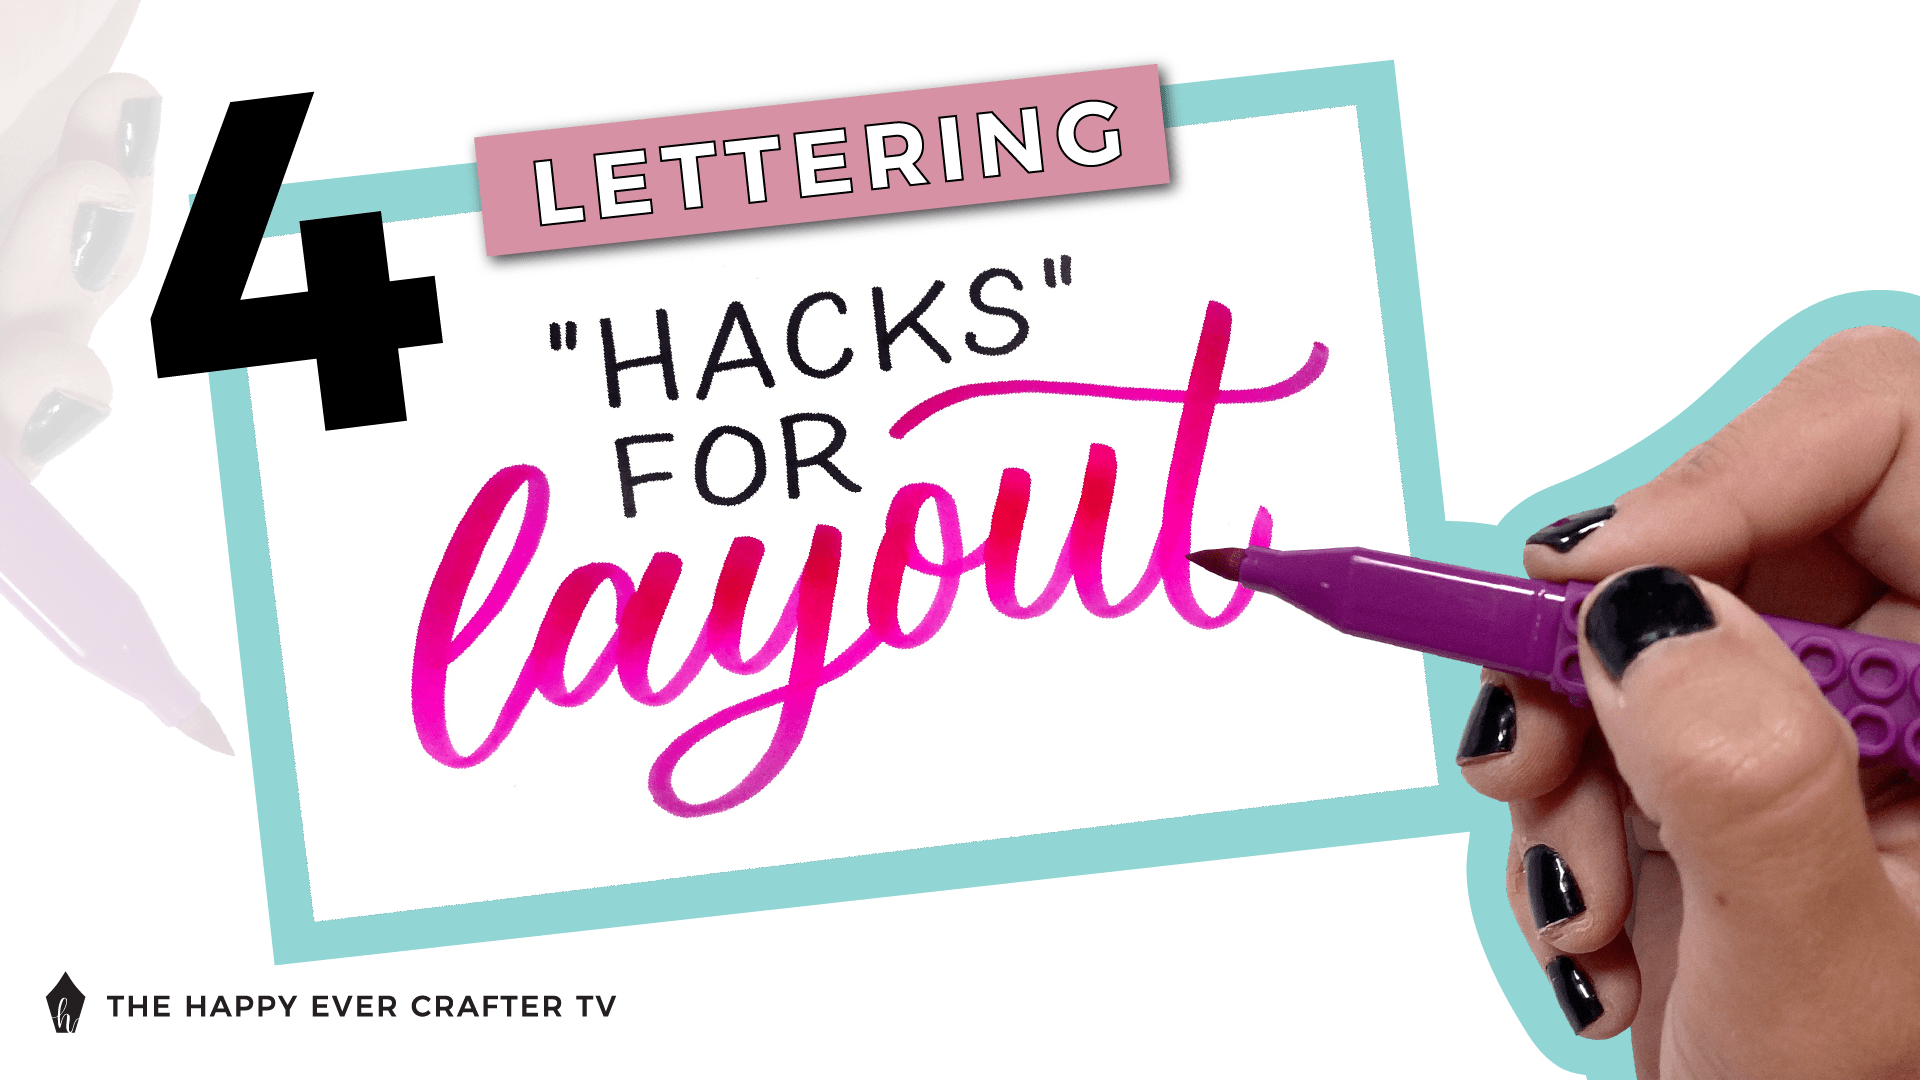
If you struggle with creating layouts when you letter and do calligraphy, watch this video for the 4 hacks that make planning your layouts easier.
Layouts are hands-down one of the most challenging things you’ll have to tackle in lettering and calligraphy work. They can be SO. HARD. And honestly, I’m still not a pro. It’s something that takes years and years of practice. But, I CAN say I’ve picked up some pretty handy tips along the way.
4 of them, to be exact.
First Things First…
The links below may be affiliate links where appropriate. This means that your purchase through these links may result in a few cents in payment to me, to support creating further resources like this one! That being said, I will never suggest supplies that I do not personally use and fully recommend.
Tools Mentioned
- Pen of your choosing
- Rhodia Paper
- Tombow Fudenosuke Brush Pen
- Strathmore Tracing Paper
Prefer watching over reading? Feel free to skip right to the video and see these in real-time! ??
For a more detailed step-by-step on layouts, be sure to check out this video, where I share tips for beginners.
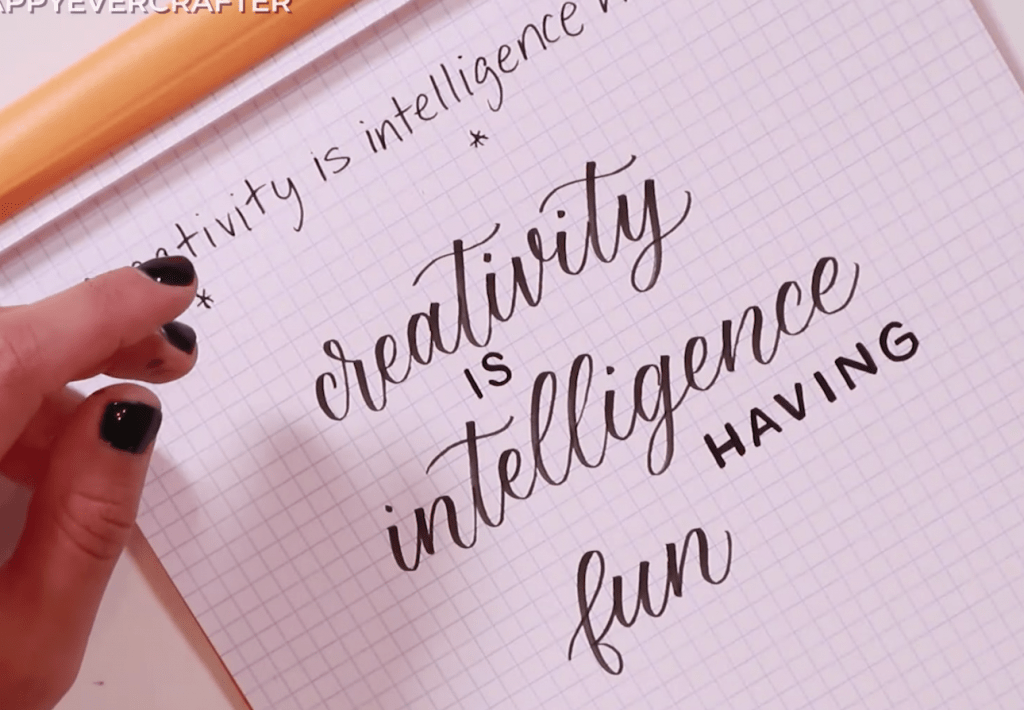
Hack #1: Don’t write your words in order
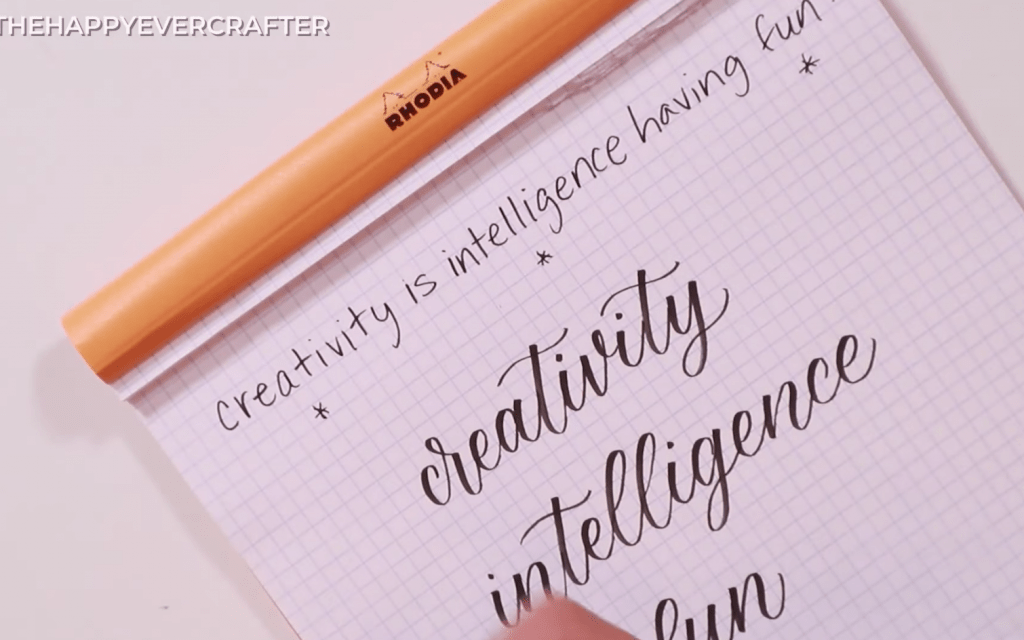
This might sound counterintuitive but bear with me. First, write out your quote and figure out what the most important words are.
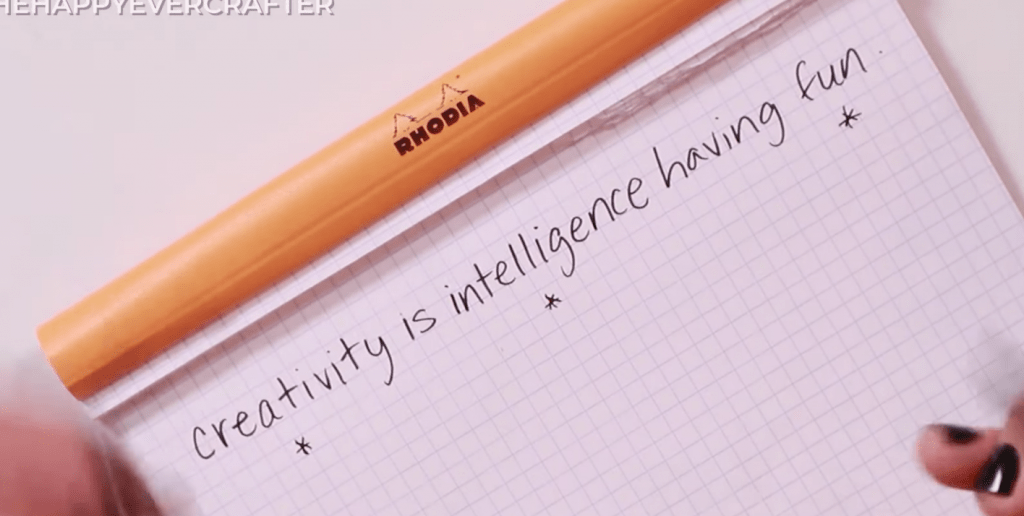
Now take those three words and write them in calligraphy. For this, I’m using my favourite basic black brush pen I’ve linked above, the Tombow Fudenosuke.
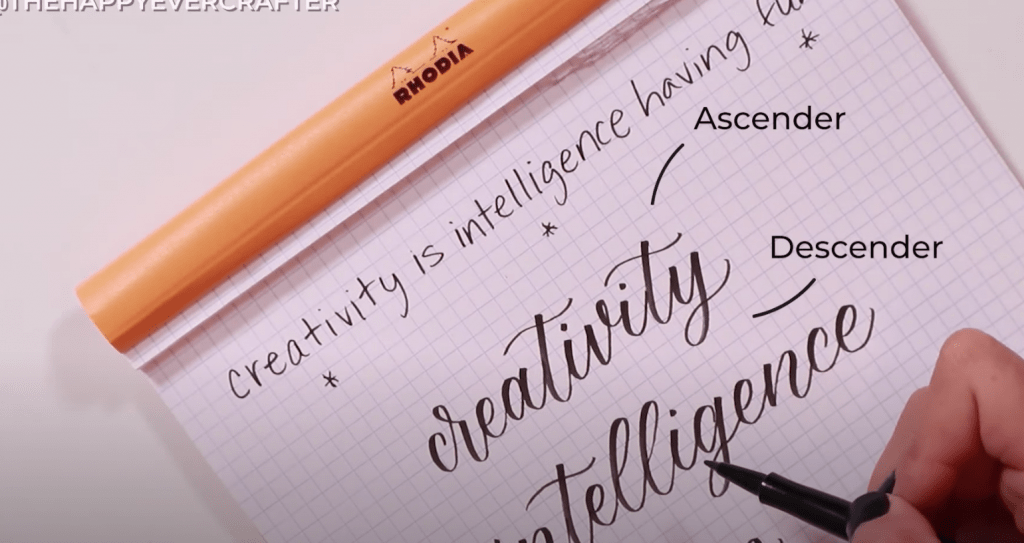
Hack #2: Use block letters to your advantage
Block letters are my major secret weapon when I’m having trouble with layouts. Because they’re all one x-height, they don’t have the annoying ascenders and descenders to work with!
If I were to write the other words in my quote here, they’d run into my calligraphy and look awkward. So instead, I’m going to fill in the in-between gaps with block lettered words!! (For this, I’m using a micron pen size 0.5, linked above.)
Now, you’re probably thinking about how my composition looks off-centre right now – and that brings me to the next hack…
Hack #3: Use tracing paper
Tracing paper is my second-most used item in my calligraphy work (after my trusty Tombow Fudenosuke).
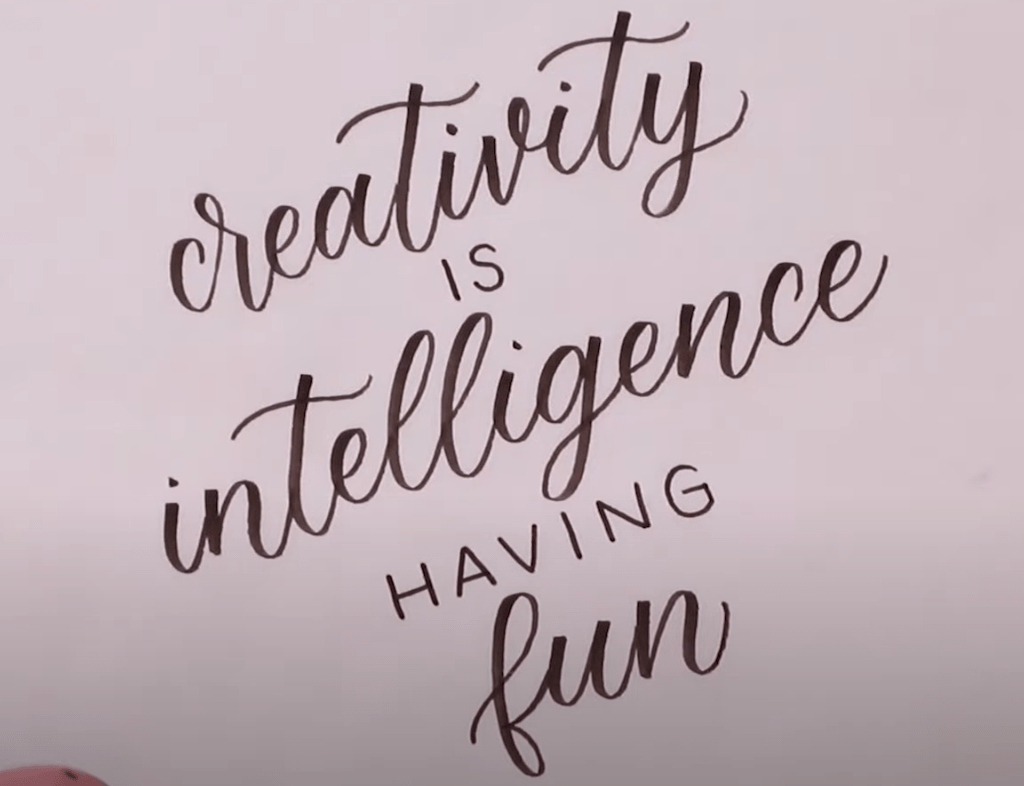
Here, I take a piece of tracing paper and place it over the top of the initial layout, and start tracing and rearranging my quote until it’s PERFECTLY centred how I want it!
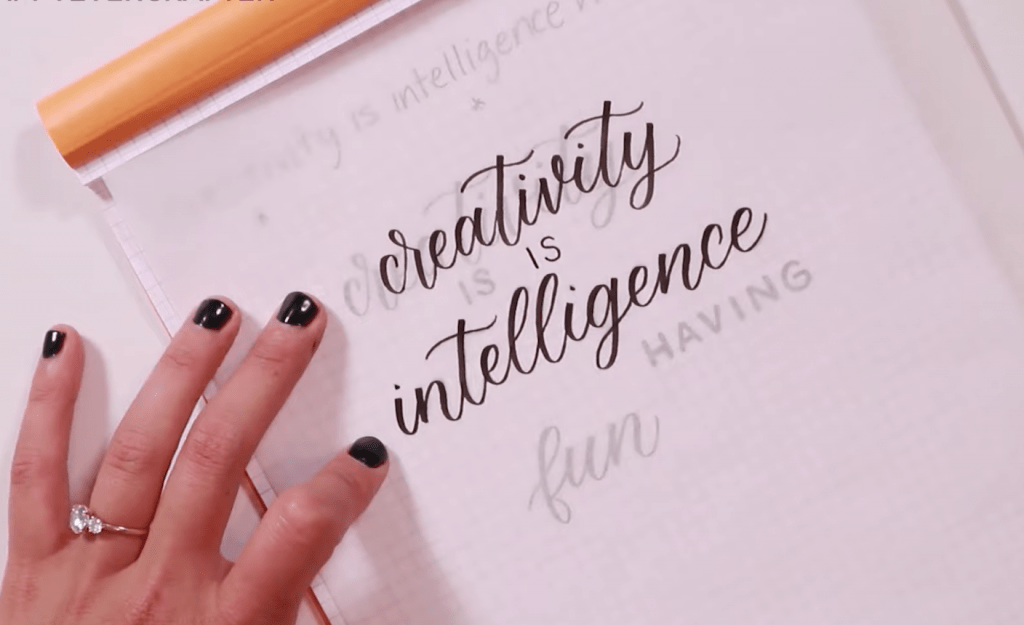
Then once it’s perfect, if I wanted it on a good copy paper, I’d use a lightbox and trace it back through. If you don’t have a lightbox, you could also do a graphite transfer.
Hack #4: Add flourishes & filigree to fill up empty space
Honestly, sometimes this isn’t even necessary… but it’s sooo helpful sometimes! For example on this layout, I’d love for the empty sections to be a little more filled up.
Personally I’m not a huge “flourisher,” but I’ve found that having some go-to embellishments or “filigree,” can come in sooo handy to finish things off! It’s also a good idea to try to keep things symmetrical on both sides.
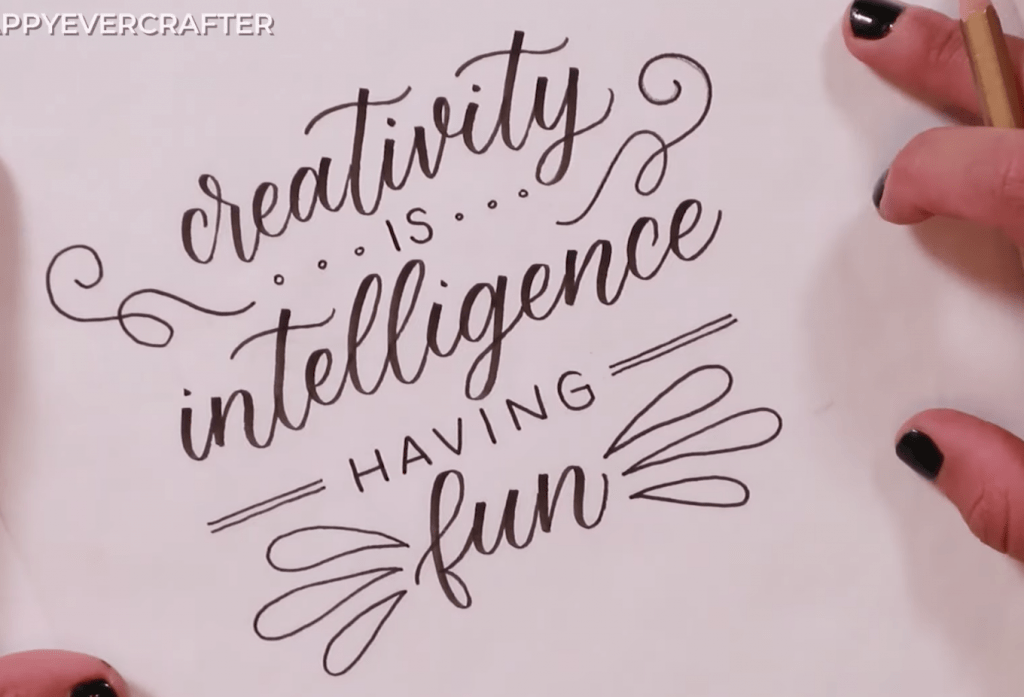
I highly recommend googling “lettering filigree” or even just starting to notice it to keep some in the back of your mind!
And that’s a wrap!
When it comes to layouts, it’s a practice game. You just get better at seeing things come together before you put them on paper, and it gets easier over time.
I hope these hacks were helpful! If you found this helpful, don’t forget to comment on the video and let me know! If you want more layout support, I’ve got another video that’s a little more in-depth about my process, here!


Love this tutorial ! I am new at this and I always knew this , the creative portion , would be my greatest challenge but I’m very hopeful as I begin to understand just what you’re saying abt some tricks of the trade . Love that you have given us both , written and video , love that it simple and easy to understand but very important and to the point ! Thank you , thank you !
This was a great help. Looking forward to using all your tips and helps.
I thought it was GREAT! I love to see different ways to present information.
I am such a beginner! These hints were very informative, thank you!
I am so glad you used tracing paper as I wasn’t sure where it fitted.
Loved these hacks!
Thanks Becca
Layout is my achilles heel! I am working on a family tree layout and it is totally time consuming and fun. These tips will help a lot. Thank you!
Wow wow loved the video Thankyou 🙏
These hacks are easy to follow, are going to be so so helpful amazing. Look forward to seeing more videos Thankyou Rebecca your a wealth of knowledge 😊🦋