In this interview, I chat with Cory Harris all about lettering on globes!! If working on round surfaces intimidates you AND you happen to have a globe collecting dust, you’ll love this step-by-step tutorial!
Check out the video and then scroll down for my key takeaways and a list of all the tool mentioned!
IN THIS EPISODE YOU’LL LEARN:
- The best place to find globes (and which ones are best to paint on!)
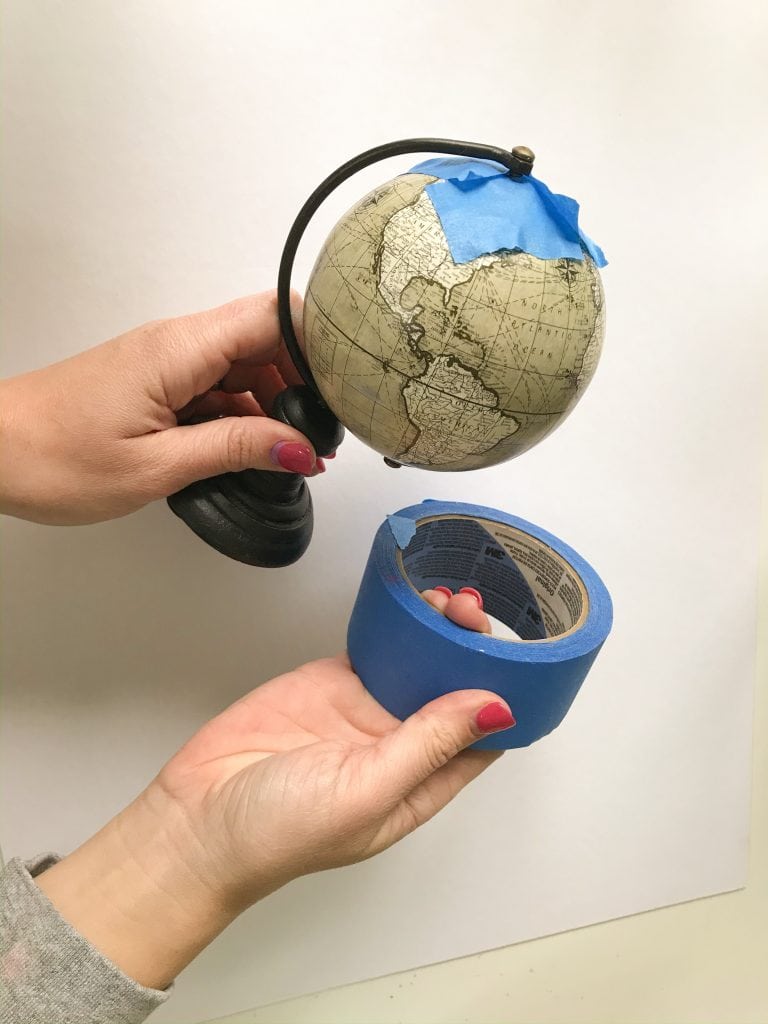
- How to prep your globe for paint
- Tips and techniques for achieving an even coat of paint
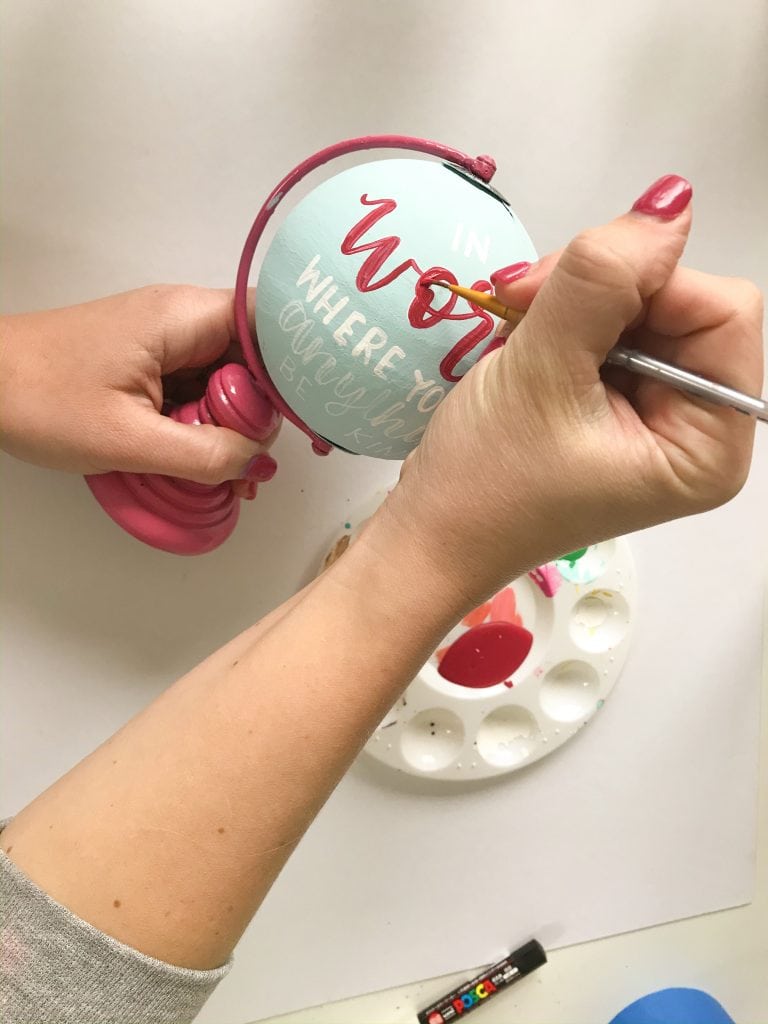
- How to MAP out your design (get it?)
- Why cheaper craft paint is actually BEST for this type of project
- Cory’s #1 tip for keeping your painted letters straight
- How (and where) to add additional designs or embellishments to your globe
- How to fix any mess ups or mistakes
- How to properly seal your globe
- AND MORE!
KEY TAKEAWAYS FROM THIS LESSON:
- When you’re just starting out, try working with a bigger globe! The larger surface area makes them way easier to paint on – especially if you’re just starting out!
- When choosing your paint colours for the stand and globe, go for contrasting colours! It’ll give best results.
- When designing your layout, sketch it out on paper first and try to make it to scale. It’ll be easier to transfer that way.
- ALWAYS keep some extra base colour paint to fix any mistakes or mess ups, but make sure to wait for the paint to dry (completely) before you try to fix them!!
TOOLS USED IN THIS VIDEO:
- Rust-Oleum Spray Paint
- Craft paint or matte / flat wall paint (chalk paint works well too!)
- Painters tape
- Copy paper
- A pencil
- Posca Paint Pens
- Fine-point paint brushes
- Medium-point paint brushes
- Acrylic craft paint
- Matte Mod Podge (optional)
- Glitter (optional)
RESOURCES WE MENTIONED:
- Shop all of Cory’s globes on her Etsy shop, CoryHarrisArt
- Follow Cory at @coryharrisart on Instagram and @coryharrisart on TikTok!
Like this episode?! I’d be SO GRATEFUL if you’d leave a comment on the video!


Comments