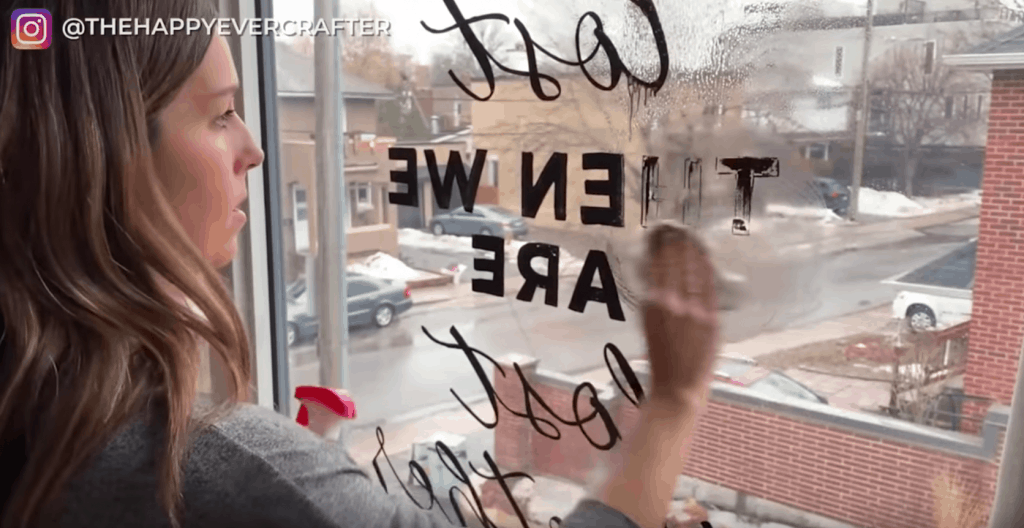
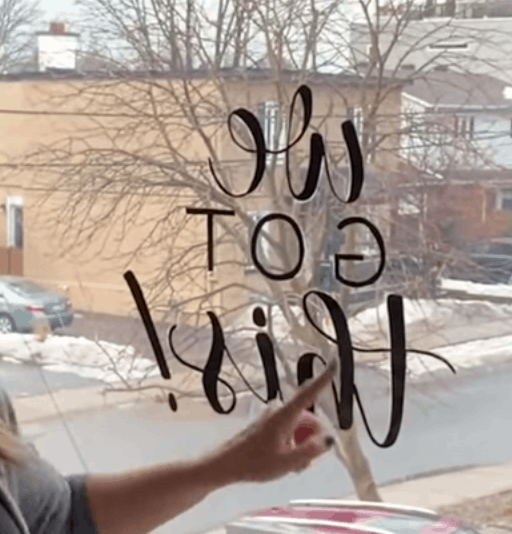
In this tutorial, I’m showing how to letter on windows from the inside, aka lettering BACKWARDS! I hope you dig this highly requested info!
The biggest question I get when people see me lettering on windows is, “BUT HOW DO YOU DO THAT BACKWARDS?!” Well, I’m going to show you and I promise you it’s really not that complicated! I’m going to share my secret tip and you’ll see, you can easily do it, too.
First Things First…
The links below may be affiliate links where appropriate. This means that your purchase through these links may result in a few cents in payment to me, to support creating further resources like this one! That being said, I will never suggest supplies that I do not personally use and fully recommend.
Tools Mentioned
- Bistro Chalk Markers OR Water-based Sharpie Markers OR Oil-based Sharpie Markers (the most durable)
- Paper (use a big sheet if you can)
- Pencil
- Chalk
- Tape (I’m using Ruler Tape)
- Ruler or level
- Windex
Now let’s get started!
Prefer watching over reading? Feel free to skip right to the video and see these in real-time! ??
A QUICK BIT ABOUT THE MARKERS: If you choose Bistro Chalk Markers, remember that they come off super easily, even with just your finger. Water-based Sharpies, (what I’m using) are also fairly simple to remove with windex, but won’t smudge as you work. And finally, we have the Oil-based Sharpies which are the most durable and will stayon the longest, but are more difficult to remove (you’ll need to use alcohol or acetone).
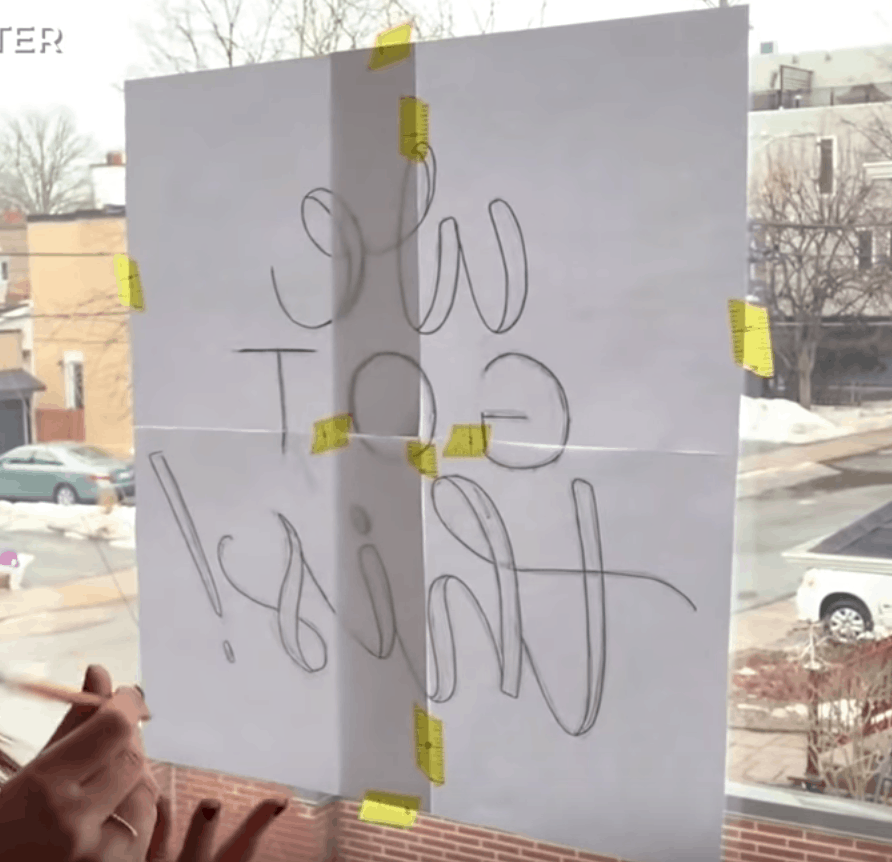
Step 1: Arrange your paper in the size of your window
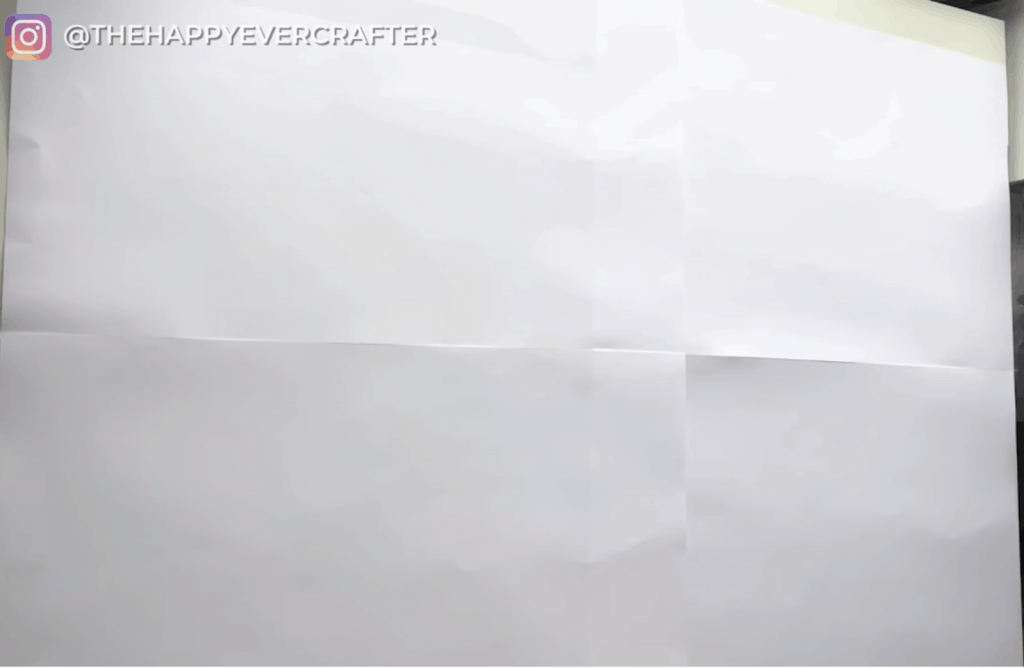
TIP: Sketch out a few smaller versions of your design first.

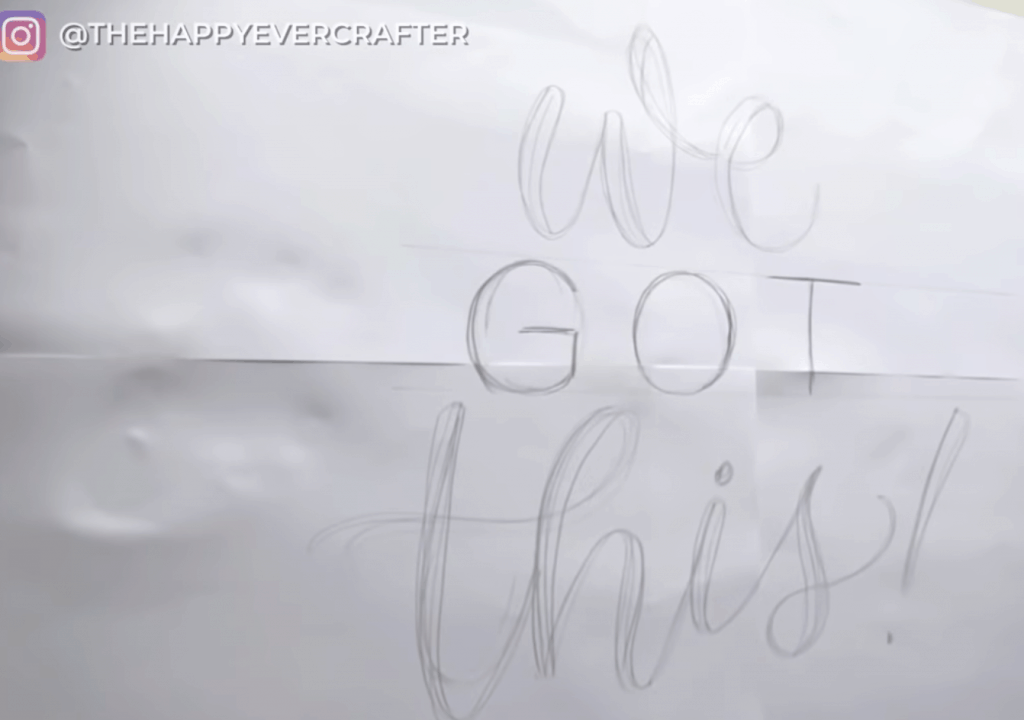
Step 2: Sketch out your lettering in pencil
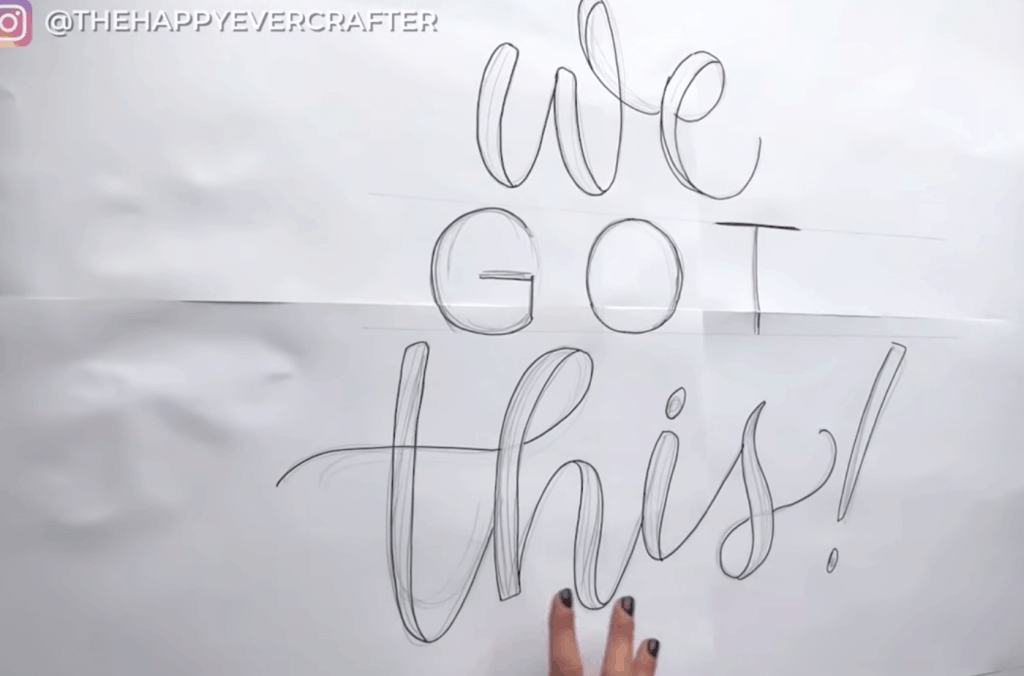
Step 3: Go over your sketch lines with a black marker
Now the reason we want to letter on the INSIDE as opposed to outside is so that your work doesn’t get rained on or snowed on, or generally touched by people walking by.
Before we get our design that we just sketched up, I’m going to remove the previous one. Because I used waterbased tools, it’s super simple to just remove with a little Windex.
Now, if you are working on a window that’s on the first floor, simply tape up your sketch on the OUTSIDE, and then go inside and just trace it!

However, if you’re on the second or third floors, this is unfortunately not an option, SO…
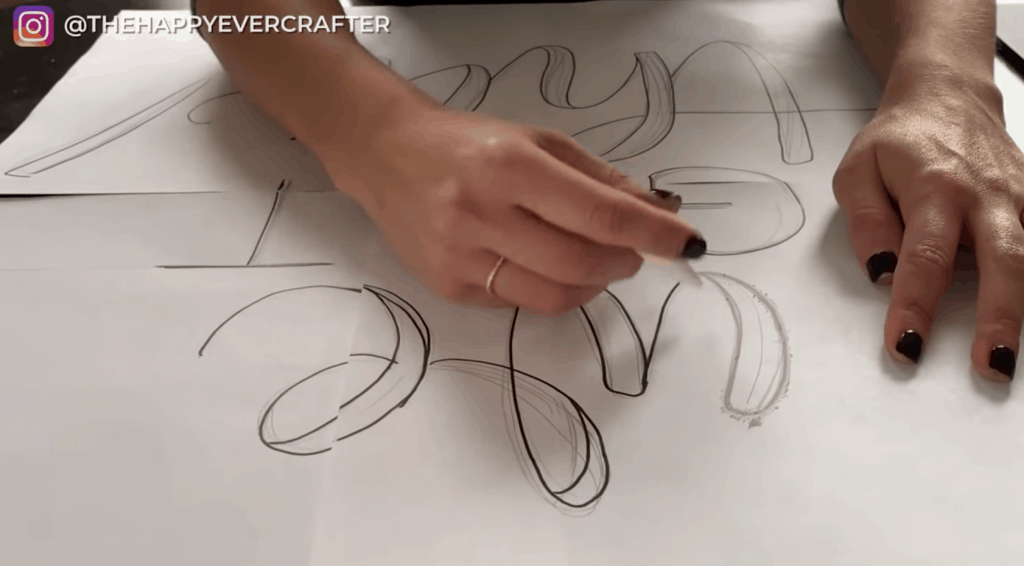
Step 4: Go over your outlines with chalk
Using a pencil sharpener, you can sharpen the piece of chalk if you want to make it less blunt for tracing.
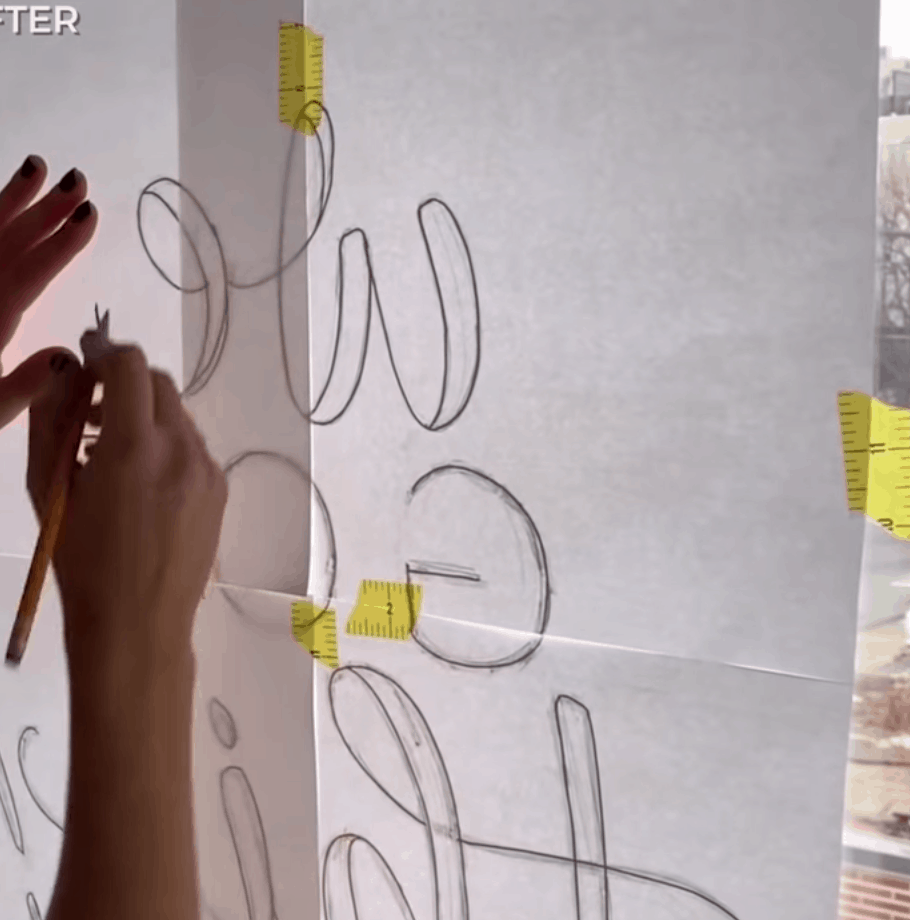
Step 5: Tape the sketch to the window
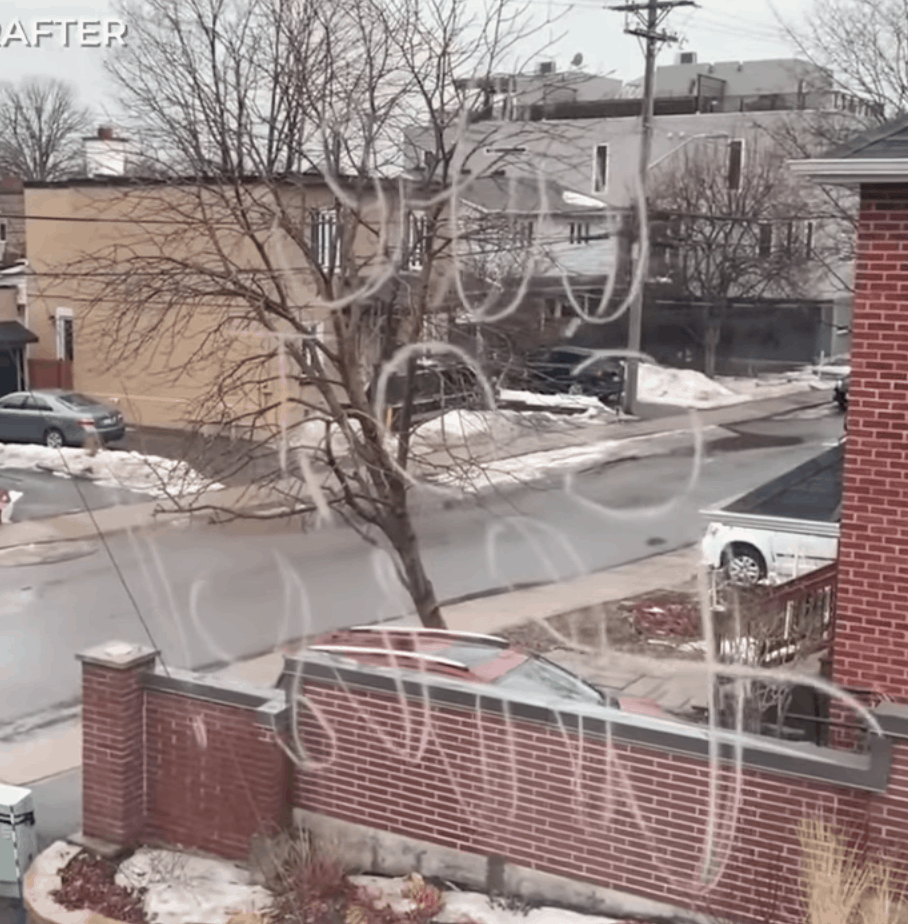
Step 6: Trace over the lines with pencil to transfer the chalk to the window
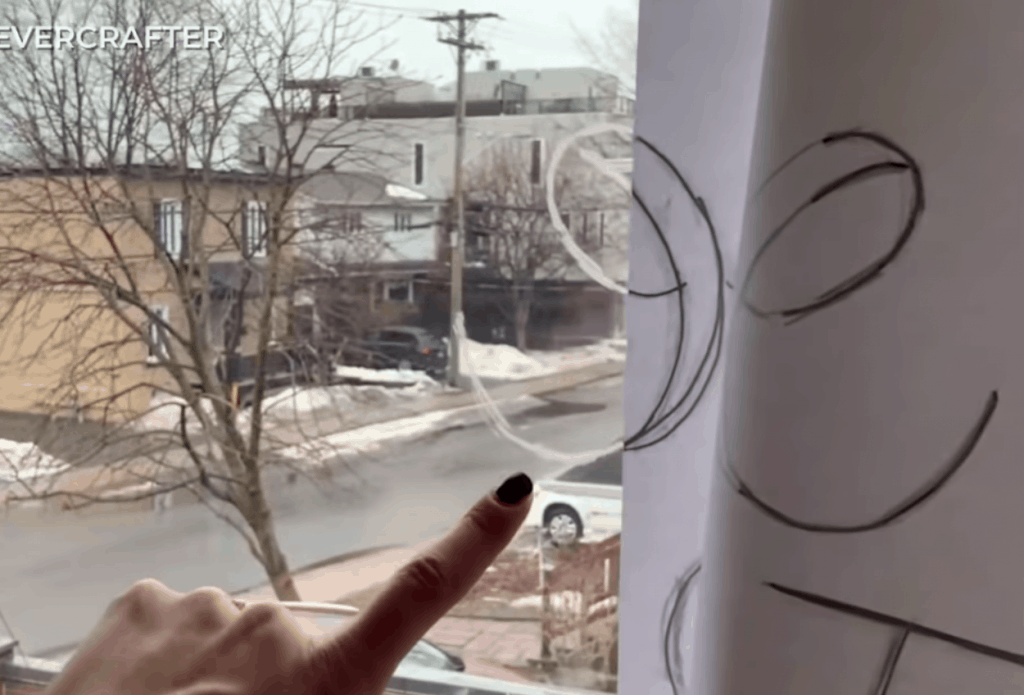
TIP: Before you choose which colour markers you want to use (black, white, or other), draw a little test and go outside to see what stands out the best from the street.
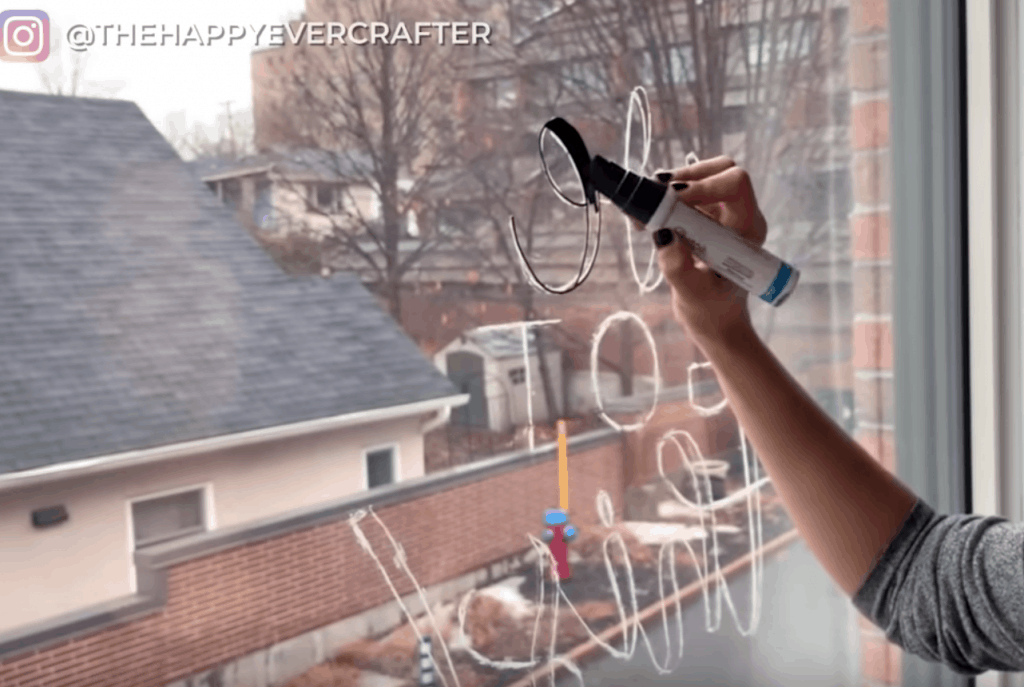
Step 7: Go over your letters one last time with your window markers
If you’re using the paint pens like I am, keep a little sheet nearby so you can blot the pen to keep it saturated and clump-free (the chalk can stick to it a bit). Then, as you go over them, be sure to go left to right, so that you don’t smudge them. (Lefty’s, do the opposite!)
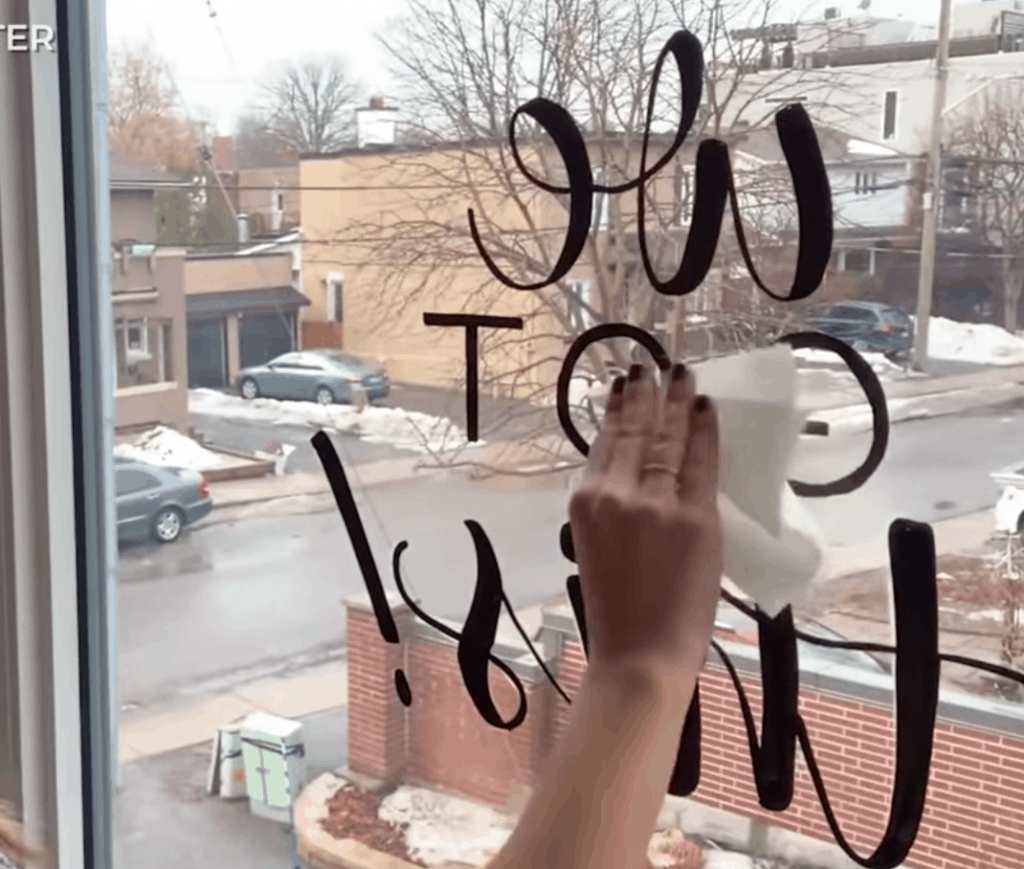
Step 8: Wipe your chalk marks away with a dry paper towel once your letters are dry
As long as the markers you used were water or oil-based, your design won’t get smudged with the dry paper towel.

And that’s a wrap!
I hope you enjoyed this tutorial, and remember, I do two new ones every week! If you’d like to learn how to apply “faux” calligraphy to your window design, be sure to check out this video here!
Stay safe everyone!


Comments