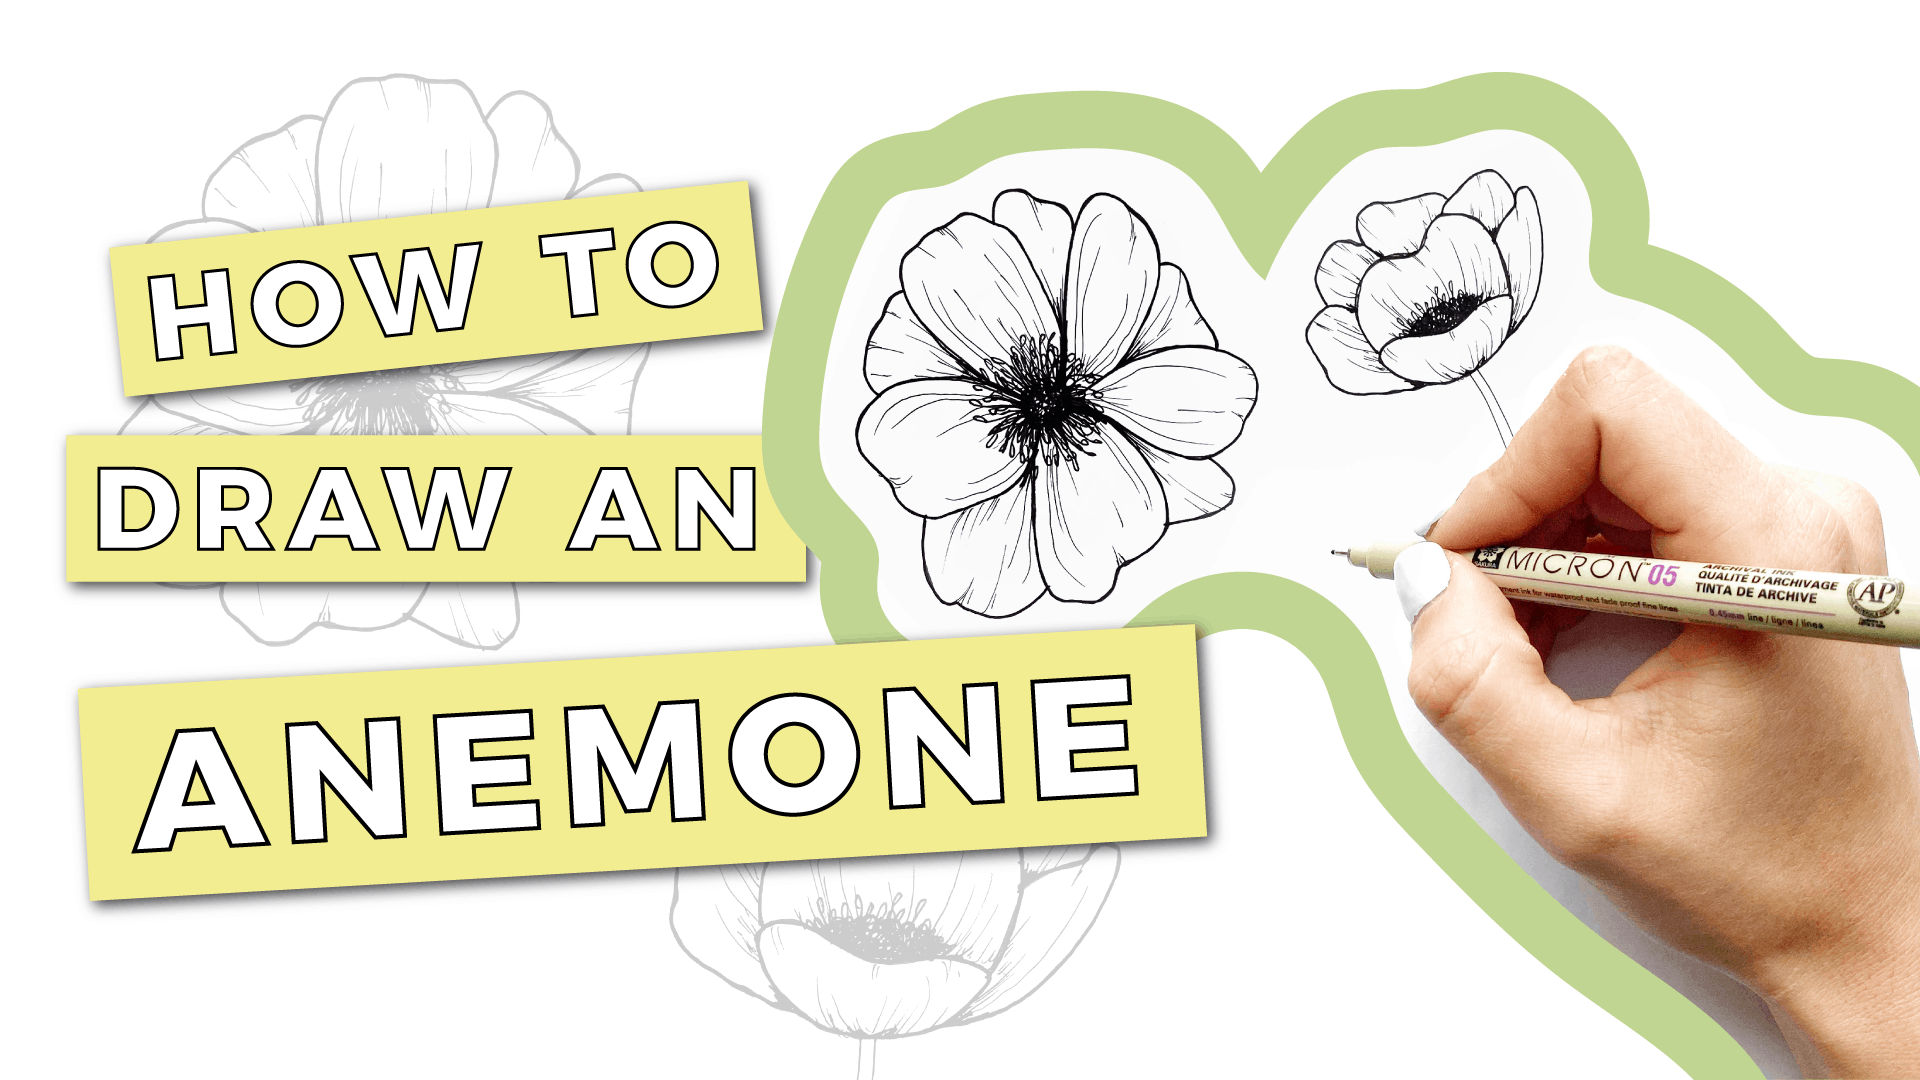
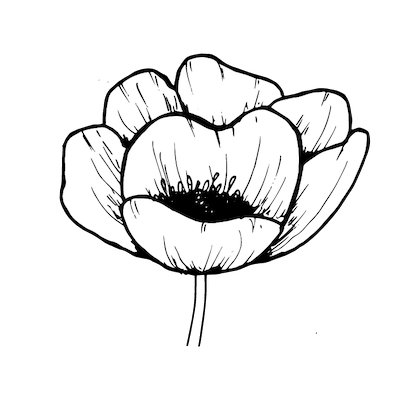
Today, I’m going to show you how to draw a super simple anemone, step-by-step.
I’m going to show you how to draw an anemone from both a birds-eye view, as well as from the side – which is a bit smaller of a shape and a great addition as a complementary detail to compositions!
During the tutorial, you’ll learn:
✔️How to draw an anemone from a top view and a side view (great for adding as a flourish in your compositions!)
✔️Which simple shapes create the base of your anemone
✔️How to add depth to your anemone with simple embellishments
✔️AND SO MUCH MORE!
First Things First…
The links below may be affiliate links where appropriate. This means that your purchase through these links may result in a few cents in payment to me, to support creating further resources like this one! That being said, I will never suggest supplies that I do not personally use and fully recommend.
Tools Mentioned In This Video:
- Micron Pens, sizes 1, 3 & 5: https://amzn.to/2SVoUUB
- Rhodia Paper: https://amzn.to/2sGvL9V
- A Pencil
Download the FREE anemone worksheet here!


You ser so inspiring and generous. Thanks for sharing ?
Love your tutorials
Love your tutorials!
Love these
We learned these things, thanks a lot for updating this. I am here to express my gratitude for your knowledge shared here!
Thank you for sharing your gifts and talents with us. You encourage us to learn and we appreciate it!
Very realistic outcome, nice depth in the flower – thanks for sharing this!
Thanks for all your very nice worksheets for my favorite flowers
It was amazing… i screwed up at times but so helpful
thank you very much…..