In this tutorial, I’m showing you exactly how to use liquid watercolours to create beautiful, blended hand lettering!
Throughout this guide, I reference the basic calligraphy strokes, so if you aren’t familiar with the modern calligraphy basics, please watch this video first!
First Things First…
The links below may be affiliate links where appropriate. This means that your purchase through these links may result in a few cents in payment to me, to support creating further resources like this one! That being said, I will never suggest supplies that I do not personally use and fully recommend.
Tools
- Cold Press Water Colour Paper (nice and gritty!)
- Ecoline Liquid Watercolours (I used blue, yellow and pink but feel free to mix other colours, too!) OR Winsor & Newton Tube Watercolours (a little cheaper but a little more challenging to work with)
- Princeton Snap Round Brush OR Pentel/Kuretake Water Brushes (if you’re on the go!)
- A Paper Towel
- A Glass of Water
Now let’s get started!
Prefer watching over reading? Feel free to skip right to the video and see these in real-time! ??
Step 1: Choose your design.
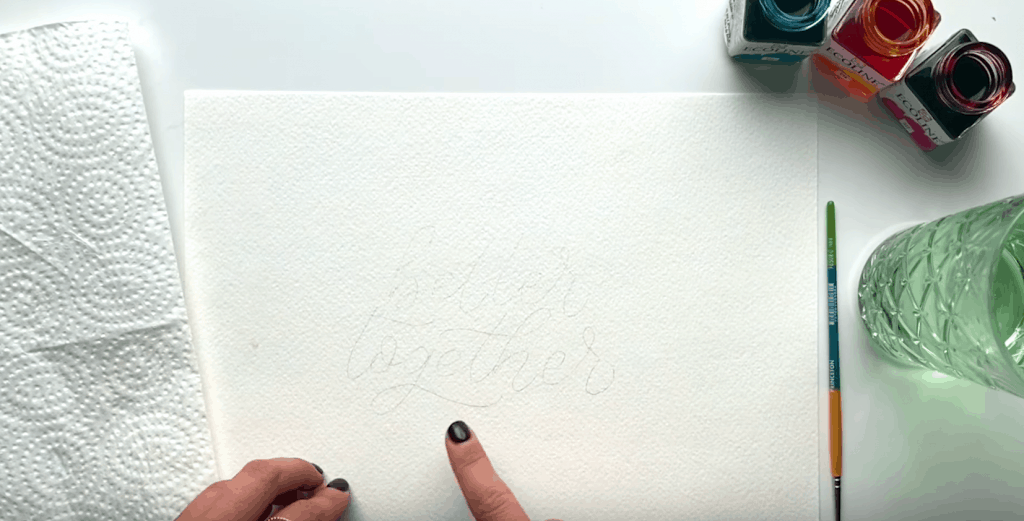
Typically you’d start a project like this by choosing a design or layout for your piece, but for purposes of this tutorial, I’ve already drawn my design in. (For help on creating a quote layout, check out this video.)
I used a pencil for my sketch but sketching first is not necessary at all, especially if you’re already comfortable with painting. IF you do use a pencil, please note that it should be very, very light! Otherwise, you may be able to see the graphite under some of the lighter watercolours.
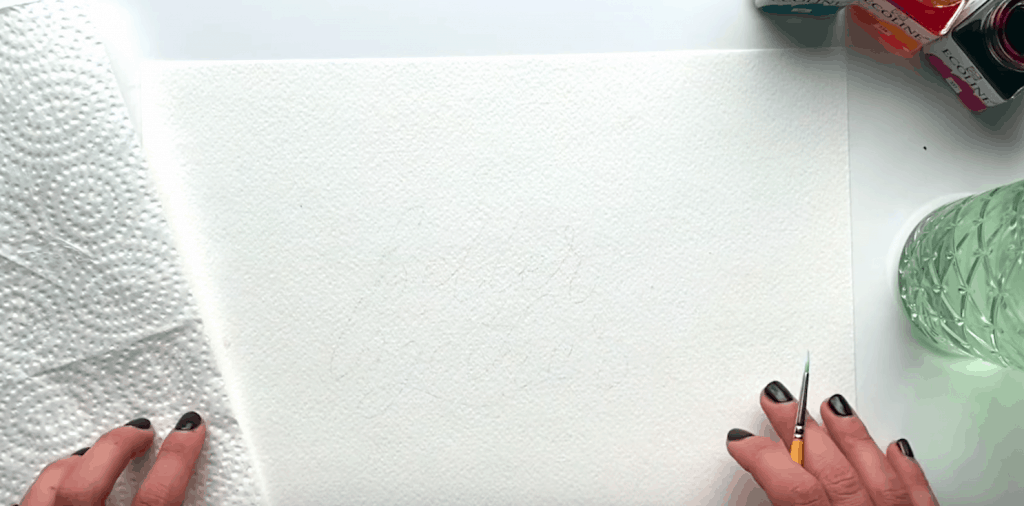
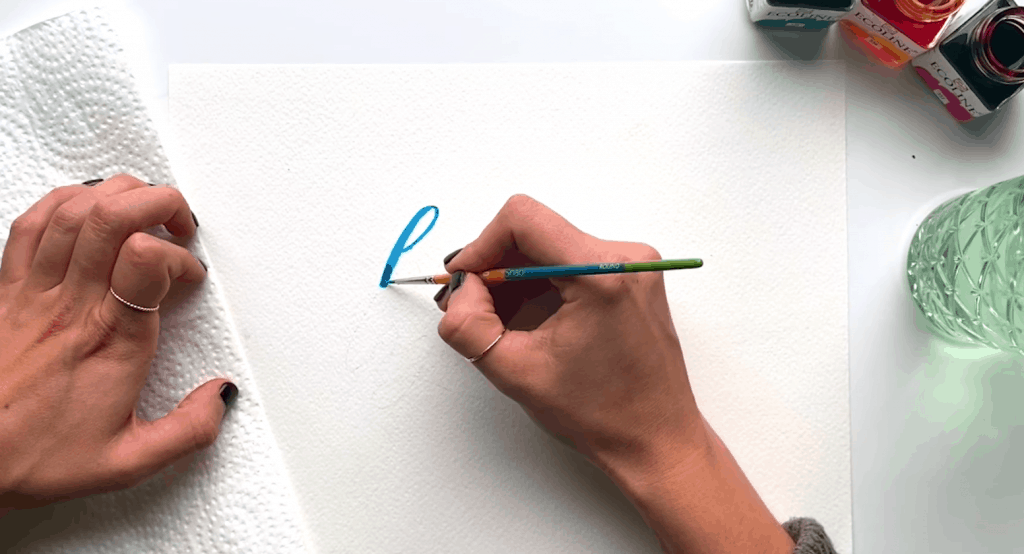
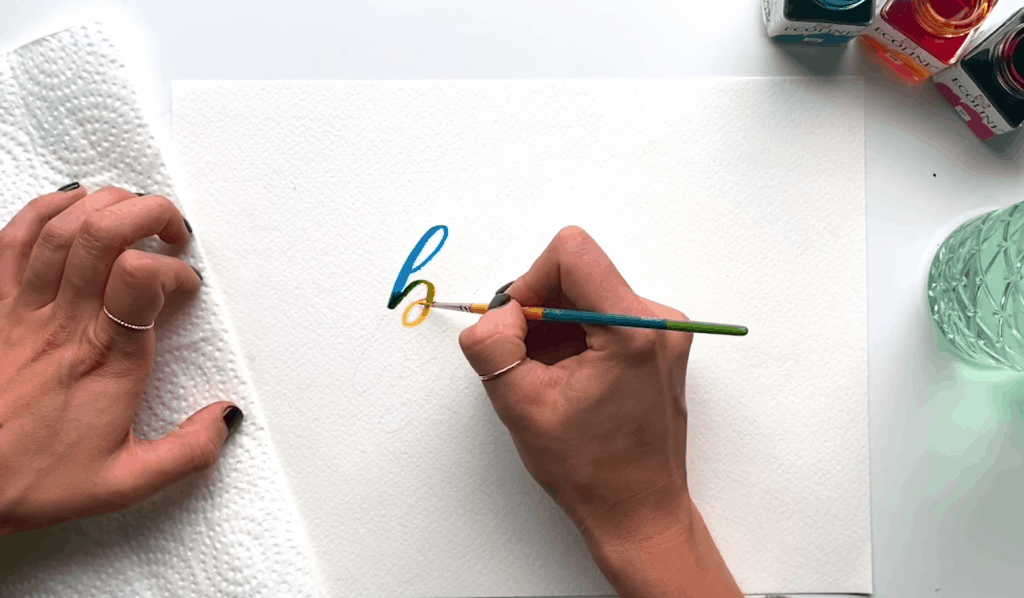
Step 2: Start lettering with liquid watercolours.
While you paint, you’ll want to be rotating or switching colours in between every stroke, meaning every time you pick up your brush. The main thing to make sure of is that your paint ALWAYS stays wet so that the colours blend nicely. Think puddles of paint!
At this point, if you need to, you can dab your brush in the water to help the paint stay wet, ensuring that the bottom of each stroke that connects to the next stroke, is especially wet.
Now start mixing colours! As you move your brush with the next colour, you’ll see the first colour start to bleed a little bit. Continue it through until you only see the second colour.
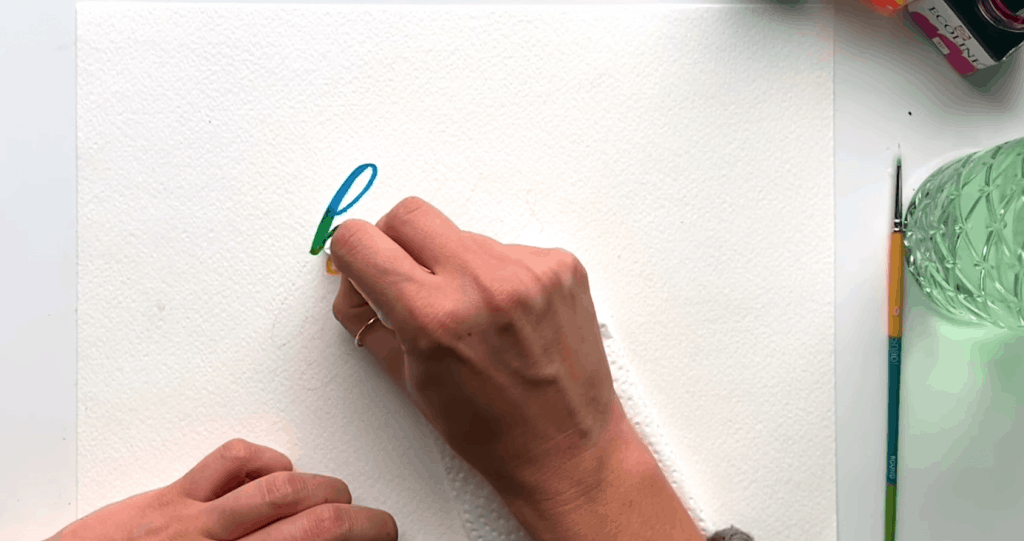
Use a paper towel to dab any excess paint. 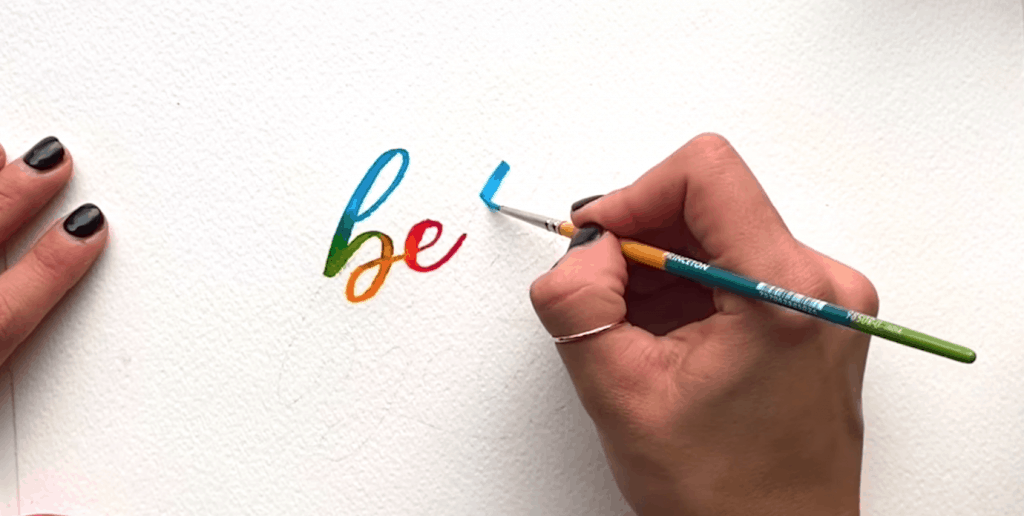
Note: Remember to keep each end stroke very saturated!
For the second word in your quote, you can choose to either follow the same pattern as you did for the first word or completely change it up!
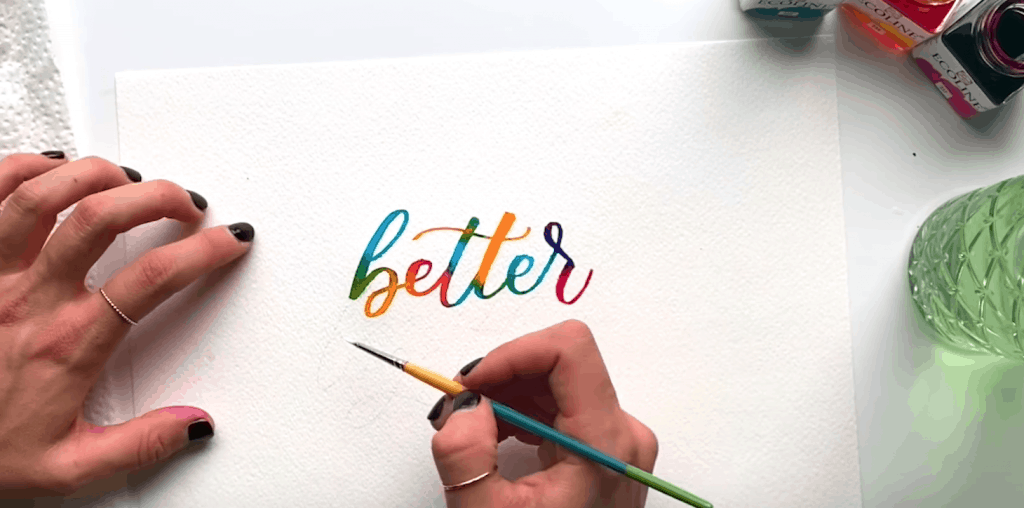

Step 3: Go over areas with more colour as needed.
I am really happy with the way mine turned out so I won’t be adding any extra colour, but feel free to for your own!
Step 3: Add paint splatters.
Dip your brush into one of the colours and then just give it a little shake on top of your words. This can sometimes create a bit of a mess so be cautious in covering surrounding areas.


And that’s a wrap!
Ready for more watercolour practice? Join ShowMeYourFlorals to learn the basics or check out my watercolour workbooks right here.


It was amazing and great job!!
Love it♡