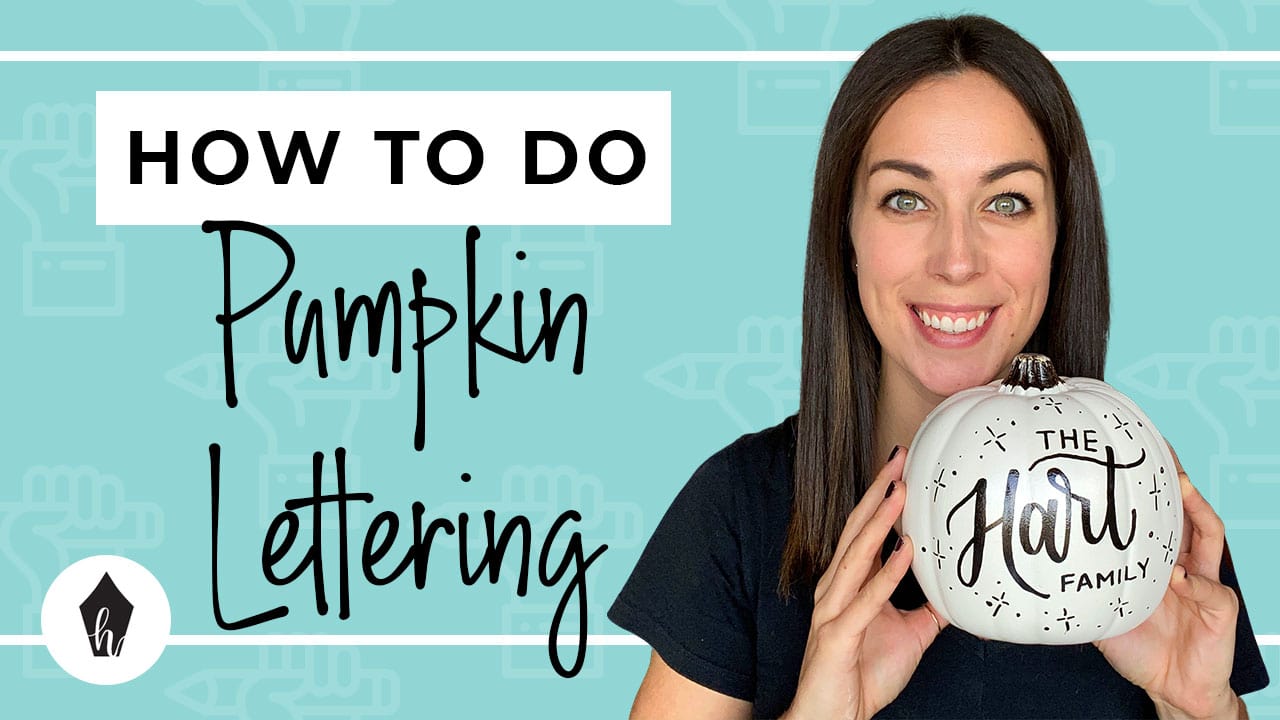
Ever wanted to create Pinterest-worthy pumpkins for your front steps? Today, I’m going to walk you through hand lettering your own pumpkins… including the tools you need and how to lay it all out!
Ready to take your fall decor to the next level? This week I’m showing you how you can create a beautiful piece of customized, hand-lettered pumpkin —perfect for Halloween, Thanksgiving and the fall season in general!
First Things First…
The links below may be affiliate links where appropriate. This means that your purchase through these links may result in a few cents in payment to me, to support creating further resources like this one! That being said, I will never suggest supplies that I do not personally use and fully recommend.
Tools
- A pumpkin (surprise, right?! ?)
- A plain piece of paper (for the sketch)
- Papermate Flair Pen
- Sharpie Oil-Based Black Paint Pen
- Tombow Fudenosuke Brush Pen
Now let’s get started!
Prefer watching over reading? Feel free to skip right to the video and see these in real-time! ??
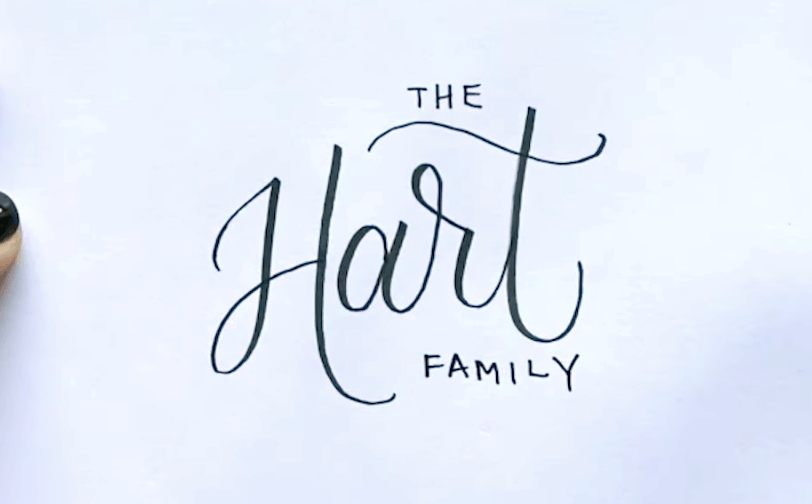
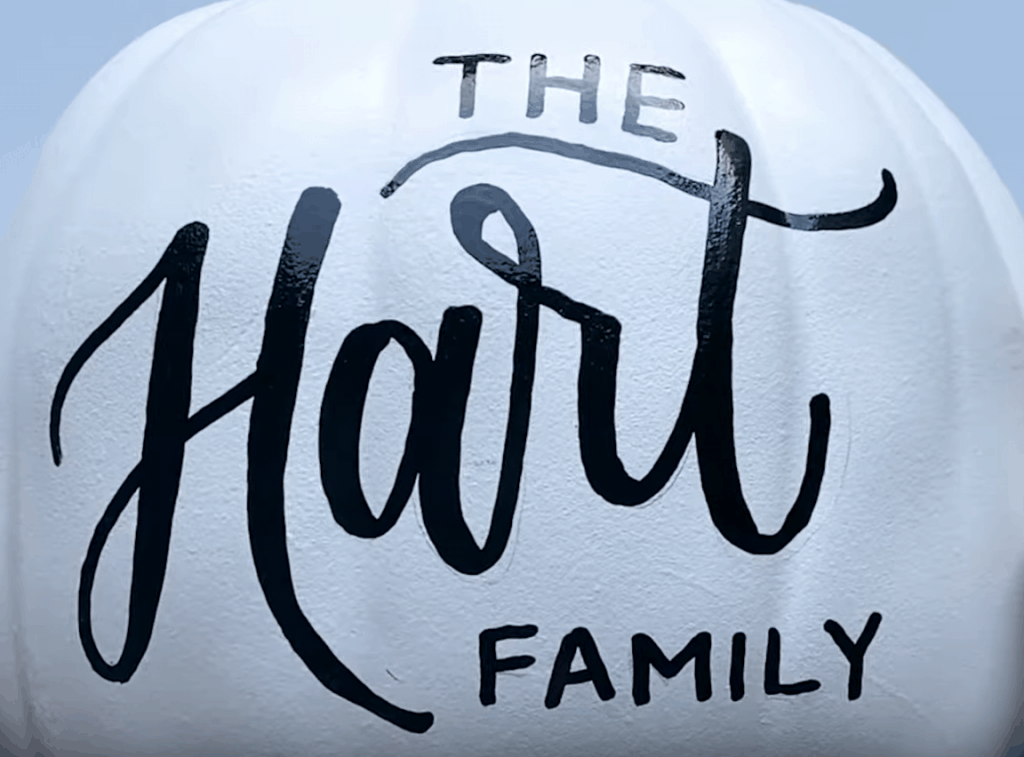
Step 1: Draw your design on paper.
Sketch out your design on paper so that it makes it easier once you’re actually working on your pumpkin, using your pencil and brush pen.
PRO TIP: Decide which letters you’re going to do in calligraphy and which ones as block letters, and always write the calligraphy words first. This helps in figuring out the spacing with better ease.
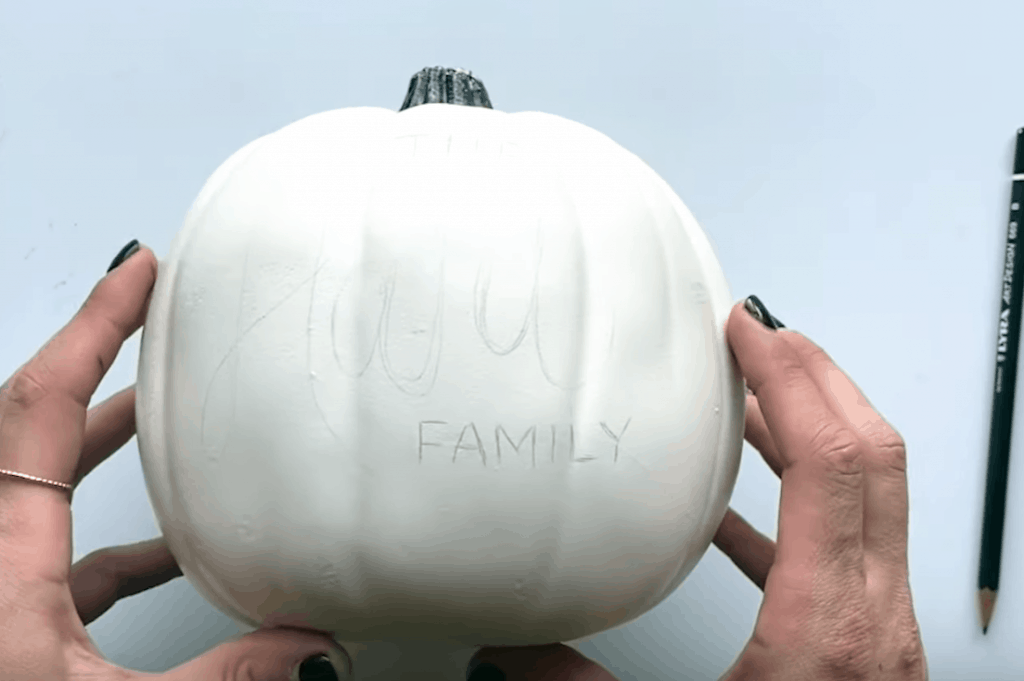
Step 2: Transfer the design to your pumpkin with your pencil.
Look at your pumpkin and locate the flattest part. Start your sketch, nice and lightly! A nice thing to note is that you can usually just erase a mistake with your finger since it’s in pencil and the pumpkin’s surface allows for that.
PRO TIP: If you are a super beginning, you can use tape to form guidelines while you pencil in the design.

Now go ahead and add in your block letters! Keep in mind that this is a hand made product and it DOES NOT have to be perfect!
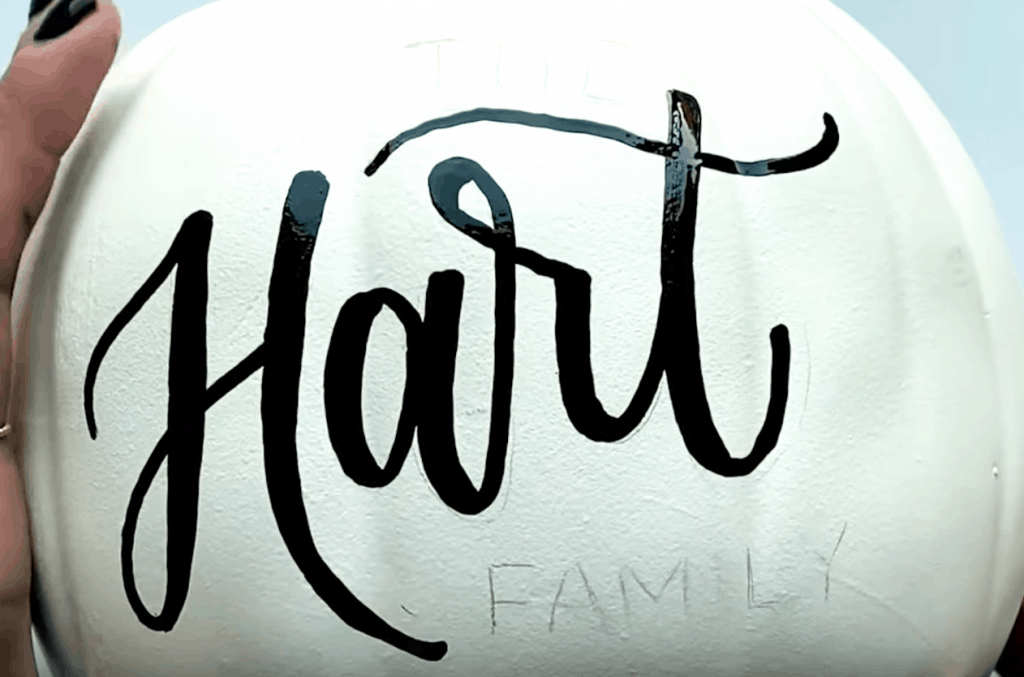
Step 3: Draw on your pumpkin with the paint pen.
Go ahead and shake it up! Before you begin, make sure that the pen is well shaken. Then, make sure the tip of the pen is fully saturated. I like to dab it a few times on a flat surface first to make sure that it’s running really well. You’ll have to repeat this process as you go so your pen doesn’t dry out. Note that I am using the medium tip side for this part.
PRO TIP: Fill in the faux calligraphy as you go.
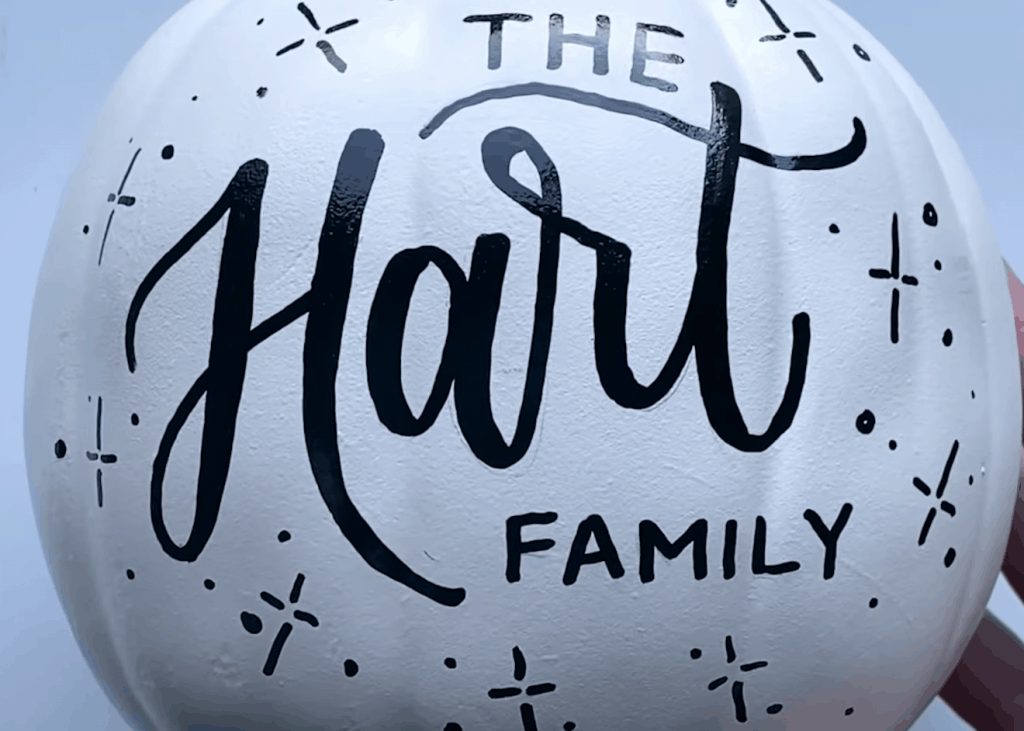
OPTIONAL – ADD EMBELLISHMENTS!
And if you’re looking to add some color…
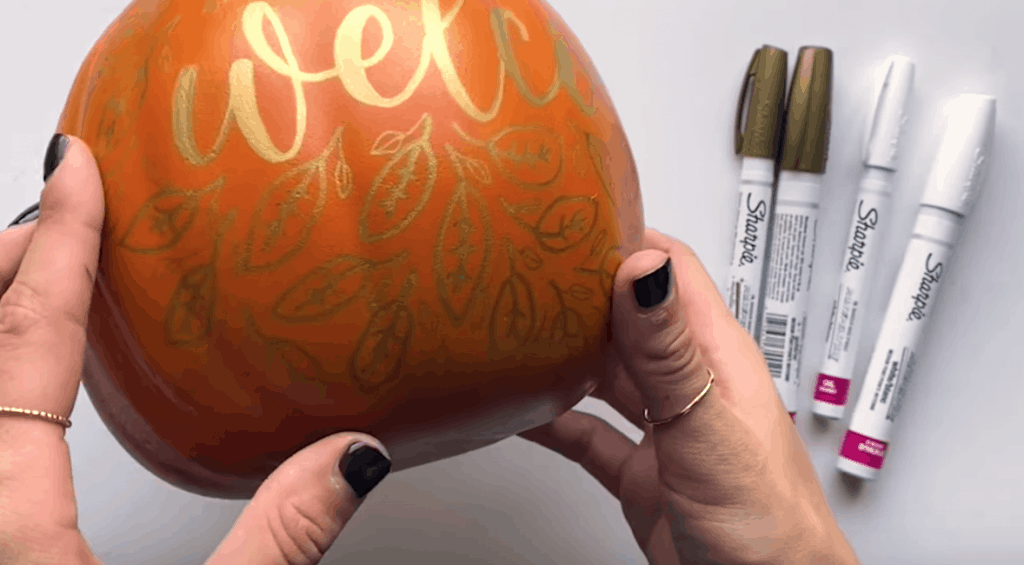
Gold and white are great alternatives to black…these three are the best for this project!

Sharpie is the best brand to use for this – I’ve tested many others!
And that’s a wrap!
Please be sure to tag me on Instagram @thehappyevercrafter and show me all of your pumpkins!
Also, be sure to check out this tutorial on Basic Calligraphy Strokes.


How do you make your “H, so much bigger than the rest of your letters?