If you are struggling to get your spacing right for your calligraphy, these are going to be life-changing!
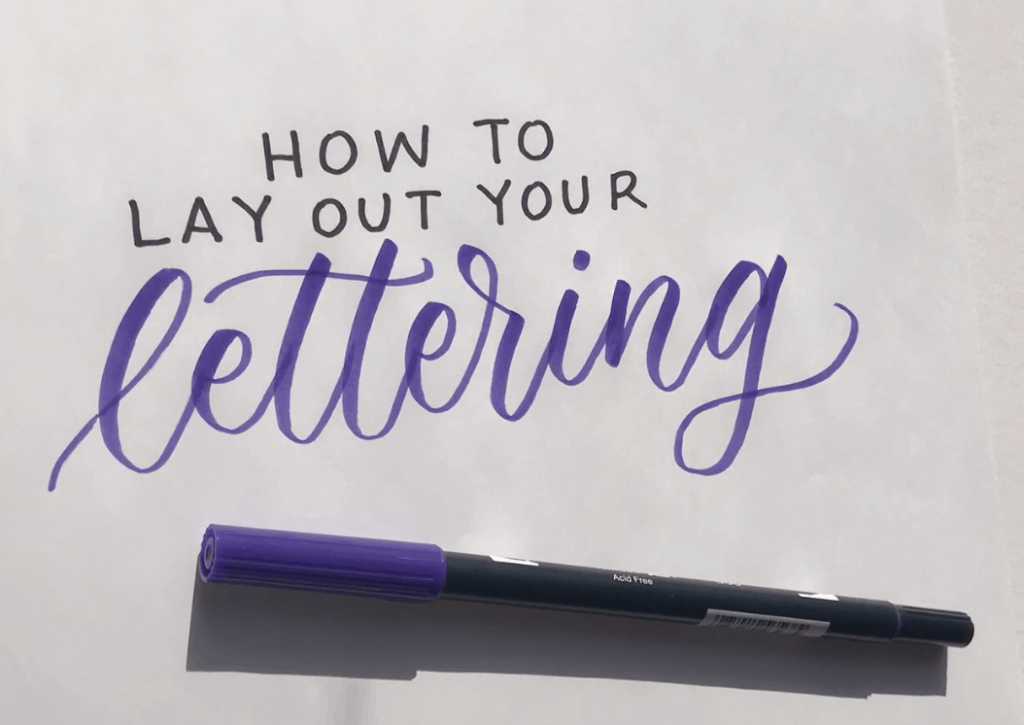
Let’s talk lettering layouts…
The three layouts I am going to focus on are:
- Beginning Layout
- Intermediate Layout
- Advanced Layout
Prefer to watch than read? Feel free to skip right to the video and see these mistakes in real-time! ??
First things first…
The links below may be affiliate links where appropriate. This means that your purchase through these links may result in a few cents in payment to me, to support creating further resources like this one! That being said, I will never suggest supplies that I do not personally use and fully recommend.
Tools
- Rhodia Grid Pad Paper
- Tracing Paper (any, but I used Strathmore)
- A Monoline Pen (I used a basic Papermate Flair pen)
- Tombow Fudenosuke (my FAVORITE small tip soft brush pen)
- Tombow Dual Tip in Red (but any red pen will work for this)
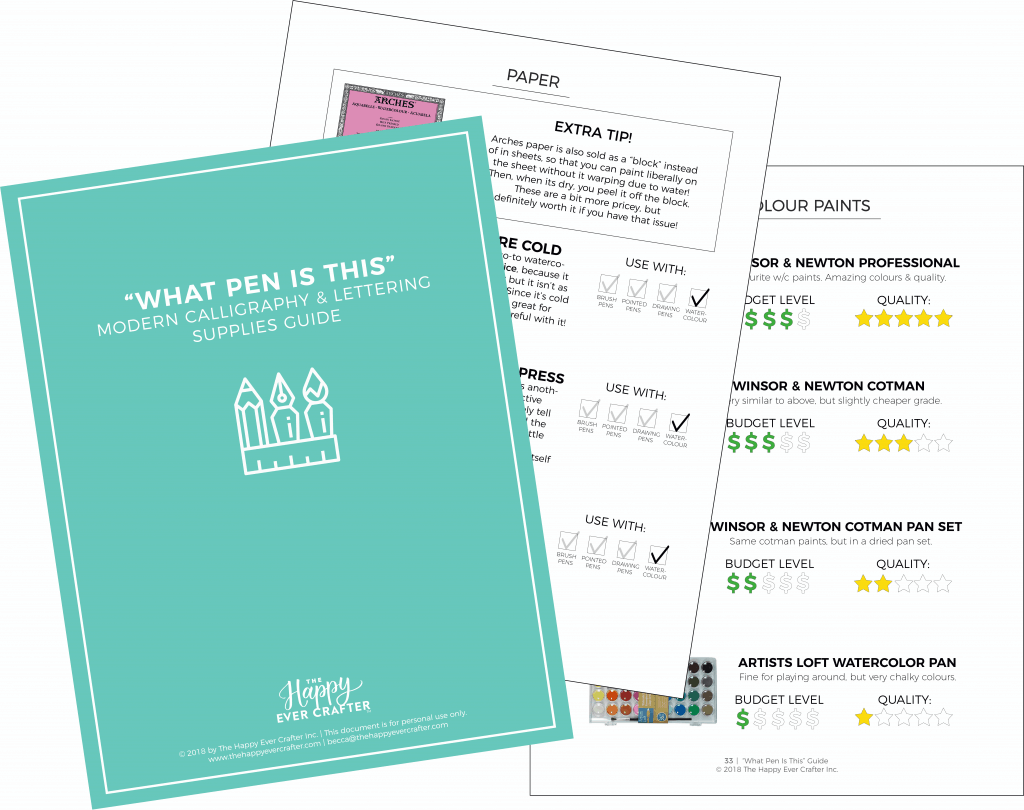
For more on supplies, click here for my free 50-page guide!
NOTE: this is all going to assume that you know your calligraphy basic strokes. IF YOU DON’T, you need to watch THIS VIDEO right away…. seriously. Stop this video right now and watch this one first!!!!
Before we get into it, let’s pick a quote – it can be any quote you want. For this example, I am using this one:
“be the change you want to see in the world.”
Start by playing around with the layout of the letters in regular handwriting.
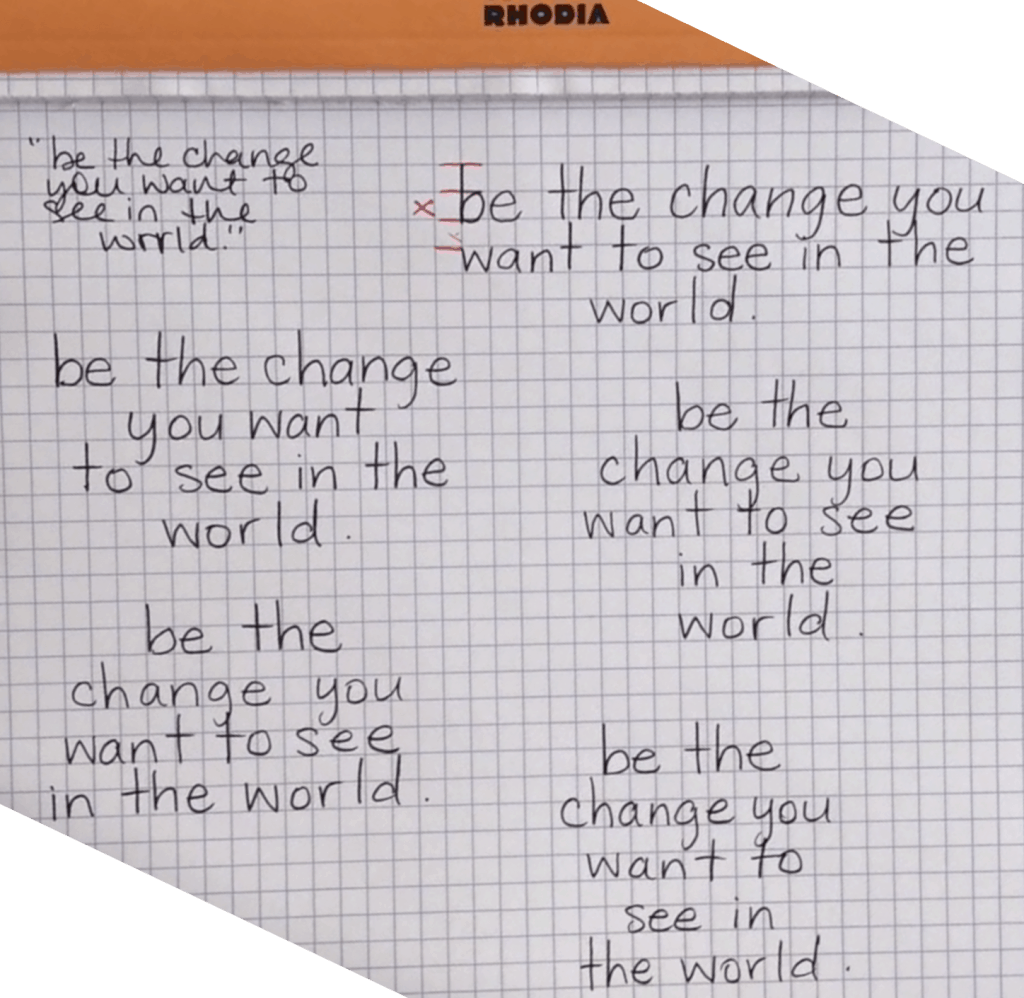
Then, decide which layout you like best.
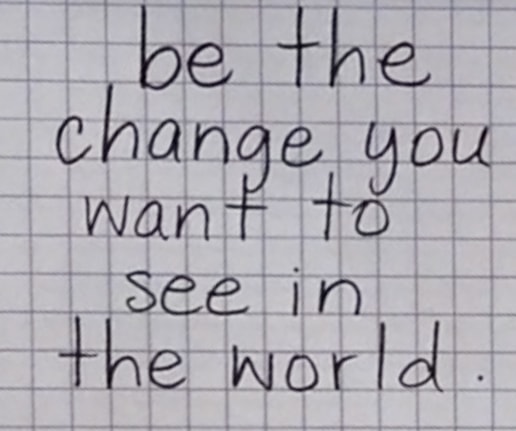
Beginning Layout
STEP 1: Write one line in calligraphy.
STEP 2: Write one line in block letters.
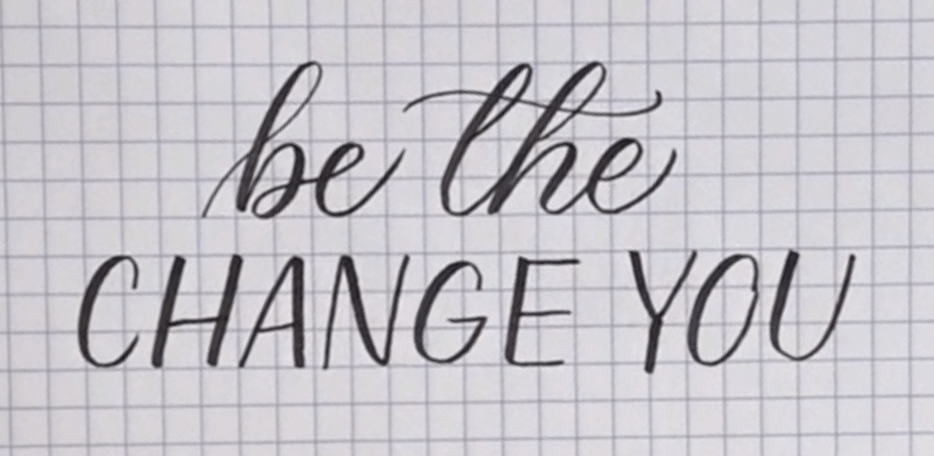
STEP 3: Use the tracing paper to re-trace and perfect your centering/spacing.
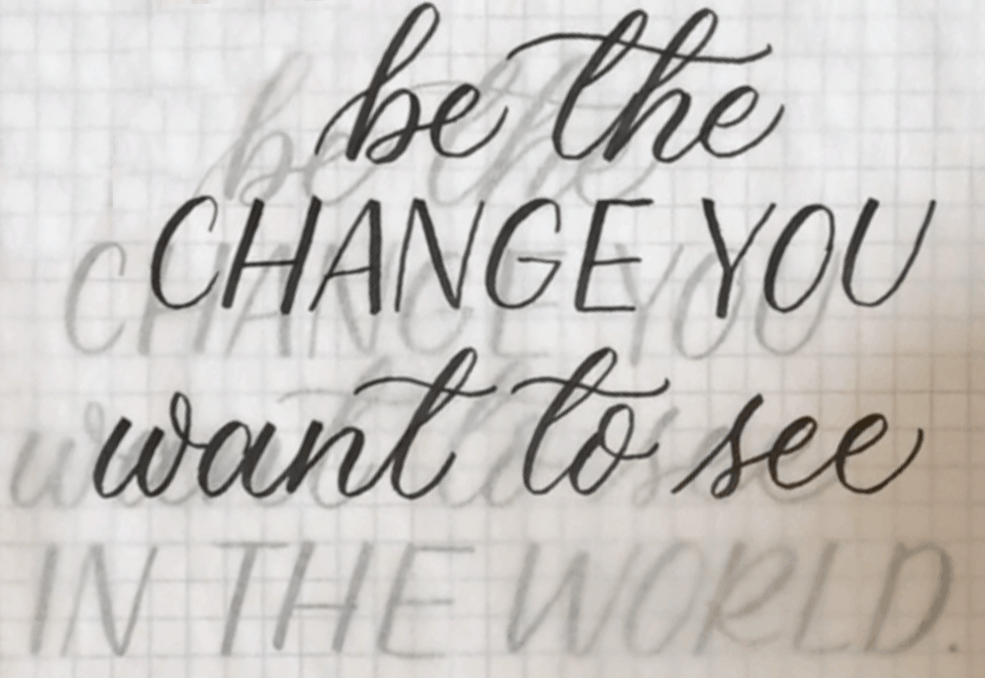
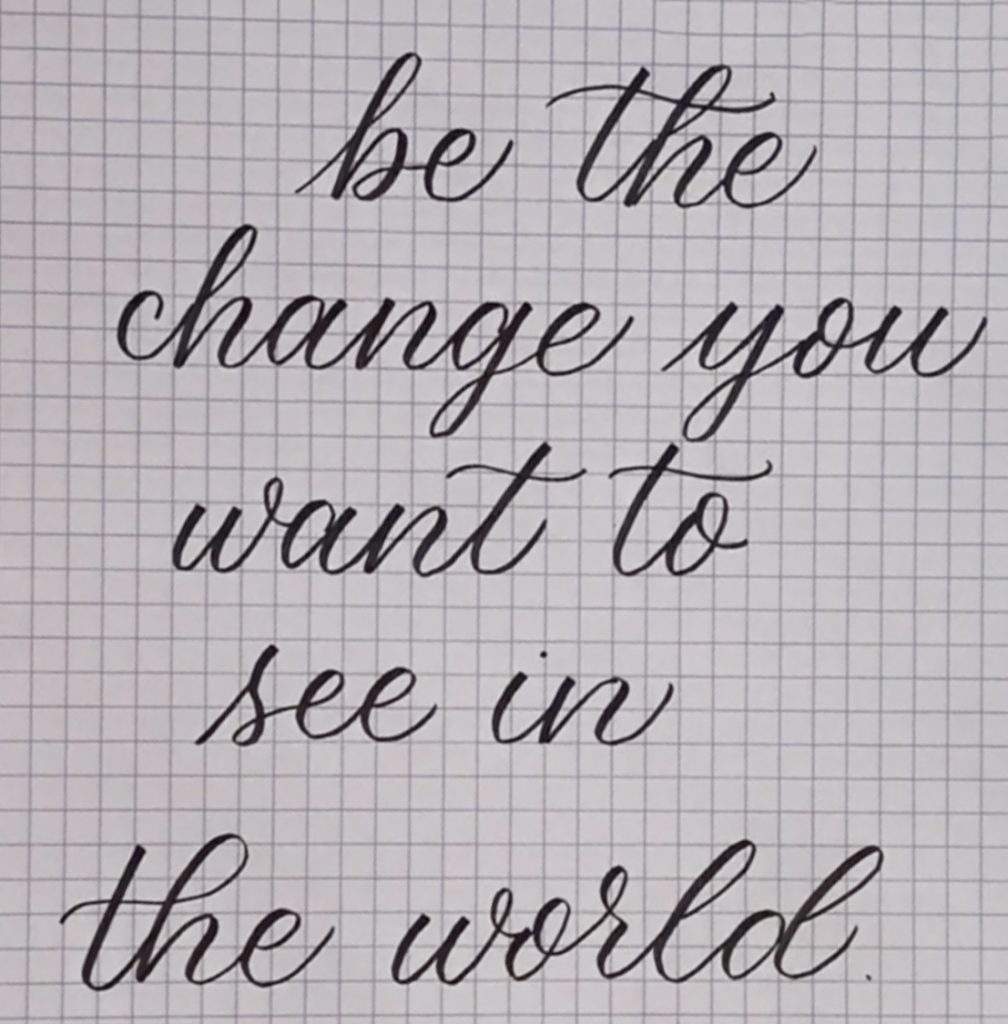
Intermediate Layout
You’ll use the same quote, but write it all in calligraphy this time.
STEP 1: Write out all of your words in proper sizes.
STEP 2: Move the tracing paper around to get the centering you want.
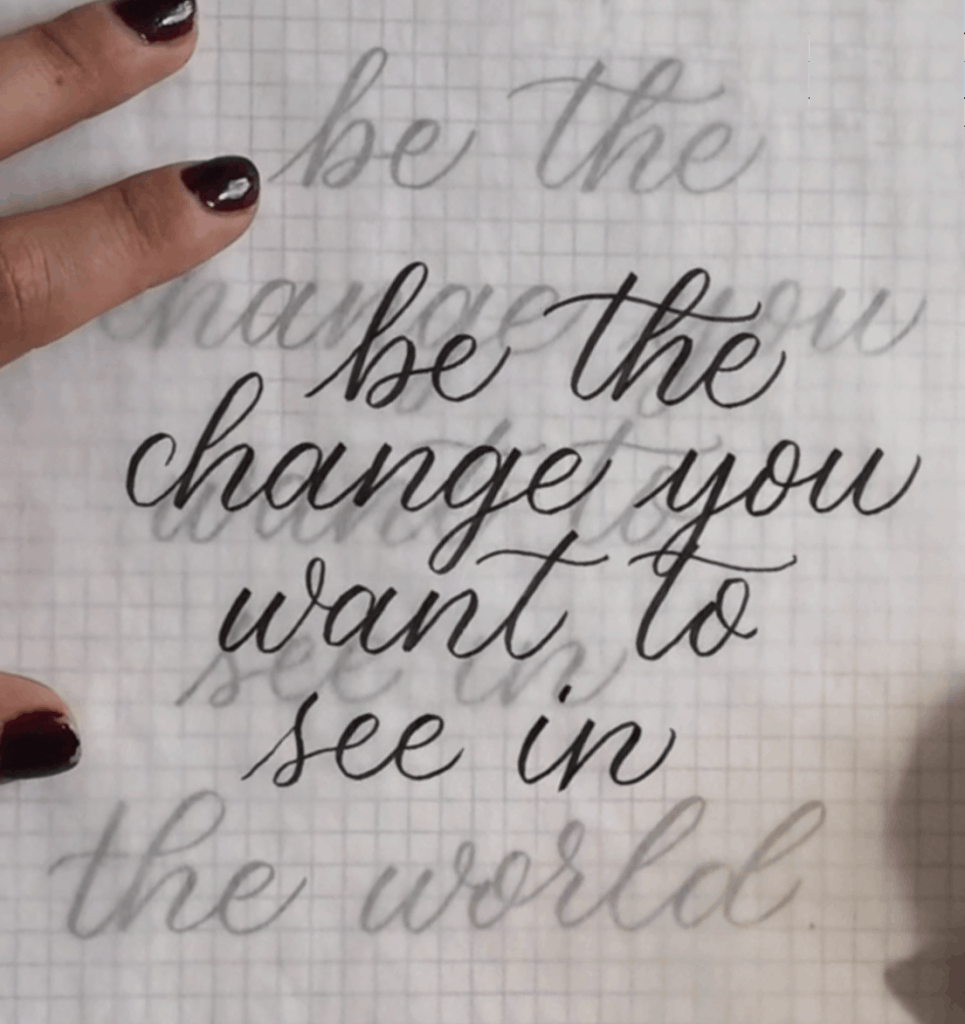
STEP 3: Look at the design and correct spacing with a red pen.
STEP 4: Re-trace again with tracing paper & finalize!
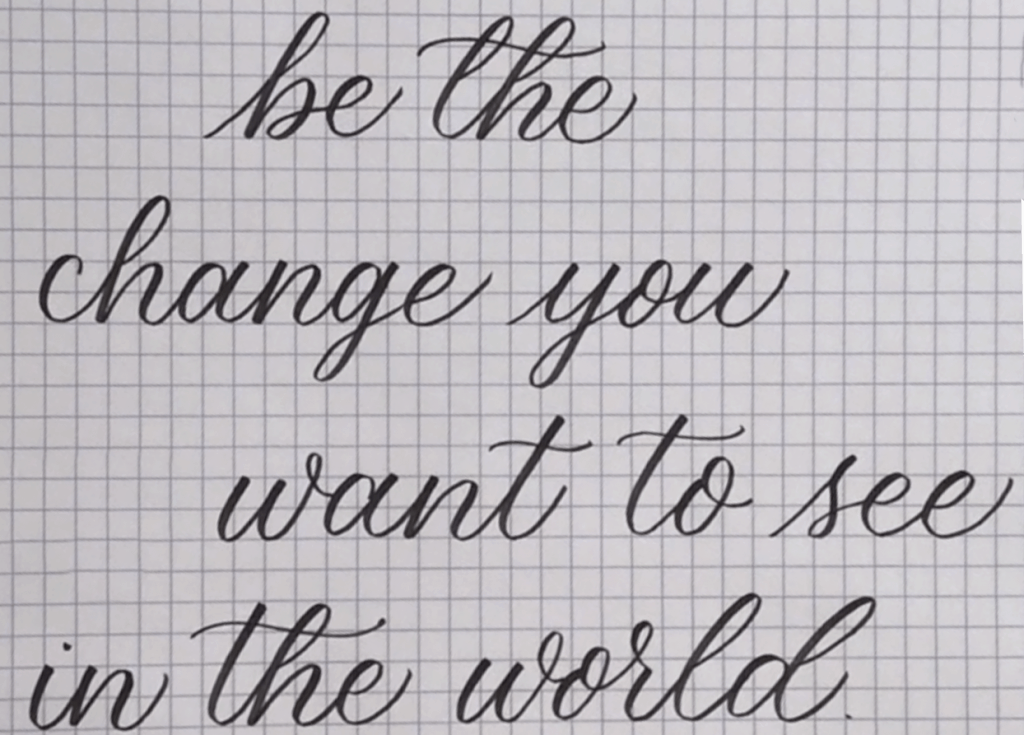
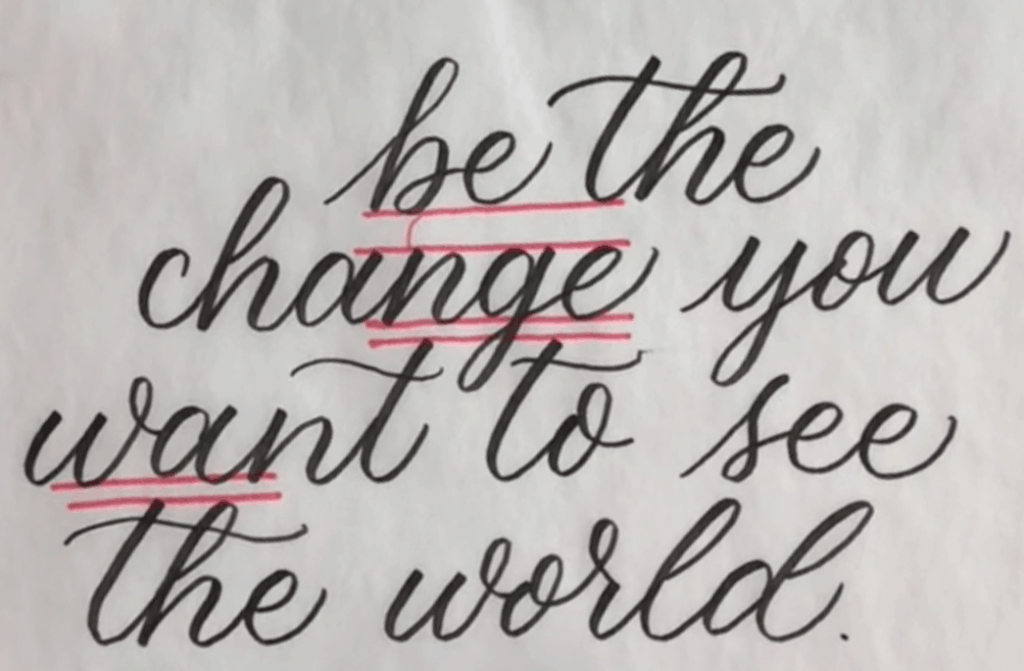
Advanced Layout
You’ll use the same quote (with a narrower layout for more difficulty), all in calligraphy, adding flourishes!
STEP 1: Write out all of your words in proper sizes.
STEP 2: Move the tracing paper around to get the centering you want – notice where ascenders hit descenders.
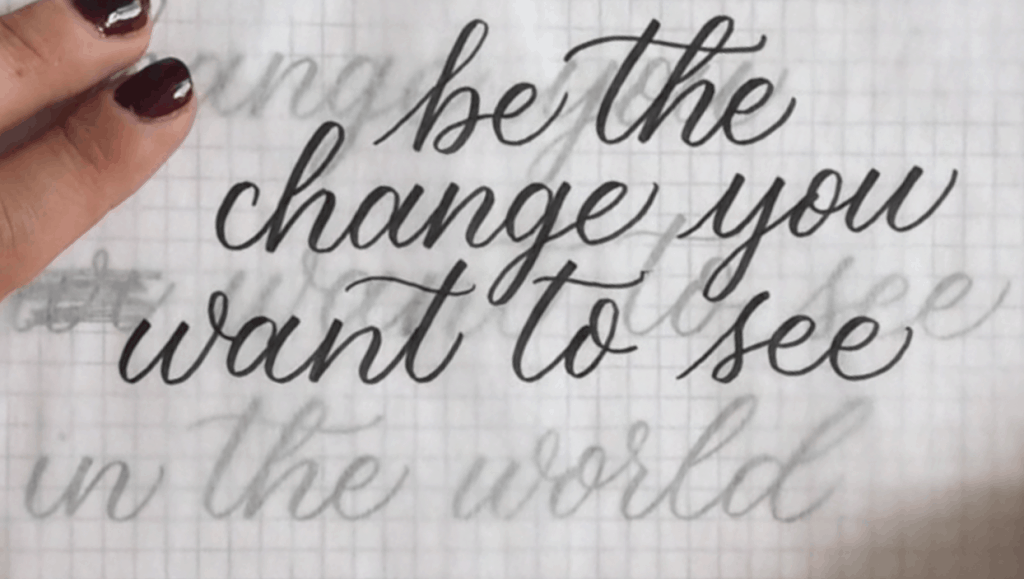
STEP 3: Use the red pen to mark up & add flourishes/adjust the spacing.
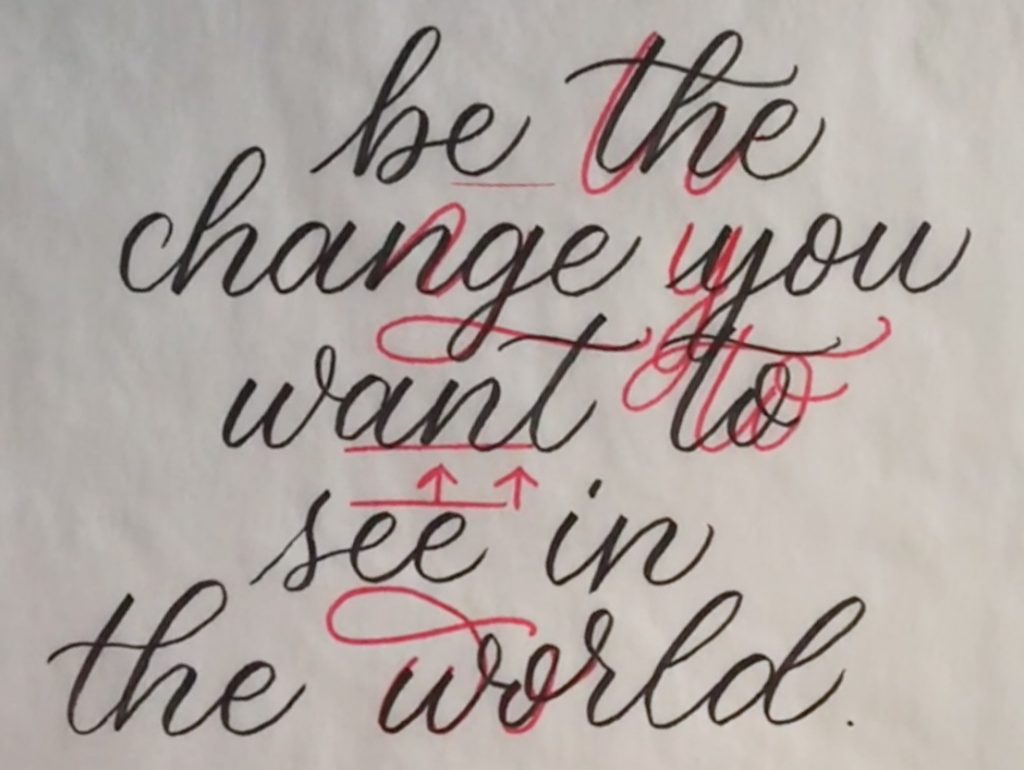
STEP 4: Re-trace, adding flourishes and making adjustments.

And there you have it! The beginning, intermediate and advanced versions of calligraphy layouts!
So now that you understand my process for coming up with a calligraphy layout, you can start tweaking the calligraphy to be other styles, like block letters!


I found your information to be extremely helpful; exactly what I was looking for to brush up on my former skills of calligraphy!!