Let’s channel our inner child and have some fun with Crayola’s, the grown-up way! ?
Today, I wanted to share with you guys how you can create really beautiful modern calligraphy with easy to find (read: cheap!) Crayola markers!
Prefer to watch than read? Feel free to skip right to the video and see how it’s done in real time! ??
First things first…
The links below may be affiliate links where appropriate. This means that your purchase through these links may result in a few cents in payment to me, to support creating further resources like this one! That being said, I will never suggest supplies that I do not personally use and fully recommend.
Tools
- A normal, Crayola broad tip marker (chiseled)
- Tombow Dual Brush Pen (for comparison)
- Rhodia Grid Pad Paper (it’s just a really good, high-quality paper. You don’t need it for Crayola practice, but it’s always a good habit to get into)
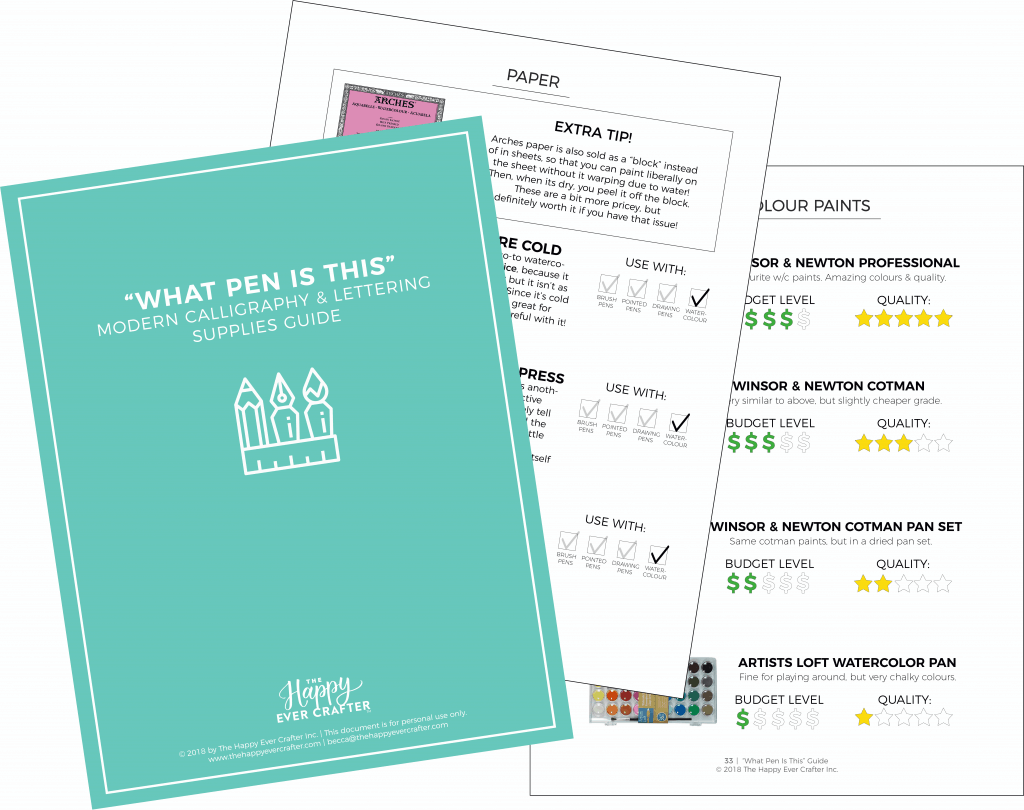
For more on supplies, click here for my free 50-page guide!
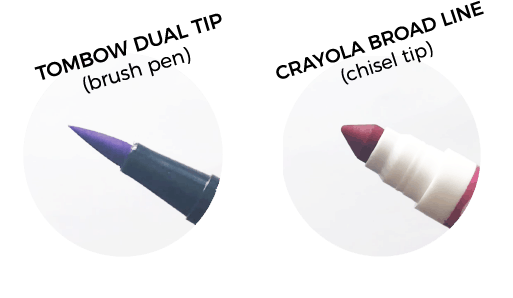
The difference between using a brush pen vs. a Crayola marker, you ask?
A Brush Pen = Flexible. It looks like a brush at the end. Pressing hard or light creates the thicker & thinner lines you’re striving for in calligraphy. Here you change the pressure on the pen, not the angle of your hand.
A Crayola Marker = Chiseled (a.k.a. not flexible). In order to get those thin and thick lines here, you have to move your hand in different directions. Using the side of the marker is what creates that thicker line, rather than changing pressures. Here you change the angle of your hand, not the pressure on the pen.
Things to remember in calligraphy…
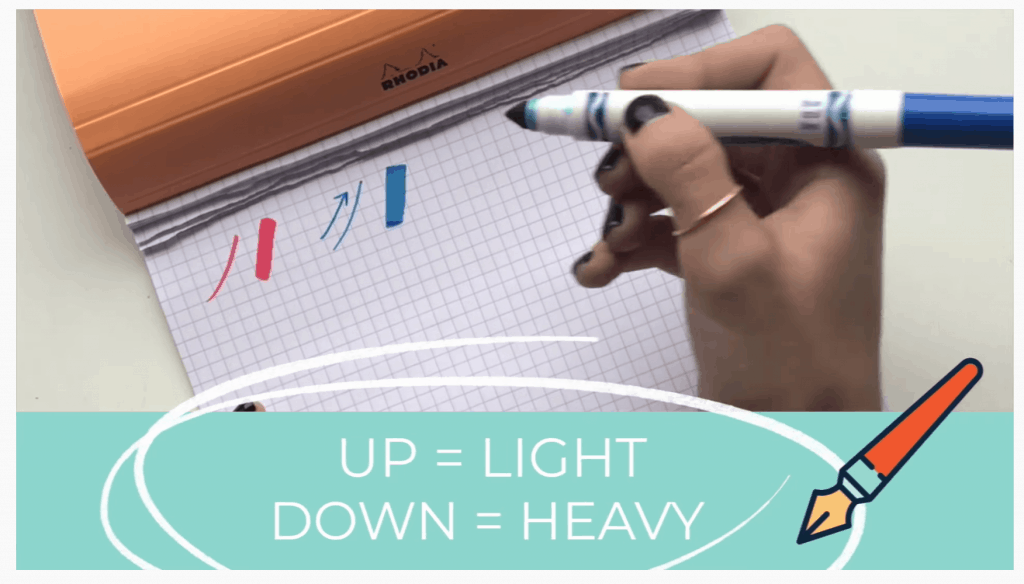
Anywhere your pen is moving in an UPWARDS direction on the page should be an UPSTROKE (thin). Anywhere your pen is moving in a DOWNWARDS direction on the page should be a DOWNSTROKE (thick).
Upstroke: Results in a thin or light line.
Downstroke: Results in a thick or heavy line.
Now let’s practice!
Step One: Play with the marker.
Try to keep it up a little more vertical than you would a brush pen to get that light line, creating upstrokes. Remember to juuuust barely touch the paper as you go, creating a nice curve, from the bottom to the top. The slower you go, the better it will be.
Now try going from the top to the bottom to get that thick line, holding the marker slightly less angled, to use the side of the marker instead of the tip.
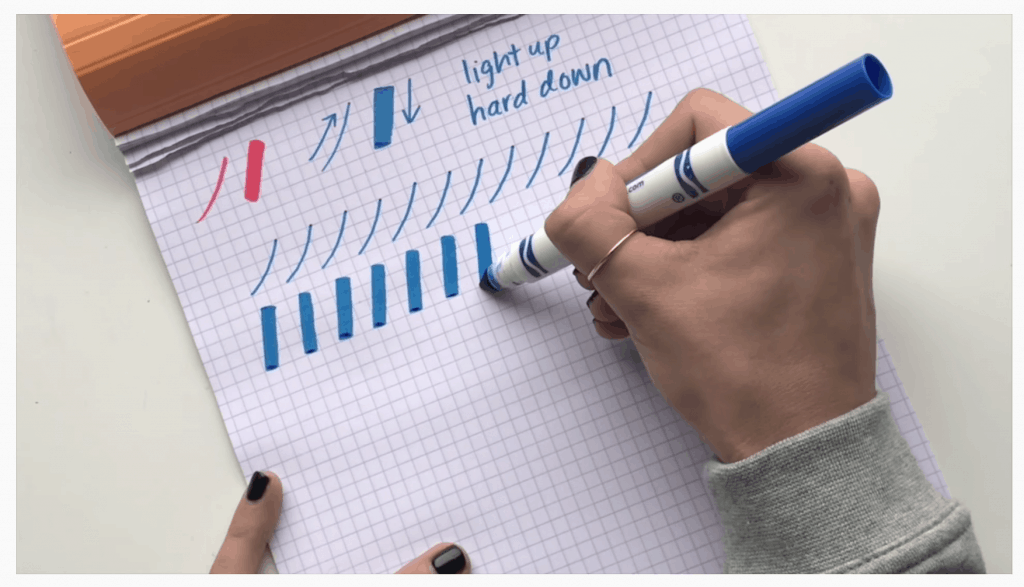
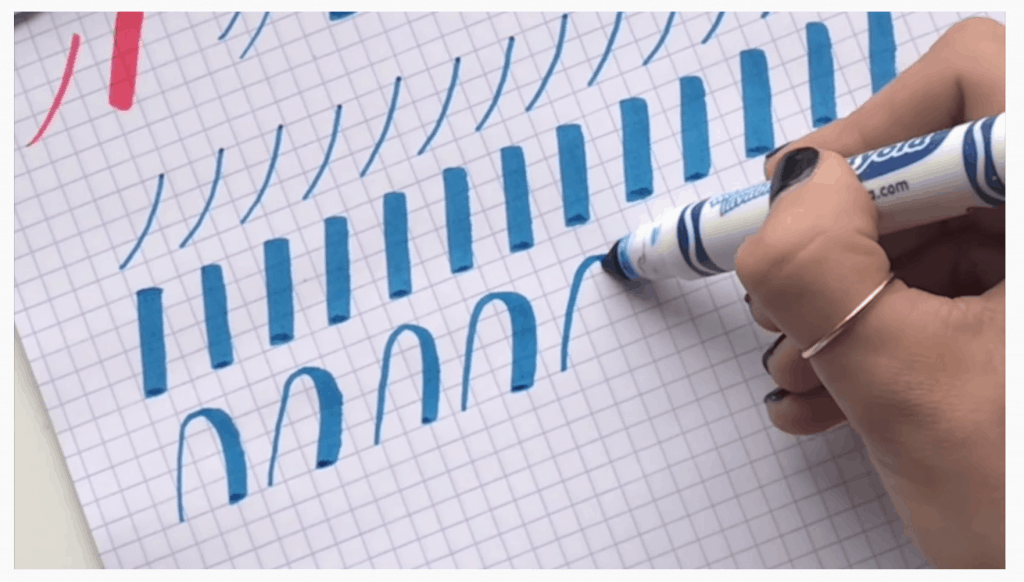
Step Two: Connecting strokes.
Start with going up (light stroke), change the angle, and go down (thick stroke). Maneuvering a Crayola is definitely more challenging than a brush pen, so practice to get those smooth lines!
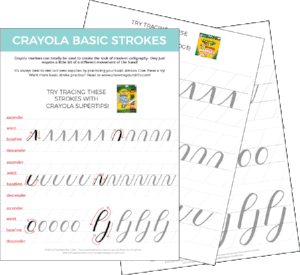
Step Three: Practice words.
Once you’re comfortable with the light up and the hard down, try writing the word, “hi.” Remember, the slower you go the easier those transitions from thin to thick will be.

You can apply this to any kind of writing at all!
This works for block letters, too! Even cursive writing. The more consistent you can get with your calligraphy basic strokes, the more consistent your words will be!
Ready to give it a shot?


i love