
Today I’m teaching you how to add a beautiful wintery wreath to your holiday greeting cards, wrapping paper, gift tags or other artsy projects!
Not one to read through the steps? Check out the YouTube video tutorial instead!
The links below may be affiliate links where appropriate. This means that your purchase through these links may result in a few cents in payment to me, to support creating further resources like this one! That being said, I will never suggest supplies that I do not personally use and fully recommend.
Supplies Needed:
Plain Greeting Card | Compass and Pencil or something round to trace | Micron Pen in Black
Here we go!
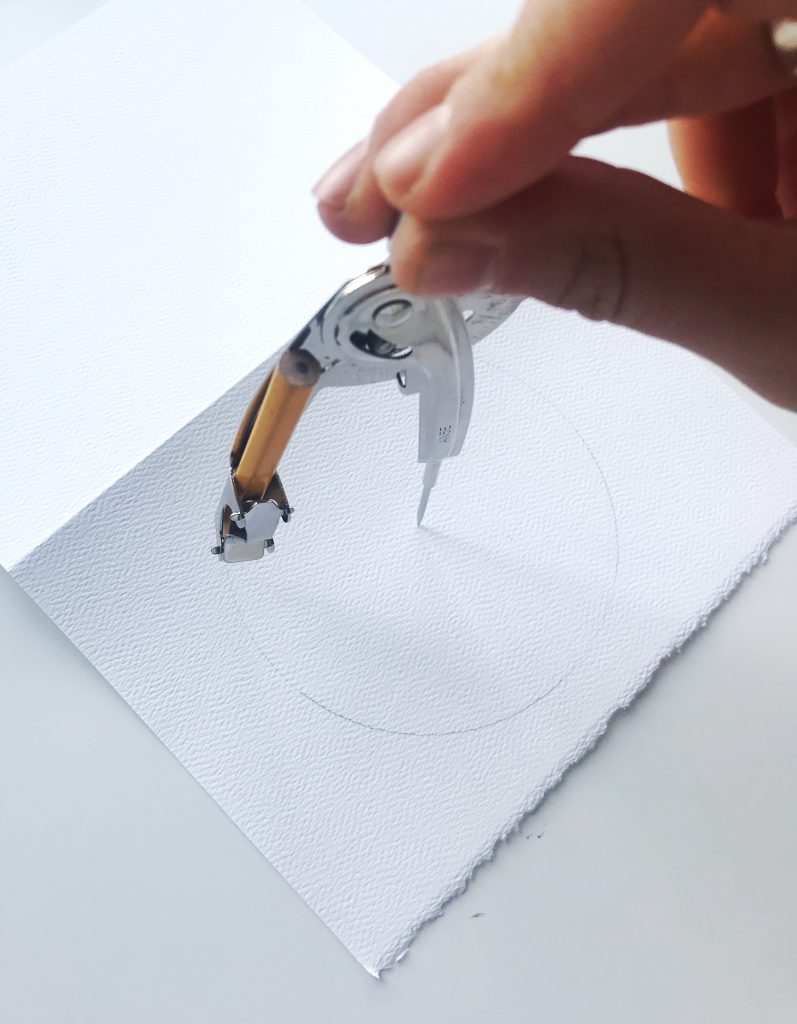
- Take your blank greeting card and get ready to draw your circle outline on the front of the card
- Set your compass to the right size and find the center of the page
- Draw your circle (try not to press too hard as you will be erasing this guideline at the end!!)
4. Check out the video to see a breakdown of each floral element we’ll use for the wreath:
– Leaves (big and small)
– Floofs (yes I made this word up!)
– Berries in multiples (it’s best to use uneven numbers for this one)
– Pine Needles
5. Take the elements and start adding them onto the wreath
6. Draw part of the circle and start adding in whatever arrangement you wish. As I continue adding I like to rotate the paper or card as I go and then continue adding until you complete the circle.
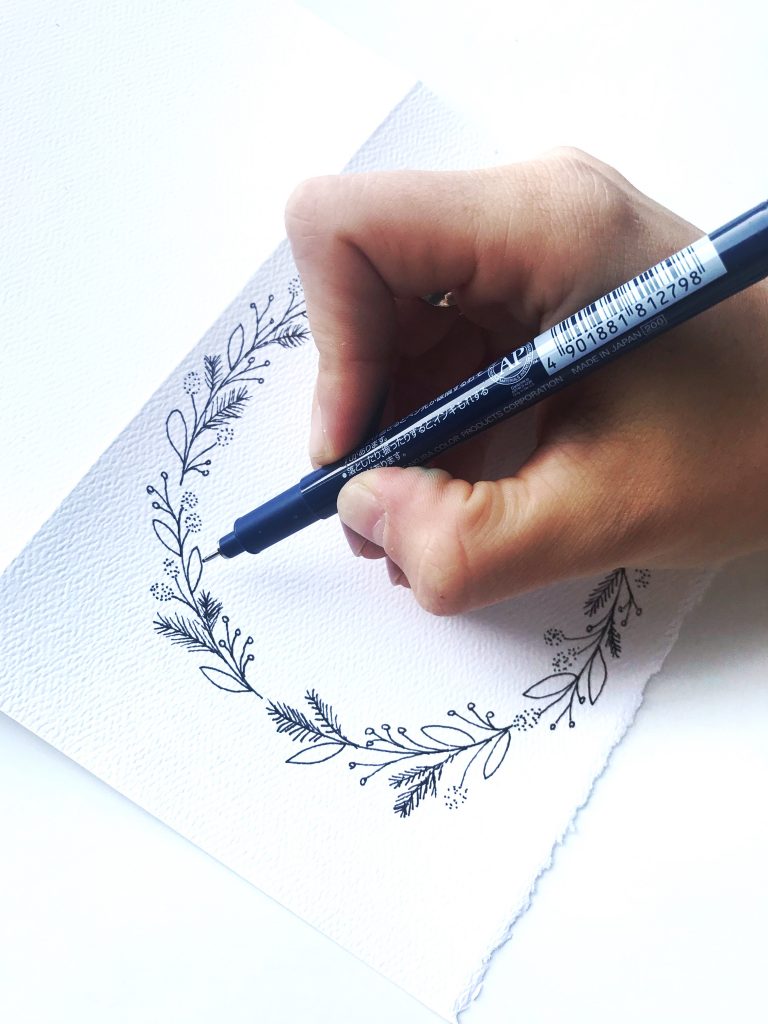
7. Erase the pencil guidelines of the circle once you are finished
8. Write your greeting or saying in the middle of the wreath! Make sure to grab my traceable greeting template below if you need an extra hand with your lettering!


Oh, man…. I didn’t find this until after the Holidays! I’ll have to see how I can adjust it for other events – birthday, anniversaries, thank you notes. Great video – thank you for sharing, Becca!